|
| Poly Suspension Upgrade (all pics) (Page 11/16) |

|
MulletproofMonk
|
OCT 17, 02:33 PM
|
|
| quote | Originally posted by redraif:
Got through it, but the darn front lower control arms are a beast... the bushing were really in there. I tried to drill them... burning I think is the ticket! Also, it does not show here, I can back for referance... the front most bolt on the front LCA... is it supposed to be oriented with the nut to the rear of the car. I had a bear of a time pulling the bolt out from under the steering rack boot. It was hitting horribly... Did anyone else have this issue? |
|
| quote | Originally posted by redraif:
Ok is this normal? Why would GM do this? Did the Previous owner take it apart and put it back backwards?


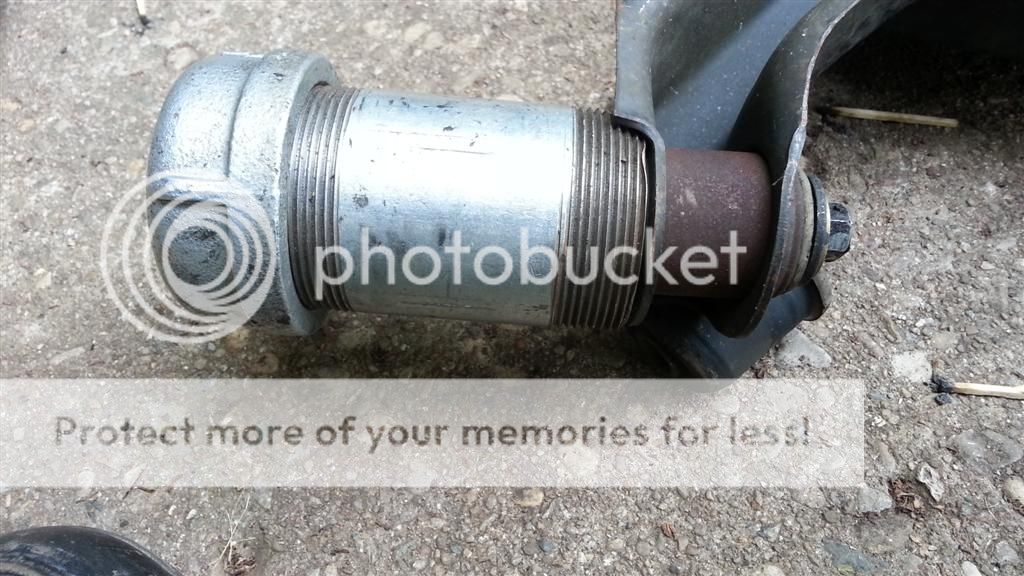
I'm getting total interferance from the rubber boot on the steering rack while trying to remove the bolt from the front most leg on the lower control arm. I had to pry on the rubber boot to even try to get it out and it did not work. Surely GM did not intend for us to remove the rack to remove the LCA's. Yes it's the same on both sides... I even pushed the tierod up hoping the joint would move it further out of the way... nope...
Is the nut supposed to go on this side instead?
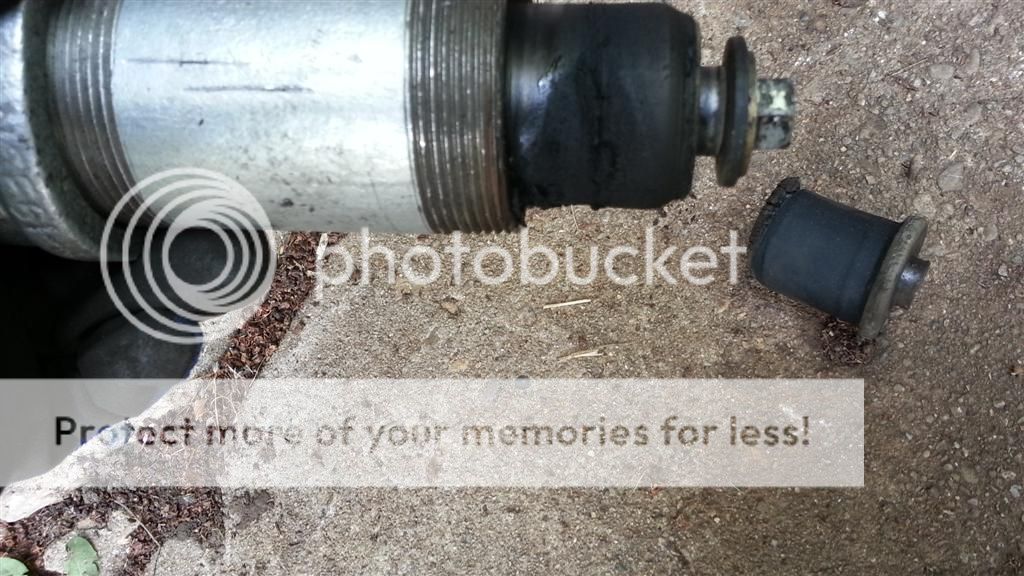
So here was what I had to do to get the darn thing out...
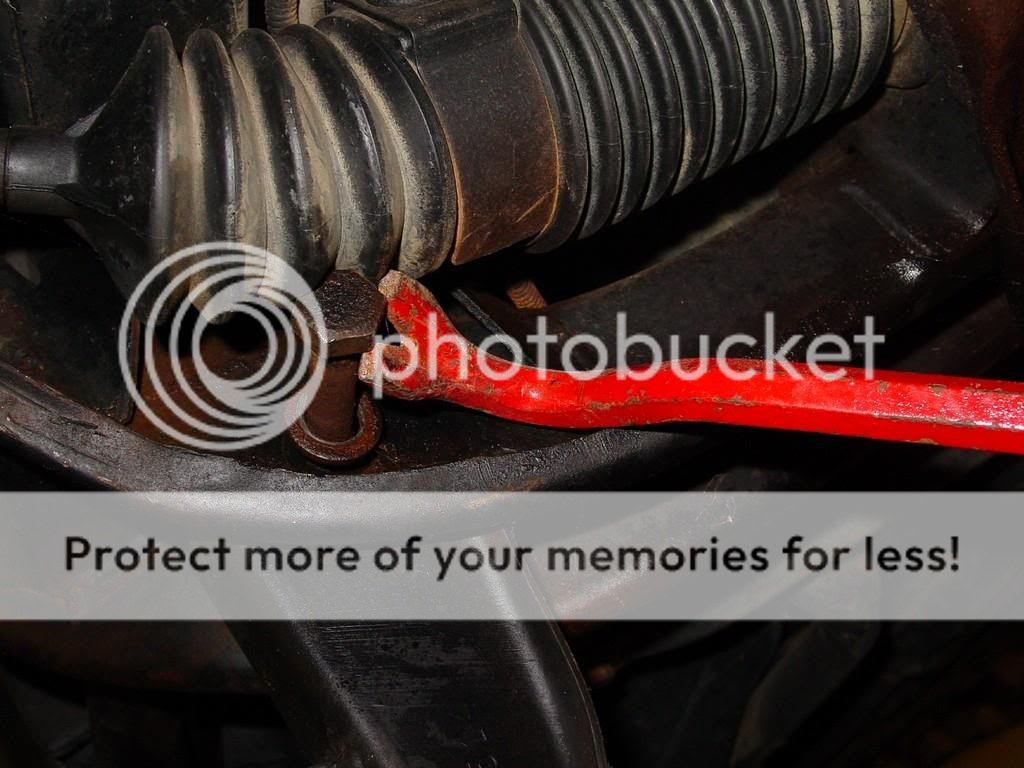
So I got them both out, but I don't see how on earth I could ever line it back up to get it back in this way, esp get it back in straight. The next question is, do I put is back together like this? or reverse it and put the nut to the front instead? What did you do?
Thank you!
|
|
So, I saw your other thread and brought your pictures over here. Yes, my bolt did the exact same thing. I think that one 87 was more of a PITA then the other. Sorry that I didn't capture that, I did the best that I could. When you are making progress, sometimes you just want to plow through and get it done...
------------------
-Brian
My 87 GT Poly Suspension Upgrade (all pics) thread
Removing the roof panel[This message has been edited by MulletproofMonk (edited 05-21-2013).]
|
|
|
|
MulletproofMonk
|
FEB 29, 08:43 PM
|
|
|
9587 views. Not too shabby.
|
|
|
|
MulletproofMonk
|
NOV 29, 10:44 PM
|
|
|
|
|
IanT720
|
NOV 30, 12:26 AM
|
|
|
Thanks much! Really helped, I just redid the rear well I was doing the swap... Front will be soon!
|
|
|
|
bomluuk
|
DEC 04, 12:14 PM
|
|
Very nice wite up and good information. Thank you.
Also, just some polish and you could wear 'em with a tux!
| quote | Originally posted by MulletproofMonk:
Wow, 8710 views as of 9-20-2011. Nice to hear it is helping people out.
-Brian
Edit to say that I noticed my garage shoes in the picture from 2008... and I'm still using them today...

|
|
|
|
|
|
MulletproofMonk
|
MAY 14, 11:04 PM
|
|
|
|
|
MulletproofMonk
|
MAY 21, 10:44 PM
|
|
Let's do another update... And talk about more tools.
Organization. K.I.S.S. Keep It Simple Stupid. If you can misplace a bolt or thread the wrong bolt in somewhere, you probably will. While reading other peoples threads in quests of poly (and losing bolt sizes, locations, etc), I thought I would share my simple method. Wood with drilled holes, a couple of nails and a marker.
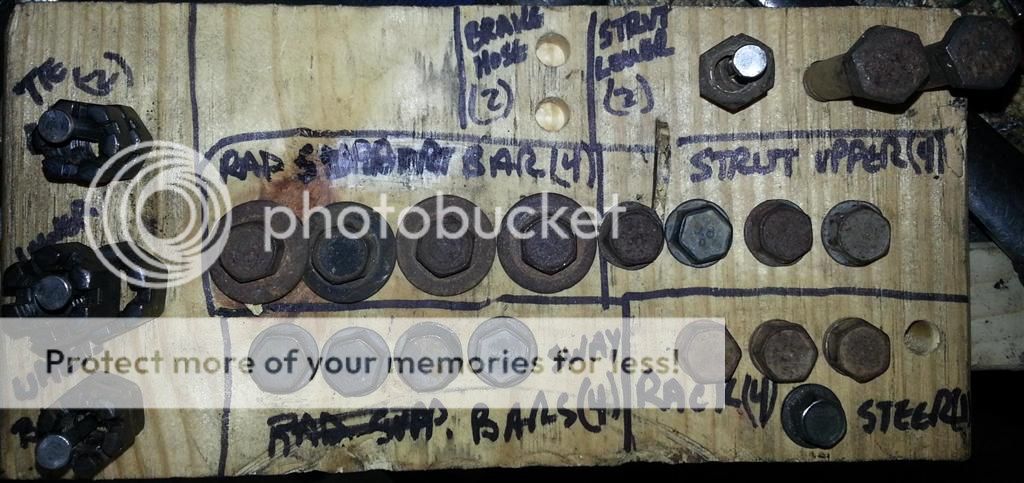 [This message has been edited by MulletproofMonk (edited 05-21-2013).]
|
|
|
|
MulletproofMonk
|
MAY 21, 10:47 PM
|
|
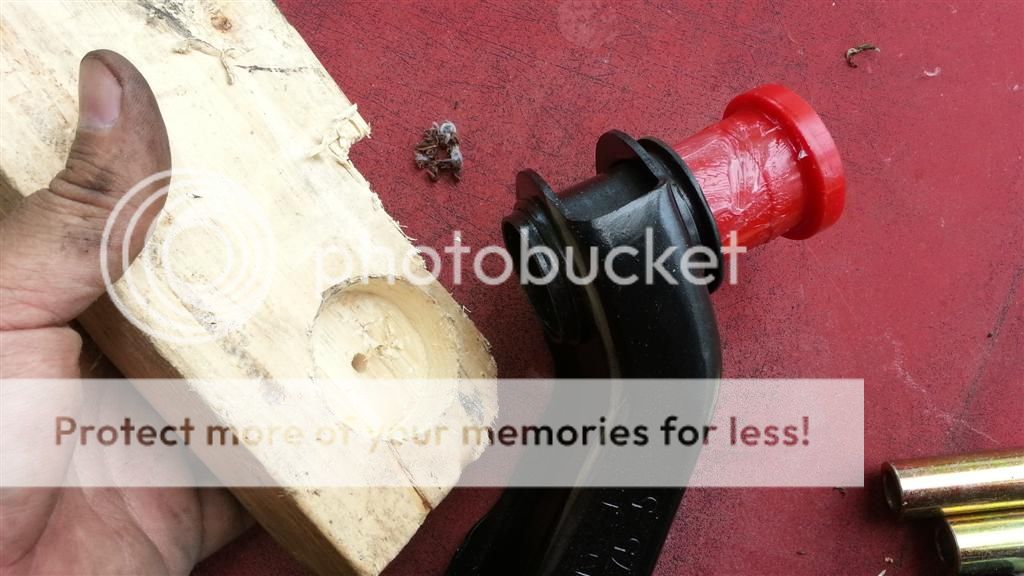
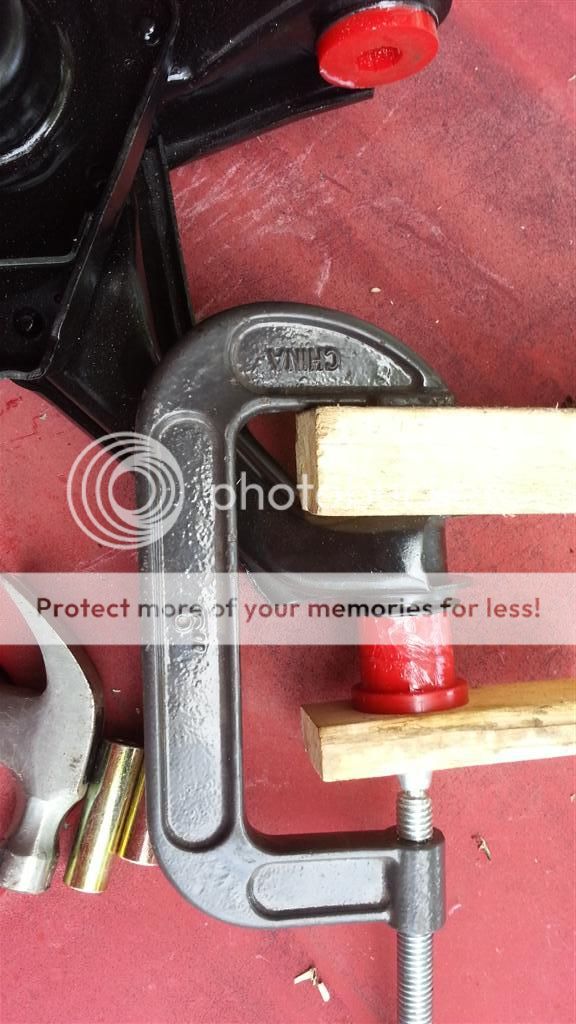
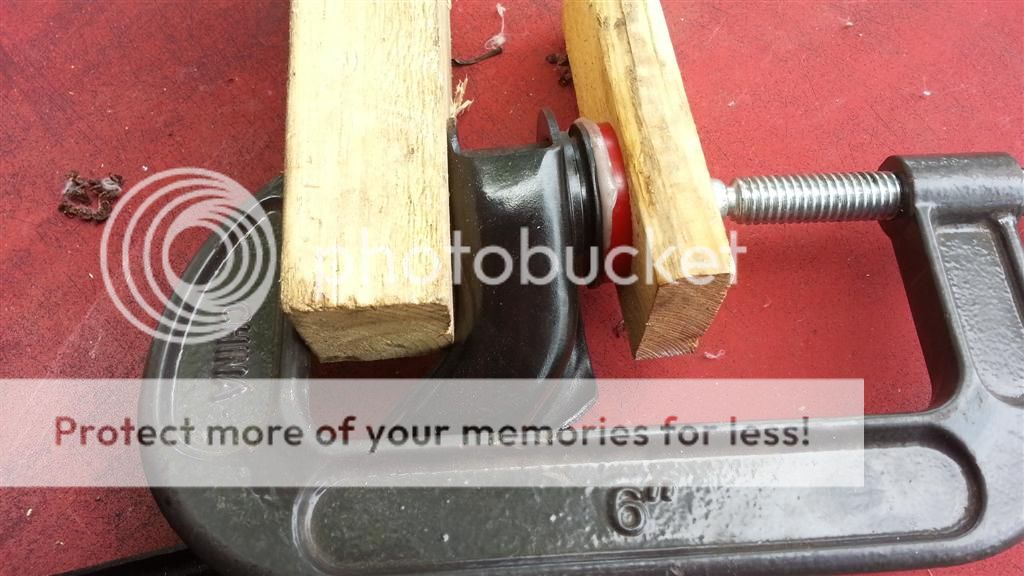
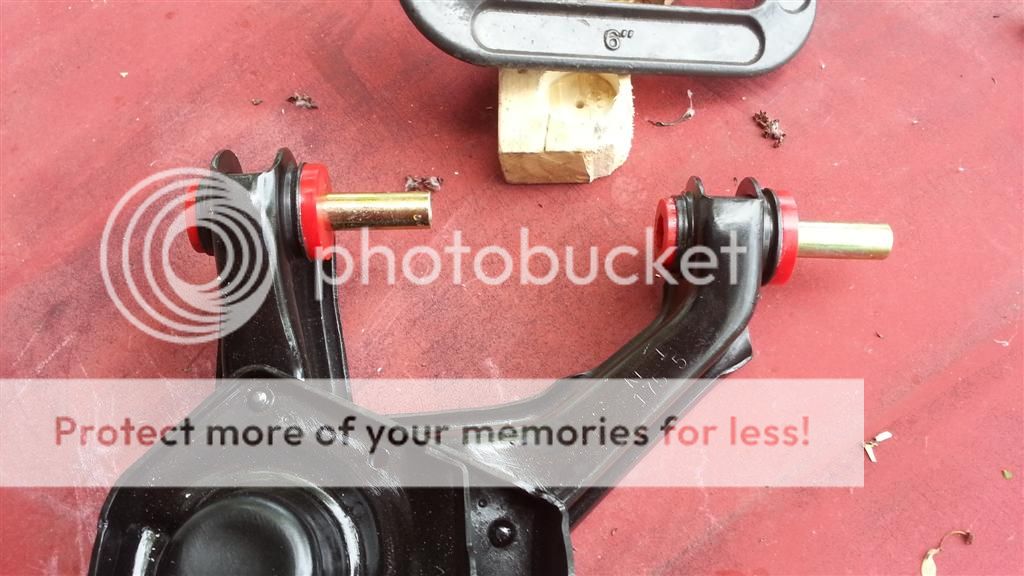
I'm sure that there is a toolkit for pressing bushings in... but since the wife calls me her "Asian Hillbilly", here are my tools to press the bushings in. Piece of 2x4 with a hole cut in the center, 6" clamp and another piece of wood. Can you get a cheaper tool? 
|
|
|
|
MulletproofMonk
|
MAY 21, 10:55 PM
|
|
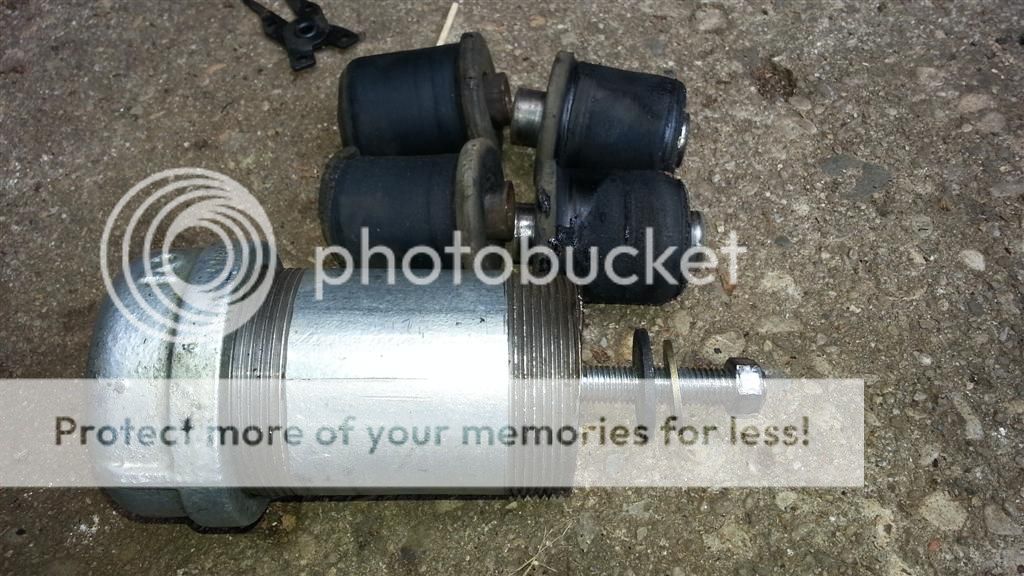
So you misplace your bolts for the front end?
Upper Control Arm bolts and washers. There are two washer at each end.
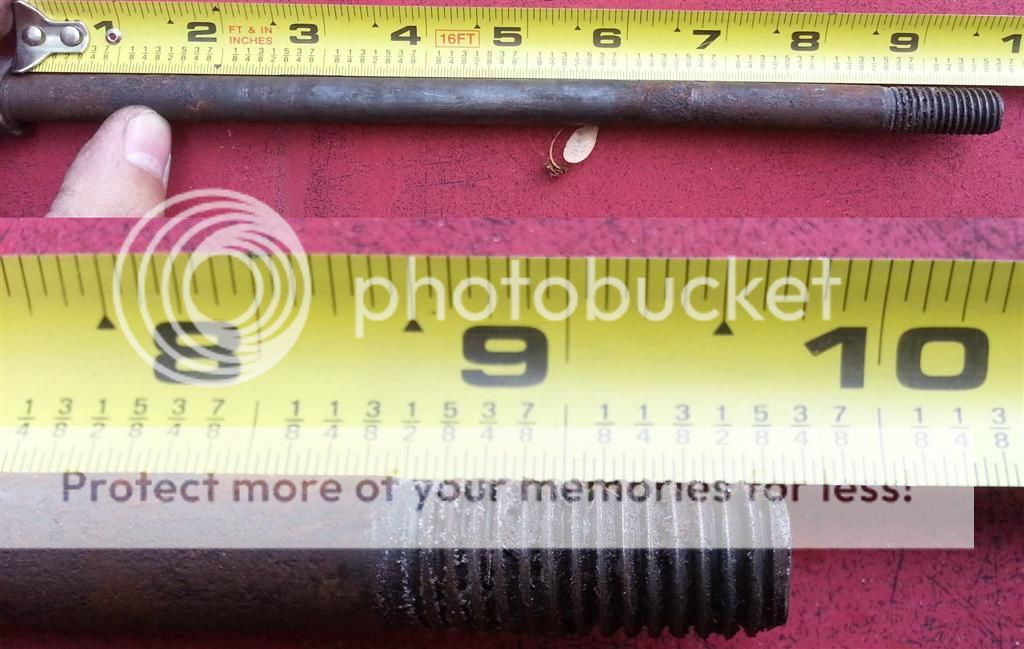
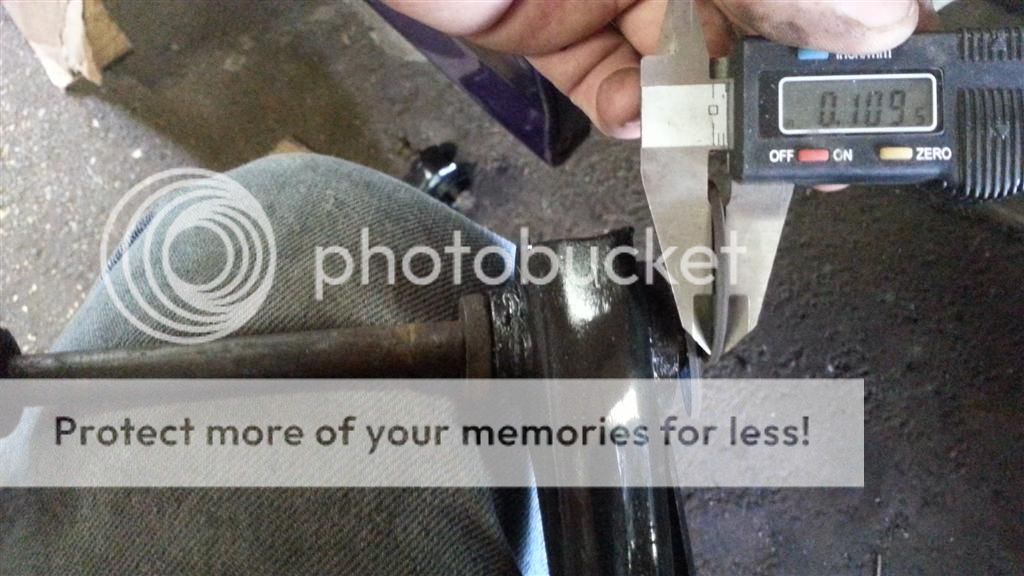
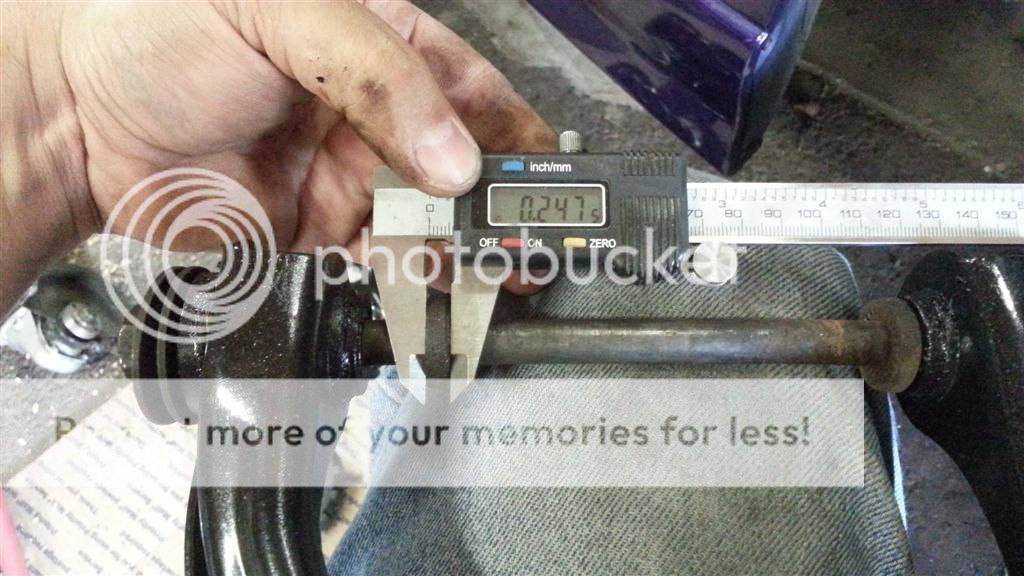
Lower Control Arm bolts and washers.
Long Bolt goes in the front
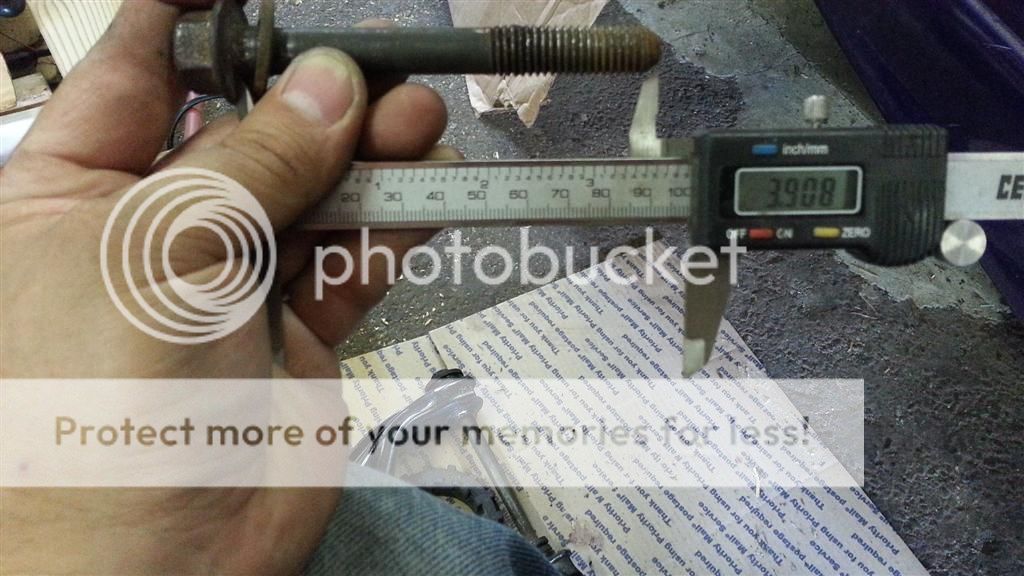
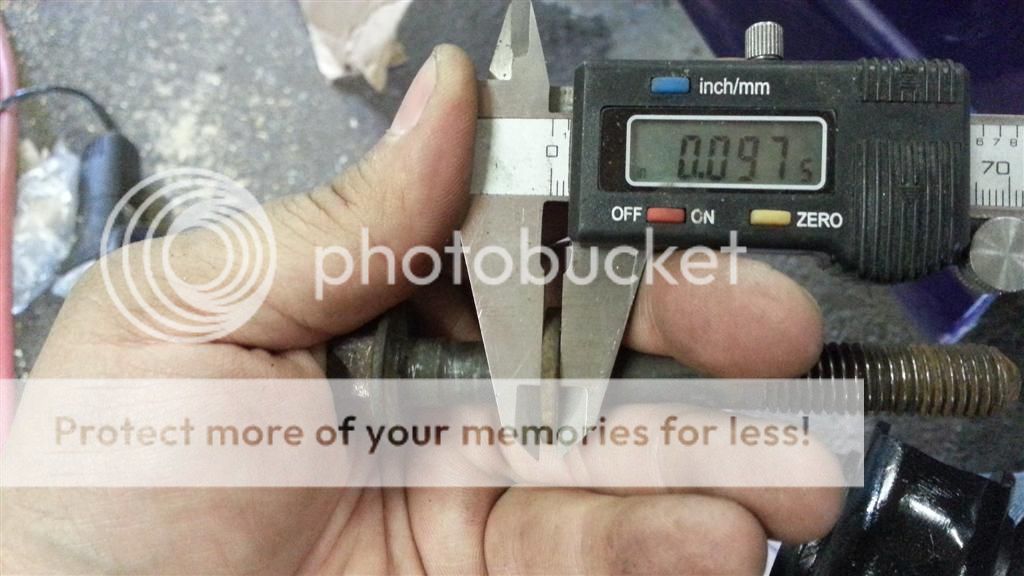
Short Bolt goes in the rear

|
|
|
|
MulletproofMonk
|
MAY 23, 05:52 AM
|
|
|
|
|