 
     |
| Need advice from fiberglass and body Gurus (Page 1/1) |

|
Danyel
|
JAN 03, 02:21 PM
|
|
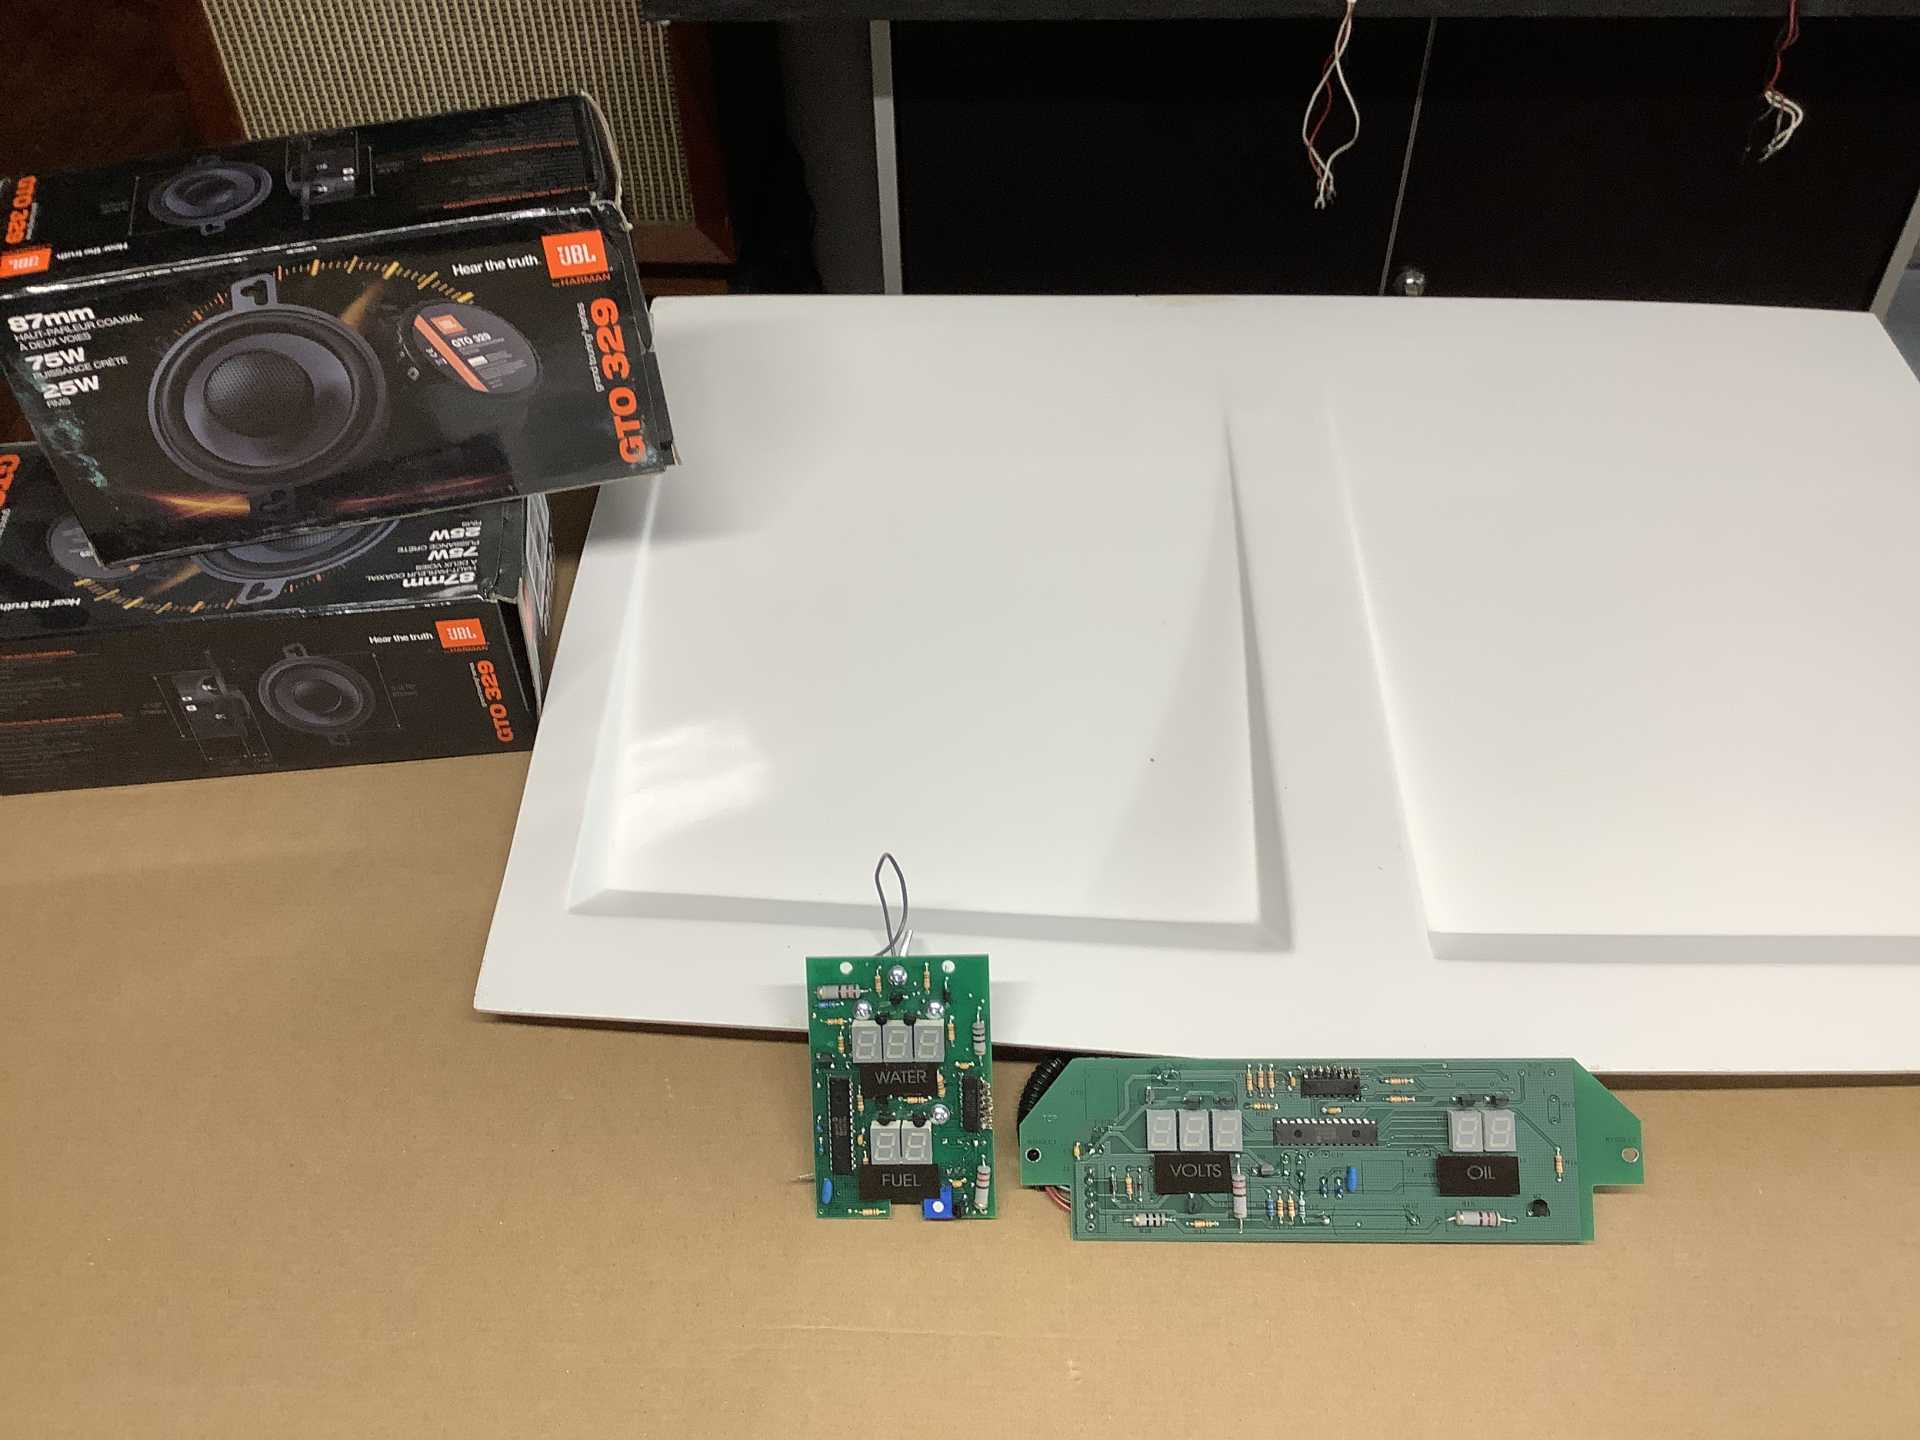
I bought a STM14001 and need advice on the front cutouts... My question is what size do I make the holes for heat extraction from the radiator and do I leave a lip around the opening ??? here is a pic of my new extractors before install... thanks for your help as I want to do these and insert grills onto them before installation....
 ------------------

My PFF Store
Black Widow Build Thread 2007 - 2014
Tylers Toy
|
|

|
Blacktree
|
JAN 03, 03:26 PM
|
|
|
I would suggest leaving a small lip all the way around the opening, for structural strength. An unsupported edge will be pretty floppy. I would also suggest rounding the corners on the openings. A sharp corner will form cracks.
|
|

|
IMSA GT
|
JAN 03, 06:17 PM
|
|
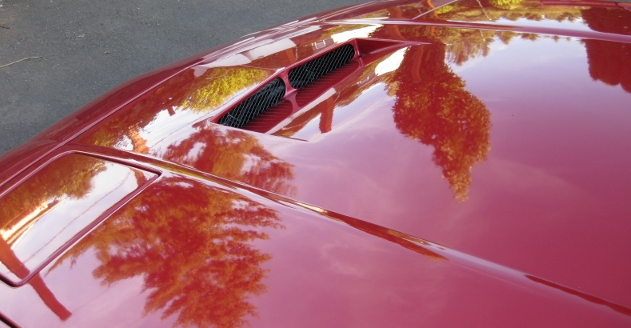
Most of the time, as mentioned, the edges should be rounded to prevent stress cracking. You can measure, use a hole saw on the ends to create the round curves, and then jigsaw the straight cuts from the underside. Here is a picture from one member:

As for the mesh, one member used the mesh from the vent duct on the Fiero dash.....just to keep things looking, well,.....Fiero  [This message has been edited by IMSA GT (edited 01-03-2021).]
|
|

|
TXGOOD
|
JAN 03, 07:23 PM
|
|
If that scoop mounts similar to the other one Paul sells I have installed two of them.
You cut out a hole the size of the outer edges of the scoop where it will just fit.
Only cut through the top layer except where you need to cut through where the opening goes.
Then you bond pieces that overlap the edge to where the scoop, when layed in the opening, will be even with the surface of the hood.
You can use screws to temporarily hold the pieces in place.
When it`s even it makes it a lot easier to keep the fiberglass and filler smooth.
Here is when I did mine.
Unfortunately, I didn`t take a lot of pics.
http://www.fiero.nl/forum/Forum1/HTML/097072.html[This message has been edited by TXGOOD (edited 01-03-2021).]
|
|

|
TXGOOD
|
JAN 03, 07:33 PM
|
|
Here is the instruction sheet from Paul`s website.
How to install the "Angel Vent" hood scoops & "STM" hood vent - part #s AV1001, AV2001, & STM14001.
1) Make a template of the outer dimensions. Poster paper works best but cardboard or paper will work too. Just place the scoop upside down on the paper & trace around it.
2) Place the template on the hood carefully centering & squaring it & with the front edge 8 3/4" back from the front of the hood for part #AV1001; 7 1/2" back for part #AV2001; & 7 1/8" back for #STM14001. Trace around it with a pencil.
3) Cut out the opening being careful to ONLY cut through the skin of the hood (about 1/8").
4) Turn the hood over & take a gasket scraper type chisel & separate the skin from the inner structure so that you can remove the cut-out piece.
5) Cut the inner structure by lowering the scoop into the hole & cutting to fit tightly against the sides of the scoop.
6) Using the cut-out piece, make bonding strips at least 2" wide to go around the circumference of the hole. They have to overlap both the opening & the scoop at least 1" all the way around.
7) Drill small holes every 3" or so around the opening in the hood & the scoop 1/2" from the edges.
8) Place the bonding strips under the opening & screw through the holes pulling the bonding strips up tight. Place the scoop in the hole & do the same with it.
9) Remove the scoop & bonding strips & grind all contact surfaces (bottom of hood & scoop & top of bonding strips - & don't forget to do the bottom where you'll be molding in the inner structure to the scoop) with a 24 grit disc.
10) After blowing off all the dust ;-) mix up your 'Vette panel adhesive/filler & spread it on the bonding strips & screw them in place, then screw the scoop in place. Work fast so that the adhesive doesn't set up before you get the strips & scoop pulled down tight. The adhesive should squeeze out all around the edges.
11) Go back under the hood & add the adhesive/filler all around the edges of the inner structure where it meets the scoop. If you want a little more reinforcement, chop up a little fiberglass mat with some scissors & mix it in with the adhesive before you mix in the hardener.
12) After that dries completely, grind out a "V" all around the seam & the screw holes using the same 24 grit. Fill with the 'Vette shtuff.
13) Sand smooth with blocks &/or paint paddles. Usually you start with 40 grit, go to 80 grit, & do a little final smoothing with 180.
14) Prime & block as you would any bodywork. Re-prime & you're ready to sand & shoot the paint.
15) For Part #AV1001, before bolting the hood back on, cut the sheetmetal in front of spare 2" x 20" & relocate the overflow tank.
16) Drive & enjoy your new cool looking hood vent knowing the front end won't float & headlight doors won't pop up when you meet a huge truck on a two-lane. ;-)
|
|

|
Australian
|
JAN 04, 02:20 AM
|
|
|
Cutting the hood would be better than fitting this i wouldnt even use it.
|
|

|
Danyel
|
JAN 05, 01:36 AM
|
|
|
    
  |
|


