War Hammer is alive and kicking! Whadeduck and I put in a new alternator (upgraded to 140 amp from 105) and it breathed new life into the car. Misfires stopped and after a few minutes of blowing out carbon, it was purring like a kitten. Now to get on with it. I am going back to the fiero dash for a little while. The corvette dash conversion might be sold in the future. I will see if Fie ro might want to sell me one of his (d) .
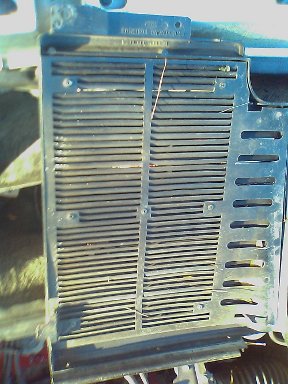
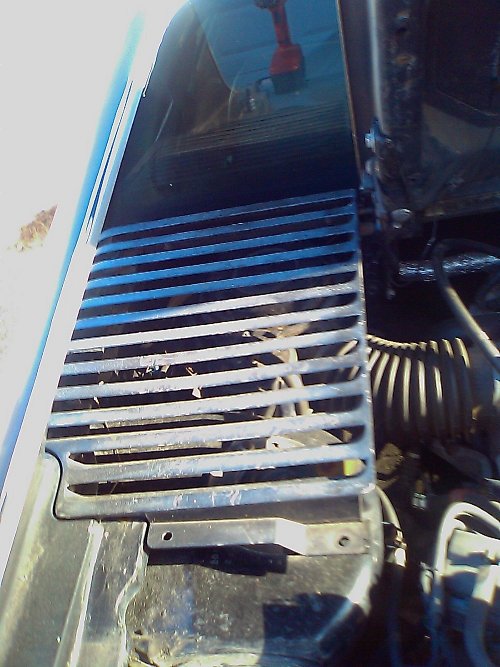
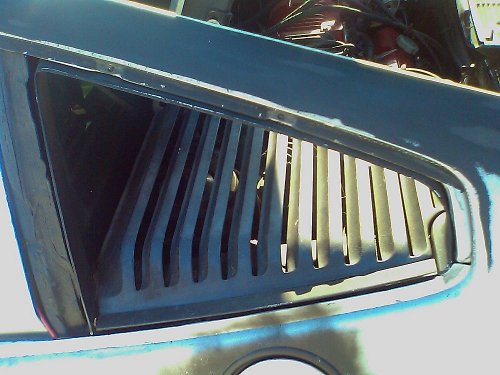
I did the same for my deck grills. I have noticed since that leaves and stuff freely get down through these to the engine compartment. Luckily I now keep the car in the garage all the time. I believe it does pull heat better than with the screens, but I think I will put them back on with fasteners that would allow me to remove the screens quickly next time. If nothing else just to clean them out.
I was up most of the night looking for wiring diagrams for Corvettes and Fieros. Found most of what I need. What this thread for the next few days for a rewire of the Corvette switches.
Paul
------------------ 1988 Fiero 3800SC Series 1 w/5spd Lowering Springs 18's w/Pirellis Corvette Dash Mod
OK. I just decided to jump right in and tackle the dimmer switch as this will be one of the most time consuming part of the wiring. At first I thought I would try to make the Corvette dimmer work, but after many hours of study and a case of insomnia I decided to install the Fiero dimmer in the Corvette dimmer housing and try to make it look as stock as possible. The stock looking part is not that easy.
The Corvette switch is a rheostat type. That is to say that you turn a knob to increase or decrease panel illumination intensity. After opening the switch I quickly realized that there is no way the puny wiring of this switch could handle the demands of the Fiero wiring so I removed the Corvette switch and discarded it. I realized the Fiero dimmer would fit quite nicely in the unused heads up display (HUD) portion of the housing.
I then had this hole and thought why not go to Radio Shack to fill it so I bought a small push on push off switch that fit the hole left by the Corvette dimmer. This switch will be used later (guess what for). I originally thought that the knob for the Corvette dimmer would fit over the red knob that came with the switch so I tried to drill it out - bad idea. As I was drilling it out I discovered the inside of the knob had a metal liner that is much stronger than the rest of the knob. Needless to say the knob disentigrated as I tried to drill it out.
Next to the new switch is where a tiny LED was placed by GM. I have no idea why except to guide you to the dimmer switch. I will later mount a new LED to inform me when the switch is armed (guess what is in the future yet?).
Following this I studied the Fiero dimmer - holding it repeatedly up to the housing to decide on proper placement. The switch housing was studied and I realized that the inner clamping device can be removed and used to hold the dimmer in place so the dimmer could be easily removed in the future. So I separated the clamp from the original housing with a flathead screwdriver. A caution here, do this slowly and carefully or you will break the clamp.
After this I held the Fiero dimmer face plate up to the Corvette housing to select the proper position to mount the dimmer. I used a stabilo pencil to trace the inside of the Fiero opening on the unused HUD portion of the Corvette dimmer housing. A stabilo pencil is available in many colors and is water soluble so you can wipe the marks off easily as you try different placement posotions.
Now the fun part starts. Out came the trusty dremel tool with cutoff wheel. BE VERY CAREFULL FROM NOW ON AS CORVETTE DIMMER HOUSINGS ARE EXPENSIVE. I slowly cut out the opening for the Fiero dimmer. When you select the location to mount the dimmer please remember it is larger than the hole required. The rough opening now made (don't try to finish the opening with the cutoff wheel) switch over to a 60 grit sanding spool and begin shaping. Make your hole a little larger than the dimmer wheel. This allows for fine tuning of the dimmer placement later.
Since I removed the rear cover of the Corvette housing to install the push button switch I repeatly checked the openin for wheel clearance. Now I installed the clamp on the Fiero dimmer and began trimming the clamp to fit in the housing. I trimmed the clamp a lot and the inside of the housing to allow the LARGE Fiero dimmer to be installed. What I found was that with the clamp on th edimmer wheel did not go through the front of the housing enough to appear stock or allo easy operation. So, even though I am not a fan of doing things this way. I removed the clamp from the equation and decided to bond the dimmer directly to the housing. First I tried this with a super glue type chemical and after it failed I switched to Liquid Nails. It seems to hold OK now.
Now you can stop here if you are the type of person who says if I can't see it it isn't there, but if you are like me (anal retentive - Whadeduck thinks I should go into quality control) and pay attention to delail you will want to reinstall the rear cover of the housing. To accomplish this I took out my drill and a 3/8" bit and drilled out the area behind the push button switch. After drilling I cleaned it up with the sanding spool and 60 grit paper on my dremel. Next I switched to the cut off wheel on the dremel and cut out the rough shape of the dimmer and cut off the Corvette wire connector housing. Now that I was satisfied with the initial cut. The hole was shaped, deburred ,and cleaned up. I removed most of the material from the rear of the housing. If you do this make sure you leave enough material to allow it to lock closed.
This is basically it. The dimmer should be done. I will test it tomorrow.
Just remember life is too short to get upset. . .
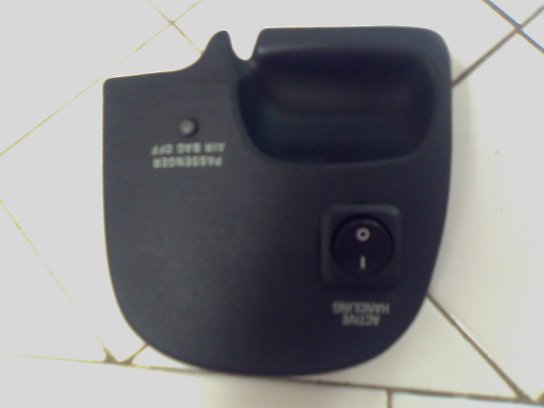
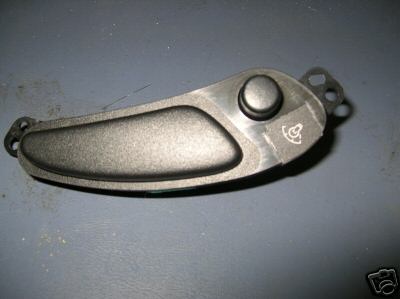
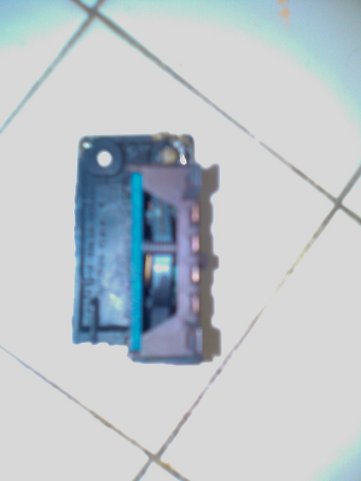
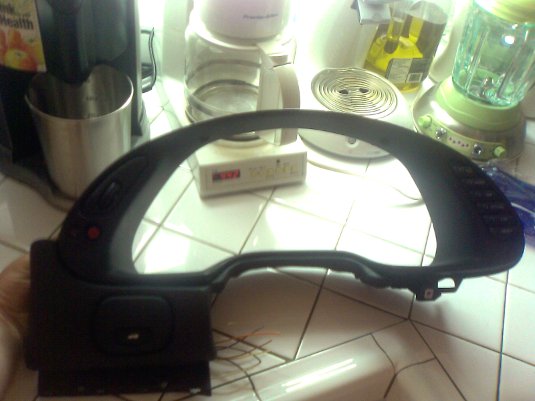
The unmodified Corvette dimmer / HUD housing. (Make sure you get one WITHOUT HUD controls.) . .
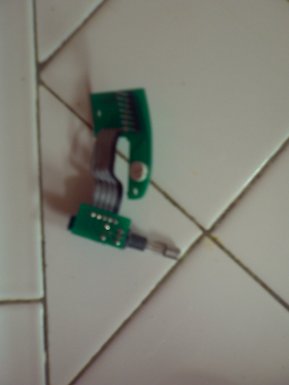
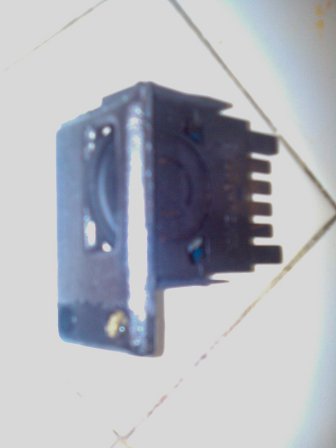
The weak excuse of Corvette dimmer. . .
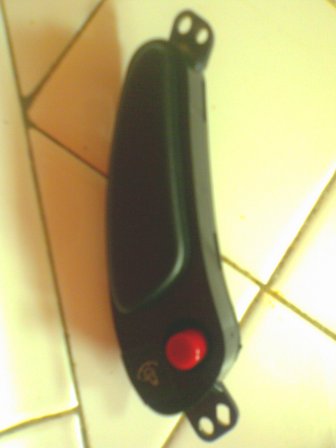
The red switch after I placed it in the hole left by the pathetic Corvette dimmer. . .
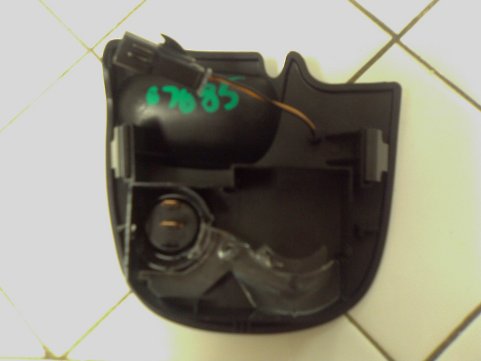
The view of the red swich from the back. . .
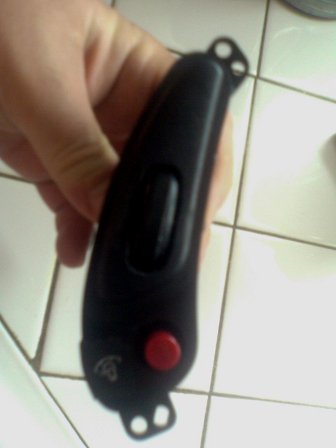
The nasty repainted Fiero dimmer that Pacethis had installed in the dash. . .
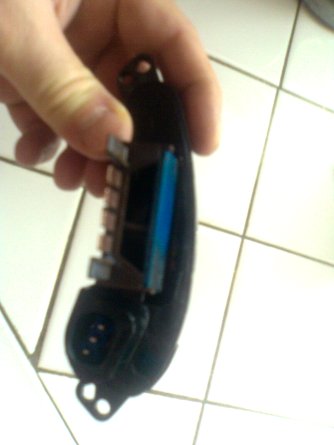
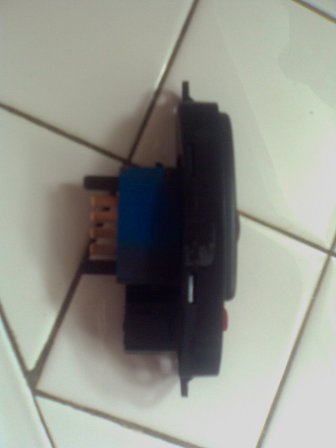
Side view of the Fiero dimmer. . .
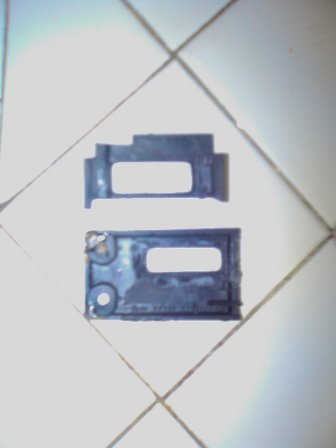
The clamp after it was removed from the back of the Fiero face plate. . .
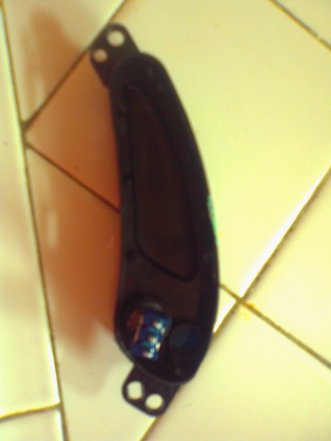
The front of the finshed switch. Isn't it pretty? . .
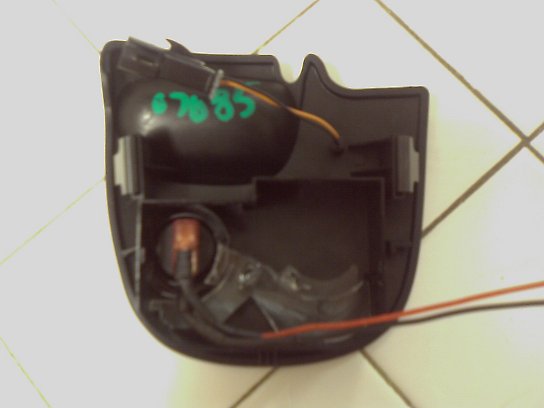
The rear of the finished switch. Please note how much material was removed from the back. . .
I took this opportunity to clean the contacts with Flitz (a previous owner had painted over 1 side of them ) . .
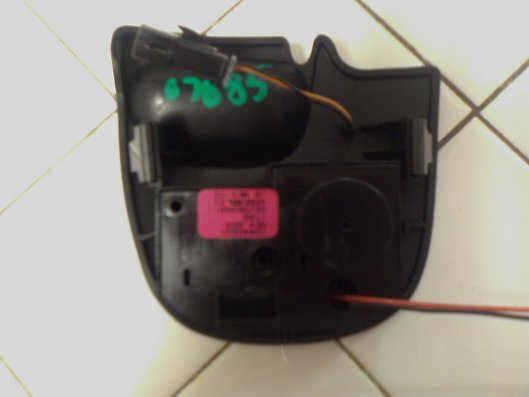
The other side of the finished switch. . .
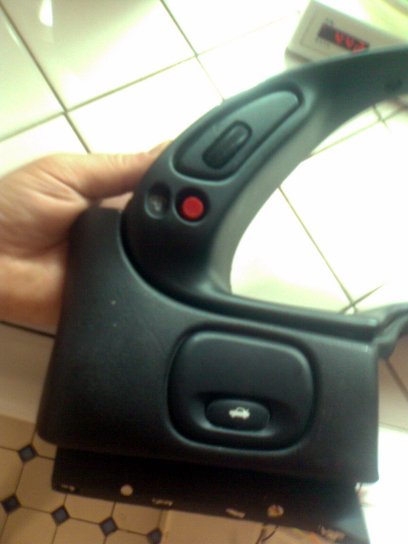
Close up view of the finished dimmer housing in the gauge pod. . .
The finished dimmer housing in the gauge pod (wide view).
I will be changing the red button to a black one soon for a more stock appearance.
Let me know what you think.
Paul
edit for typos. ------------------ 1988 Fiero 3800SC Series 1 w/5spd Lowering Springs 18's w/Pirellis Corvette Dash Mod
1985 GT 1986 Notchie 1987 Notchie
[This message has been edited by War Hammer (edited 04-07-2009).]
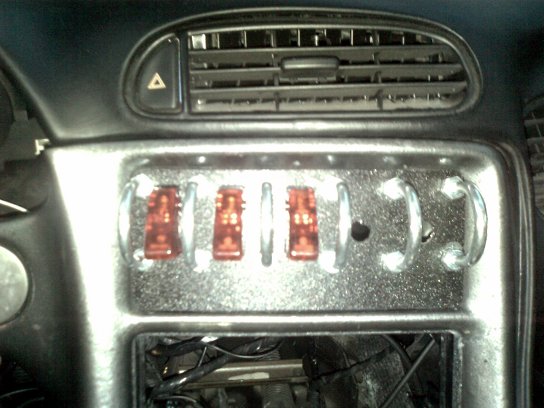
Not a lot going on today. I have been working on the wiring cross over diagram for the Corvette hazard switch to the Fiero wiring (since this car is my first wiring project it took me a couple of hours). I went to Radio Shack an spent WAY too much money on wiring supplies (still need a molex crimp tool). I mounted an on-off switch in place of the Corvette traction control switch. I also added a led next to the the old dimmer / new push button in the dimmer housing. And lastly I installed some micro momentary switches in the Corvette control center on the right side of the dash.
Does anyone know of a way to remove the lettering on the Corvette switches and dash without hurting the plastic.
I am trying to find a switch pin out for the C5 hatch release. If you have or know where I can find it please send it to me.
The traction control switch with the new 25A switch from Radio Shack in place. . . The bottom of the switch with the cover removed. You can see where I had to trim the clear plastic to allow the switch to come all the way down. Also not seen, is the removed traction control switch retaining ring. . . The wimpy wiring that was in the housing before. The Corvette must be wired with relays for everything. The wiring is so tiny. . . Here is the wiring that I did. Pretty straight forward. I crimped and heat shrunk the wiring. . . OK, here is the finished switch. I ran the wires through an existing hole. I will try to find a grommet to fit. As a side note you have to bend down the terminals to get the cover to be reinstalled. The cover just snaps on
More later.
Paul
------------------ 1988 Fiero 3800SC Series 1 w/5spd Lowering Springs 18's w/Pirellis Corvette Dash Mod
Today was a day of 1 step forward 2 steps back.. Do not use liquid nails on dash parts. It will not hold! I found that out the hard way on my dimmer and some brackets I tried to mount on the center console. For the dimmer I used Loctite 2 part super glue. It holds well but expect to hold the parts for 10 minutes or so if you can't clamp it (not 30 secods like on the package) :'( .
I installed the power outlet in the stock location in the rear of the Corvette console. Extremely easy. Rotate the housing until the reataining pin goes through the hole. It is that simple.
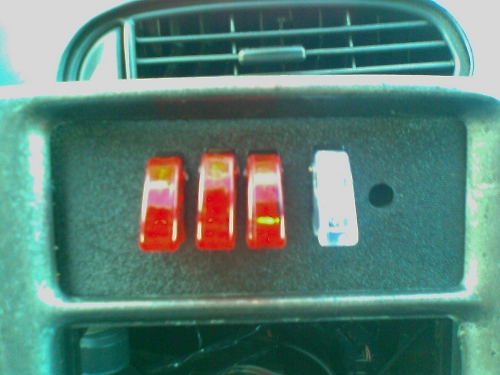
I also drilled the switch panel for switch protectors like NASA uses. Everywhere wanted $6-12 each for them, but I found a close relative a Lowes for $.88 each. I am using these for decorative purposes to fill in the space between the switches. When drilling I drilled on the wrong mark on the very last hole so I get to make another one . At least this one is still usable for mock up.
I made panel retainers from angle aluminum I bought at Lowes. Very easy to modify. I cut it with my dremel and cut off wheel.
Tell me if you like them.
Paul
------------------ 1988 Fiero 3800SC Series 1 w/5spd Lowering Springs 18's w/Pirellis Corvette Dash Mod
The weather here has been bad. I have been limited to working inside the house so far this week.
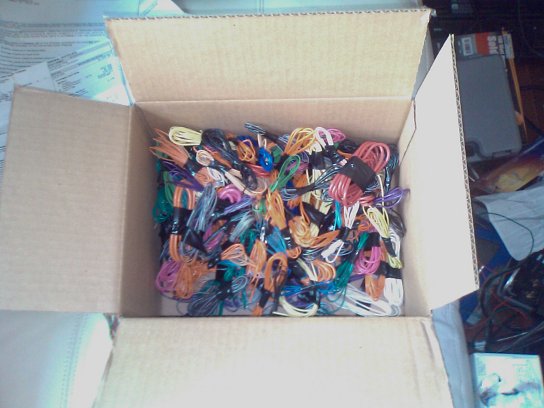
All I have done for the car is wire together a radio harness for Fiero to Alpine CD. I cut the wires to a reasonable length, soldered them, heat shrinked, and now I'm going to wrap the harness with electrical tape. The wiring is very straight forward. The Scosche harness and the Alpine harness are color matched to the GM wiring. Very easy to hook up indeed. I wanted to just repin one of the connectors but the wire on the Alpine side is too fine. I know I could have used bullet connectors and had it done in 15 minutes but I like to know that there is no chance of connector failure. Took me an hour.
This is something anyone can do themselves and save a lot of money. All you will need is a harness adapter (I got mine at Walmart for 7 bucks) for the Fiero, the harness for your radio, a soldering iron or gun (I prefer the gun), some heat shrink tubing, a lighter or heat gun for the heat shrink, zip ties, and electrical tape or wire loom.
Read the radio manual and harness adapter manual and make sure they match.
1. As long as they do, just shorten them to the appropriate length
2. Strip the wires
3. Place the heat shrink tubing over one of the wires and move it as far away as possible from the solder joint (use the heat shrink 1 up from the size of the largest wire - the joint will be thicker than 1 wire)
4. Lay the wires end to end with an overlap
5. Place the gun tip across both wires
6. Solder the connection
7. Slide the heat shrink over the connection
8. Heat the tubing using a flame or heat gun and the connection is finished.
9. After you complete all the connections either tape it up or zip tie and cover with loom.
More than likely you will have a wire or 2 left over on the radio harness. I had 2 - one for the remote amp turn on and another one. Just tape them up and out of the way.
I will add photos of the completed harness before and after wrapping with tape if you like.
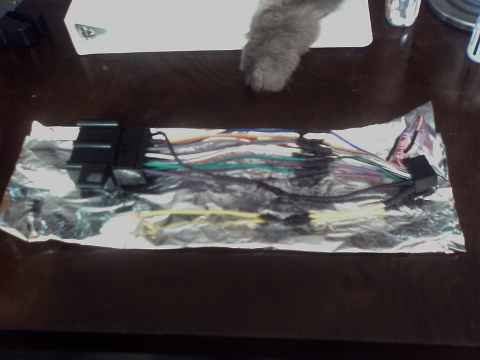
Here are the pics
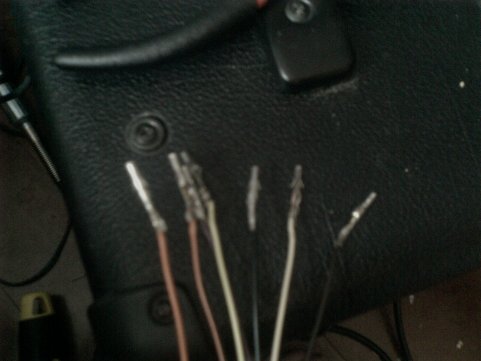
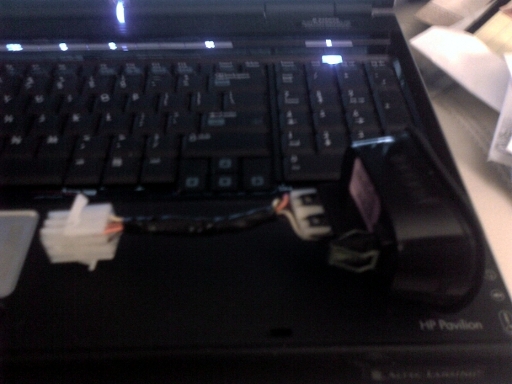
The harness after soldering.
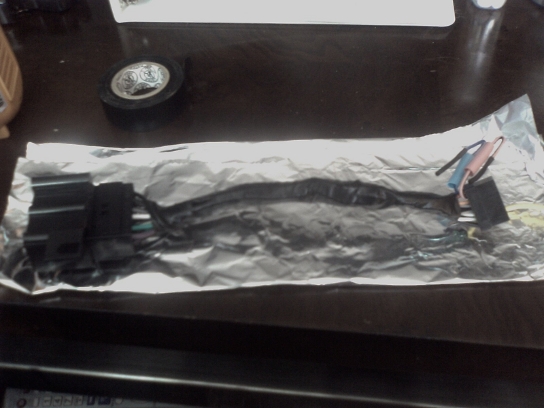
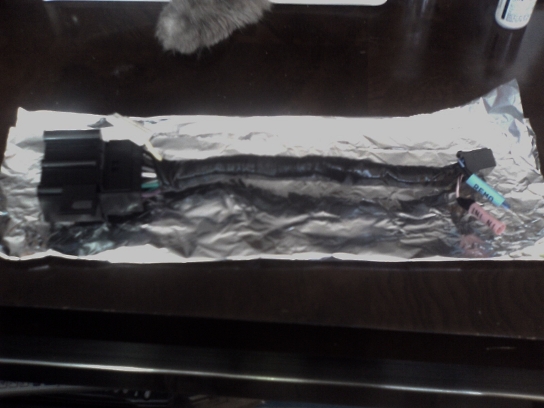
The harness after taping up the wires that go to the large Fiero connector.
The harness after wrapping the wire that goes to the small Fiero connector.
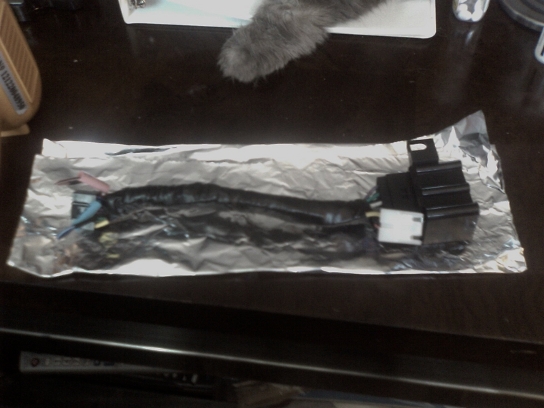
The finished harness after taping up the 2 remaining wires.
You can see the hand of my little helper . He is my 14 year old son. (Sherry and I couldn't have children )
If you paid a stereo shop or someone like me it would cost you around $50 labor. Save the $50 and learn something new. If you mess up you can either try again or have a shop do it then.
Paul
edit for pictures. ------------------ 1988 Fiero 3800SC Series 1 w/5spd Lowering Springs 18's w/Pirellis Corvette Dash Mod
1985 GT 1986 Notchie 1987 Notchie
[This message has been edited by War Hammer (edited 04-15-2009).]
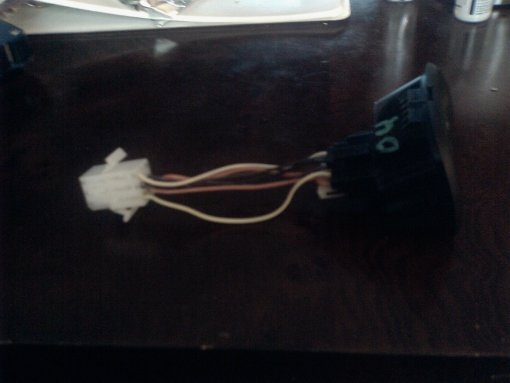
I did the connector for the truck release. This is different from the radio harness in that I used a molex 9 pin connector instead of a splice/solder connection or single pin connectors.
The first thing is to strip the wire.
Then crimp, with the special crimper, and solder the pin on the wire (in that order in case you mess up the crimp).
Next insert the pin in the connector housing (make sure you get the pin all the way in).
Sorry I havent posted in a few days. Here is what I have been up to lately.
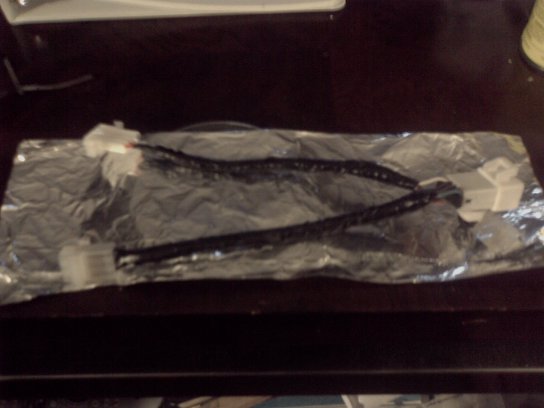
I wrapped the unused wire from the Corvette dash harness and boxed it for later use.
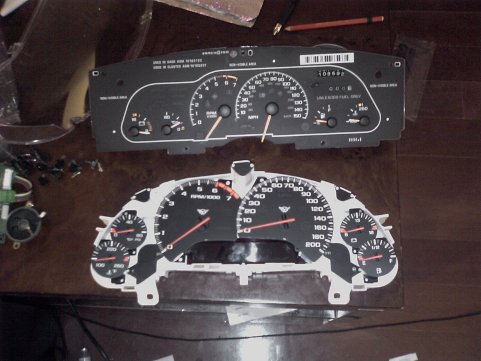
I disassembled the Camaro gauges and the C5 gauges. Front
Rear
The logic I am using is to mate the Camaro gauge board to the Corvette gauge servo motors. This was suggested to me by serveral sources. If it doesn't work I will use the Camaro servos too. As was pointed out to me, the gauges will not be accurate but I talked with Alex at Black Cat Custom ( blackcatcustom.com ) and was assured that an accurate set of gauges could be created for a reasonable cost (around $150-$200).
If all of this fails I will be probably use these. They cost around $800 shipped :'(
Check back soon as I will complete much more this week. I have to get this car together soon. I start Wyotech in June (the 26th) and have to be ready to start the body then.
Edit for pics.
Paul
------------------ 1988 Fiero 3800SC Series 1 w/5spd Lowering Springs 18's w/Pirellis Corvette Dash Mod
1985 GT 1986 Notchie 1987 Notchie
[This message has been edited by War Hammer (edited 04-20-2009).]
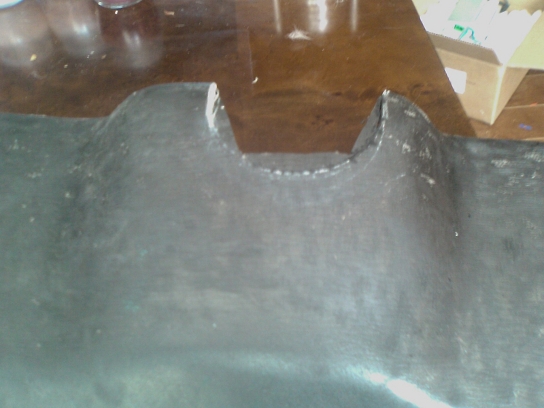
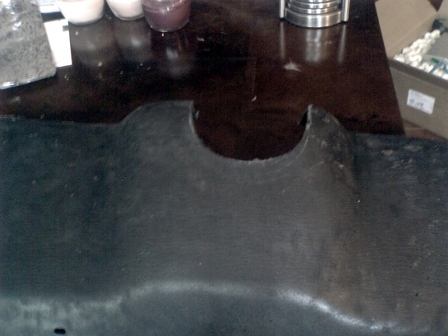
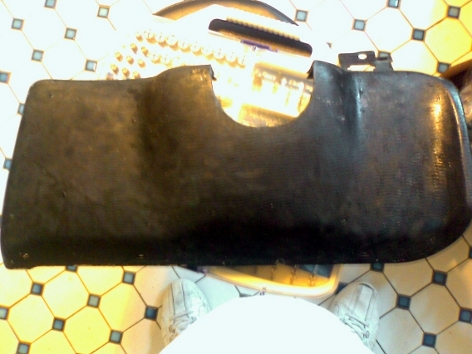
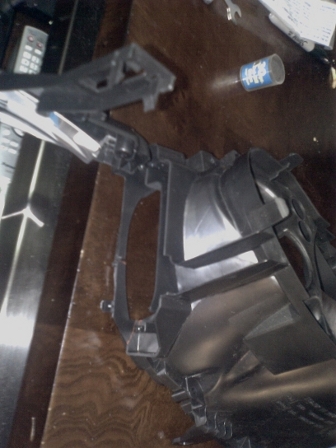
1. I recut the lower dash panel for a more factory appearance. A previous ower did a hack job cutting the panel in a very unnatural trapezoid pattern. I fixed it by using a can from the cupboard (Sweet Sue Chicken and Dumplings in case you were curious ) to make a pattern on the part. I the used a dremel with a cutoff wheel to cut the new semi-oval pattern out of the part. Then I used a grinding cylinder in the dremel to clean up and fine tune the cut.
Before
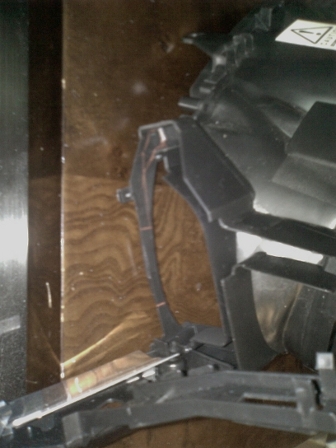
After the cuting wheel
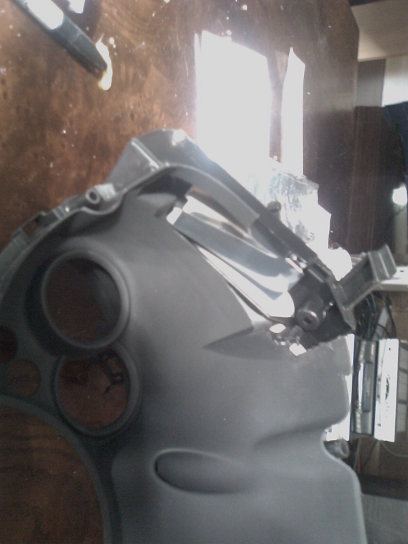
After the grinder
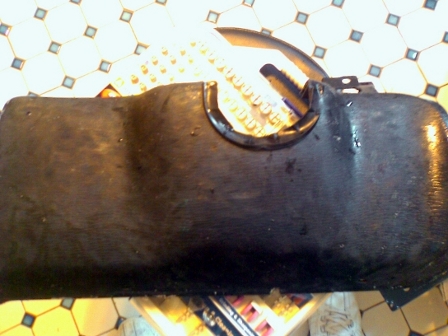
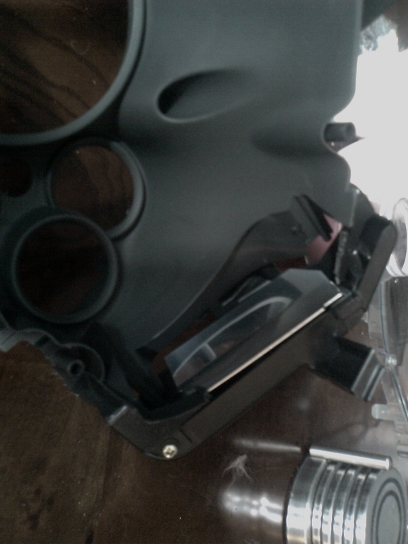
With the column gasket resting on it. It still needs covered but this gives you an idea.
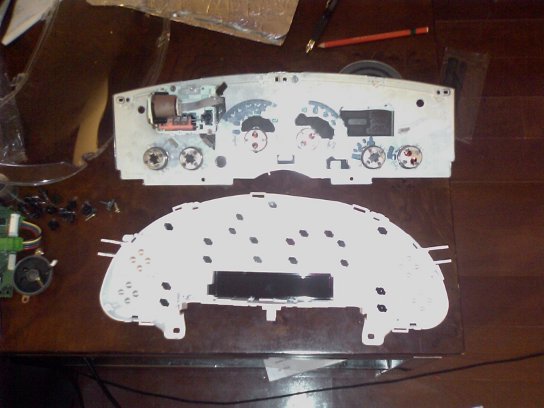
Next I modified the dash housing to accept the switches I am using and the Fiero dimmer
Here is the gauge surround uncut but marked.
The cuts made to allow the switches. I used the dremel with the cutoff wheel.
I also cut the clear gauge cover in a similar fashion but no picture were taken.
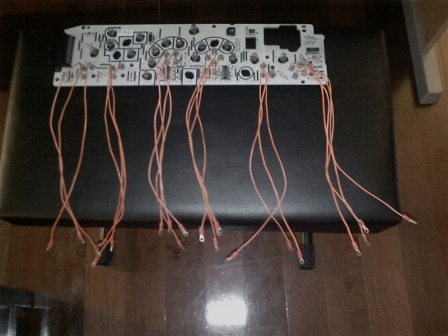
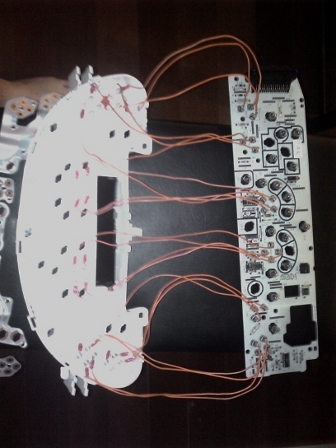
Next I wired the Camaro circuit board to the Corvette gauges. I am hoping this will work and not blow up the board or servo motors [worried].
The Camaro board with the wires coming out. For connectors I used unshielded butt connectors and small ring connectors from RadioShack.
The Camaro gauges connected to the corresponding places on the Corvette gauges. I just ran than wires straight acrossed hoping GM didn't change the placement of the wires through the years :O
Anyway, that is today's accomplishments. Constructive comments or help are welcomed.
More to come.
Paul
------------------ 1988 Fiero 3800SC Series 1 w/5spd Lowering Springs 18's w/Pirellis Corvette Dash Mod
I am slightly confused. Exactly what are you doing in this pic? Mating the Corvette and Camaro instrument clusters electronics? What is it you are trying to achieve?
Steve
[This message has been edited by sjmaye (edited 04-21-2009).]
I am trying to drive the Corvette gauge motors with the Camaro board. If this fails I will use the Camaro motors behind the Corvette faces. A lot more work though. Black Cat Custom is going to make new gauge faces after I find out which one works. That way they will be accurate.
Thanks for the question!
Paul
------------------ 1988 Fiero 3800SC Series 1 w/5spd Lowering Springs 18's w/Pirellis Corvette Dash Mod
The Corvette gauges are front lit. Should I use leds (it is my understanding that you cannot dim them) or bulbs? I am mounting them where the Covette black lights were.
Thanks for your opinions!
Paul
------------------ 1988 Fiero 3800SC Series 1 w/5spd Lowering Springs 18's w/Pirellis Corvette Dash Mod
Well rewiring gauges isn't as easy as it appears. I tried running wires straight across - nope. I tried changing motors - nope. So I have to study more.
Any ideas?
Paul
------------------ 1988 Fiero 3800SC Series 1 w/5spd Lowering Springs 18's w/Pirellis Corvette Dash Mod
The Corvette gauges are front lit. Should I use leds (it is my understanding that you cannot dim them) or bulbs? I am mounting them where the Covette black lights were.
You can in fact use LEDs, with a PWM (Pulse Width Modulation) circuit, which essentially just blinks them very fast, so it appears that they dim. Directly, however, no...LEDs are not capable of being dimmed. If you plan on using the standard C5 indicators and gauge faces, I'd go with UV LEDs, in order to get the "fluoresce" from the gauges as Chevy had designed them. At least, that's what I would do. I can design you a LED PWM circuit using a 555 timer, if you want...
I am using custom engine turned aluminum gauge faces so the UV leds won't work. However I would love dimable leds if they can work somehow with the Fiero dimmer. If it will, please design it for me and tell me what parts to buy.
Thanks, Trevor!
Paul
quote
Originally posted by 1986 Fiero GT:
You can in fact use LEDs, with a PWM (Pulse Width Modulation) circuit, which essentially just blinks them very fast, so it appears that they dim. Directly, however, no...LEDs are not capable of being dimmed. If you plan on using the standard C5 indicators and gauge faces, I'd go with UV LEDs, in order to get the "fluoresce" from the gauges as Chevy had designed them. At least, that's what I would do. I can design you a LED PWM circuit using a 555 timer, if you want...
------------------ 1988 Fiero 3800SC Series 1 w/5spd Lowering Springs 18's w/Pirellis Corvette Dash Mod
An even easier method to dim the LED's would be to use a BuckPuck, just be sure to get one with dimming. You could use UV LED's or use a Royal Blue either will Florese
OK. Sorry for the delay. I have been helping Whadeduck clean his shop. Anyway I have the tach working now. The driver's side goes straight across and the passenger side is inverted. I also had to remove the needle and reset it. This is easy. I say that but I fried the volt meter portion of the Camaro board.
Pics coming soon.
Thanks, Paul
------------------ 1988 Fiero 3800SC Series 1 w/5spd Lowering Springs 18's w/Pirellis Corvette Dash Mod
The Corvette gauges are front lit. Should I use leds (it is my understanding that you cannot dim them) or bulbs? I am mounting them where the Covette black lights were.
Thanks for your opinions!
Paul
I really don't know why so many people are convinced you can't dim LEDs. I put LEDs in my Blazer in the instrument panel and all the switches, and they dim just fine off of the stock dimmer without any sophisticated driver circuits or anything. I just used standard 5mm crystal white LED's and resistors to drop the voltage. I suppose it's possible that some LEDs may not be dimmable, I don't claim to know everything, but I *do* know that regular old LEDs can be dimmed without getting complicated.
SORRY IT HAS BEEN SO LONG!!! I have had a lot going on in my life. I went to Wyotech. Got electrocuted by a welder. Have lost most of the use of my left hand.
Anyway, the car is running and rewired. All we have to do now is put the interior back in the car. It should be back together by the end of the week. .
Any ideas if fiberglass will help extend the dash?
Talk soon!
Paul
------------------ 1988 Fiero 3800SC Series 1 w/5spd Lowering Springs 18's w/Pirellis Corvette Dash Mod
SORRY IT HAS BEEN SO LONG!!! I have had a lot going on in my life. I went to Wyotech. Got electrocuted by a welder. Have lost most of the use of my left hand.
nice work, I was wondering u have a few pics of the interior but i would like a few pics that fare from the front towardsw the back showing the center console and firewall where the computer is located, really appreceate it


 Now to get on with it. I am going back to the fiero dash for a little while. The corvette dash conversion might be sold in the future. I will see if Fie ro might want to sell me one of his (d) .


 )
)
 I also added a led next to the the old dimmer / new push button in the dimmer housing. And lastly I installed some micro momentary switches in the Corvette control center on the right side of the dash.