OK folks, Up to now I have been reassembling the engine and yesterday Evan and I put it in the car.
One of the "Must Do's" is turfing the TBI coolant lines. Not only do they rob you of power but they are in the way of every sensor, module, and bolt you need access too. Since the MAP sensor is attached you need to hack off the MAP sensor bracket first. as for the coolant outlets on the thermostat housing you can just loop over a piece small hose but I prefer to cut them off and weld up the holes.
There are 3 main changes you need to make when you swap a pre-88 engine and harness into a 1988 car. 1) the cross over pipe will point directly at the torsion bar and needs a bit of a bend upwards to clear it. 2) The pigtail for the CS130 alternator needs to be changed, 3) the oil pressure sending unit is different and need a new pigtail as well (optional). You can just use a pre-88 pressure sending unit, as I am doing here. Also notice that I removed the bulkhead heat sheild (The leaf catcher) and used thermal wrap instead. This will make maintenance so much easier, improves heat retention, reduces underhood temps, and looks cool too.
For the cross over pipe the solution is to use your BFP. No workshop is complete without one. You only need to bend it up about 1 inch. TIP, do not use a pry bar or some other object inside the crossover pipe, you'll just warp the thin metal, use a large pipe OVER the outer diameter of the crossover pipe.
The pigtail is an off the shelf item at any NAPA store. Connect the red wire to red, the brown wire to brown, and don't connect the black wire to anything (just tape it down). Boom, that is literally all there is to a CS130 upgrade. For the Red Wire, your average 25w solder iron will not work, you need a 100-300watt solder gun.
The previous owner didn't like the crumby stainless exhuast tips (can't blame him) so he put some crumby tip covers over them. they just screw on, so I removed them and used plumbers tape to sand the crud off the tips while I had the chance. I will get after it with some metal polish when I have time for detailing.
Finally! time to put the engine back in. 2 hours work we had it back where it belongs.
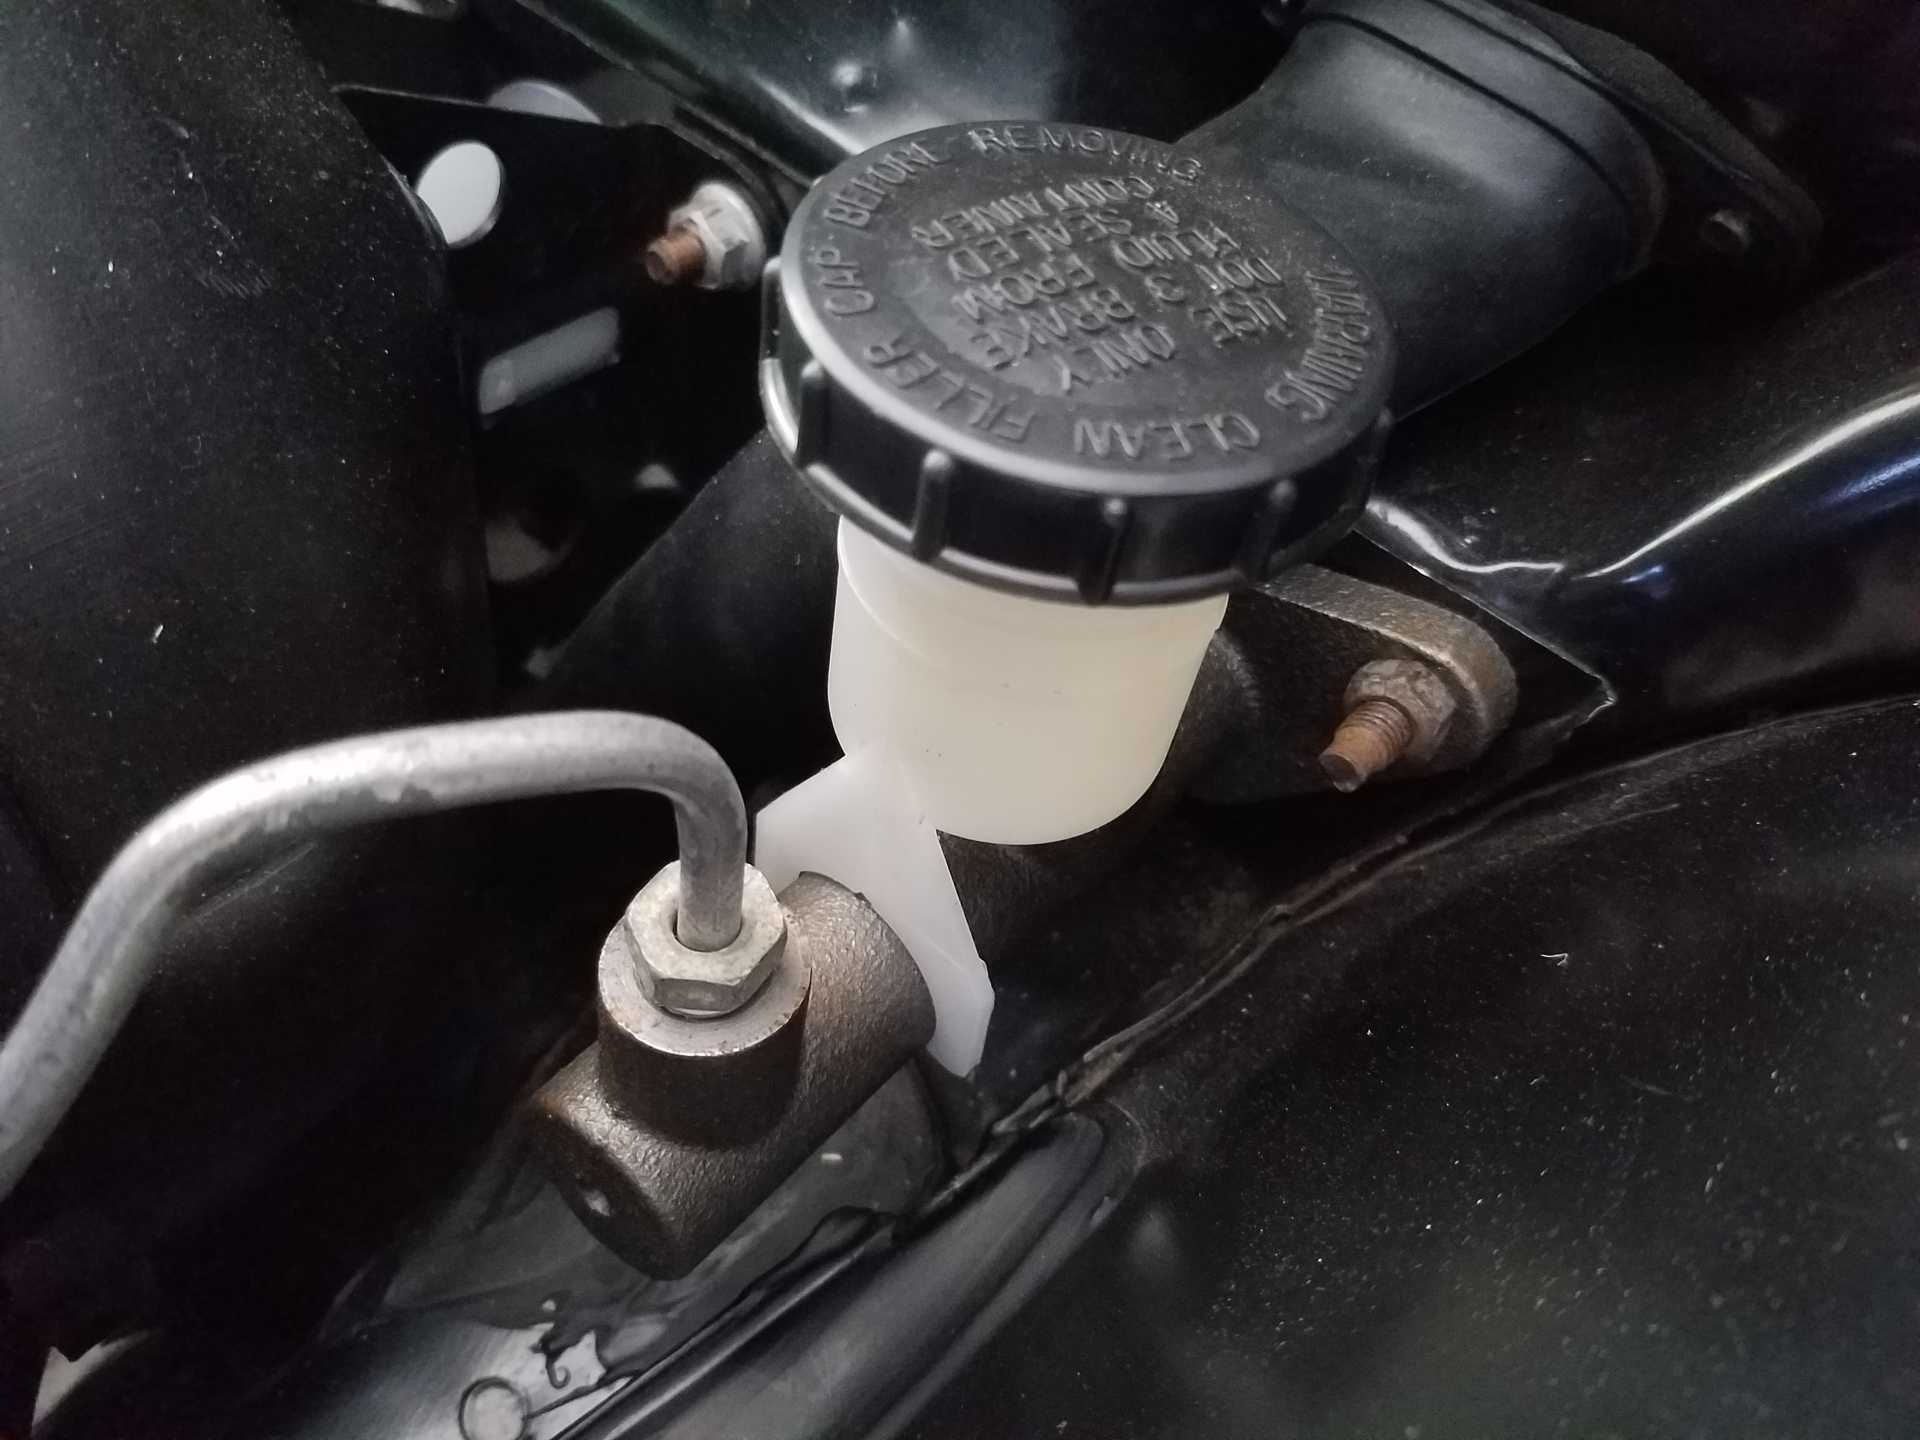
We still need to bleed the brakes. I will eventually upgrade the brakes, struts, rotors, etc but for now I just need it running. I had a spare set of sway bar poly bushings so I installed those. TIP, always do this last when installing and first when removing the engine. If you leave them attached you will never get the struts spread far enough apart to slide up into the strut towers.
Today we will bleed everything, reconnect all the hoses, cables, wires, etc. and get it on the ground. with luck, we will have it running today!
[This message has been edited by Toddster (edited 11-10-2019).]
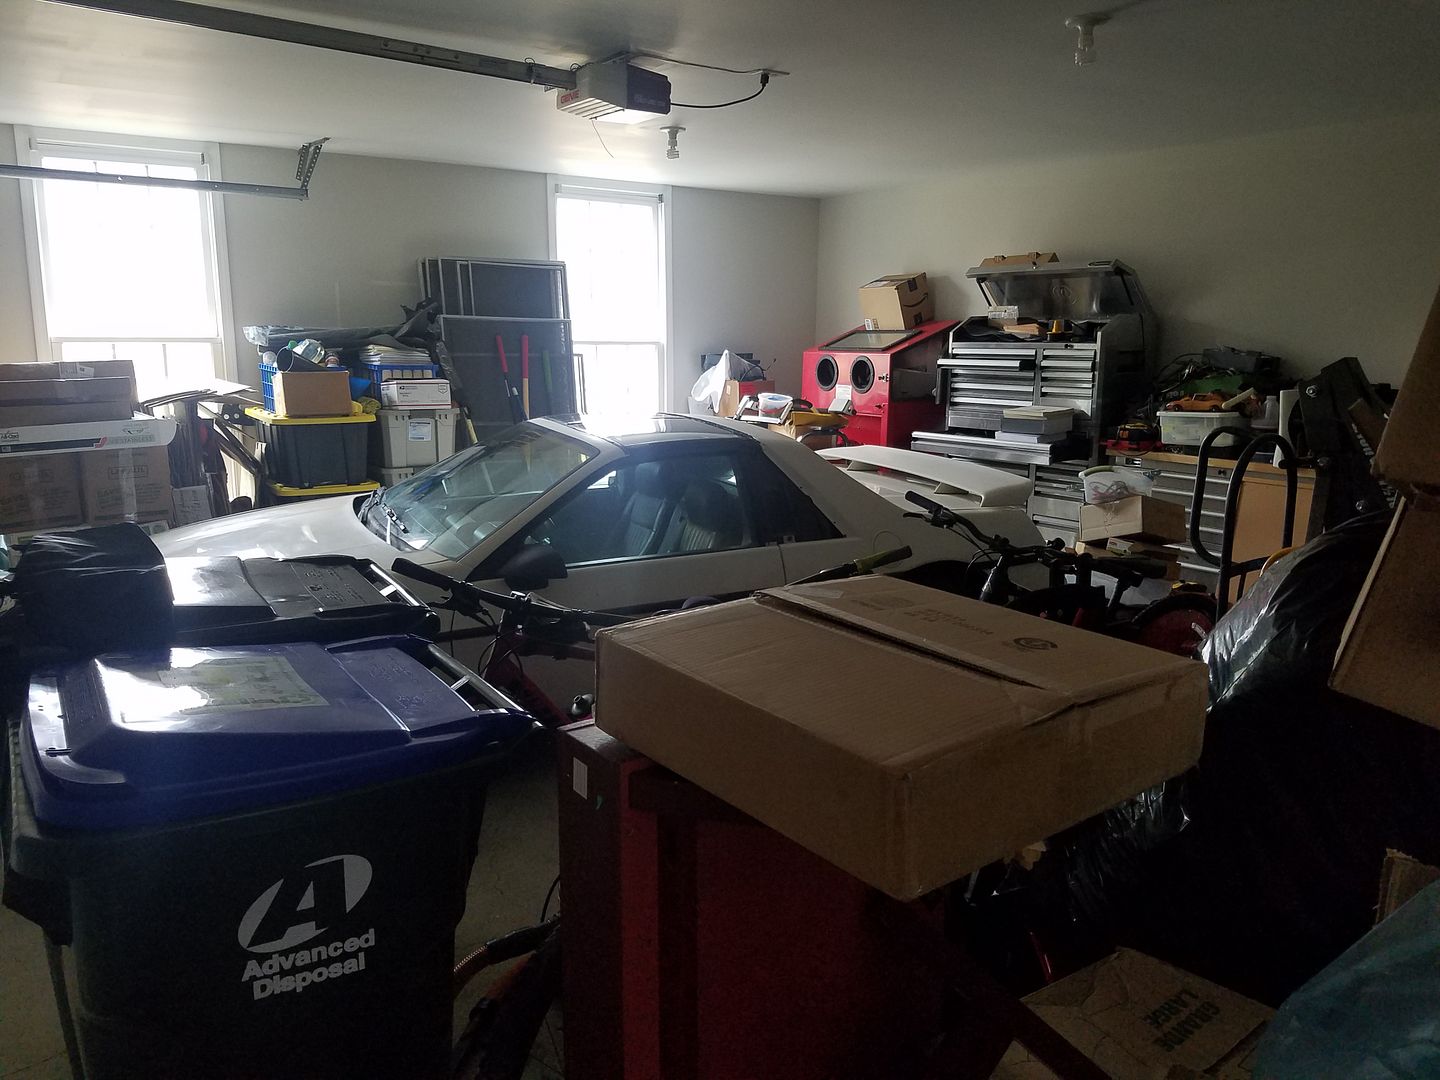
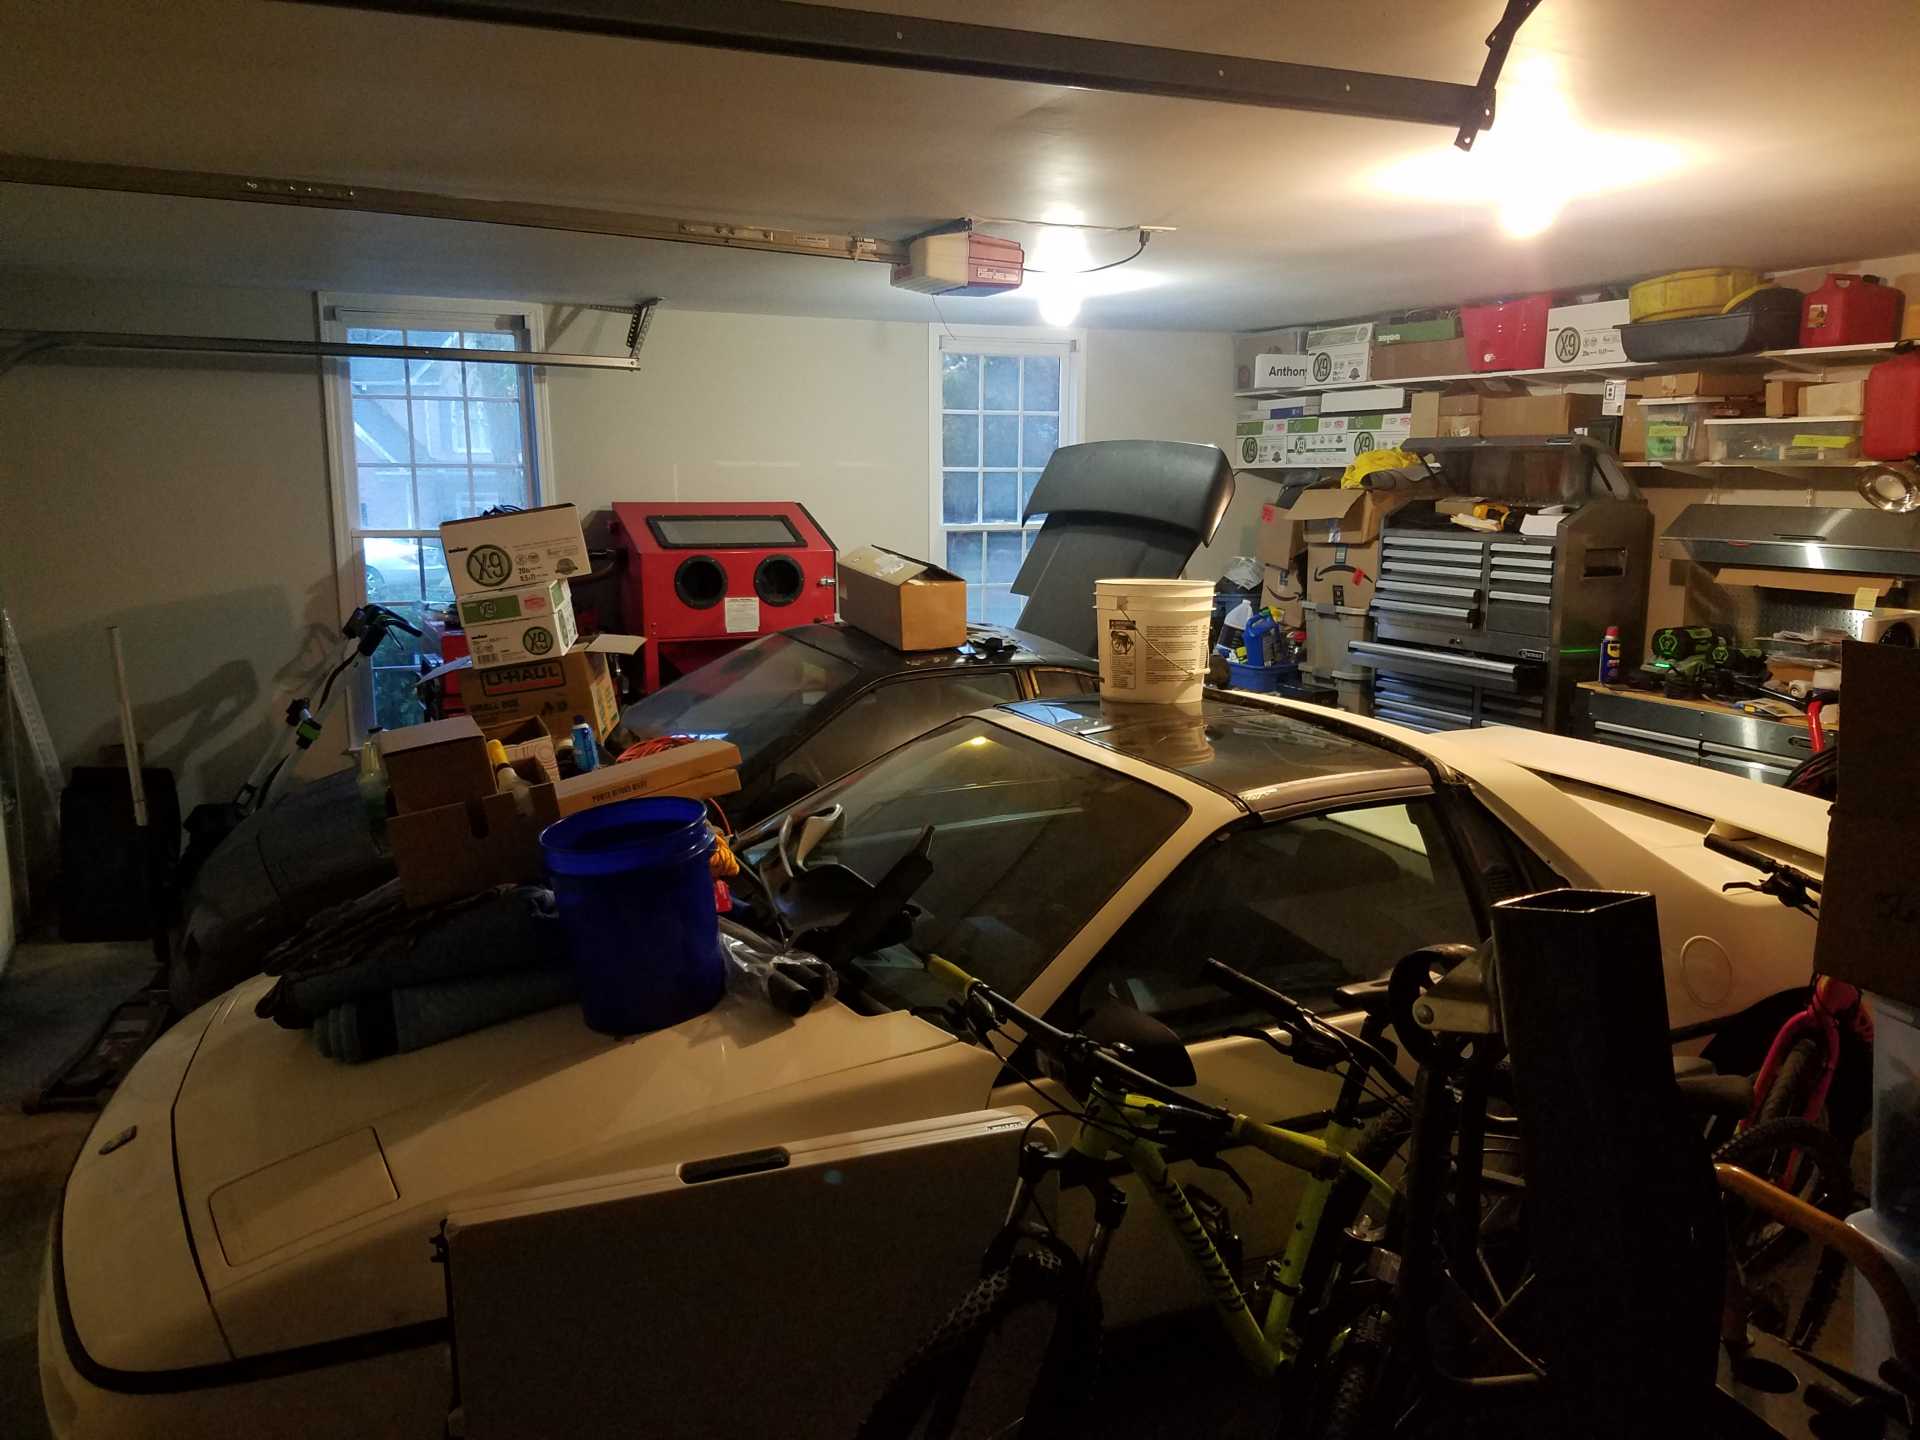
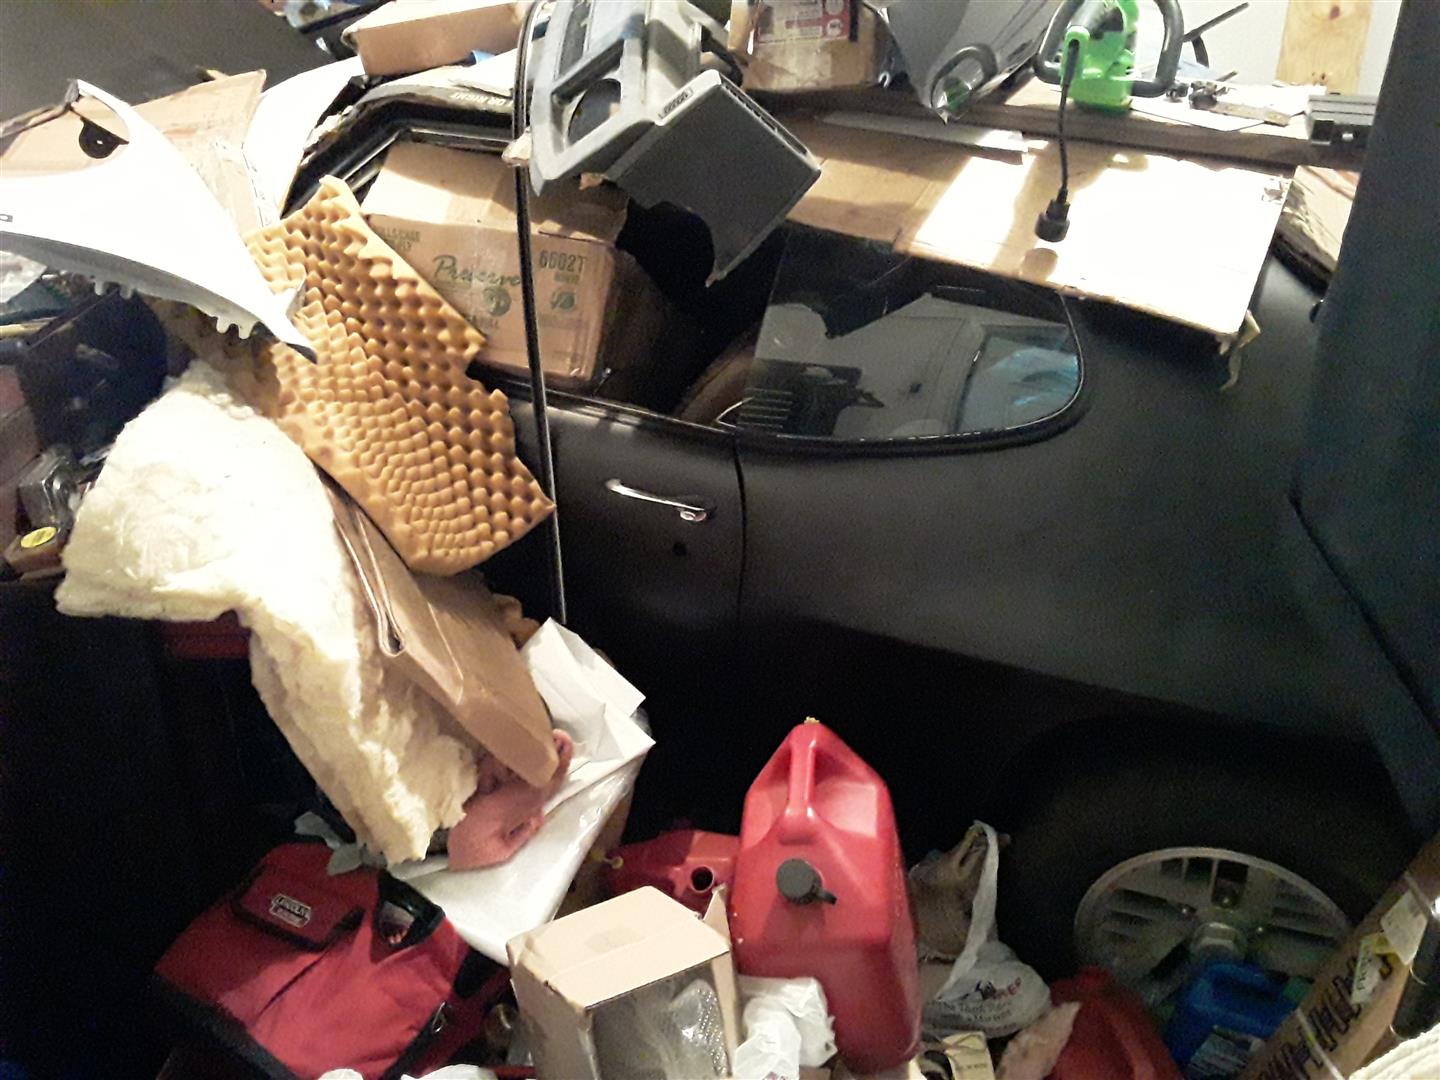
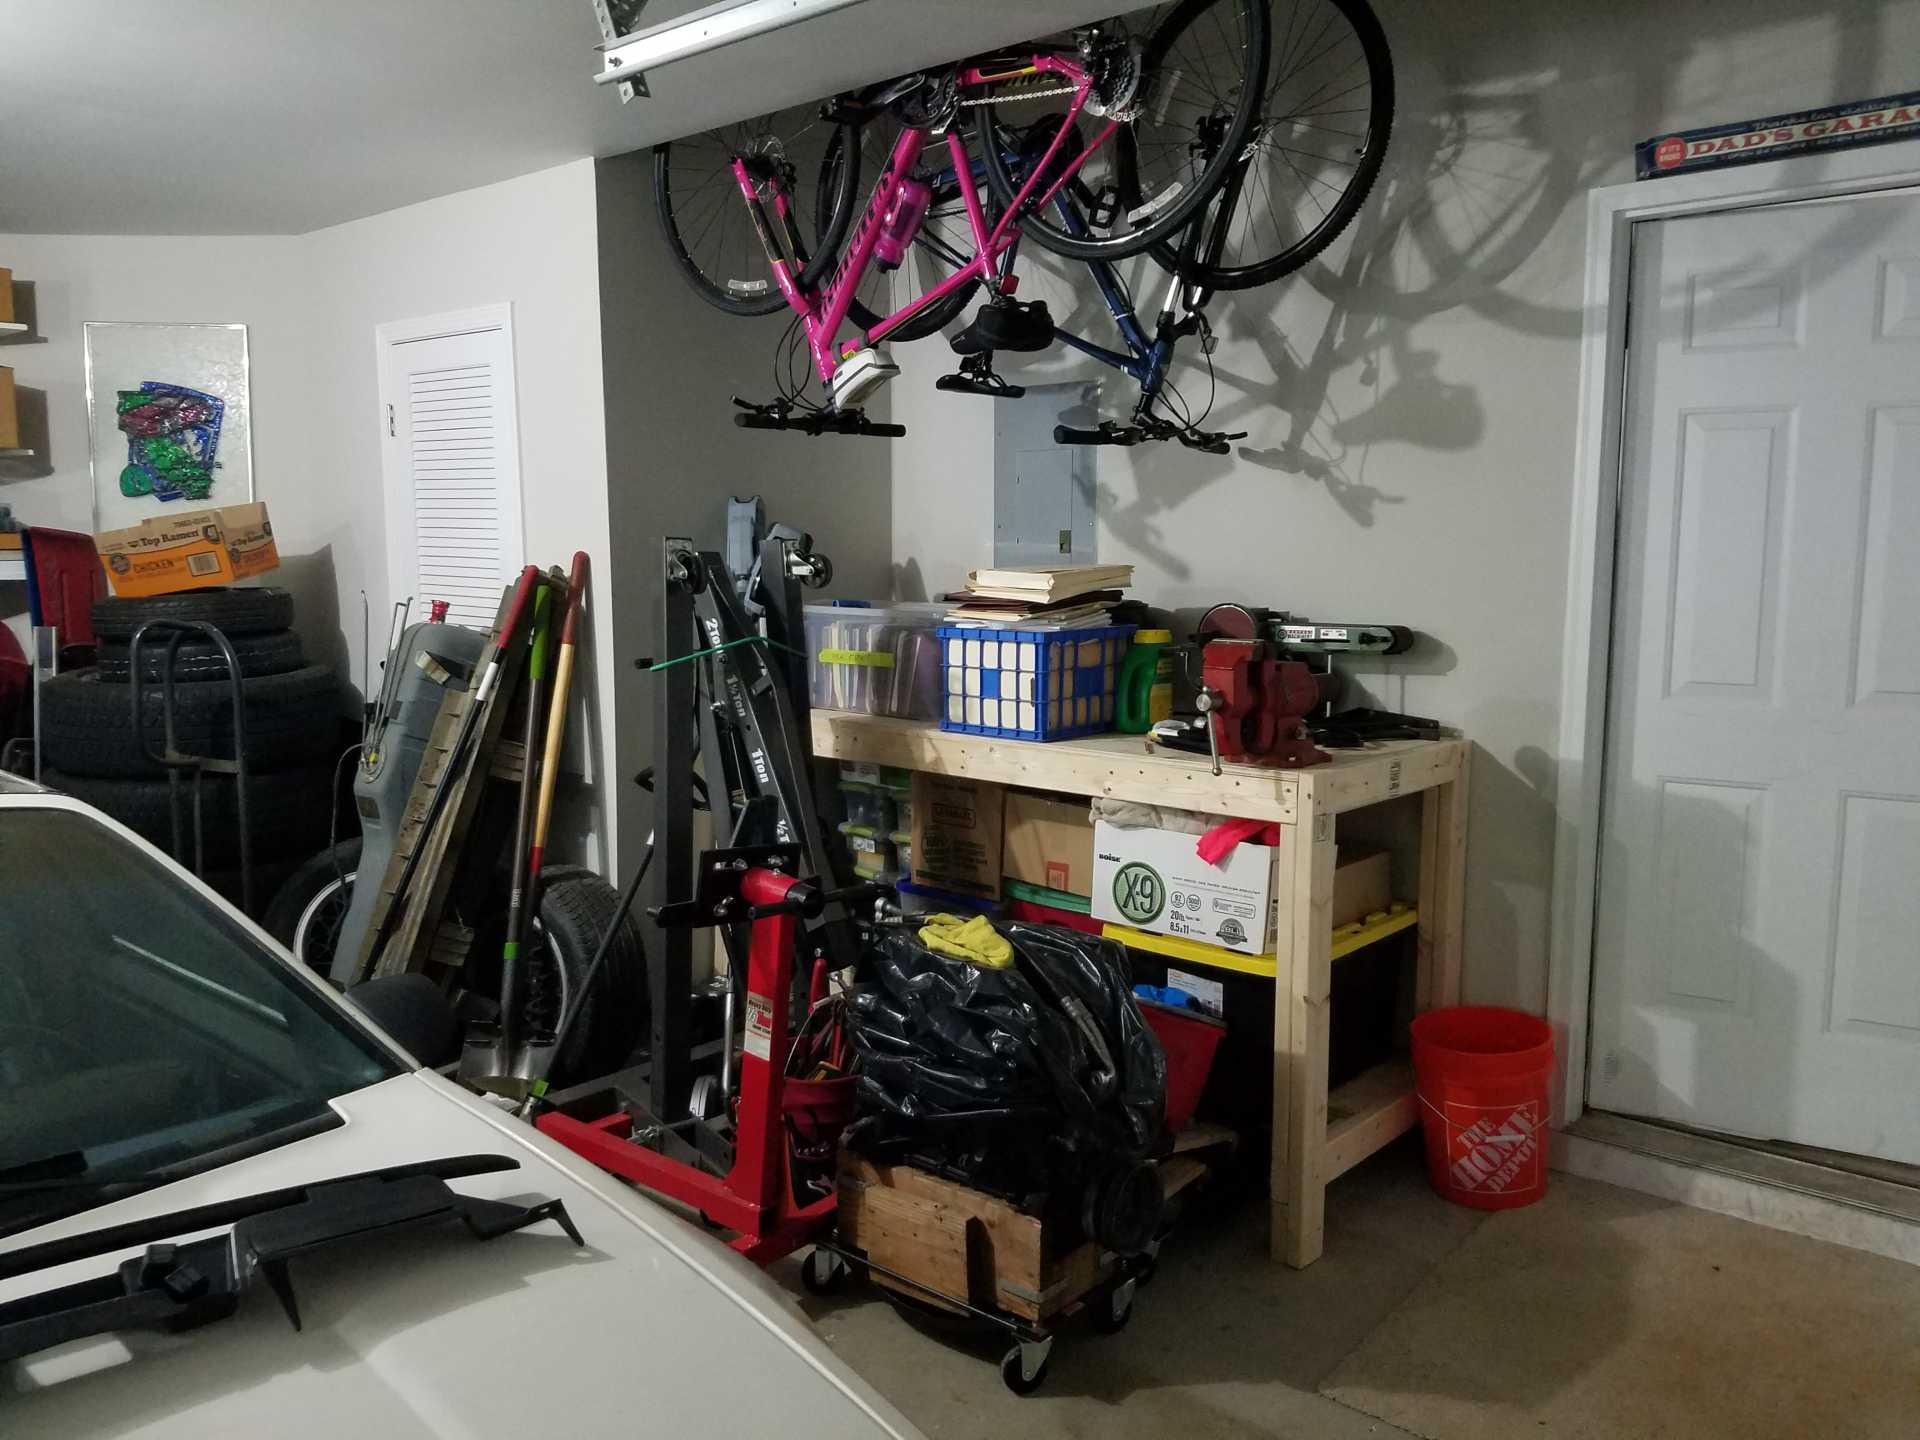
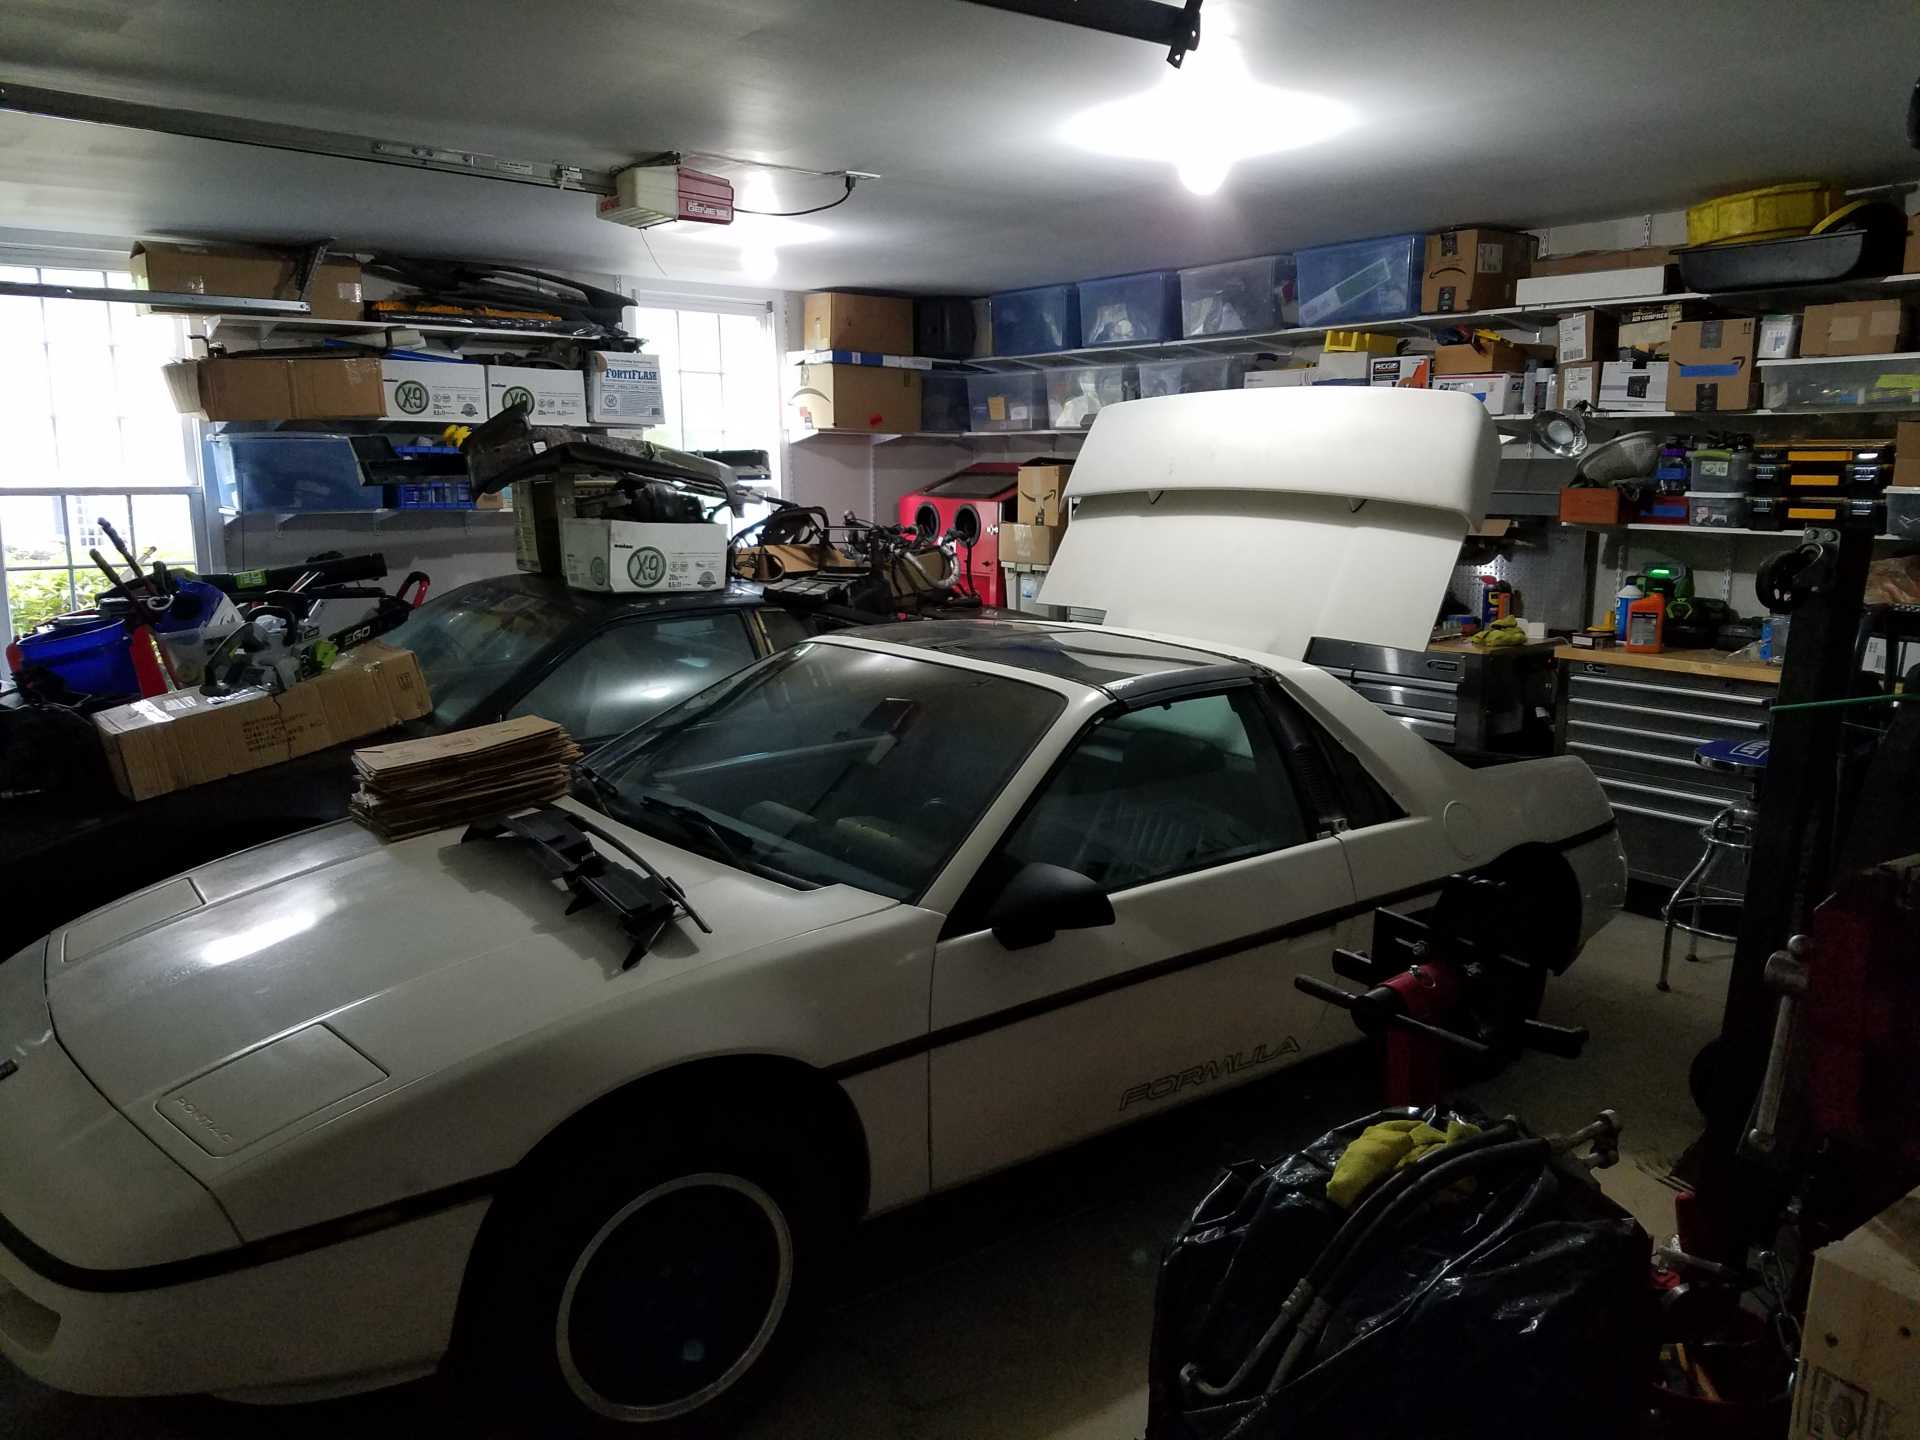
Well, we are moved into the new house! And exhausted. I have the garage semi organized but I still need to run another outlet into it before I can truly ramp-up the project again.
So the project is on hold for a few more weeks until the weather improves. After moving, we used the garage for storage and there is no room to work. I need to install some overheads and shelves as well as run a new outlet to get power t the work benches and sand blasting cabinet. I am getting a shed as well to store the gardening tools, trash bins, and miscellaneous items.
I will post pics soon and then we can get back to work on the car.
[This message has been edited by Toddster (edited 03-03-2020).]
I seriously can not wait to get back to work on this thing but until I get my outbuilding finished and clear out some space, it is like trying to build a ship in a bottle in my garage right now
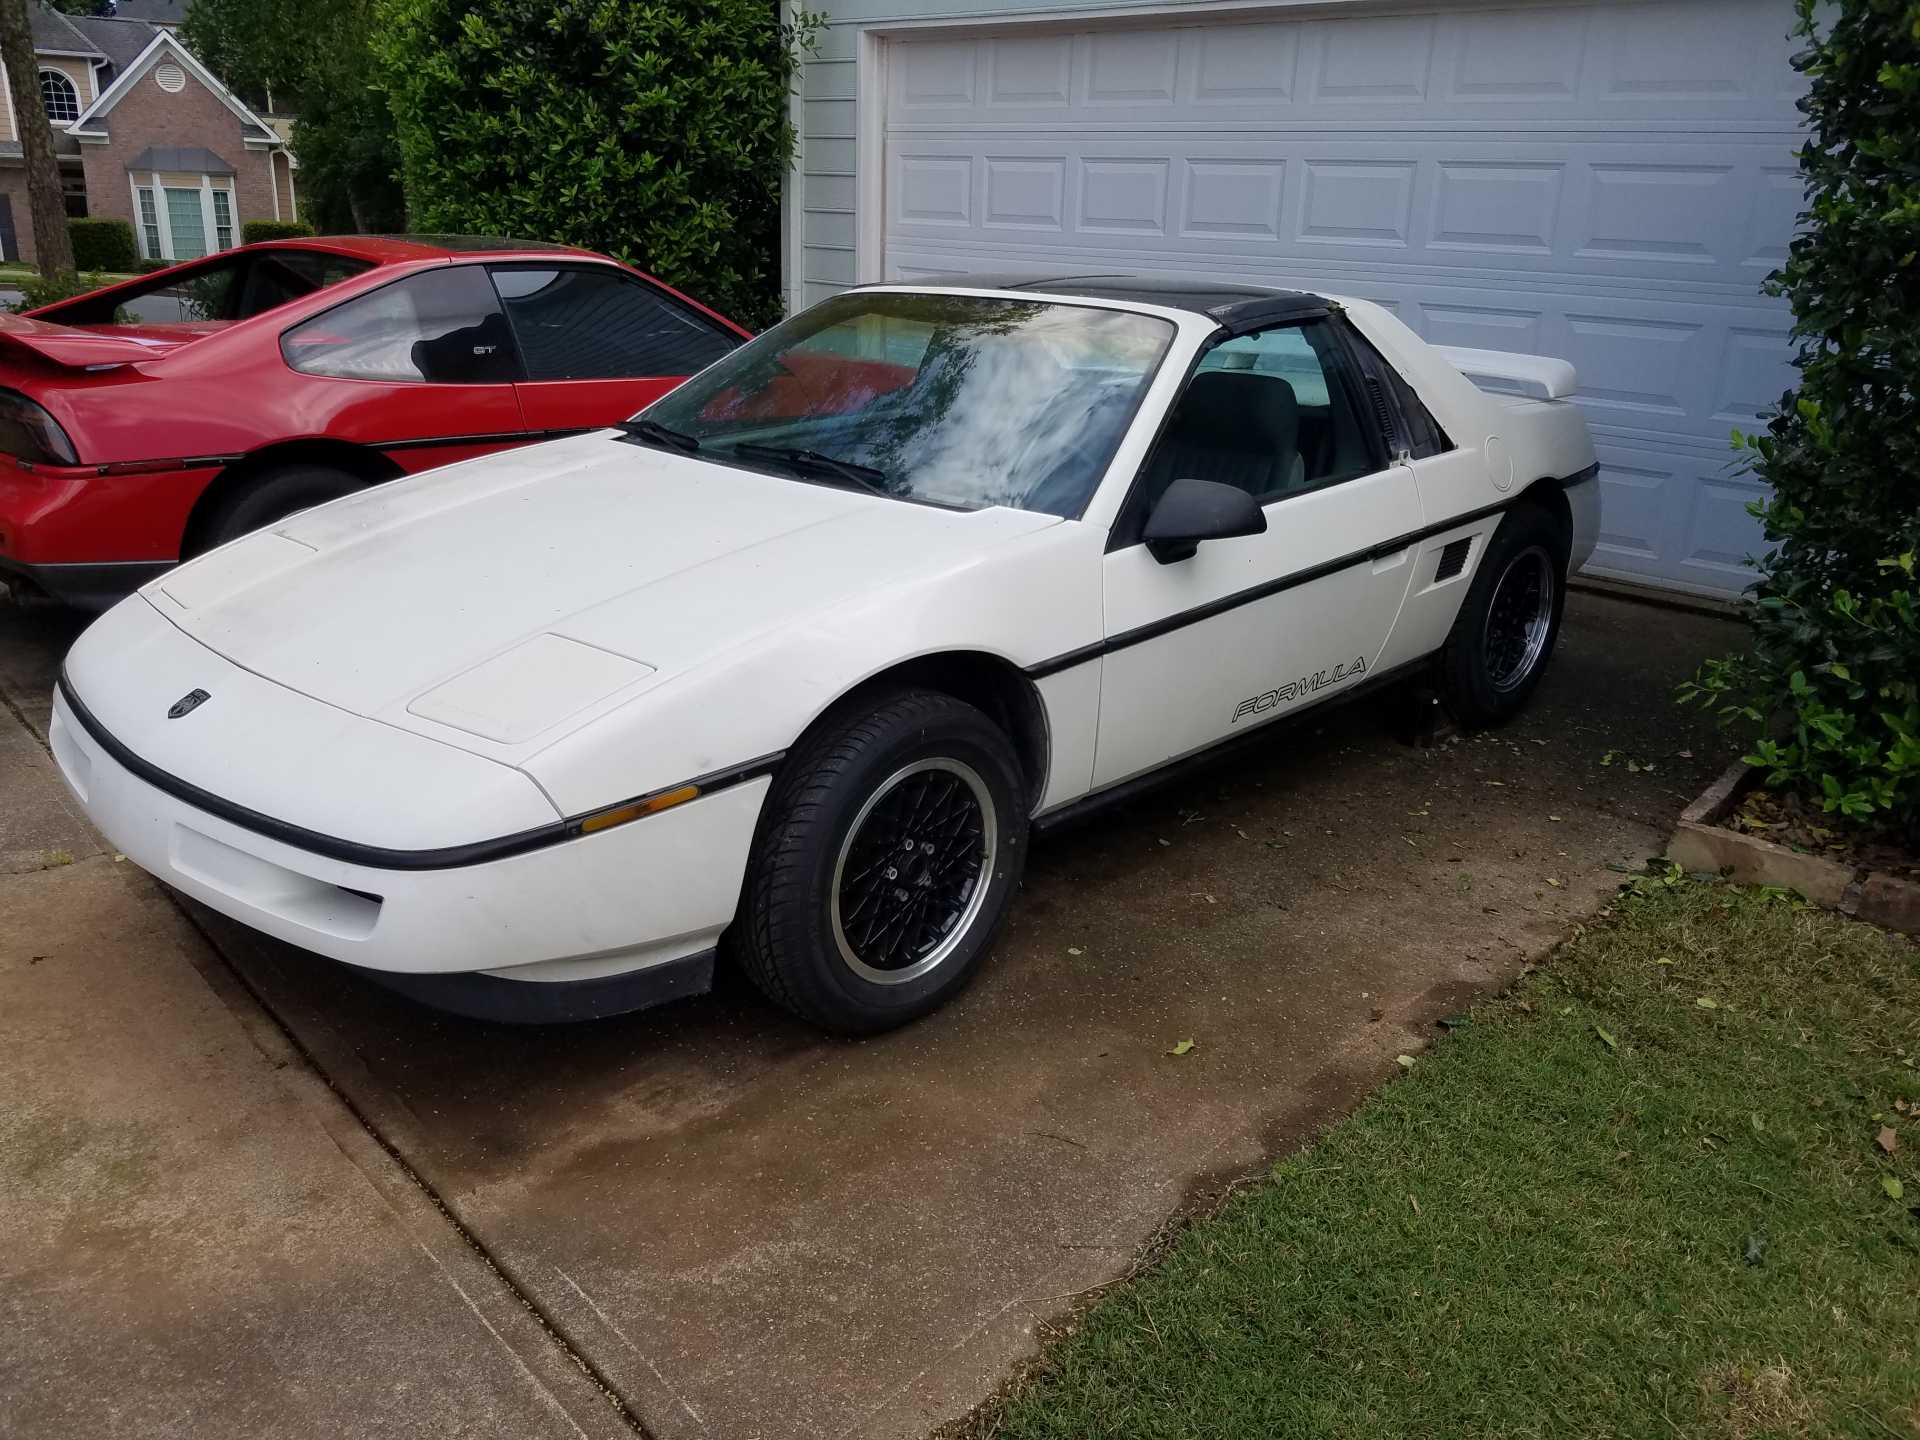
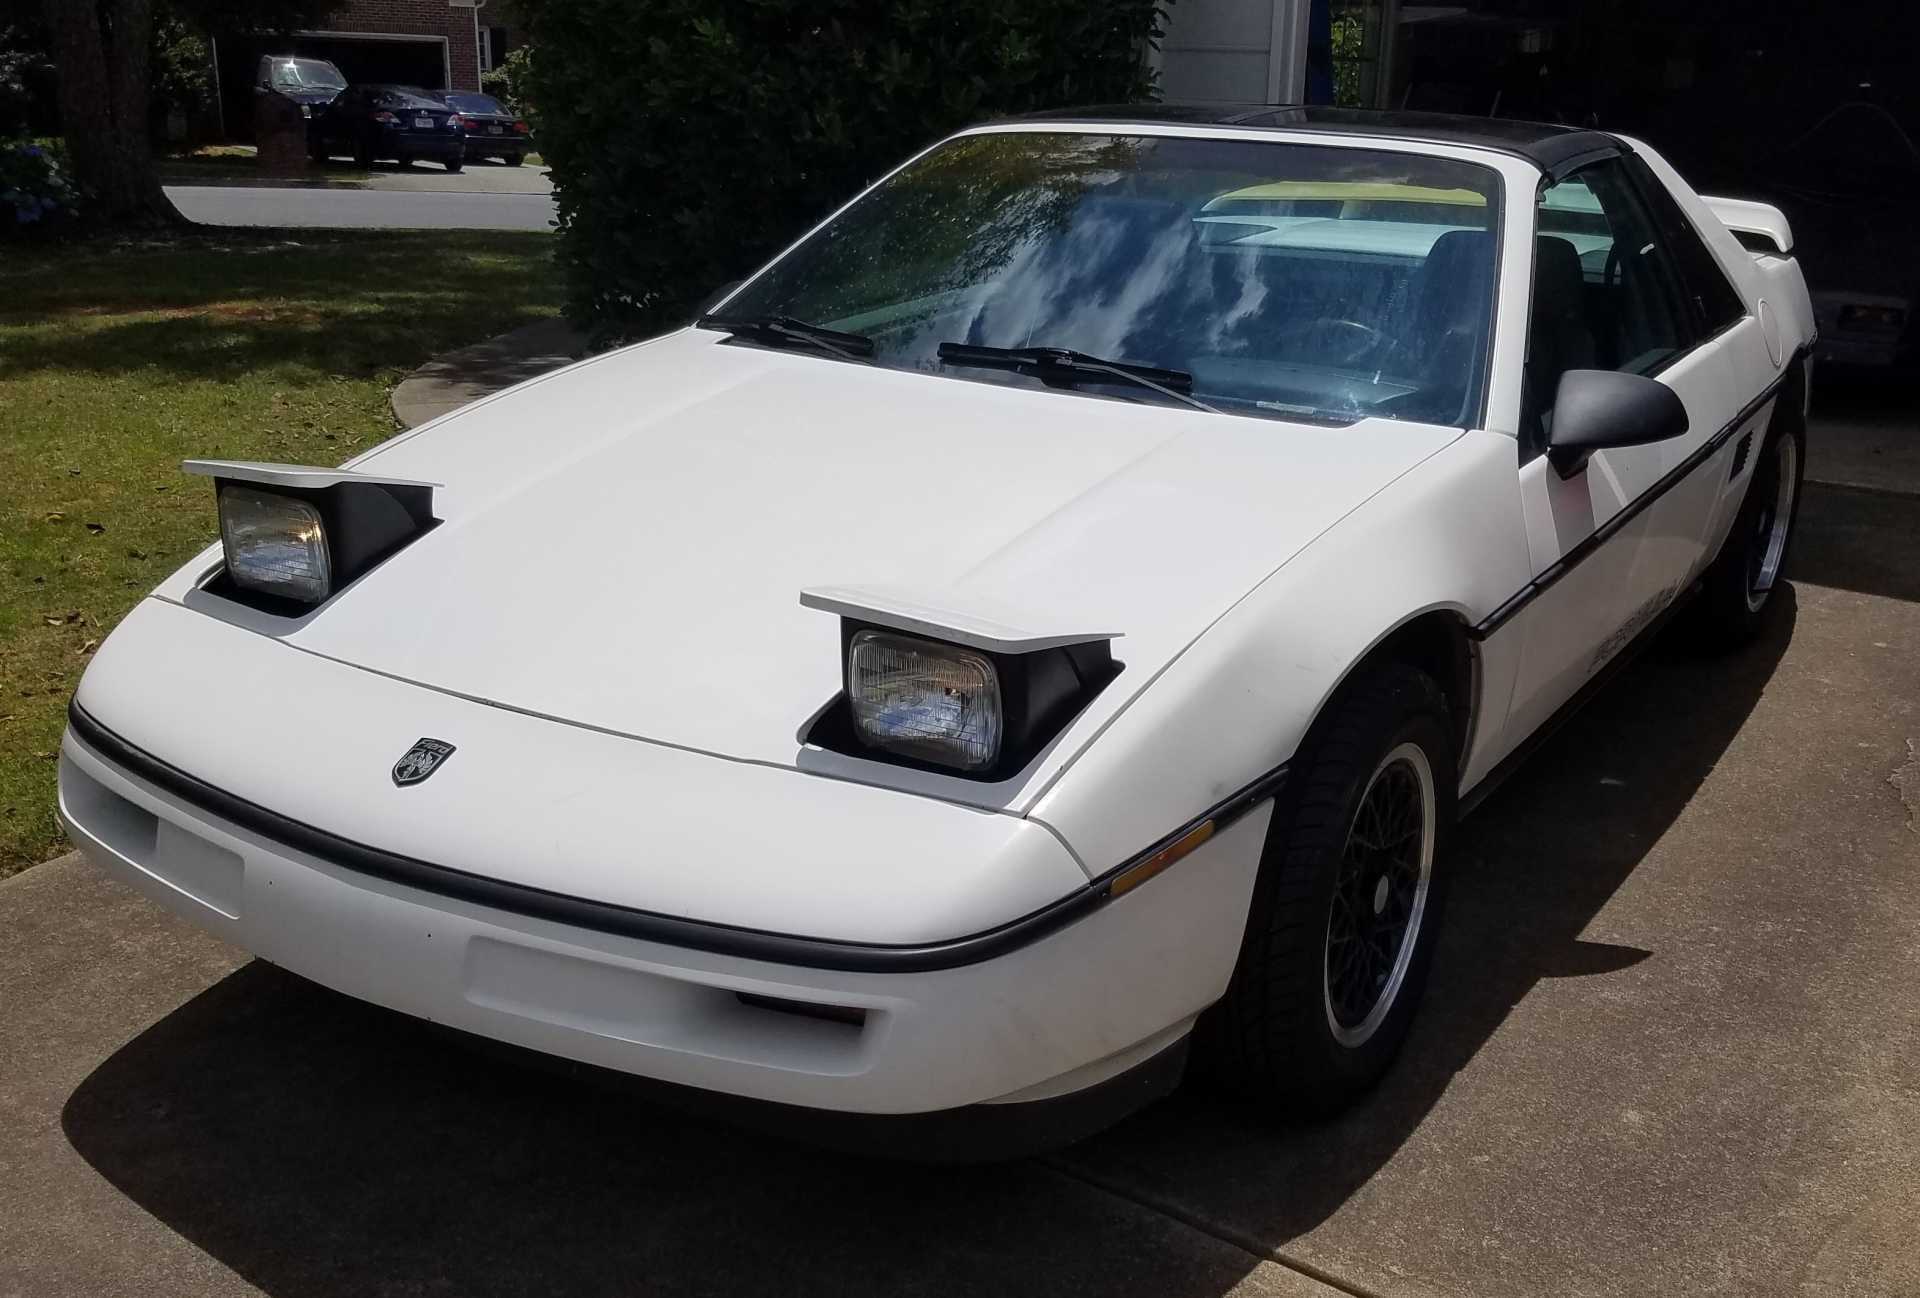
I love the white 88, GT or not. If I ever do another Fiero, it will probably be white,...but highly modified I LOVE black on tan interior but the "Beachwood" never grew on me. That being said, I still prefer it over the Grey for a white car. Looks cool, have fun and stay safe.
I seriously can not wait to get back to work on this thing but until I get my outbuilding finished and clear out some space, it is like trying to build a ship in a bottle in my garage right now
I understand. We moved in March. Most of my stuff is in storage. The guys were supposed to start on our garage and barn this week, but it didn't happen. I have enough room to do only the most basic stuff. Good luck.
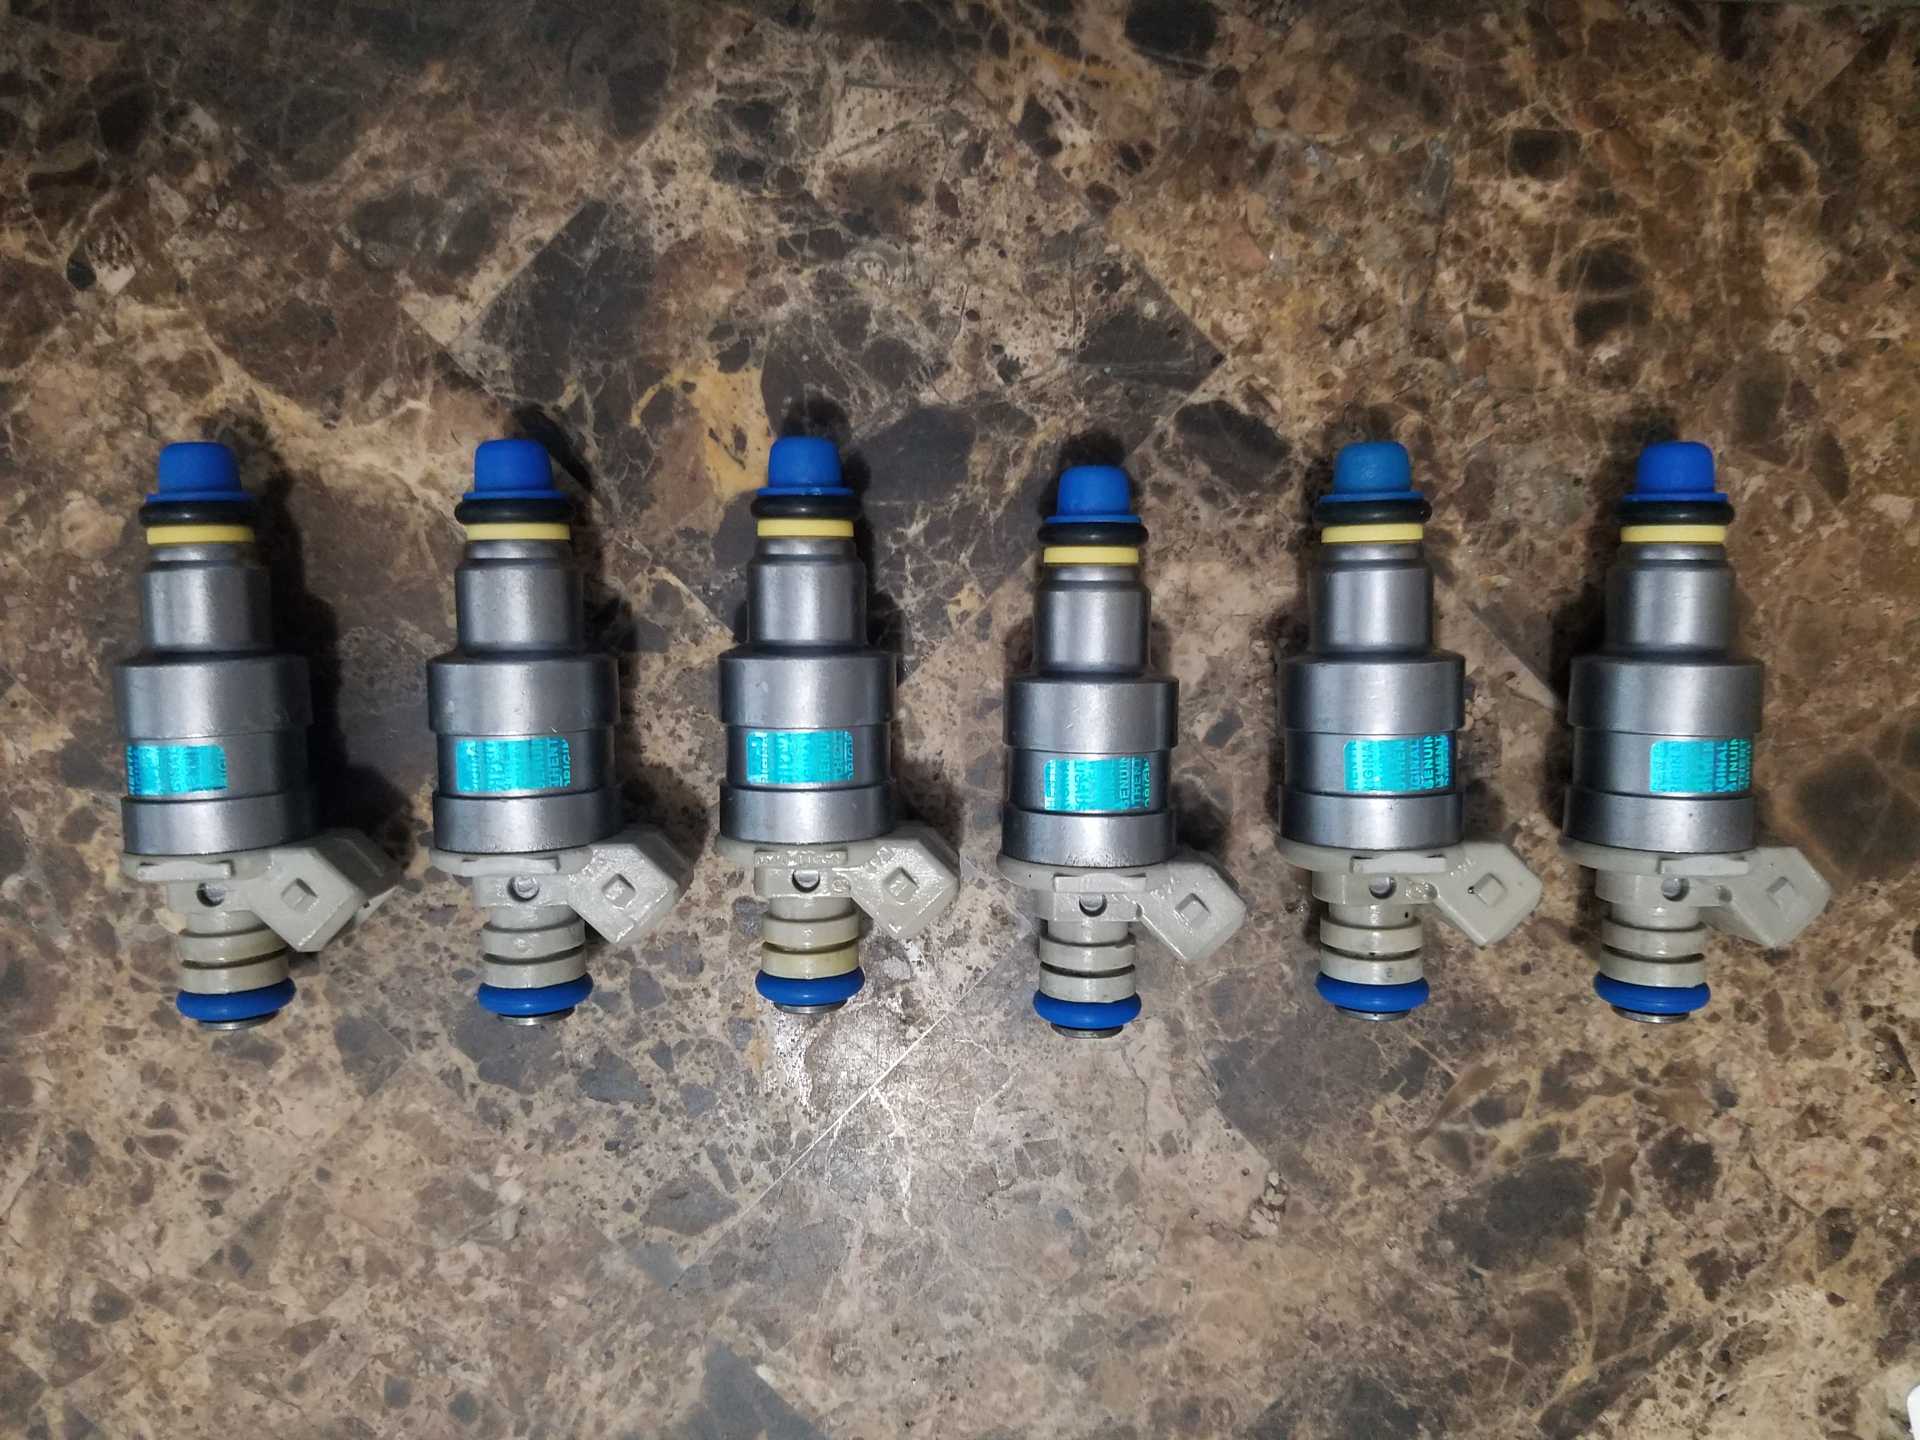
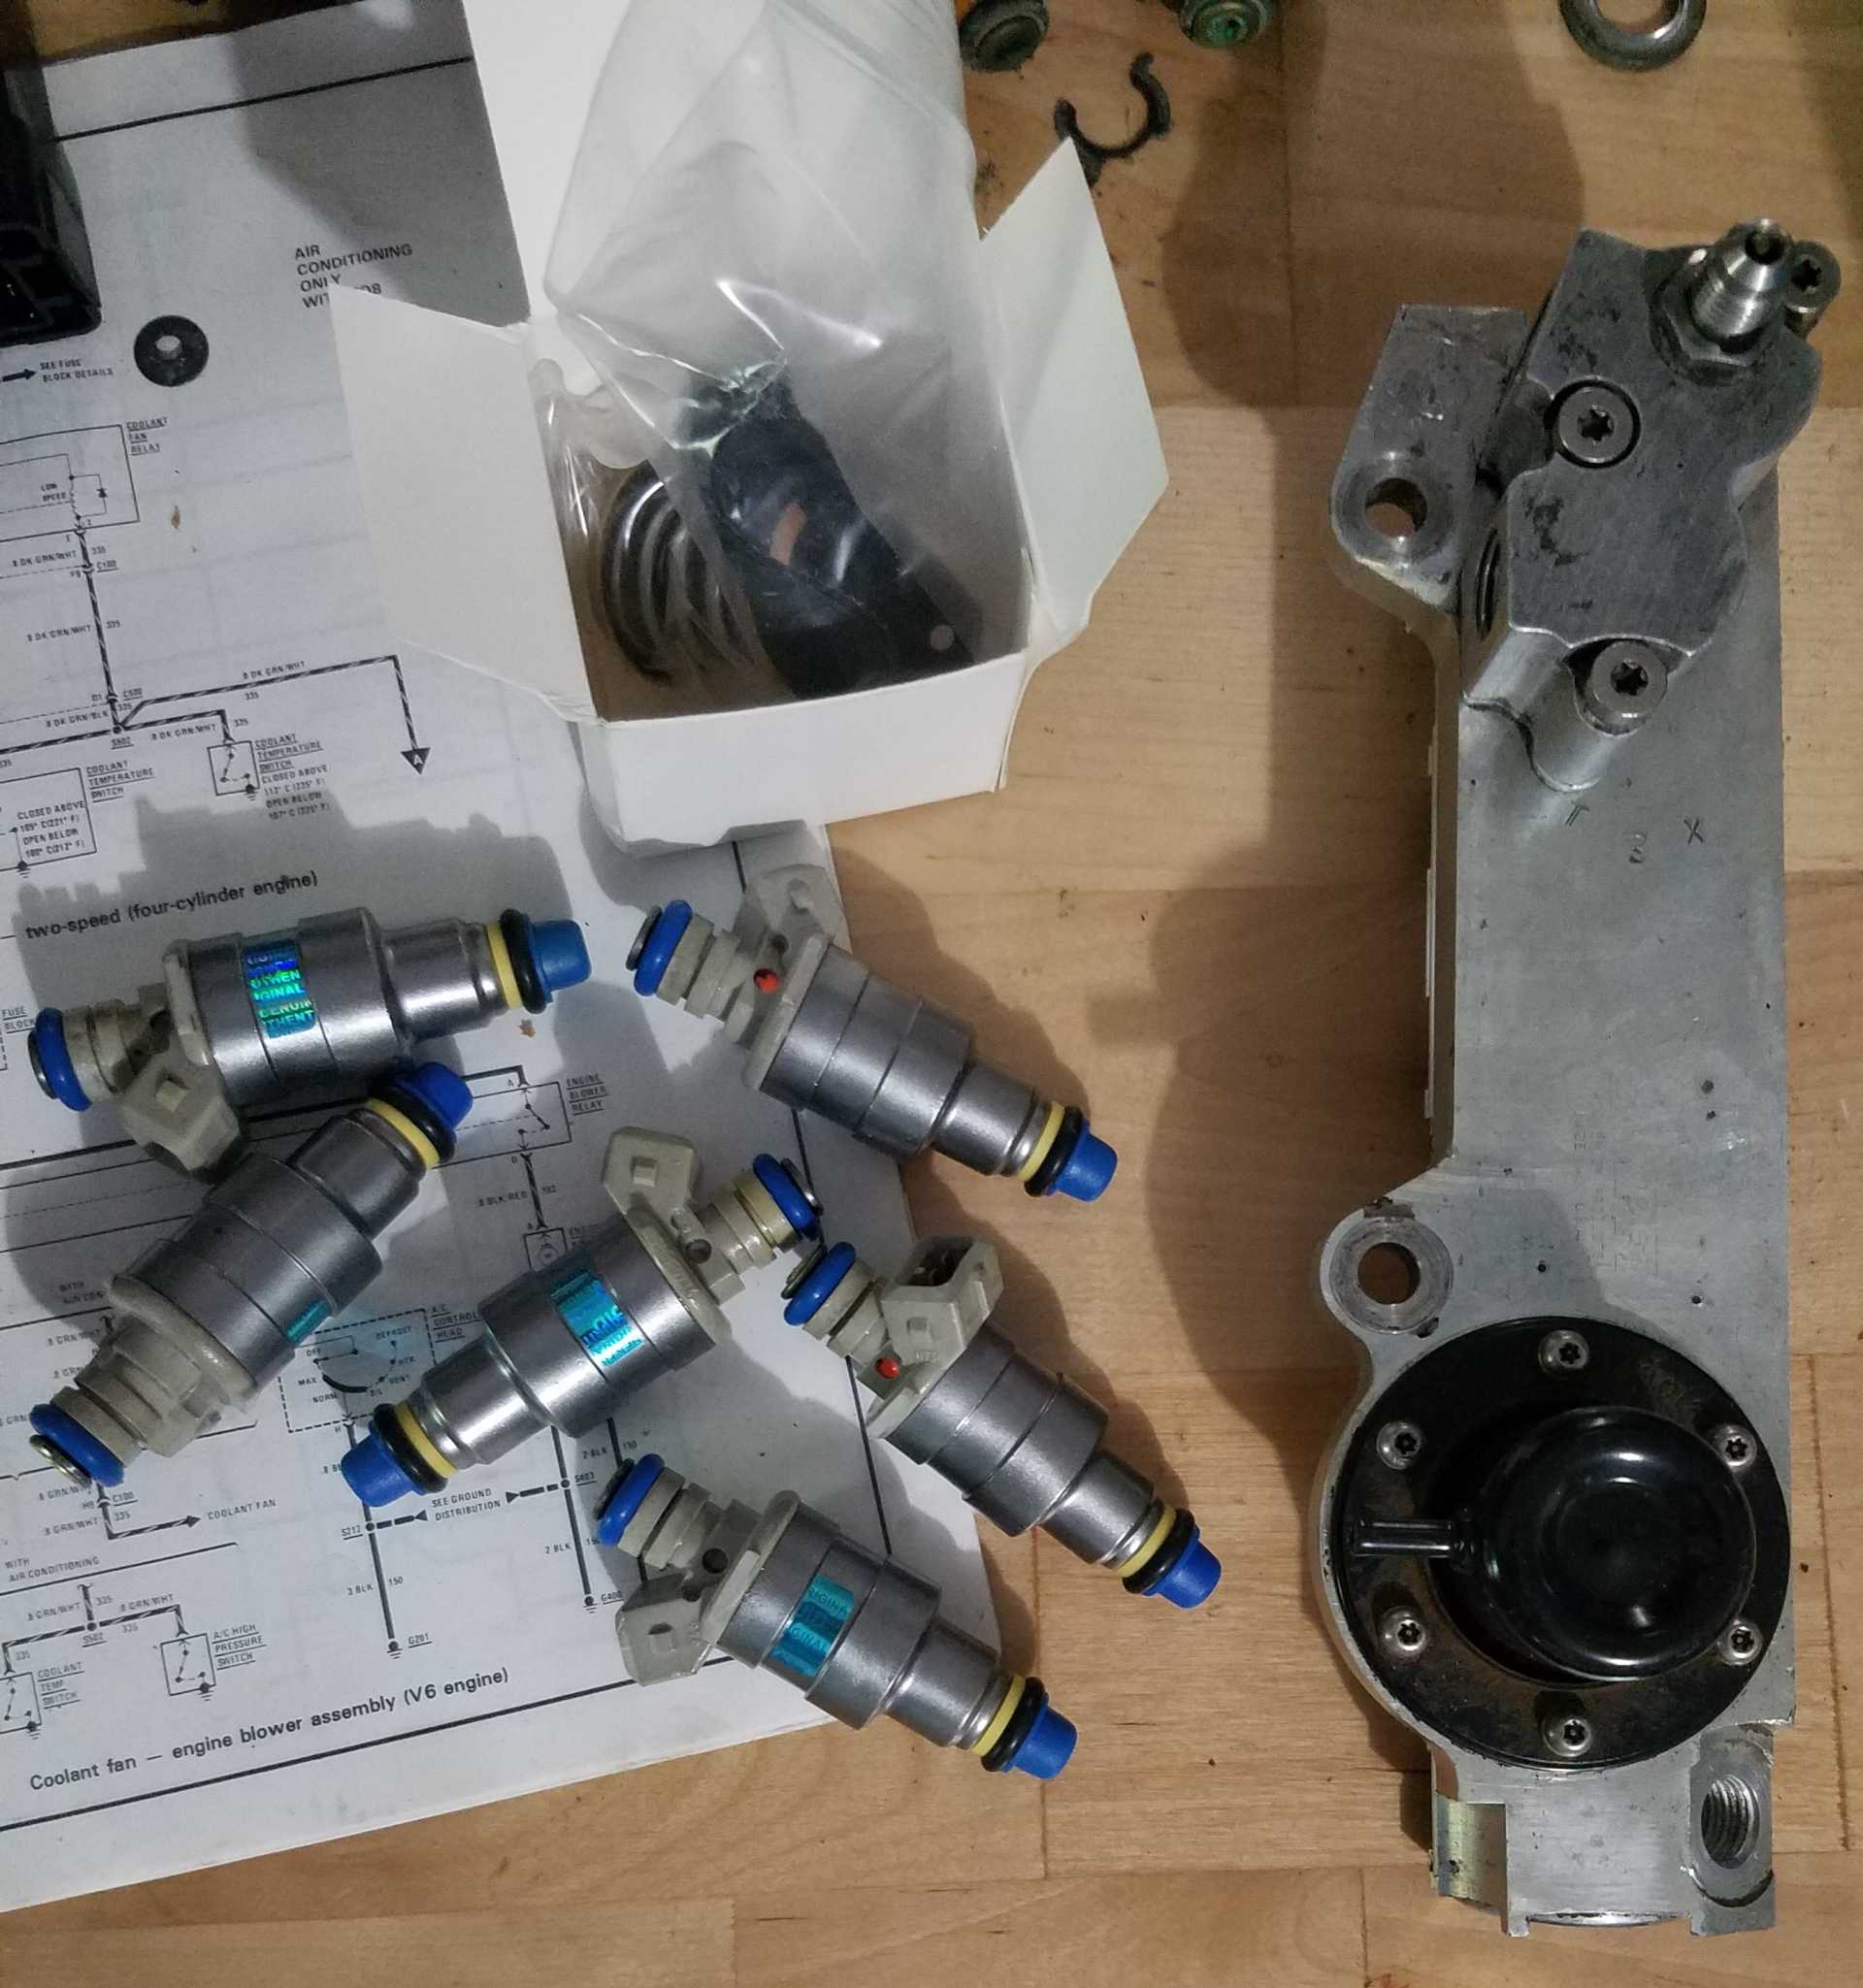
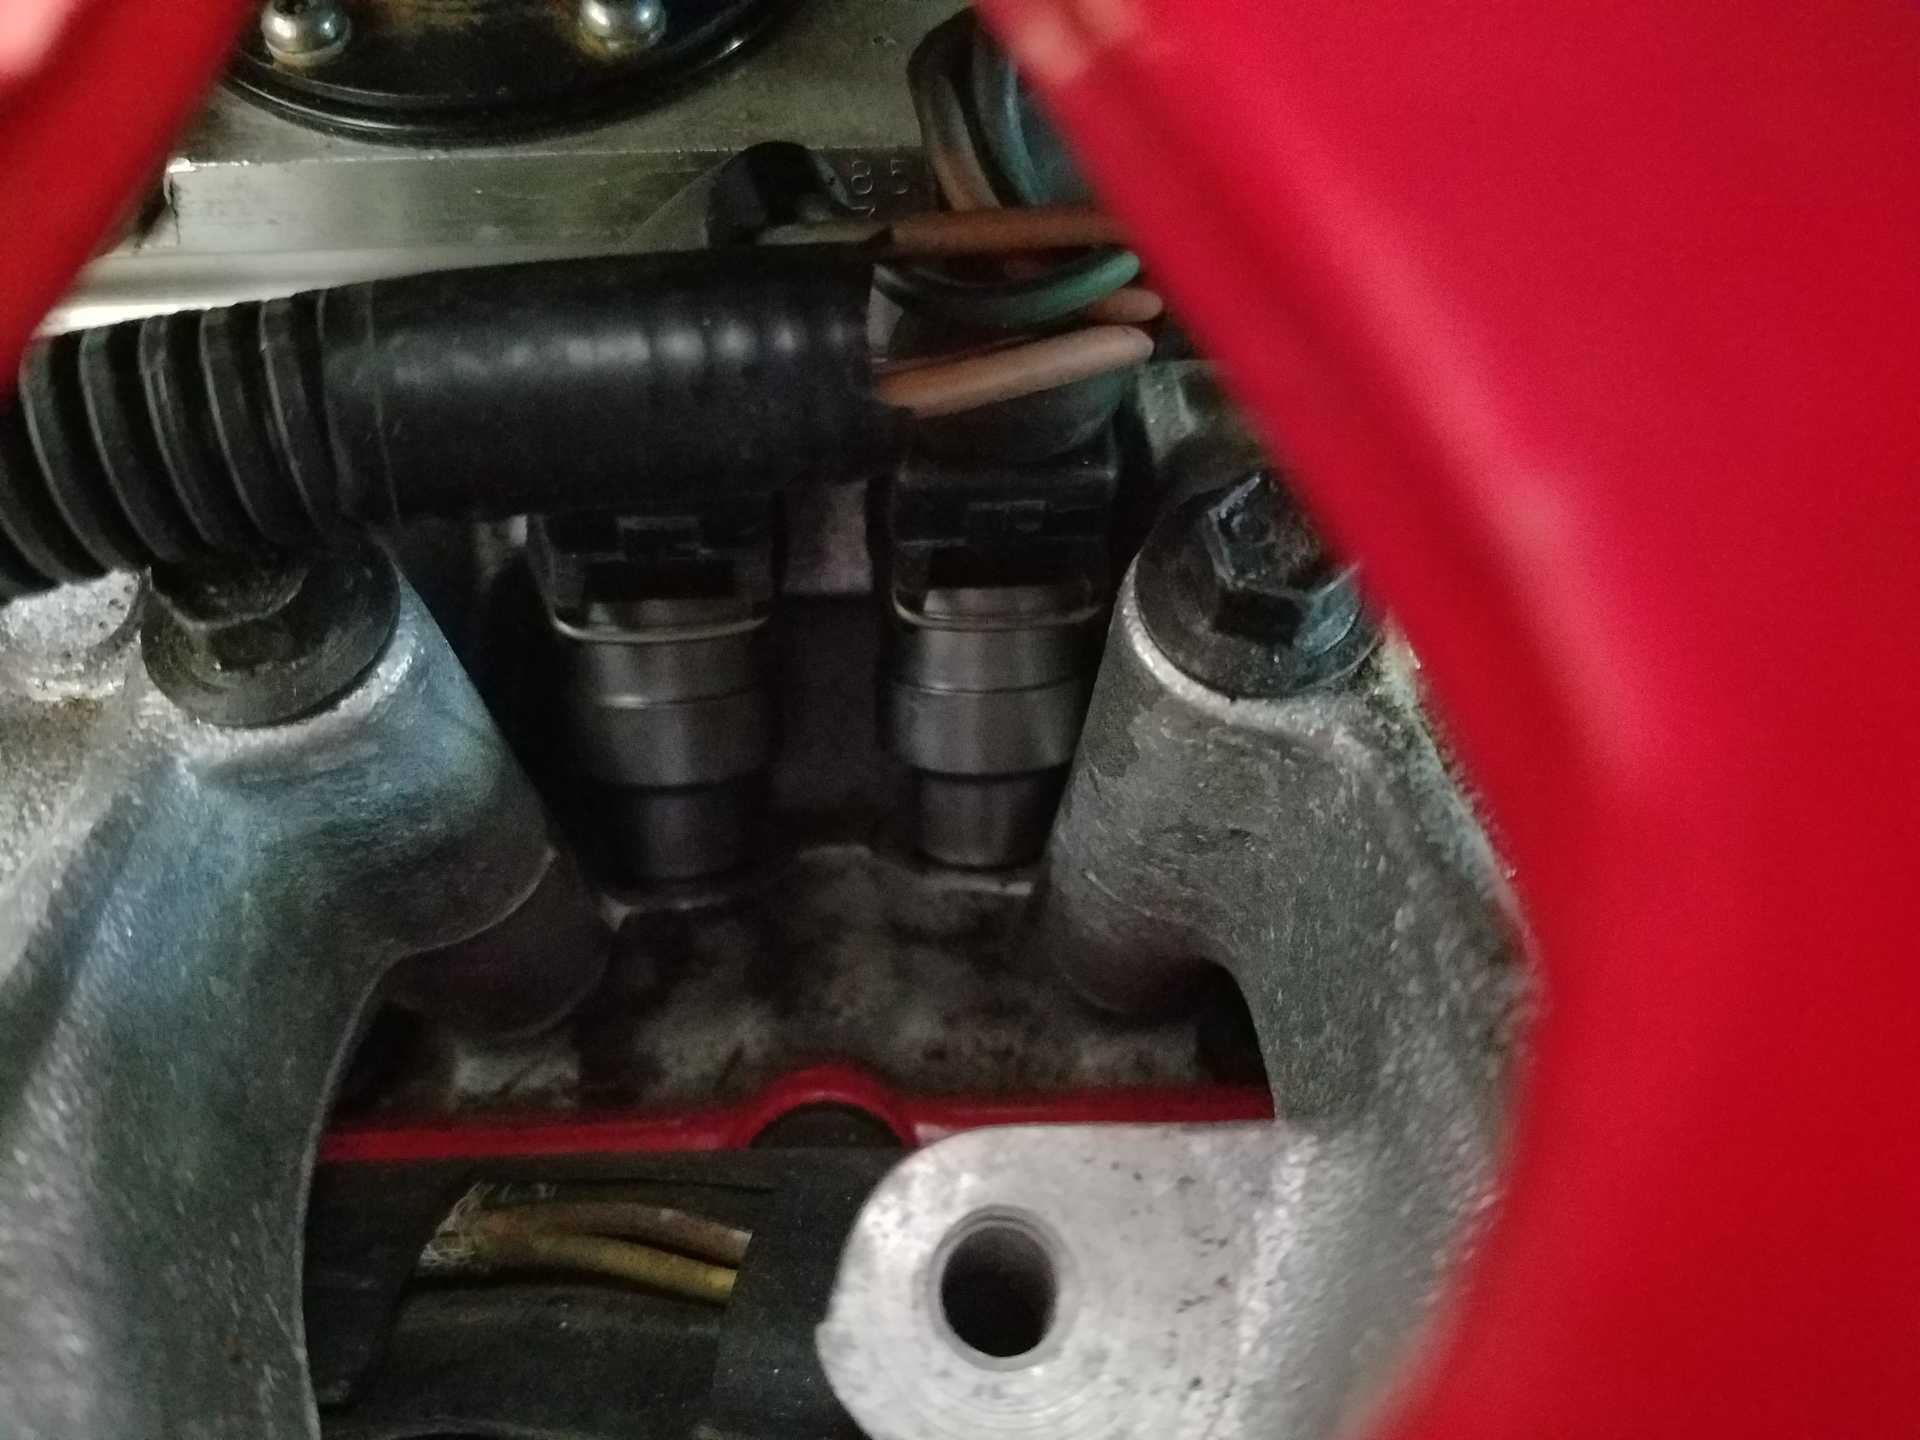
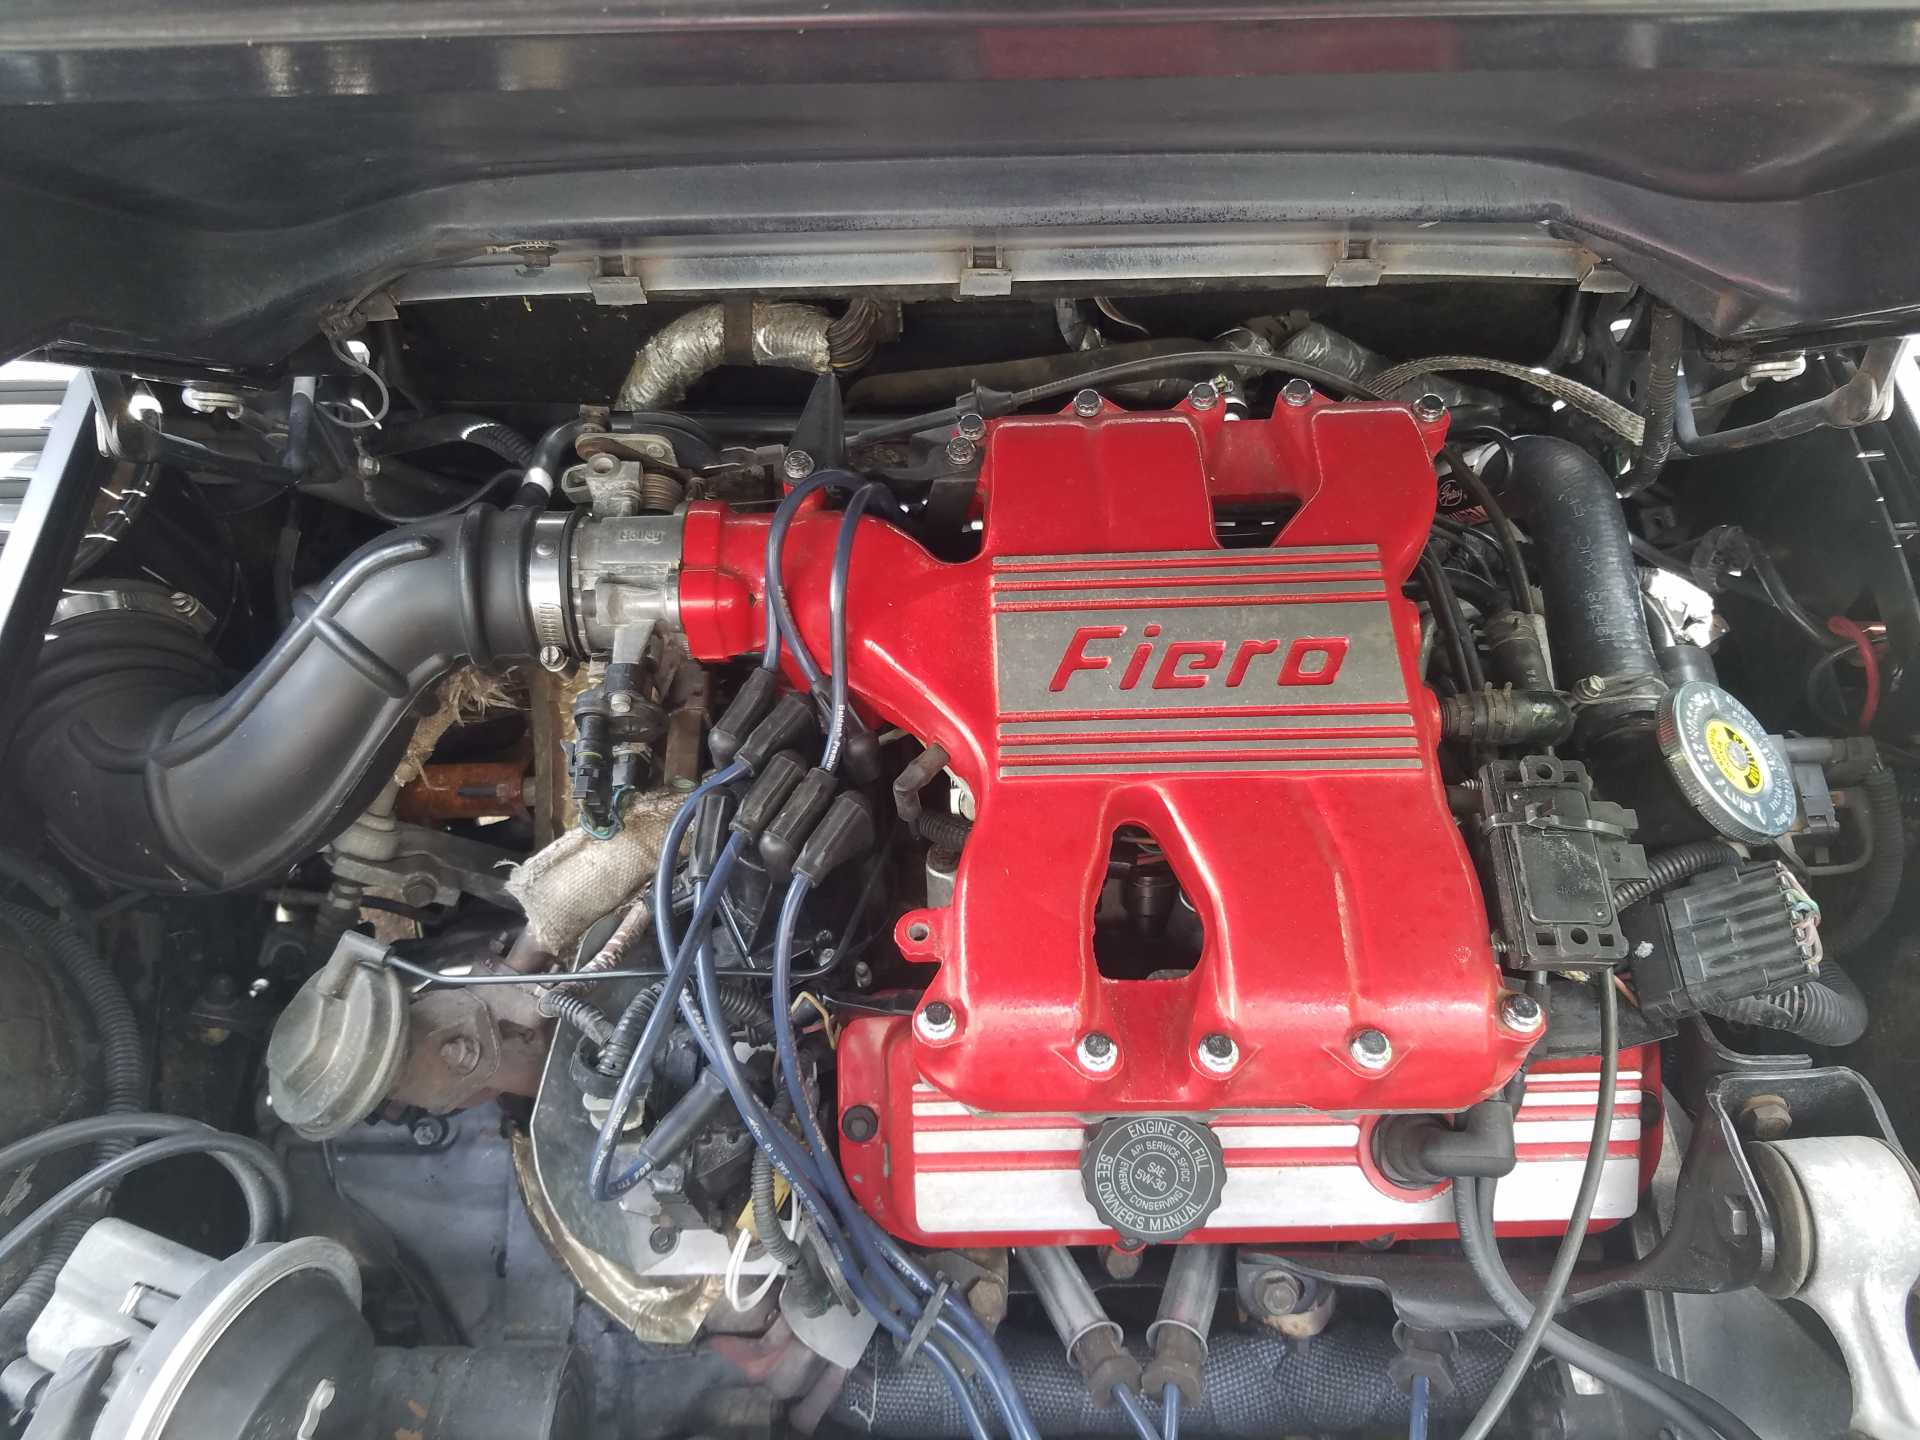
As I suspected, the fuel injectors were varnished up after sitting for 17 years so in go a new set! I'm replacing the fuel pressure regulator as well. So the entire fuel system from the pump to the injectors is new.
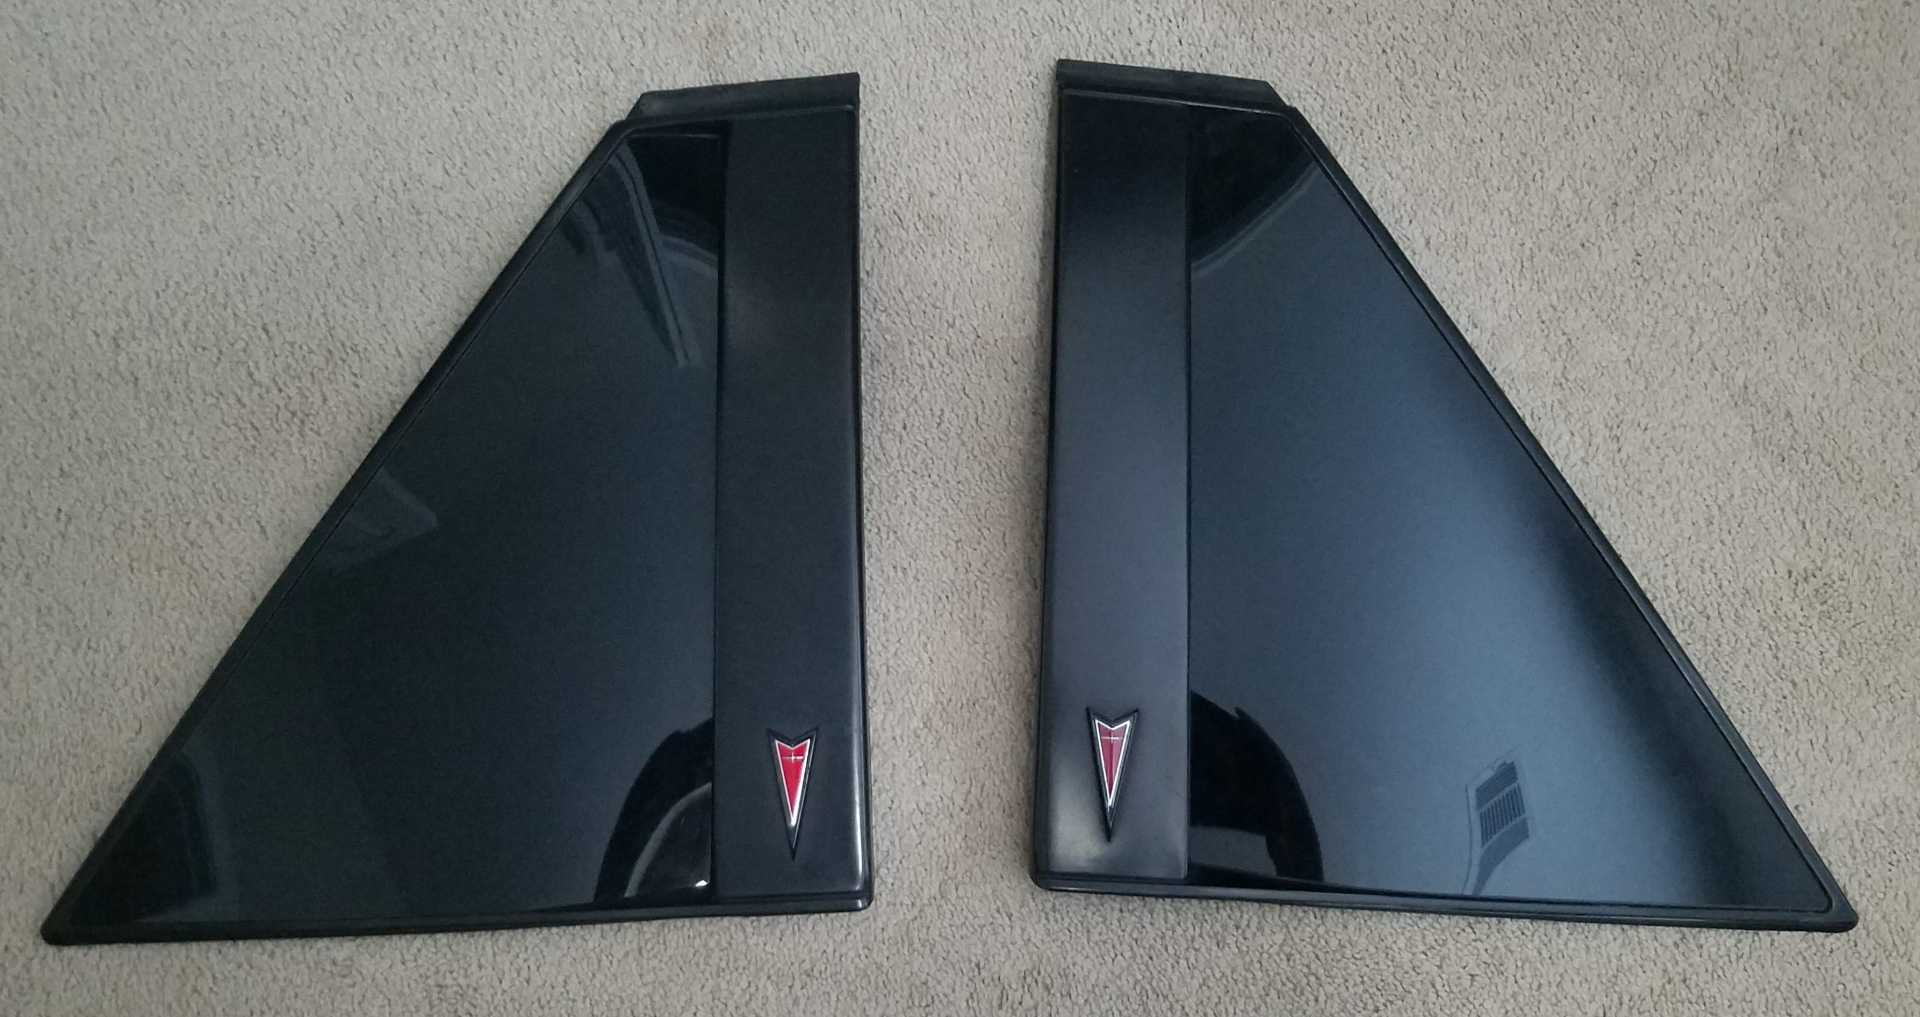
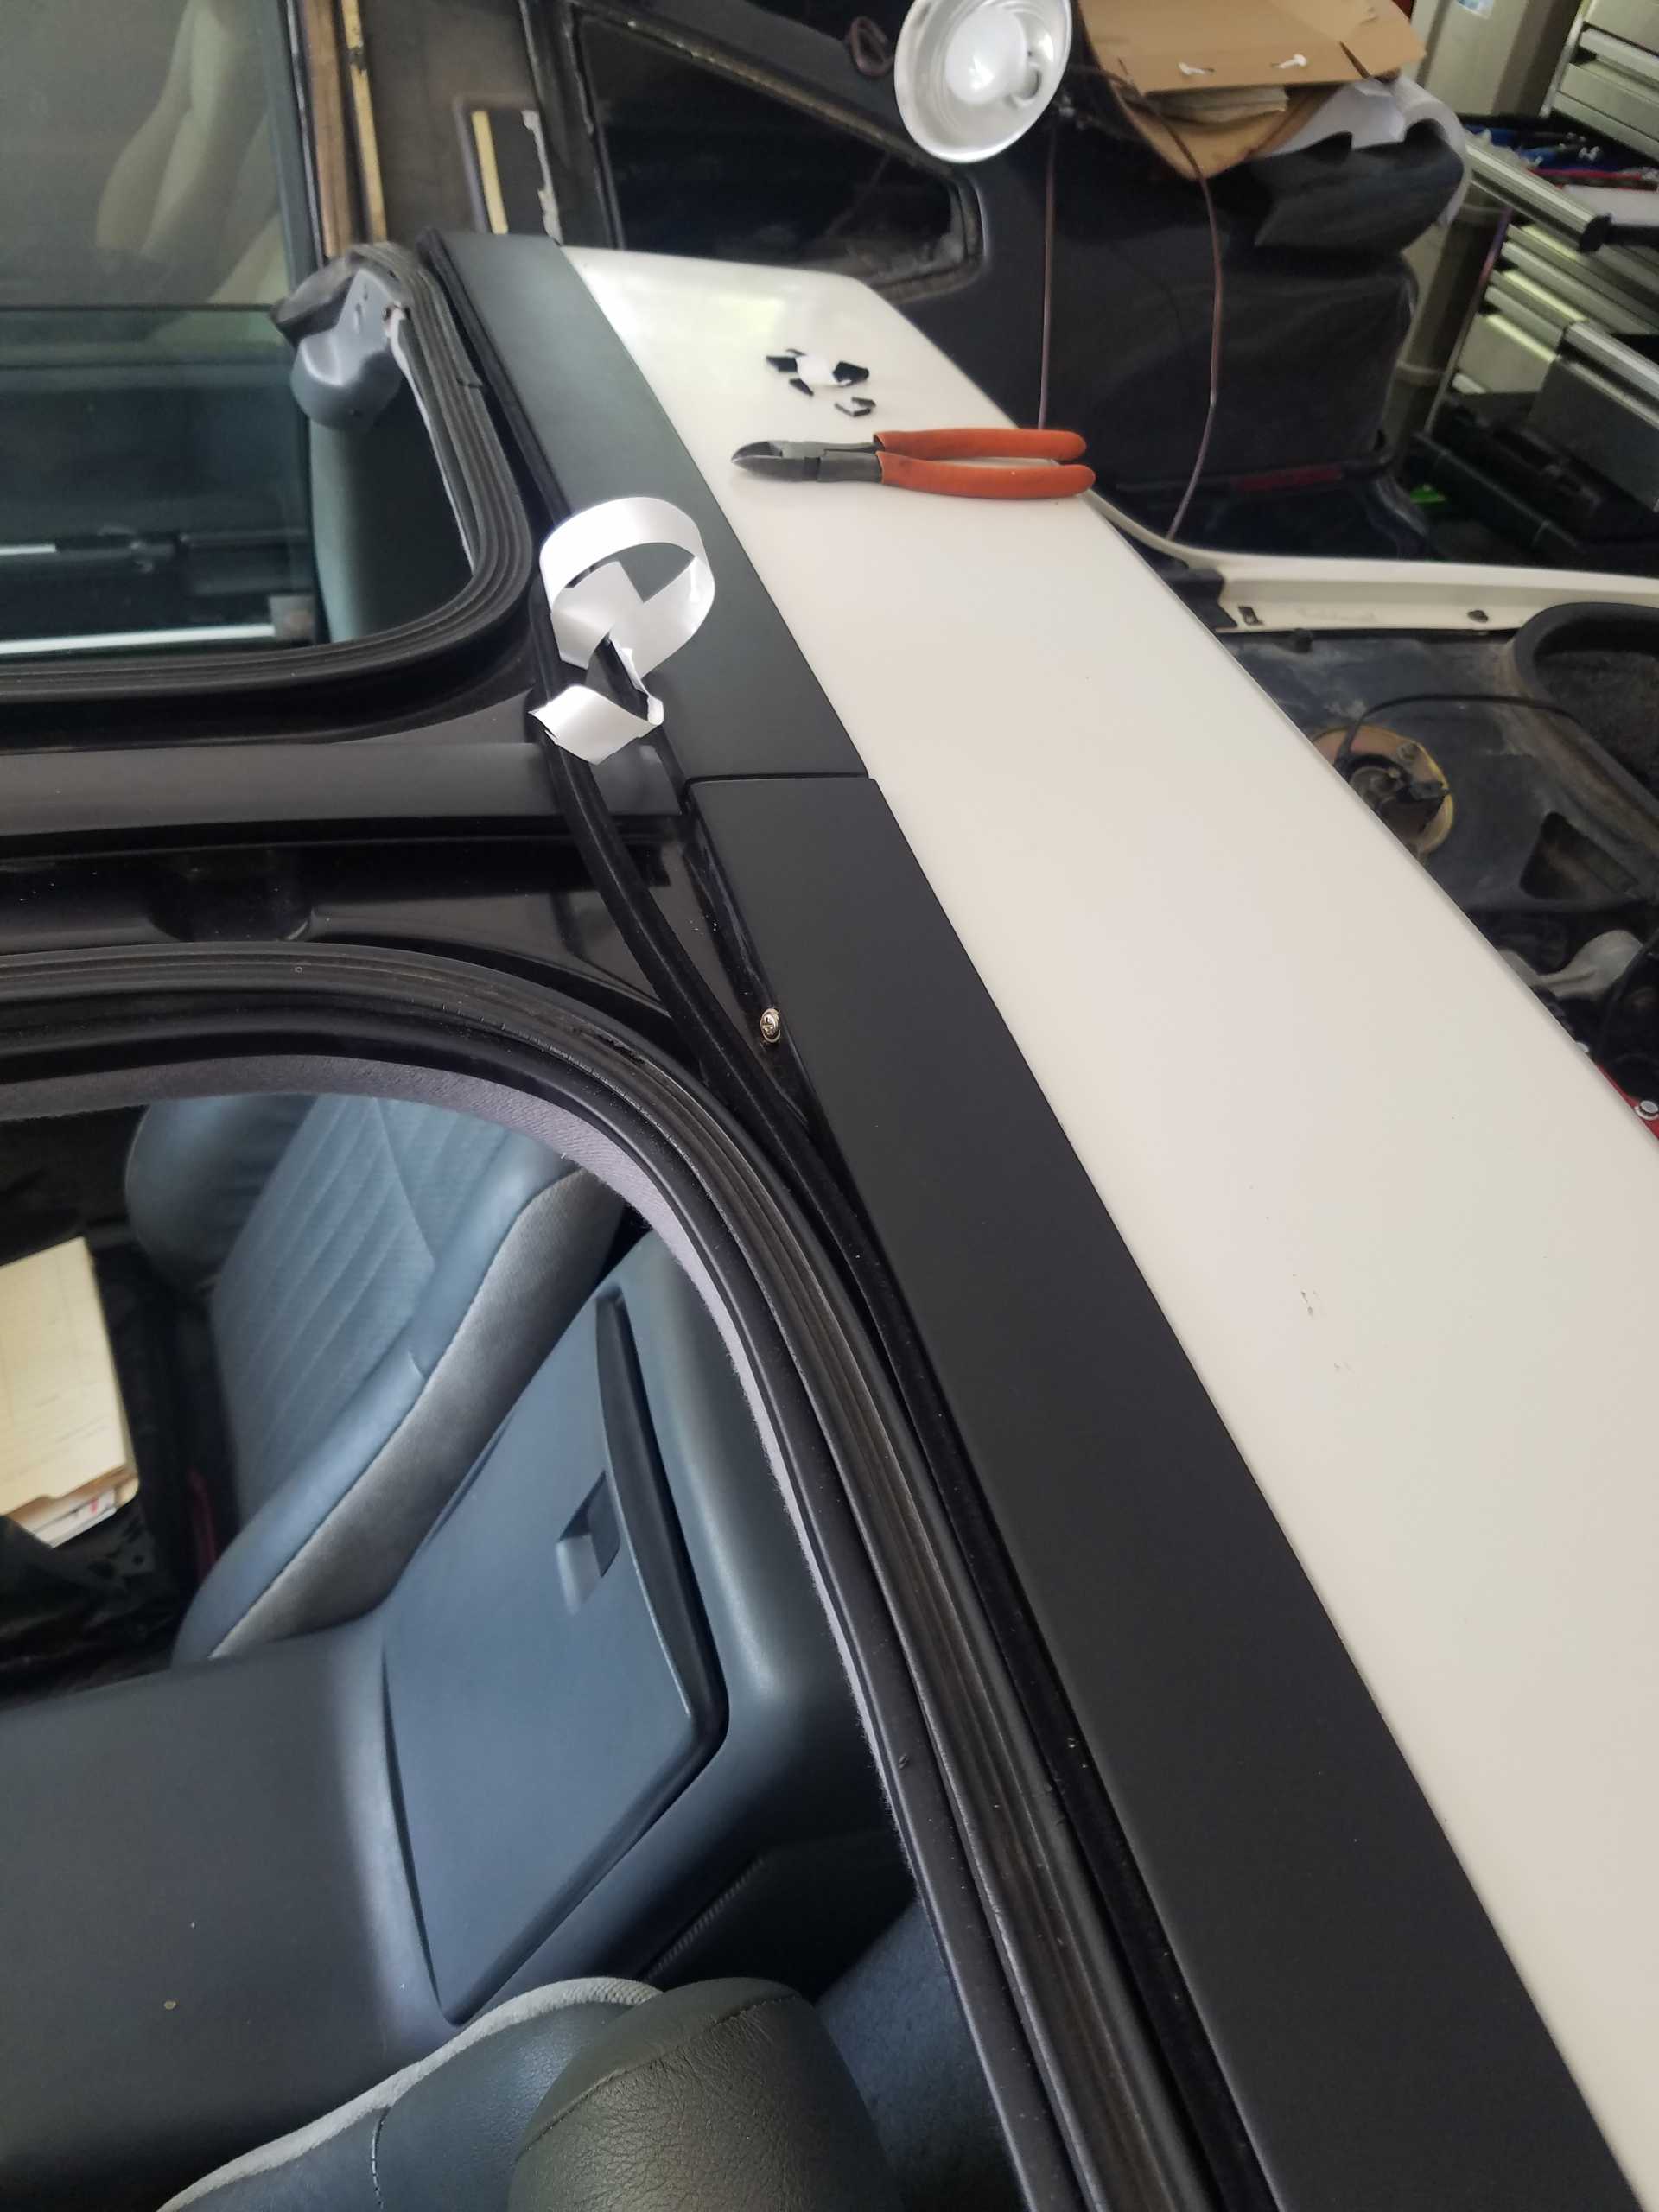
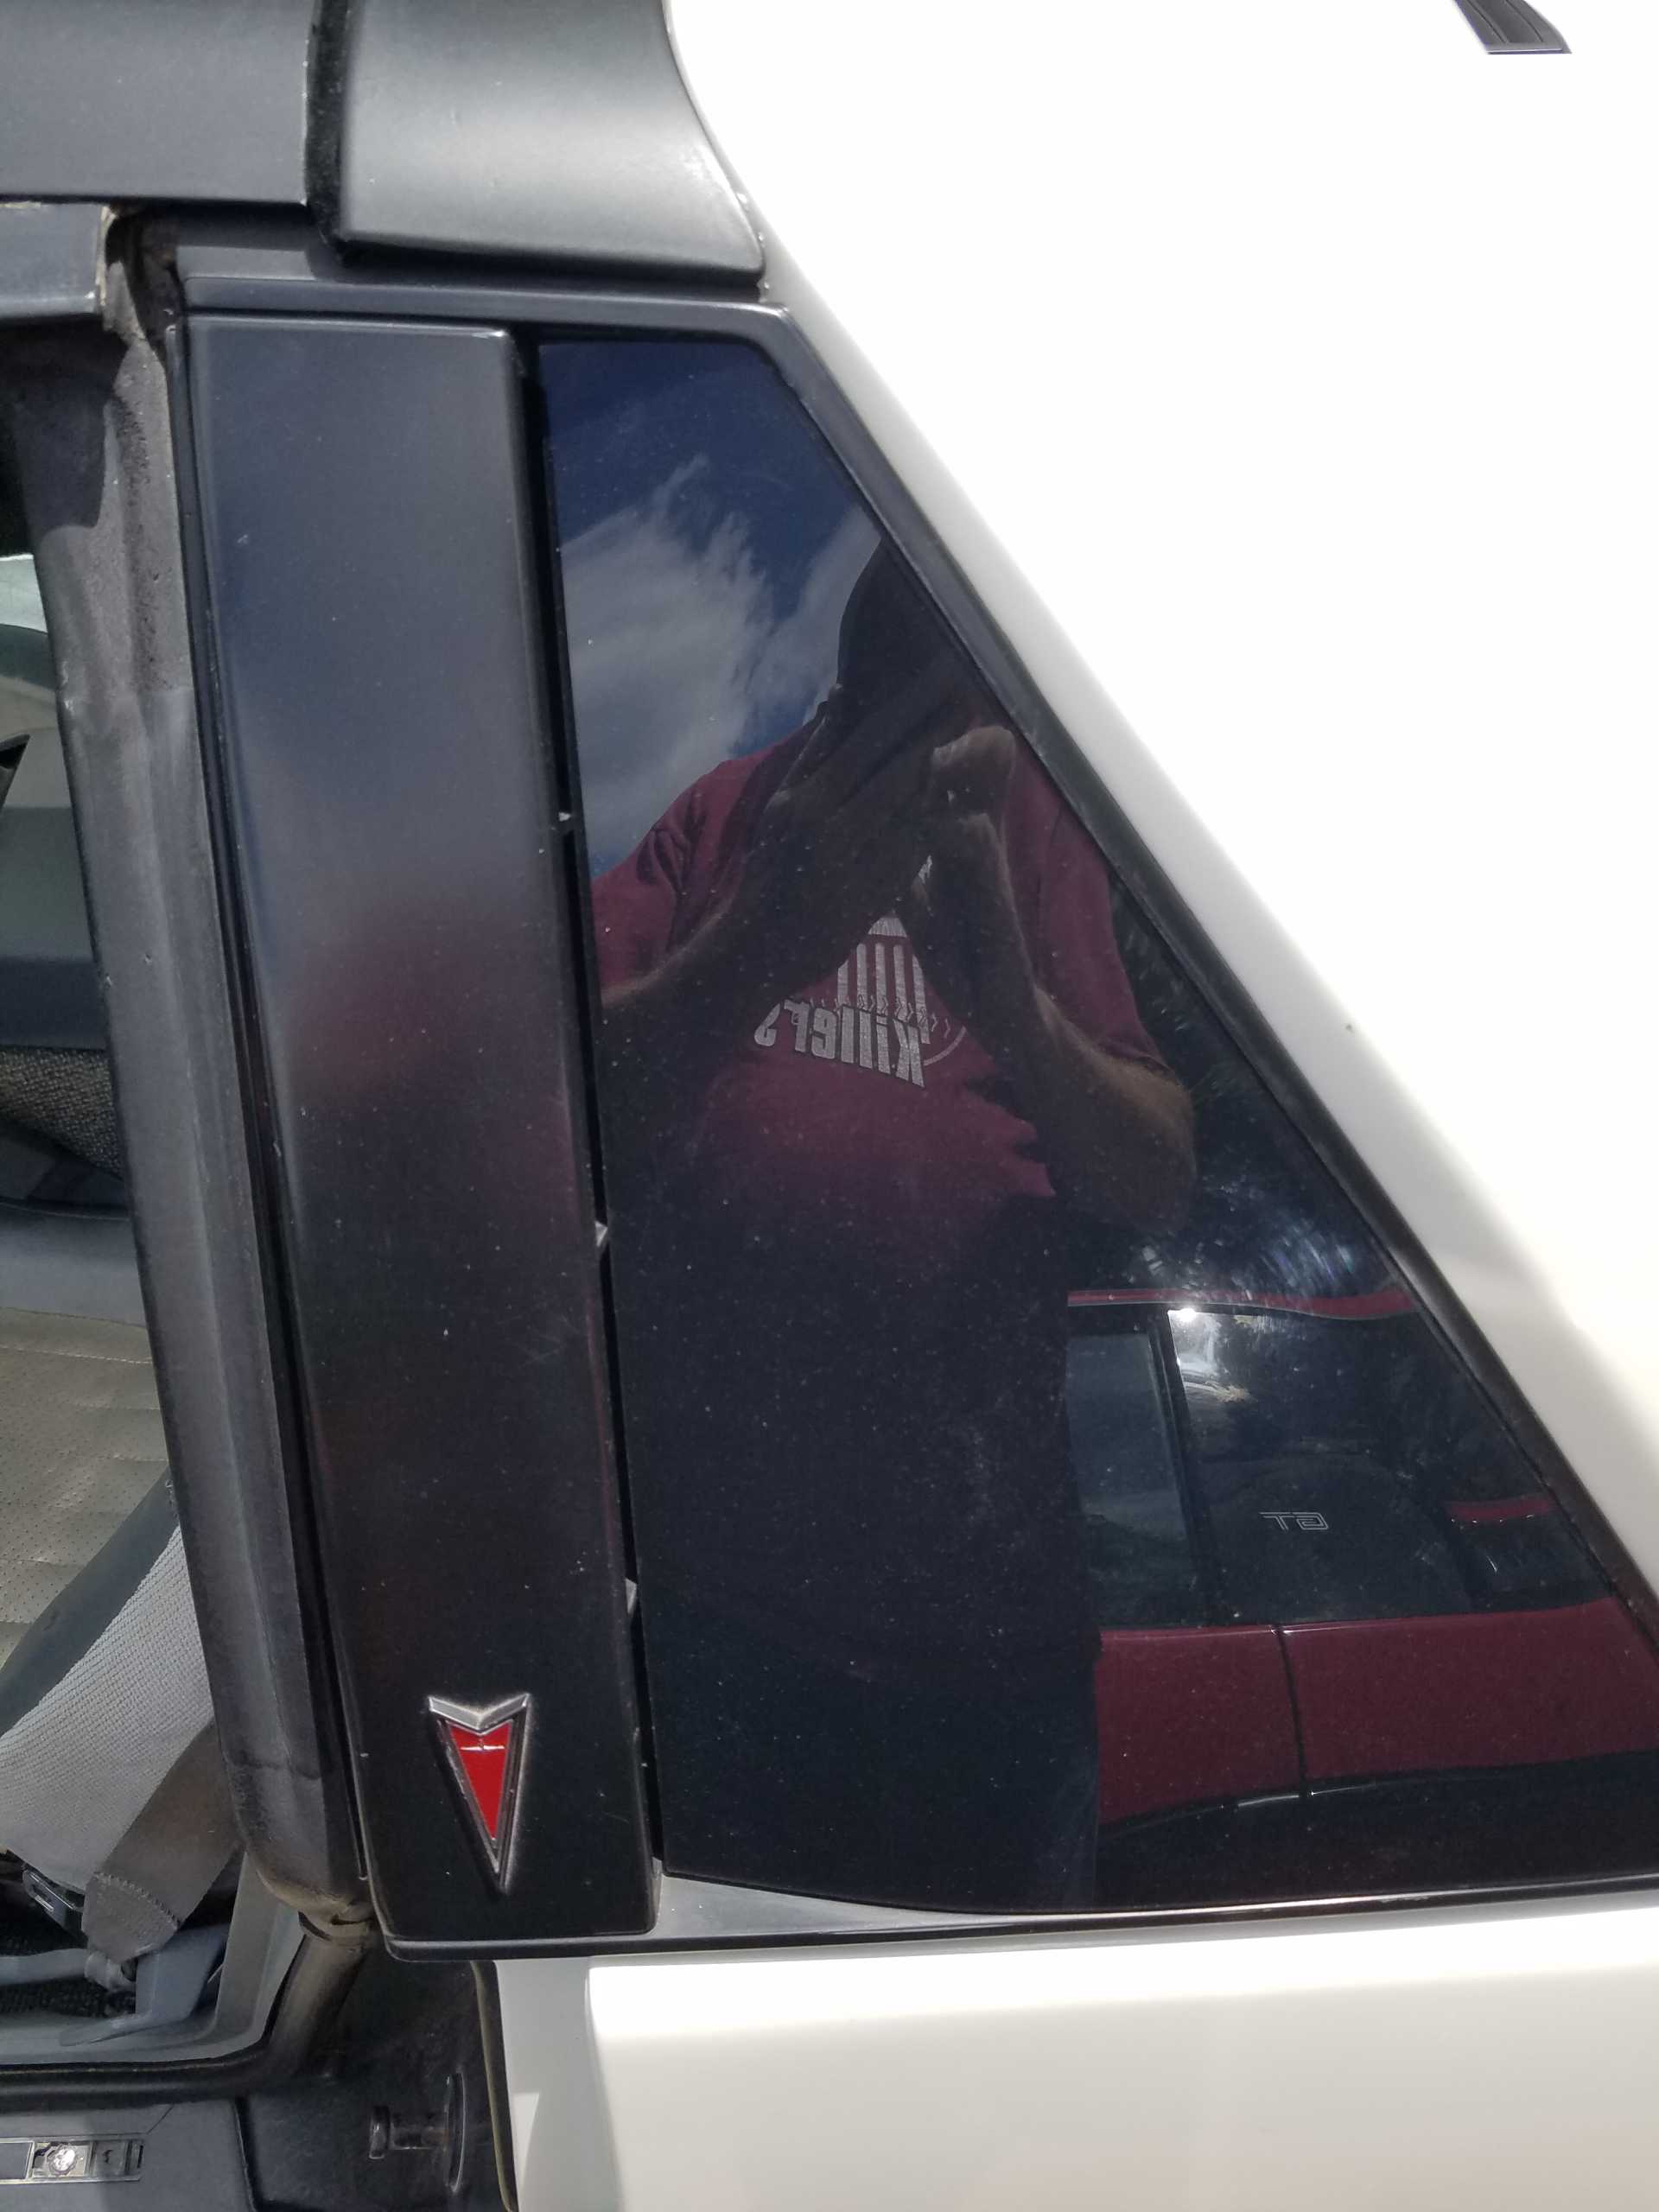
And the sail panel were toast after baking in the Arizona sun so I found these bad boys on eBay
Finishing the top of the engine today and then onto filling the clutch with new DOT3 and then rebuilding the brakes!
[This message has been edited by Toddster (edited 06-02-2021).]
First on the To-Do list was to replace the fuel injectors and fuel Pressure Regulator. Always dab a little oil on the new O-rings to let the injectors slide into the fuel rail and the lower intake easily. Once they get up to temp it will help seal them against vacuum leaks as well.
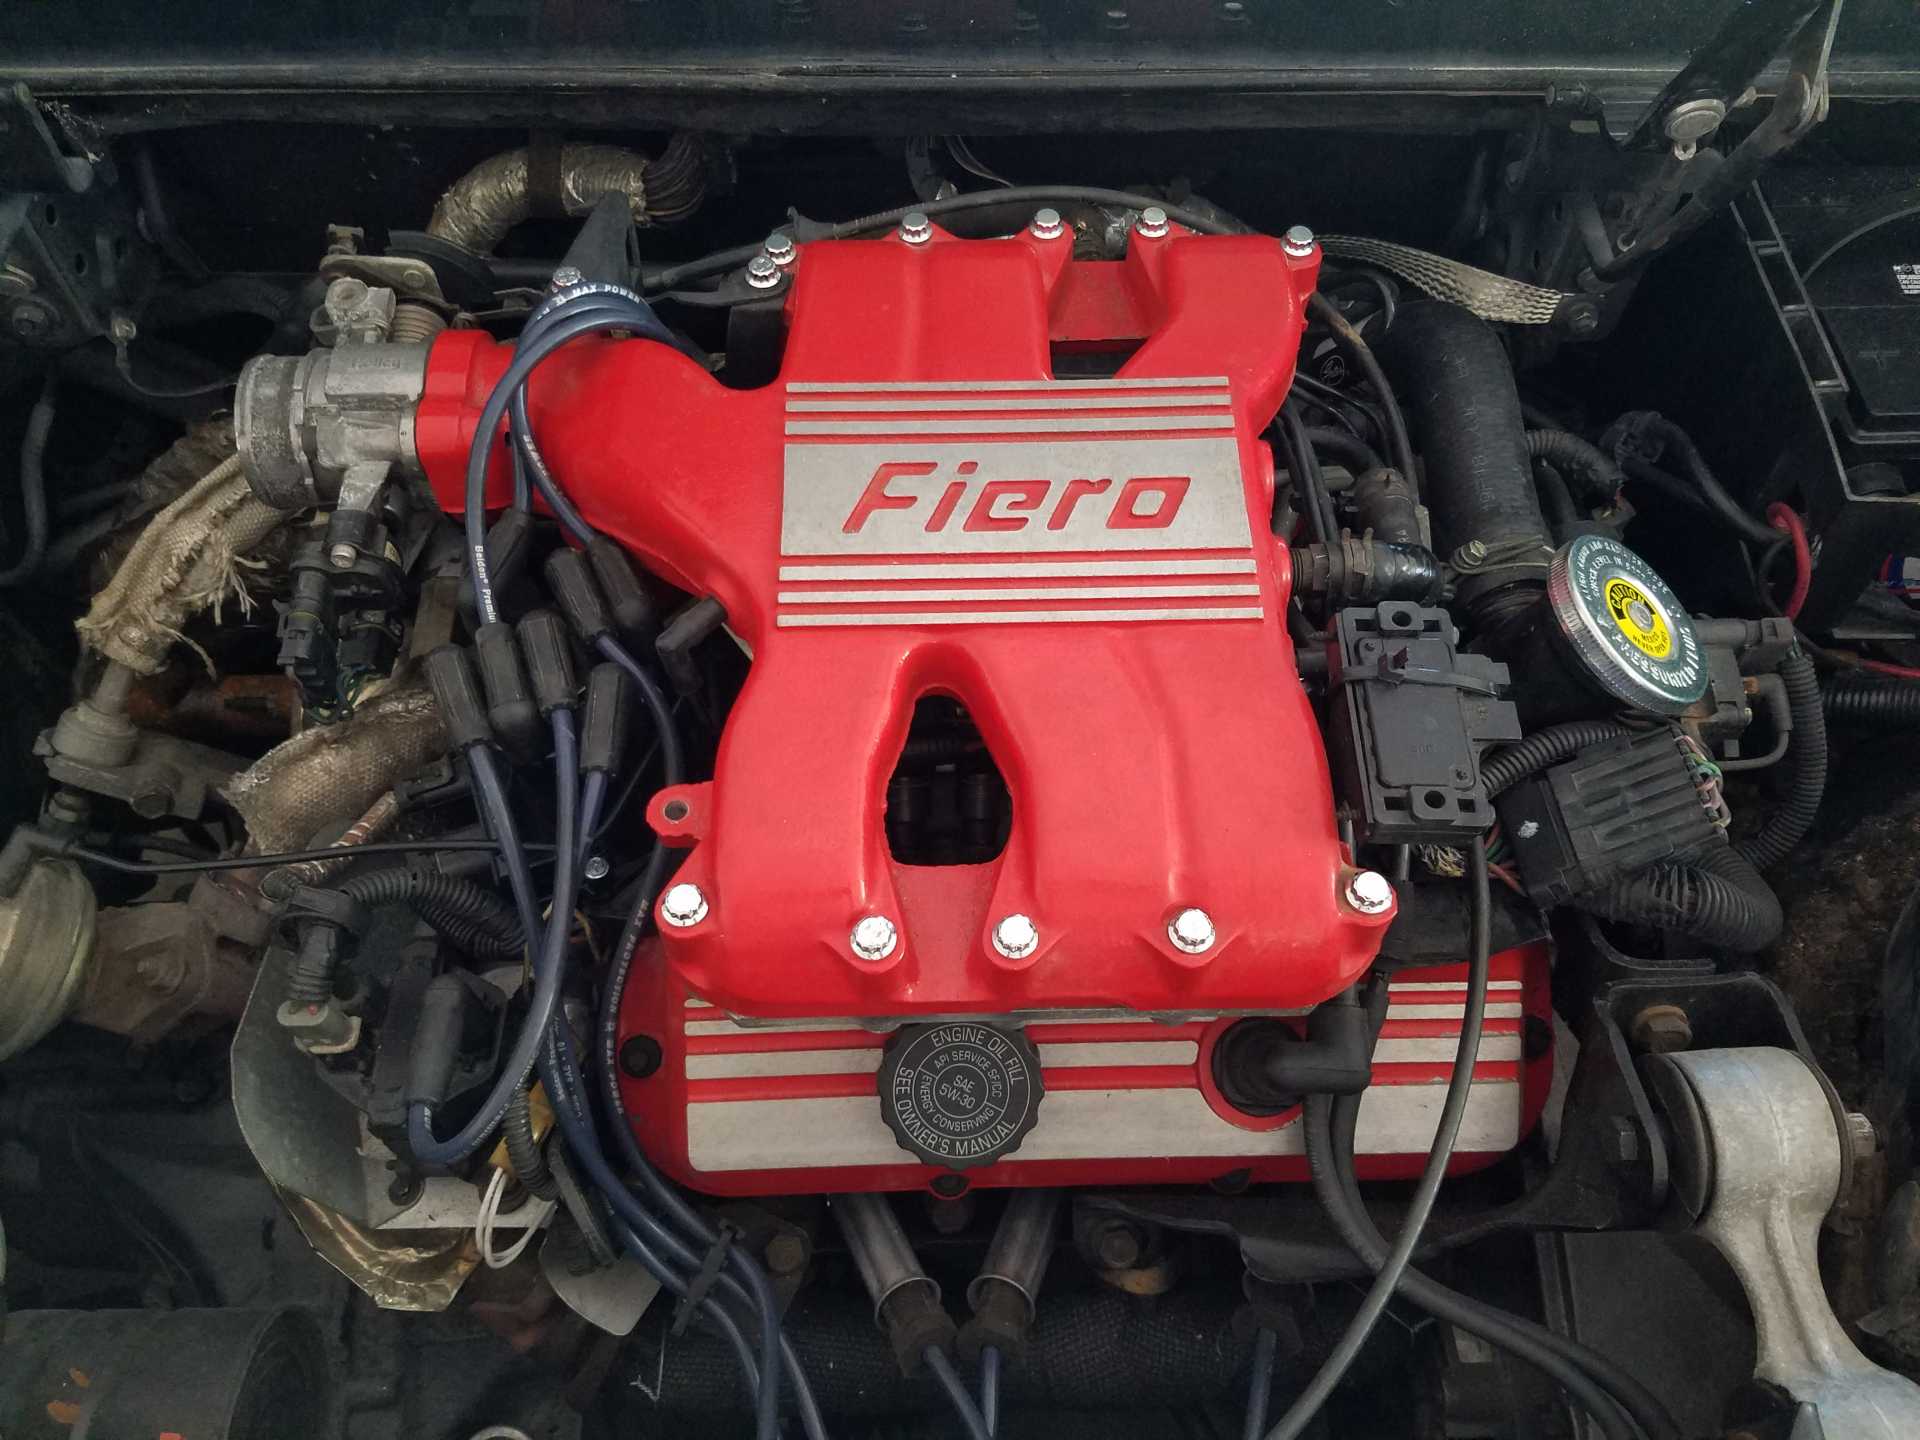
The engine is DONE! Notice the New Dorman Ground Strap too. No electrical issues for me, thank you.
Now to bleed the clutch. WOW, there is a site you do not see often, CLEAN DOT3!
Now that I have a clutch and an engine, time to take care of a few small items before doing a test run, top of the list...rebuild the brakes!
[This message has been edited by Toddster (edited 05-22-2021).]
She's OUTSIDE! Mechanics are almost done, still have the brakes to deal with but while I wait on parts I am getting into the paint. Sitting under an awning outside for 15 years means that the paint is scuffed and faded. In some places I will actually need touch up paint to do and in others a good buff and blend will work. Thank God it's white, it holds-up better than any other color to sun damage.
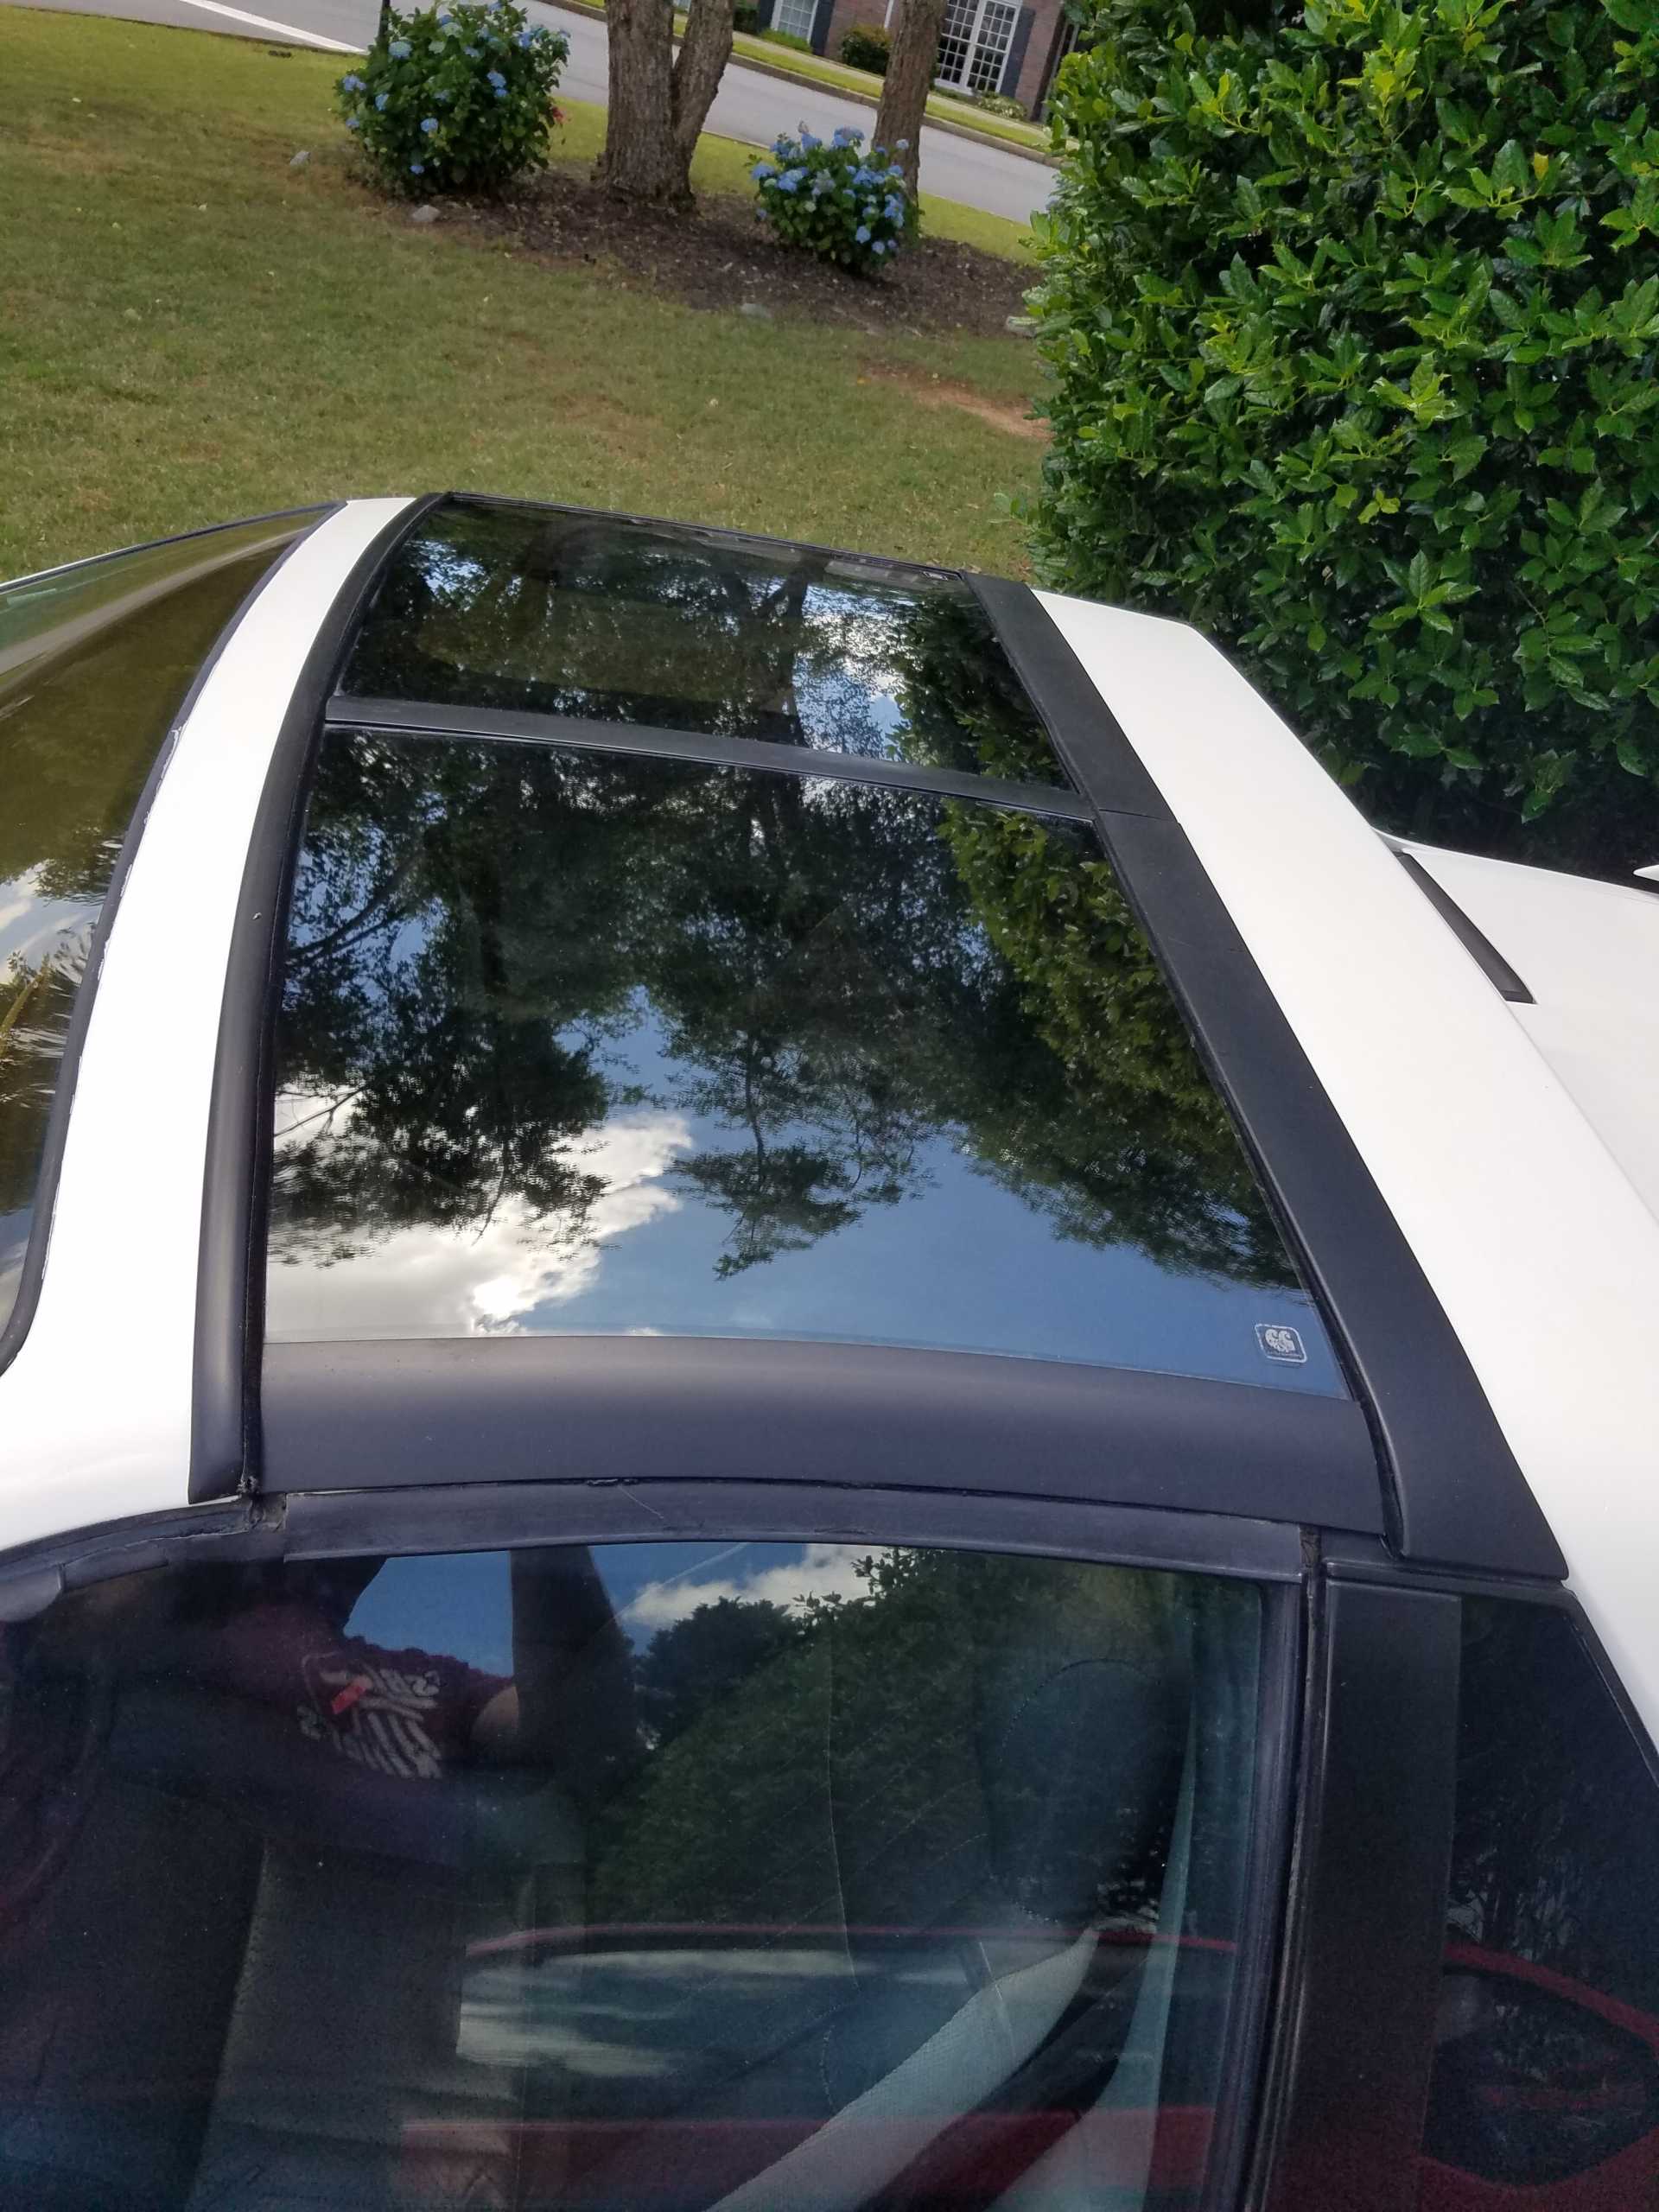
The trim paint will be redone on the T-Tops and other trim areas. A few more weeks and she will be ready for prime time!
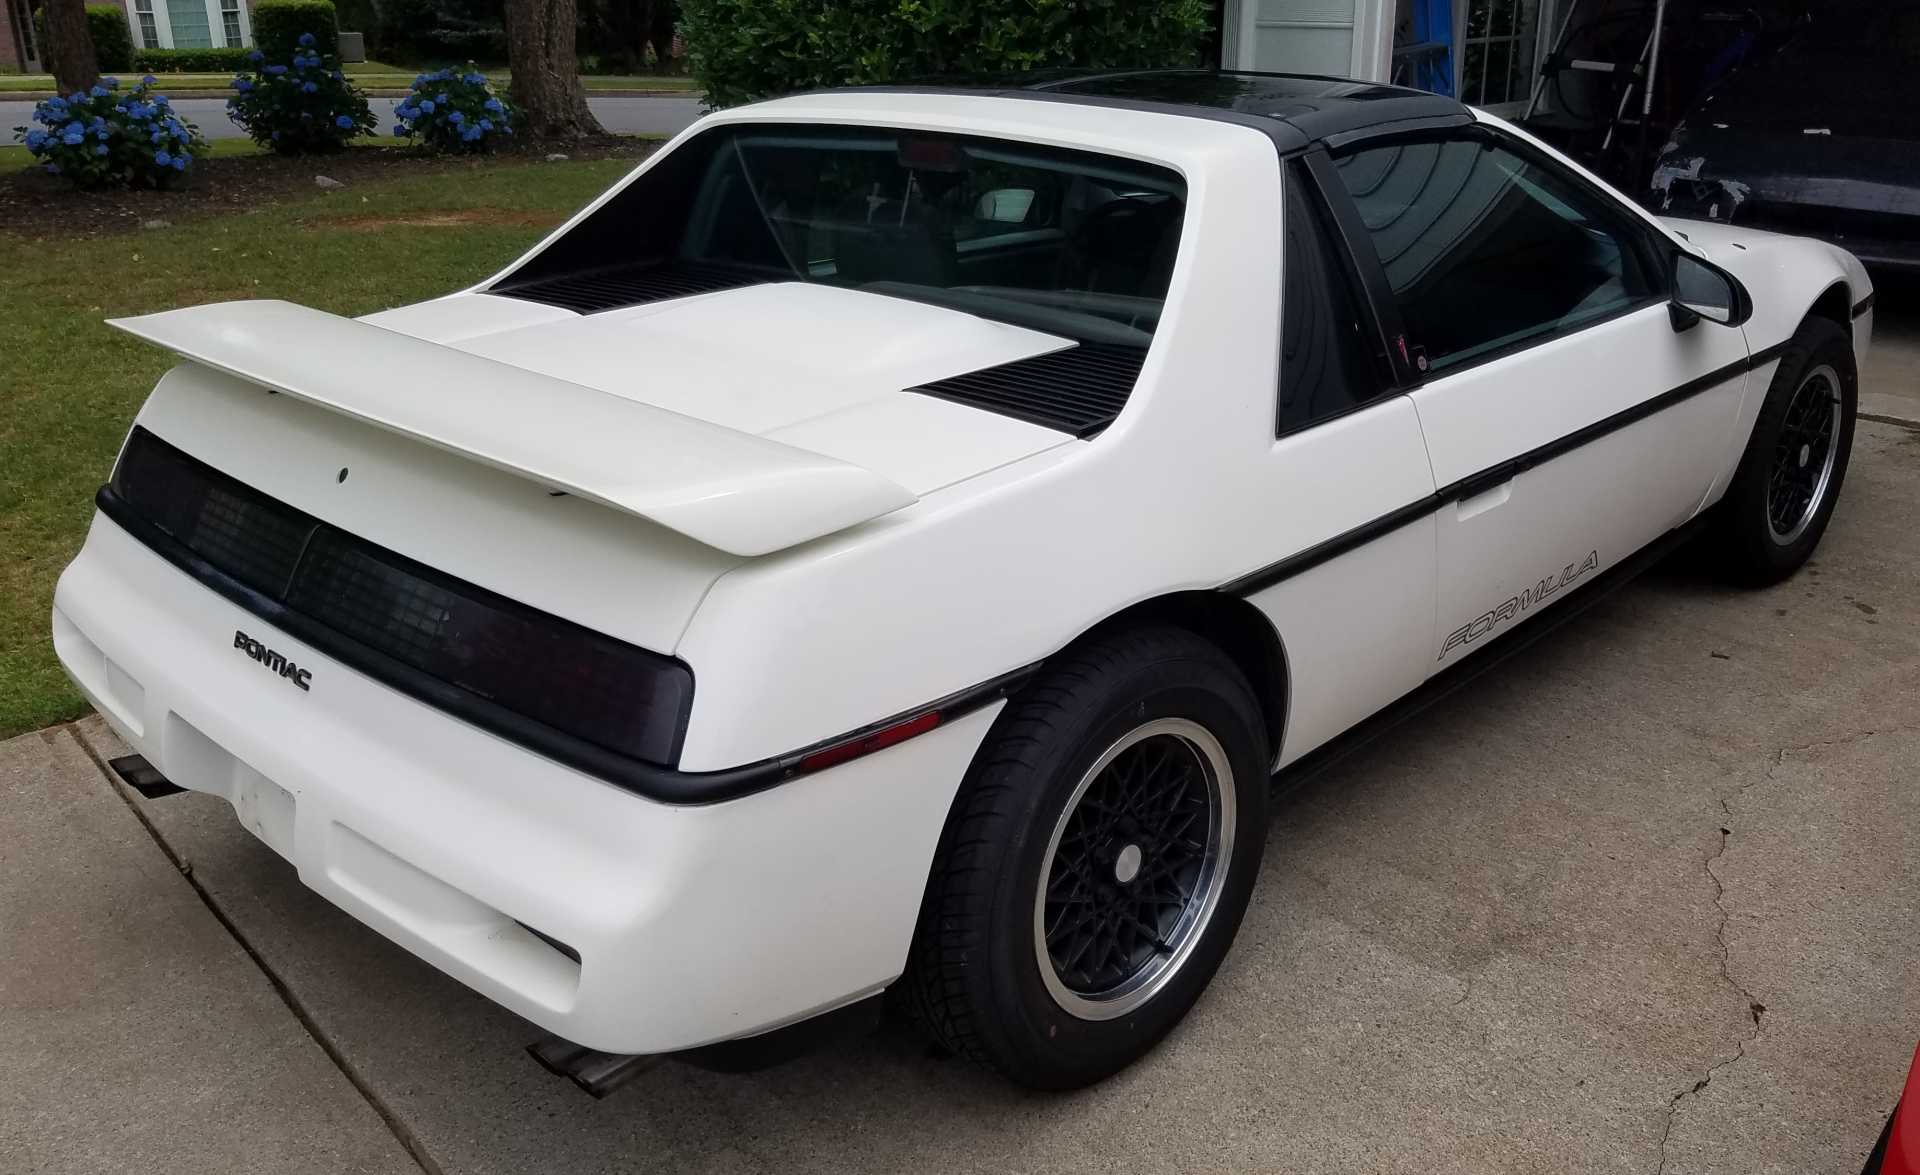
I swapped the hood for one with good paint, same with the wing. I only need to touch up a few spots on the roof and rear quarter now and it will be a solid 8/10. Better than a full respray for sure!
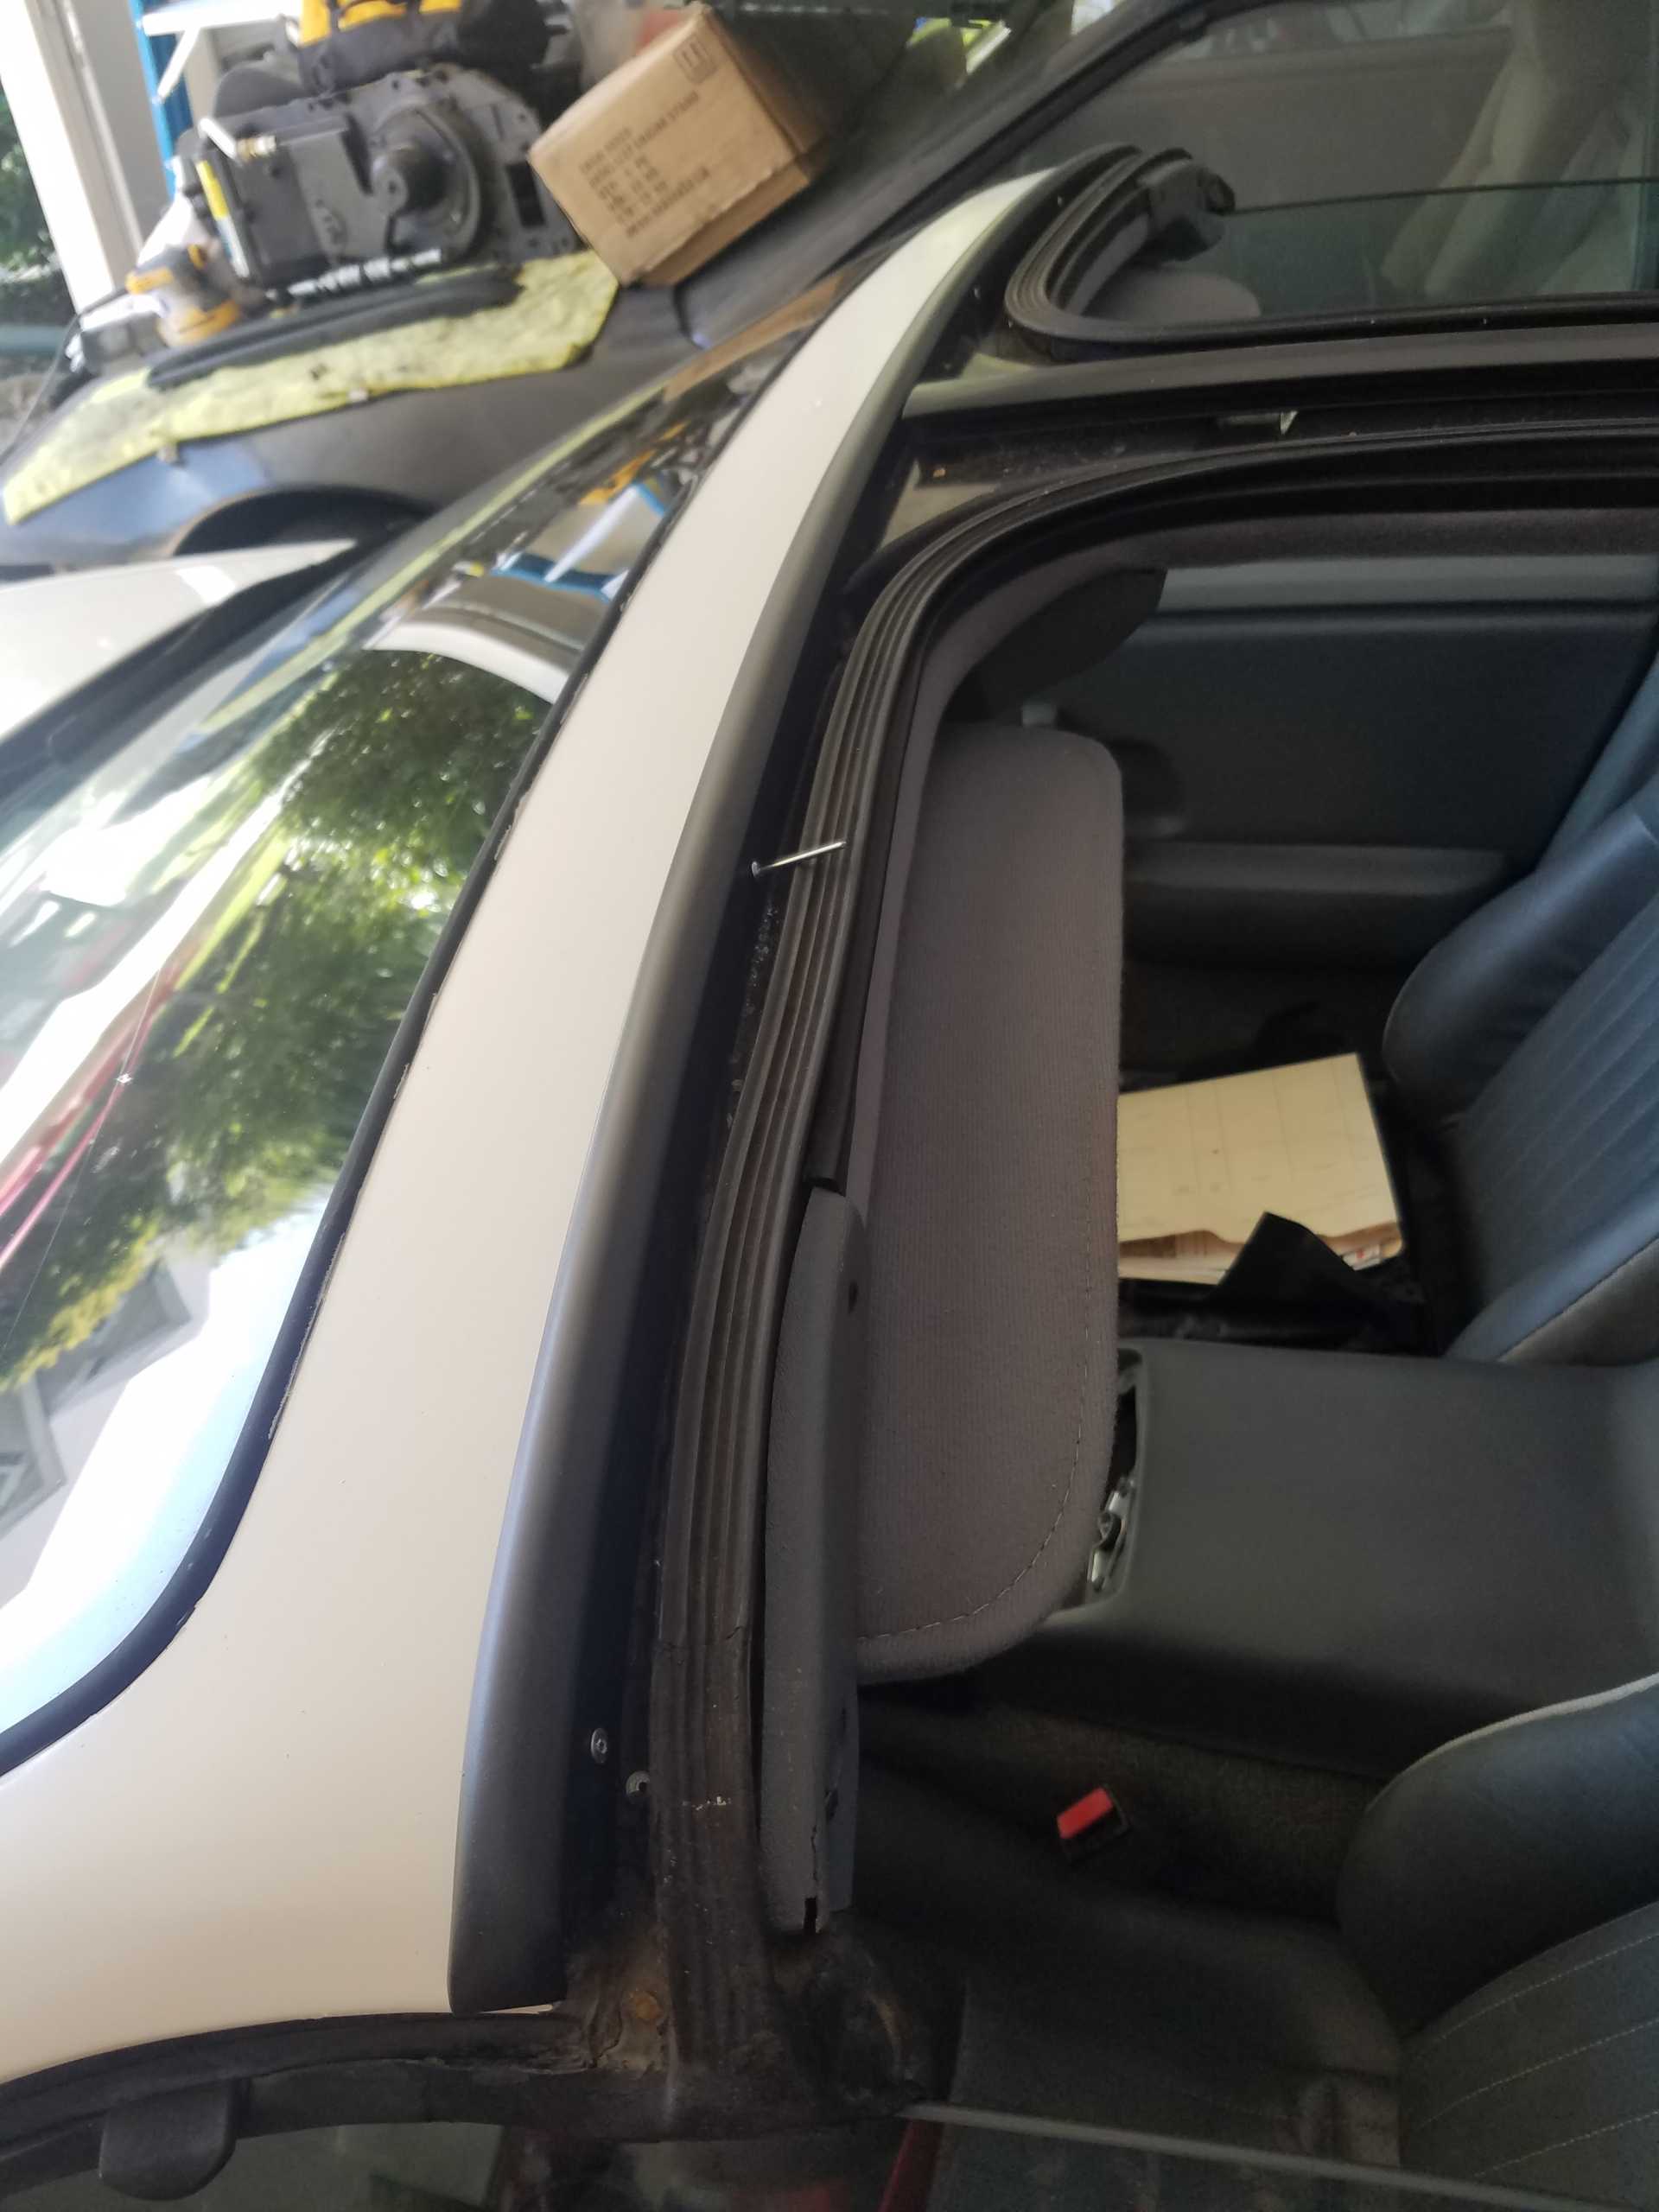
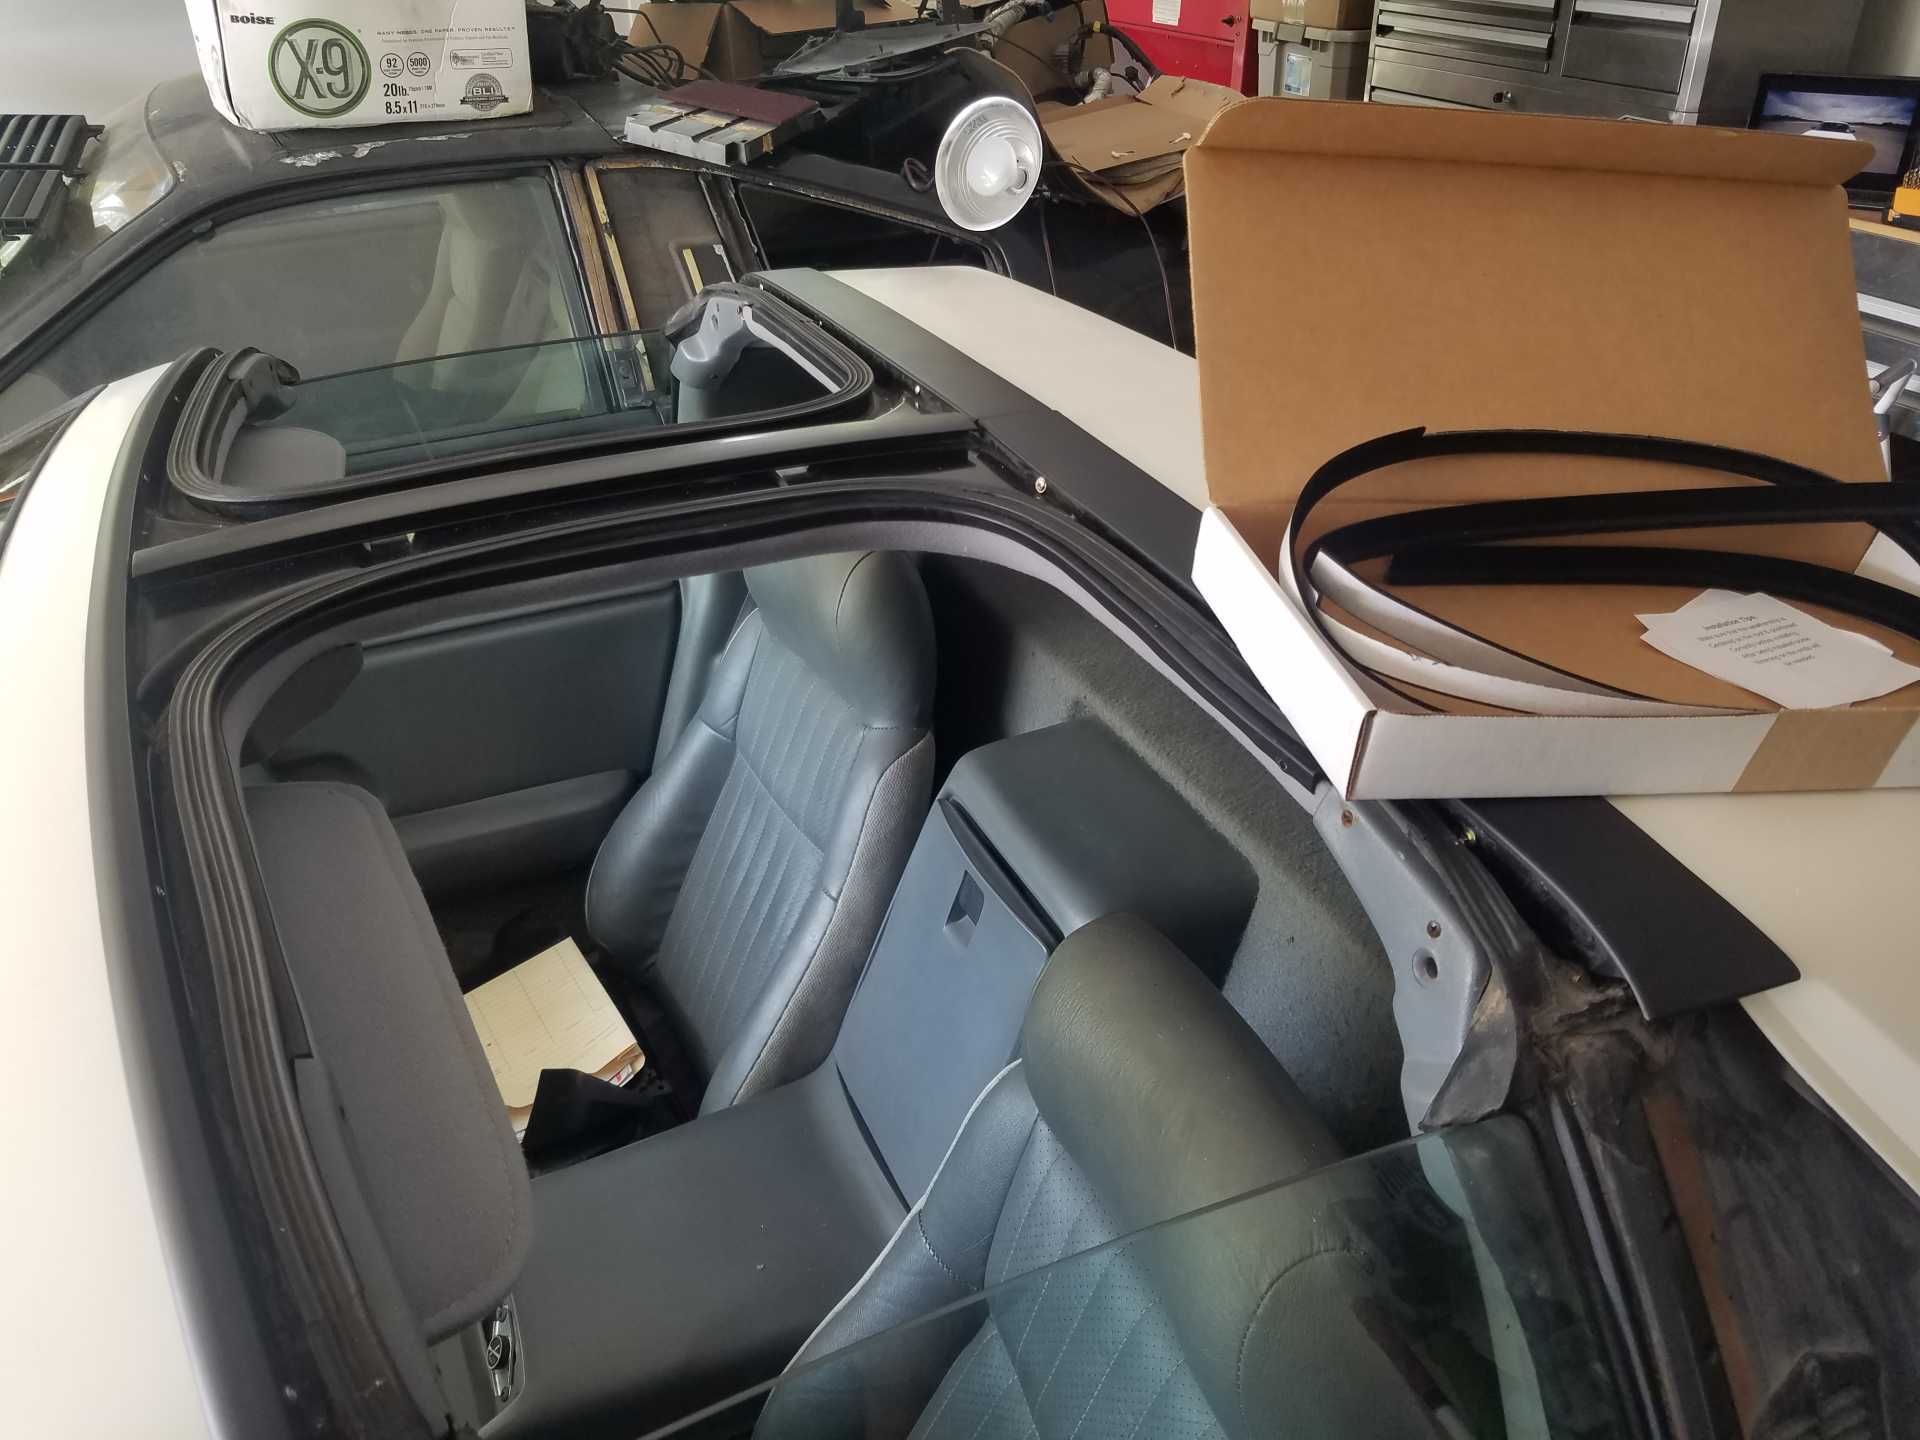
Today I finished the T-Top trim painting and installed new P-seals!
The new sail panels make all the difference!
Then I finished the details in the engine and fired it up for the first time in 17 years! Timing set to 10 degrees and she purrs like a kitten now Timing mark is steady as a rock (no walking). Sunday I chase down the inevitable gremlins and take it out for it's first test drive!
Soooo just in time to join the rest of the Georgia crew and bring it to Carlisle? ;-)
And also join us at our next meeting at the Marietta Diner, South Cobb Drive, 9:30 AM, June 12, then EARLY June 13 at Caffeine and Octane at Perimeter Mall on Ashford Dunwoody.
And also join us at our next meeting at the Marietta Diner, South Cobb Drive, 9:30 AM, June 12, then EARLY June 13 at Caffeine and Octane at Perimeter Mall on Ashford Dunwoody.
I'll give it the old college try! I have a couple of electrical gremlins to finish fixing. The rats had eaten part of the rear tail light wiring and I haven't found the break yet. Also, the AC is still not operational yet. Thankfully....I have T-Tops!
IT'S DONE! Wit the exception of a handful of fiddly trim pieces and a good detailing. It drives like a bat outta hell. EPIC!
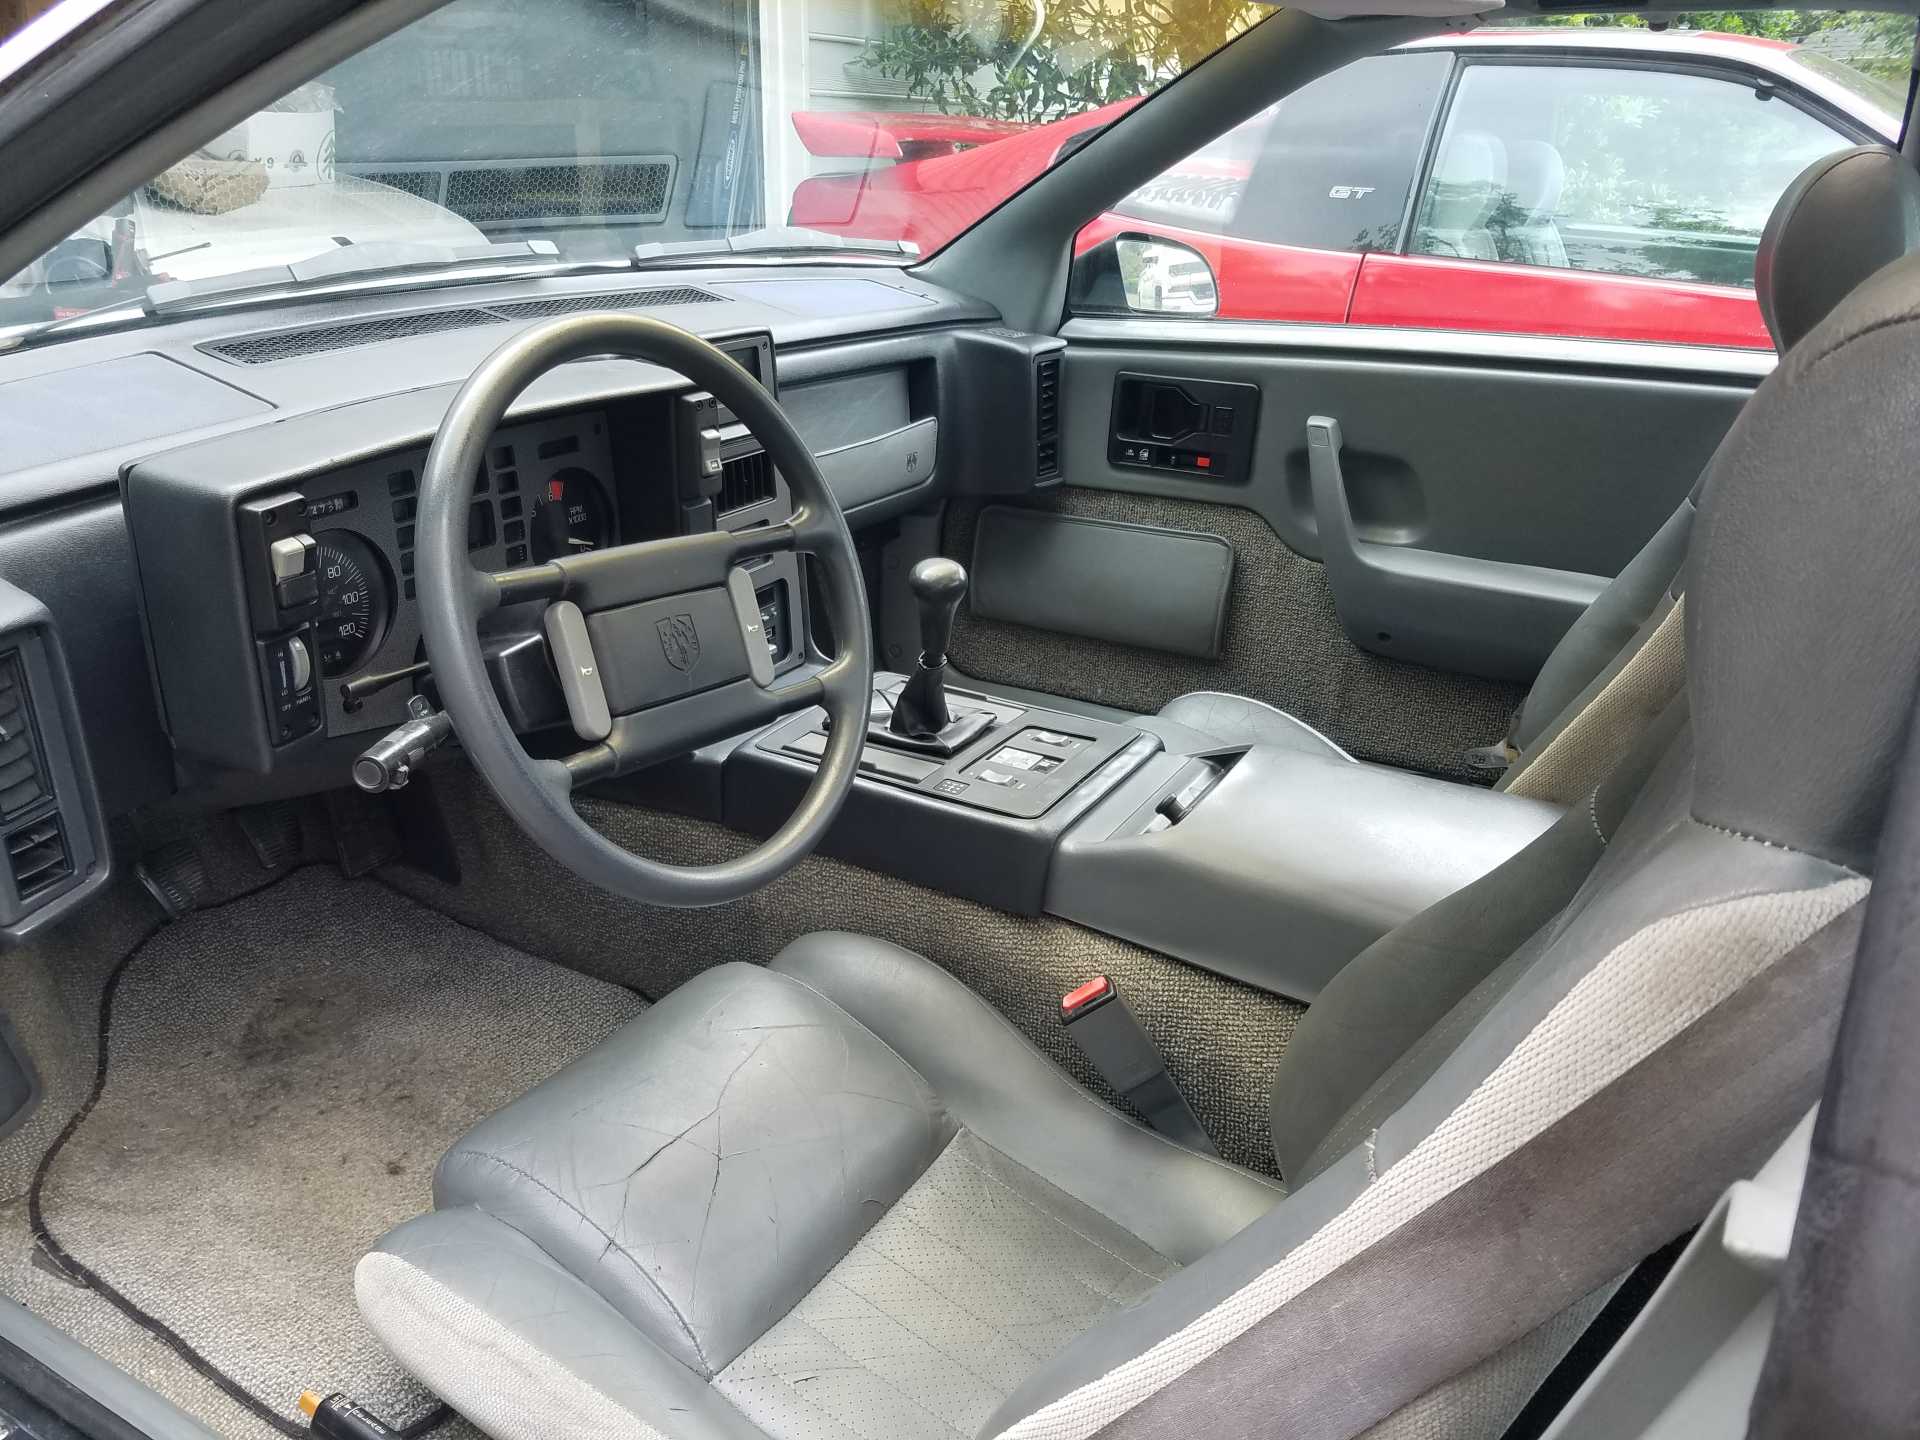
Refurbished Rims New Tires Rebuilt Calipers New brake Pads Bled brakes New Aluminum 3 core radiator Rebuilt headlight motors New bulbs New Hoses front to back New timing gear New Water pump New Front and Rear main seals Rebuilt distributor with new coil, ignition module, cap, and rotors New Plugs and 8mm Wires New Fuel Pump New sock New fuel filter New fuel lines New Fuel Pressure Regulator New Fuel Injectors Ported Exhaust manifolds New gaskets New Thermal Heat Wrap Swapped Auto tranny for Getrag 5-speed with new gear oil New Pressure plate New Clutch New Flywheel New Throw-out bearing New Clutch Master Cylinder New Clutch Slave Cylinder New K&N air Filter Fresh Trim Paint New Passenger Power Window Motor New Subwoofer (after conversion) and speakers New 12 Volt Power panel New Power Mirror switch after conversion New Power Window switches after conversion Swapped Leather Seats from a 1988 GT New Reupholstered Headliner New Reupholstered Sun Visors Rebuilt Heater/AC exchange box New Accumulator, Compressor, and Evaporator New Wiper blades All panel rivets drilled out and replaced with rivnuts so panels are removable New Sail Panels New Trunk Release conversion with new button New Poly anti-sway bushings New Front Motor Mount New P-Seals on T-Tops T-Top Locks with Key New Relays New Nose Badge New Tail Badge Cleaned and Detailed
[This message has been edited by Toddster (edited 06-09-2021).]