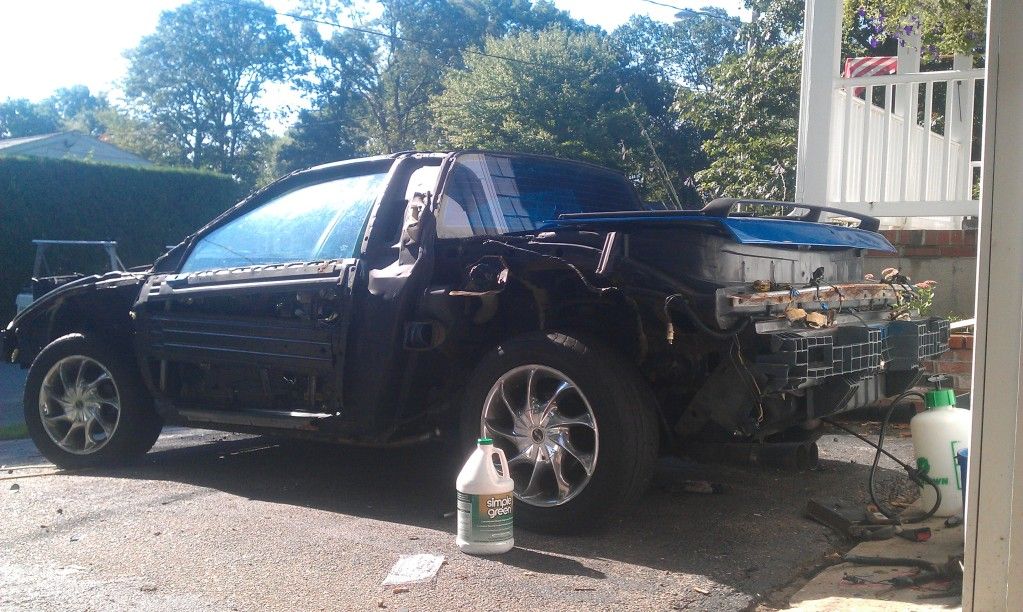
ok a little about my car. I have had it since 1998 fixed a lot, re did body and painted it 92 dodge dakota blue, and iroc silver ground effects in 2002,changed interior to blue and silver then i retired it as a every day driver and parked it in a barn for about 8 years ...... Well Bad BAD Bad mice moved in and it became the biggest mouse condo around. The smell was enough to gag litterally. I took all the interior out power washed it, simple greened it, power washed it fabreezed it, vacuumed all the water out still smelled.... took door panels out found both doors clogged solid with all my insulation from the mice cleaned it out car still smelled. So I took the dash out and vent box found nests in the vent box, the cowel, the drain tubes for the cowel. found out they were in the unibody above your head when sitting in car.... by this time i was already having nightmares about mice. left all the carpets and door panels outside for 4 weeks power washed them, steam cleaned them again finally smell was gone from them car still stunk powerwashed inside the unibody had whole inside of car in water still stunk...ARGHGGHGH so started taking body panels off found mice behind the rear lights, in the frame that holds the rubber eggcrate behind the bumper, in the rear heat discharge fan and duct work, ok so 2 month story short every body piece came off and i finally got rid of the smell after power washing frame and back sides of body panels must of powerwashed the car 20 times
I found rust on chasis so i thought about it and figured if i went through all of this I might as well put a bigger motor and redo it so this starts my 3800 swap and full restore I am taking my time and in no hurry i cant afford to register it anyway lol I have already started on the chassis and have lots of pictures that i will post later
Originally posted by 85bluegtma: I might as well put a bigger motor and redo it so this starts my 3800 swap and full restore I am taking my time and in no hurry i cant afford to register it anyway lol
Just a thought, if you cant afford to register it, how the heck are you going to put a 3800 in it? Just wondering. That was the very first thing that crossed my mind when I read that. I'm not discouraging or bashing, just wondering. Id love the same swap, but I cant afford it. I was going to do the same but opted to buy a 88 GT instead.
thanks for the welcome. ya i will have pics as soon as i can find a website for free to upload pics from my android phone. Anyone know of any? Gadget I am doing this on a budget (as little as possible and still doing it right)
So far i am in it for lots of time and about 150 bucks for steel, por, oxy/acytilyn, and welding rods as i go i will be doing this car from the bottom up. os chasis will be done b4 engine, then engine then interior
I am getting a 98 park avenue donor car for 1000 bucks the motor has 23,000 miles
Ok gonna post a bunch of pics to catch up to latest project im all proud of
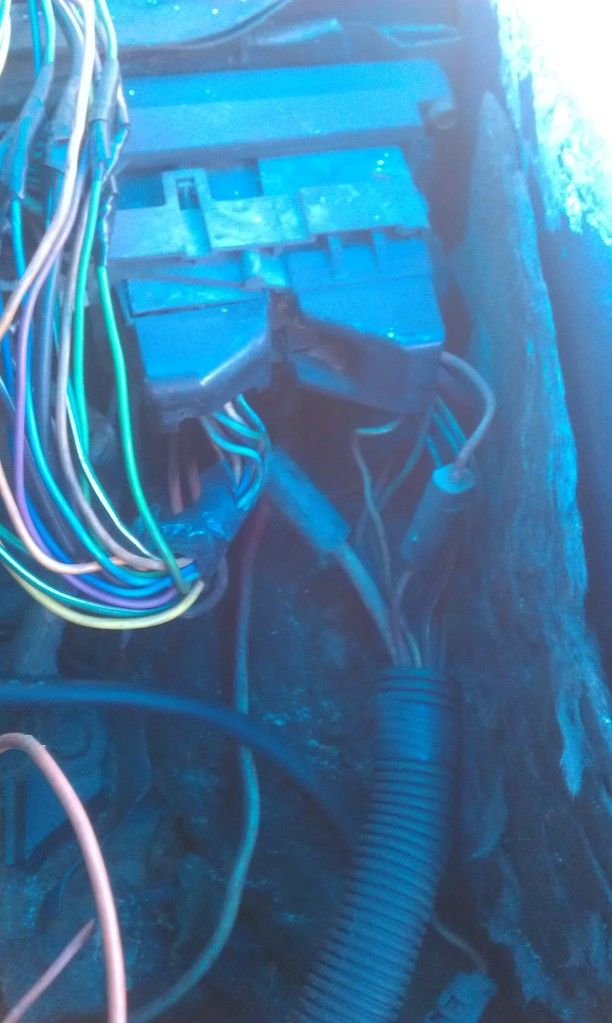
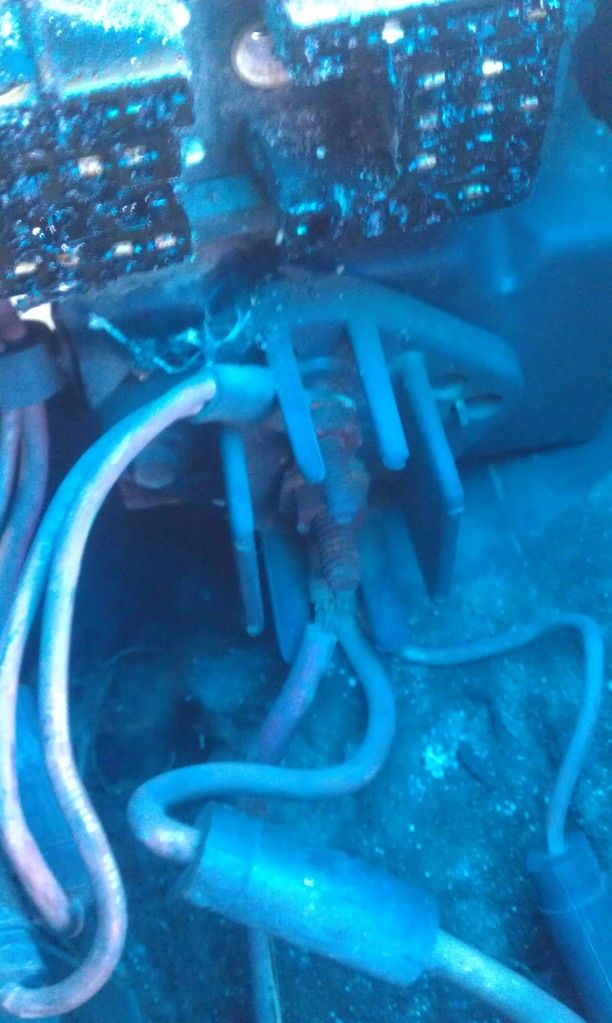
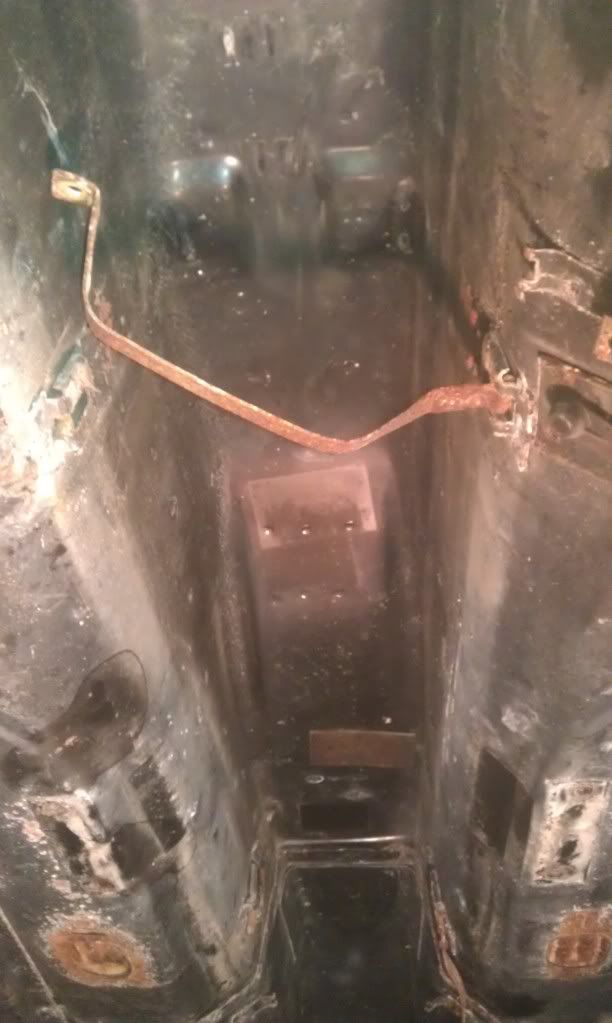
Once the smell was out i pulled the car in my garage wrapped a chain around the trunk took out battery, disconected ecm from under inside console and pushed harness into engine compartment
disconected the other part of the harness from here
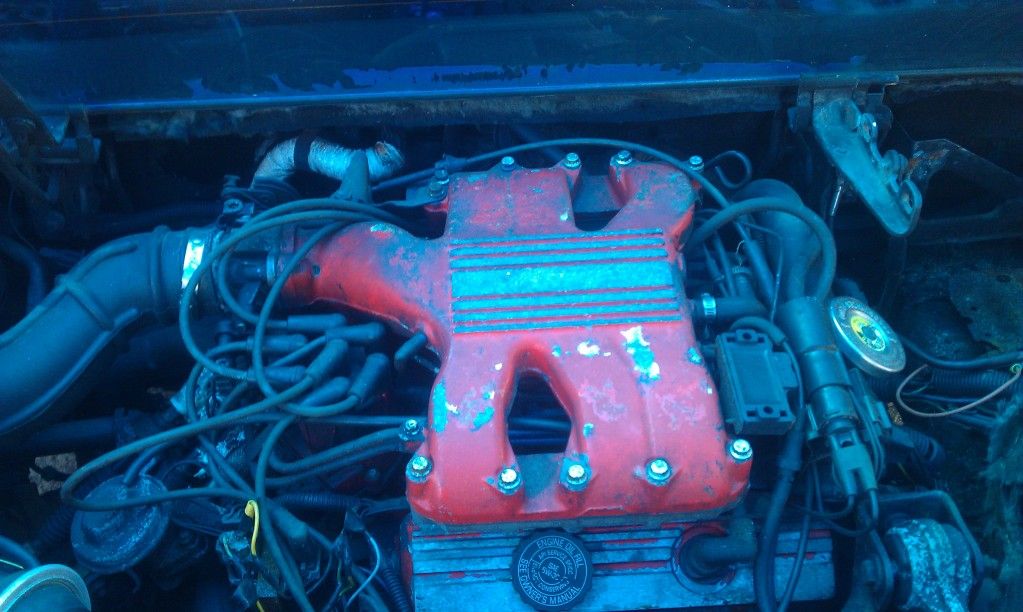
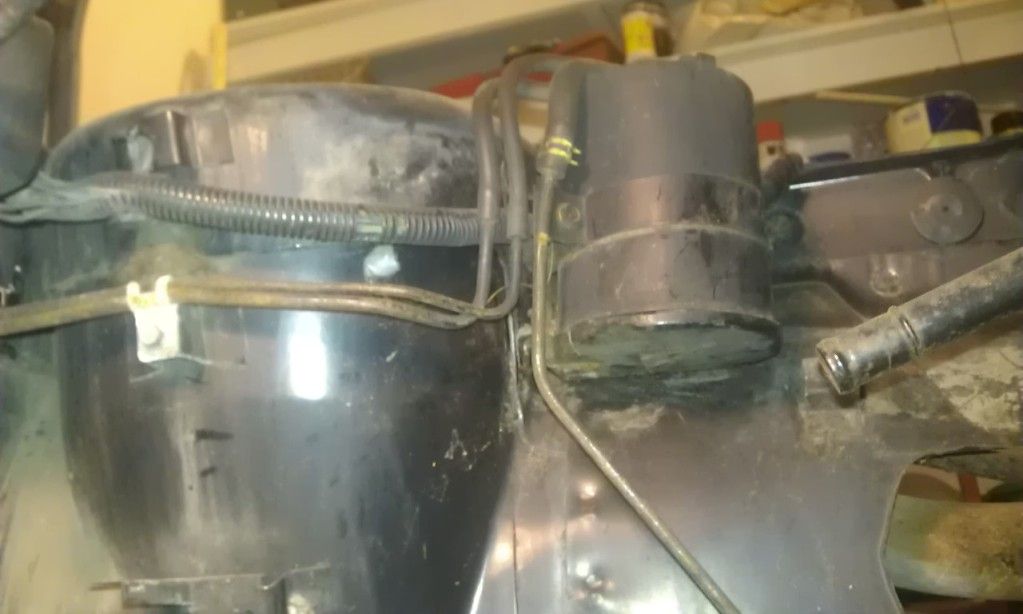
took off the air cleaner and disconect the sensor off air cleaner and put it on top of engine took out air intake to get to ac lines under it and disconected them as well unbolted relays from firewall and put on top of engine. i lucked out when i had engine changed they cut the holes in frame to get to the front cradle mounts.
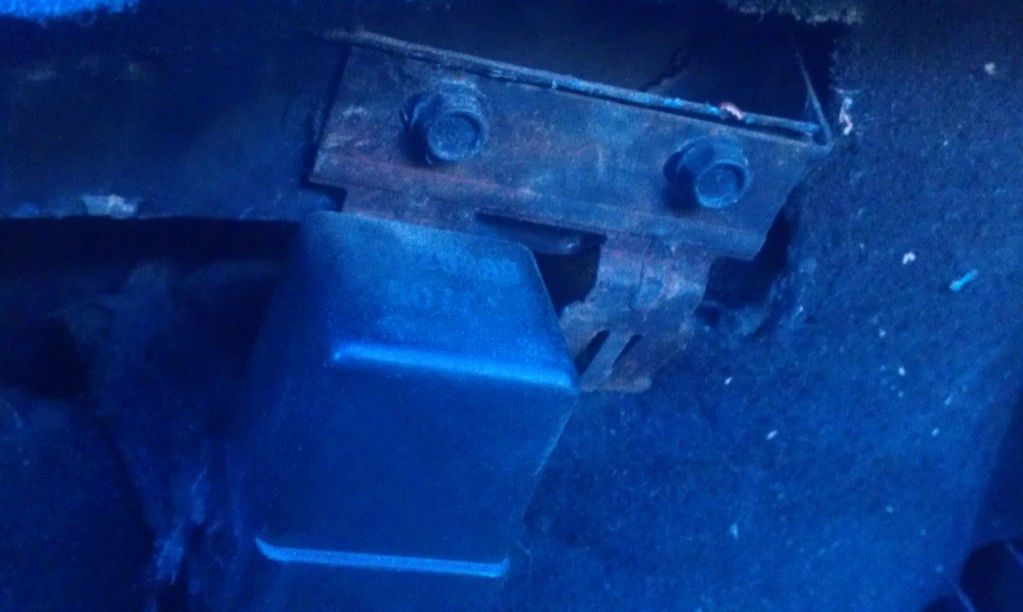
i jacked up the car from under neath with a 4x4 across the bottom put jack stands then had to heat the hell out of the rear cradle bolts from inside the chasis to get them; out unbolted the six bolts on the top of the coil overs put an old wooden 2 wheel 2 metal legs skid i found on the side of the road a couple years ago that i grabbed and said to myself someday this is gonna come in handy... well wow it worked good put it under the cradle disconecte the emergency brake cable made sure everything was disconected jacked car off jack stands and lowered slowely on wooden skid thingy. took the tires off. heated the hell out of the front cradle mounts thinking to myself this is dumb the disconected fuel lines are right there.... well im still here typing so thats good. but seriously without heat i would of never ever gotten that out
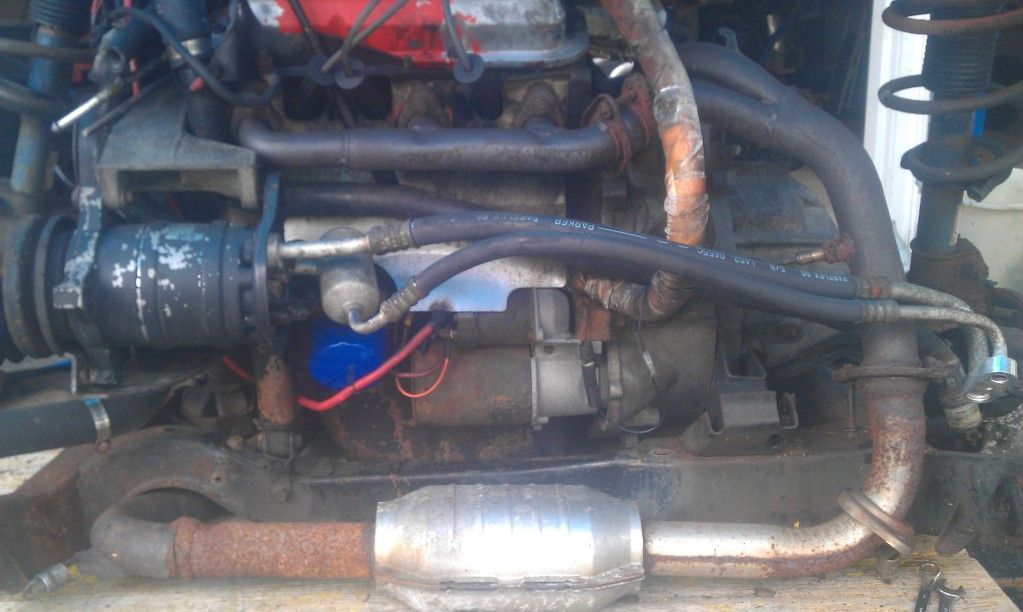
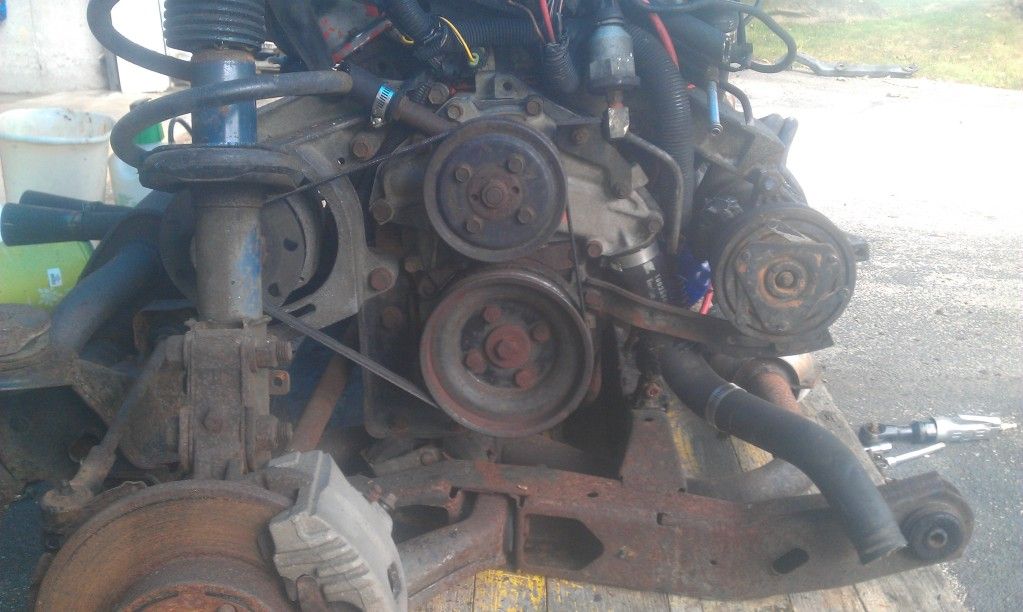
disconected top dogbone took of front hose by radiator and sucked out fluid with shop vac disconect hoses off engine on water pump did a final check that nothing was still conected. disconected brake lines from calipers disconect clutch slave cylender and let it hang disconected shift linkages
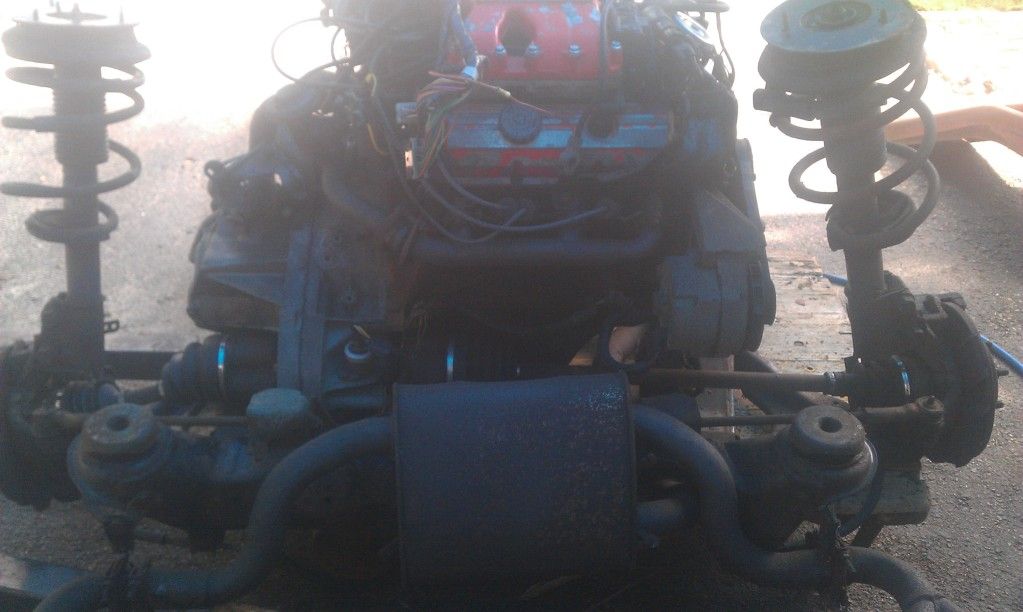
put engine hoist in back of car hooked it up to chain that i had wrapped around trunk (remember i dont have the body on) and slowely had a friend help and slowly went up till the whole engine was clear slid engine out from the passenger side
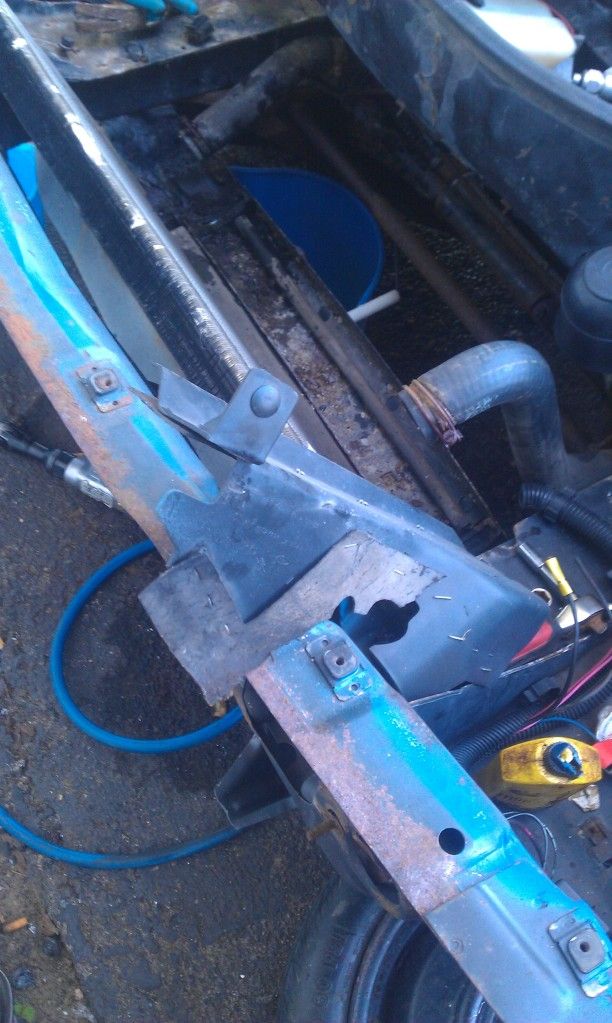
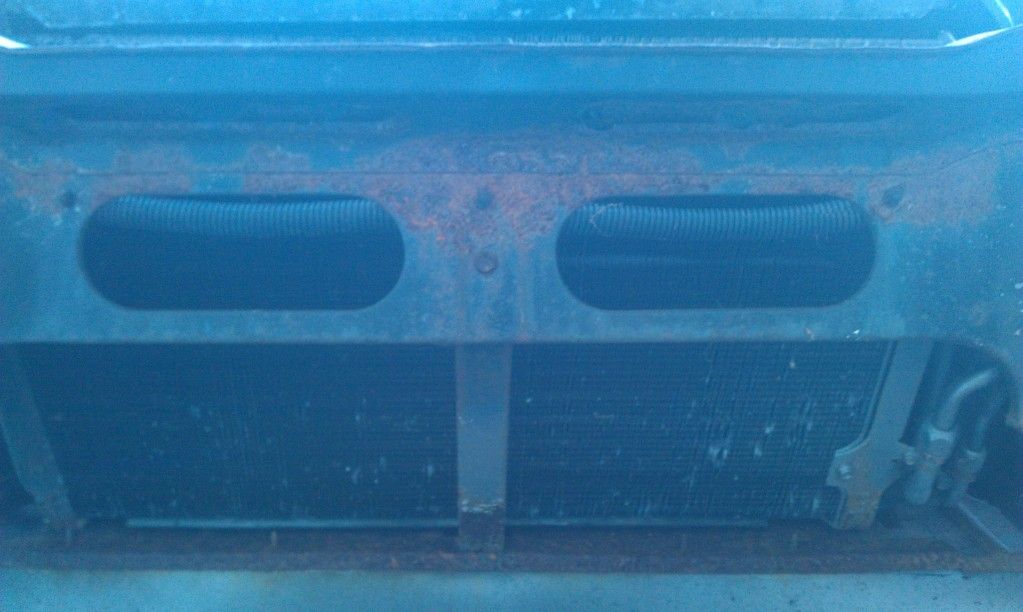
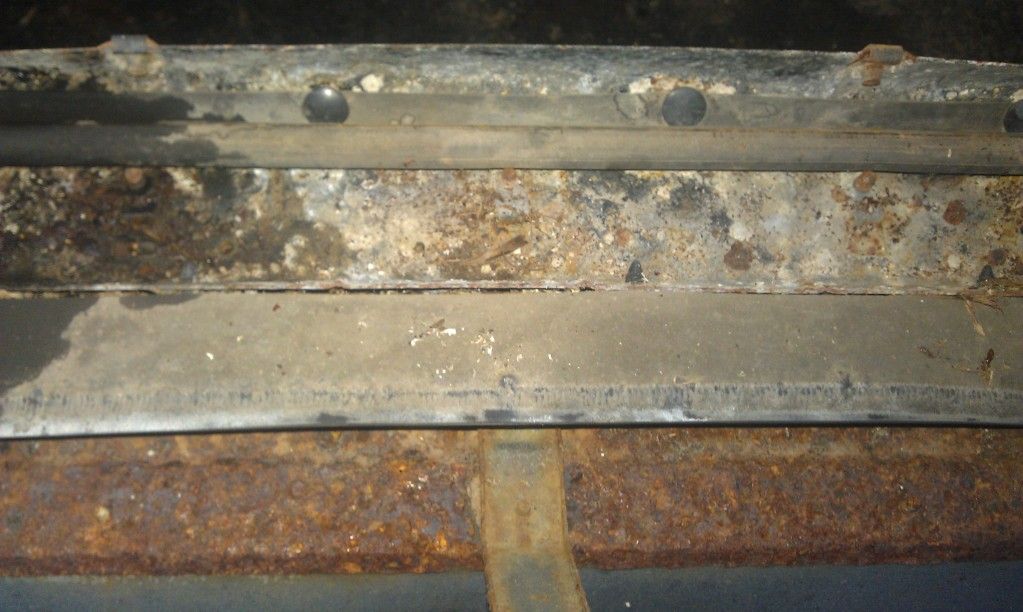
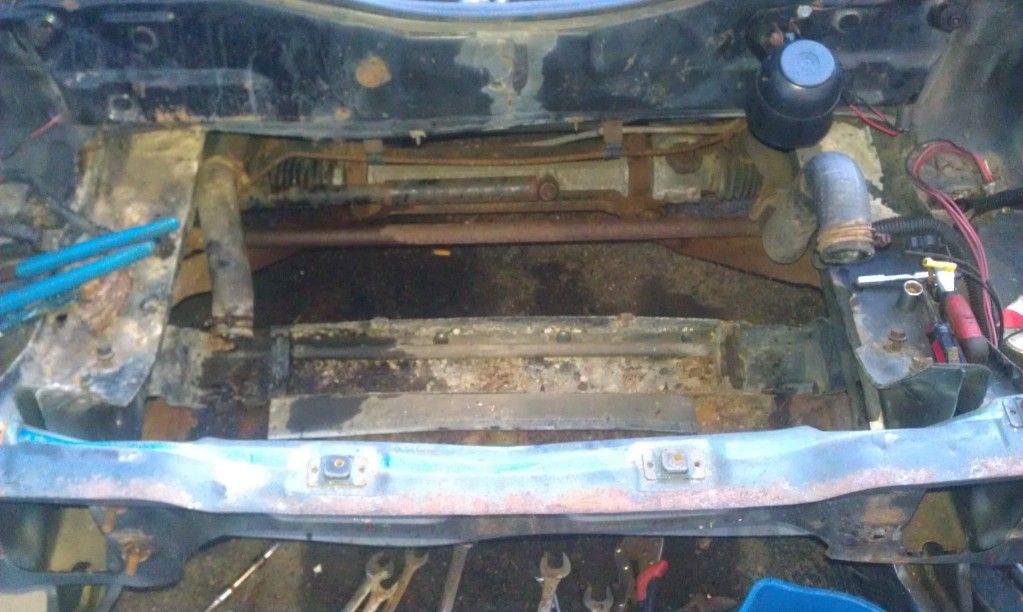
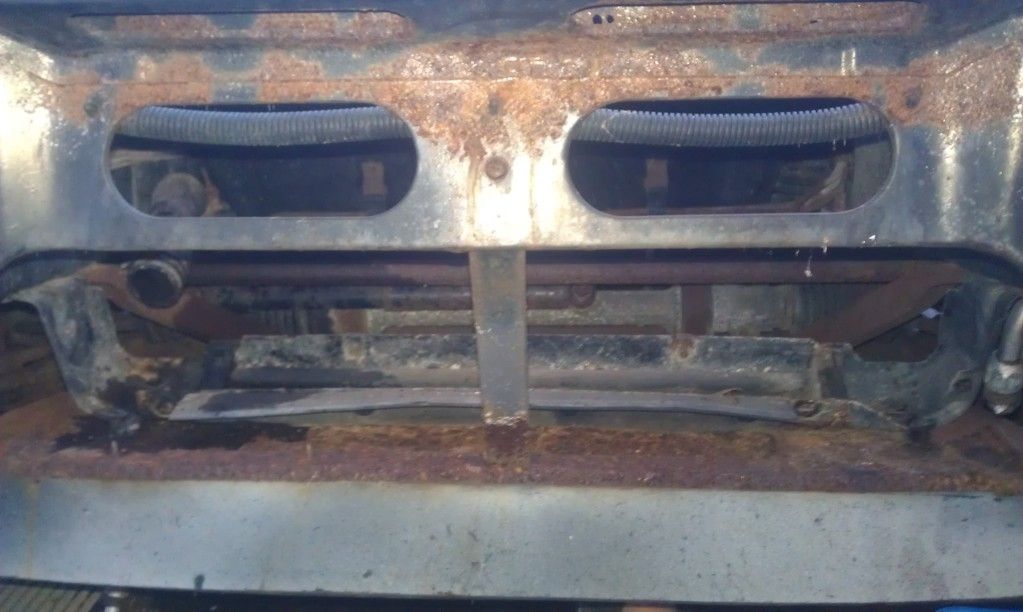
now that the engine was out i set back of car on jack stands jacked up the front of car and put front tires onto wheel ramps releveled car so its at a comfortable hight to be working on it sitting on a bucket or 6x6 depending on what im working on. i took the front trunk out jack holder took the front and rear galvanized pieces off bumpers took the metal frames off needle gunned the whole frame went through a couple places so good glad i found it now. I took the radiator and ac condensor out and the brackets for it
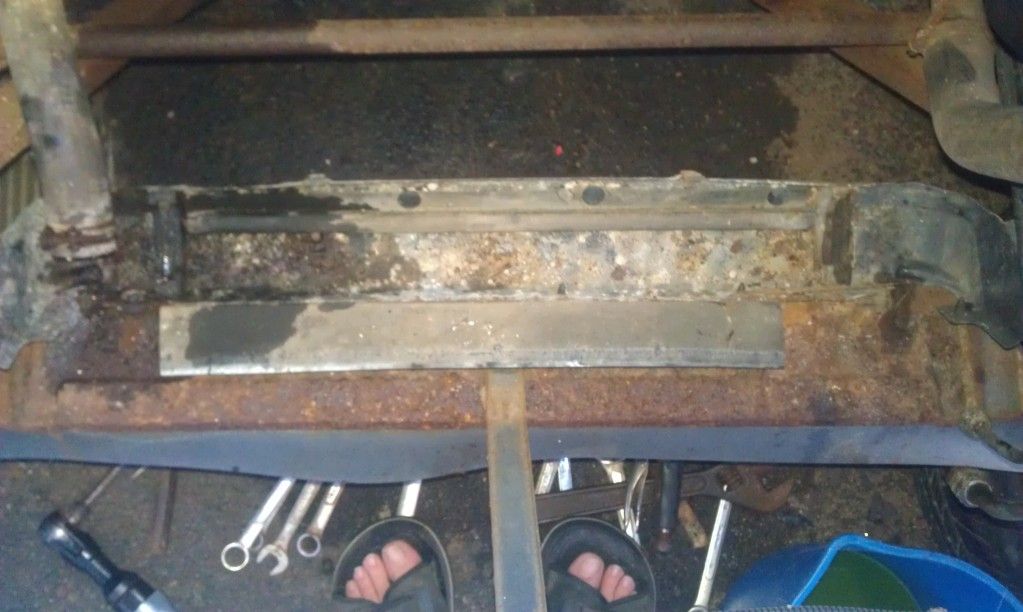
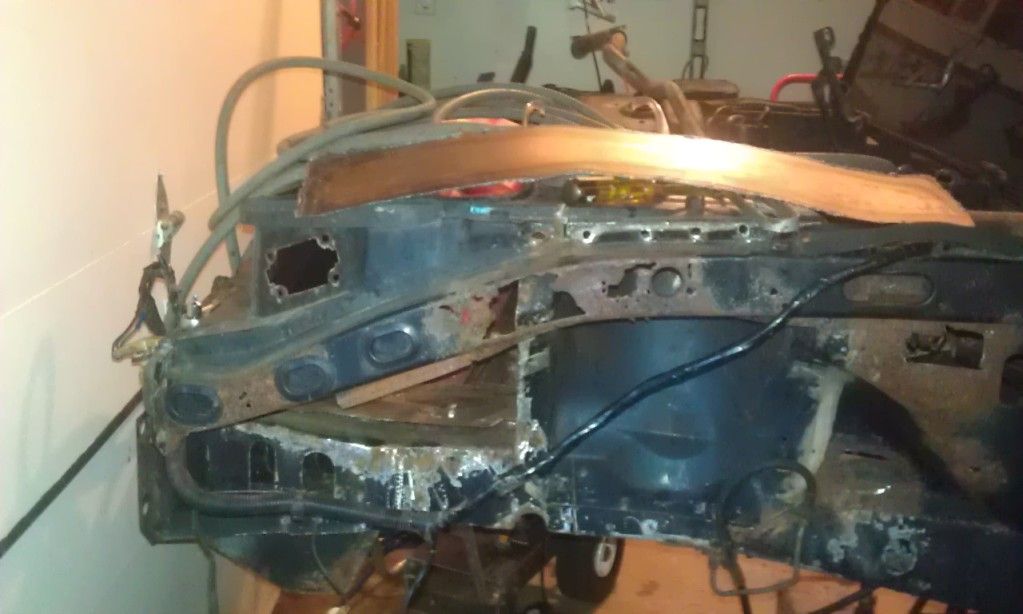
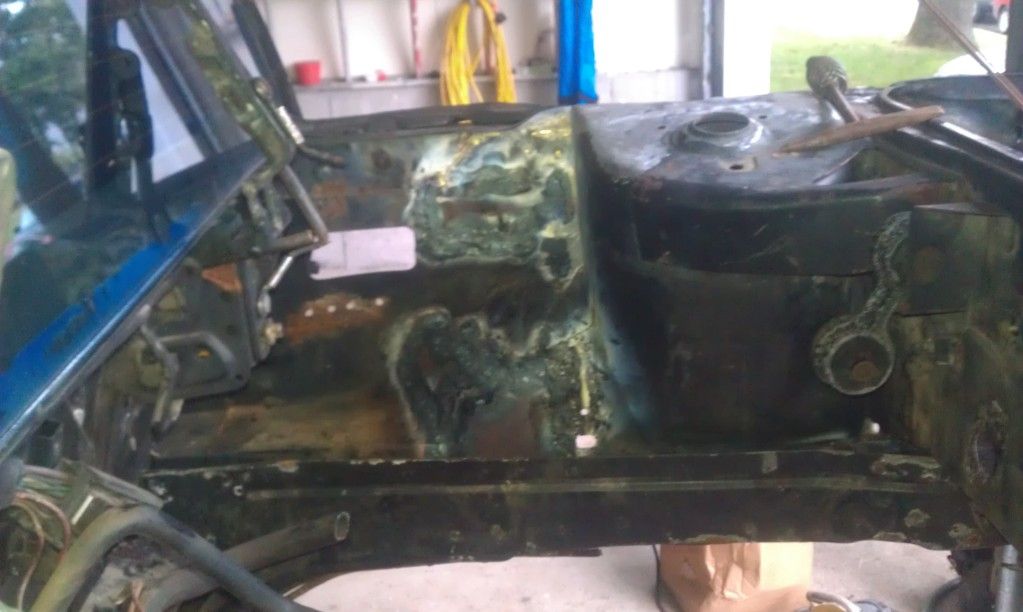
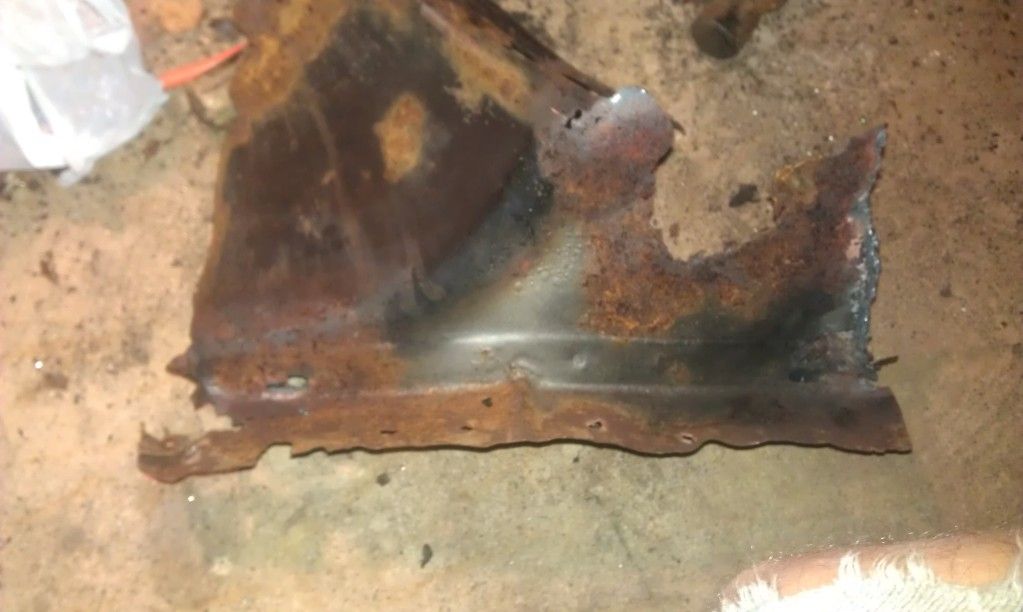
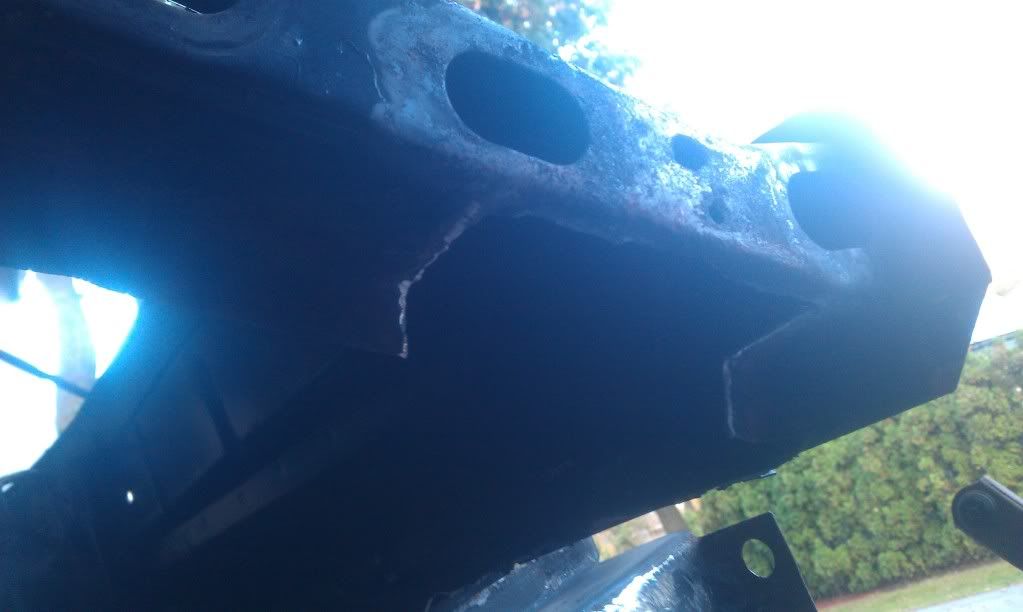
here is the worst part of the frame so since im not a welder or a mechanic here is where i start already done with most of it by now my neighbors must love me air needle gun all day, impact guns dunn dunnn dunnn dunnn daatdat datt dat cut off wheels whhhheeee whhhheeeee , grinders etc etc ohh and dont forget the thing i mentioned that im proud of the inside trunk hand made with a ball peen hammer lol took me 3 days pounding on it more on that later i still gotta catch up to now.
i have been reading yours i cant wait to see what you do with the sub
The rust sucks but it wont have a spec when im done
what do you guys think about a name for mine i have been toying with parfieranue , fieranu, anuefiero, etc park avenue and fiero lol
Thanks! I'm starting the box frame today, as for names I like "Fark" haha jk hmm was it the park avenues that had the special tacked on? Fiero Special, or just lie and say you used a Pontiac engine and get Fiero GTP or GTX those are cool I think.
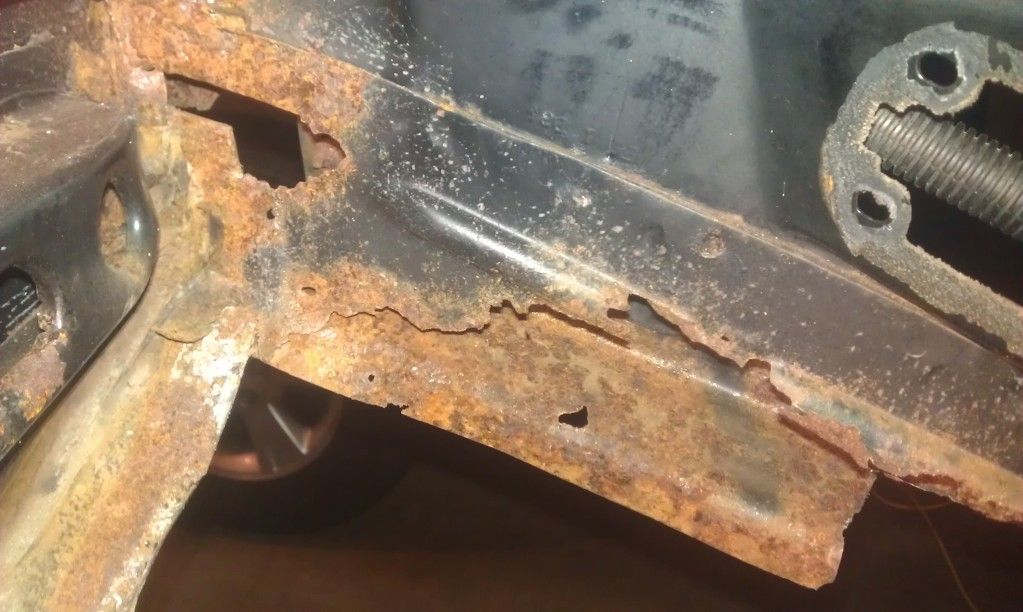
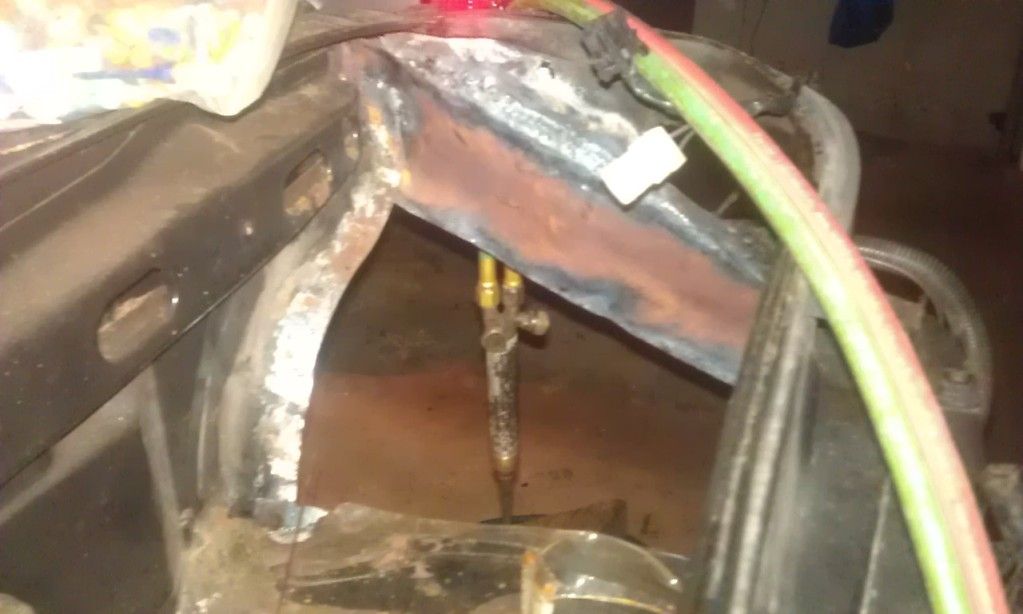
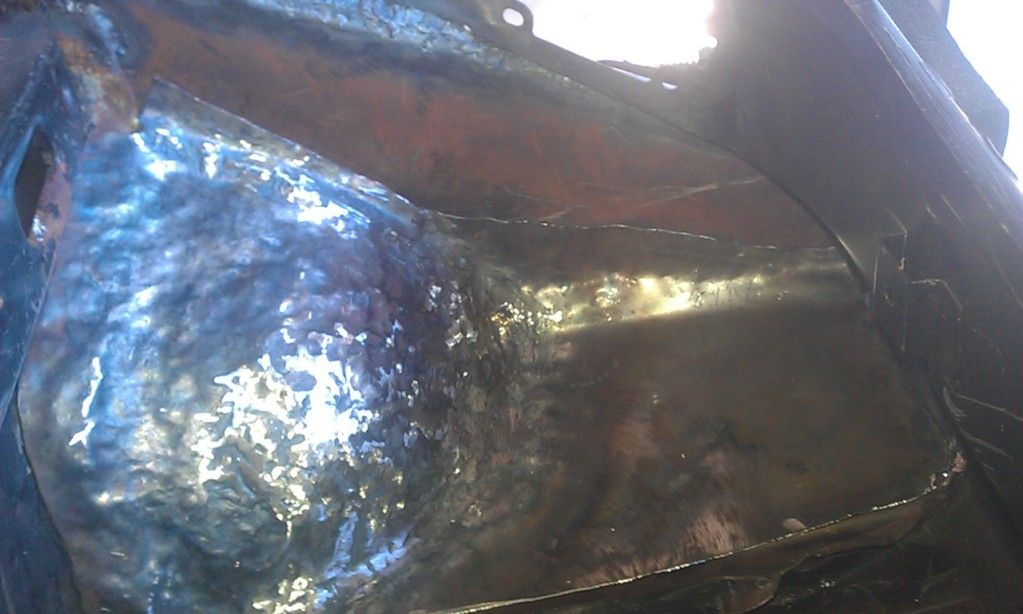
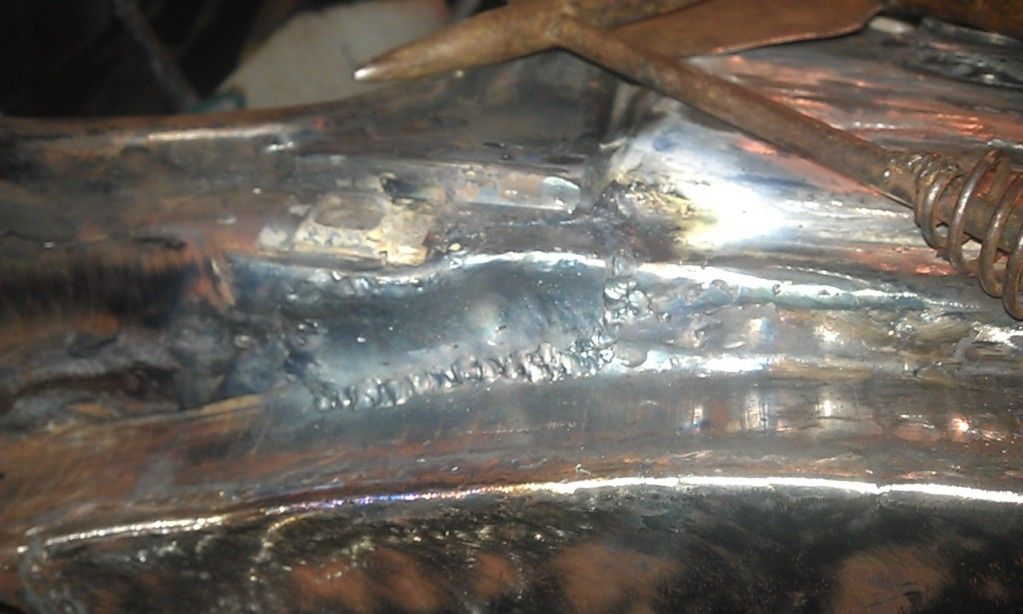
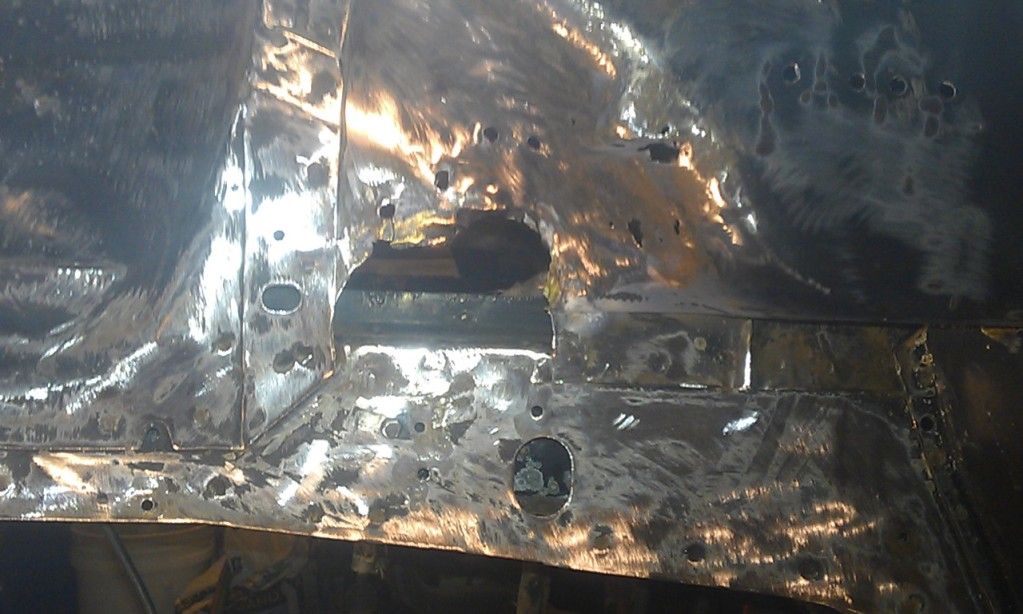
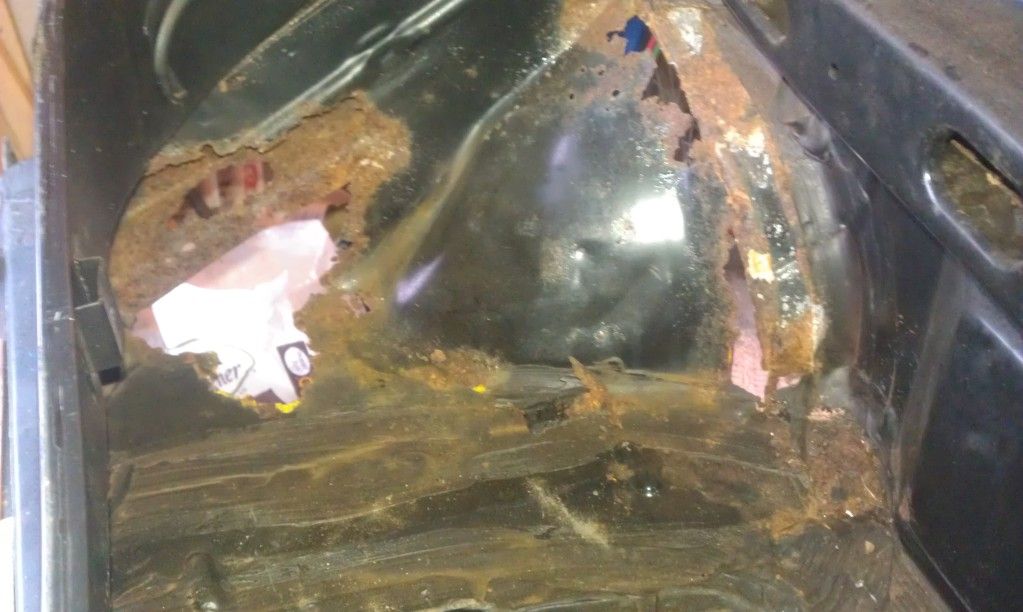
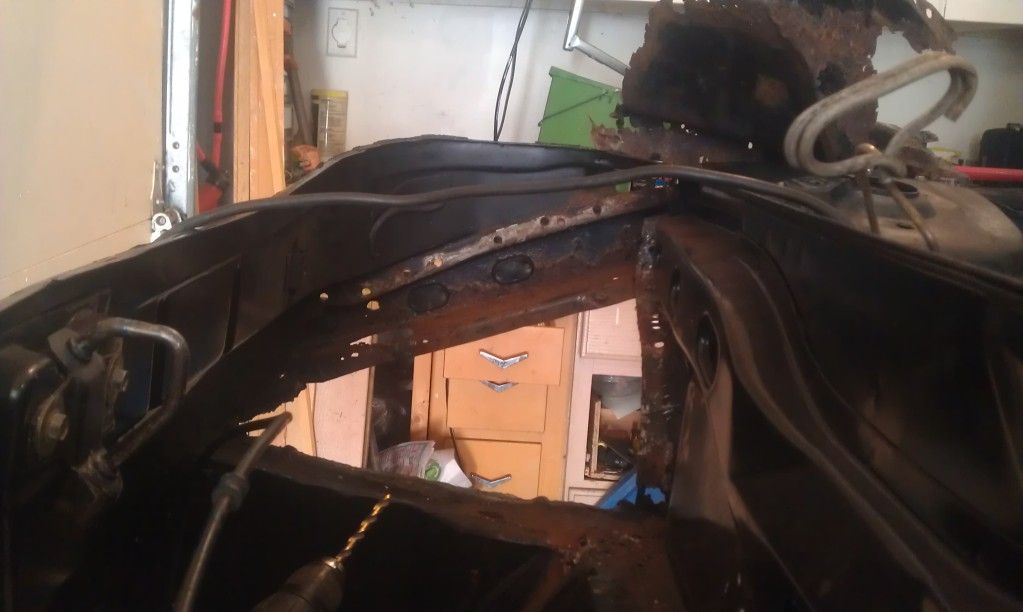
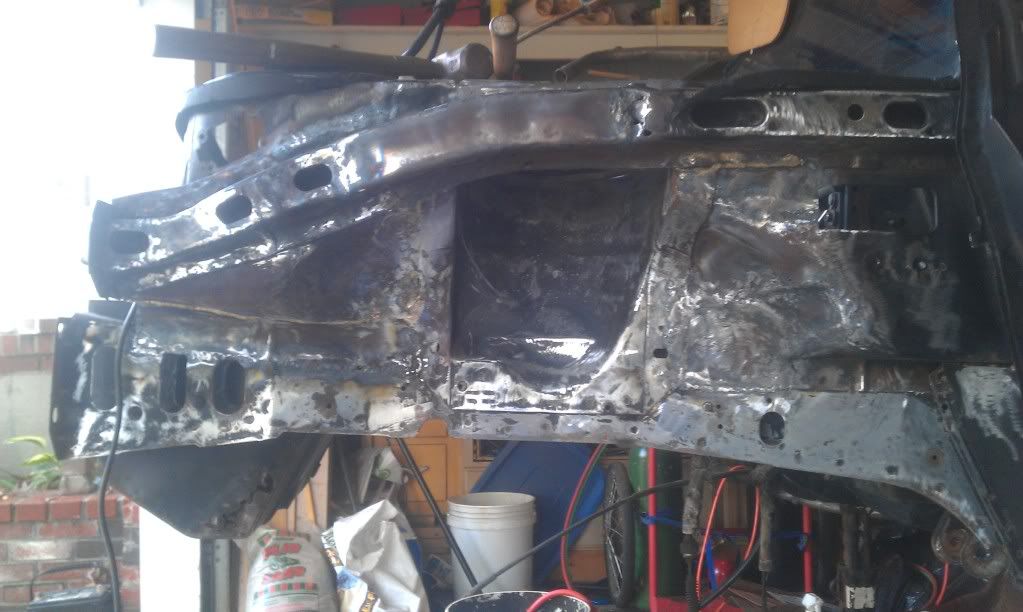
Ok so ive been working on the passenger rear side for a couple weeks and here is some pictures. Remember i am no welder or brazer but ill be an expert by the time im done. well first in the wheel well the rear side of the top frame rail was rotted from the trunk where the exhaust fan is to the rear side of the battery box. So i drilled all the spot welds out in trunk and on top by the strut tower housing
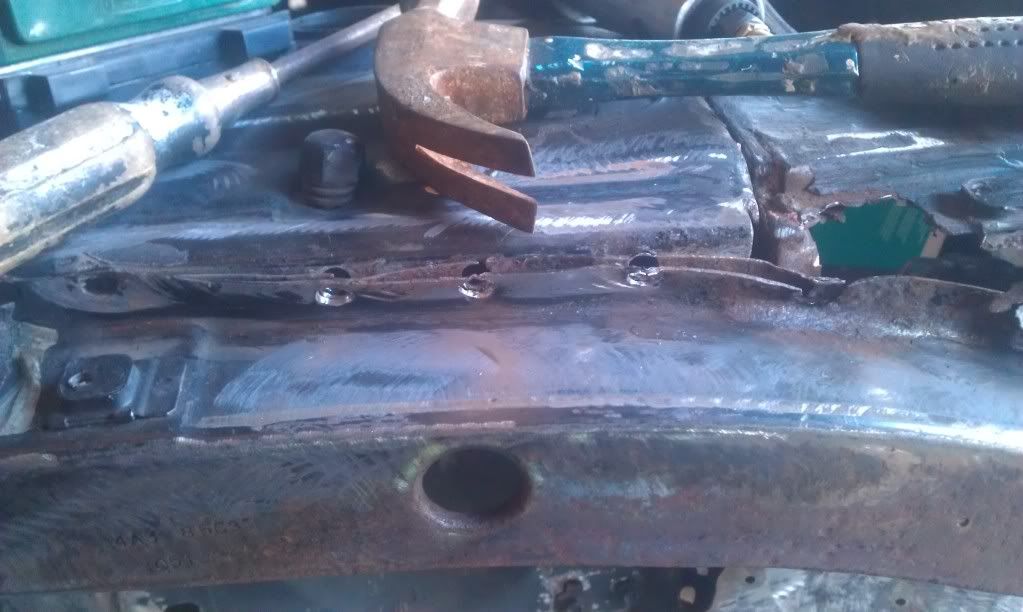
after that i made a pattern out of cardboard traced it out cut it out with a torch welded it in with oxy acy and rod
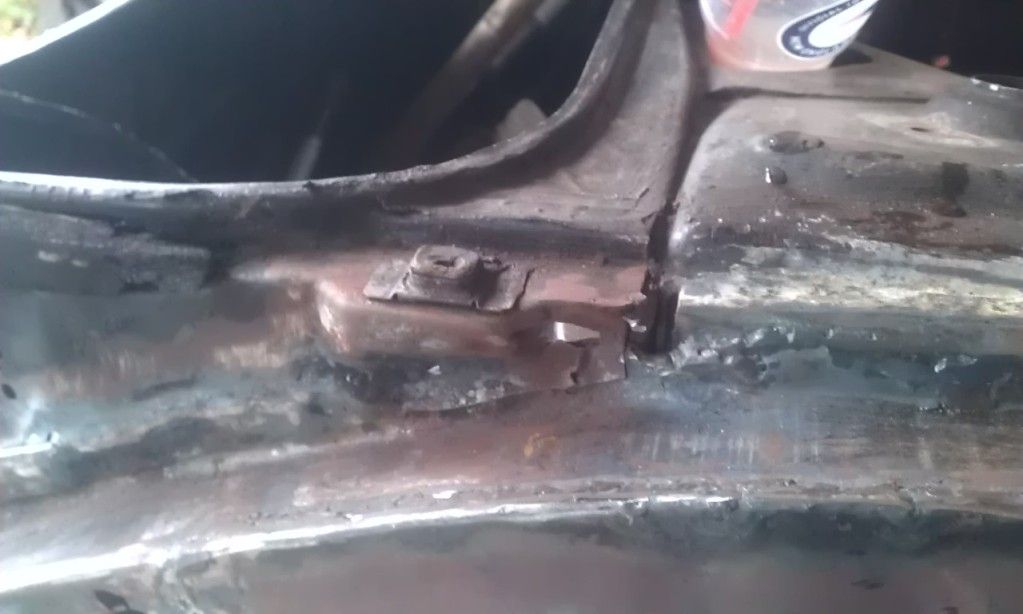
next i cut the part that holds the trunk up
and welded a piece in i used a ball peen hammer on a log to put the fold point that doubles as a drain hole i think
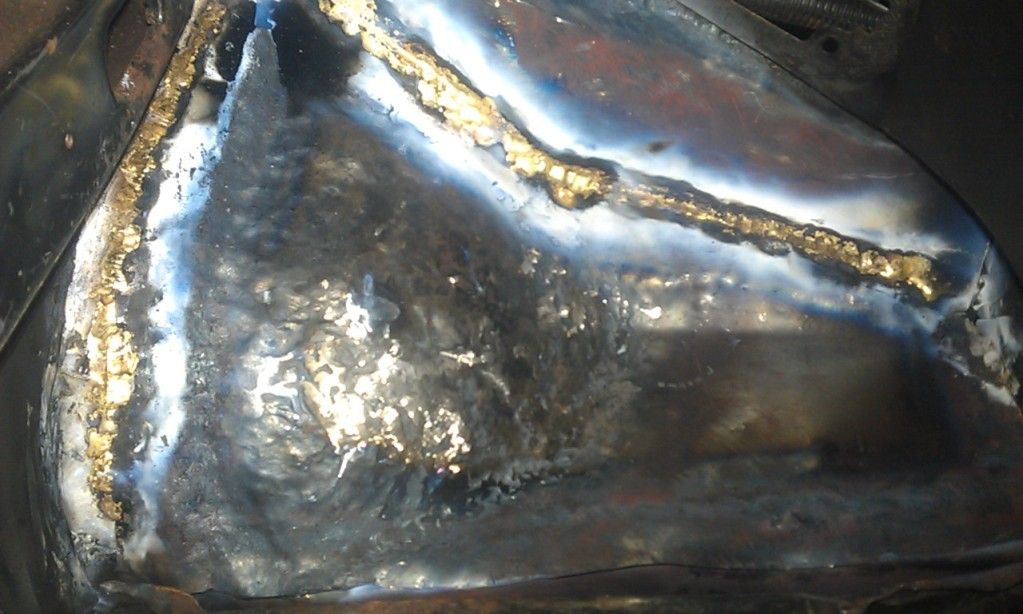
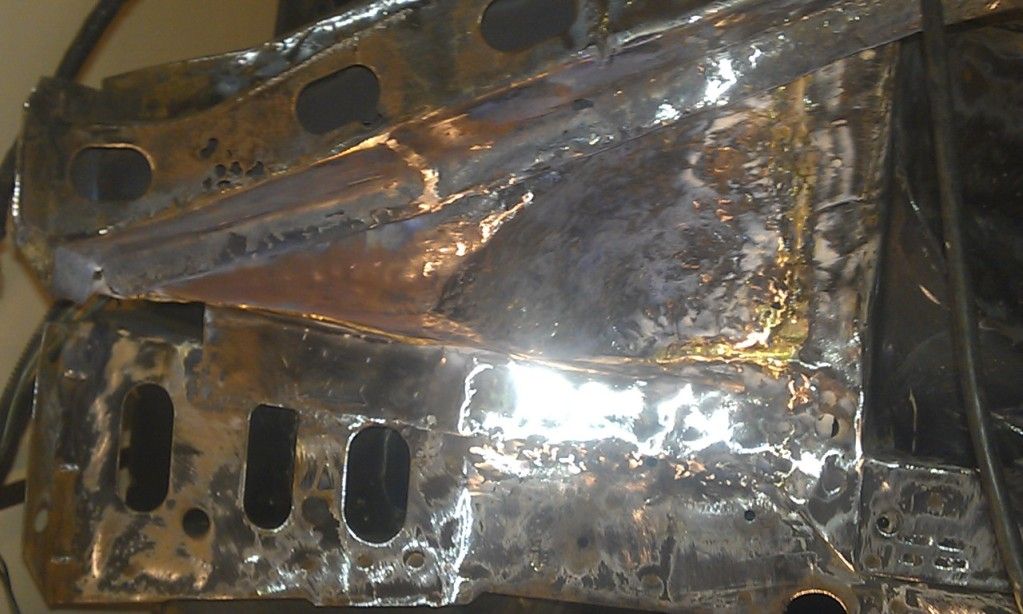
next now that the rear part of the top frame was there to hold it i welded in a plate after cutting out the rotted part
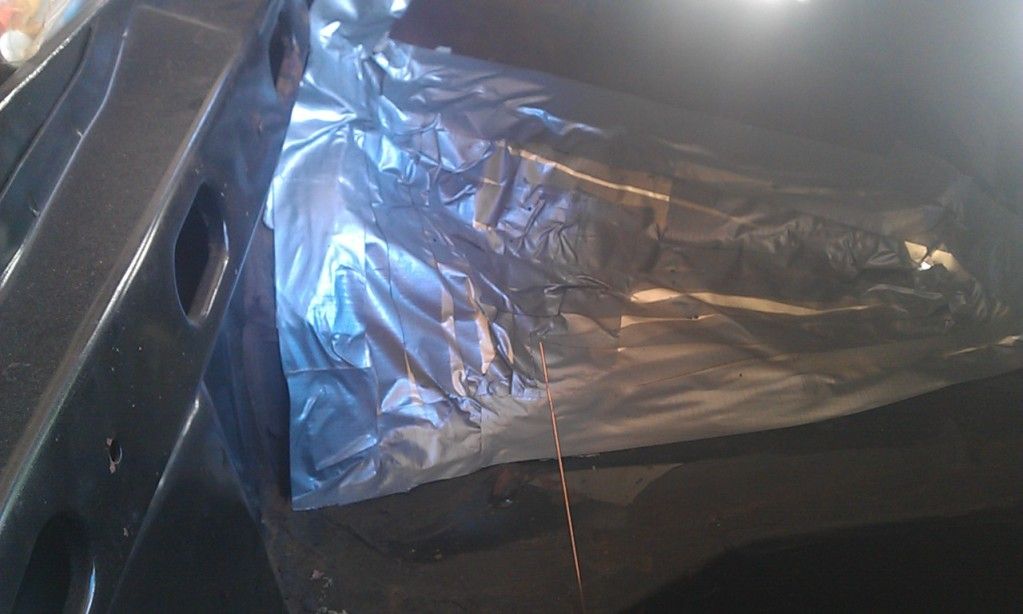
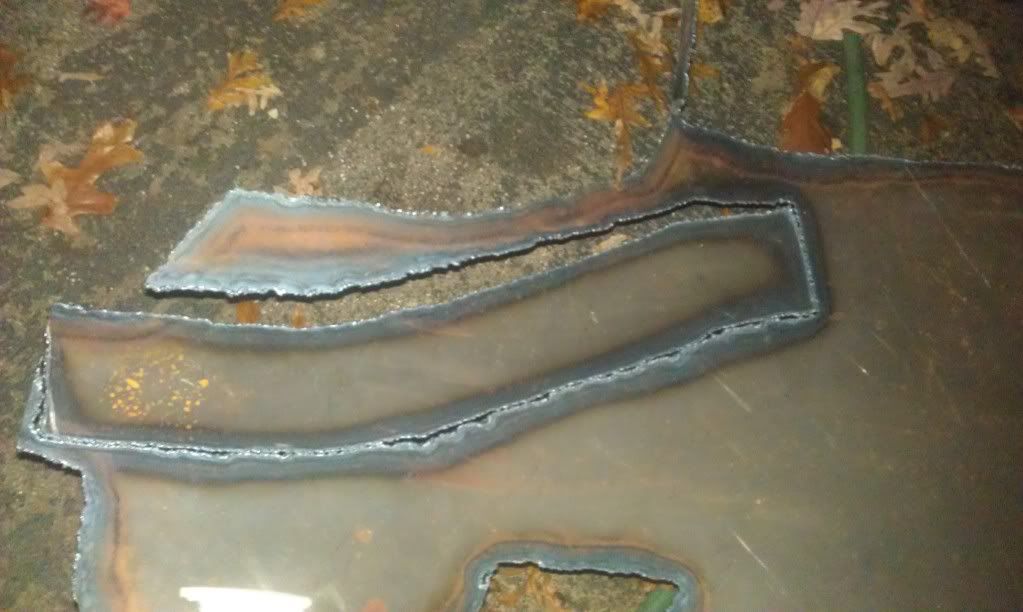
now for the part that took me the last 2 weeks first i made a duct tape template in the trunk
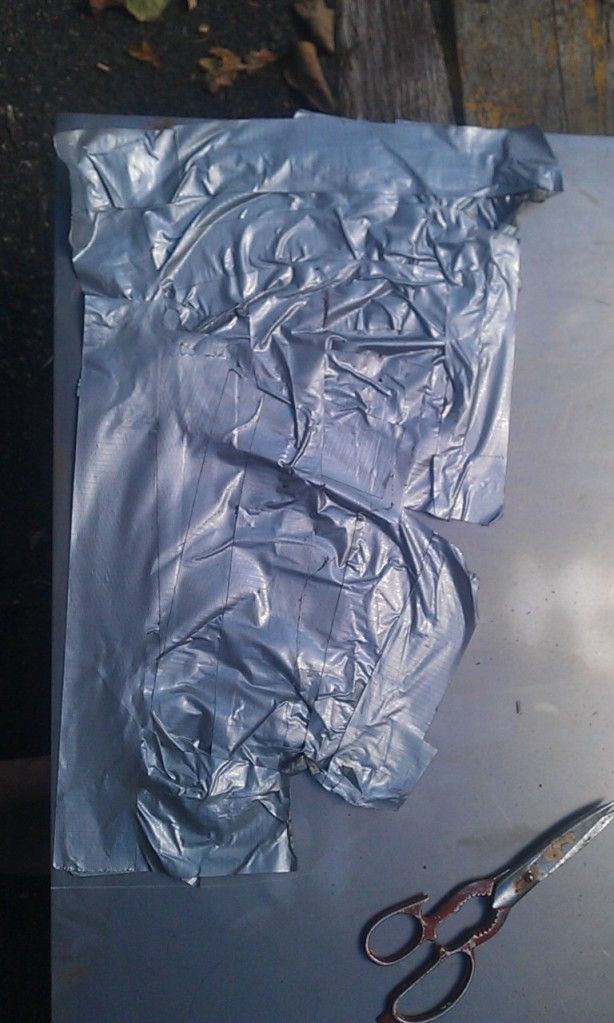
layed it out flat cut the curves and cut my piece of metal if i had to do it again i would cut the curve out do it seperatley then do the flat part and weld them together but i started with the whole piece
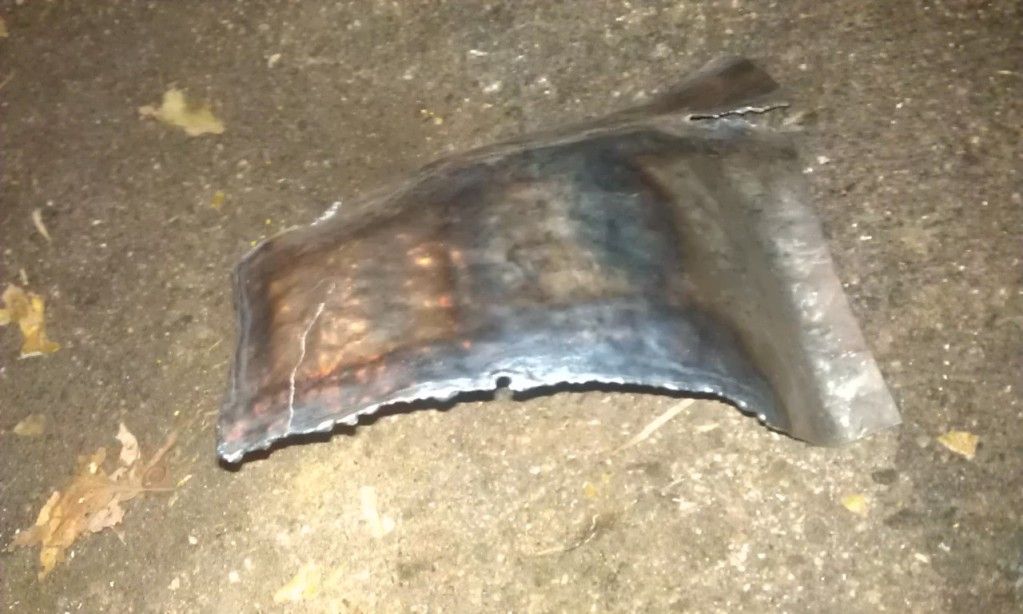
so then i grabbed a log a ball peen and a chair and pounded starting at the edges and working in making the curve omg it takes about 5000 hits one day banging my neighbors must love me to get this
then another 2 days banging to get this
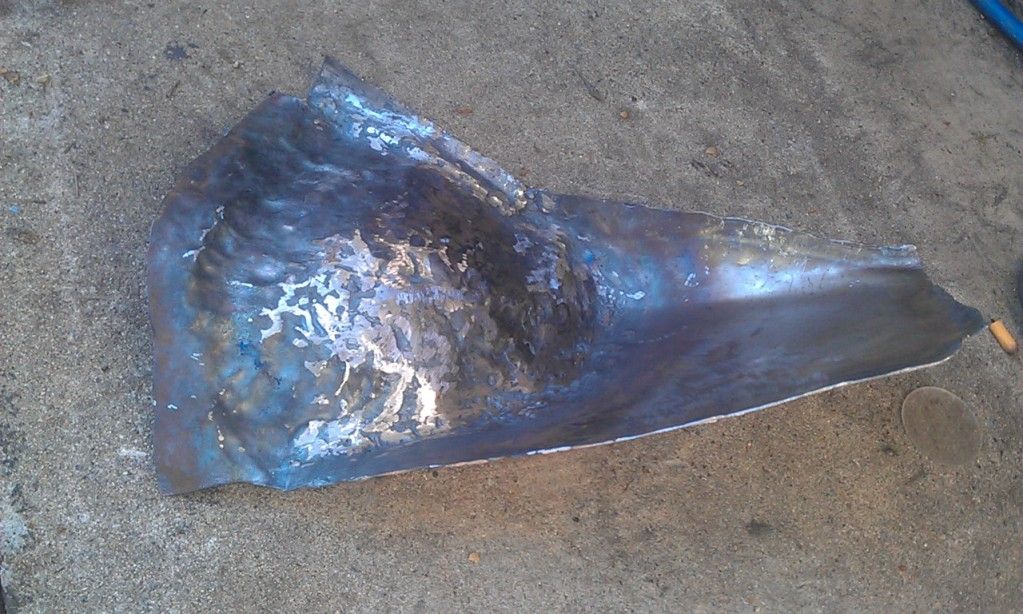
then 2 more days banging heating put it in check it take it out put it in take it out put it in take it out uhhm.... did i say that ok but seriously put it in and take it out bang on it a little put it in you get the idea.... to get this
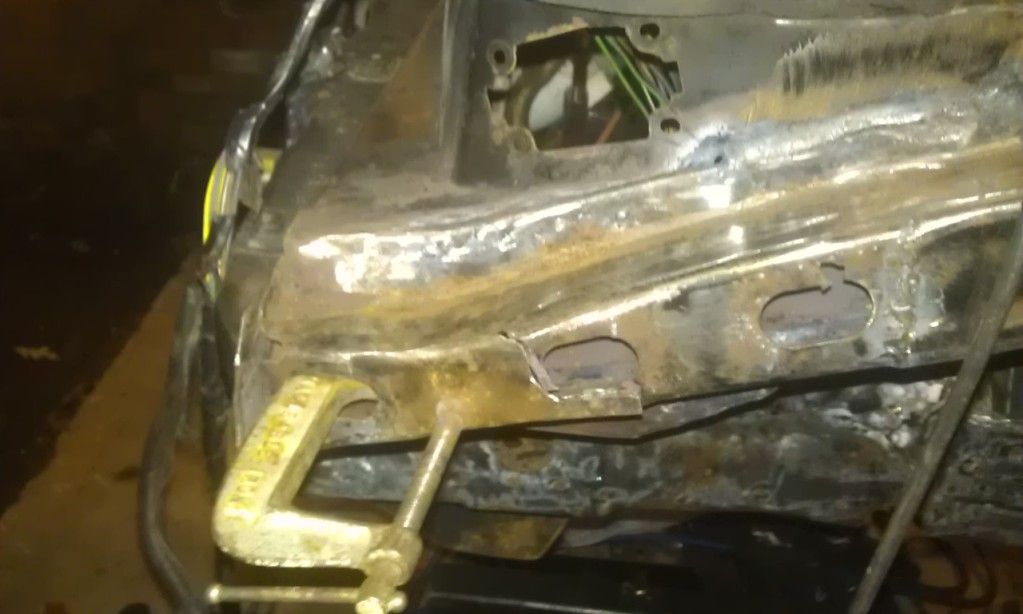
then another day taping not banging to get this
this is the first time i ever brazed weeee i like it b4 i paint ill do a quick skim coat of bondo over this to smooth it out then just a couple little patches on the back and ill be on to a different section
Cool stuff man, I'll keep an eye on your thread! Gotta love the learning process eh?
ya i love it when at the end of something i know something that i didnt b4 i learned i dont wanna be a blacksmith lol heh but seriously ya i like fire so torches and sparks are right up my alley
ok so the things i did didnt look good enough so i ground and ground re welded /brazed and i took everything out of trunk compartment ill have pictures later when i finish the rest of that back corner hopefully this weekend.
IP: Logged
07:11 PM
IanT720 Member
Posts: 1703 From: Whitmore Lake, MI Registered: Sep 2010
well most of that rail is fixed already but i found this to help anyone else looking that has this problem. this thread would make it a lot more easy https://www.fiero.nl/forum/Forum9/HTML/000012.html
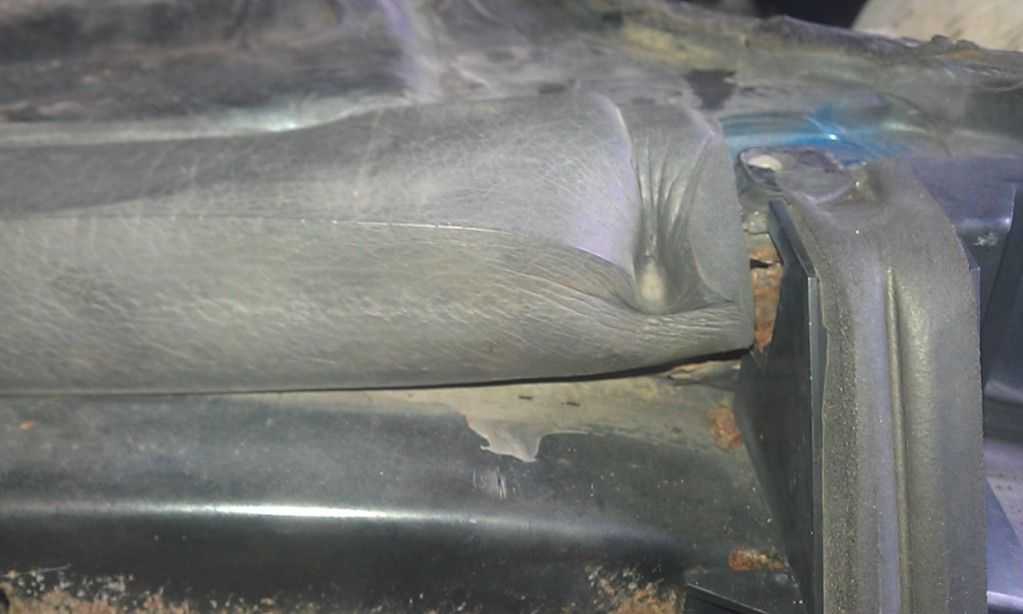
i made a plate using same technique a log and a ball peen hammer to shape it till it fit over what was rusted
welded in
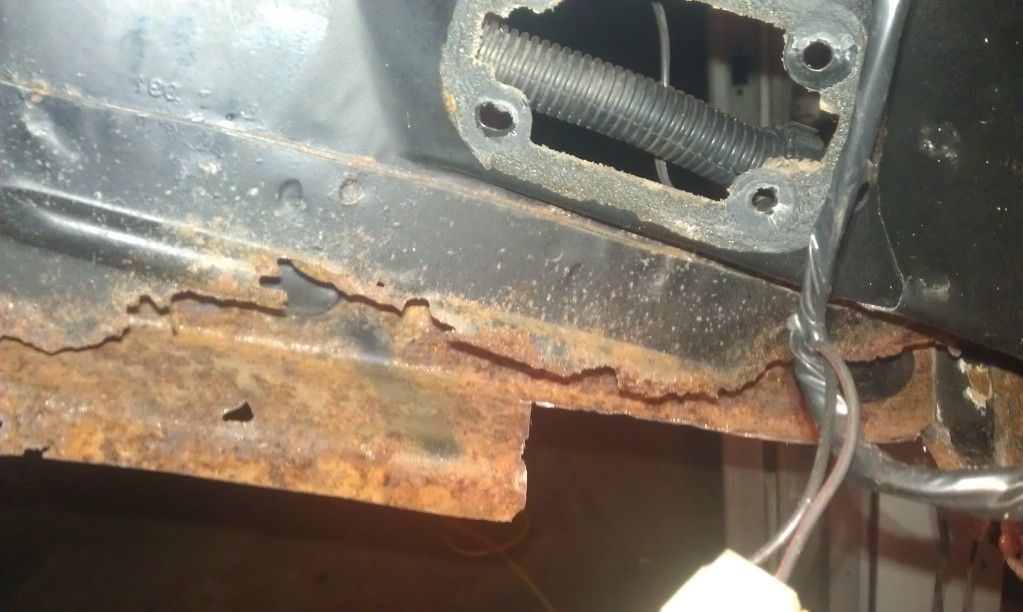
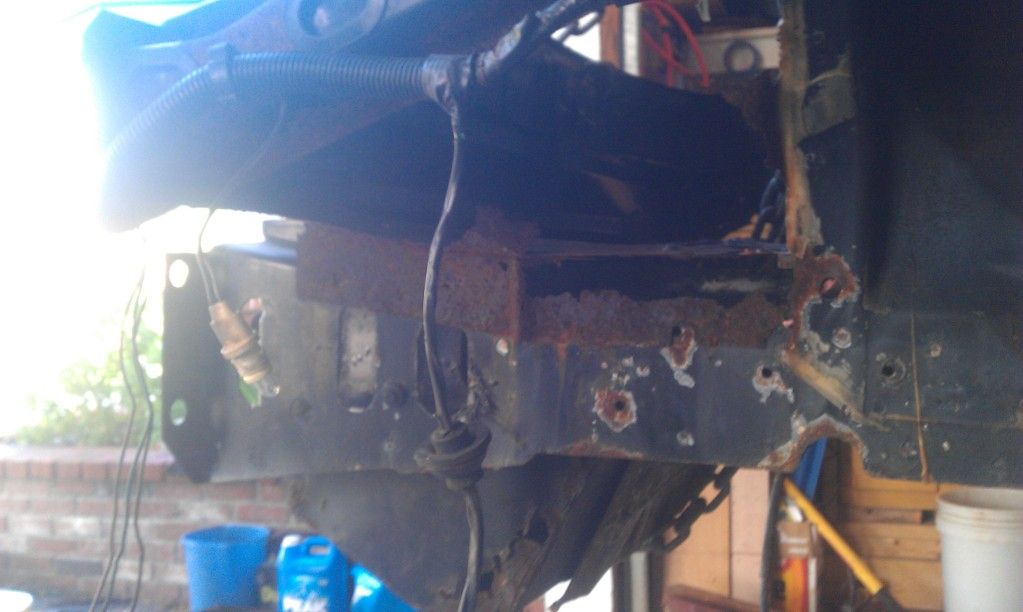
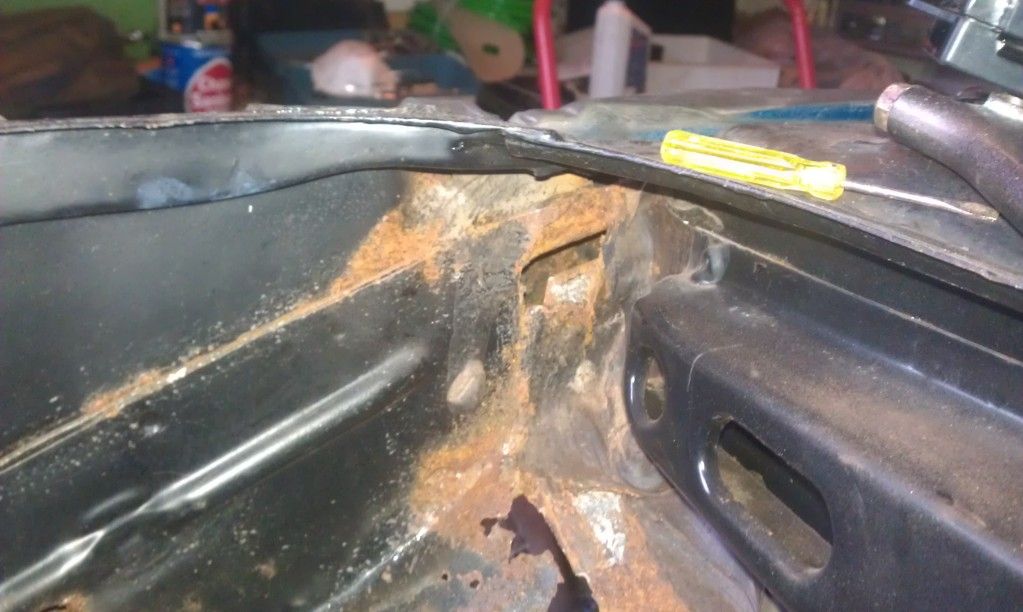
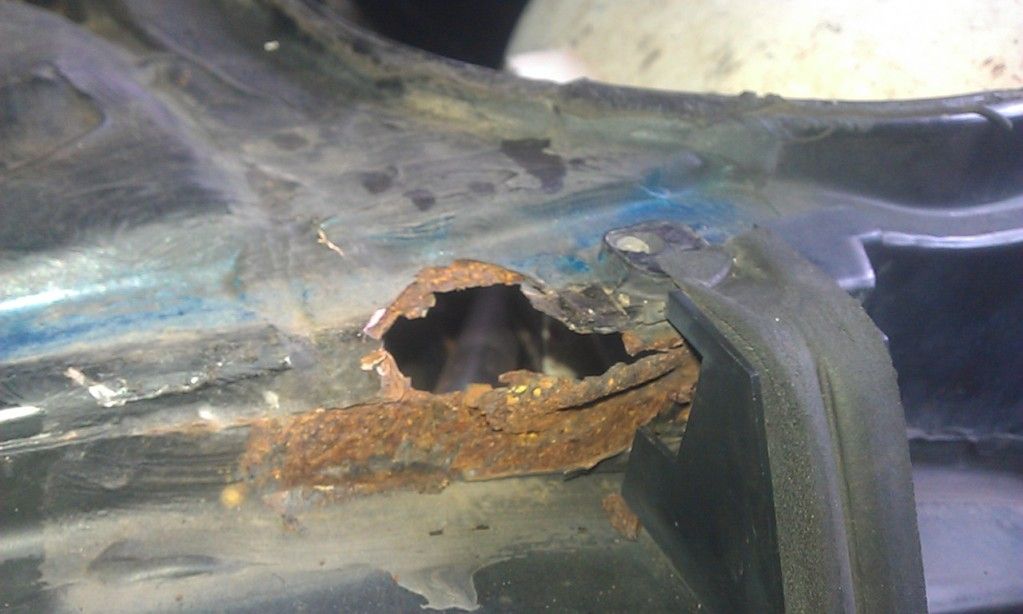
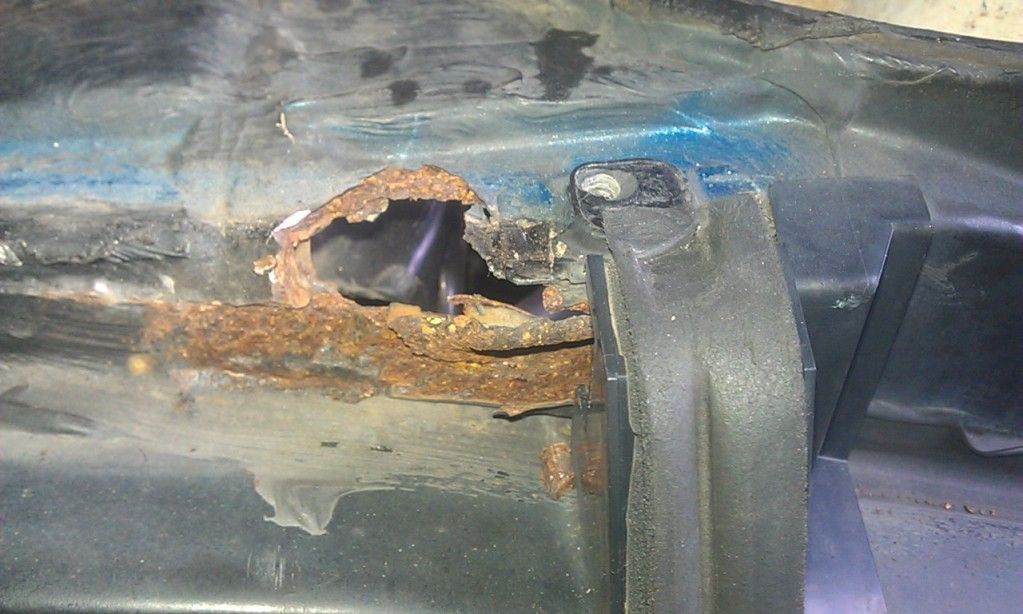
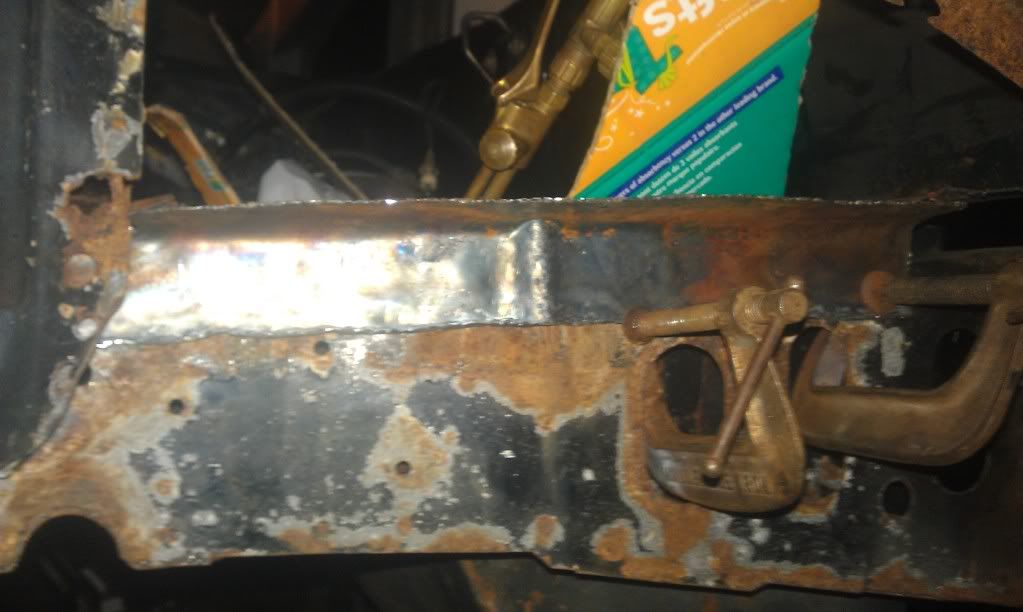
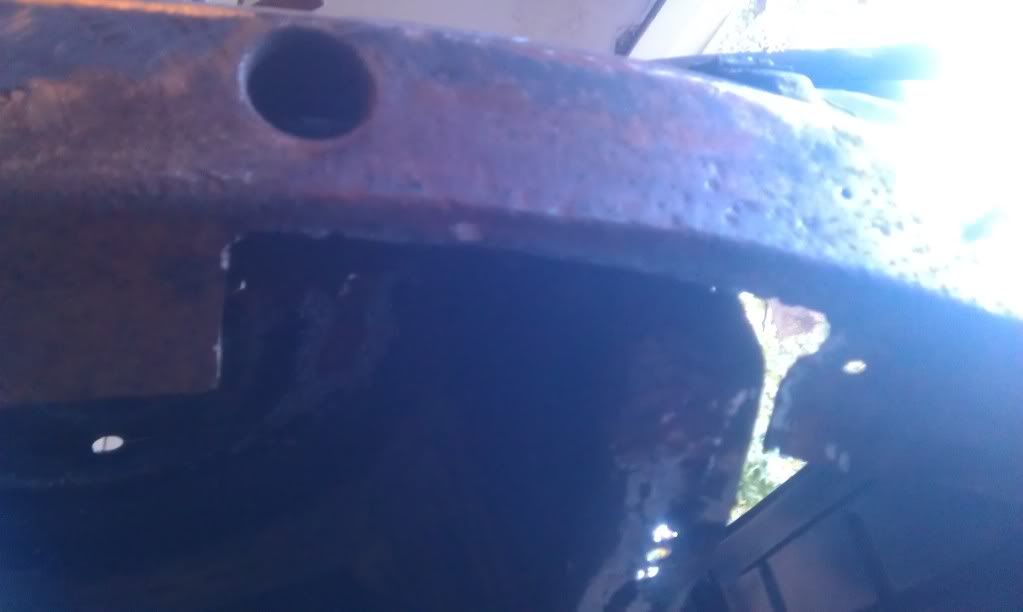
rust in frame rail
made a piece
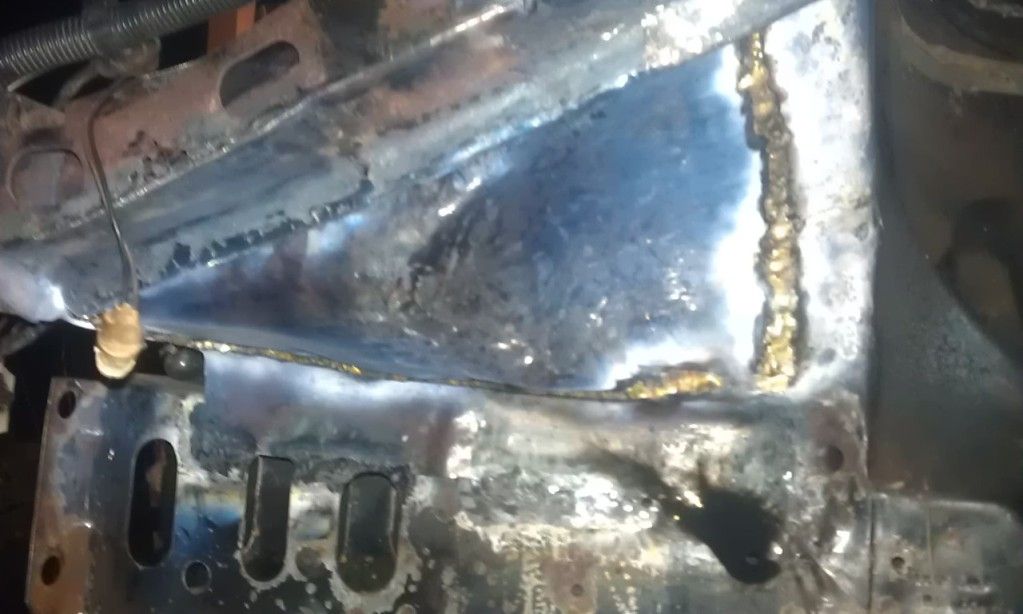
i cut out rust and plated with a 1/4 overlap welded
hole in battery area of wheel well
used existing metal to shape my piece made two pieces had to use a hammer still
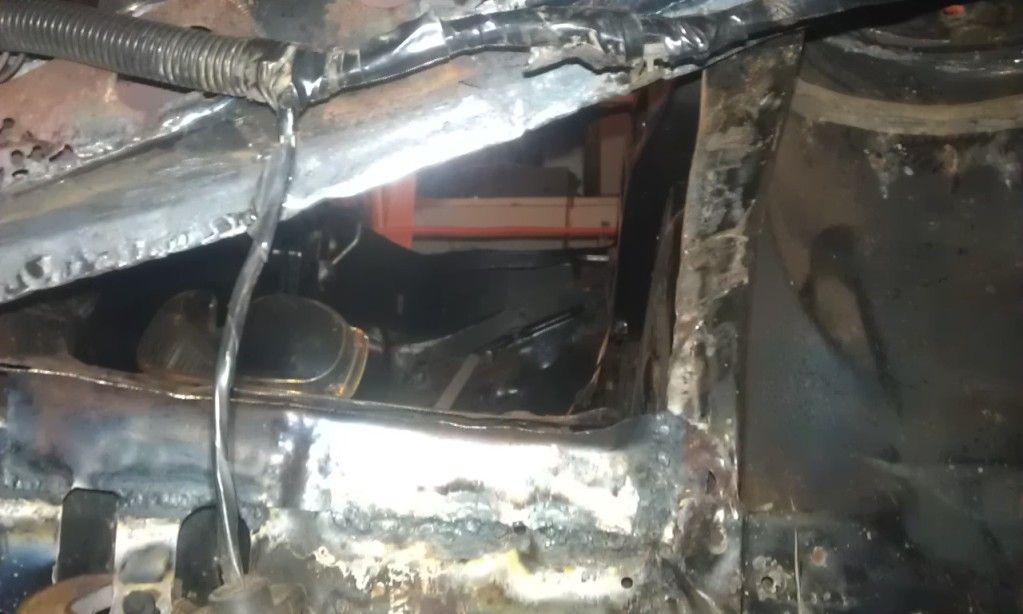
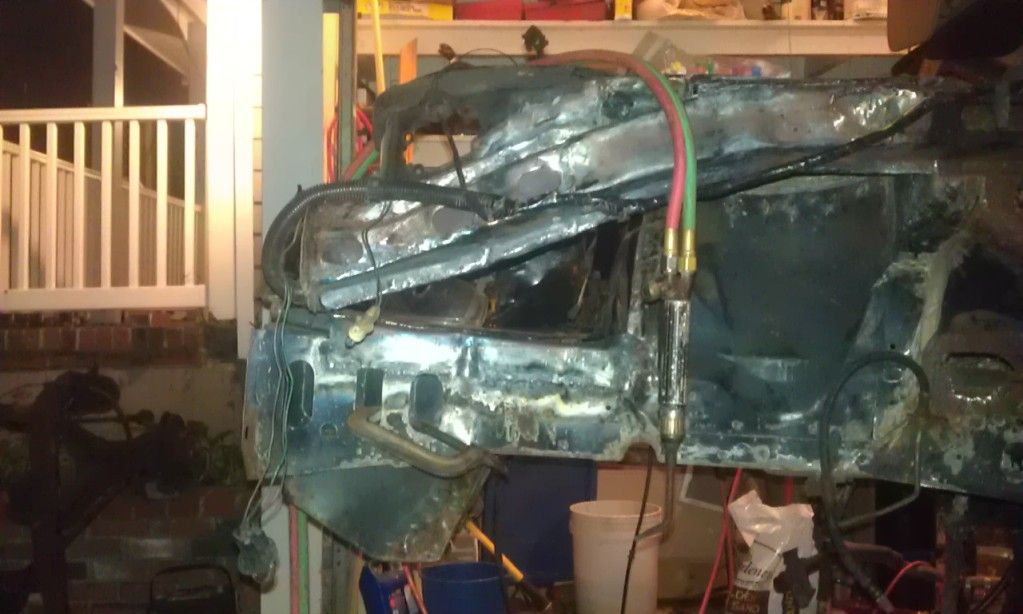
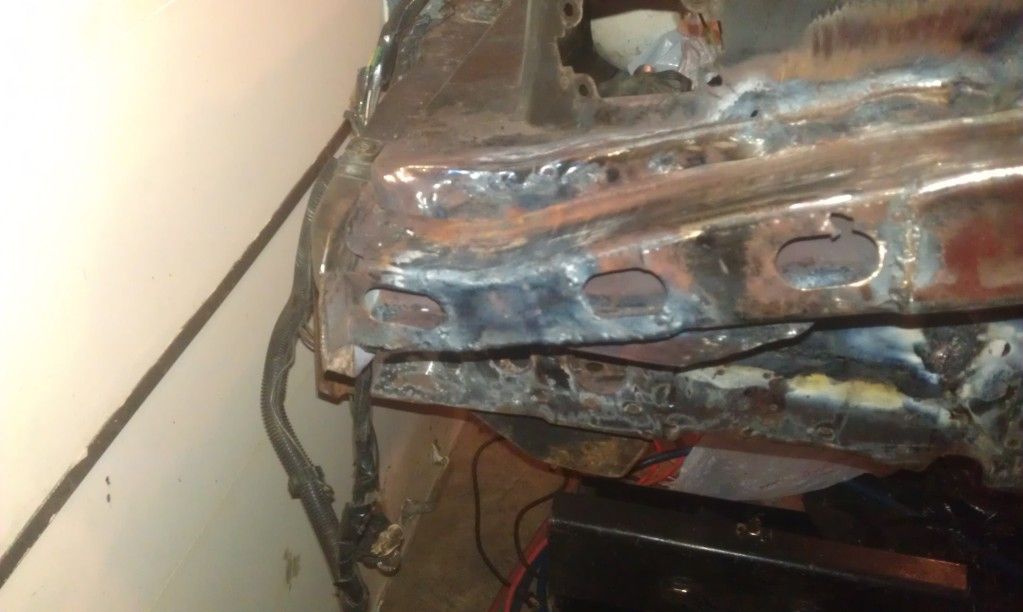
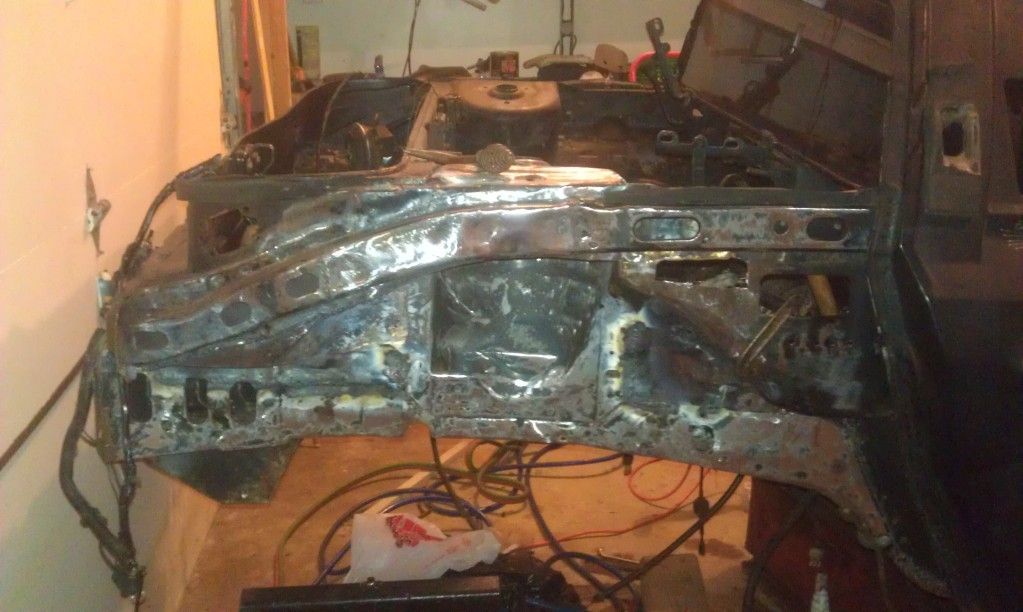
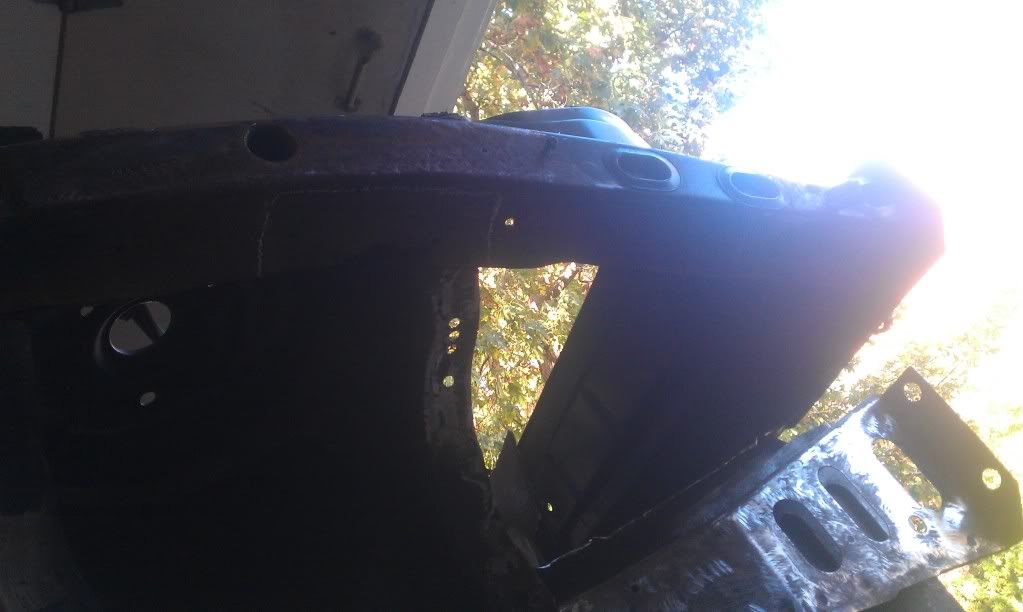
i cut out the rust exept where the hole is to mount the wheel well so later i can just drill down for my hole to match and welded the metal in u can also see from this pic most everything is out of engine compartment and cut another thing of rust out of wheel well and gonna weld it after this post
ok here is this side done welding in metal i still have to sandblast fill and paint but gonna goto back and other side so i can paint the whole rear at the same time i dont want to have to clean the sprayer a million times
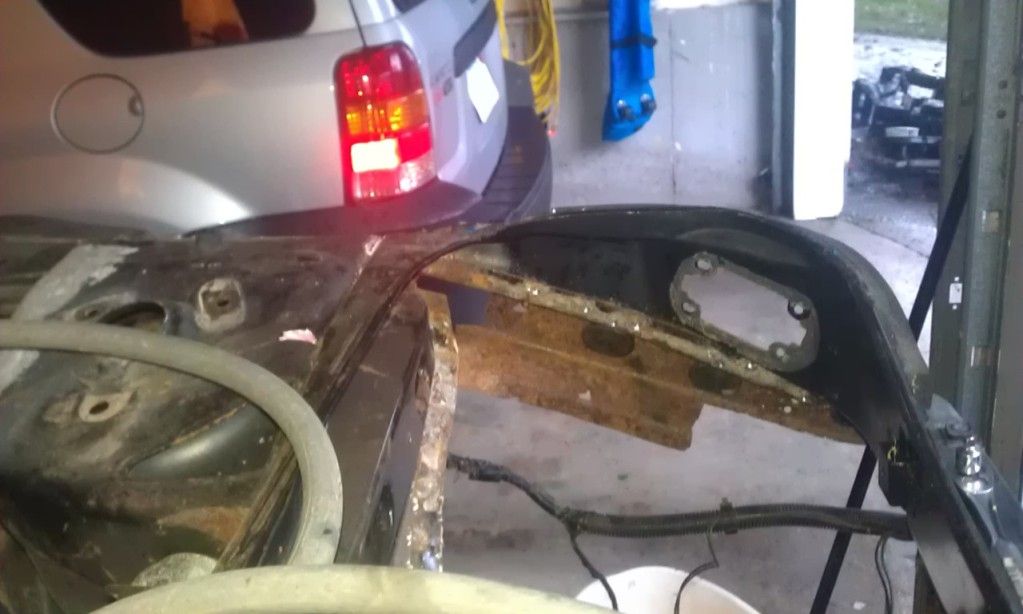
didnt do much yet i drilled out the trunk and wheel well and the trunk support
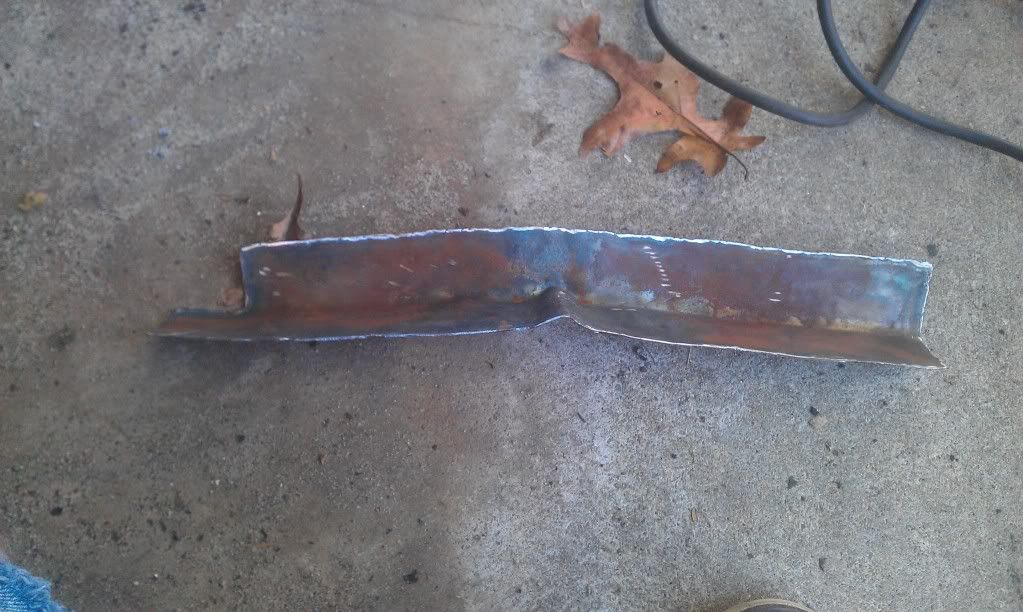
here is the trunk piece on the ground im gonna use the curve in it to make this side
i have to do the inside of the strut tower on the frame rail is gone too
wow and the paint looked good on the outside someone posted a thread about where will fieros be in 20 yrs well if they dont take there body panels off and check they will be piles of rust i am even going so far as to grind off glue and factory bondo cause there is rust under it.... fun stuff
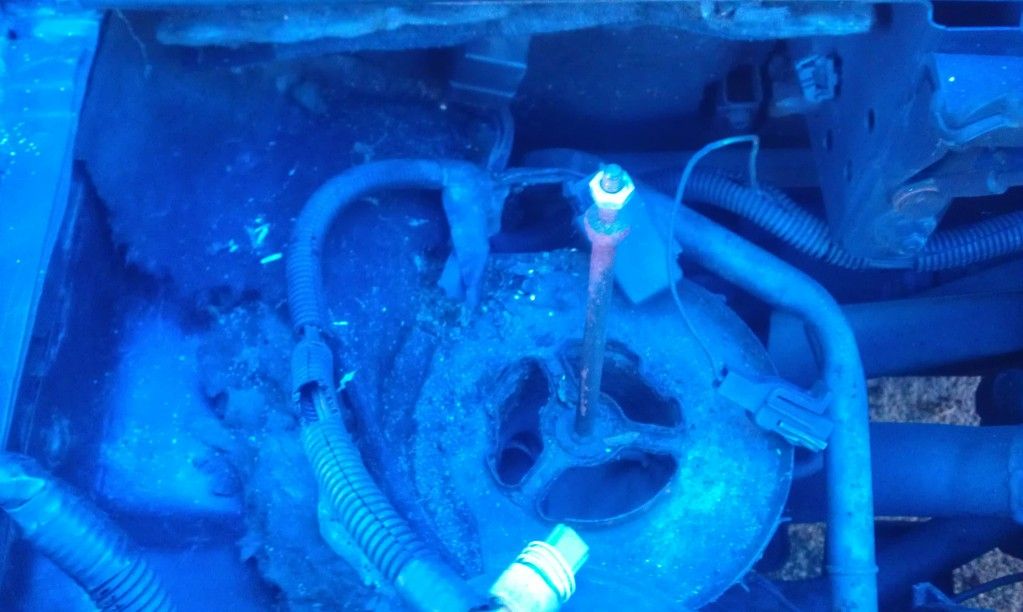
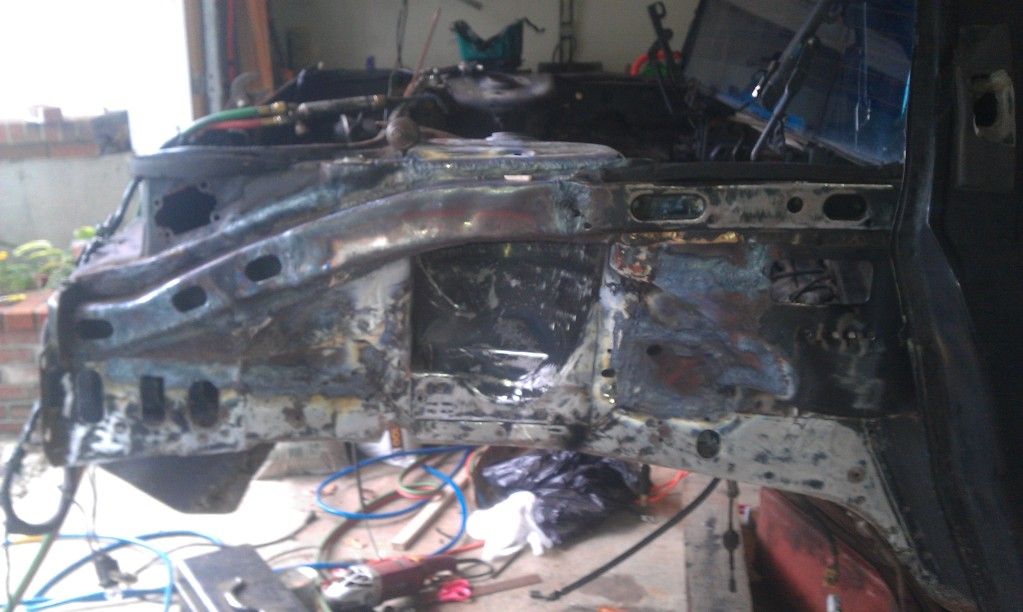
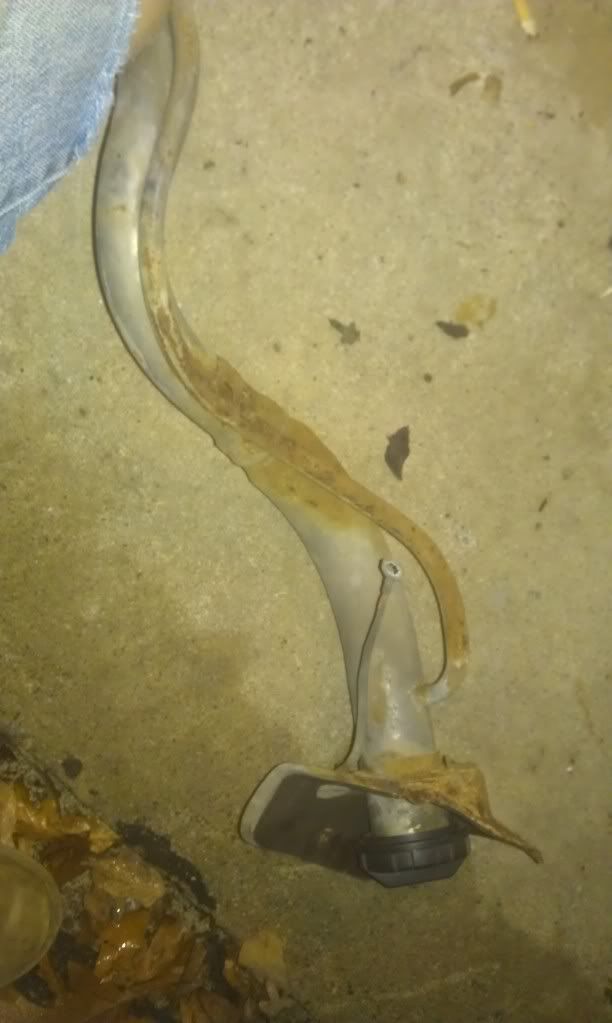
ok so to do the driver side i dont feel good about doing it with the gas tank fill there and i have to take out gas tank to paint anyway so to tank out the tank i removed ac hoses/ brake lines/ clutch slave and hydraulic line now taking the gas tank out and filler tube.
ok the bolts on the gas tank straps are totally rusted i took filler tube off i have to wait till tomorrow to grind i went back in the garage holy crap stail gas smell note to self dont take filler tube off till gas tank can come out or drain.
my girl friend is gonna have a fit tommorow.... oh well i taped the holes up tommorow when i get home ill have to grind the nuts off the tank straps.
[This message has been edited by 85bluegtma (edited 10-10-2012).]
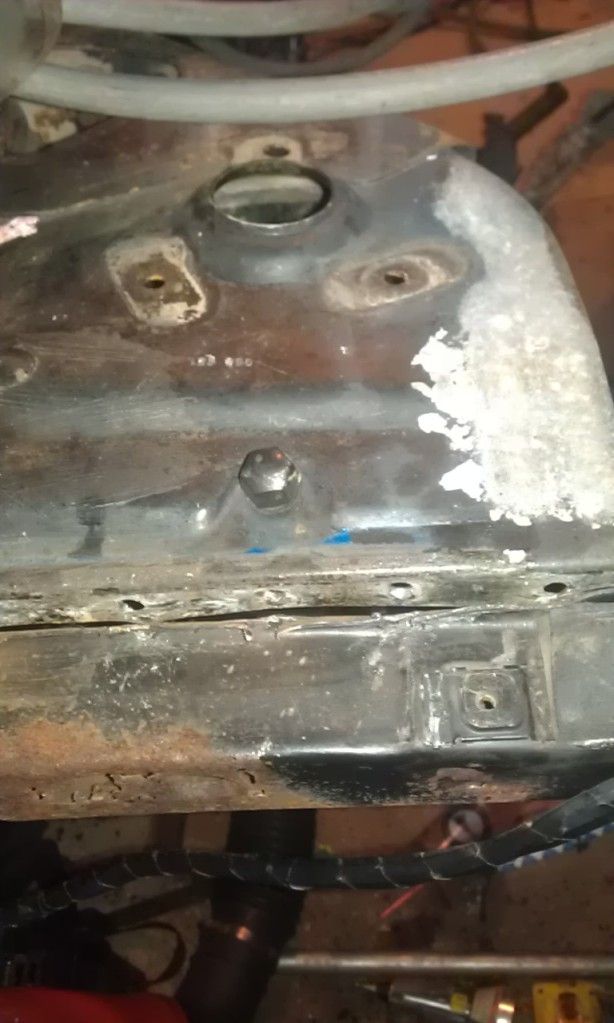
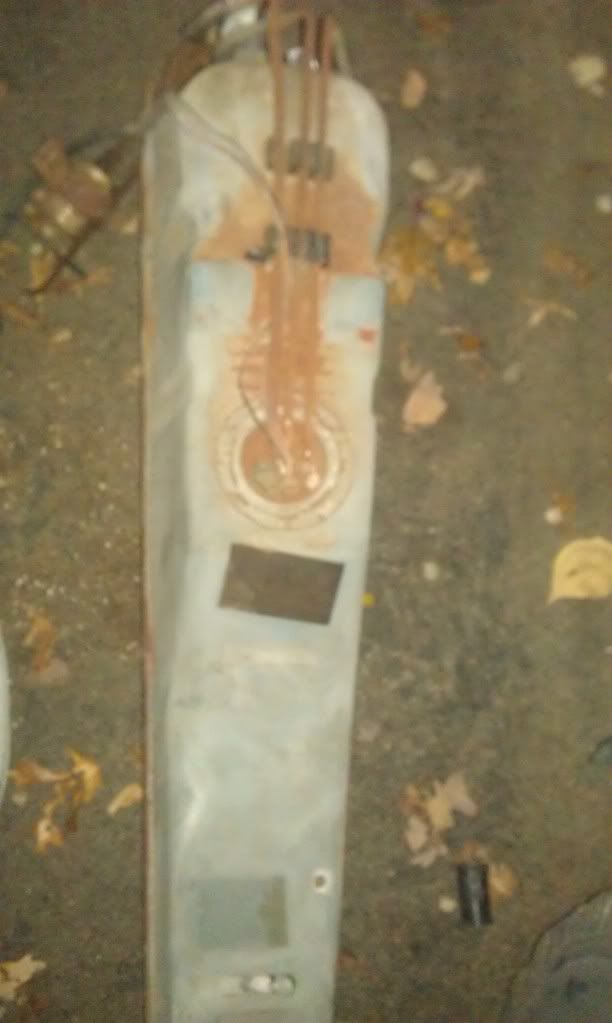
ok so got the tank out .... for all those of you doing this drain the tank first i spilled gas everywhere.
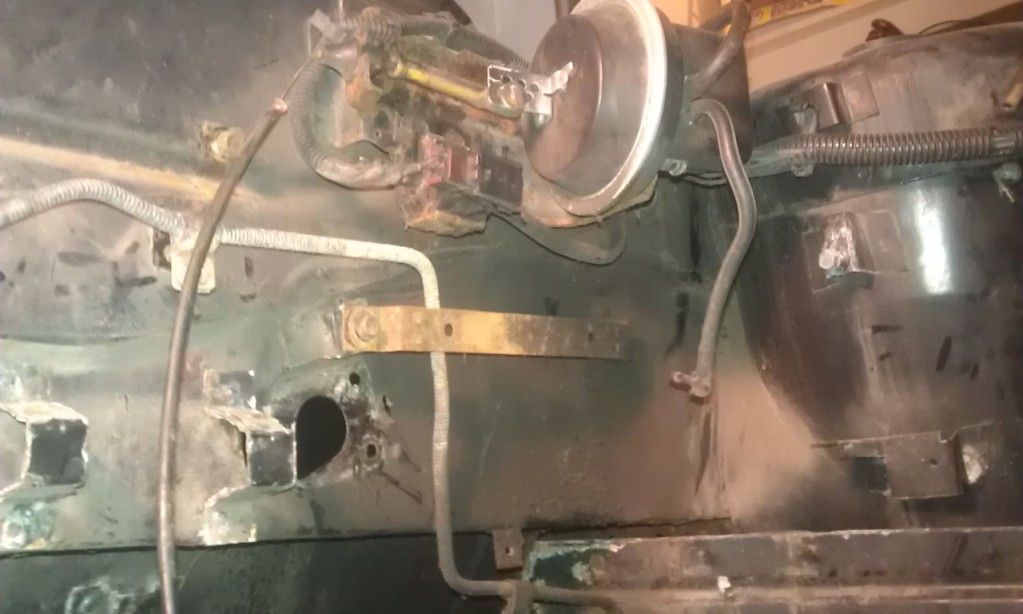
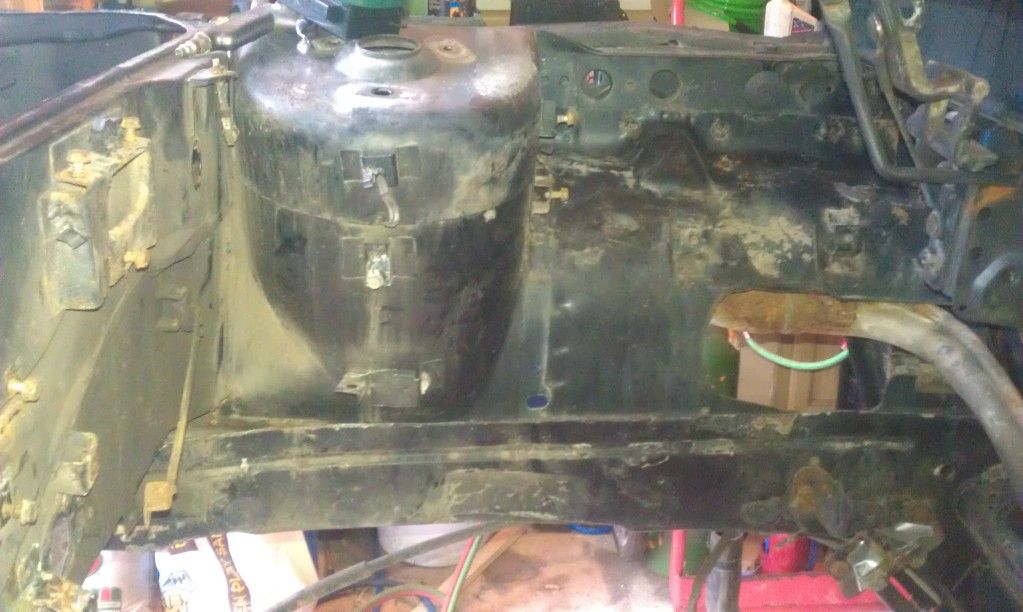
luckily my gas tank and behind it is not too rusty
i also did some more grinding and filling on the side that i have been doing and tapping out some of the hammer marks on the passenger fender ill have pics tonight
that side after i ground some more i still have a couple places i gotta go over my welds but getting there.
I made the trunk floor support that goes on the other side and made the flat bent part of the trunk fender well ill have pictures a little later heh the trunk floor part and the fender is already a hell of a lot easier doing the second one.
That is some dedication right there. I applaud you for not simply striping the car and junking it. Keep up the good work and a well documented rebuild. Best of luck Ryan
That is some dedication right there. I applaud you for not simply striping the car and junking it. Keep up the good work and a well documented rebuild. Best of luck Ryan
dedication.... more like a great idea why to goto the garage and get out of the house.
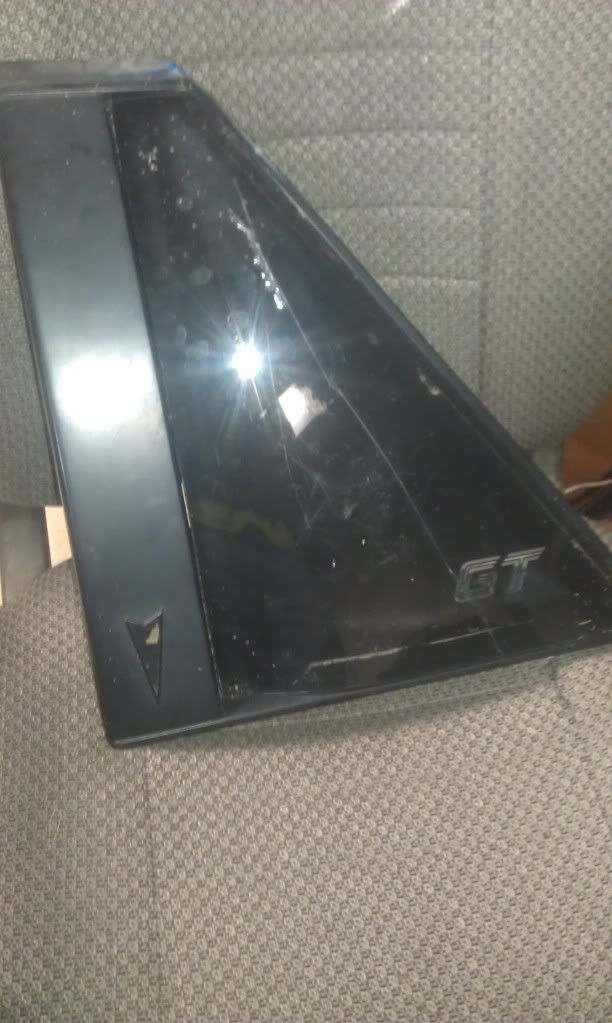
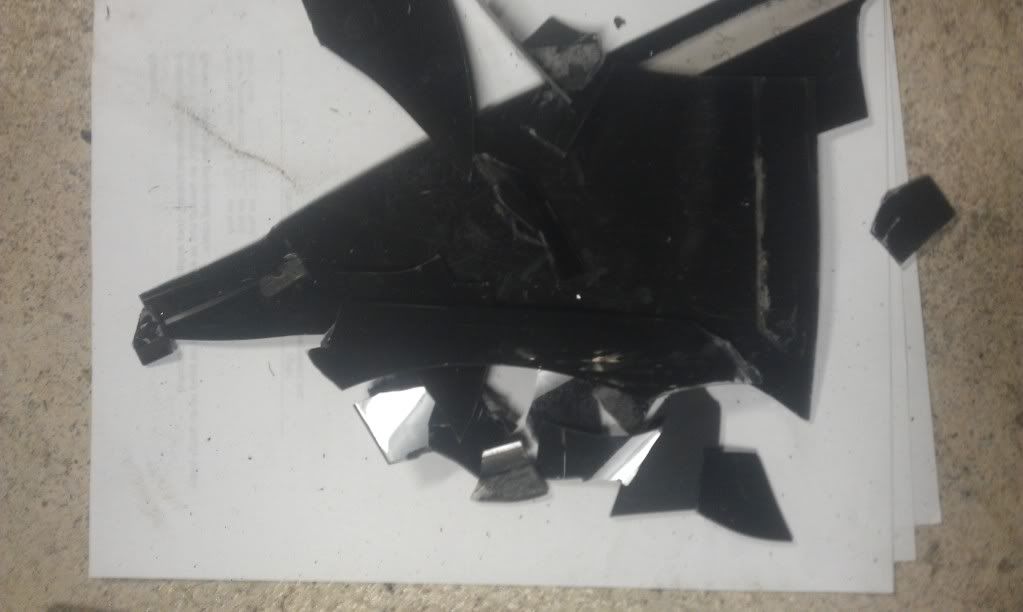
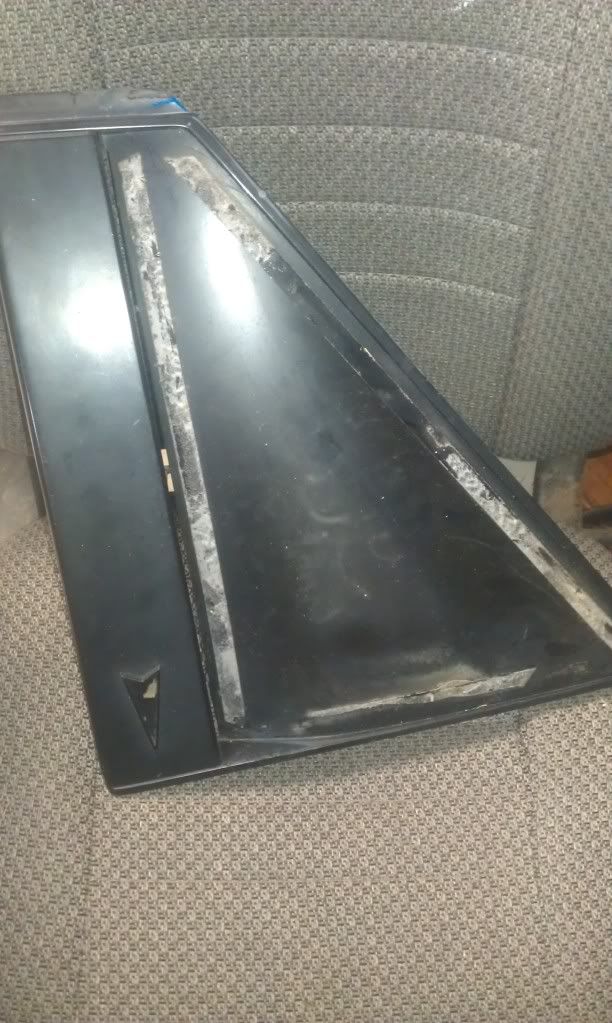
ok for a little change of pace i started working on my sail windows
i tried to get the plastic off in one piece but this happened.....
got the plastic off in a lot of pieces but was able to save the gt part to go by when i make my new one.
anyone know what kind of acrylic is the best to use to replace the plastic? something that wont crack like the originals and that will hold shape once heated up and clamped in.
anyone know what kind of acrylic is the best to use to replace the plastic? something that wont crack like the originals and that will hold shape once heated up and clamped in.
anyone?
IP: Logged
07:20 PM
jaybeezi Member
Posts: 428 From: Santa Rosa, Ca Registered: Mar 2009