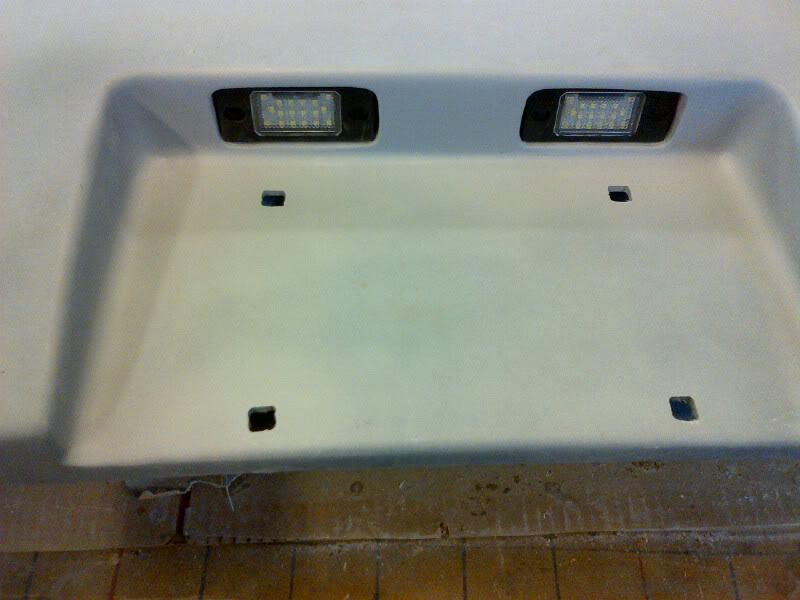
These are the license plate lights - from a Porsche Cayenne via China for LED versions. Another eBay special. I didn't want the lights to show so They're recessed in about 1/4"
[This message has been edited by artworks (edited 07-15-2017).]
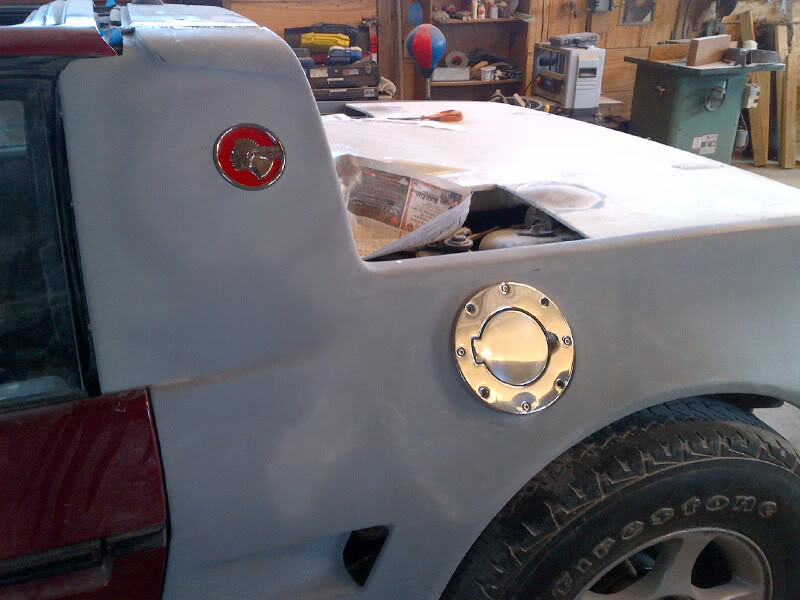
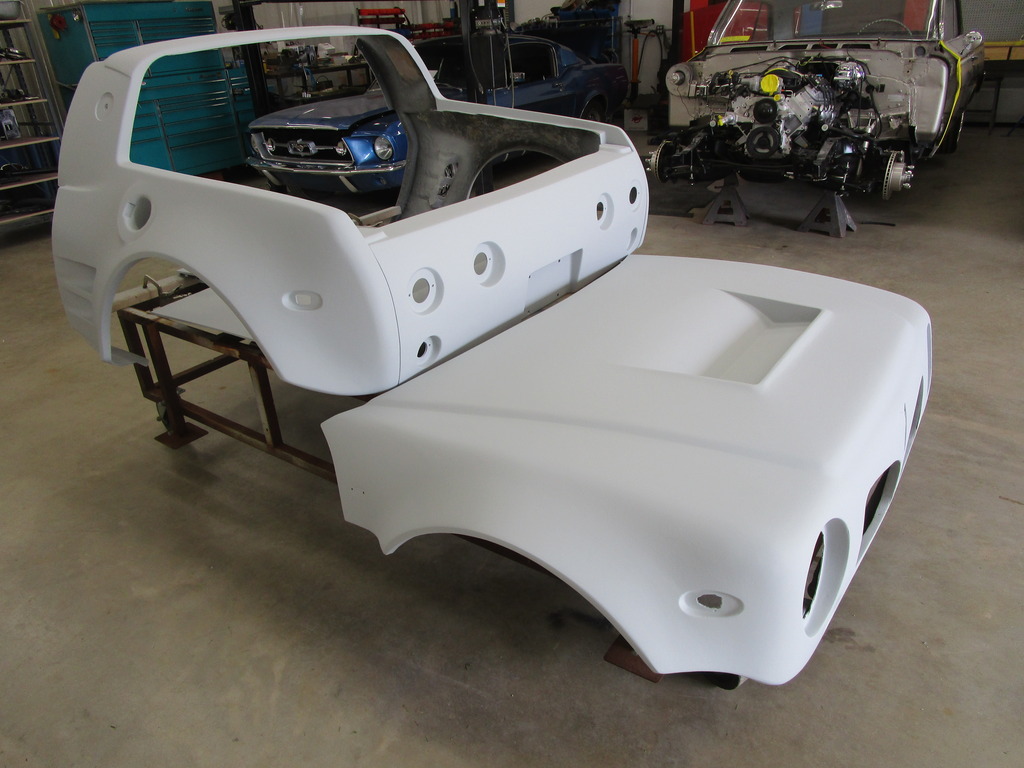
Chief Pontiac emblem and the filler cover mounted. There's a fair amount of work in making the filler cover fit, since the body panel doesn't have much flat surface to start with.
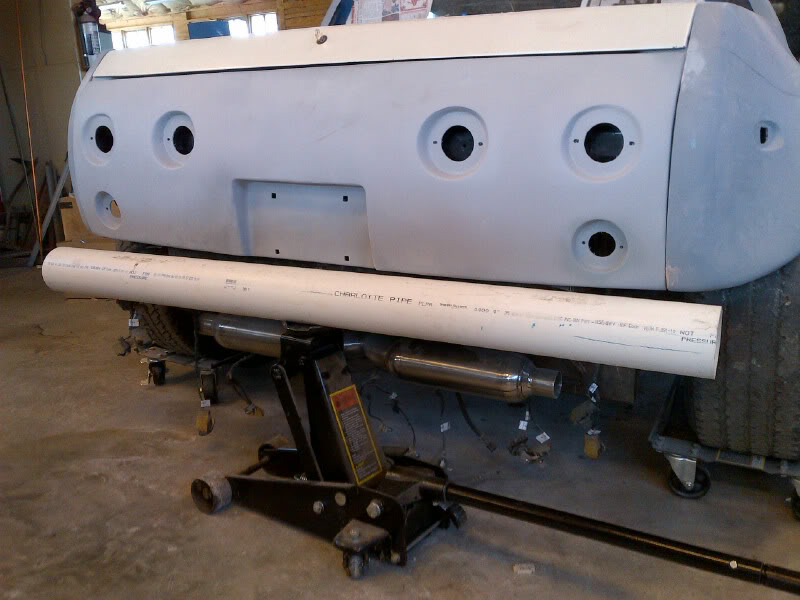
Mockup of the rear bumper. Eventually this wil be a 4" aluminum or stainless tube bumper holding about 5 gallons of compressed air (for the air bags)
[This message has been edited by artworks (edited 07-15-2017).]
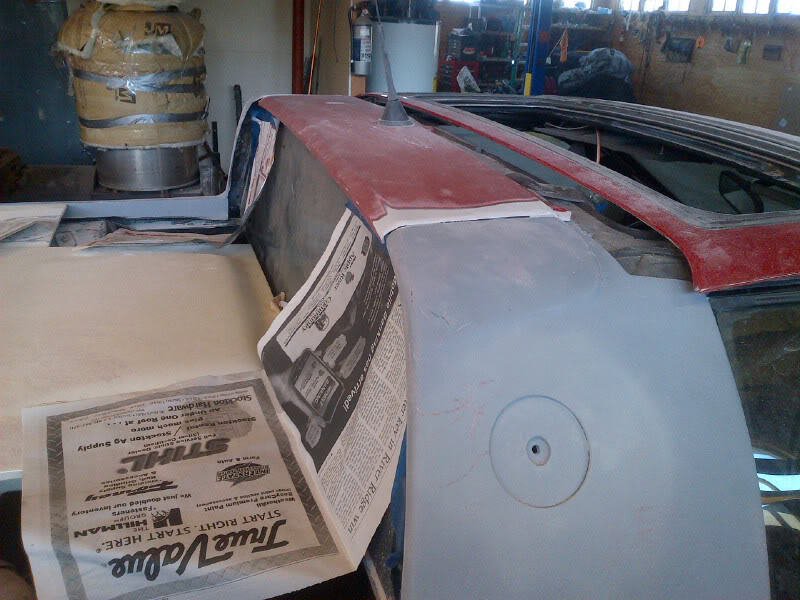
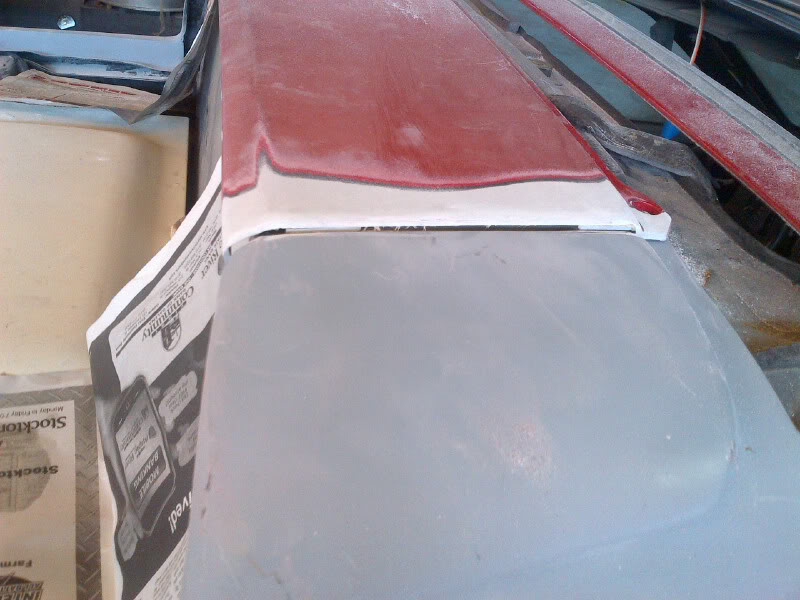
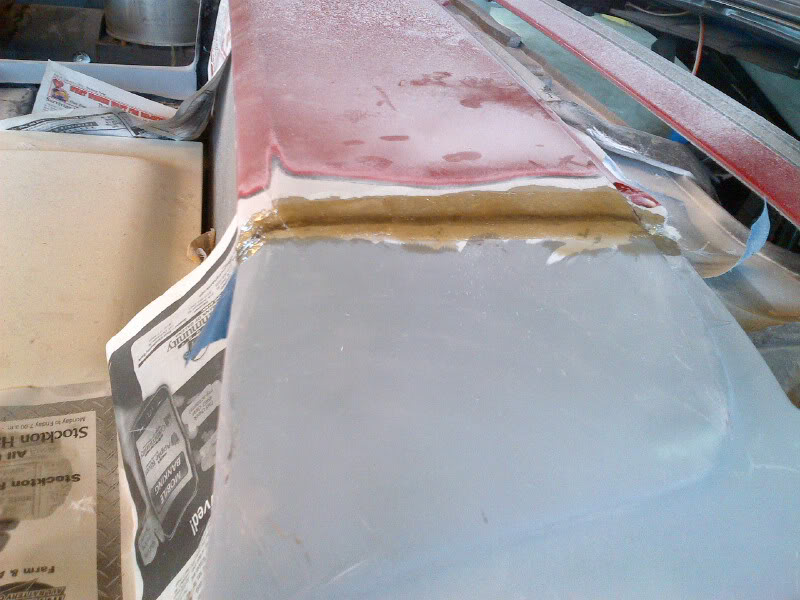
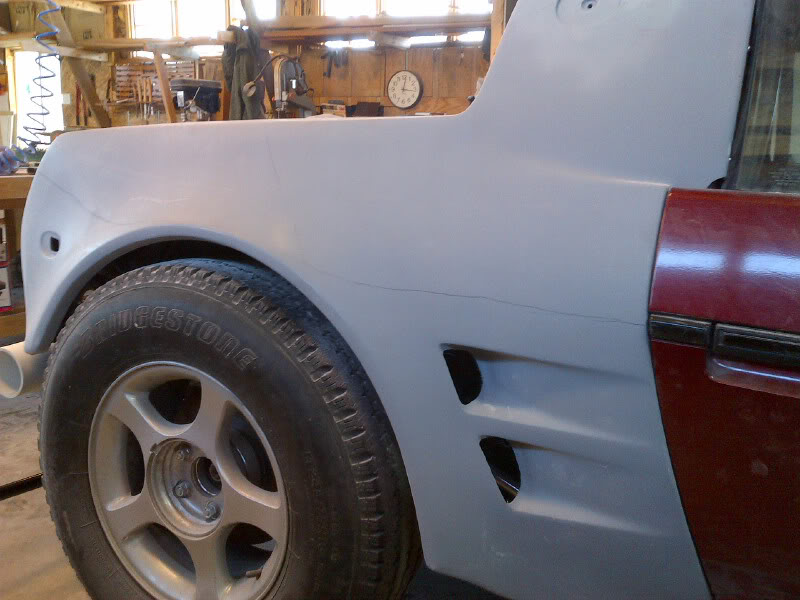
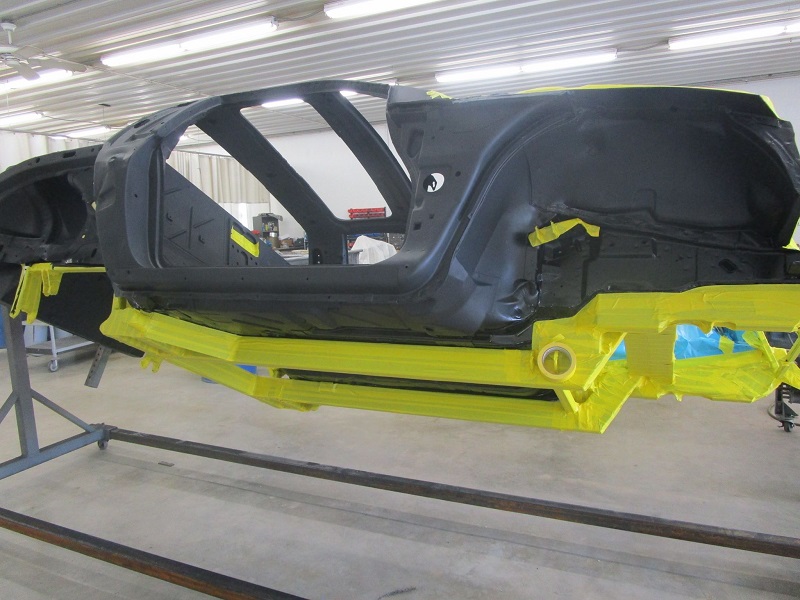
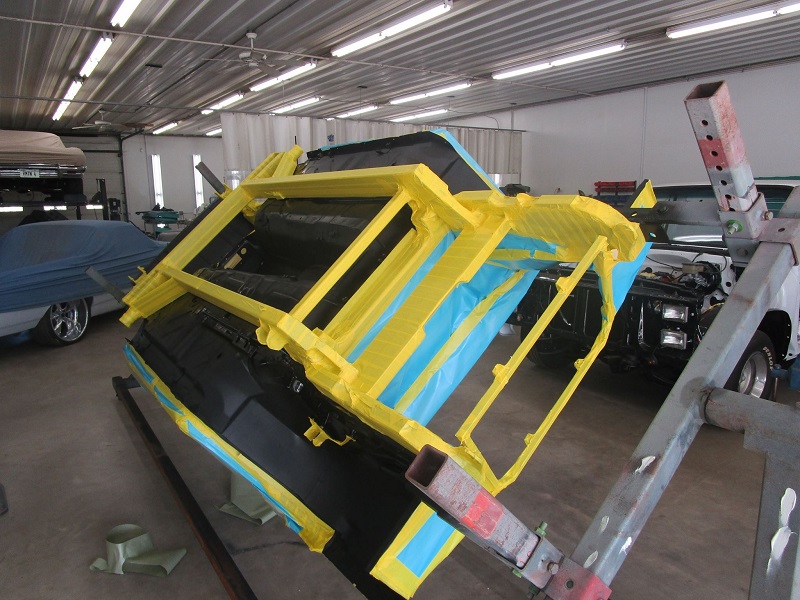
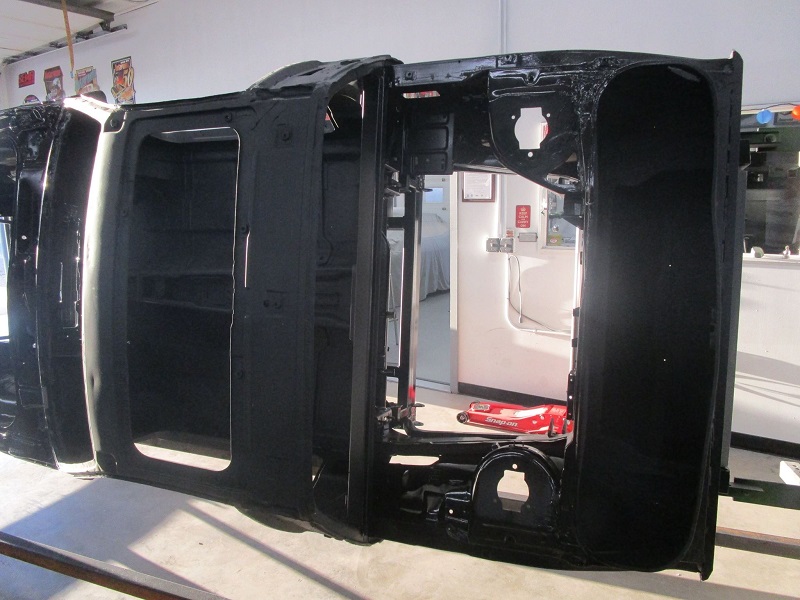
The lines don't show very well on these photos, but I'm trying to decide where to separate the gloss paint (upper) from the Line-X rough texture (lower). On the hood and doors it's easy, since there's a body line to follow. For the rear quarter I'm not yet sure if the line should sweep up to the rear panel or step up just ahead of the rear wheel flare. Opinions appreciated.
[This message has been edited by artworks (edited 07-15-2017).]
I love your build. For me it's a cross betweena a little sports car and a buggy. Reminds me of my old tracker a little bit in proprtions/size. It really appeals to me.
Why not try following the arch of the wheel flare with the line-x around the wheel, and either carrying on with your existing line from there or even bringing it down around the back to between the tail lights and reverse lights? Or even through the lights? That might show a little more body colour from the rear view. Here's a quick paint edit I did of your photo with how I imagine it. I personally prefer one of the two lower lines, but that's just me. To finish it at the front I'd just wrap it all the way around the fender flare like the back and leave it at that.
Question about the winch, how is it usable being that far back into the body?
[This message has been edited by Ry86GT (edited 04-17-2013).]
Thanks for the ideas on the paint line - it helps to see it from your perspective.
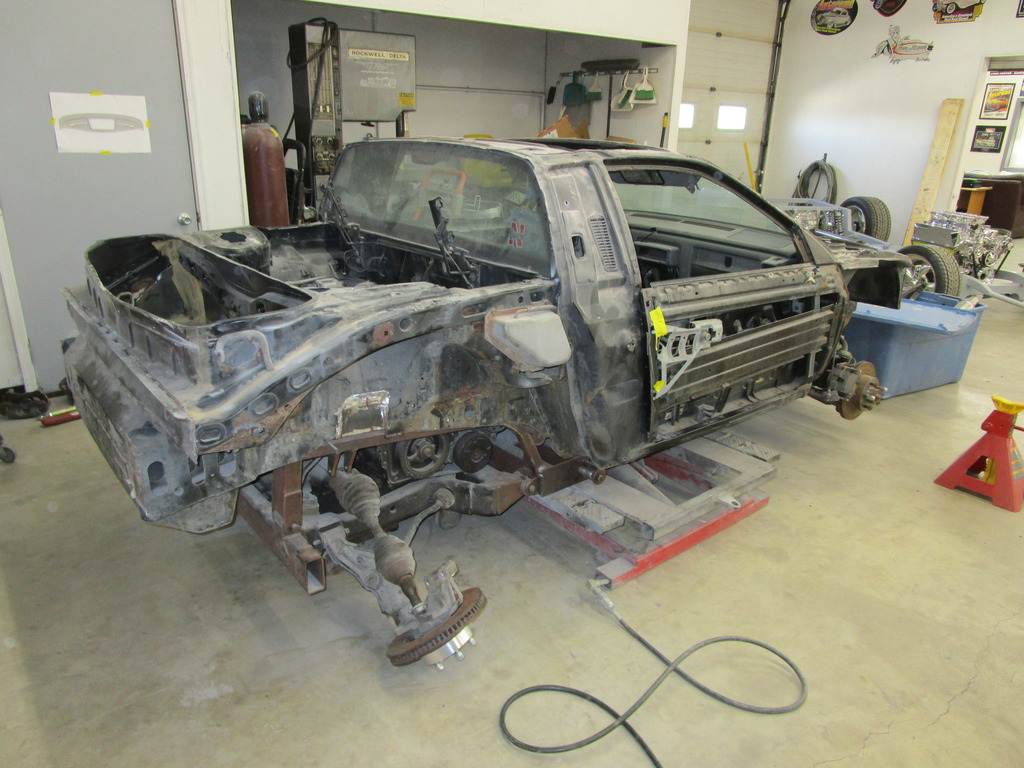
The winch cable will feed below the radiator, through two nylon rollers. The rollers are mounted on the sway bar and a piece of cold rolled steel, so I don't think they're going anywhere. Most likely, the design will have the effect of lifting up the front of the car when the winch is pulling - not a bad thing when I'm stuck.
[This message has been edited by artworks (edited 07-15-2017).]
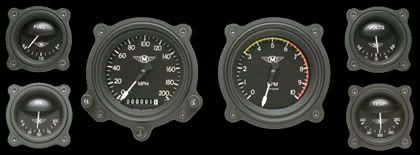
I think I've found the gauges I want to install in the car. I want to go with the cockpit look. I don't know if they'll fit in the stock pods. I need to do some "ciphering"
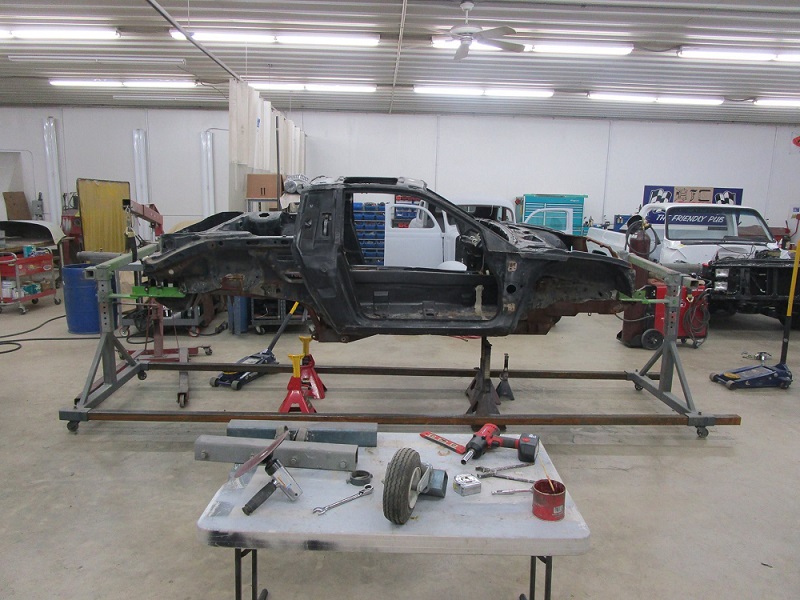
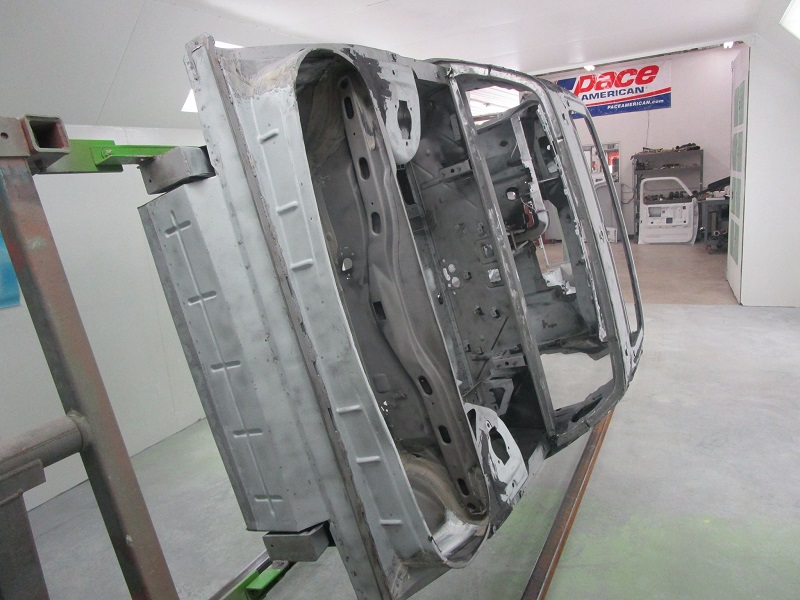
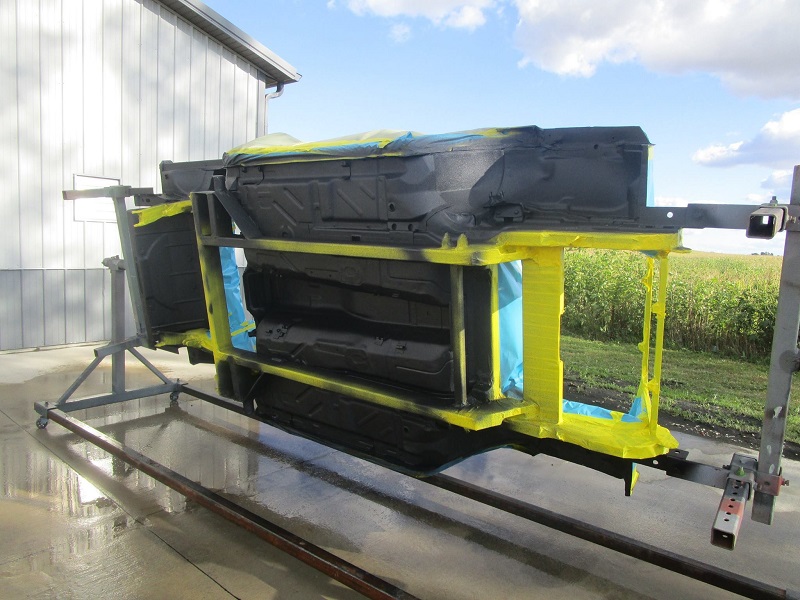
Its been far too long since I've posted anything. I haven't been resting on my laurels - instead I've been working on a few other projects - a 1935 Dodge "Humpback" panel truck for my brother, and a 1967 4x4 Camaro for my step-daughter. (they're both long stories). Anyway, I've gotten back into the project. First up, building a mount for the air compressor and air bag control valves. Then trying to get all the panels to line up. Any body kit is a bear, and this one is no exception. Pics to follow.
[This message has been edited by artworks (edited 03-10-2014).]
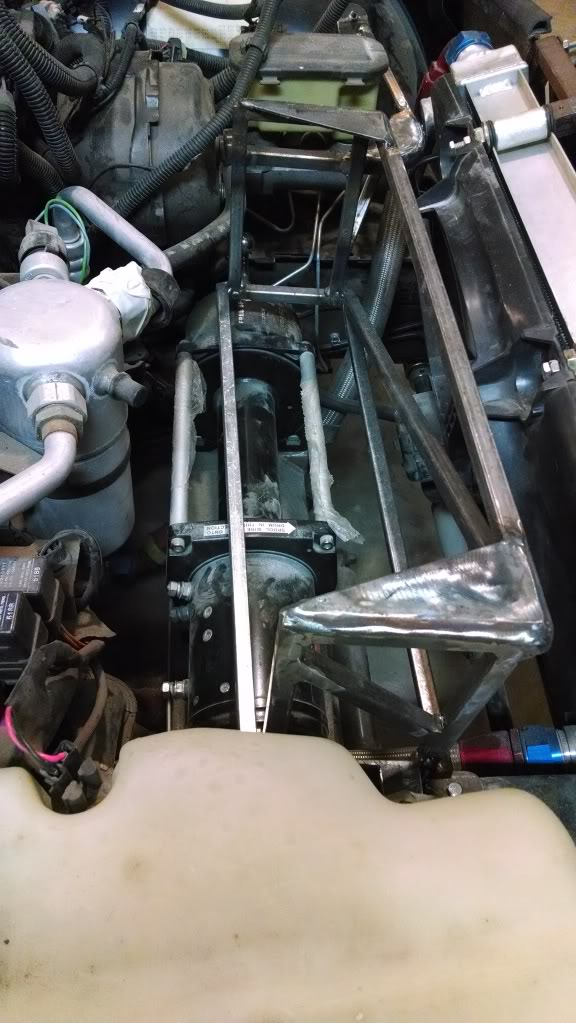
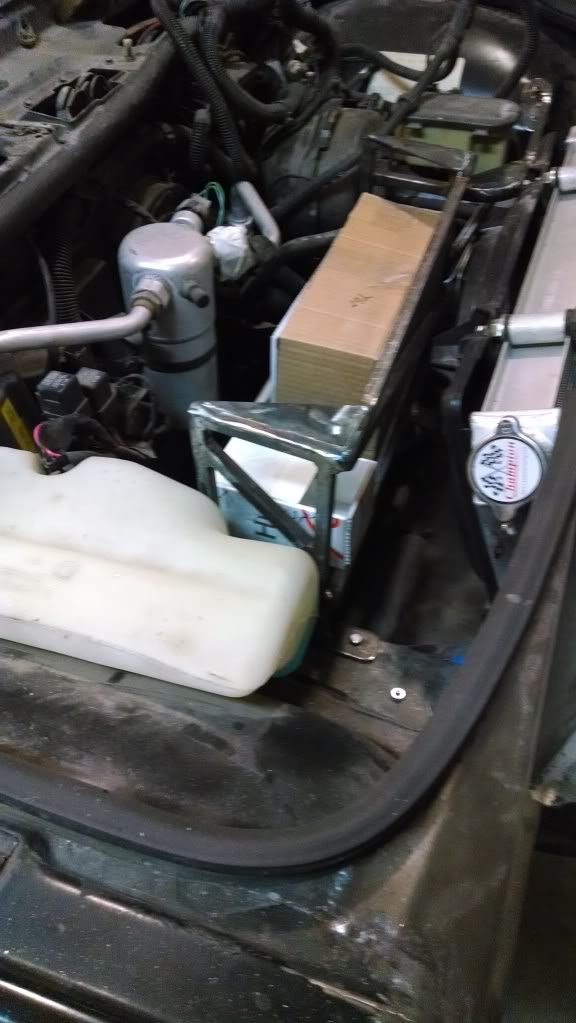
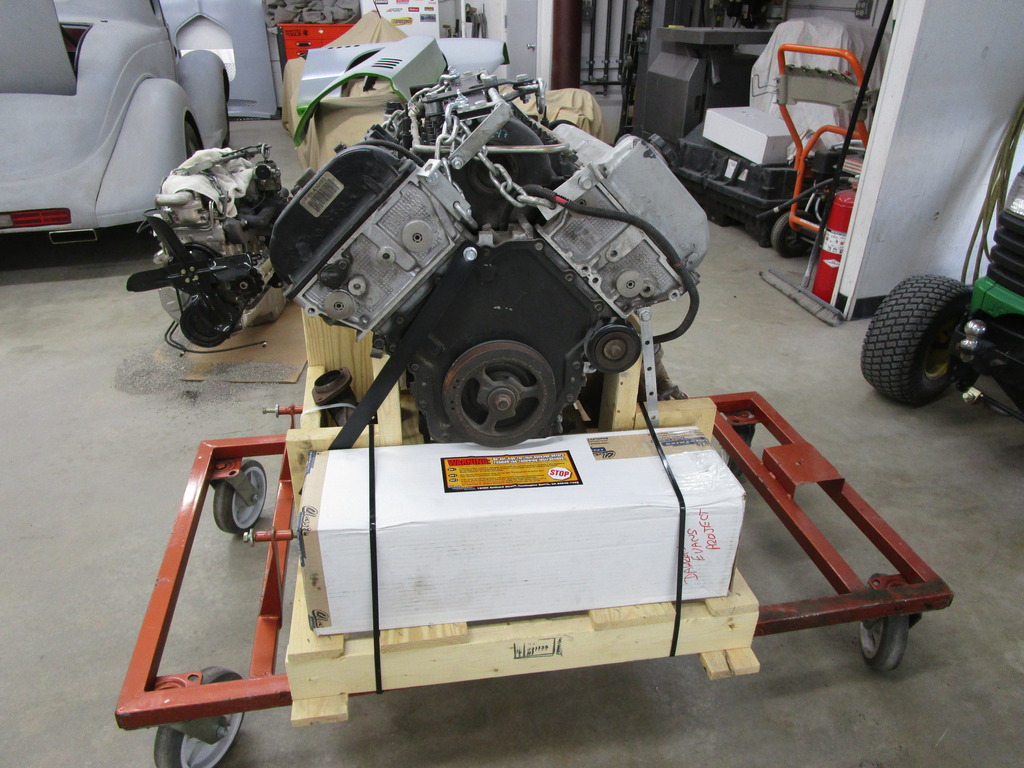
These three photos show the compressor mount - it sits about 1 inch above the winch. It still needs the mounting base for the compressor and valve body (the cardboard boxes are built to the overall dimensions of the pieces). I'm also going to install a shield at the front of the mounting box to protect the compressor from dirt coming through the radiator.
[This message has been edited by artworks (edited 07-15-2017).]
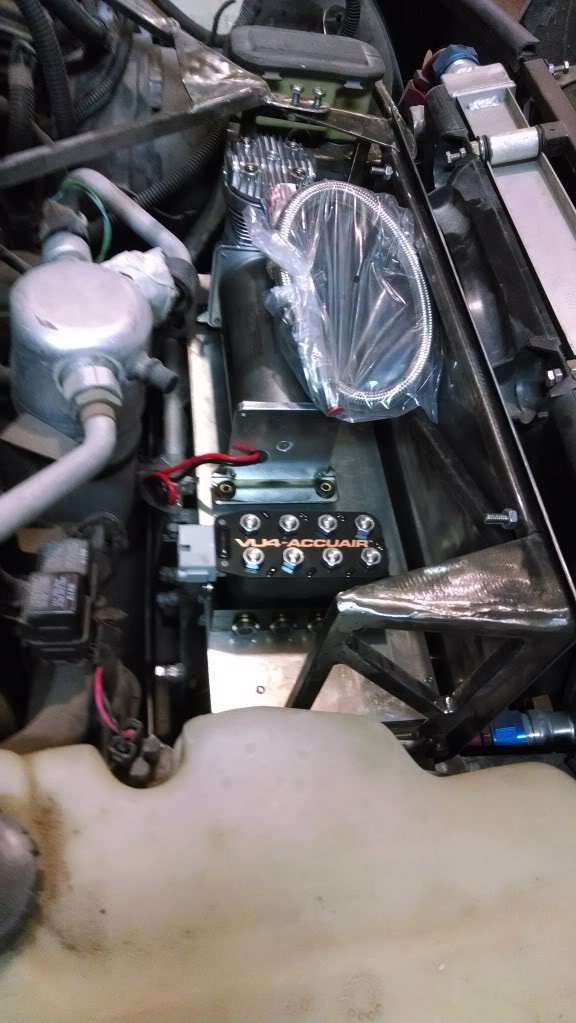
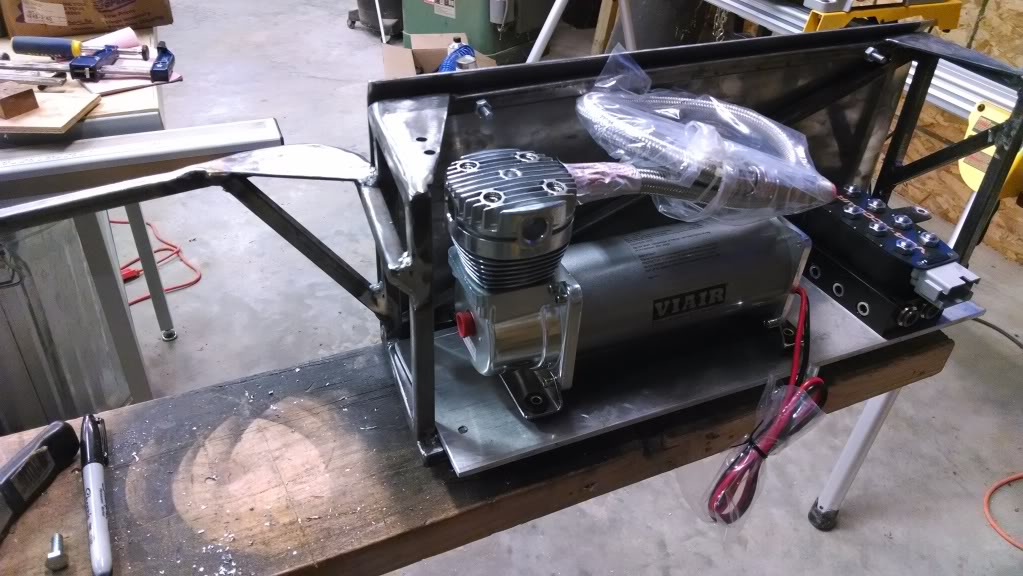
Finally finished fabricating the compressor and valve body mount. The first photo shows the parts mounted in place. The next two show the powder coated frame and polished aluminum base and windscreen.
[This message has been edited by artworks (edited 07-15-2017).]
Glad to see your still in the game on this project, I love this build! Was going to start a topic on top 10 builds on this site and you are defiantly one of them.
[This message has been edited by davylong86 (edited 01-25-2015).]
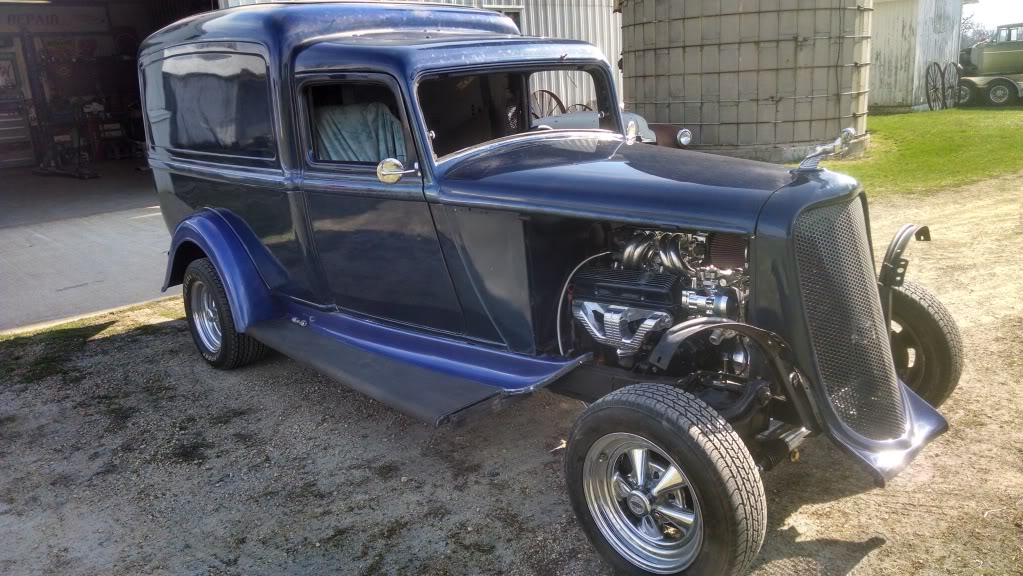
Yep, I'm still in the project. I've had my focus on building a handicap-accessible custom for my parapalegic brother. For the last year my friends and I have been rebuilding a 1935 Dodge "Humback" panel truck, including a new small block 350 with a 700R4 trans, new wiring, EFI, a wheelchair lift in the back and a power, swivel seat so he can get into the cab. Here's a pic:
And if that's not enough, I'm also trying to complete a build for my 17 year old. That project is a 1967 Camaro sitting on a 1995 Tahoe 4wd frame. I definately need to work on my own car more.
[This message has been edited by artworks (edited 07-15-2017).]
Very Cool Project. I have always loved the look / style of that kit. It makes for a great all season Fiero. Plus the looks at the gas stations will be priceless.
------------------ 857GT Part 85GT Part 87GT Part Caddy, 93 Eldorado 4.9, 5spd Dual O2 Custom Chip, Custom Exhaust. MSD Everything Now with Nitrous. Capt Fiero --- My Over View Cadero Pics For Sale $4000, Yellow 88GT 5spd Full Poly Suspension, Lowered 1/2" in front, Corner Carver.
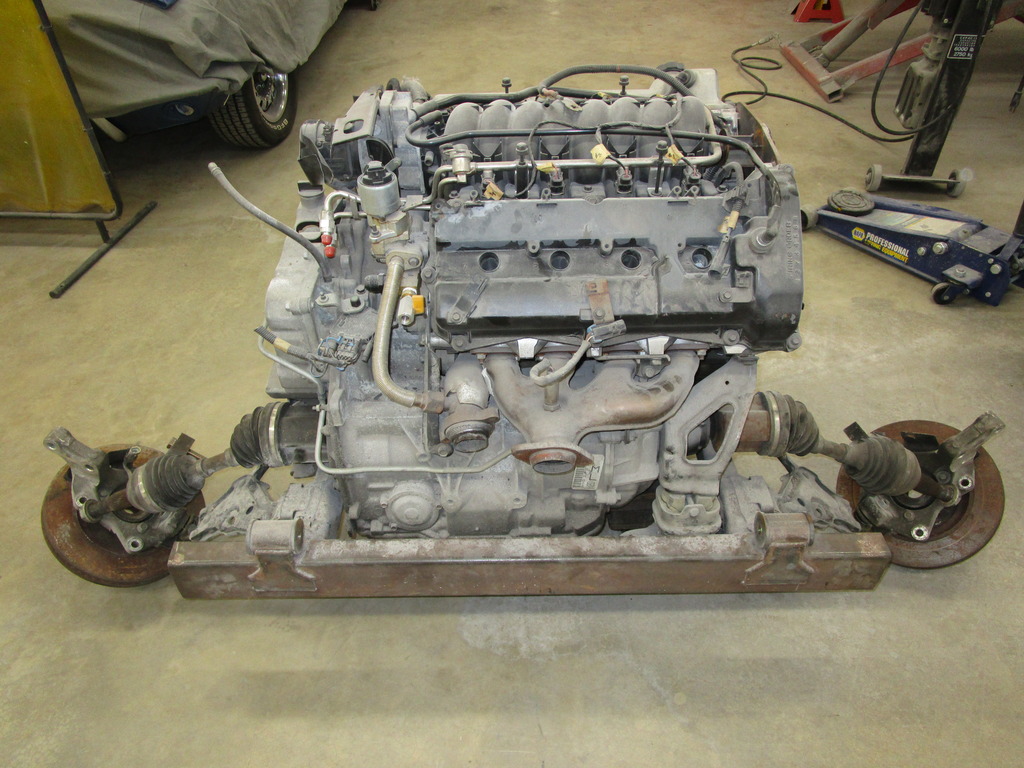
The drivetrain is back out of the car and has been shipped off to Cadillac Hot Rod Fabricators in CA for a complete rebuild with forged internals. The plan also includes CHRF building new exhaust manifolds to let the high RPM breathing begin, and a nitrous shot...just because.
[This message has been edited by artworks (edited 07-15-2017).]
The progress you're seeing is being done by Michael Dumas @ Platimun Custom Cars in Manteno, IL. Like most folks that have seen this project, he thinks I'm a little nuts, but he's happy to do the work. The Northstar is a little different for him tho... https://www.facebook.com/#!...211705537317?fref=ts
Alan Johnson at CHRF has the motor apart and new parts on order. A minor re-bore to clean up the cylinders, new pistons and rods which will take the compression from 10.3:1 up to 11.7:1, ARP studs and bolts to hold it all together, and the aforementioned exhaust. We're shooting for 400 H.P. before the nitrous shot.
AMAZING! NOW DONT EFFING QUIT THE BUILD THREAD! But seriously please dont quit the build thread mysteriously. As you probably noticed too many people only go so far then just stop posting. If it ever gets to a point that it looks like things have slowed down just please please post that here too so we know that, A- given up, B- got bored, C- run out of money, D- what ever just say something.
Your thread I read today has now inspired me to continue working on my project. I will be out in the garage later today sweating away lol. Thanks so much and all the best in your adventure.
I was watching a show on Power Block yesterday and they had these old school Jeeps out on trails and I thought MAN that would be fun in a Fiero, but you would get laughed out of the park in a 2wd anything, and you can't really put a transfer case in a Fiero, without going front engine then its not really a Fiero. So it was end of story.
Until this morning when I had a brainstorm. You CAN do a 4wd Fiero and keep it mid engine, without the need for a transfer case or drive shafts. The guys down south have already done it for the Grassroots Challenge.
If I remember correctly they used an AWD Blazer Independent front suspension. They used the spindles from the blazer and the front diff, with custom CV shafts between the diff and the spindles, as they were mounted to Fiero front control arms. Then the diff was powered not by the engine, but by a HUGE electric motor, they had Prius battery packs in the Fiero.
So the entire front drive-train was all electric with the stock Gasoline drive-train for the rear wheels. You could drive all 4 wheels, or dissengage either set and run on just Front Wheel electric or gas Rear or BOTH for some serious 60ft times.
Now if you took all that and put it into a Jalapeno, you could have one heck of a Seriously fun off road rig. The electrics can give you FULL Instant TORQUE from ZERO RPM, which would be awesome. Could you imagine the looks on the trail guys faces when you roll up in something that sorta looks like a Jeep, but is a Mid Engine, Fuel Injected V8, 4wd trail rig. That never has to worry about U-Joints or T-Cases slamming the rocks. Add in Air Bag suspension................
------------------ 857GT Part 85GT Part 87GT Part Caddy, 93 Eldorado 4.9, 5spd Dual O2 Custom Chip, Custom Exhaust. MSD Everything Now with Nitrous. Capt Fiero --- My Over View Cadero Pics For Sale $4000, Yellow 88GT 5spd Full Poly Suspension, Lowered 1/2" in front, Corner Carver.
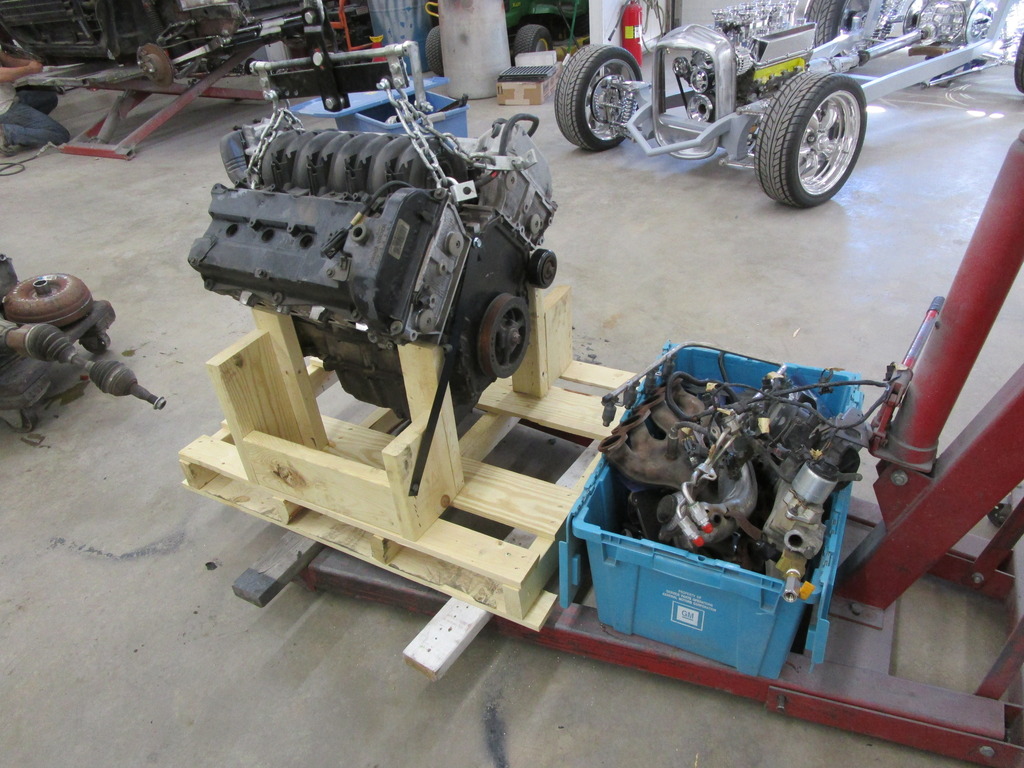
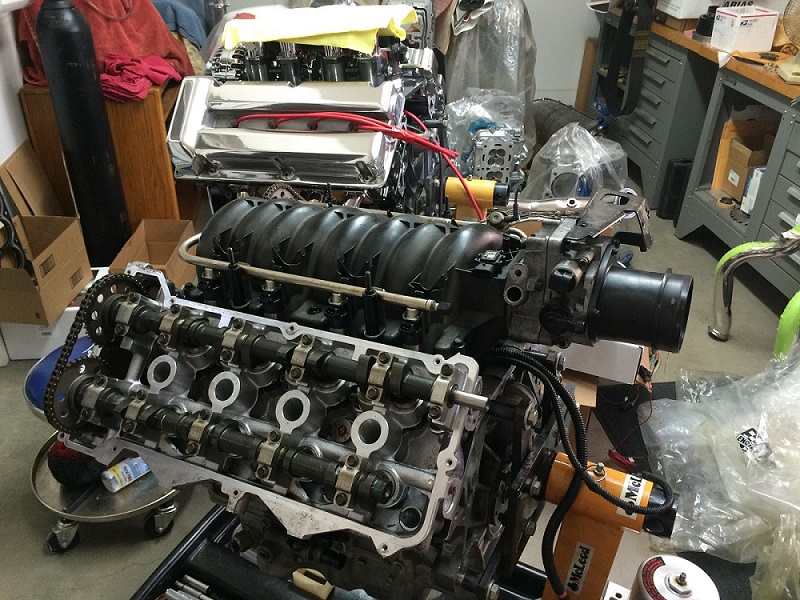
The Northstar rebuild is coming together - here's a pic of the engine after Cadillac Hot Rod Fabricators went through it. The valve covers are on the motor right behind it.
[This message has been edited by artworks (edited 07-15-2017).]
Just in case you were not aware.... those polished aluminum valve covers normally require some clearancing to fit a fiero. Madcurl and Bloozeberry both had to mod either the cover or the rear firewall to use them.
Just in case you were not aware.... those polished aluminum valve covers normally require some clearancing to fit a fiero. Madcurl and Bloozeberry both had to mod either the cover or the rear firewall to use them.
I wonder if that problem will be non-existent with the cradle being lower than stock....
Right - the engine is about 4" lower in the body than any other Fiero. Plus, this is a new valve cover design from Alan Johnson - I haven't seen it in person yet.
There should be an award for the nicest shop on Pennocks . You got my vote .Love the build and there is a thread about rotisseries in the tech section right now .I think you win there too . Have a great last week of summer and keep the updates coming .
[This message has been edited by wftb (edited 09-01-2015).]
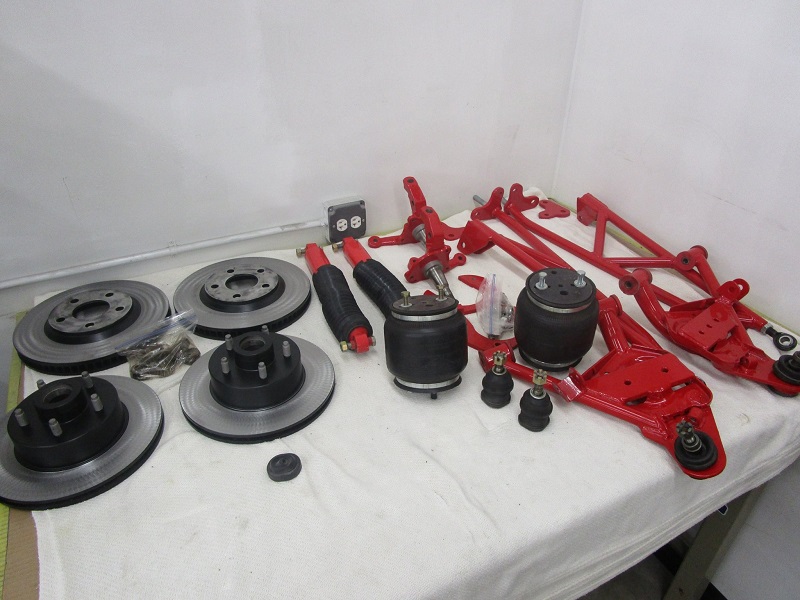
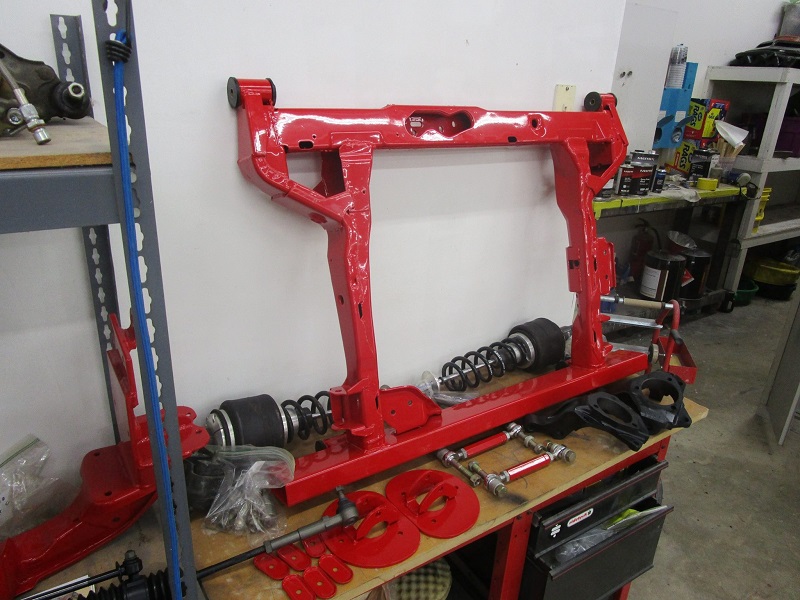
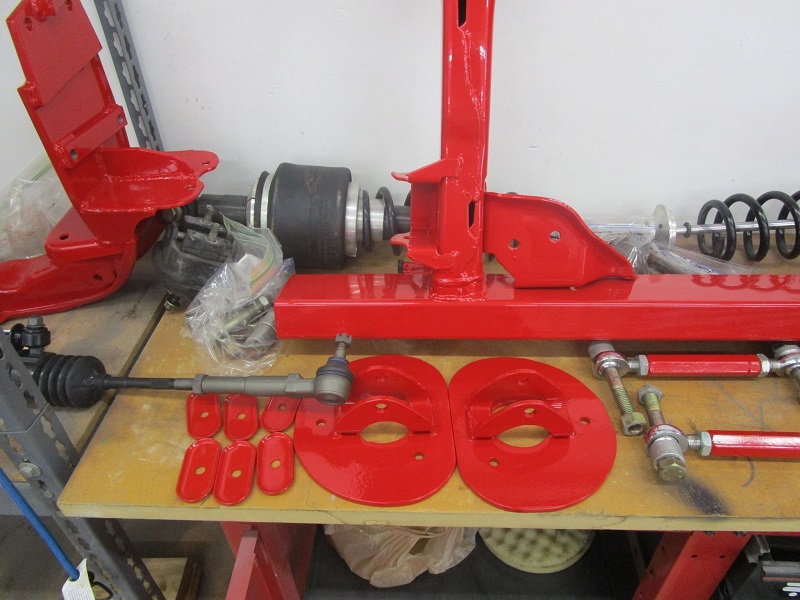
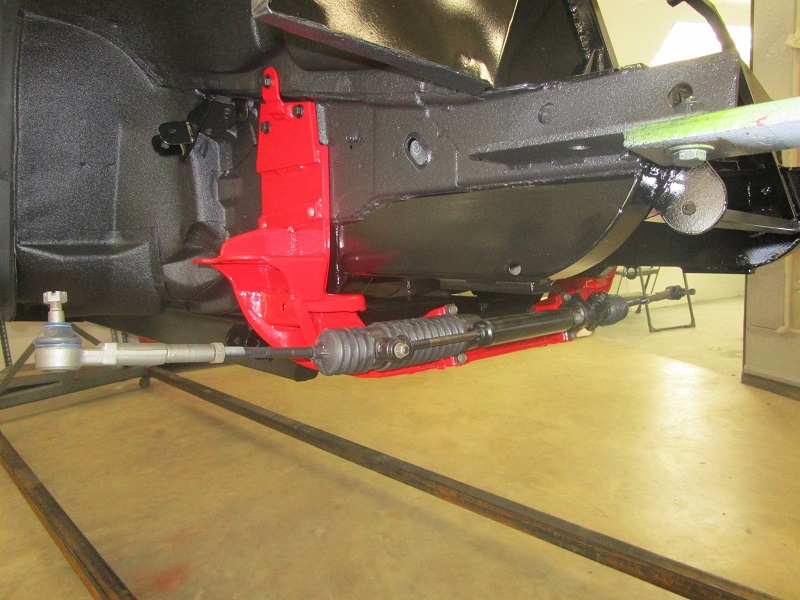
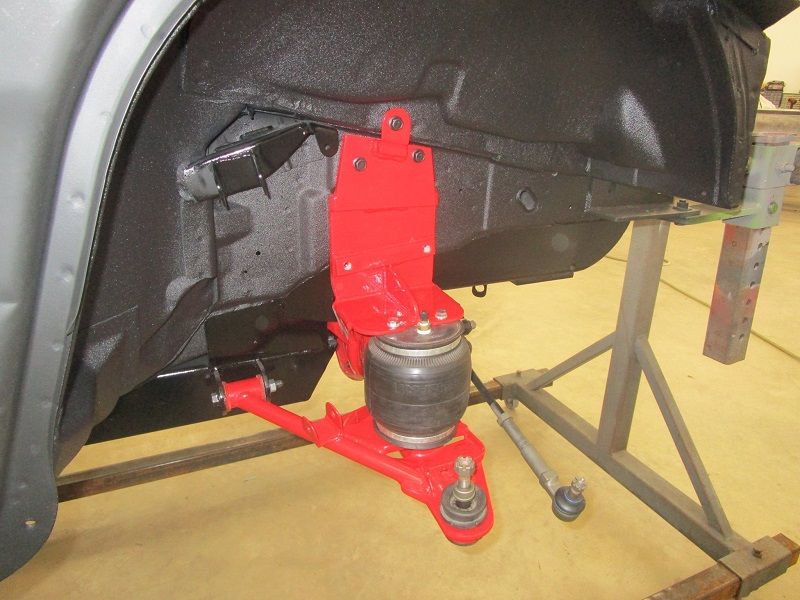
Parts are coming together! Front suspension is back together. Still need to replace the threaded rod holding the upper A-arm with hardened bolts, once the alignment is complete
[This message has been edited by artworks (edited 07-15-2017).]