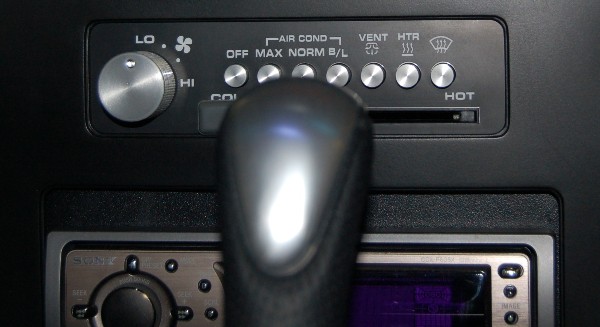
Wow i absolutely love the new billet knobs and buttons ! you should produce and sell those.
Glad you like them! The first set was a real PAIN to make on my small tabletop lathe, but they *could* be made pretty easily now that I have the design worked out. I wouldn't do them with the lighted LED in the fan switch knob though. It's very difficult to modify the HVAC housing to wire it in. First thing I would need to do is cost them out with a CNC machine shop. Installing the push buttons also requires disassembling the entire HVAC head unit and removing the old buttons and replacing them with the billet ones. A small hole for a set screw also needs to be drilled through the plastic behind the faceplate to secure the fan switch knob. It's not difficult, just tedious.
As for St Pete VS Daytona... I was under the assumption that we had this all worked out? Go to Daytona on Friday and stay the night. Do the show on Saturday and then leave for Tampa/St. Pete. after the show and go to the race on Sunday.
As for St Pete VS Daytona... I was under the assumption that we had this all worked out? Go to Daytona on Friday and stay the night. Do the show on Saturday and then leave for Tampa/St. Pete. after the show and go to the race on Sunday.
I agree here. If you (both) didnt make it to Daytona I would be very
I plan on coming up there Friday morning, so if you left Saturday night at least we could have one good night to catch up.
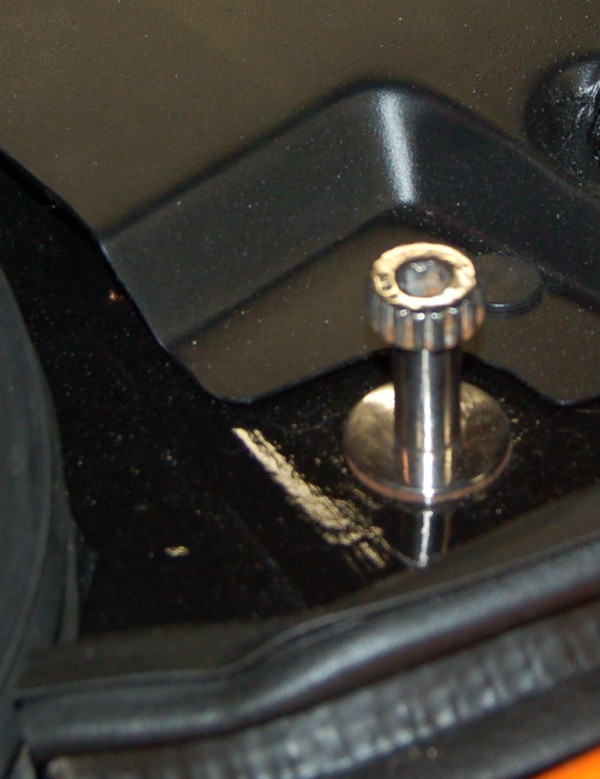
Several years ago I bought some electroplating equipment and never used it ... until now. I polished and nickel plated the hood safety posts, hood latch and numerous nuts and bolts.
The plating is called "Copy Chrome" and although it's actually nickel, it's a "blue" nickel that approximates chrome very nicely. Google "Caswell Plating" and look for their brush plating kits if you're interested...
After looking at this picture again I noticed that some RUST! was showing up in the grooves of the post and around the rim of the washer I guess these parts will have to be dip plated rather than brush plated, because I can't seem to get the copper flash or the nickel down into those grooves. They've been pulled out and new ones with fresh black paint put in for now... Oh well....
[This message has been edited by randye (edited 01-27-2010).]
I agree here. If you (both) didnt make it to Daytona I would be very
I plan on coming up there Friday morning, so if you left Saturday night at least we could have one good night to catch up.
-Joe
The wife says she hates the idea of spending all weekend at another race track and she's campaigning to spend the whole weekend in Daytona. (The Daytona show is AT THE RACE TRACK, so go figure...!!!)
I promised JimmyS over-crew credentials for the St Pete Grand Prix so he could get pit access during practice, qualifying and the race.
I don't like the idea of hauling all the way back to Tampa late on Saturday night, (I'd rather stay and party)
I'm going to have someone upset with me no matter what I do...
[This message has been edited by randye (edited 01-27-2010).]
A few *more* tweaks since my last update on this never ending project:
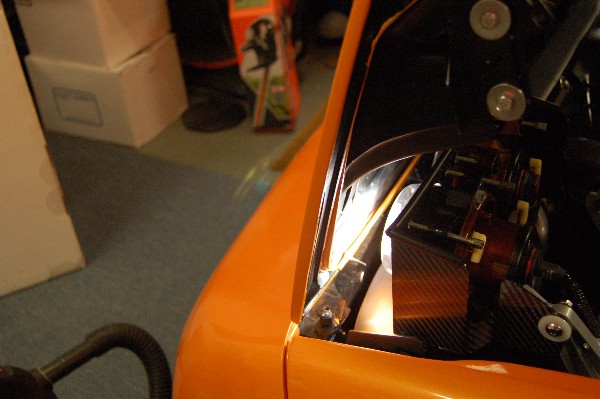
I installed some HID lights in my Hella 90mm low beam modules: The HID lights are from TLG-Auto, ("Oslo") They're 6000K ("diamond white"...I hate those blue tinted HIDs)
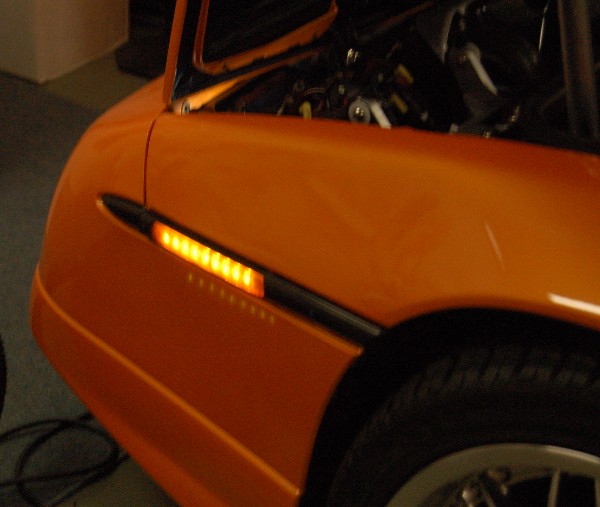
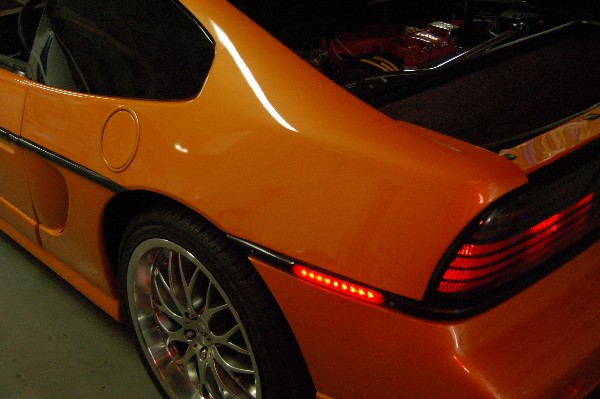
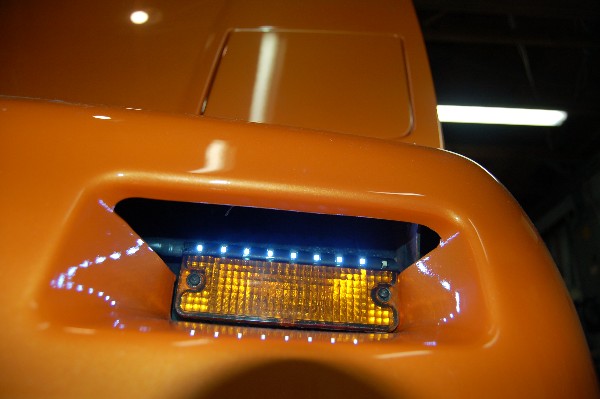
I installed LED side marker turn signals on all 4 corners:
and installed LED / DRL accent lights above the front turn signals:
TLG-Auto.com will be offering the DRLs, accent lights and side marker / turn signal kits. If you like mine, you can get some for yourself from TLG
[This message has been edited by randye (edited 02-13-2010).]
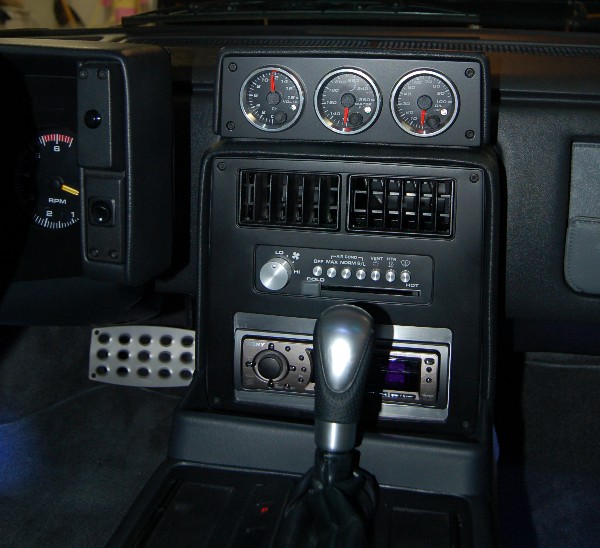
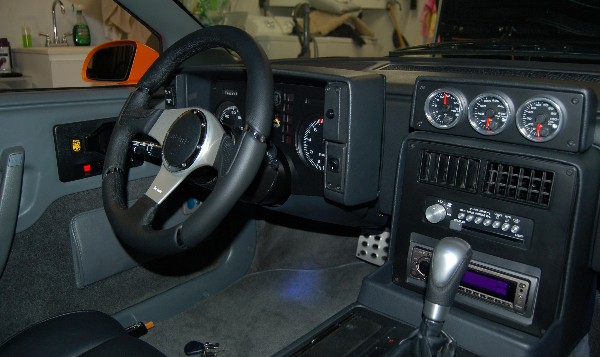
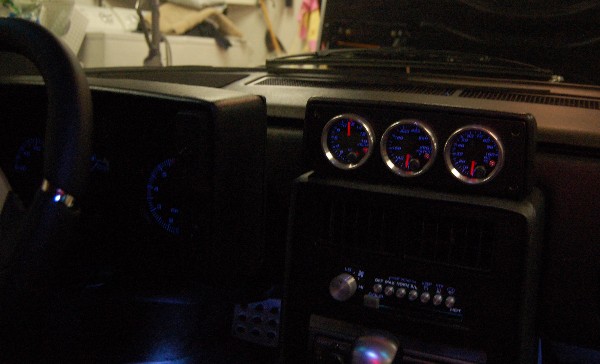
I also changed out the black bezels on the 3 center gages. The aluminum bezels look better with my Momo steering wheel, my shifter, the billet HVAC buttons and the new aluminum face plate I fabricated around the stereo head unit:
[This message has been edited by randye (edited 02-14-2010).]
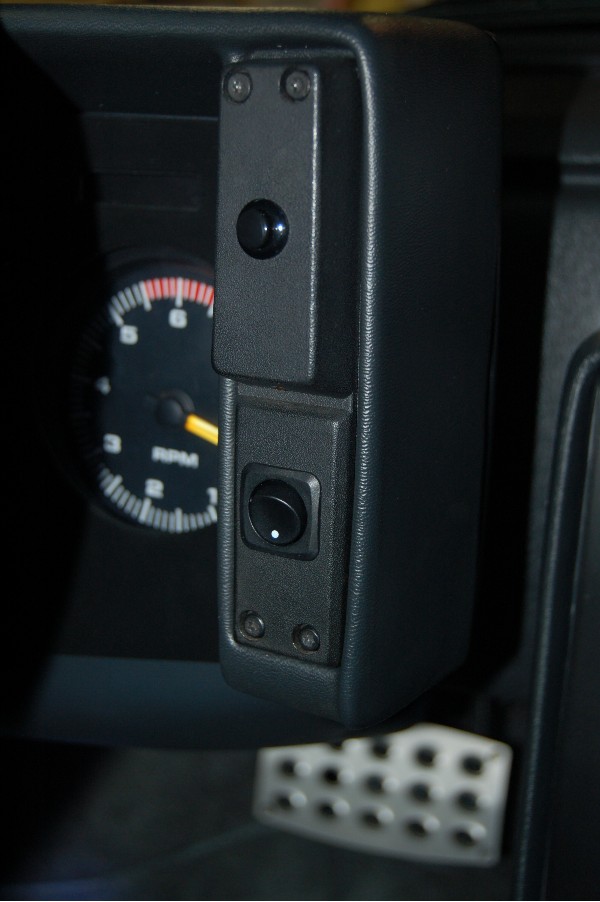
Also changed out the switch for my new LED driving lights and a new momentary button for the rear deck lid release: Both the momentary button and the rocker switch are off-the-shelf parts from Radio Shack. They're very good quality. Much better than anything you'll find at the auto parts store. There's a small amber LED hidden just above the lower switch to indicate that the driving lighhts are on. The lights are also wired to ignition switched power in case I shut off the car and forget to turn them off.
[This message has been edited by randye (edited 04-08-2010).]
Just a thought... you could dissamble the brake and gas pedal and plate the gas pedal (I painted mine 'bumper chrome') and strip/polish the aluminum pedal to stand out in that black interior (mine wasn't a super clean job, but the black paint came off easily enough) you'll see the brake pedal could use some detailing.
Randy, I really like the look of your interior, did you paint your plactic factory bezels matte black? They look nice that way. also what is involved in getting a nice steering wheel in the car, is it a bolt on or is there an adapter necessary? peace
Randy, I really like the look of your interior, did you paint your plactic factory bezels matte black? They look nice that way. also what is involved in getting a nice steering wheel in the car, is it a bolt on or is there an adapter necessary? peace
Pete
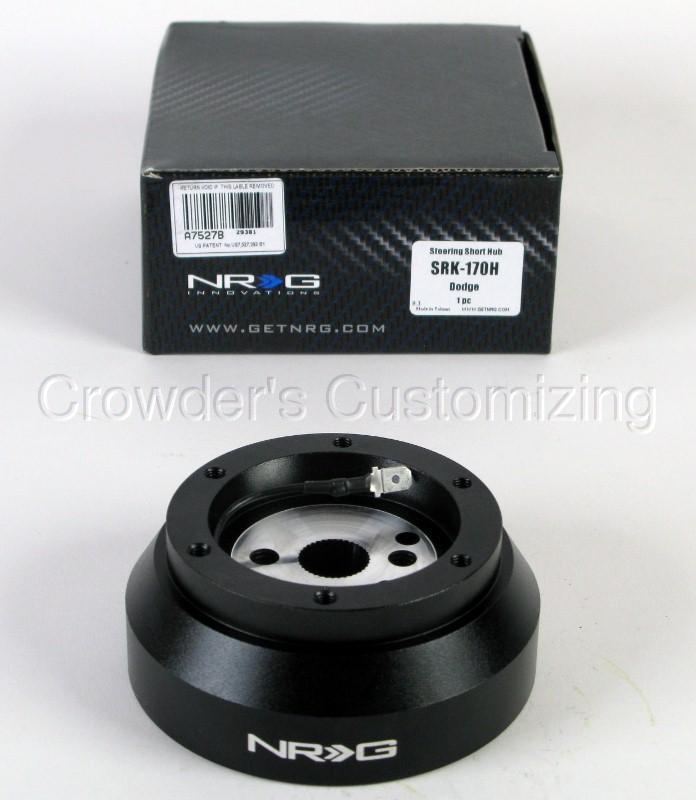
Pete, Yes, I painted the OEM bezels with SEM satin black. I have a set of machined aluminum bezels for the IP, center console and shifter console, but I thought they added too much silver to the interior. Trying to keep the aluminum / silver to just the accents for the interior and not over-do it. Sometimes "less is more" if you know what I mean. You need an adapter to install an aftermarket steeering wheel like the Momo one I have in a Fiero. I used a low profile adapter from NRG that puts the steering wheel at the same distance from the driver as the stock Fiero wheel. The Momo steering wheel adapters are all too long and push the steering wheel back toward the driver by 3" or more depending on the amount of "dish" to the wheel, so if you don't want your custom steering wheel in your chest, the NRG adapter is the way to go.
Randy, so when you painted the bezels did you scuff them up or just paint them? I bought some newer unbroken factory bezels for my new fiero and I am having a helluva time finding the shifter surround. The one I have has been upholstered and when I tried to remove the fabric there is a lot of glue underneath, I can remove the glue but the PO scuffed it for adhesion. I could possibly sand it down and then repaint them as you did. How much was that adapter and how much was the wheel. I see a lot of nice custom steering wheels on the ebay fiero ads and thought about getting one but could not figure out how to install it. Was it a ***** ? Ordered a bunch of nice interior upgrades from Fiero thomas recently and am waiting patiently for their arrival. Just gotta get the factory stuff in shape. How hard is it to wire all those gauges in the pod up top? I can machine one of those pods out of aluminum on my cnc mill but I had wanted to go back to stock. After looking at your pics I am starting to rethink that... sure looks like a comfy place to lay some rubber in.... nice work and super nice car... BTW, do you happen to have the paint code for that orange? My car is currently a real faded red and I am considering an orange or back to red right now.... Someday I hope to have my car looking as nice as yours... peace
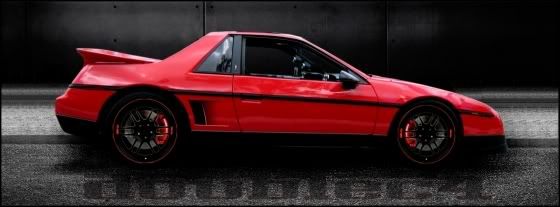
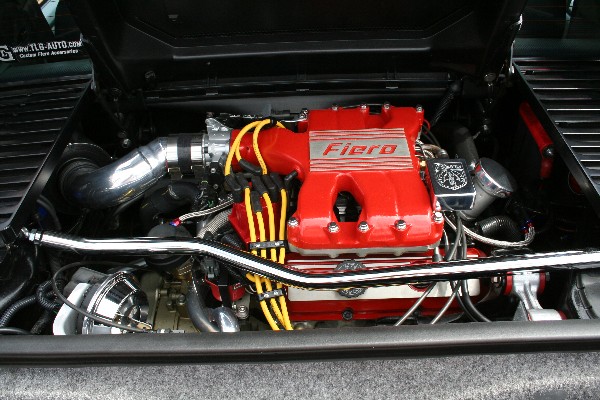
Love the car...Jealous of those wheels. And no, i don't think you should change your engine color, the red looks awesome as it is with the orange exterior
Another question, is that a quick release wheel adapter? There is some mention of it on the net that way? Unfortunately it is like a hundred bucks!! I know I am a cheap ass... oh well a house and kids will do that to ya... I may try to remove the steering wheel and see if I can cnc machine one for my car.... it does not look too bad really... I guess it has a splined shaft tho.... gotta take it apart and see....
My car came with a lot of the interior plastic bits painted with some vinyl paint. It looks very nice but there is some scuffing around the area your feet rub when getting in and out.... I may have to try this.... it sure looks like a nice touch...was your cars carpet black or did you replace it.. thanks for the help man!!
The NRG has adapters in both quick release and non quick release. Mine is the non quick release. That photo I posted shows the box with a label that says Dodge, along with the part number...it's the same part number for Fiero. Yes, I'm afraid the NRG adapters are expensive, but they're MUCH better made than the Momo adapters and it's about the only game in town if you want buy a low profile one.
You do CNC machining??!! If so, we need to talk. I'm looking for someone that might have a CNC bar chucker lathe to make the billet aluminum HVAC buttons and parts for production. I'm also looking for someone that can turn a couple of simple 4-5 inch diameter rings in aluminum for me. I'll supply the rough drawings.
Originally posted by exoticse: Ok Randye you keep amazing us, soooooooo what's next !?
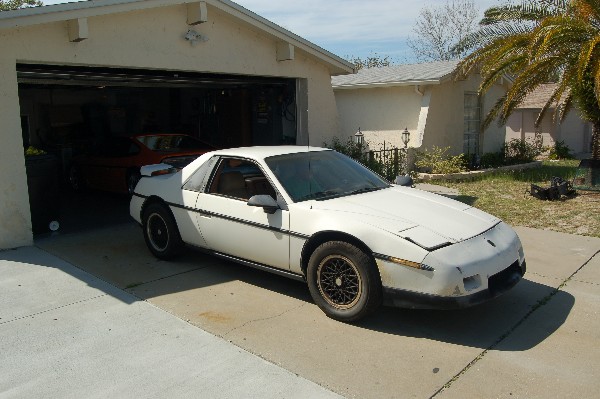
The next *big* project will be turning my son's 88 Formula into a chop-top wide body. But that's going to be a little later... In the meantime the small improvements on my 87 GT continue.
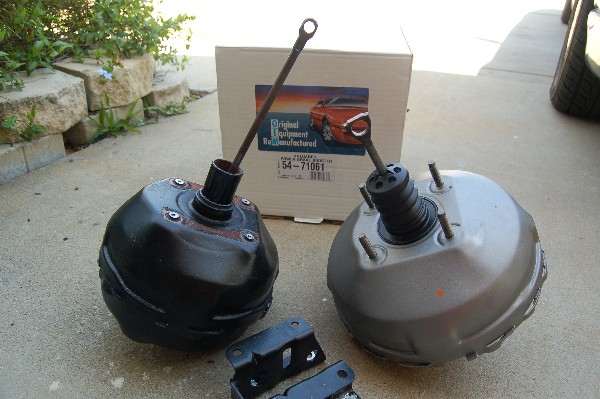
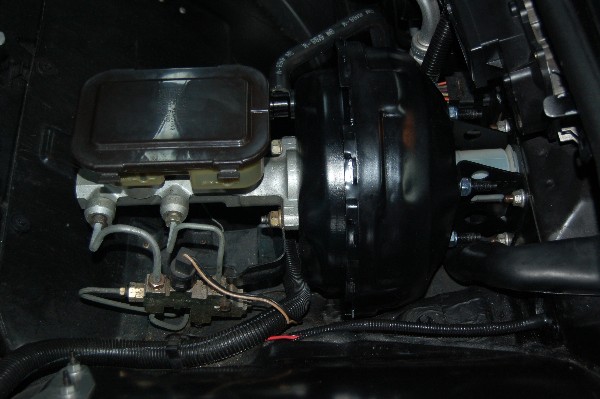
Just finished the S-10 brake booster swap this week.
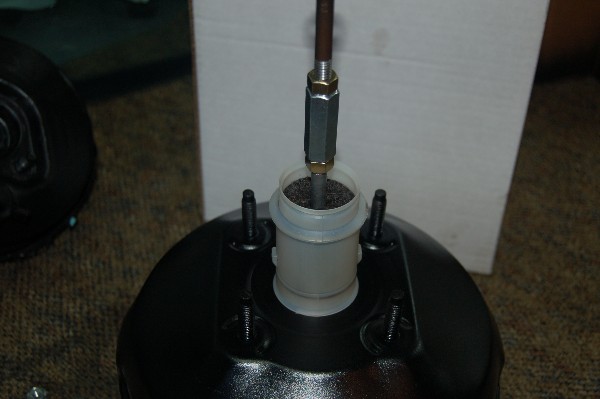
I threaded the linkage instead of welding it. That gave me a nice way of adjusting the rod length so it was perfect when I installed it.
All done and bolted in. The braking improvement is quite nice.
[This message has been edited by randye (edited 04-08-2010).]
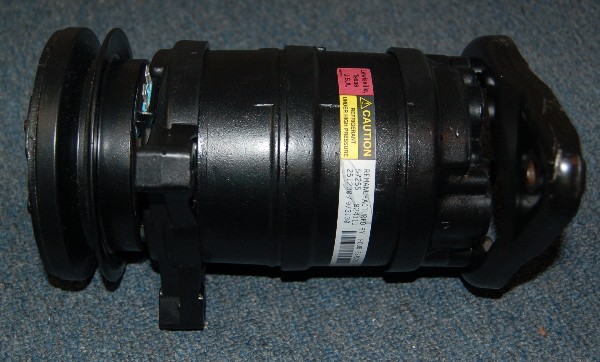
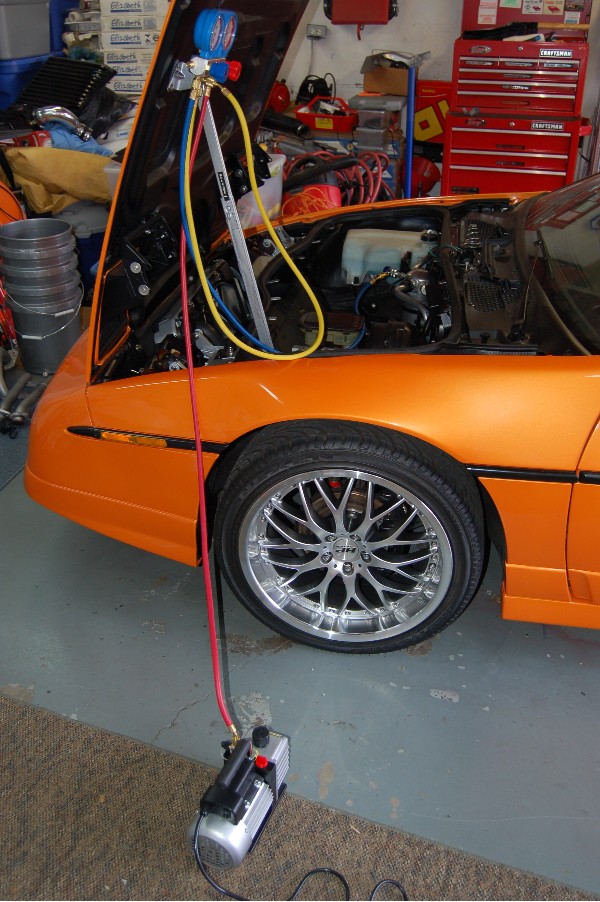
Just before Daytona last month I installed a new A/C compressor, accumulator, orifice tube and o-rings throughout the system. Bought a vacuum pump and manifold gages and got my A/C working beautifully for the first time in 2 years. I now know how to do my own A/C!
The next project is installing a full set of SpeedHut custom gages in the I.P. I have the SpeedHut gage overlays in the current cluster, but I want my I.P. gages to match the ones I installed in the Aux. panel. I've already "gutted" a spare cluster and I'm preparing to modify it to be a full "plug & play" unit with LED warning lights, etc.
I just realized, this thread has been going for almost 4 YEARS now and I still haven't made it to the "Construction Zone". Maybe someday I'll be good enough.......
I just realized, this thread has been going for almost 4 YEARS now and I still haven't made it to the "Construction Zone". Maybe someday I'll be good enough.......
That is pretty ridiculous.
This thread should be used as a model of how to do a fiero right.
How do we get this moved to the construction zone where it rightfully belongs ?
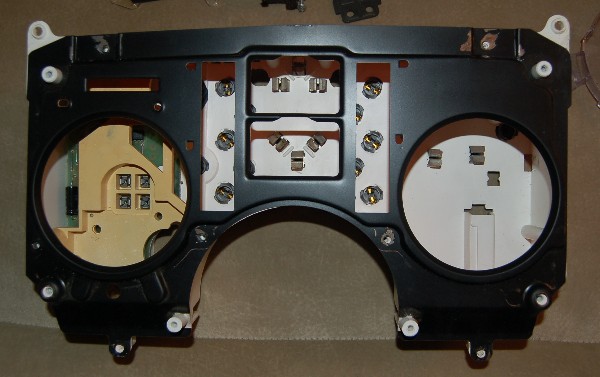
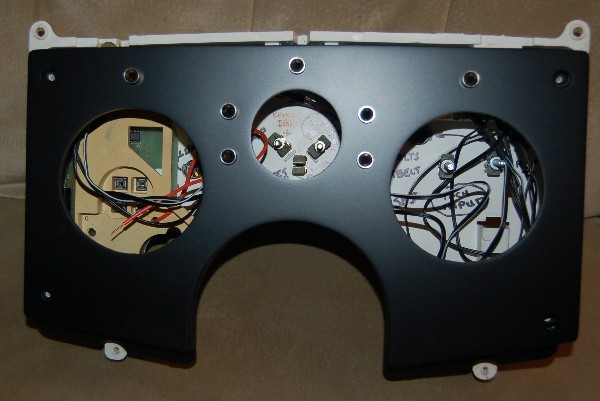
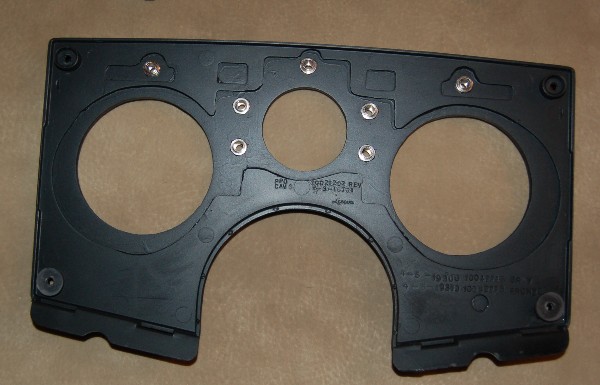
I have the new face plate for the gages all machined out of 1/4 inch thick clear Lexan and painted satin black using SEM paint. It's VERY solid. I'll be using SpeedHut gages. Left will be a speedo, center a 2 1/16 fuel gage and of course the Tach on the right. LEDs are replacing the old warning lights. The Speedo and Tach locations were moved inboard and upward on the panel slightly to give a better view while driving and better overall appearance. The fuel gage location was simply centered between the old temp and fuel gage locations. Highbeam indicator is in the top center above the fuel gage location and turn signals were moved to the top right and left of the new panel.
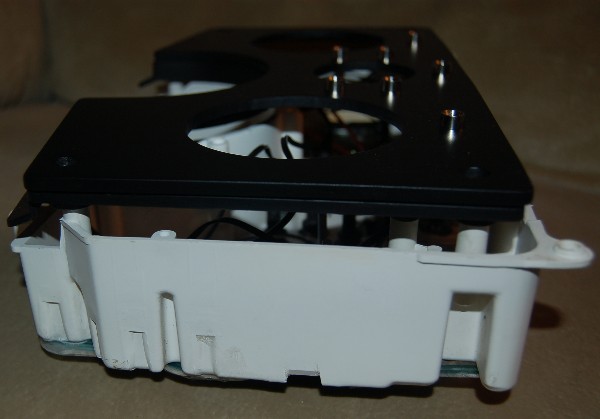
The new Lexan face plate was bonded to the old OEM plastic trim plate using MEK solvent. Here you can see what I cut away from the old face plate before bonding it to the new Lexan piece. You can also see how much I moved the new Speedo and Tach locations from the original:
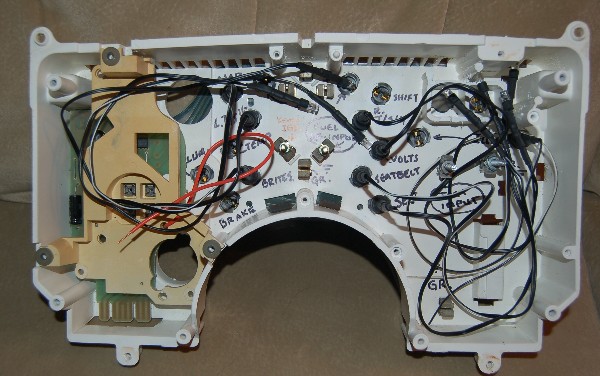
LEDs for all the warning lights have been installed:
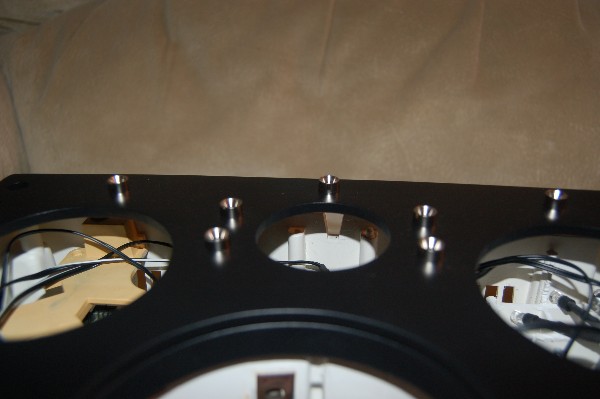
Very nice LED holders from Radio Shack installed in the faceplate: The LED holders should match the billet aluminum bezels on my new gages very nicely.
[This message has been edited by randye (edited 04-27-2010).]
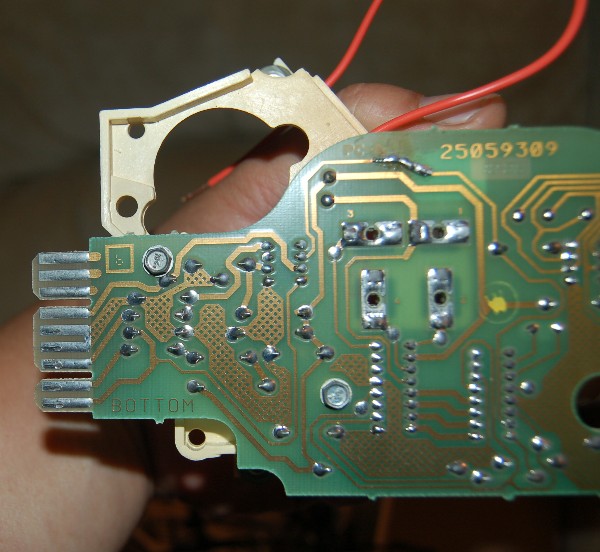
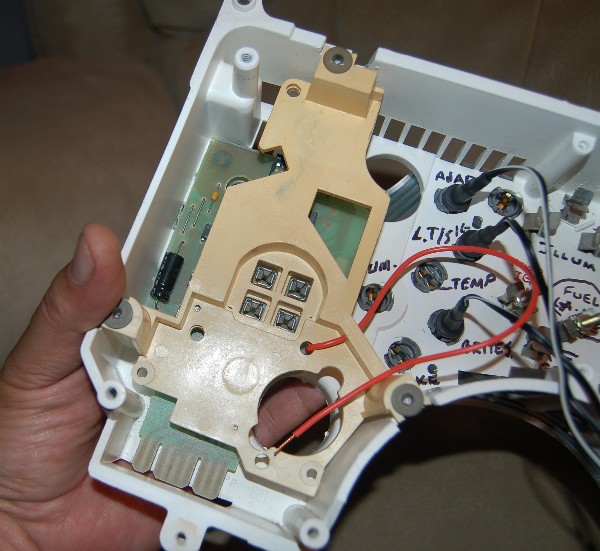
4000 PPM signal feed for the Speedo was tapped from the OEM circuit board (orange wire) You can see where I soldered the wire after drilling a small hole thru the board at the top of this pic.
The LED warning lights are from "Superbrightleds" and are all wired up with proper resistors and tested:
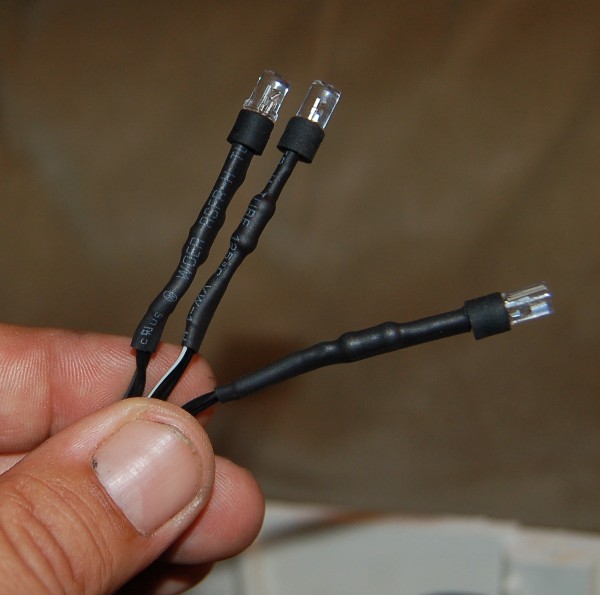
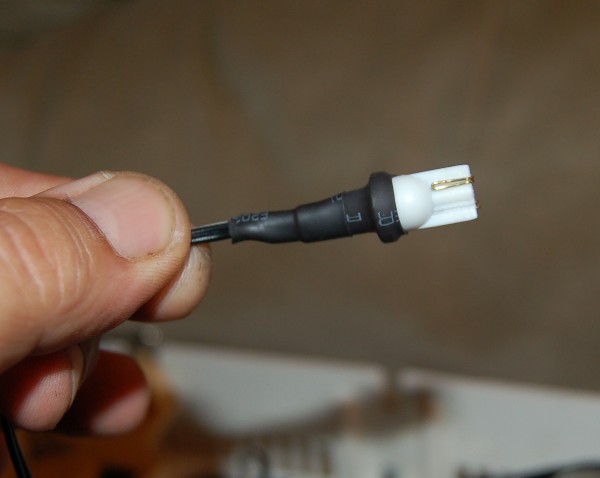
The LEDs are installed into the OEM gage "pod" using some nifty 194 male plugs that insert right into the original bulb holders: Makes changing out any burned out LED simple and saved a lot of soldering inside the pod.
[This message has been edited by randye (edited 04-27-2010).]
The new SpeedHut gages are due to arrive today and I'll post more photos with them in the new panel as soon as they get here.
The idea for this install is to make the whole thing "plug & play" using the OEM harness wiring, (C1, 2 and 3 connectors to the pod) so that installation and future removal for any repairs is as simple as possible. The inverter for the SpeedHut gage lighting will also be contained inside the pod. There's a LOT of room in there once you "gut" all the OEM gages!
Randye You are doing a great job. I wanted to say it was a pleasure talking to you in Daytona, you were very helpfull and answer all my questions. I also want to thank you for taking me for a ride on your car, your workmanship is an inspiration for me.
If you don't mind me asking, what are you panning on doing with the faces for the gauges, the ones that light up blue ? If you are planning on selling them let me know, I really like how they look.