Pennock's Fiero Forum
  Technical Discussion & Questions
  How to Install a Wilwood Brake Proportioning Valve for C4 Corvette Brakes in an 87 GT

Post New Topic  Post A Reply
Email This Page to Someone! | Printable Version


next newest topic | next oldest topic
How to Install a Wilwood Brake Proportioning Valve for C4 Corvette Brakes in an 87 GT by Brian A
Started on: 03-16-2024 06:20 PM
Replies: 4 (157 views)
Last post by: Brian A on 03-29-2024 05:50 PM
Brian A
Junior Member
Posts: 7
From: San Francisco Bay Area
Registered: Sep 2023


Feedback score: N/A
Leave feedback

Rate this member

Report this Post03-16-2024 06:20 PM Click Here to See the Profile for Brian ASend a Private Message to Brian AEdit/Delete MessageReply w/QuoteDirect Link to This Post
Removing the factory brake combination valve and replacing it with a Wilwood Combination Proportioning Valve (Part Number 260-11179) was more complicated than I expected so I thought I’d document the war here. Note that I have Corvette C4 rotors and calipers front and rear in my 1987 GT.

The needed various connections are as follows:

Master Cylinder Front brake – SAE 9/16”-18 inverted flare (female)
Master cylinder rear brake – SAE 1/2"-20 inverted flare (female)

Brake line front right brake – DIN 10 mm-1.0 bubble flare (male)
Brake line front left brake – DIN 10 mm-1.0 bubble flare (male)
Brake line rear single line for both brakes – DIN 14 mm-1.5 bubble flare (male) (#%$*!)

Wilwood proportioning valve, all brake fittings – SAE 3/8-24 inverted flare
Wilwood proportioning valve, front brake light switch port – 1/8-27 NPT

A big problem is that GM used a rare 14mm bubble flare connector to the rear brake line. A union for this connector is virtually unavailable. The common bubble flare fittings are 10mm and 12mm.

Adding to this complication, there is no room to cut and reflare the rear brake line in the front compartment. Adding to this addition, the brake line is thick hard steel, so is impossible to flare without using heat, and there is no room for that. There is more: the rear brake line itself is 6mm NOT 1/4 inch (6.3mm) which means most flaring tools can’t flare 6 mm anyway.

Even though GM used both metric and SAE brake line fittings for the brakes, material for all the other connections are readily available so as long as you can double flare (“inverted flare”) and bubble flare (“DIN flare”). Connecting everything else is easy.

If I were to do it again, I would rip out the factory rear brake line from the front trunk all the way to the right rear of the car and replace it with handmade one using that easy-to-bend-and-flare nickel/copper brake line. A new tee fitting would be needed at the back with three 10mm bubble flare ports. The end in the front trunk could go directly to the proportioning valve using SAE 3/8 inch-24 double flare fitting.

The way I did it, after two weeks of banging my head on a wall, was to pirate the factory tee fitting from the back of a wrecked Fiero. It has two 10mm bubble flare fittings and one 14mm bubble flare fitting. I bought a plug for one of the 10mm fittings, hooked the 14mm fitting to that cursed rear brake line in the front trunk and flared a 3/16 inch tubing with a 10mm nut and a bubble flare for the other port. That, I hooked up to the proportioning valve back brake port with an SAE 3/8-24 inverted flare nut.

The good news is that I can appropriately proportion the brakes (I can selectively lock the rear or the front based on the proportioning valve setting). For my car's configuration, backing the proportioning valve 5 rotations off of "full rear pressure" causes the front brakes to lock and the rear wheels to still keep rolling but nearing their threshold.
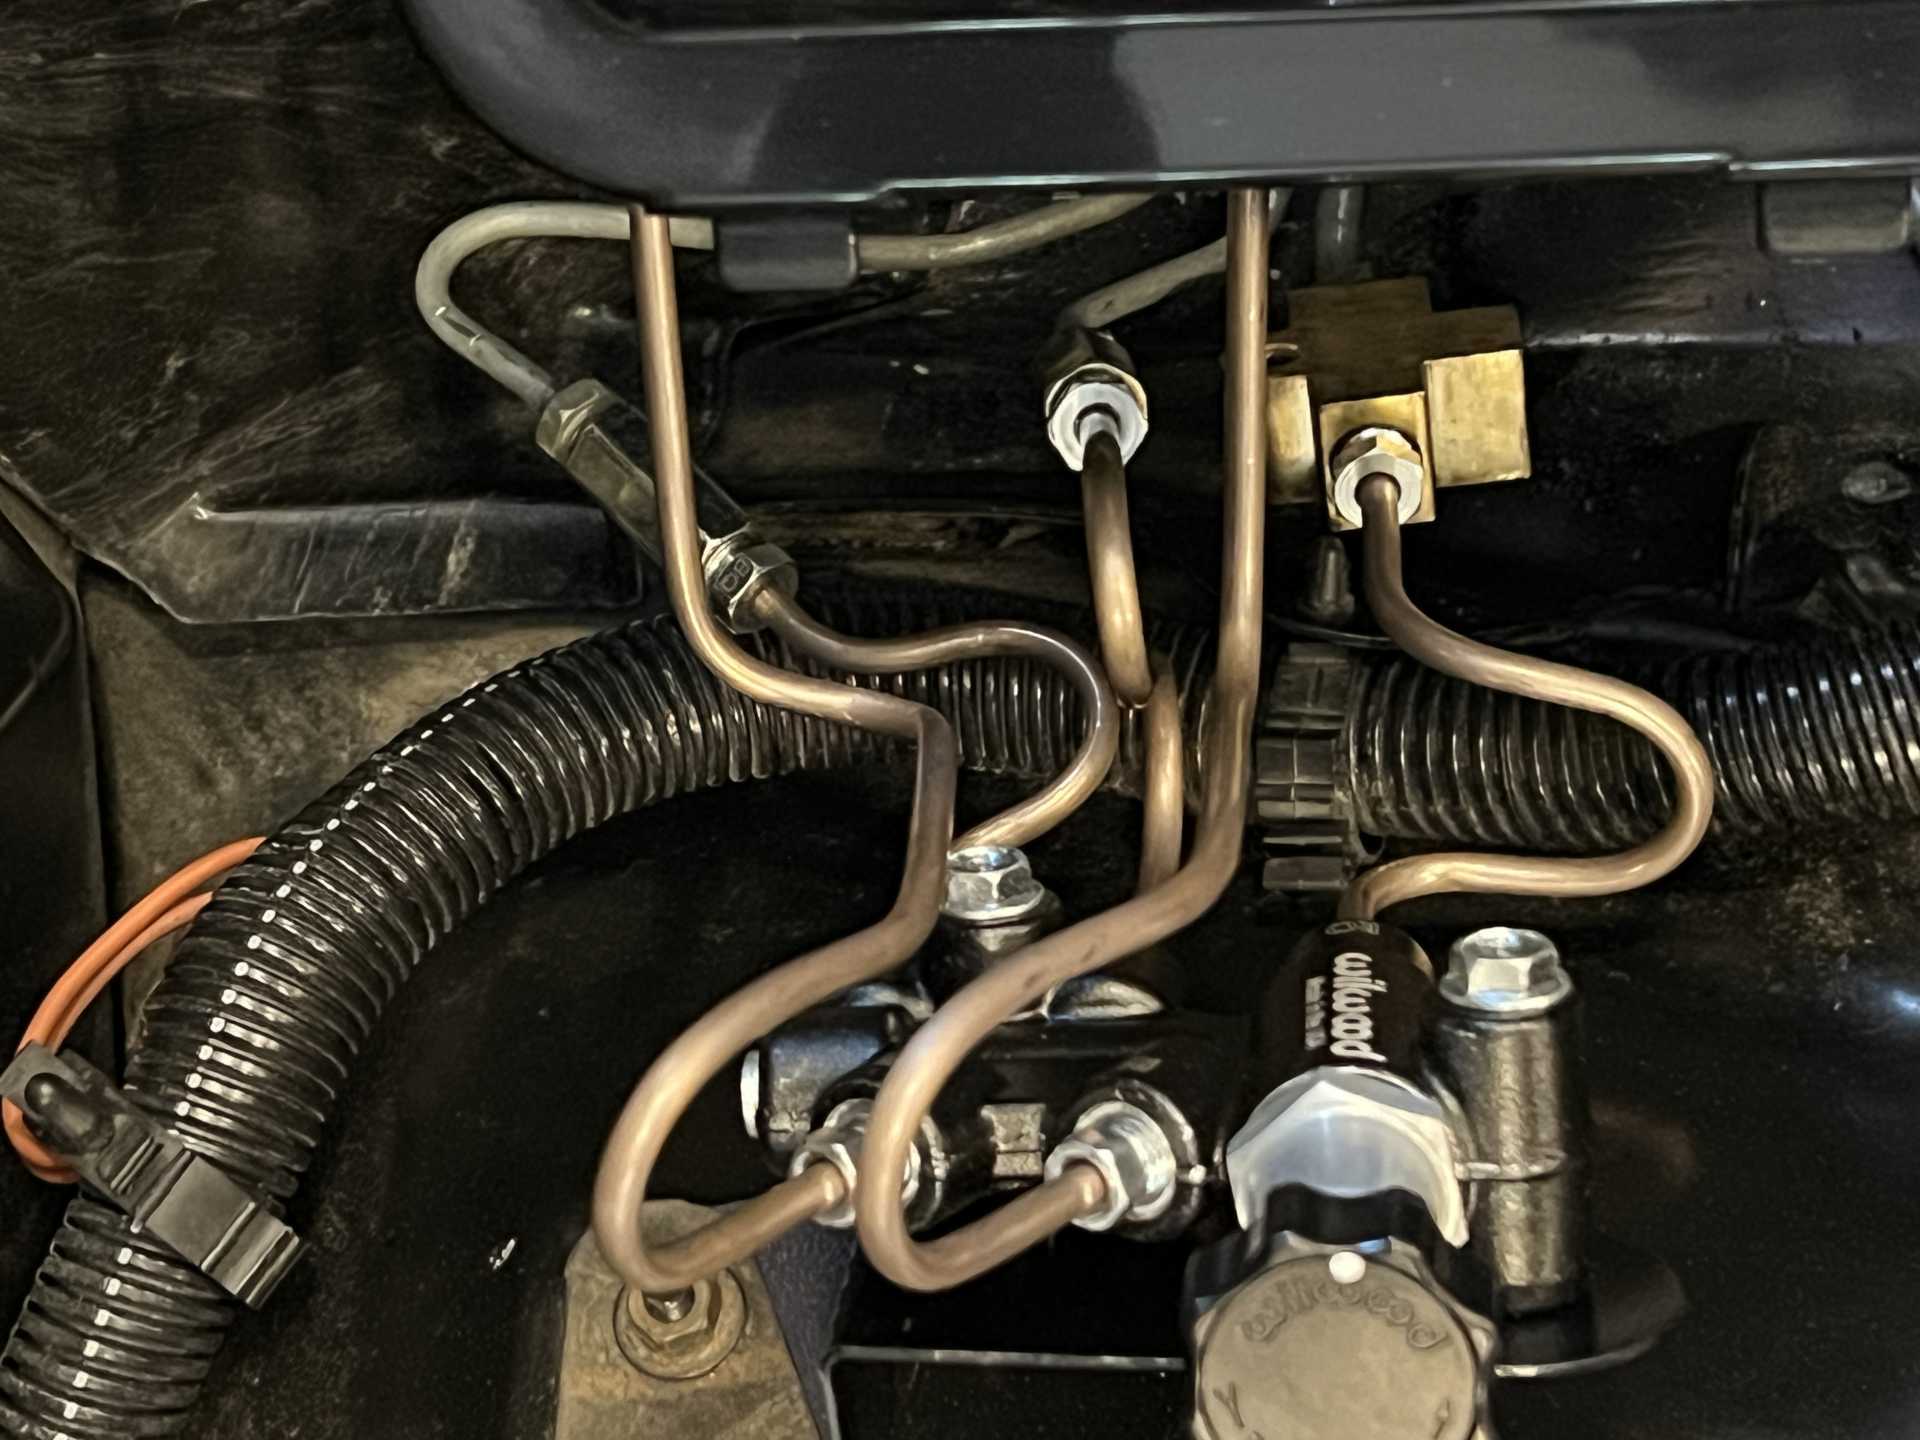
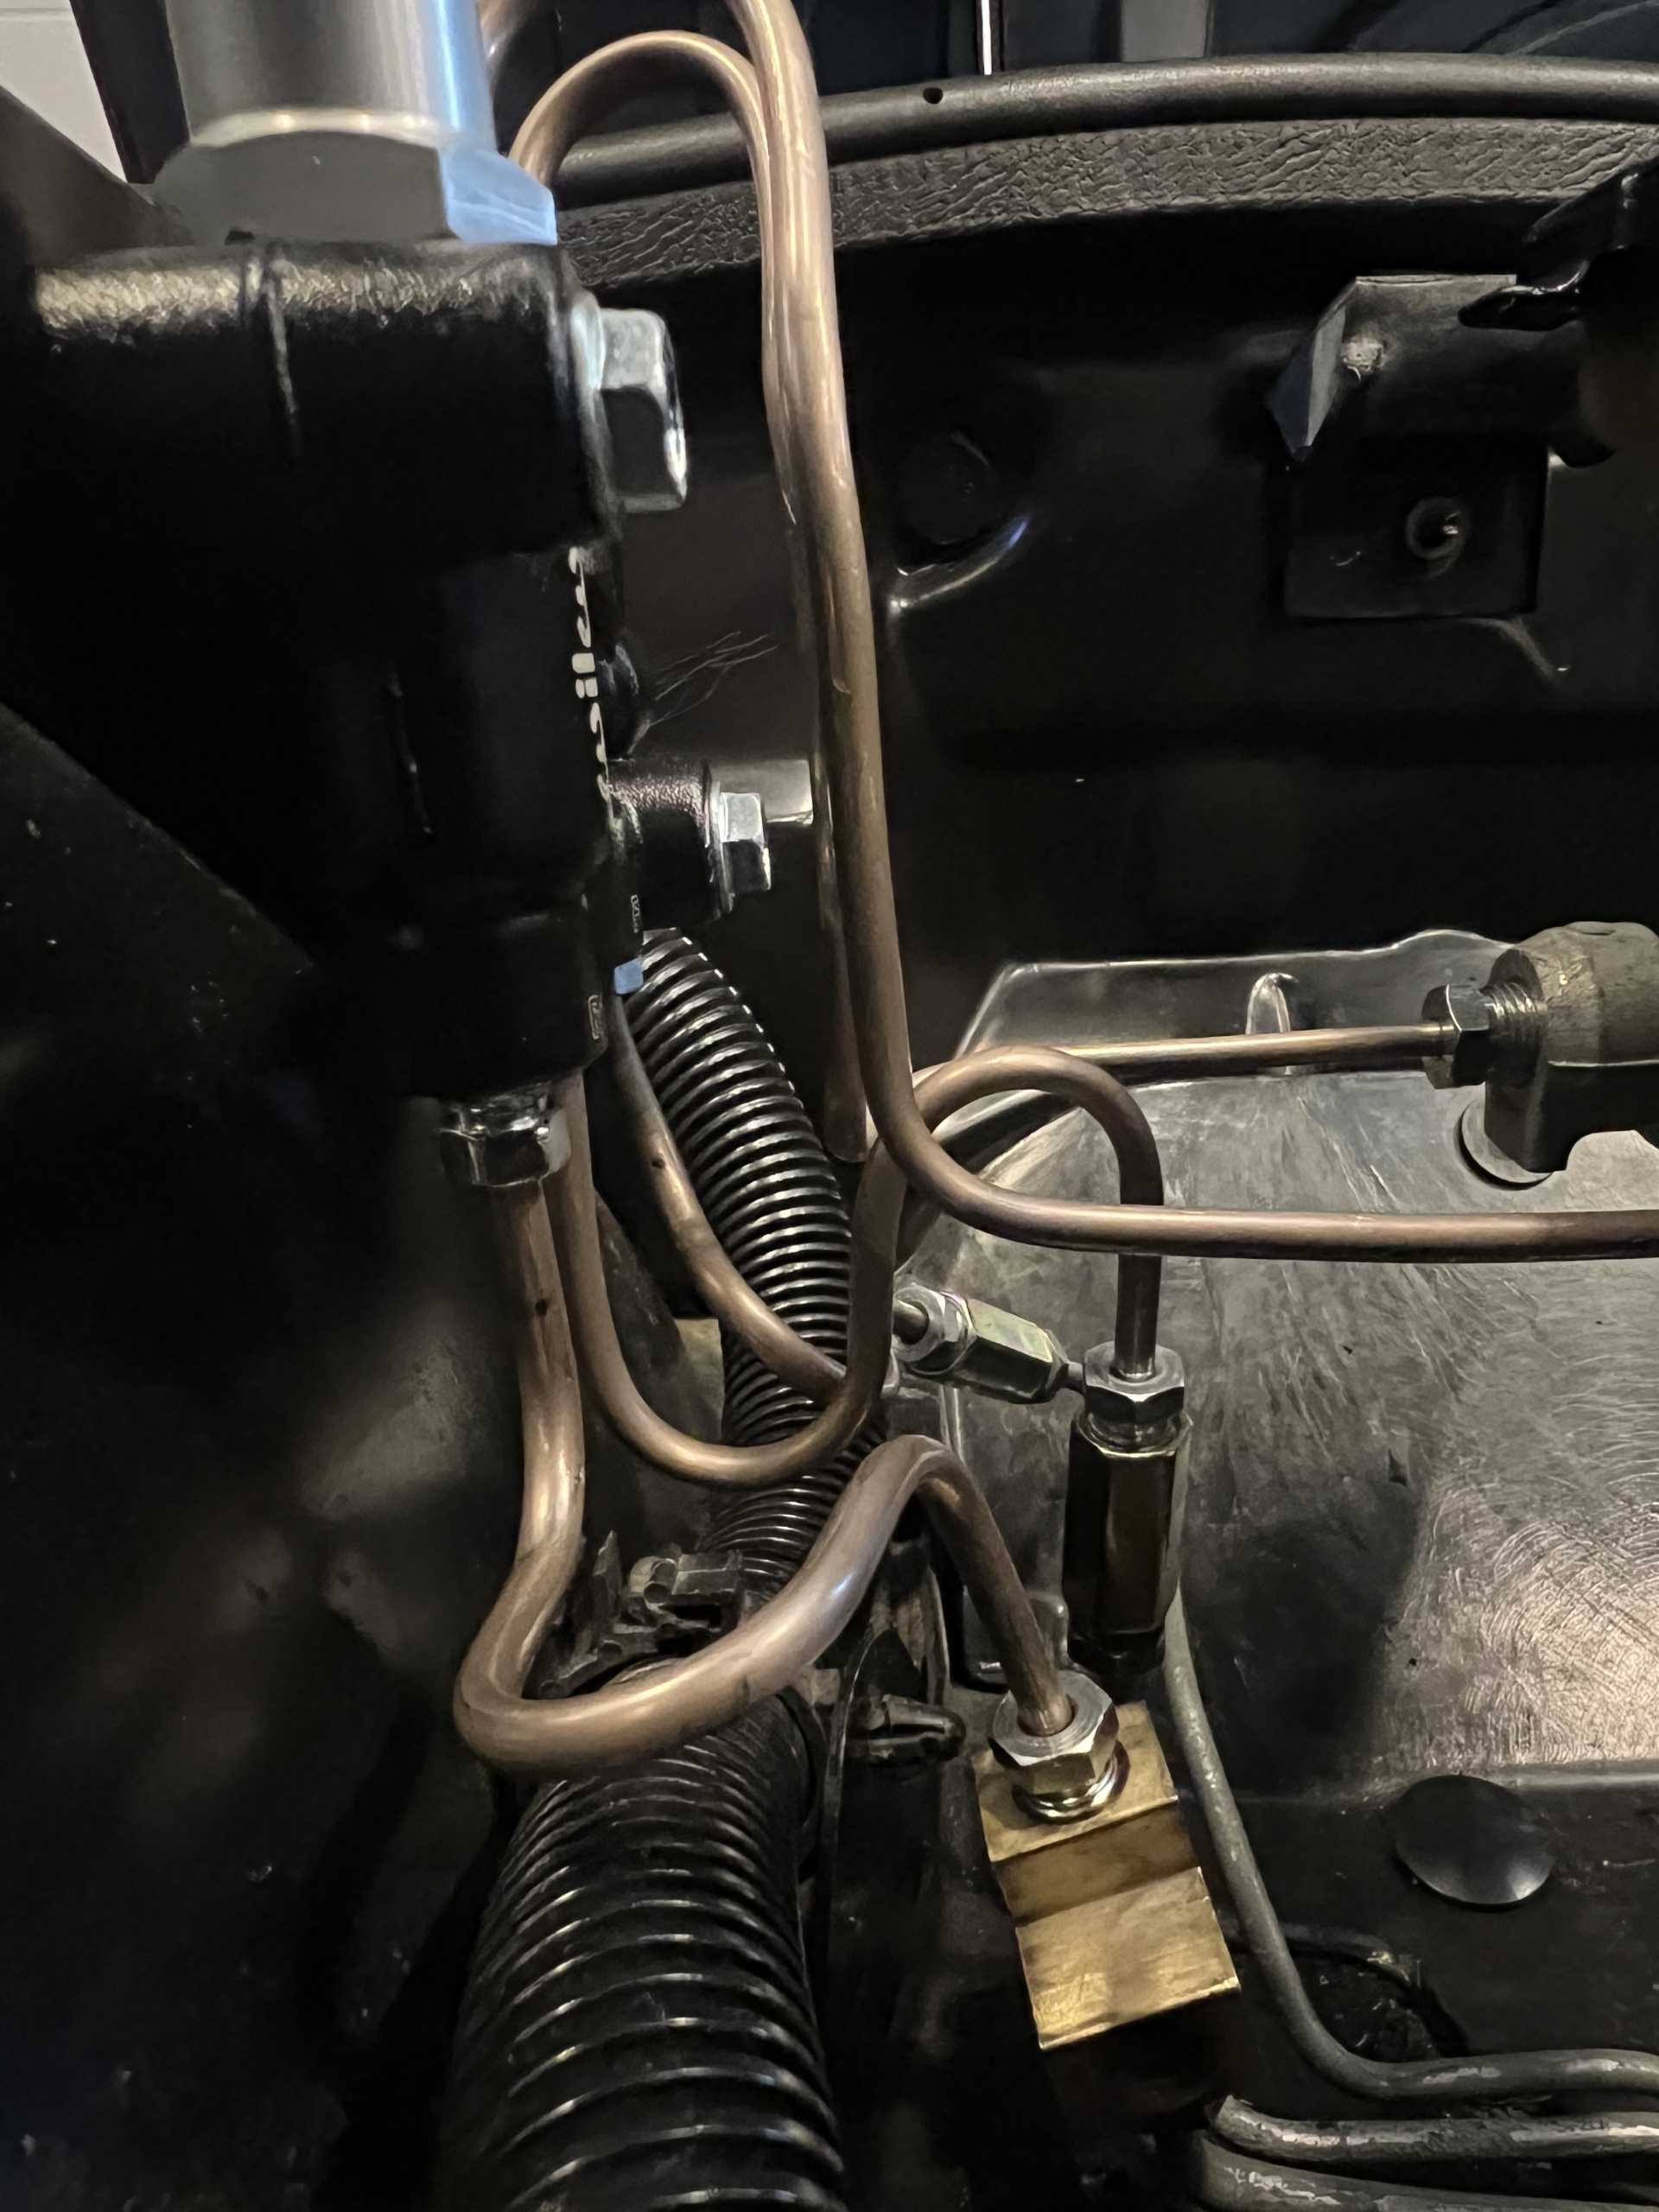
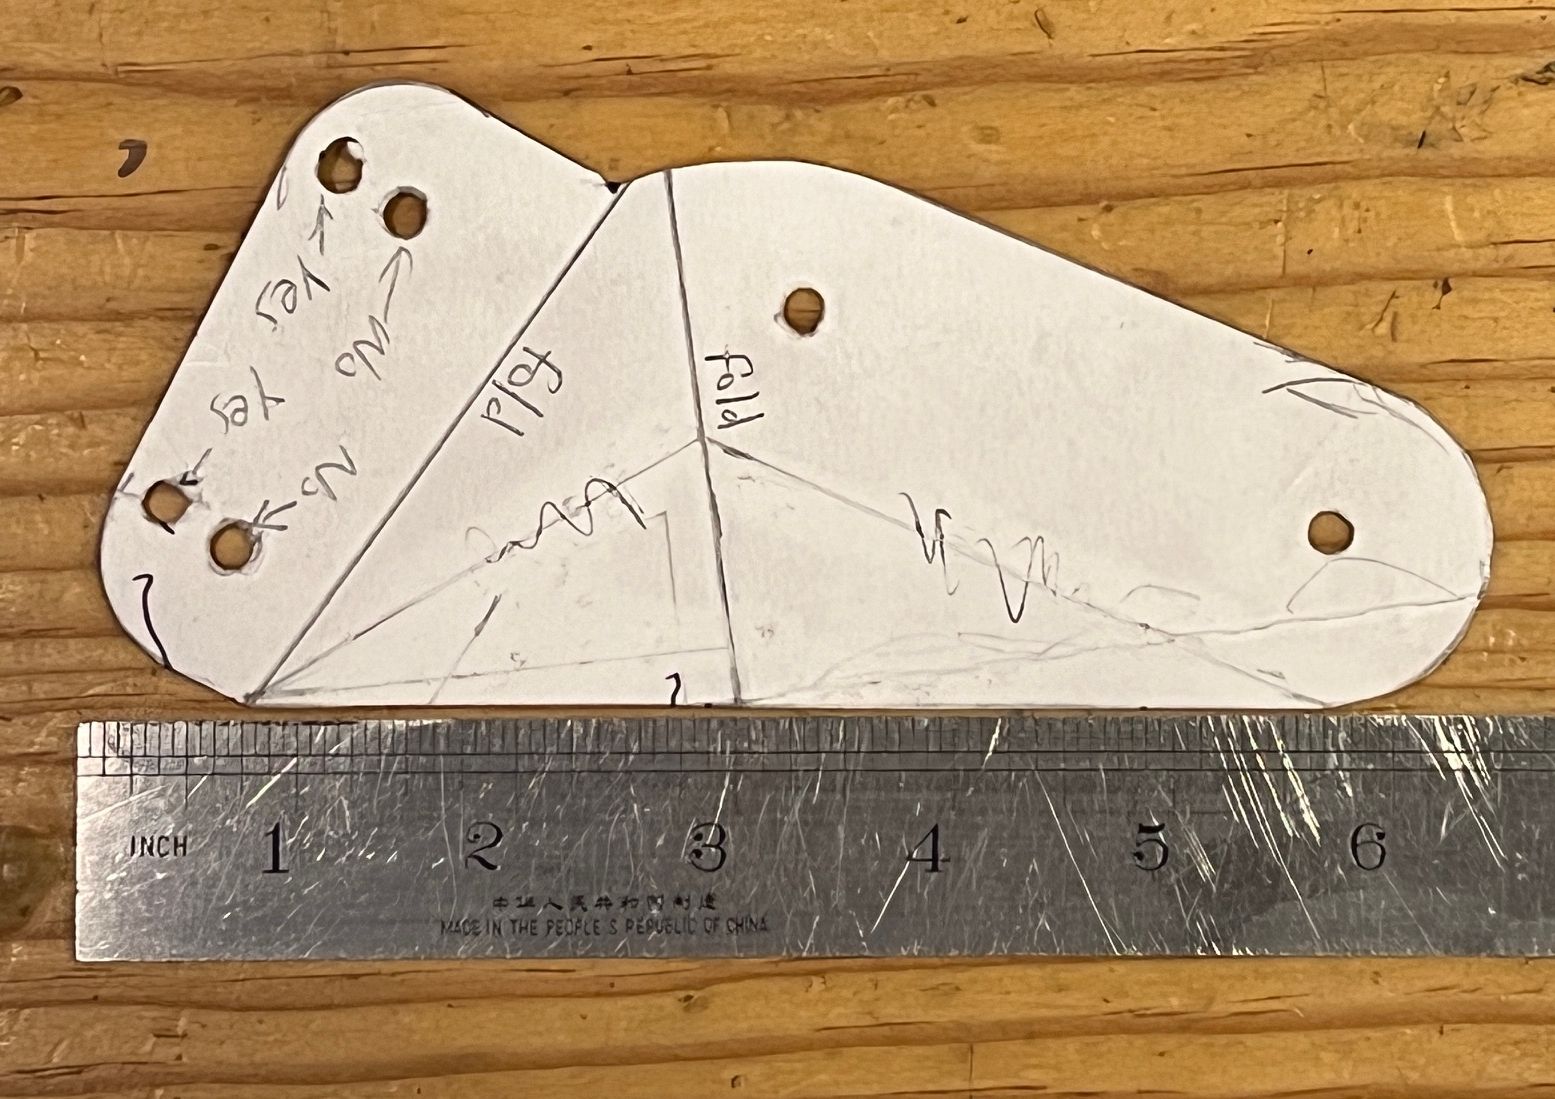
Here are photos:


IP: Logged
PFF
System Bot
Patrick
Member
Posts: 36406
From: Vancouver, British Columbia, Canada
Registered: Apr 99


Feedback score: (1)
Leave feedback


Total ratings: 458
Rate this member

Report this Post03-17-2024 12:35 AM Click Here to See the Profile for PatrickSend a Private Message to PatrickEdit/Delete MessageReply w/QuoteDirect Link to This Post

I have no plans to do such a conversion myself, but I appreciate the informative post nonetheless. Nice job!
IP: Logged
PePe-LePu_For_2
Member
Posts: 283
From: San Ramon, CA, USA
Registered: Jun 2005


Feedback score: (1)
Leave feedback

Rate this member

Report this Post03-17-2024 06:01 PM Click Here to See the Profile for PePe-LePu_For_2Send a Private Message to PePe-LePu_For_2Edit/Delete MessageReply w/QuoteDirect Link to This Post
Well done sir! I look forward to a demonstration!
IP: Logged
jdv
Member
Posts: 640
From: Ocala
Registered: Dec 2006


Feedback score: (1)
Leave feedback

Rate this member

Report this Post03-27-2024 05:48 PM Click Here to See the Profile for jdvSend a Private Message to jdvEdit/Delete MessageReply w/QuoteDirect Link to This Post
The bracket you have that says" Made in the USA" looks like it was made to fit the Fiero.
IP: Logged
Brian A
Junior Member
Posts: 7
From: San Francisco Bay Area
Registered: Sep 2023


Feedback score: N/A
Leave feedback

Rate this member

Report this Post03-29-2024 05:50 PM Click Here to See the Profile for Brian ASend a Private Message to Brian AEdit/Delete MessageReply w/QuoteDirect Link to This Post
 
quote
Originally posted by jdv:
The bracket you have that says" Made in the USA" looks like it was made to fit the Fiero.


Ha! The bracket was indeed "Made in the USA" ... by ME ... in the USA.

Here is the cardboard pattern I made and used (note that I added a bit more metal to the left side where the two mounting holes are) (good luck) :


As for the sticker, well, I had it on my shelf and that large patch of blank metal was just begging for something to be put there.
IP: Logged

next newest topic | next oldest topic

All times are ET (US)

Post New Topic  Post A Reply
Hop to:

Contact Us | Back To Main Page

Advertizing on PFF | Fiero Parts Vendors
PFF Merchandise | Fiero Gallery | Ogre's Cave
Real-Time Chat | Fiero Related Auctions on eBay


Copyright (c) 1999, C. Pennock