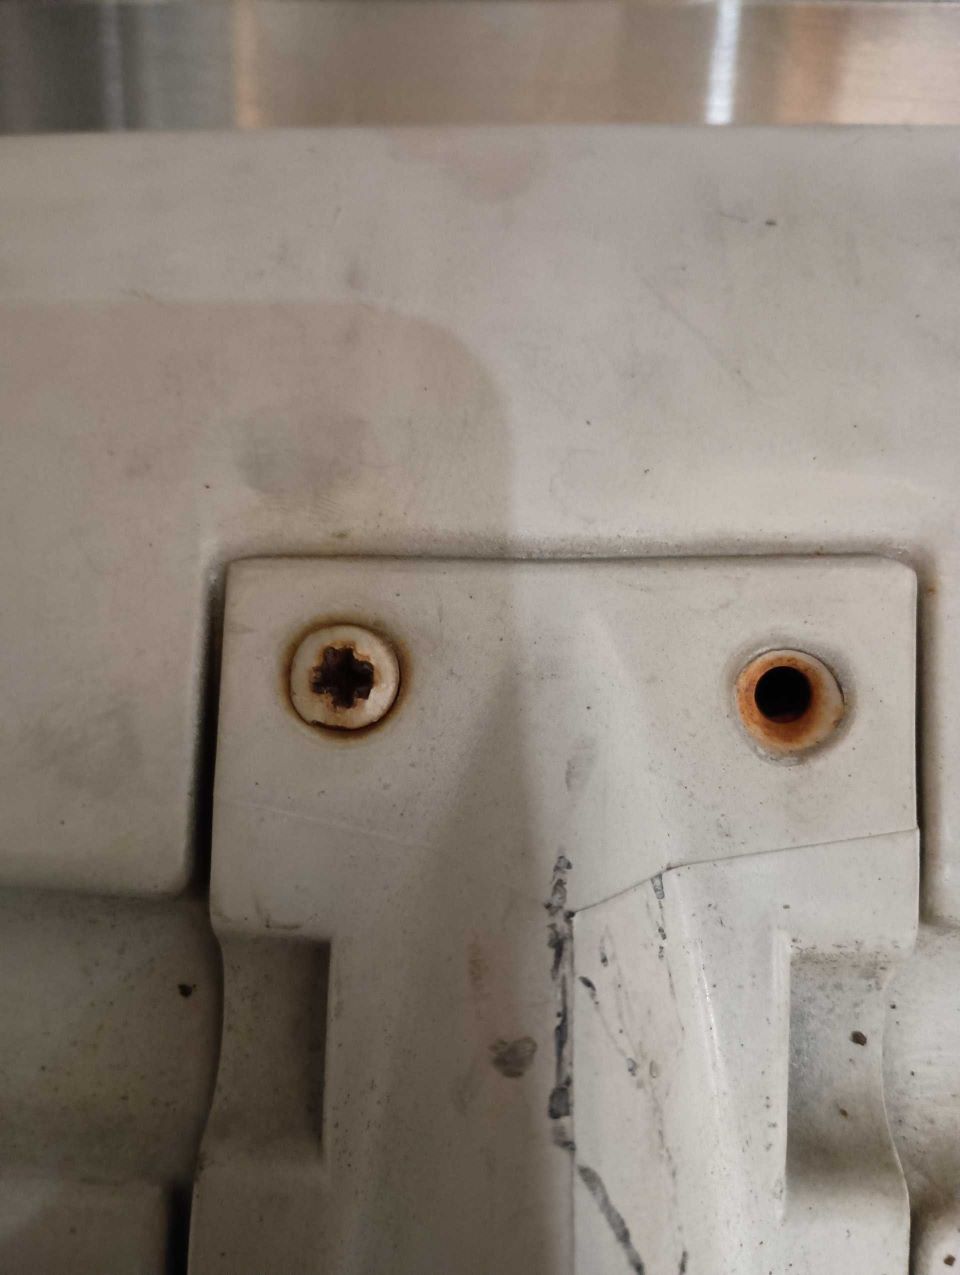
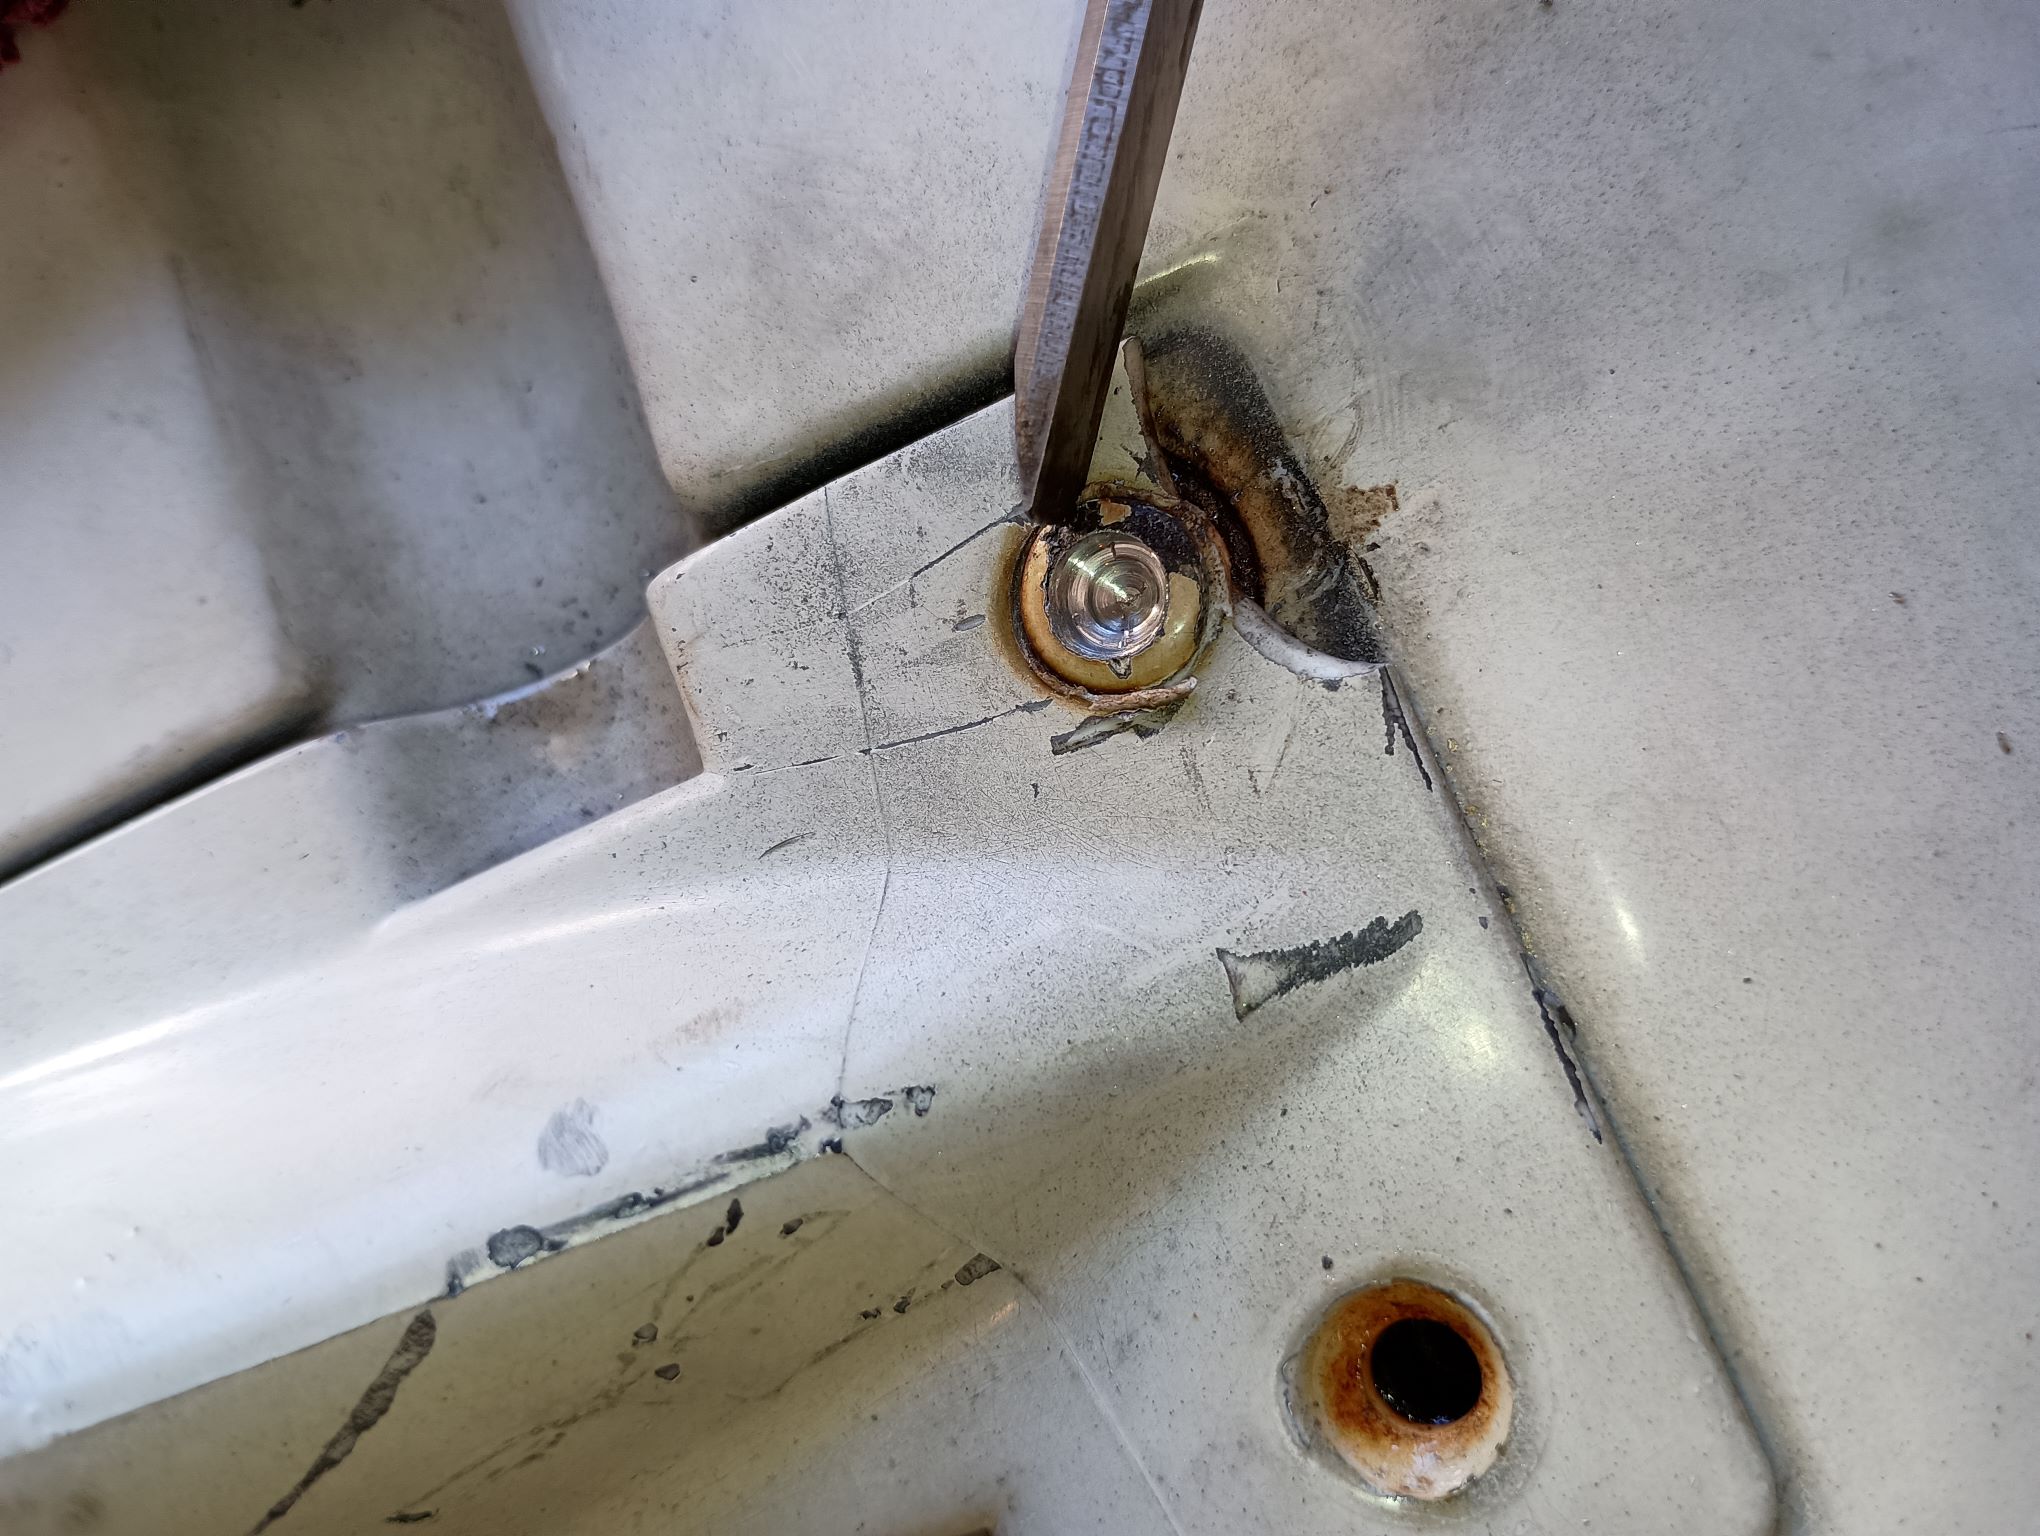
When I tried to remove the standoffs on my GT spoiler to prep for a sale, so I could use a smaller box and save on postage, I discovered that two of the six screws just spun freely. The captive nuts had already been broken away from the spoiler by a previous owner. Here is my process to get the rusted screws and nuts out, and how to replace them. This first picture shows the screw heads that spins:
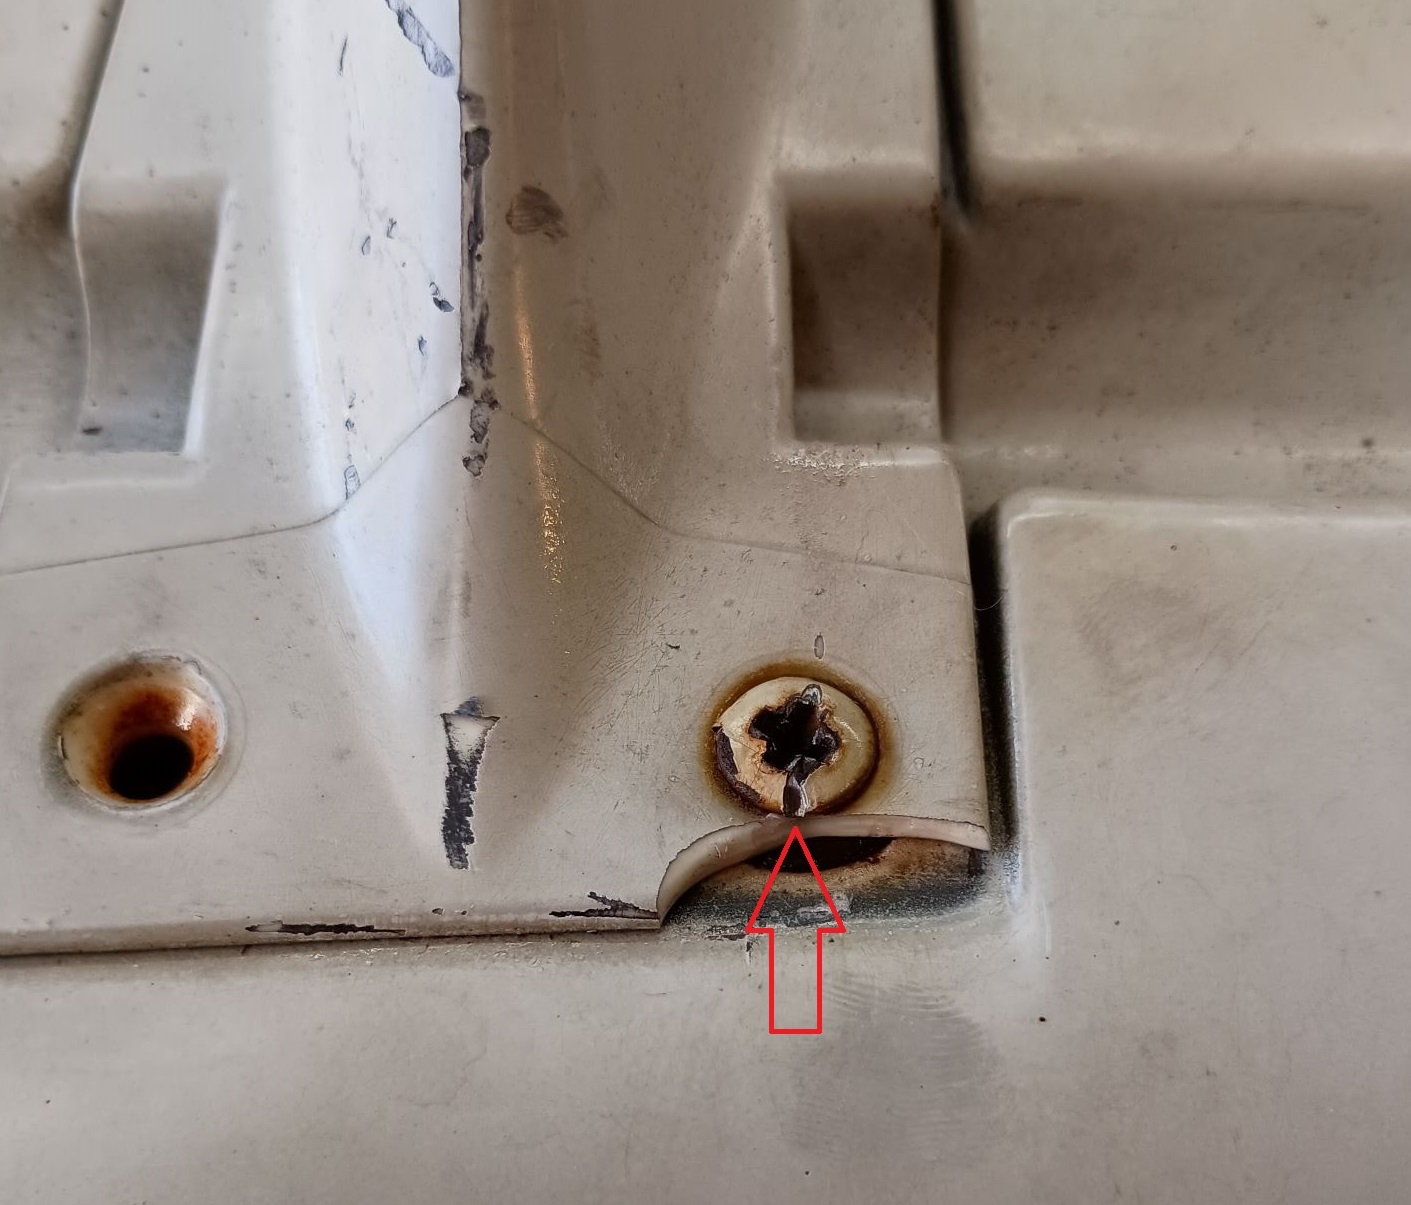
Beware ... since the screw spun freely I thought a gentle pry might pull the nut the rest of the way clear but all it did was crack a piece off standoff. Switching to Plan B, I used a smaller grinding wheel on my Dremel to cut a slot into the screw head. This would allow me to 'hold' the screw, keeping it from rotating, as I drilled off the head.
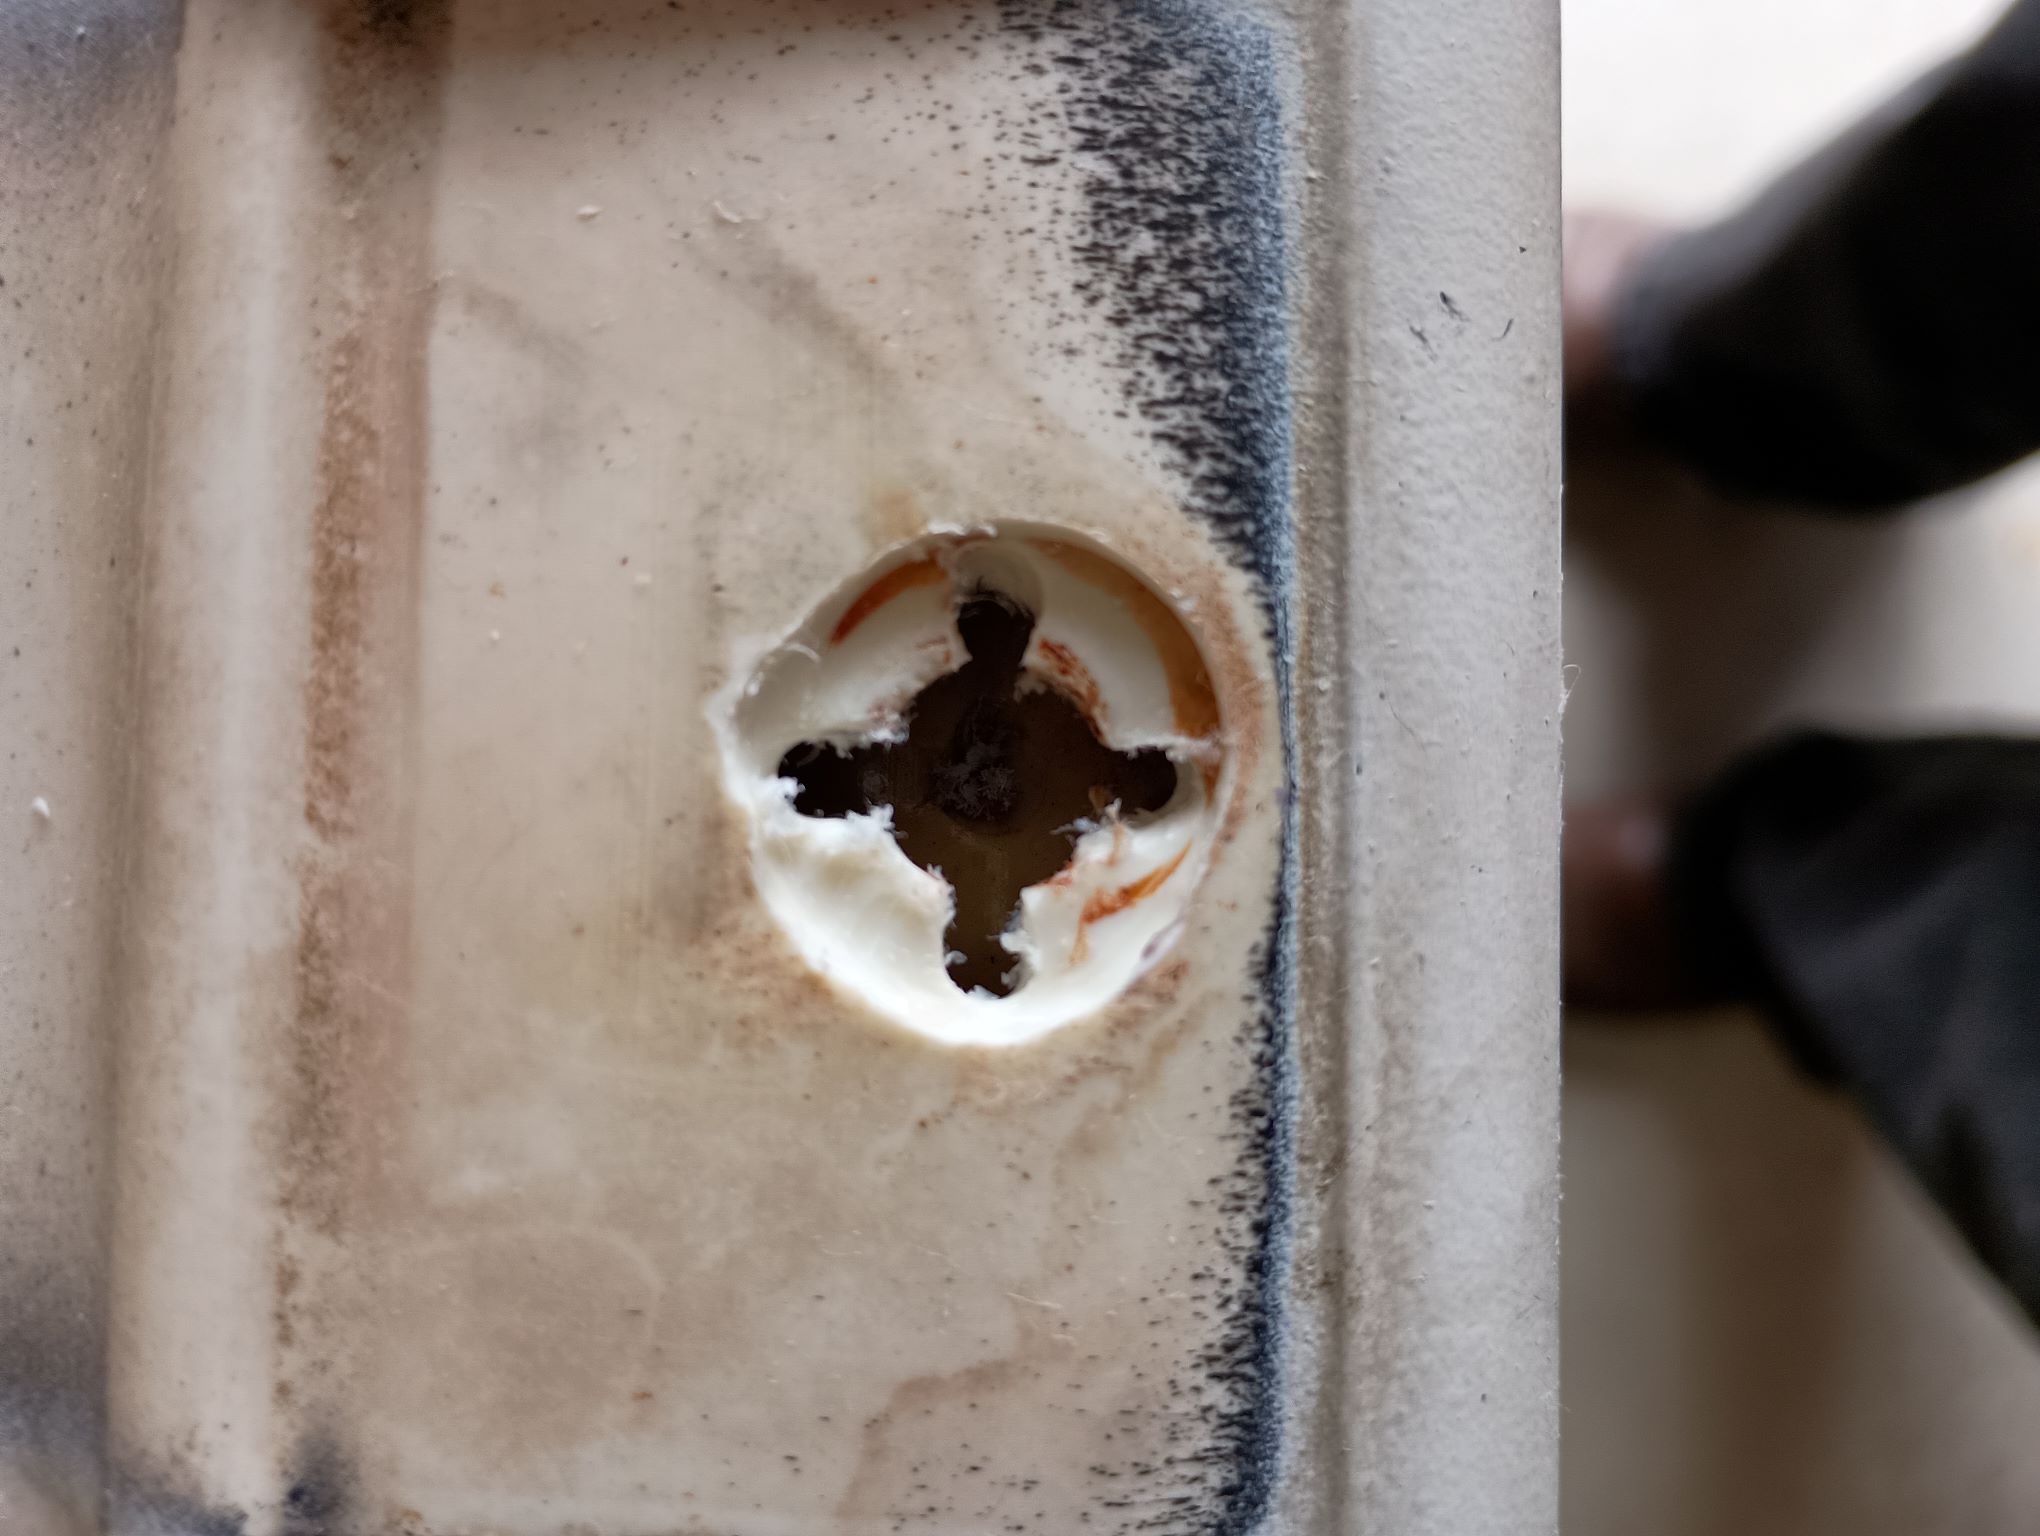
My first attempt to drill off the head was to select a drill slightly larger diameter than the screw, but this grabbed the 'points' of the Phillips head and spun the screw (i.e. I couldn't hold it steady with my slot.) I switched to this grinding bit on my Dremel, theorizing that this would eliminate the 'points' sufficiently that I could resume drilling.
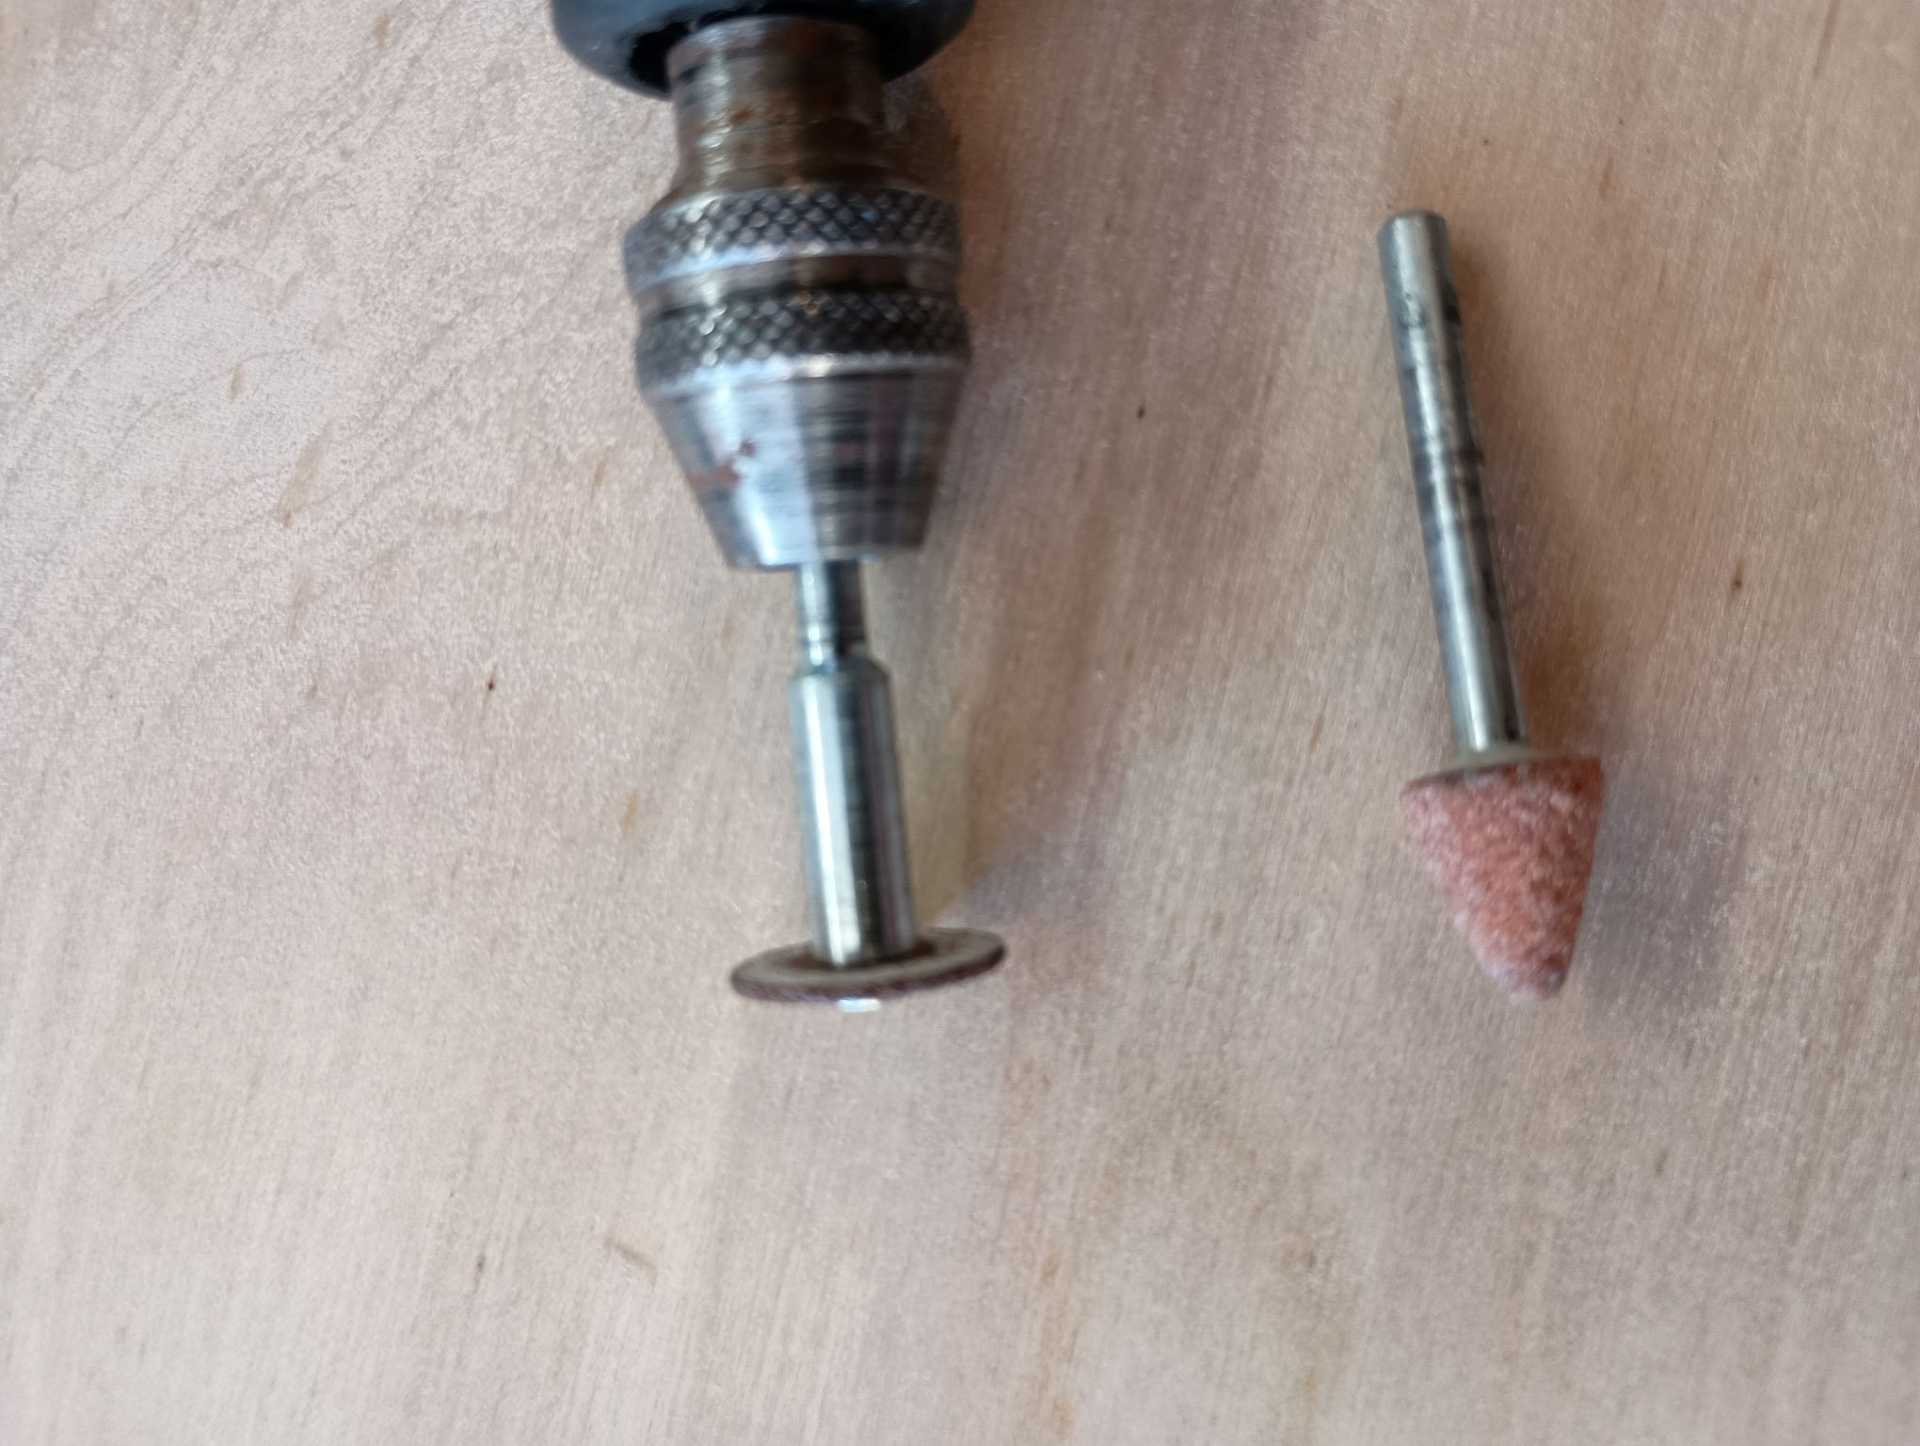
This photo shows how the conical shaped bit smoothed out the 'points' of the Phillips head. Holding the screw steady with the cut-in slot was a piece of cake, with the conical bit.
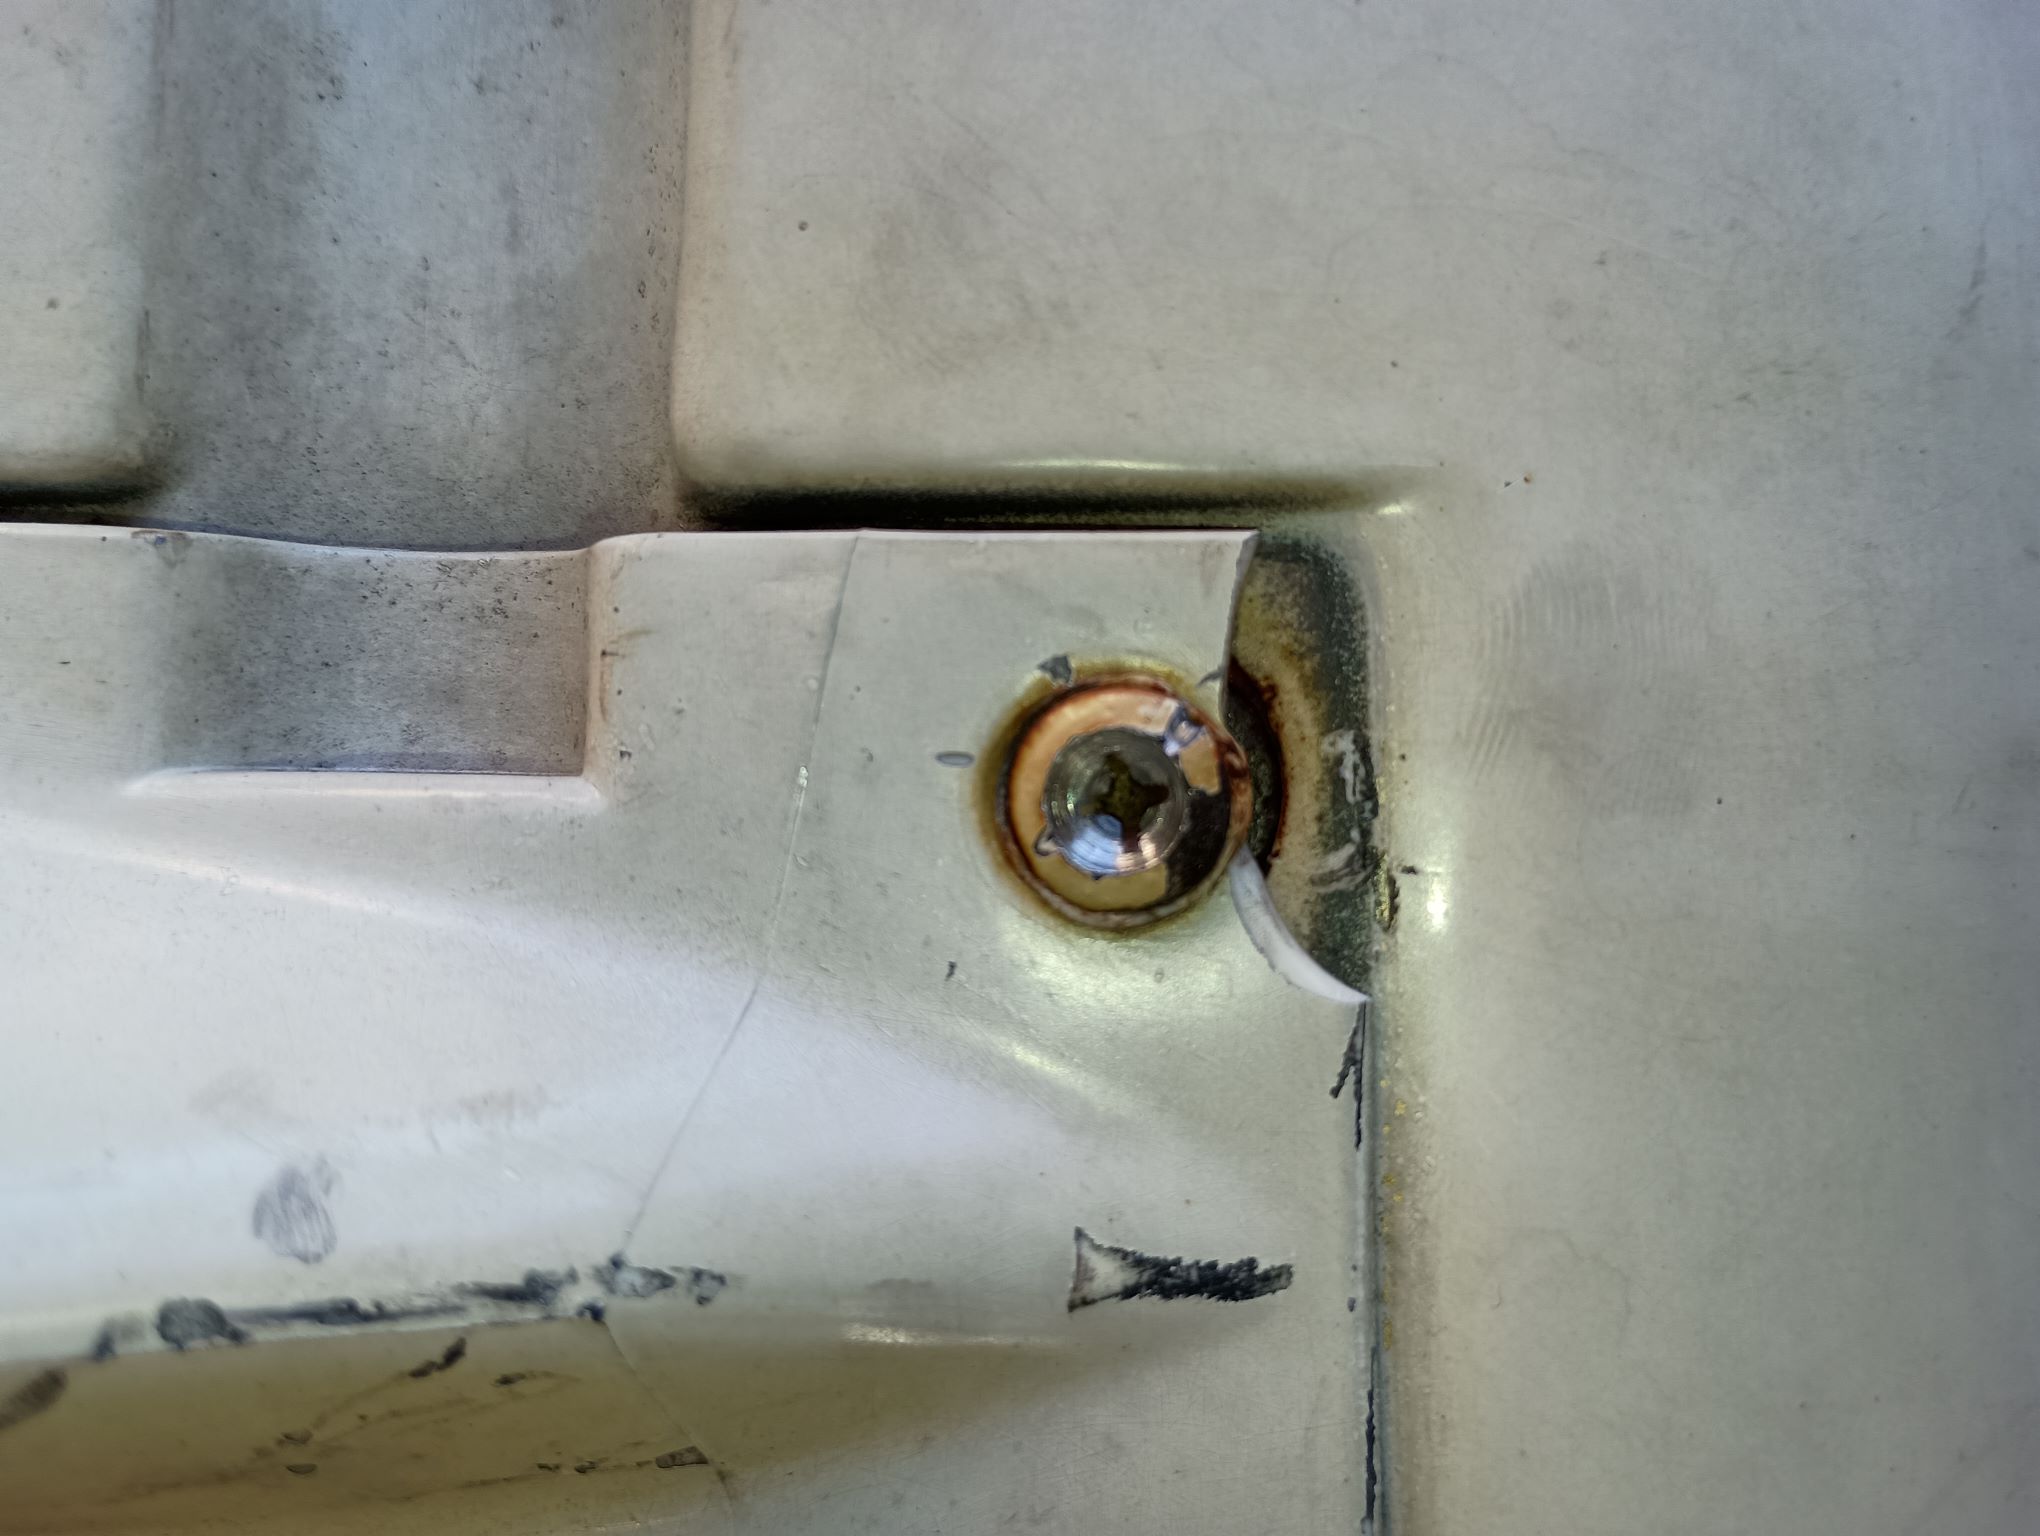
In this photo, you can see me using a wood chisel pressed into the cut-in slot to keep the screw head from spinning.
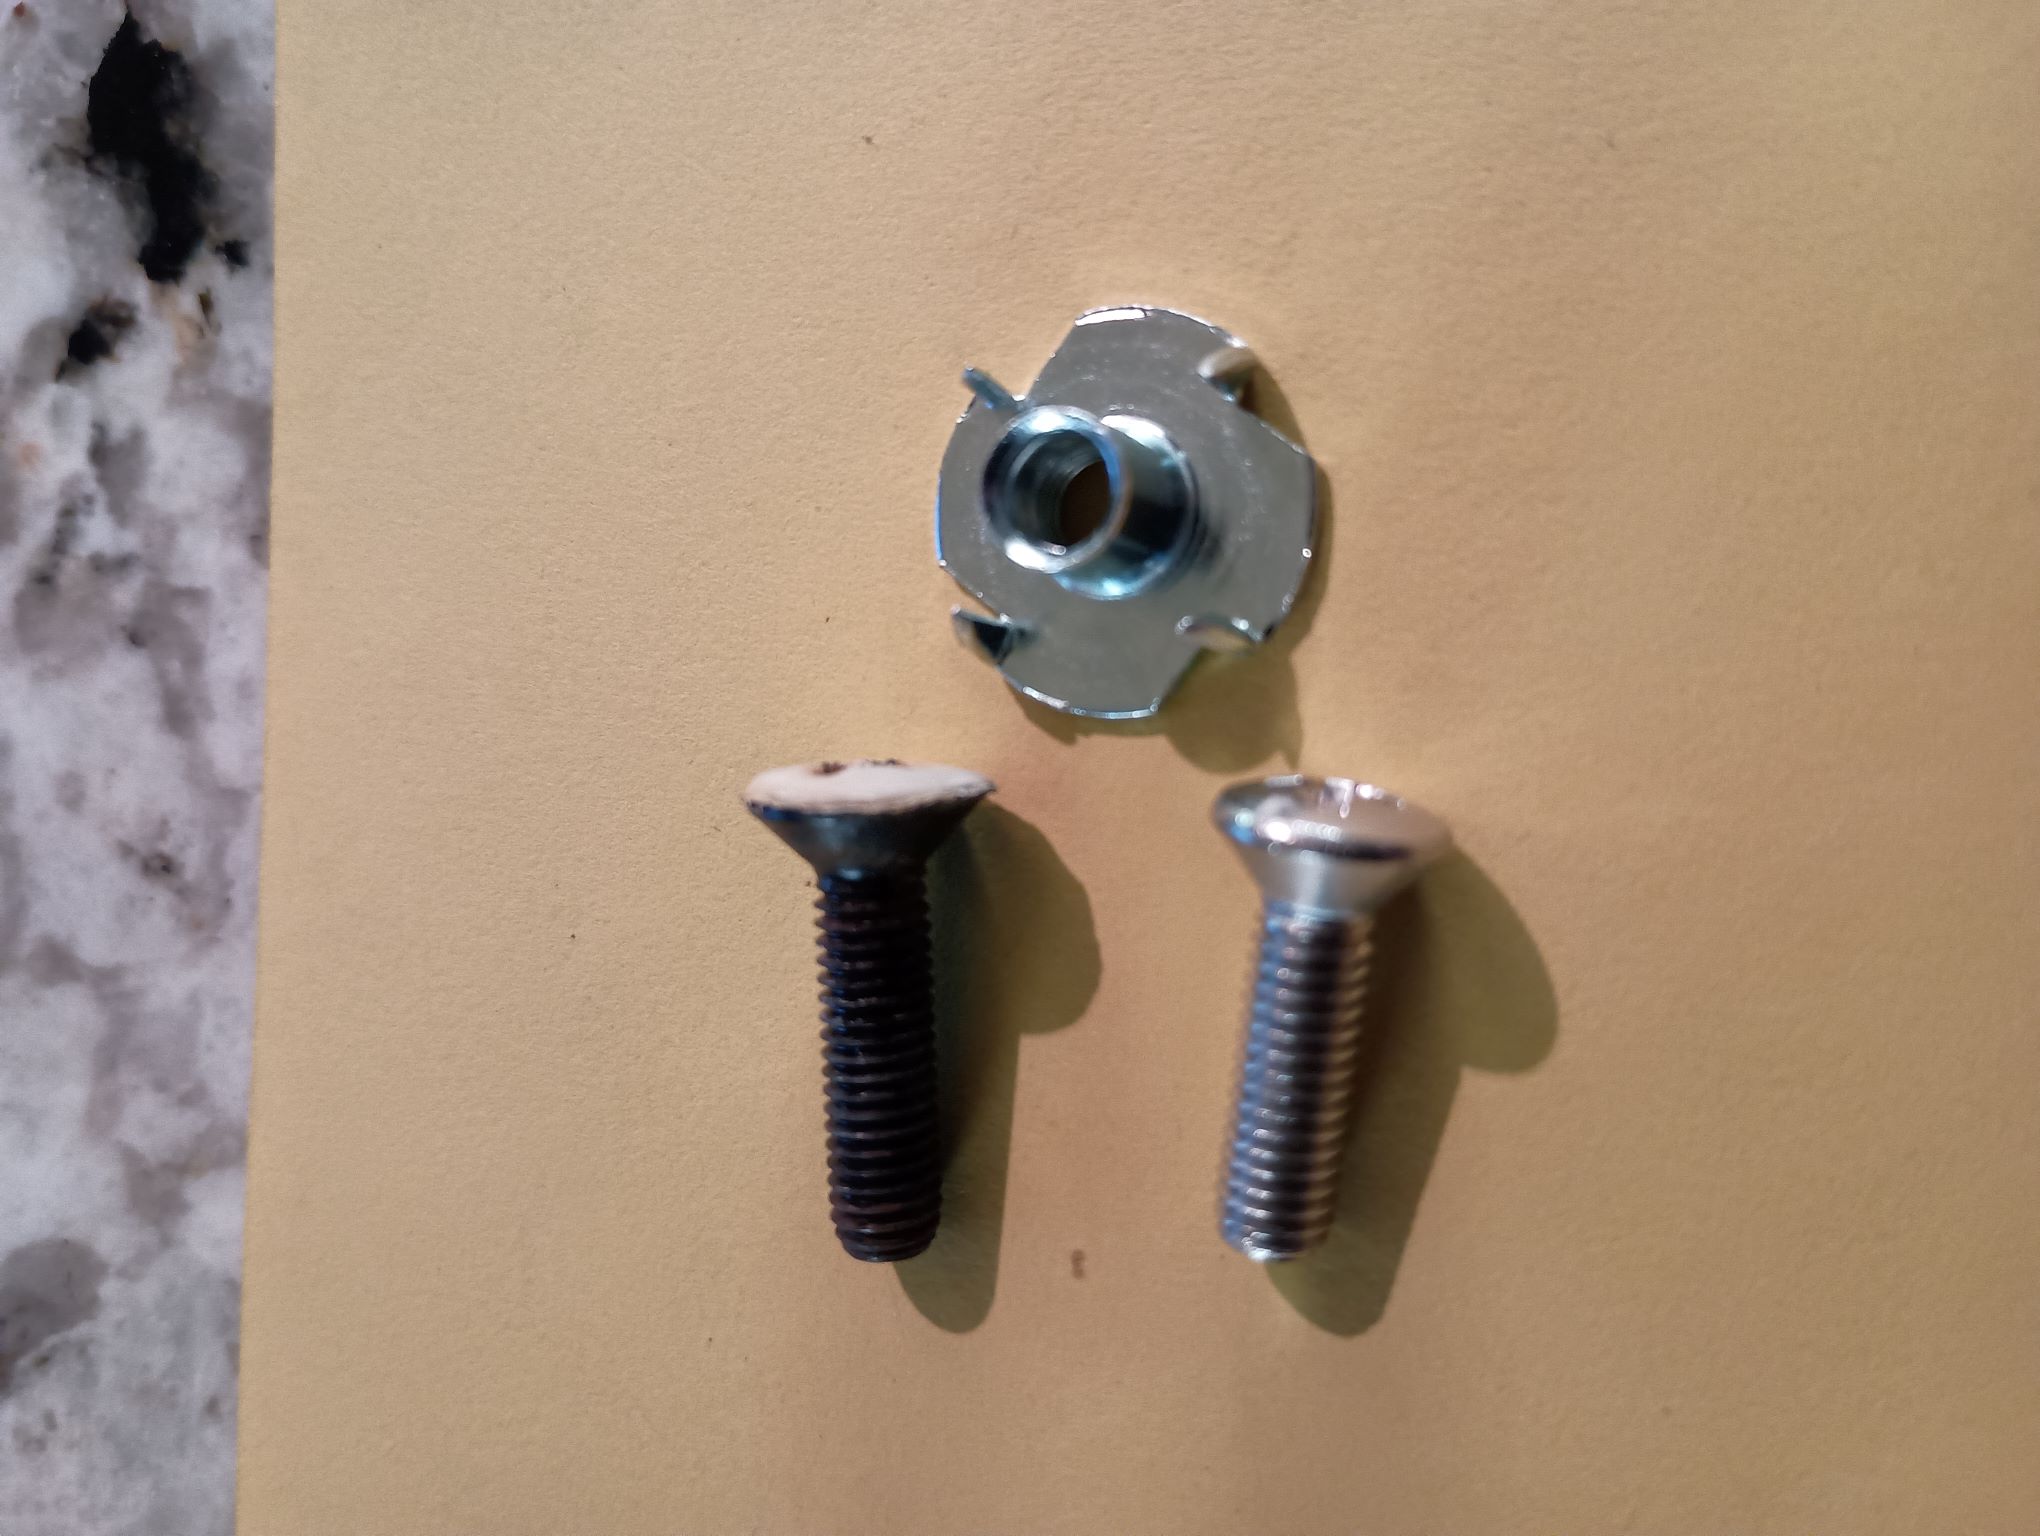
Looking at alternatives I decided to go with 10-32 T-nuts from Home Depot and 10-32 1" stainless steel screws to resecure the standoffs to the spoiler. After some prep on the recessed hole in the OEM surface, the T-nuts would be epoxied into place.
In this image you can see that I used the Dremel again to cut small, grooves around the recessed holes, to receive the pointed tabs on the T-screws. However, the recessed area was a bit too small to allow the T-nuts to sit flush with the spoiler surface.
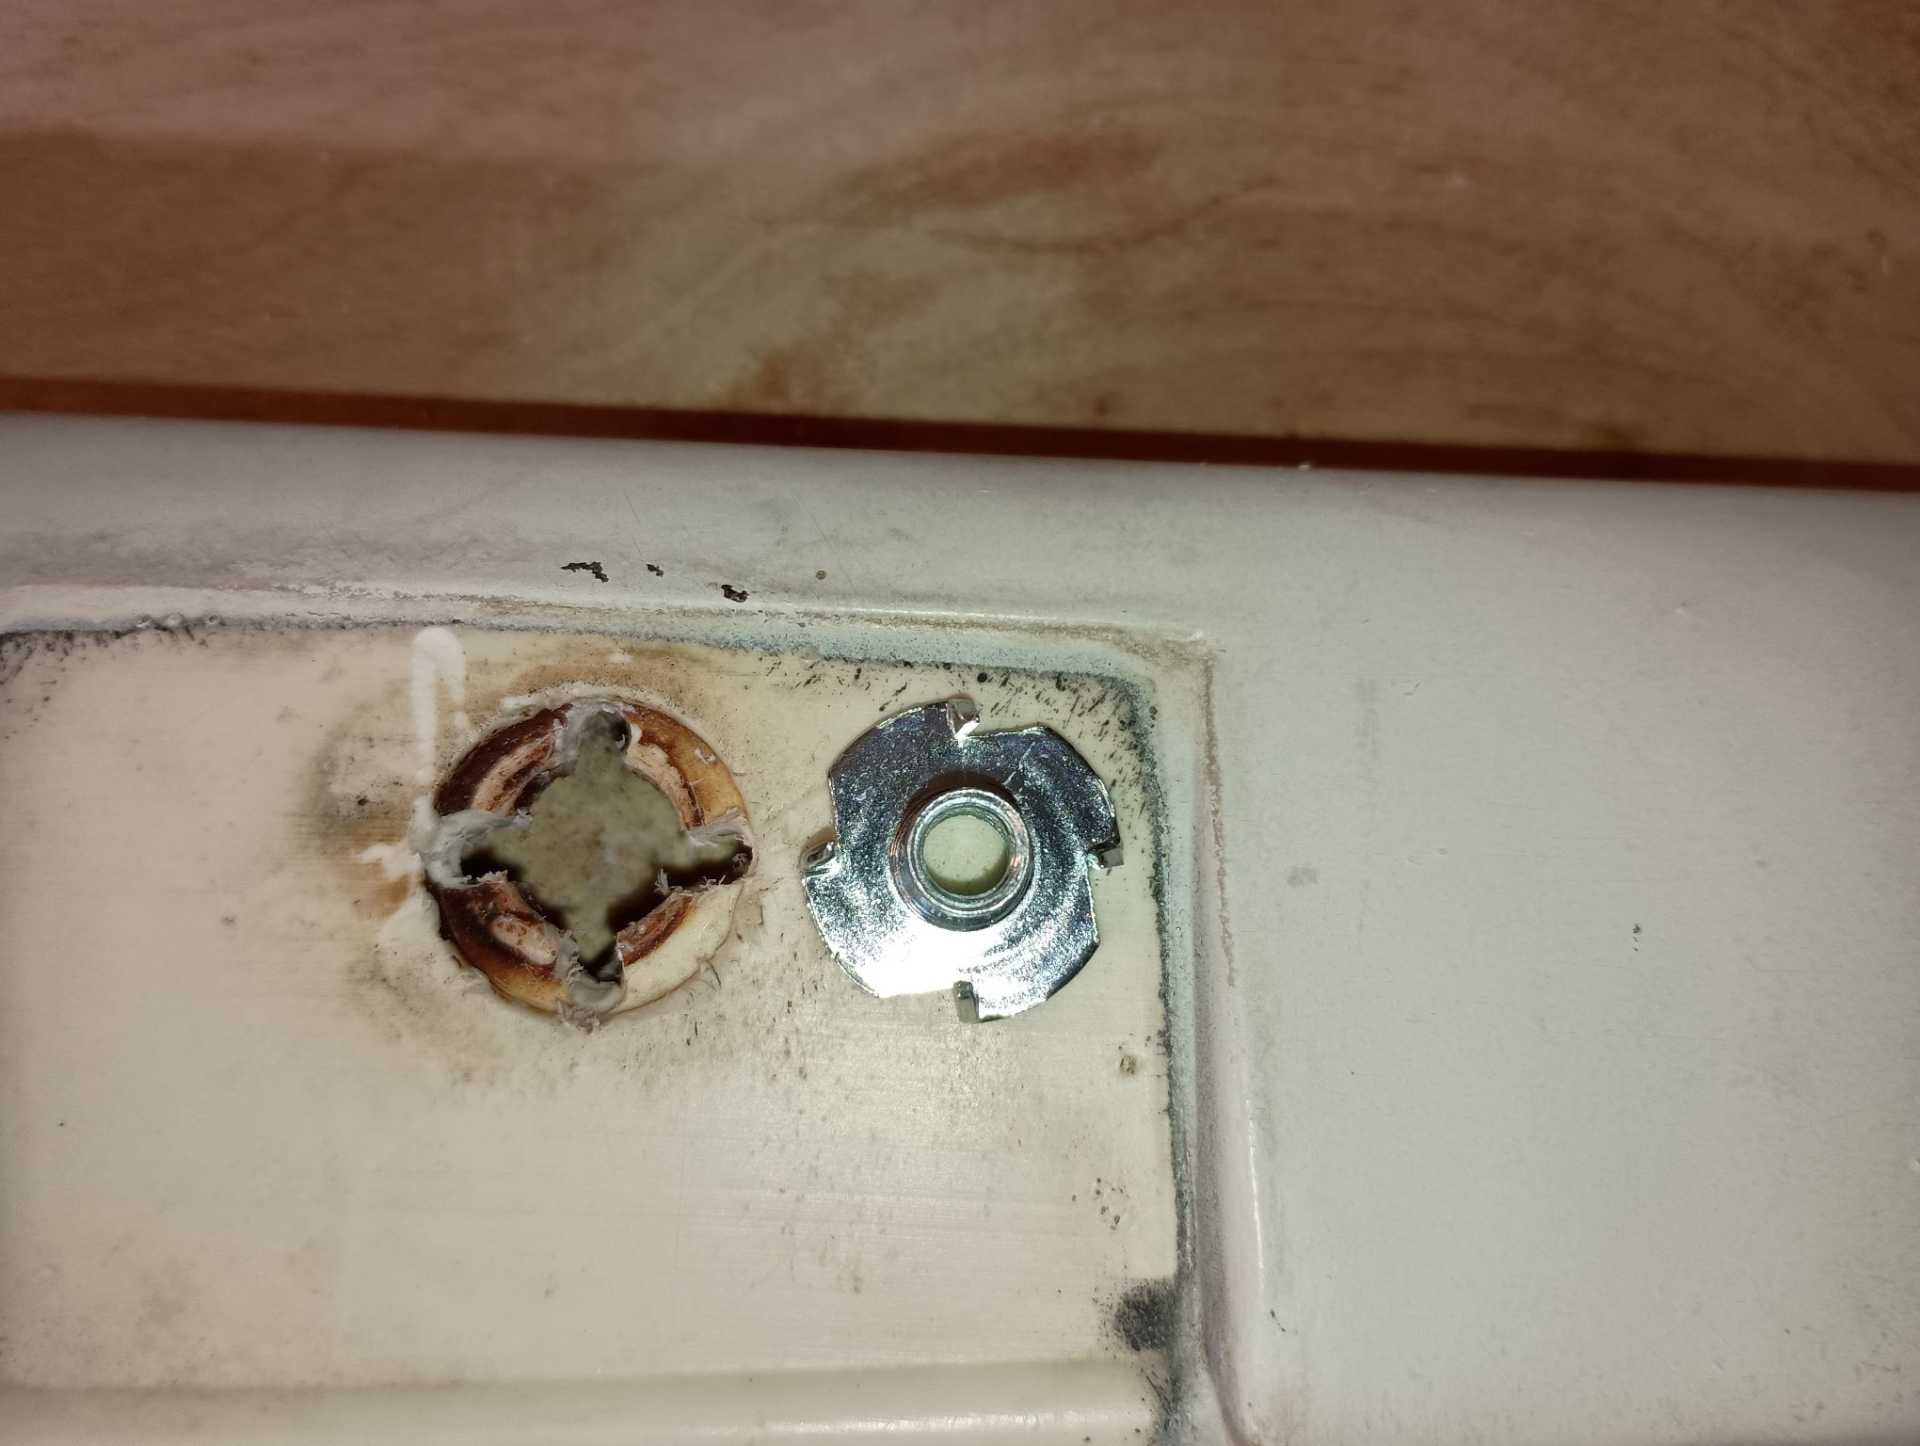
Again changing bits on the Dremel to a small grinding bit, I gently enlarged the diameter of the recessed land so the nut would sit flush.
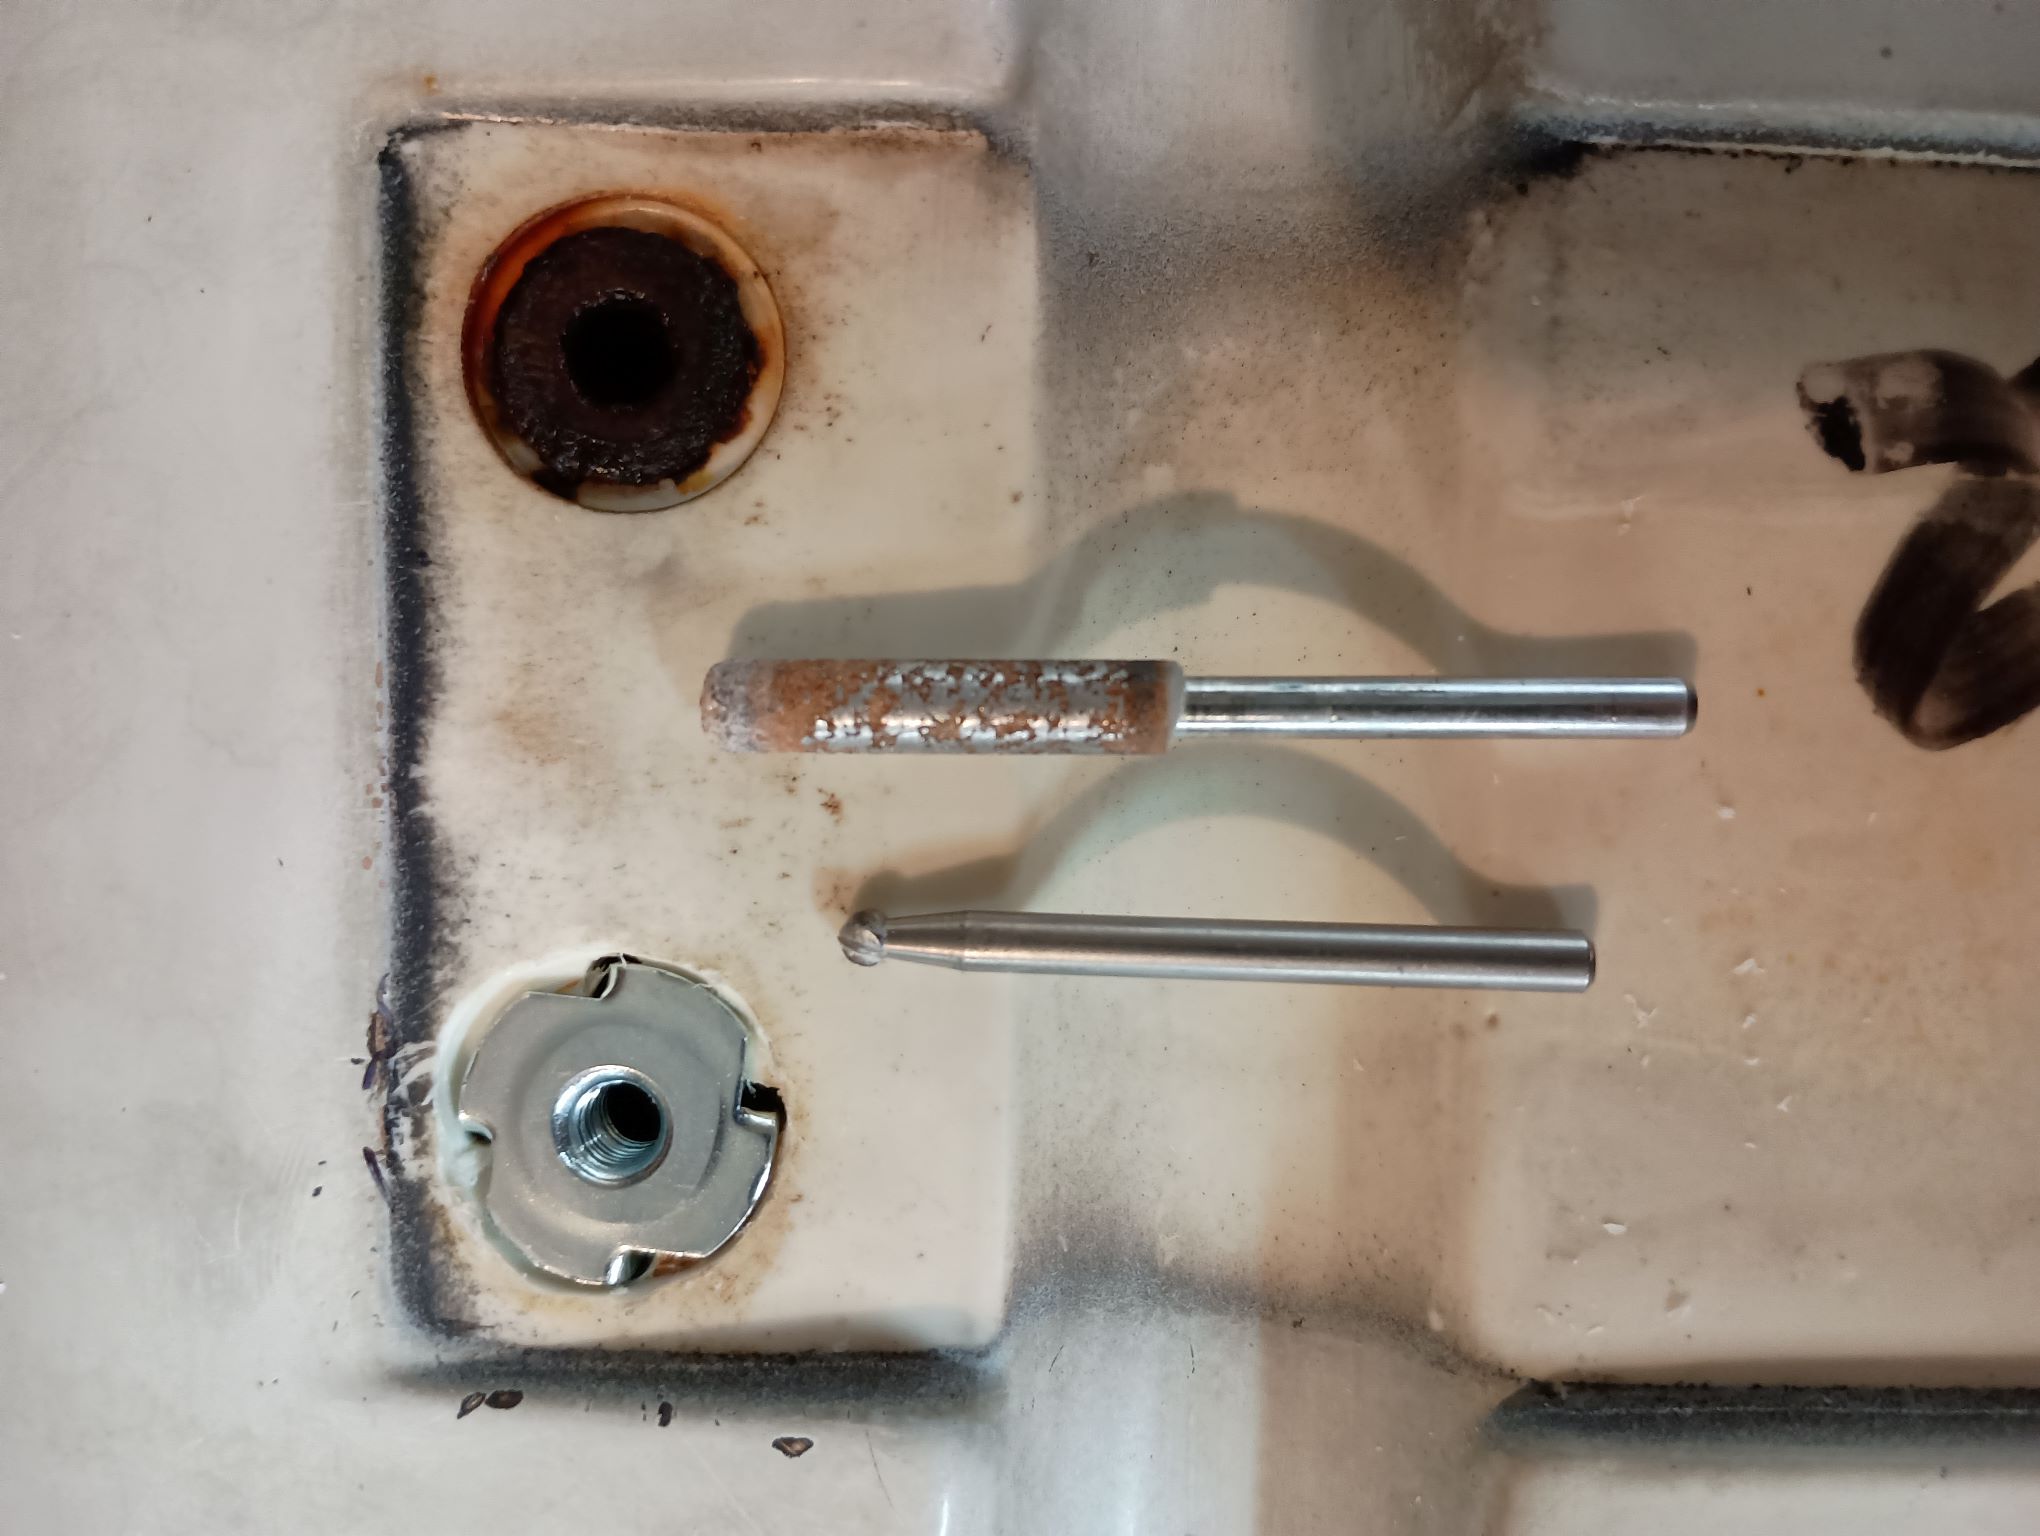
This image compares the Repair to the OEM captive nut, along side the Dremel bits used in the last operation.
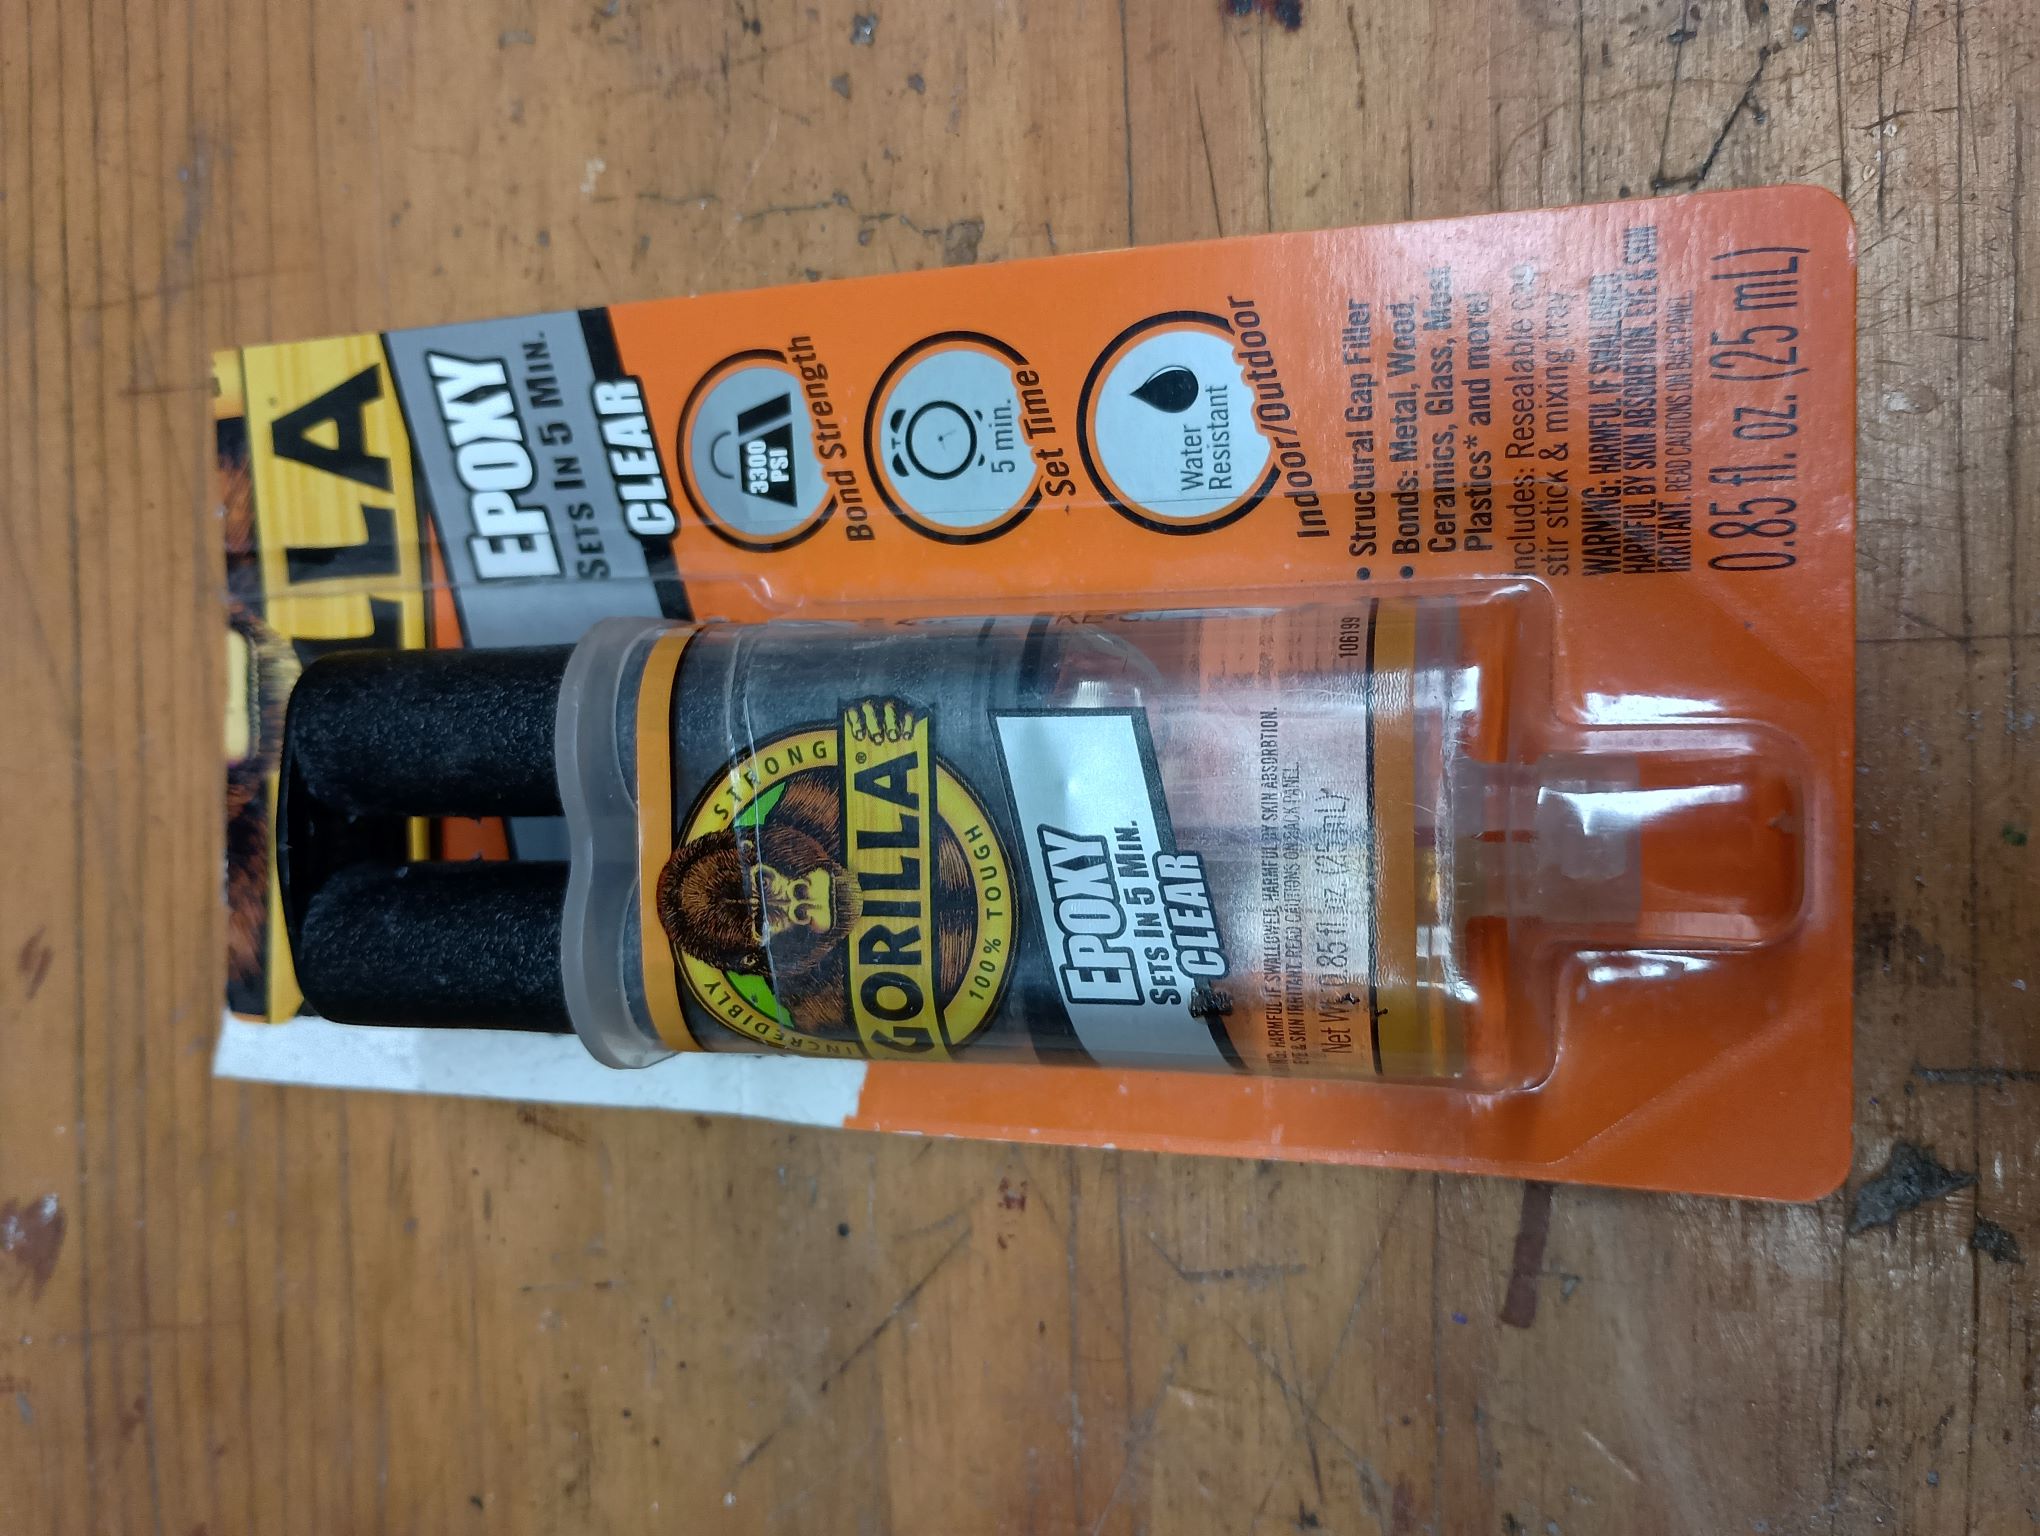
It was then just a matter of gluing in the new T-nuts using a good. two-part epoxy. This gets rock solid in 24 hours.
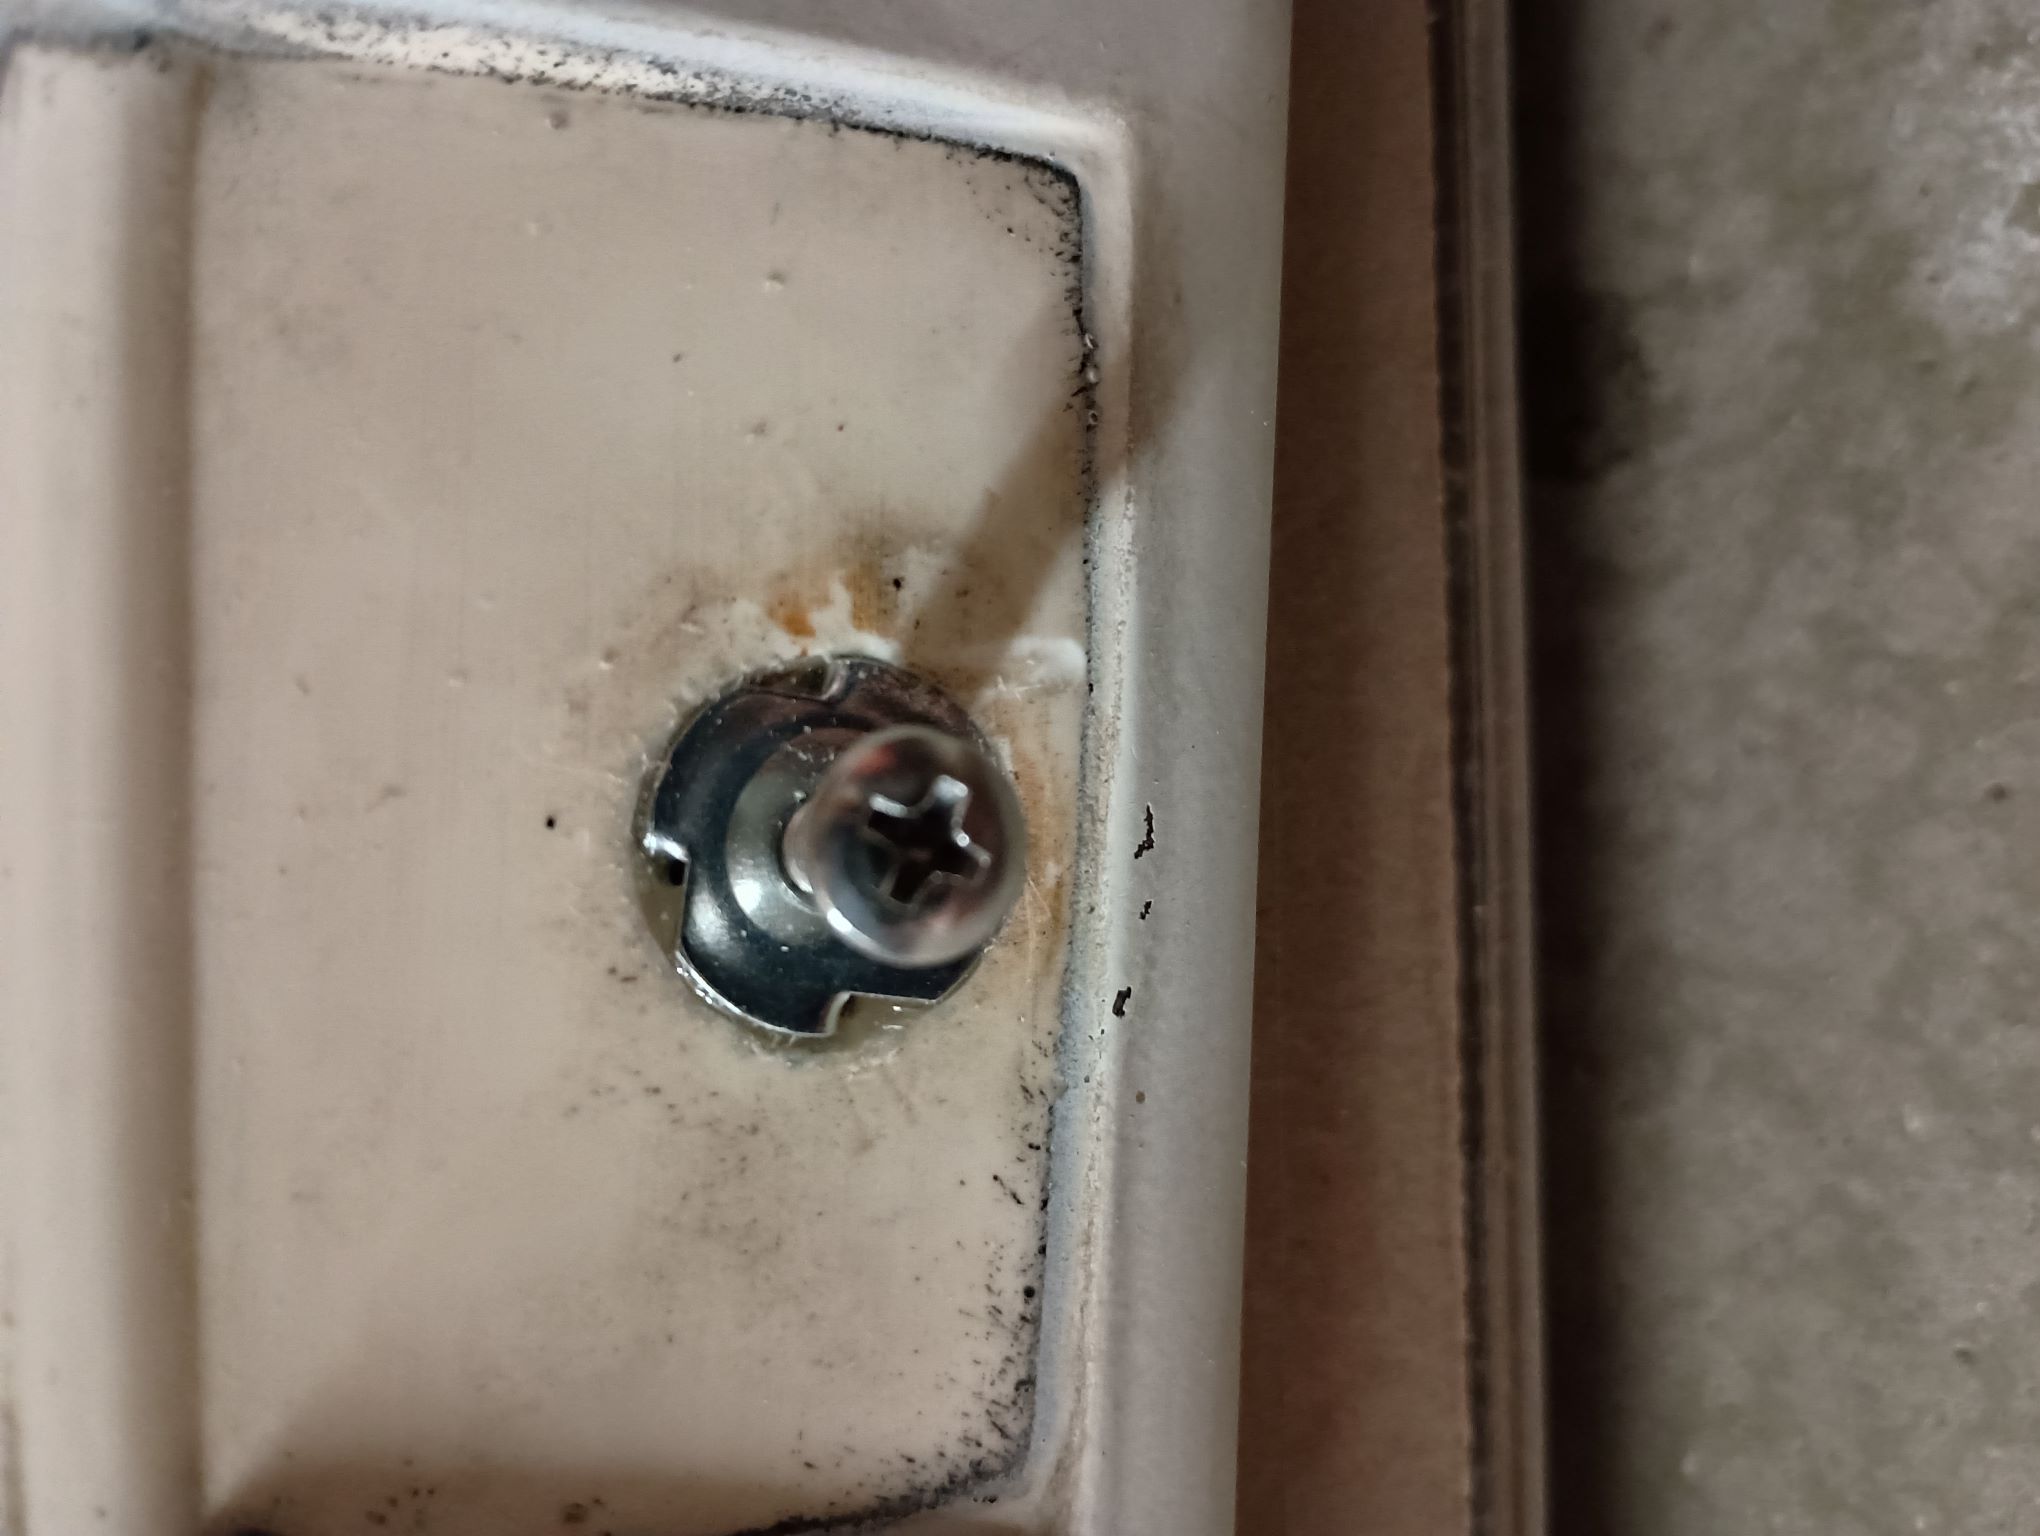
Here is the new stainless screw installed in the new epoxied-in T-nut. This feels very solid to me, better than the OEM.
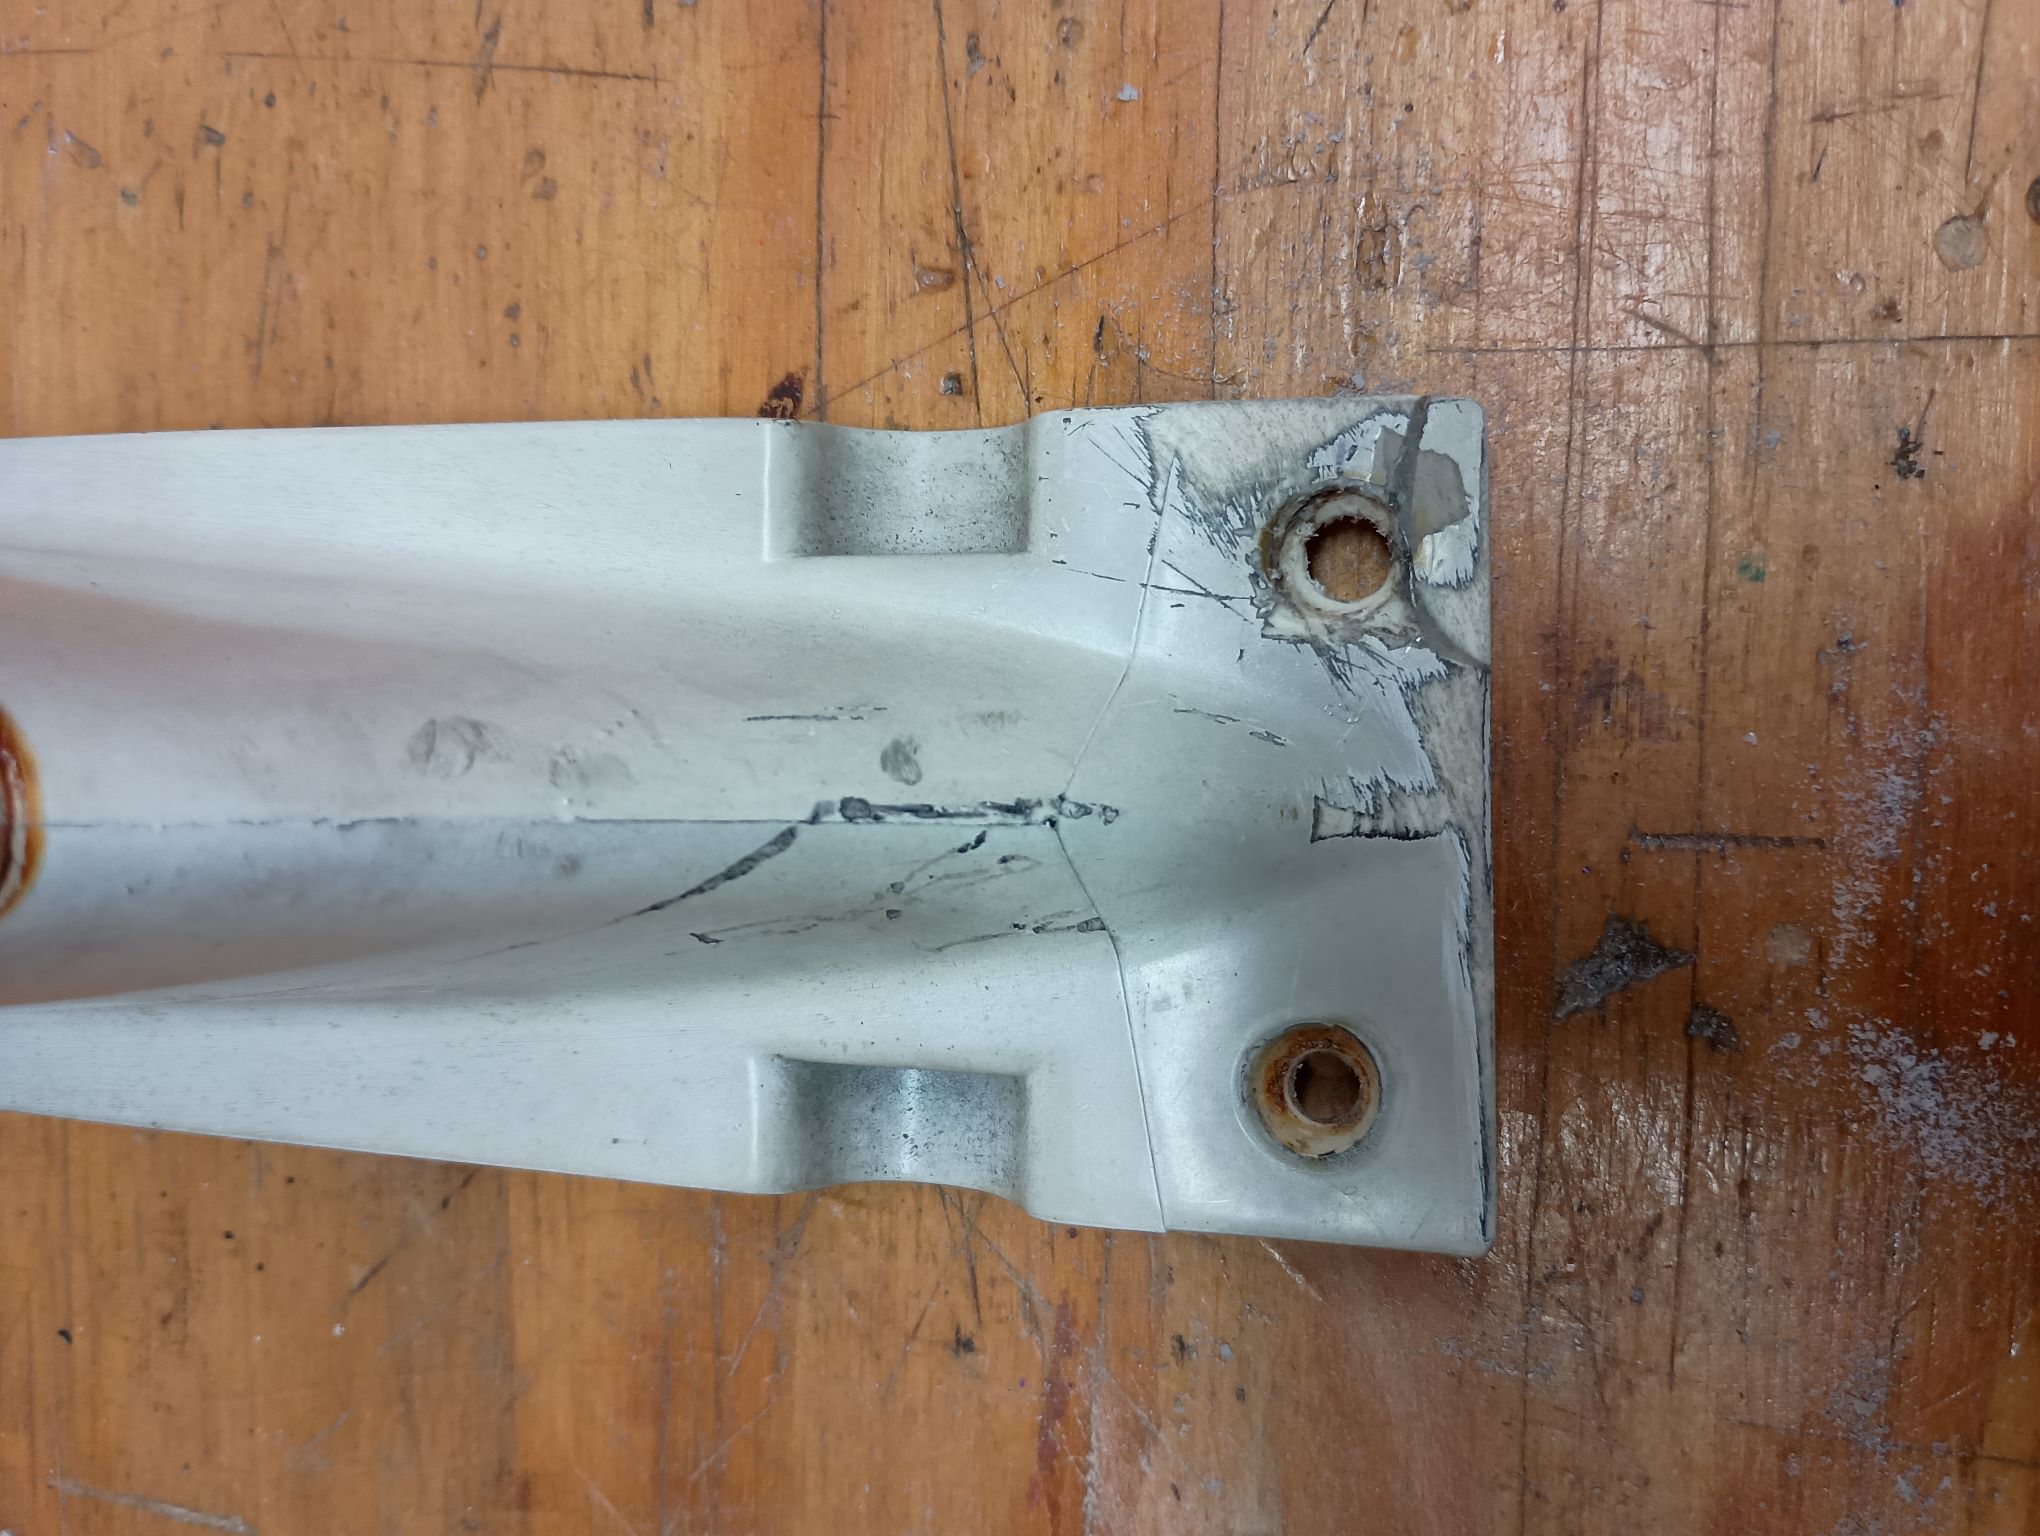
While I had the epoxy out I fixed the edge I broke off, due to being a dufus.


 Topic Closed


