Hey guys, so I was going to have a machine shop do everything for this engine, but during Christmas dinner I had some family over, and my uncle (who I've only seen once in a blue moon) was admonishing me for using a machine shop and said that I should do all the engine work myself. He told me to get a bore gauge and figure it out. So, I bought a digital bore gauge, set it up, and started checking N/S, and E/W... or whatever you call it, 90 degree angle from vertical. You guys know what I mean.... thrust side, etc. I also checked at three points. Top (just below the ridge), in the middle, and bottom of the bore.
I took my caliper and measured the bore (with the ridge) and it measured at *exactly* 101.6, which aligns exactly with what I see in my 1985 Pontiac Fiero Service Manual (Page 6A-17) under 2.5 R,U for cylinder diameter. It says 4" and 101.6.
Ok, so I know that my caliper is working well.
I configured my bore gauge to the best of my ability, and then measured it when assembled with my caliper to 102.5. I then zeroed out the bore guage.
OK, now, I took that same bore gauge, and then proceeded to measure each cylinder wall three times at all four angles (or again, whatever you call it... 12:00, 3:00, 6:00, and 9:00 location).
The bore was bigger, so I measured what displayed on the bore gauge and then eventually substracted that to get my final measurement.
Cylinder 1: Front of Engine .76mm (top) .81mm (middle) .76mm (bottom)
Cylinder 2: .75mm .80mm .76mm
Cylinder 3: .75mm .81mm .75mm
Cylinder 4: Back of Engine .76mm .81mm .76mm
I measured essentially no "out of round" that I could see. If I did, it would be the difference between .75 and .76, so I don't know if that matters. The book lists "max" out of round as .02, so I think I'm good there.
Next, I did the math (using the worst number from the center of the bore) to get my total bore number:
Ok... so here's the question, the Service Manual lists a bore size of 101.6. Note, it does NOT give me a range. So I have no clue then if this is OK, or if this is really shitty.
My uncle kind of laughed at the engine because he said these old motors can accept a lot of tolerance since they're not very high revving and don't produce a lot of power.
The engine ran fine before we tore it down... just the car was nasty dirty, and everything was kind of filthy and tons of caked on oil and everything was crap. But it idled and had plenty of power. So my question is... if I take it to the machine shop to have it bored .030 over, is it worth it, for the extra 1hp that I gain from that, or is it much better to have my daughter and I rebuild it and do all this stuff ourselves (for the learning experience). I mean... I guess what I'm asking is, with this tolerance, if I put it all back together with new rings (we got a ring gapper tool and all that stuff too), will this engine totally explode and run like **** ? Or will it run at LEAST as good as it did before we tore it down? (e.g., new rings, valve and valve job, bearings, etc...)
I'm more interested in teaching my daughter than getting super high precision with this old Duke. Is 101.69mm going to be the end of the world when the Service Manual asks for 101.6?
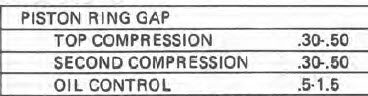
Not sure if you're just checking for out of round or general wear on the cylinder walls but to be honest, I just use the piston ring gaps to check the clearance. It's a hell of a lot easier. Install each ring into the bore and check the gap. You can take off the old rings first and do this check, then do the same check with a new set of rings. If the rings are spread open too wide, there's a bore issue.
[This message has been edited by IMSA GT (edited 01-11-2024).]
Not sure if you're just checking for out of round or general wear on the cylinder walls but to be honest, I just use the piston ring gaps to check the clearance. It's a hell of a lot easier. Install each ring into the bore and check the gap. You can take off the old rings first and do this check, then do the same check with a new set of rings. If the rings are spread open too wide, there's a bore issue.
Thanks IMSA, this is a pretty cool trick, it really never occurred to me. So would this give me a range to identify if I'm within clearance?
Bottom line, I want to know if I absolutely need to take it to the machine shop to have it bored out, or if I can give my daughter the satisfaction of knowing that she rebuilt an engine entirely herself. To be clear, I don't want to cut corners. But this Duke isn't going to be doing any racing... and if we can get away with a simple hone, valve job, and new lifters / pushrods, springs, bearings, and rings... then I'm totally good with that.
I'll try this trick, and I assume then that if I'm within that range, I should be good to go? (I plan on using new rings of course when we re-assemble it)
Hi Todd; If I am reading you right .81 mm Is over .030 wear. When they bore this it probably wouldn't clean up good enough for your .030 pistons. It would have to be bored to .040 0r 1 mm. You need the machine shop.
Hi Todd; If I am reading you right .81 mm Is over .030 wear. When they bore this it probably wouldn't clean up good enough for your .030 pistons. It would have to be bored to .040 0r 1 mm. You need the machine shop.
Hi Todd; If I am reading you right .81 mm Is over .030 wear. When they bore this it probably wouldn't clean up good enough for your .030 pistons. It would have to be bored to .040 0r 1 mm. You need the machine shop.
I measured it again. This time, I zeroed out the bore gauge at the ridge (which I'd previously measured to 101.6), and then measured the whole depth of the bore (which would measure a negative number on the gauge)... looking for the smallest number (which would be the accurate measurement), and I got the same measurements.
At the absolute worst point of the cyl walls (at the center), I get a .030. This is of course before rings and whatnot, so it sounds like I definitely need a machine shop, and the .030 overbore pistons will be the *exact* measurement I need... and I'm at the cusp of that basically. I will definitely have to have a machine shop bore it out.
Nothing lost though... I learned how to use a bore gauge, and my daughter will too... so I'm happy with that and don't mind the money I spent. This is what I plan to ask them to do:
1 - Remove the broken bolt (I've messed with it, I don't want to damage the mating surface) 2 - Check for straightness and plane the top of the engine block 3 - Bore and hone the cyl walls to .030 4 - Press the piston rods / pins onto my new pistons 5 - Balance the rotating assembly 6 - Install new cam bearings 7 - Clean the engine block
... am I missing everything? I intend to have my daughter do all the assembly herself, so I don't want them to assemble the crank / rods on the block.
By the way, do I *absolutely* need the rings and bearings for them to balance the rotating assembly? It seems like if they ring package for each piston is the same weight, then it shouldn't affect the balance?
Thanks!!!
EDIT: One more question... if you guys don't mind (I really appreciate the free advice).
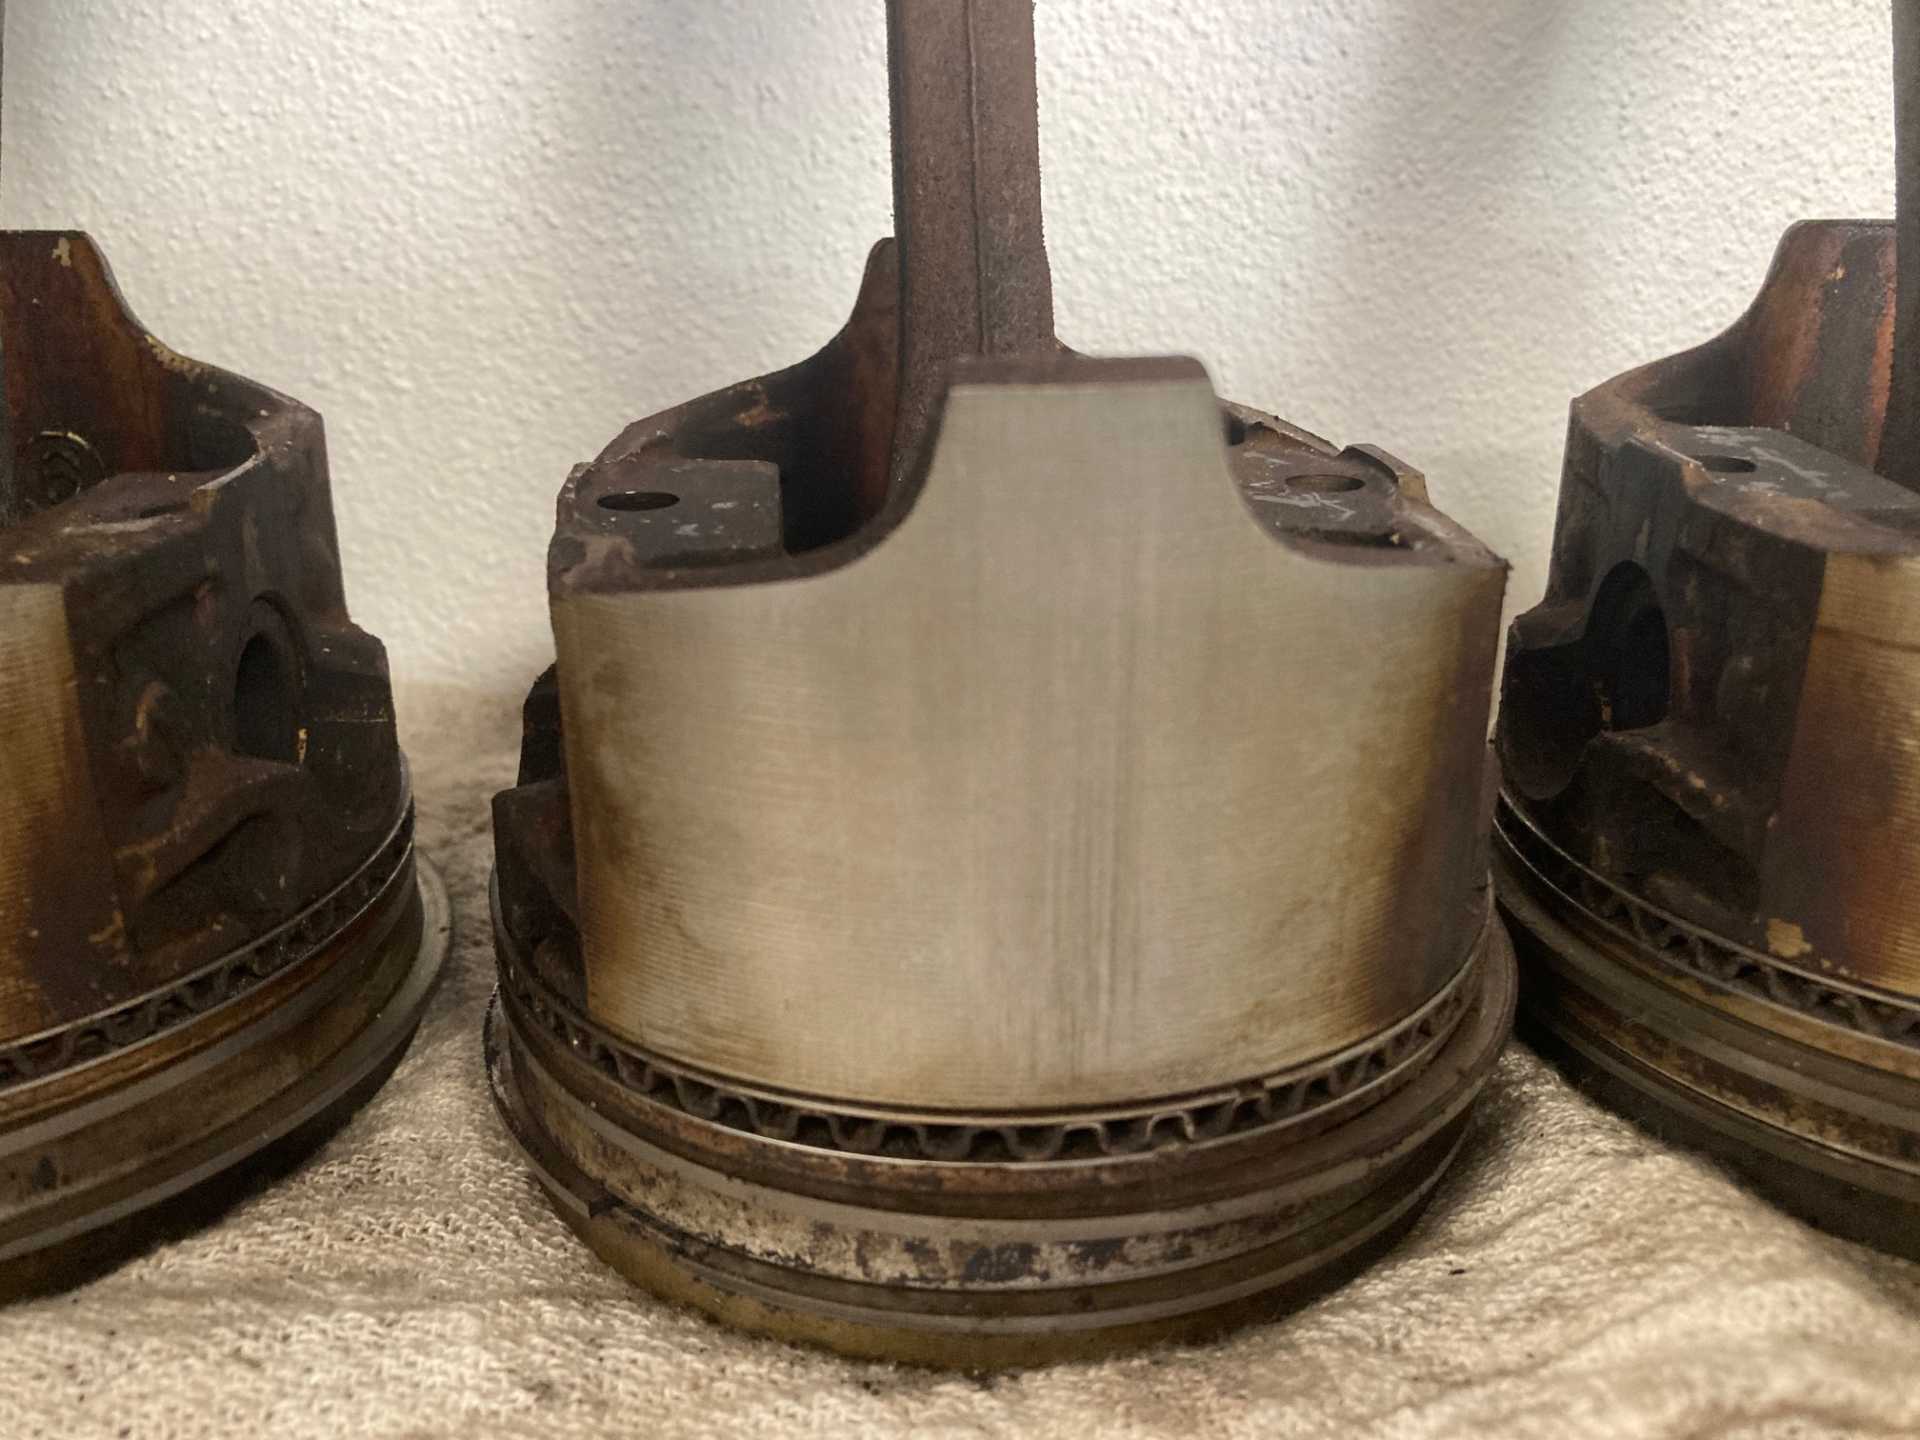
What would cause a cyl wall to wear to this extent while the piston itself doesn't appear to have that much wear? I'm attaching a picture of the piston. The side skirts (from my relatively low experience here), does not seem to be that worn out? Would overheating have caused this? It seems to me the rings themselves are the ones causing the wear on the sides of the cyl walls (not the pistons, since they don't really "touch" the walls specifically)... so I'm just curious.
Thanks guys!
[This message has been edited by 82-T/A [At Work] (edited 01-13-2024).]
Hi Todd; What happens as the cylinders and pistons wear they start rocking in the thrust direction and agrivate the wear. the crown of the piston starts dragging on the thrust side and causes more wear.If you look above the top ring you will see this wear. that part of the piston should never touch the cylinder wall. the skirt also called the slipper should not touch either and should ride on a film of oil. yours have been touching causing the wear you see on the thrust face. Needs Boring. also get a frost plug kit. the machine shop needs rings for and rod bearings for 1 cylinder just to get a weight. sleek
Hi Todd; What happens as the cylinders and pistons wear they start rocking in the thrust direction and agrivate the wear. the crown of the piston starts dragging on the thrust side and causes more wear.If you look above the top ring you will see this wear. that part of the piston should never touch the cylinder wall. the skirt also called the slipper should not touch either and should ride on a film of oil. yours have been touching causing the wear you see on the thrust face. Needs Boring. also get a frost plug kit. the machine shop needs rings for and rod bearings for 1 cylinder just to get a weight. sleek
Awesome... thanks Sleek. This is great information. If you don't mind, I'm going to steal some of this for my daughter's next video. I'm learning a lot through this process. I've done this at least a half dozen times in the past, but every time I just buy a box of parts, take the old engine to the machine shop and say... "Here..." and never learn any of this. So it's awesome going through this whole process.
Edit, I don't want to waste effort, so I bought a set of Sealed Power .040 overbore pistons. They were also on clearance as a set, and pretty decent.
It took me forever to figure out what piston rings to order because even though they were all the correct size 1/16th, etc... etc..., there was a difference between deep and shallow groove oil rings. I did a ton of reading, couldn't figure it out, and then finally ran across this Piston to Piston Ring comparison chart for Hastings:
Eventually, I figured out that the pistons I ordered were 498NP, and they matched up with Hastings Rings set 5663. I ordered the premium set of rings from Hastings, and also got them .040 overbore of course, but realized the part number changed slightly (2M5663). Once I looked at it long enough, I was like... oh... duh... 5663. So I ordered the 2M5663.040 set. Plasma Moly, phosphate, etc. Pistons are OEM grade... but the rings are pretty decent.
Should be fun.
Now I need to order bearings. The journals all looked pretty good. There was no knocking or anything, and oil pressure was pretty decent, so I'll order a set of STD sized crank and rod bearings.
- - -
EDIT: Ok, ordered bearings for both crank and rods. I didn't go undersized, just ordered standard. The engine was running fine, like I said, no knocking, plenty of oil pressure. There's a little wear on the bearings when I removed the old ones, but there's no reason for me to have the crank turned... just doesn't make any sense. I also ordered a high volume oil pump (which I'd forgotten to order for this engine too)... and got a new oil pickup screen.
[This message has been edited by 82-T/A [At Work] (edited 01-13-2024).]
I feel like I need to get a degree in this so I can totally understand it. I ran the numbers with my daughter, and they seemed really excessive (yet the car ran and drove fine). So again, I went out to the garage myself, and this time I did it in inches, and I'm trying to compare the information in the service manual with my numbers.
First - I measured the top ring (haven't reamed the ridge yet) and got a perfect 4"s with my micrometer, just to double-check. Second - I then zeroed out my digital bore gauge on the ridge to get a 4" baseline.
Third, I measured each cyl bore, doing three measurements at the top (one at the 12:00, then 2:00, and then 4:00 location). I did this DIRECTLY under the ridge, and then measured it again three more times in the same positions about half-way down from the cyl bore, and these are my measurements in inches:
This is what the Service Manual mentions for acceptable variance for bore: Out of Round = .001 Taper = .005
So when I do the "maths" for my out of round and taper (from mid to top), by cyl...
Cyl 1 - OOR: .0025 Taper: .006
Cyl 2 - OOR: .0035 Taper: .0055
Cyl 3 - OOR: .0035 Taper: .004
Cyl 4 - OOR: .001 Taper: .0055
So, I know I wasn't expecting a different result, but I wanted to make sure that I did this right. I'm committed to a .040 overbore, and already bought the pistons and the rings.
With the measurements (this time in inches) above... does that look like I did the measurements properly? The motor ran well... but I never really pushed it. It did smoke some... but it ran well to say the least, no clattering. I just want to make sure I did my math right and did these measurements right, because it's driving me nuts thinking maybe I didn't do it properly.
My .040 overbore should be more than enough... but any thoughts?