The thread is not dead! It's been a while but trust me there has been great progress. time to update y'all up to the current status of the car and update future plans.
Just to let y'all know the car IS up and running and running very well.
I apologize in advance for some photo uploads, they appear to be taken by a potato, but they are screenshots of videos that I took.
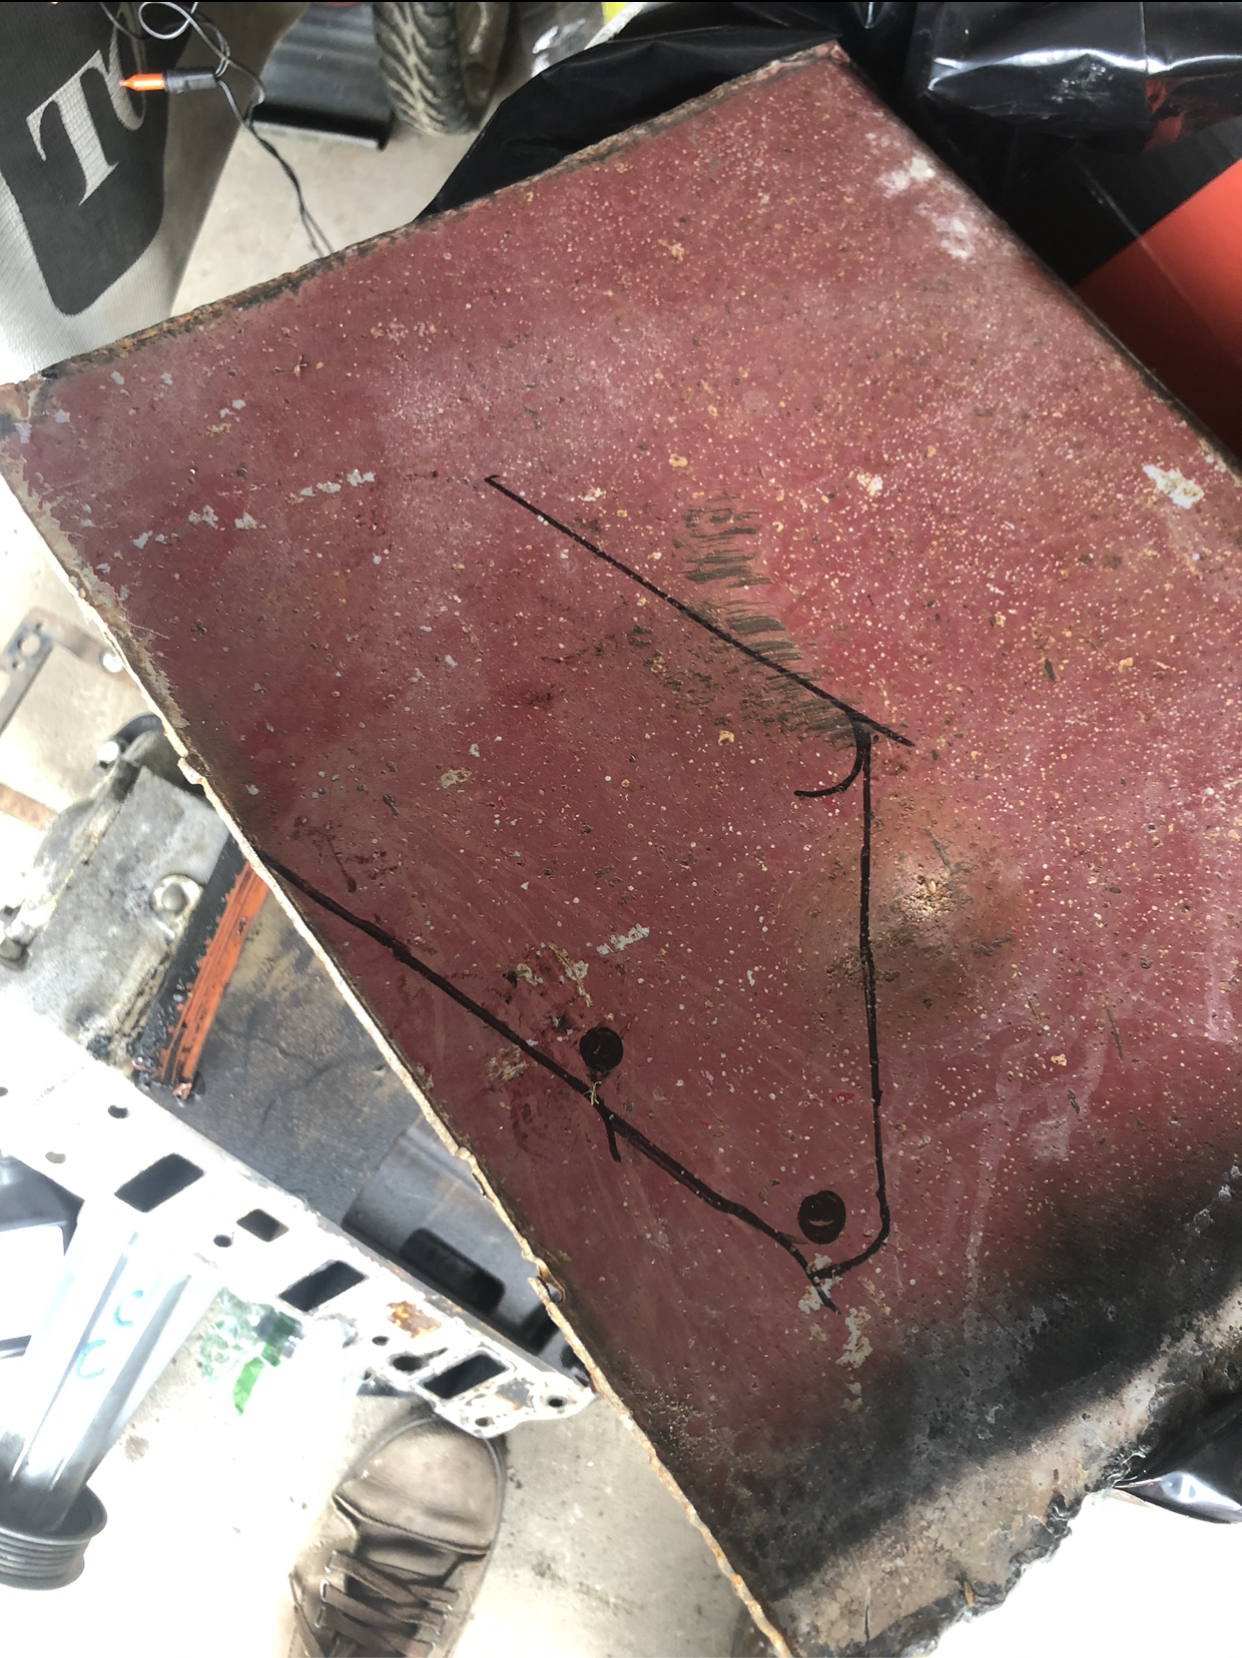
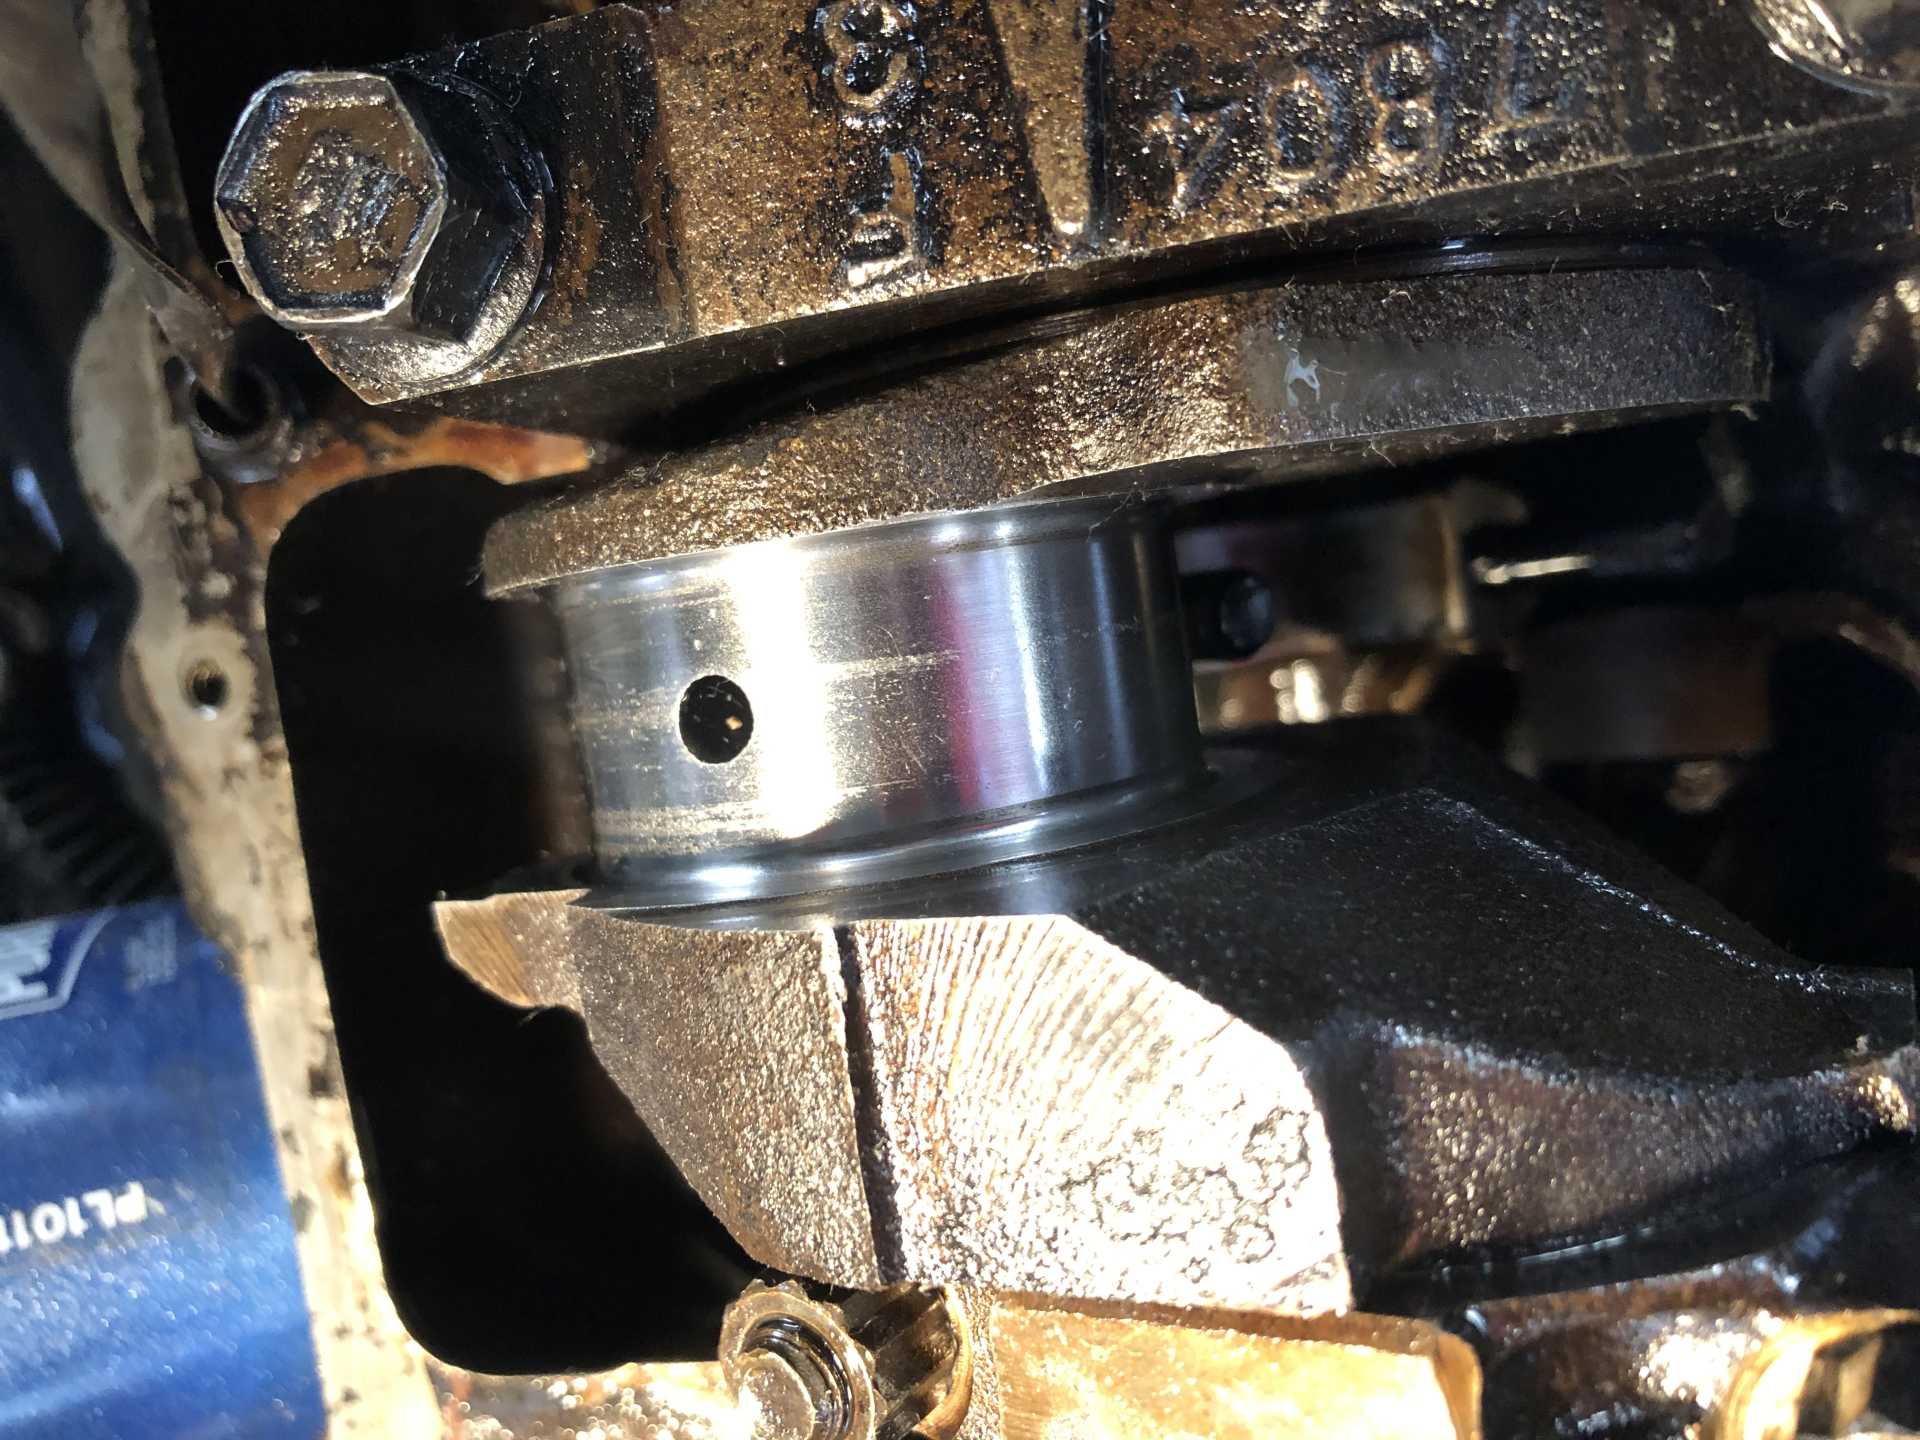
Where the post was left off was with the coil pack mounting. After that was completed, i started with resealing the engine. I noticed a large oil leak coming from the top of the engine, I suspected valve cover gaskets.
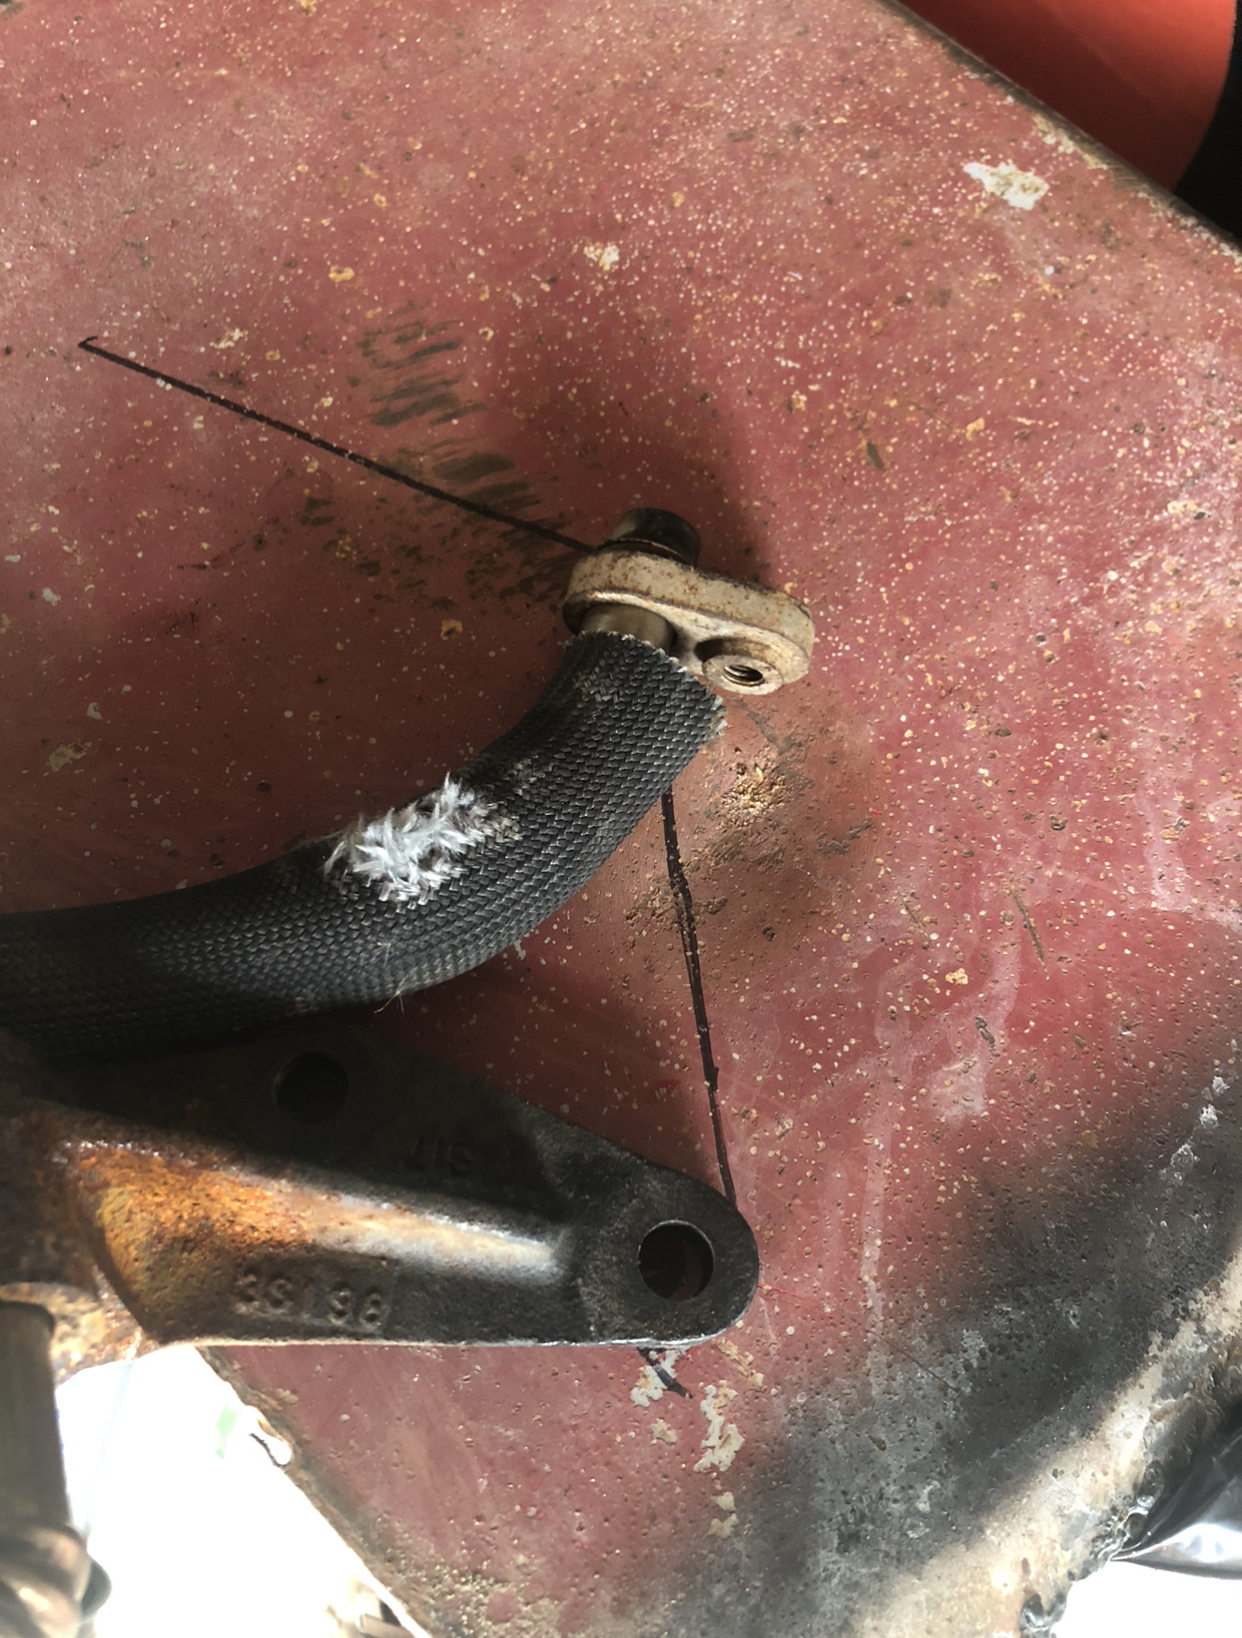
hard to see in that picture, but when I relocated the alternator, I found that the mounting bolts were swapped around for the original alternator mount, and one of the bolts punched a hole right through the valve cover. Looks like i found the main culprit of the oil leak.
I ordered a rear valve cover for it.
With the valve covers off, nothing looked out of the ordinary. So i continued to replace the rear valve cover , gasket and the front valve cover gasket.
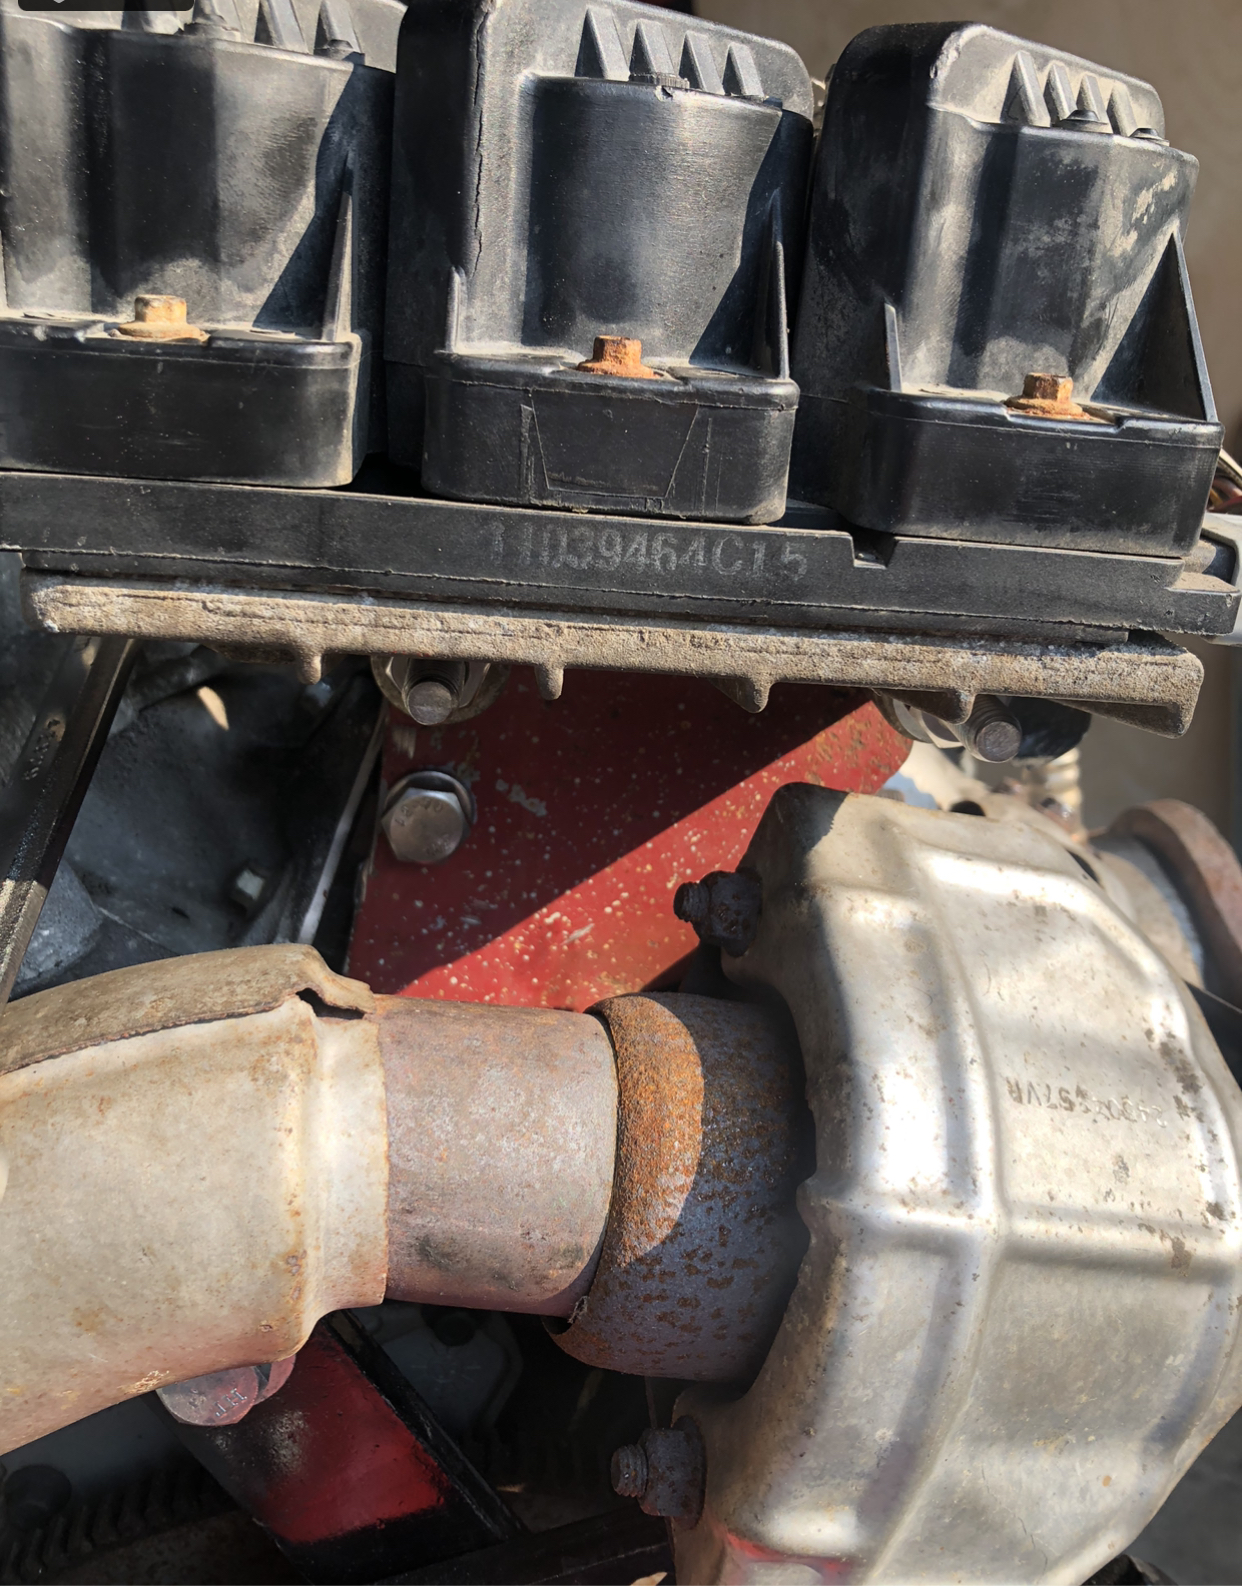
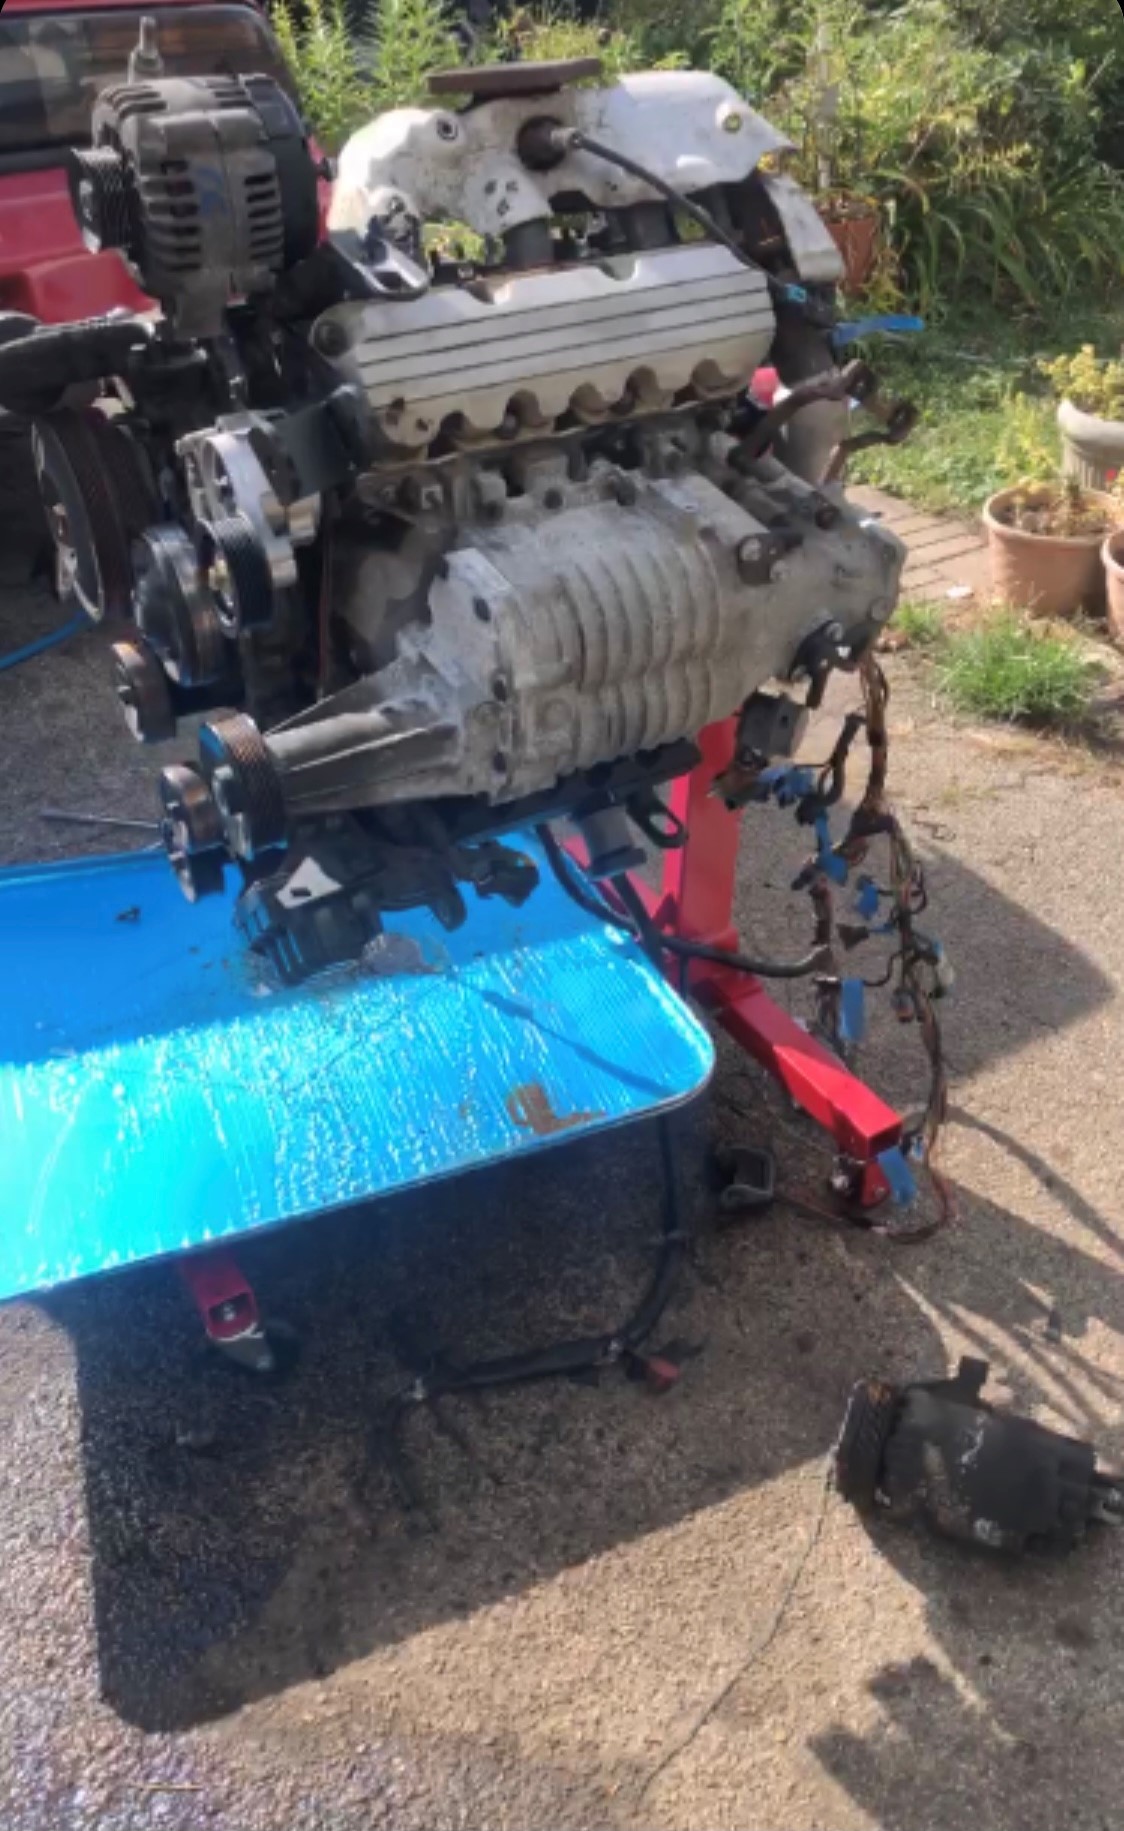
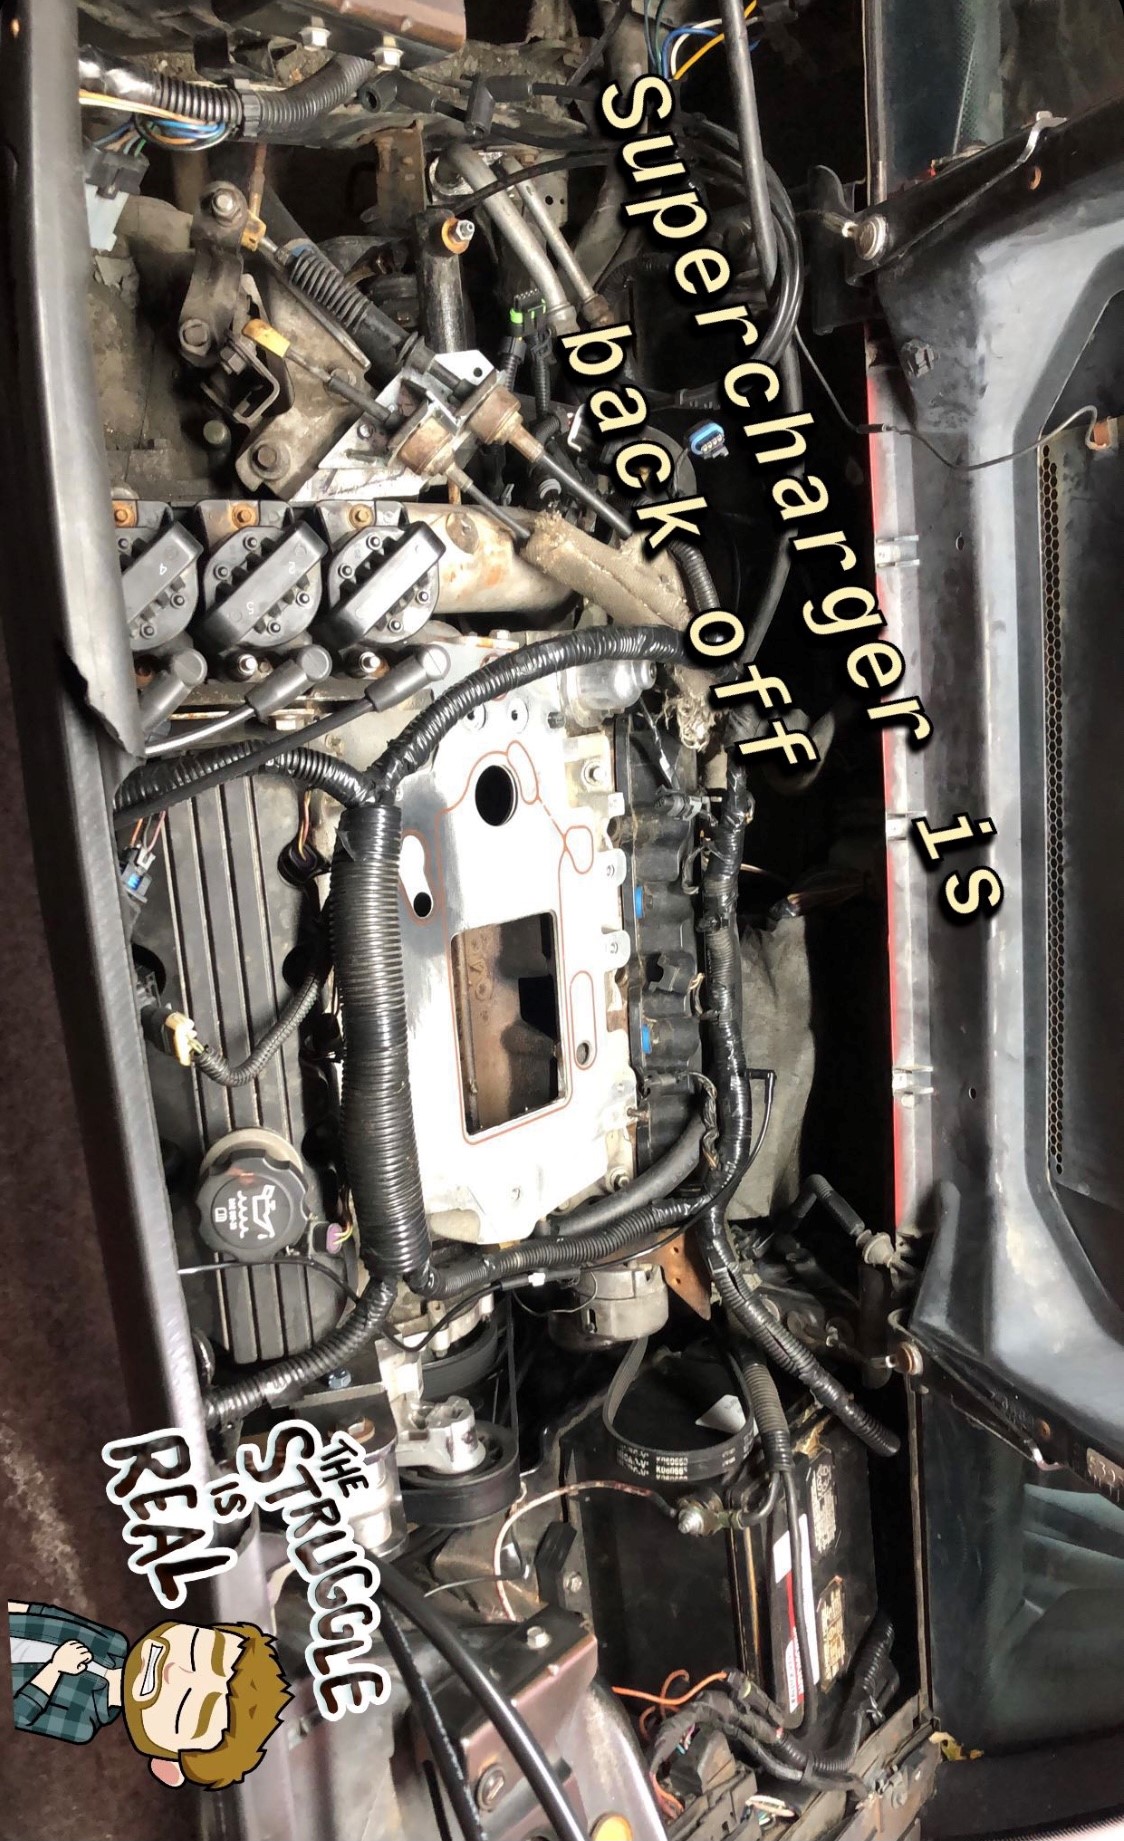
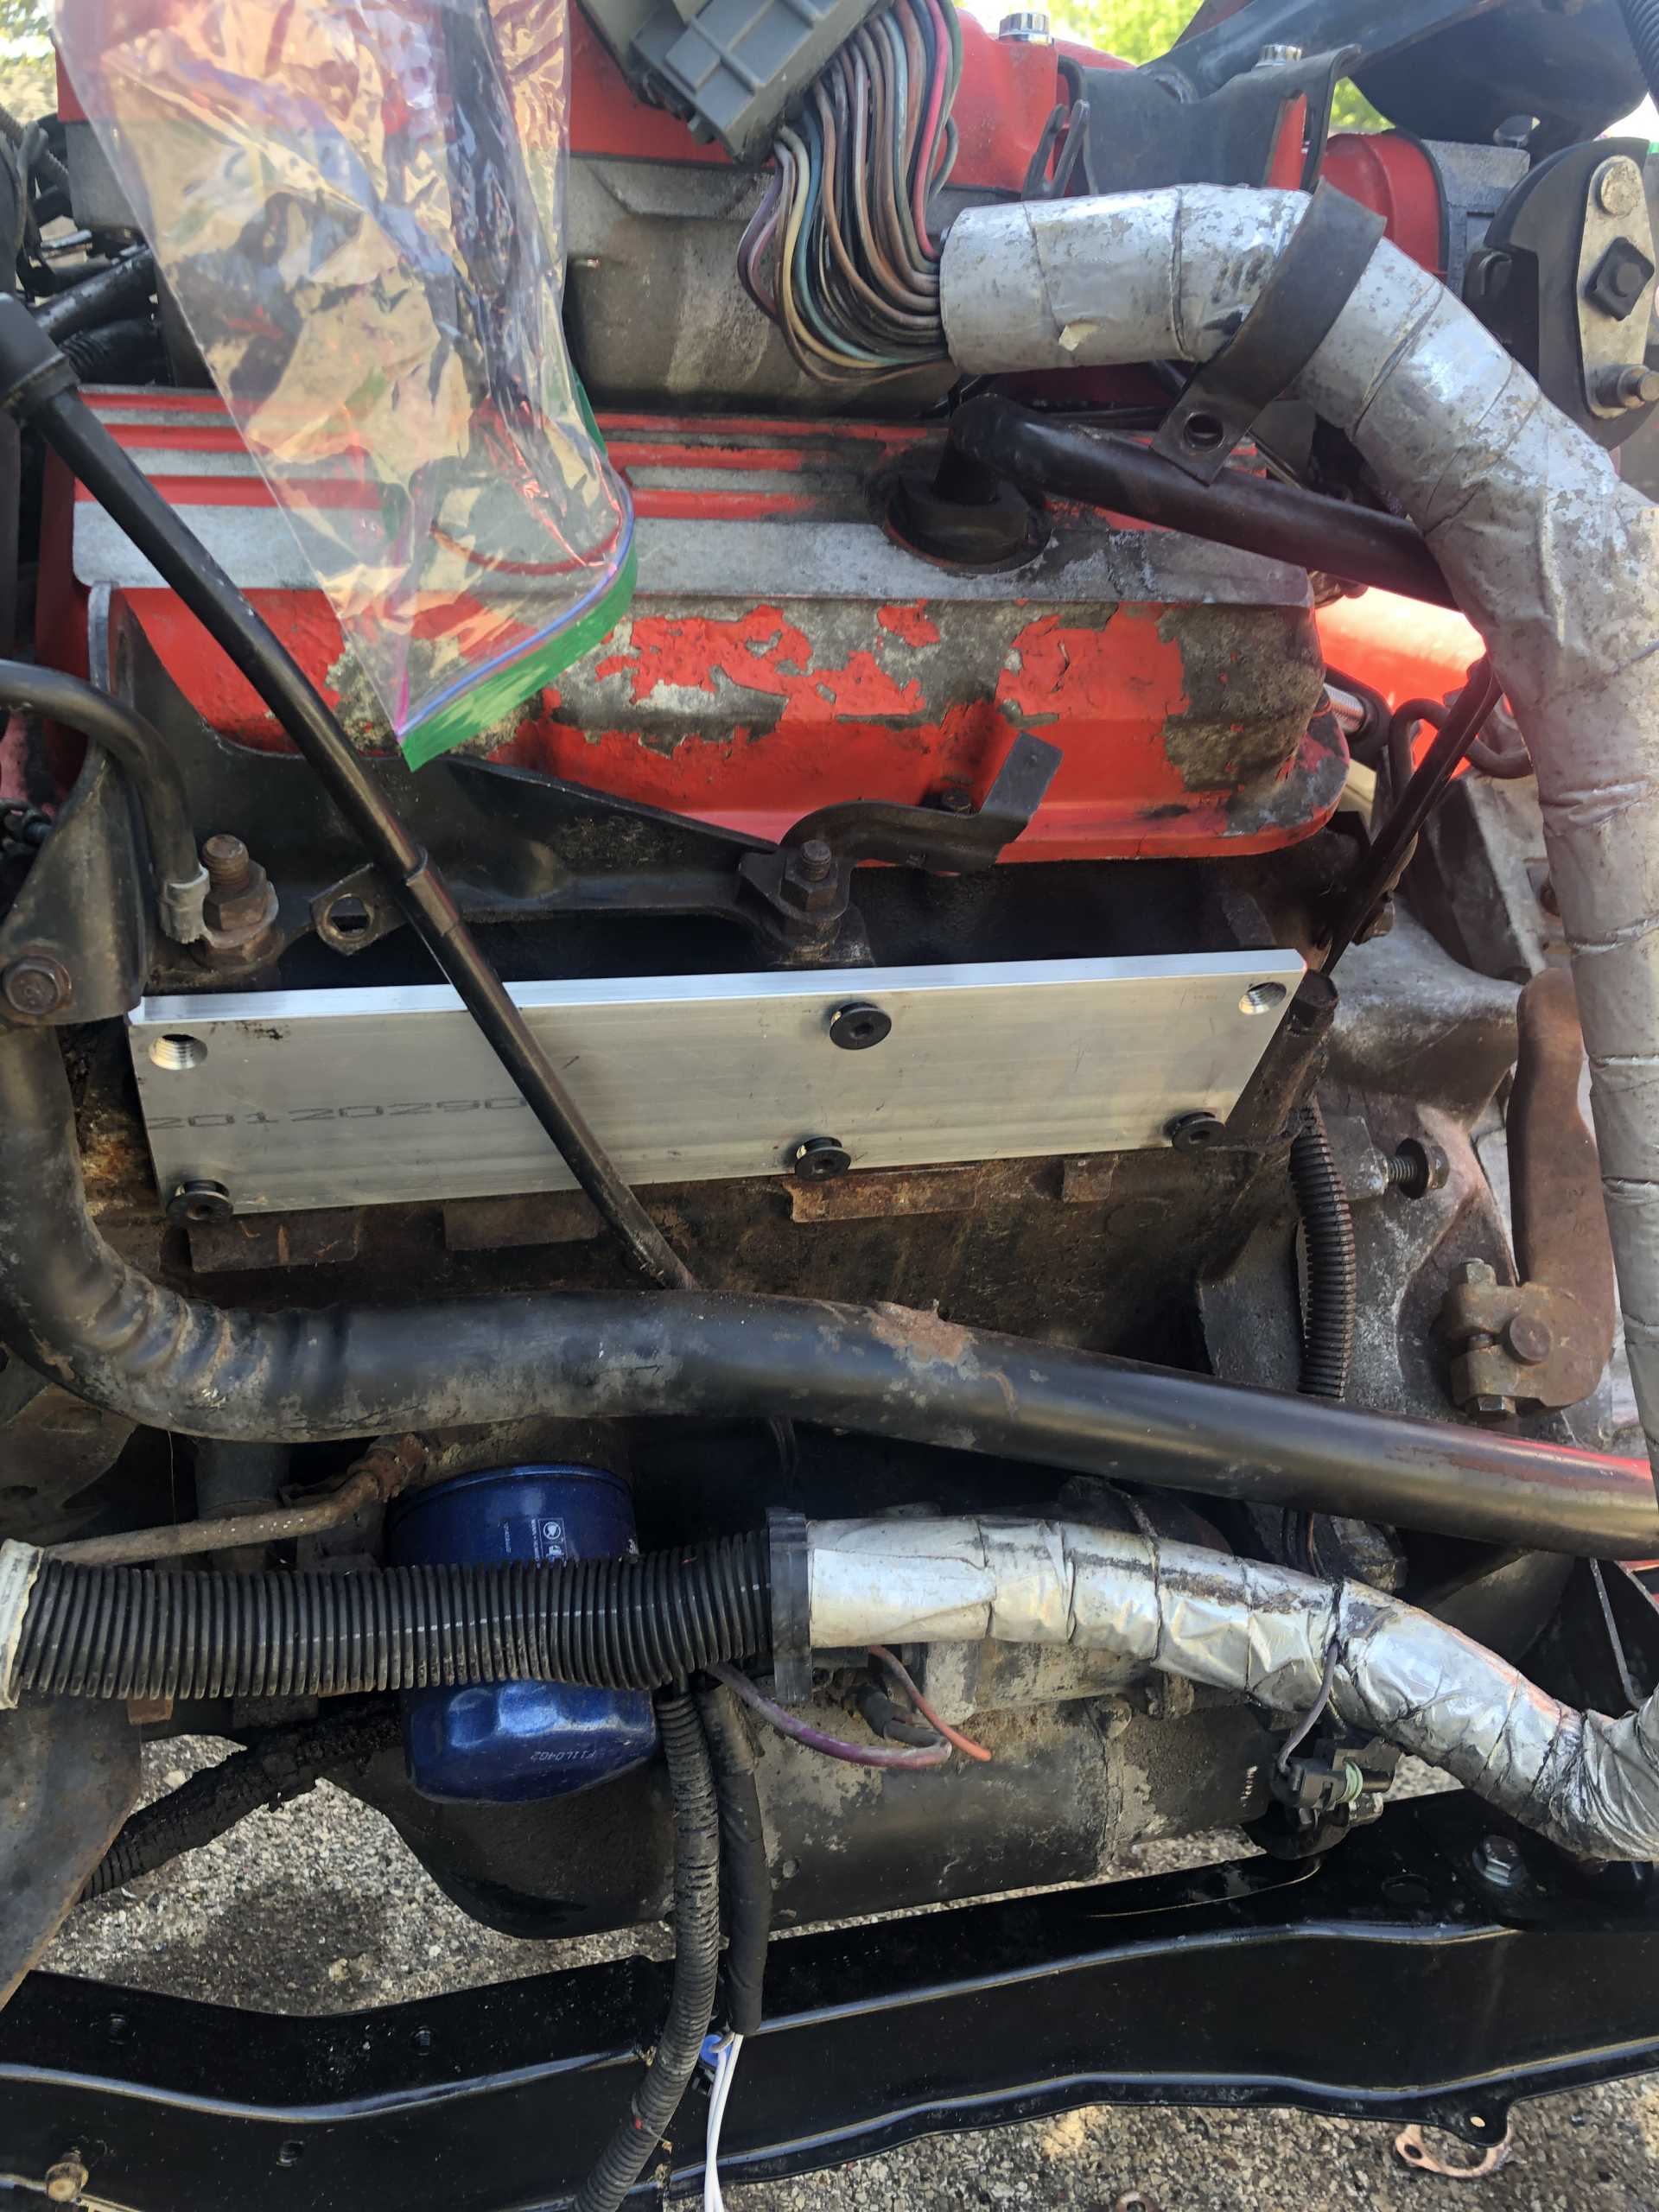
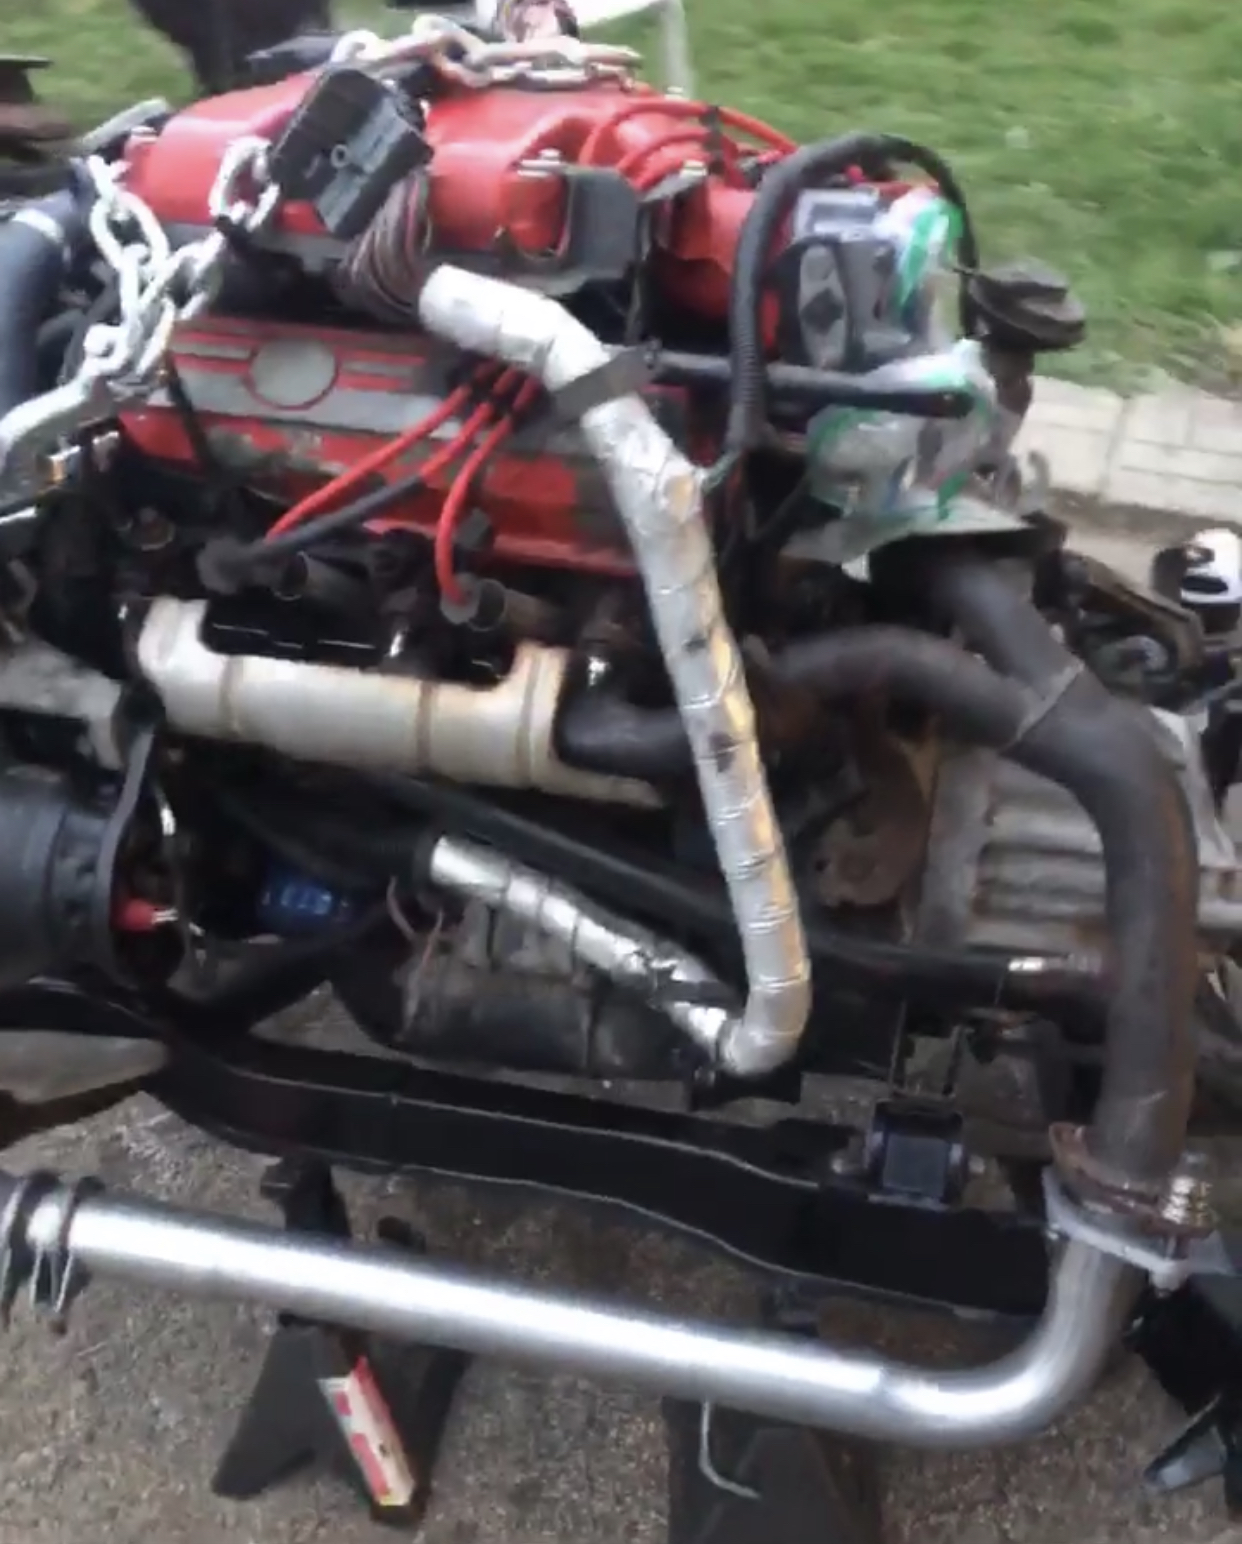
I had already swapped over to the Gen 5 M90 and lower intake that was acquired at the same time that the engine was, so the lower intake gaskets, S/C base gaskets were also replaced The coolant outlet for the heater core was tapped (incorrectly and i did not realize this till later, I also forgot to to tap and seal the throttle body coolant ports in the LIM. This will be resolved later.
I then moved on to the oil pan gasket, and that is when I realized why the owner of the Monte Carlo donor junked the car.
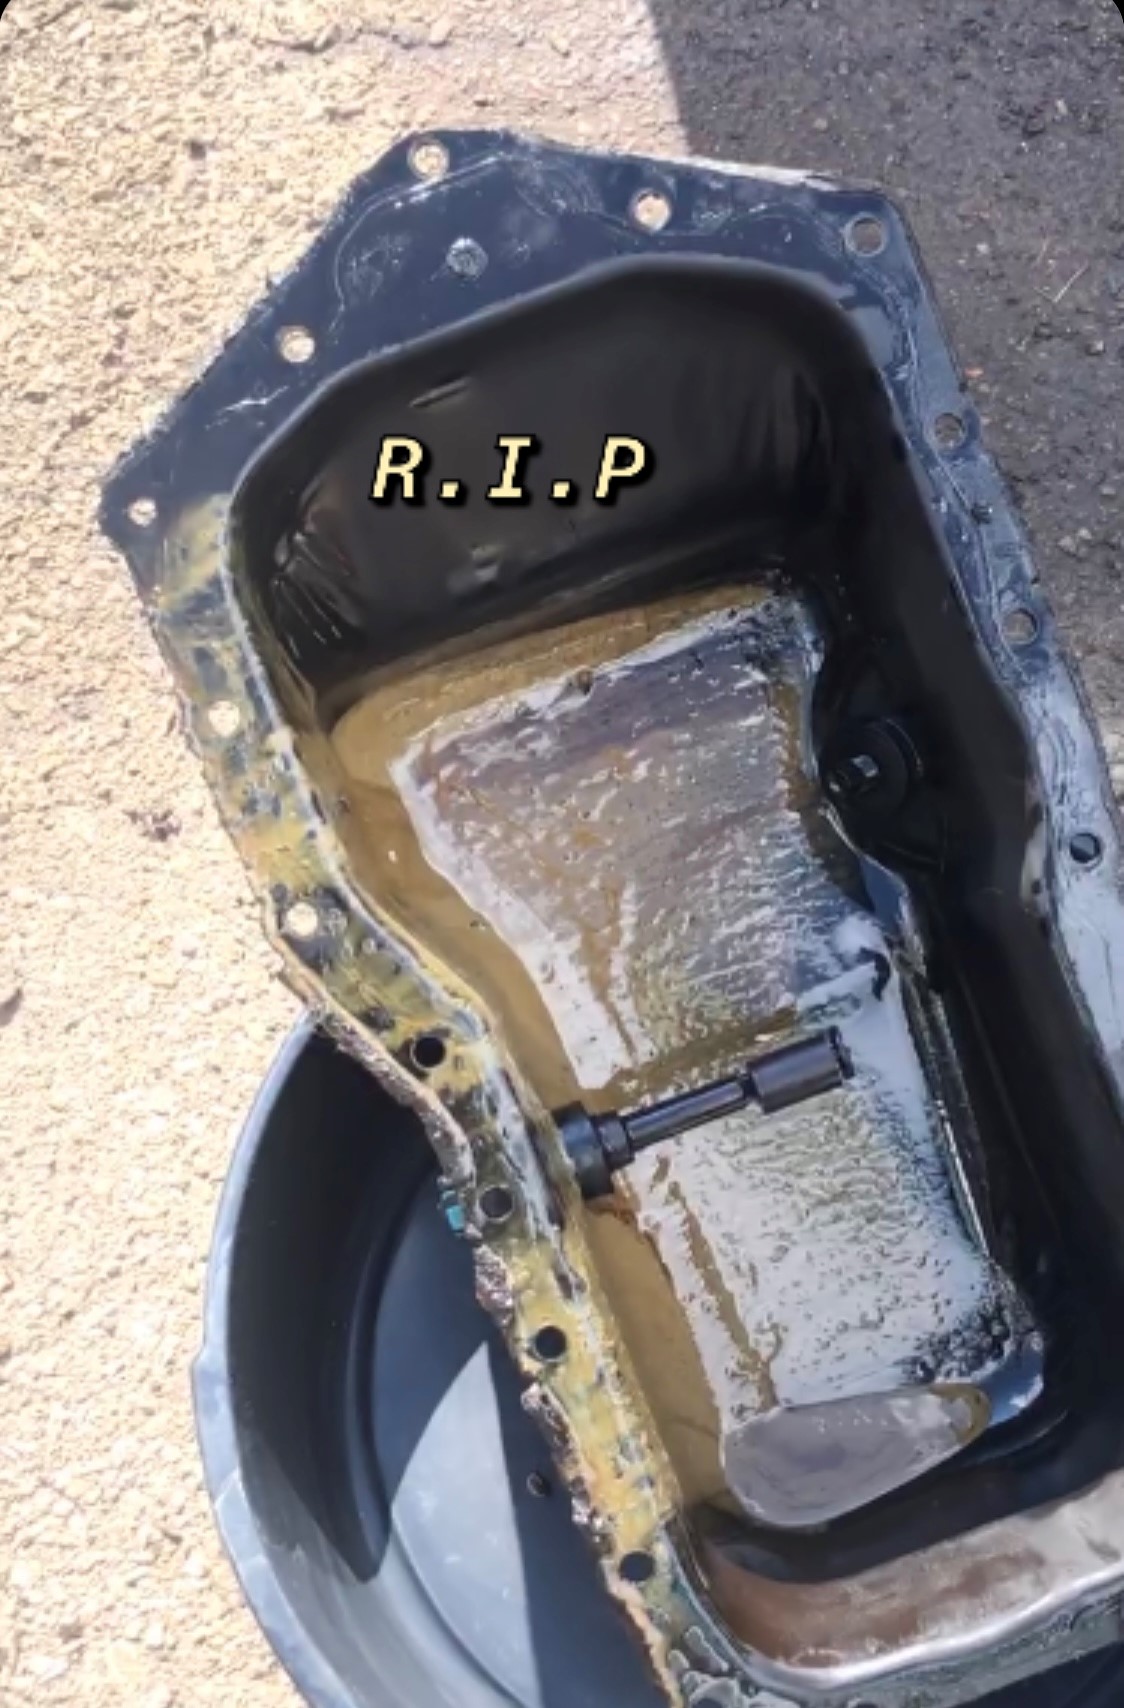
It indeed was most likely due to the lower intake gaskets failing, which caused the coolant/oil mix, but it would worry me that it might be a failed head gasket. I made the executive decision to just clean everything really well and send it.
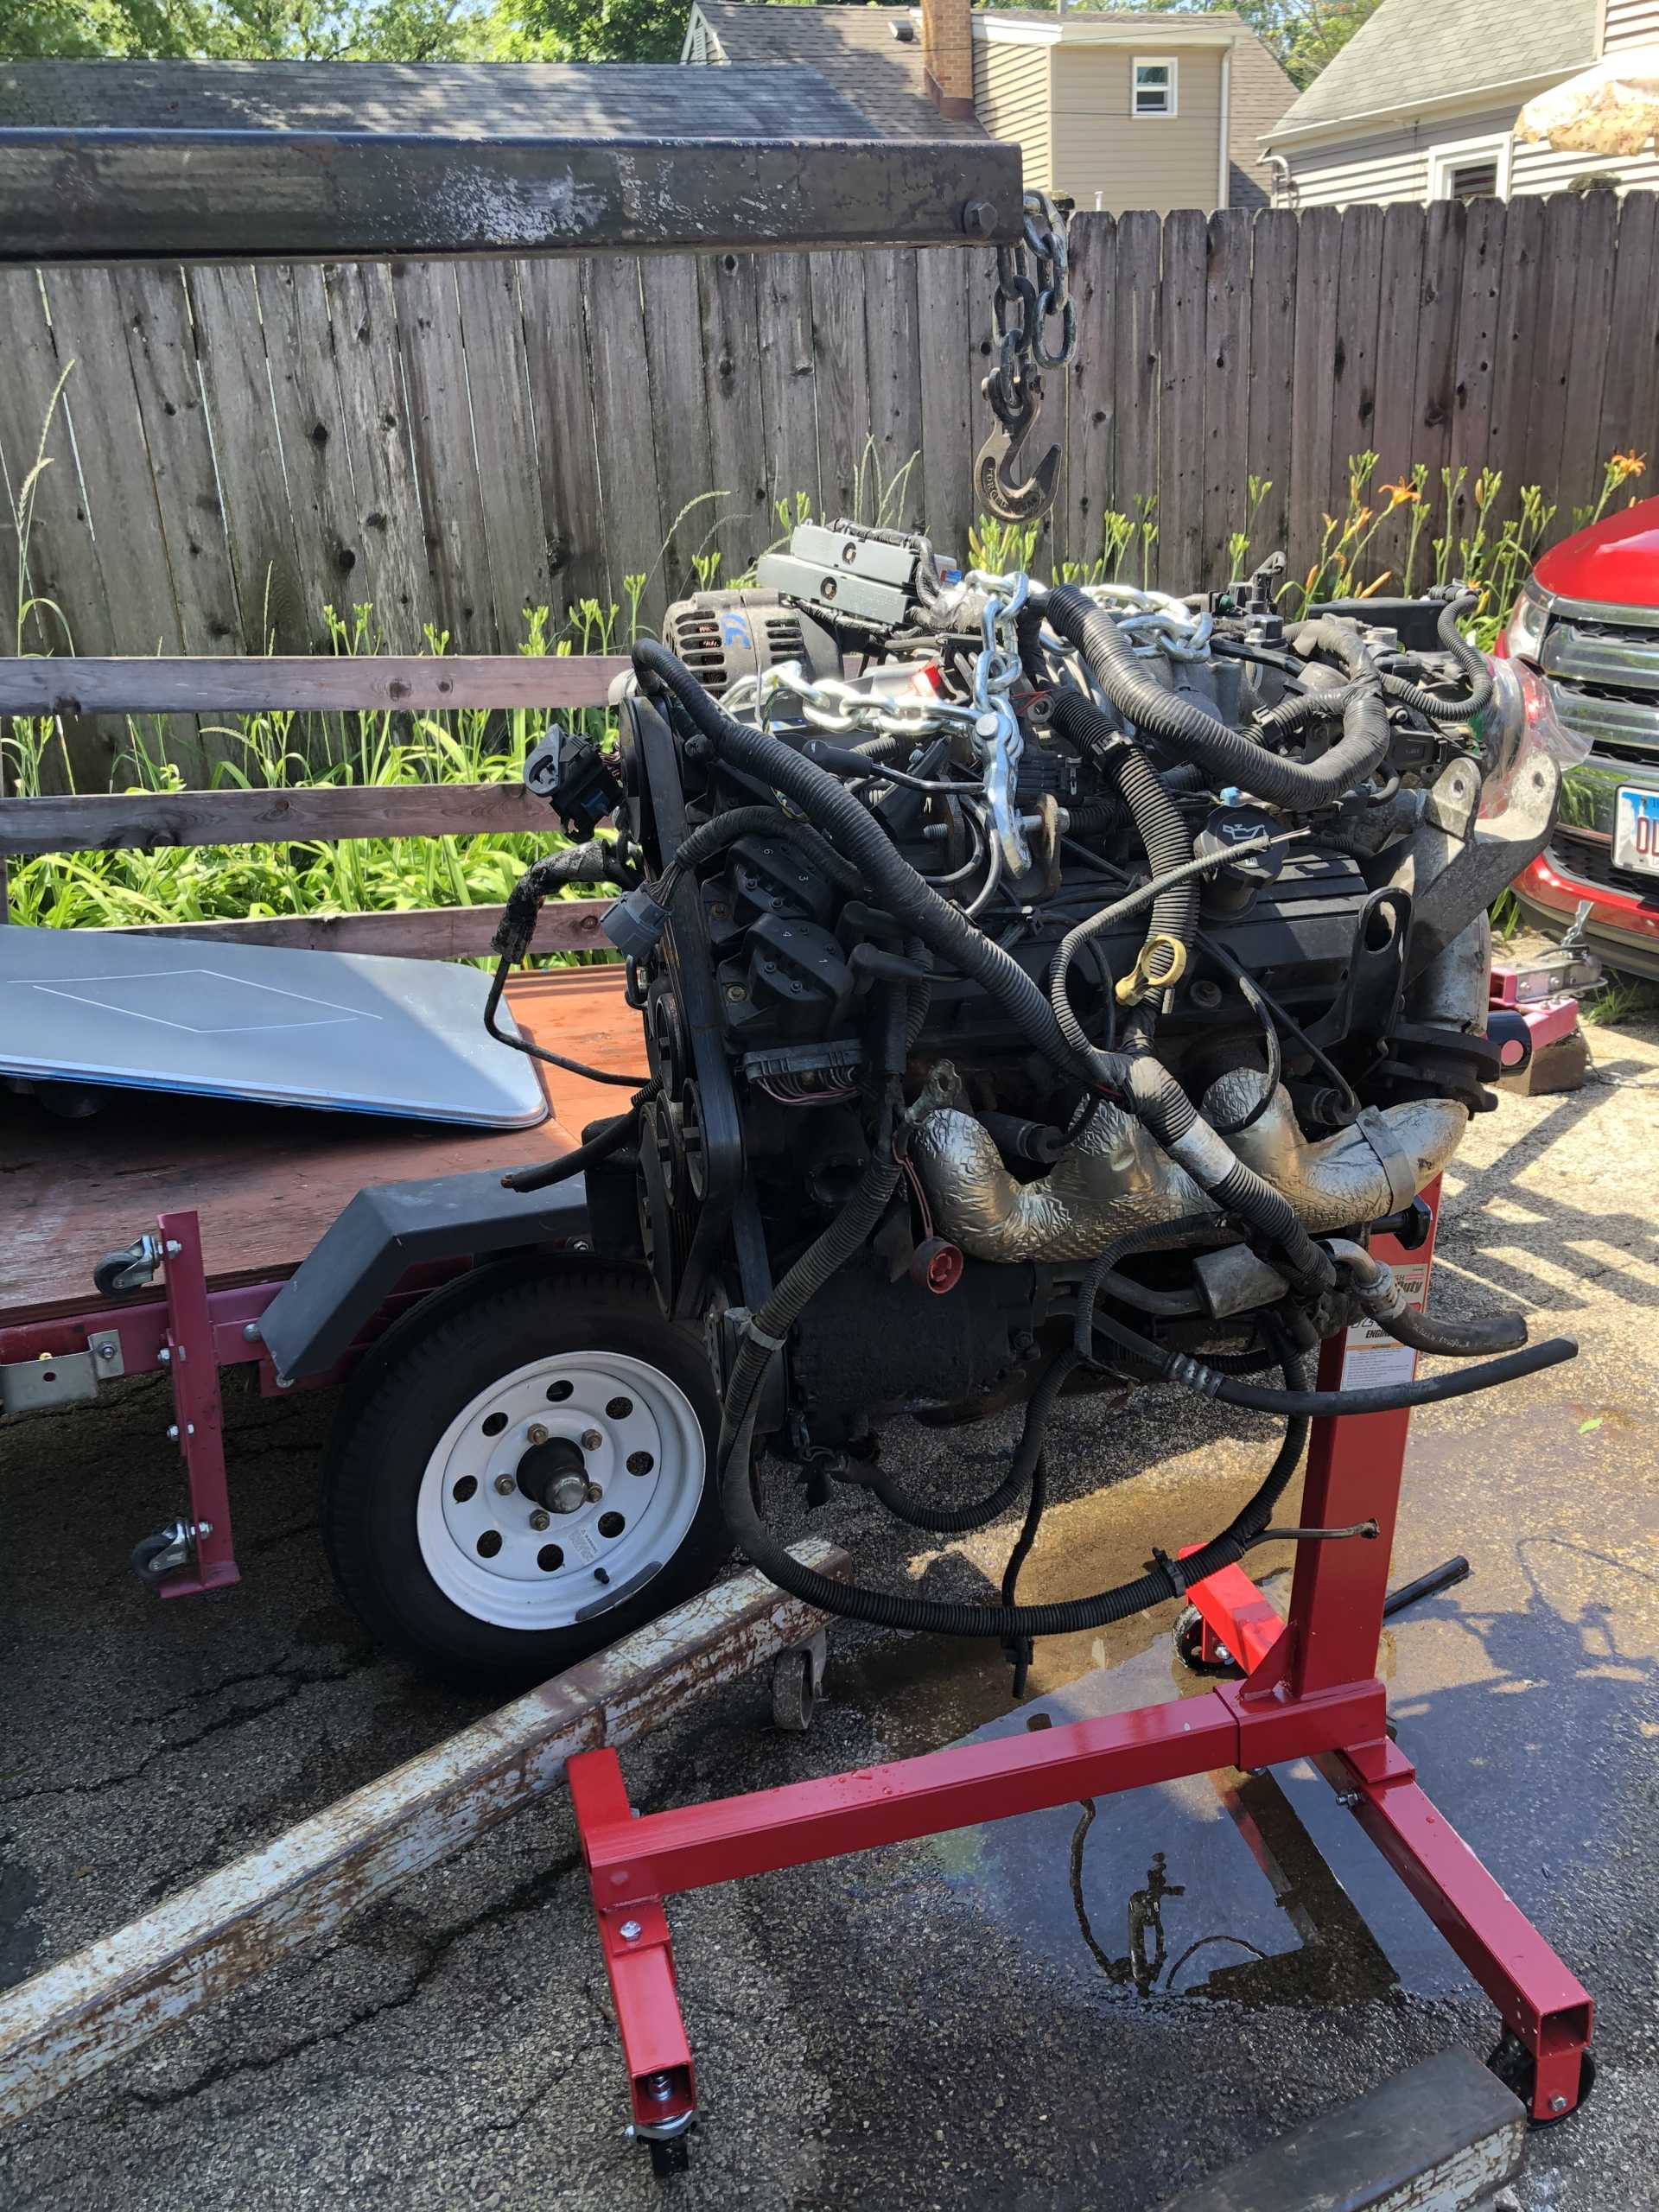
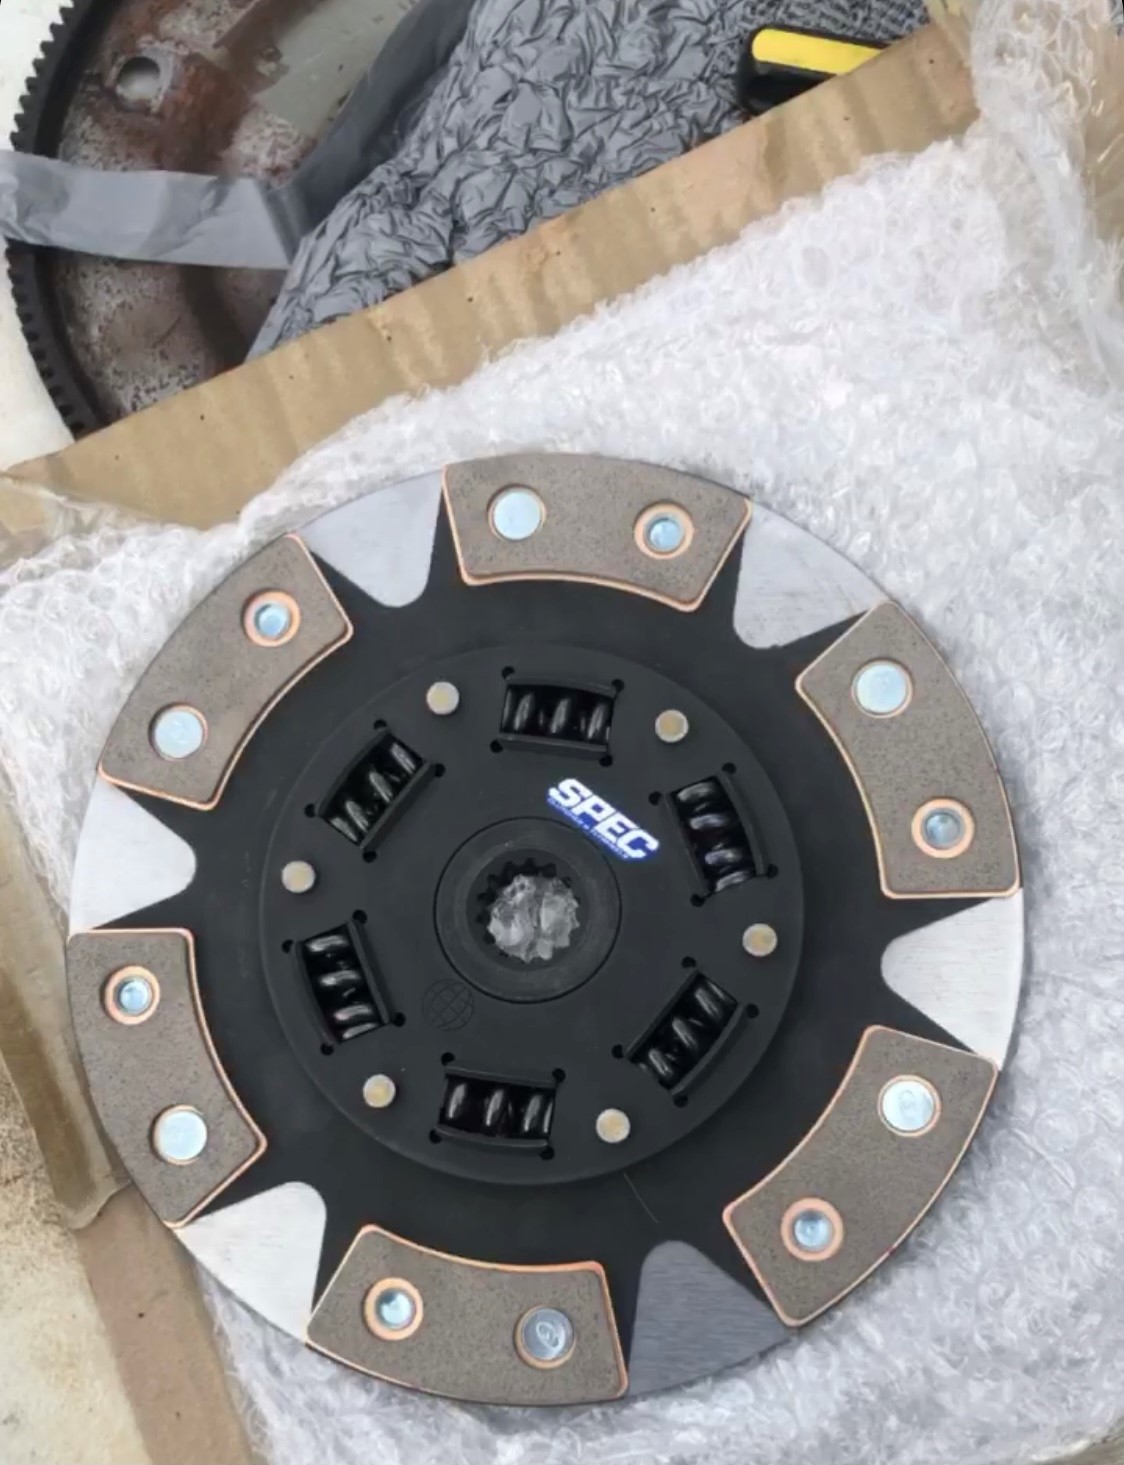
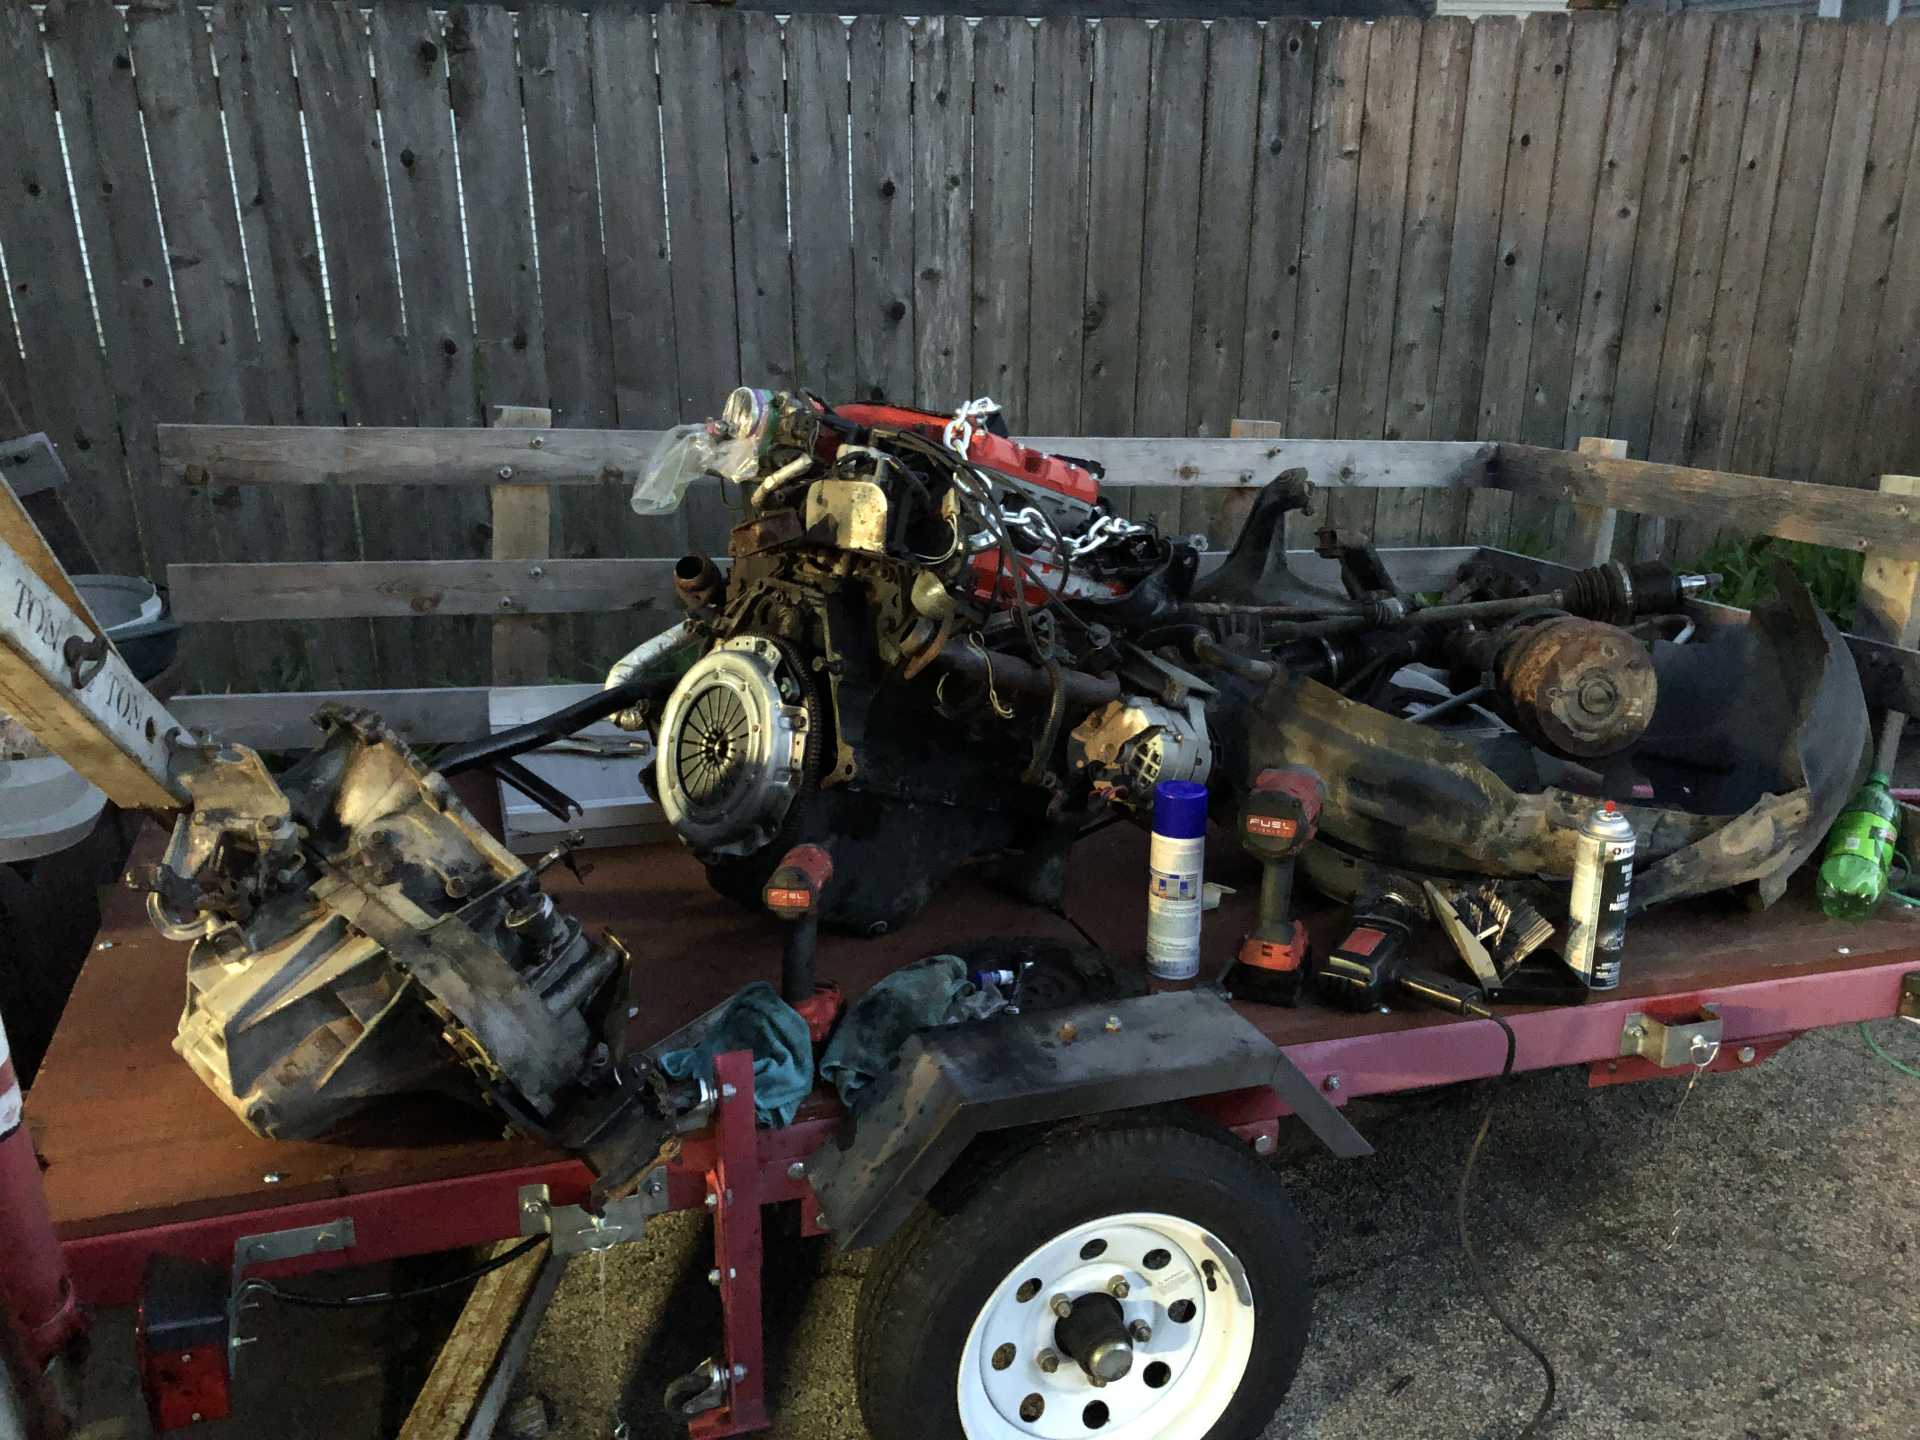
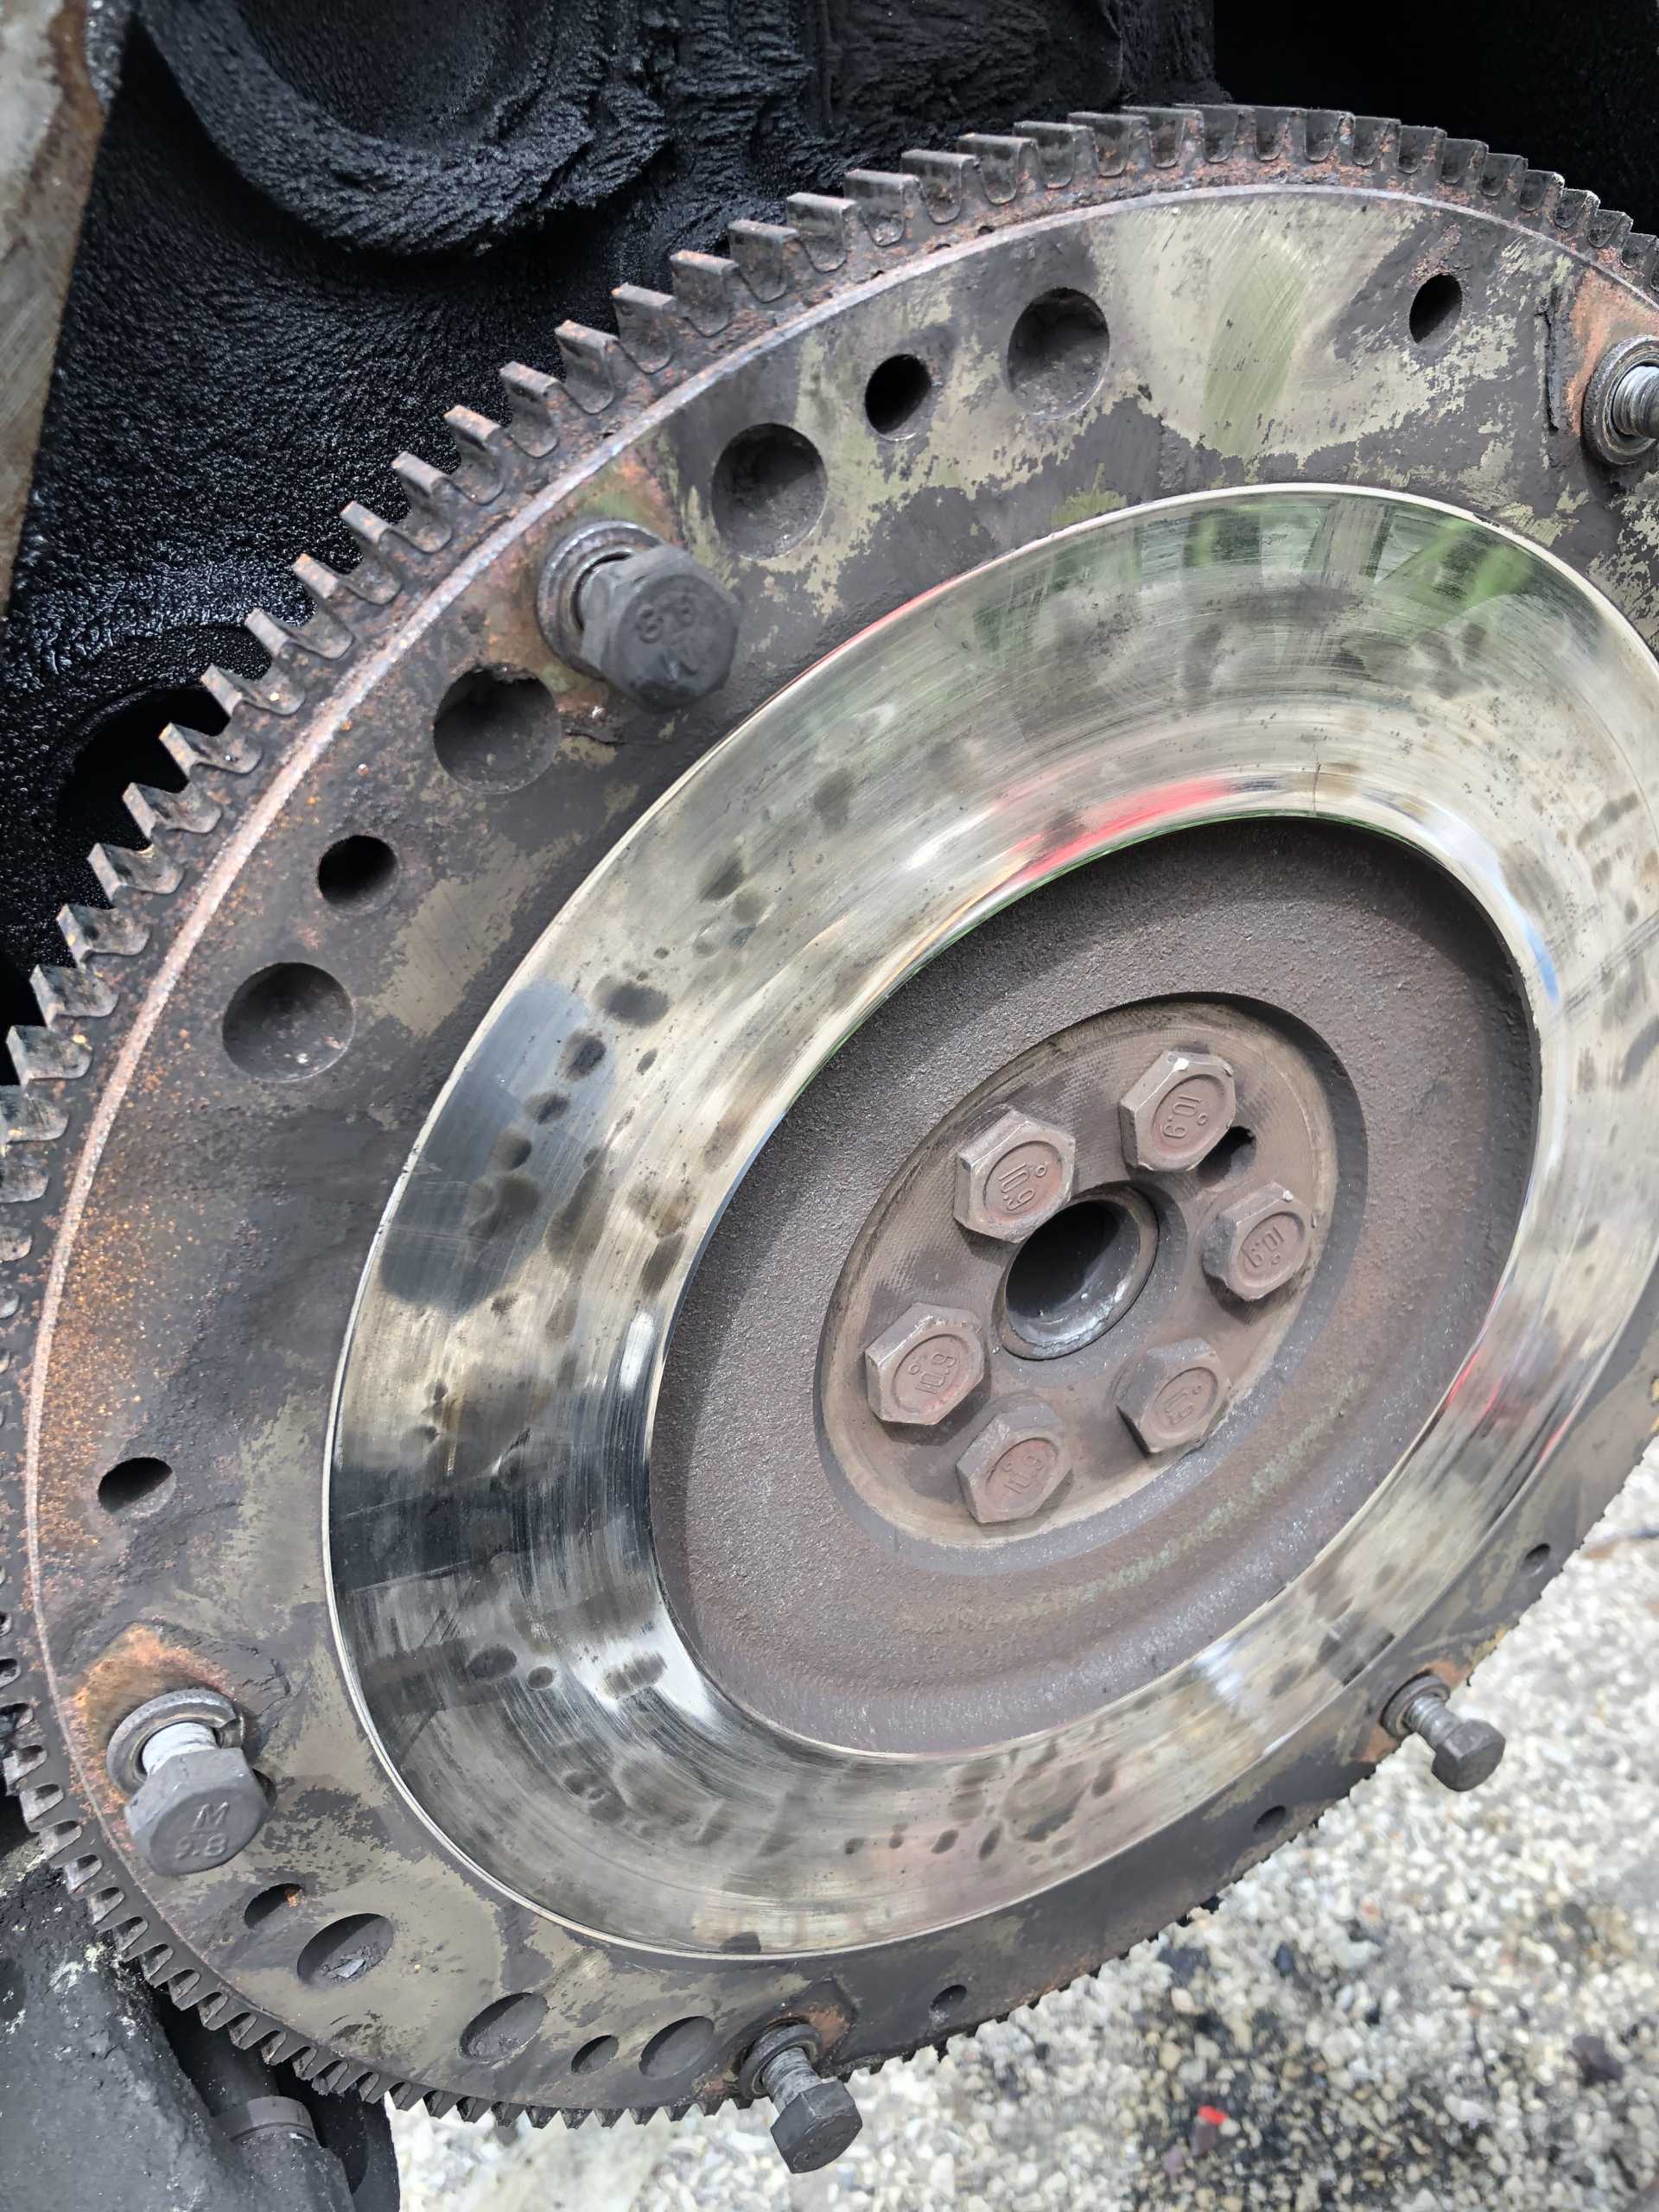
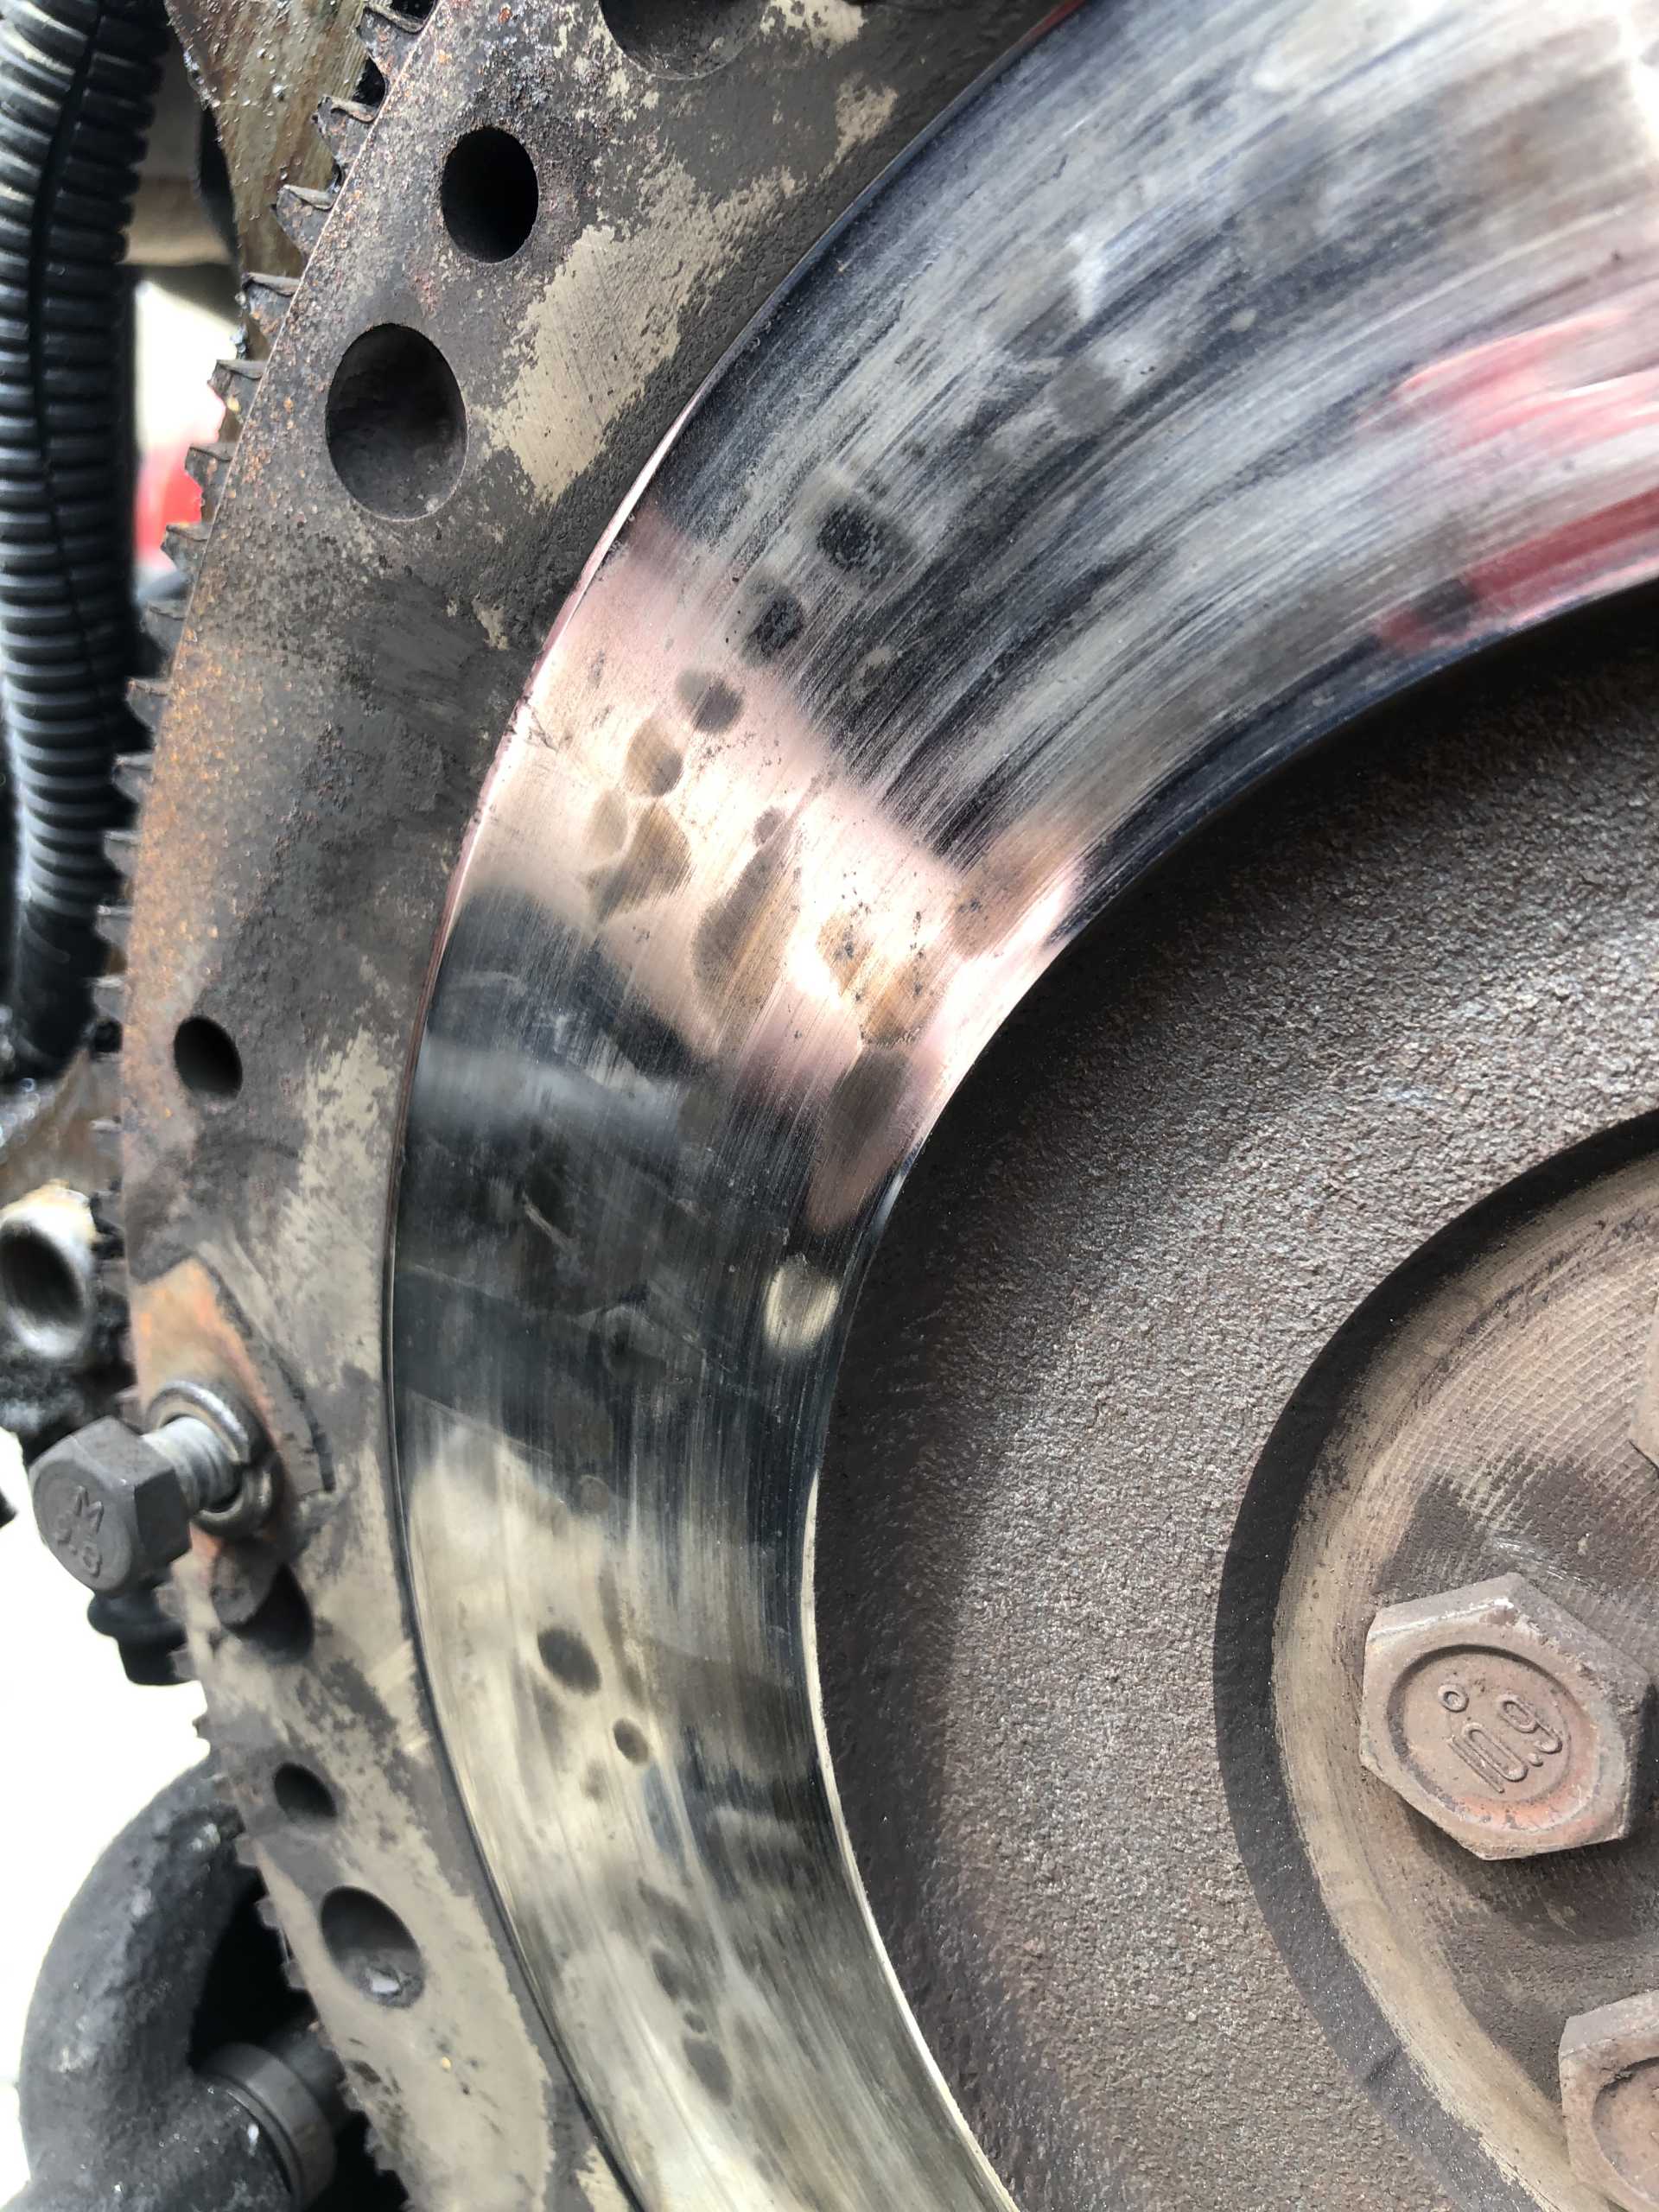
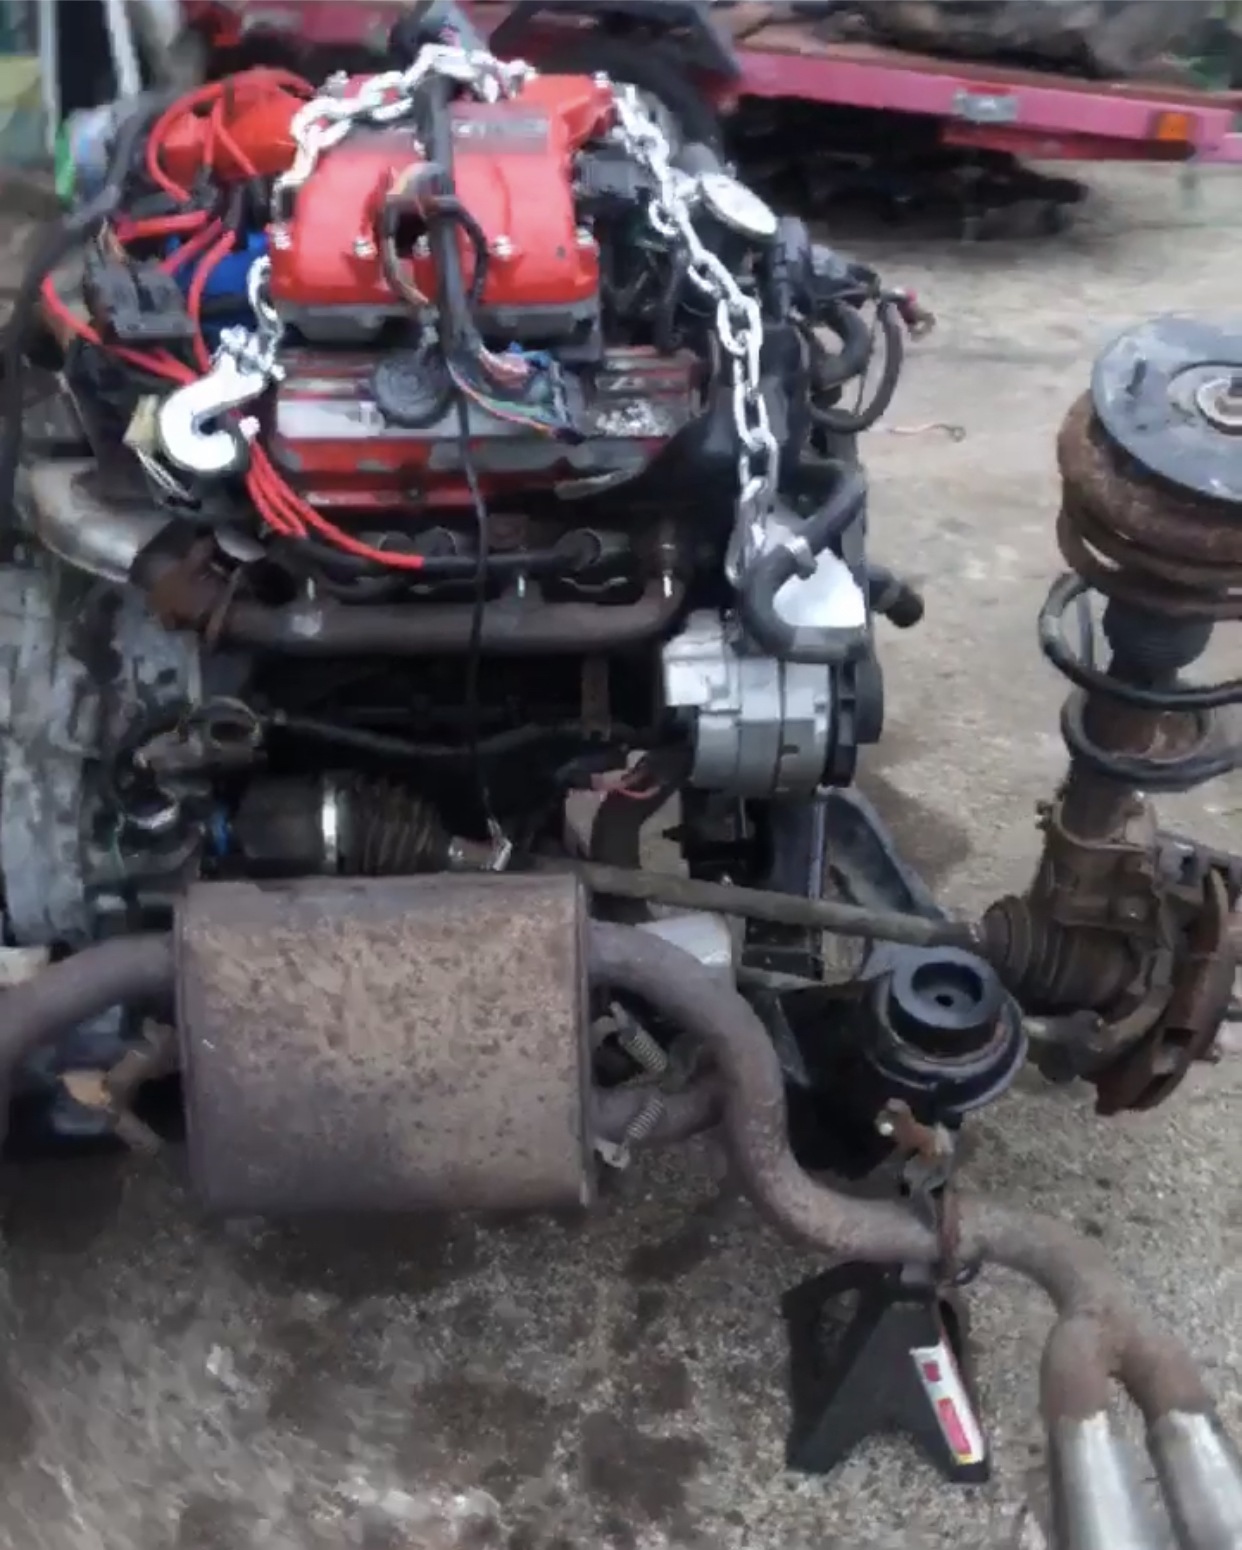
Proceeding the engine reseal, i was finally able to mate the engine and transmission, I kept the factory 4 speed, and used Fiero Rog flywheel and a Spec stage 2+ clutch
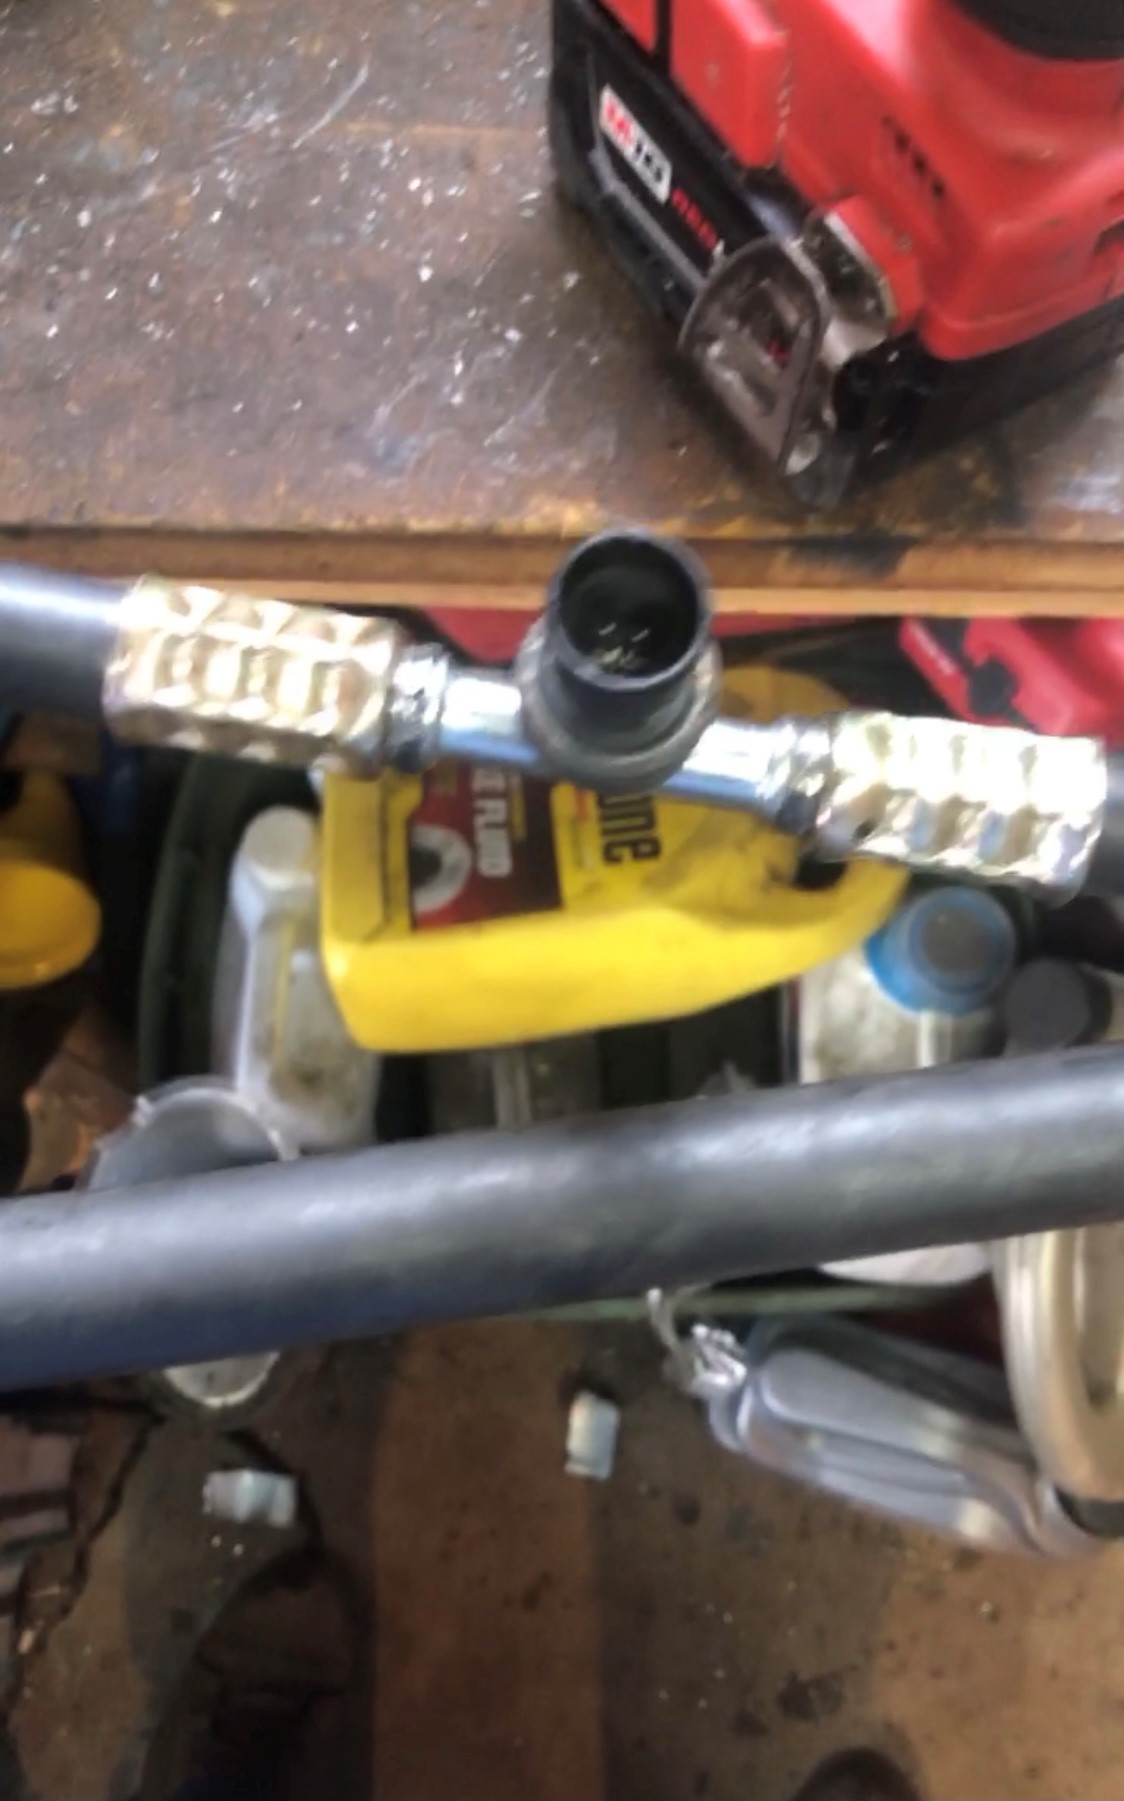
Wanting everything ready for when the engine is installed, I created the A/C lines needed to keep the factory A/C. Cutting off the original Fiero A/C compressor ends, and crimping on the new A/C compressor ends, as well as installing the pressure transducer port in line, ( I know it isn't crimped the "proper way" but it should hold)
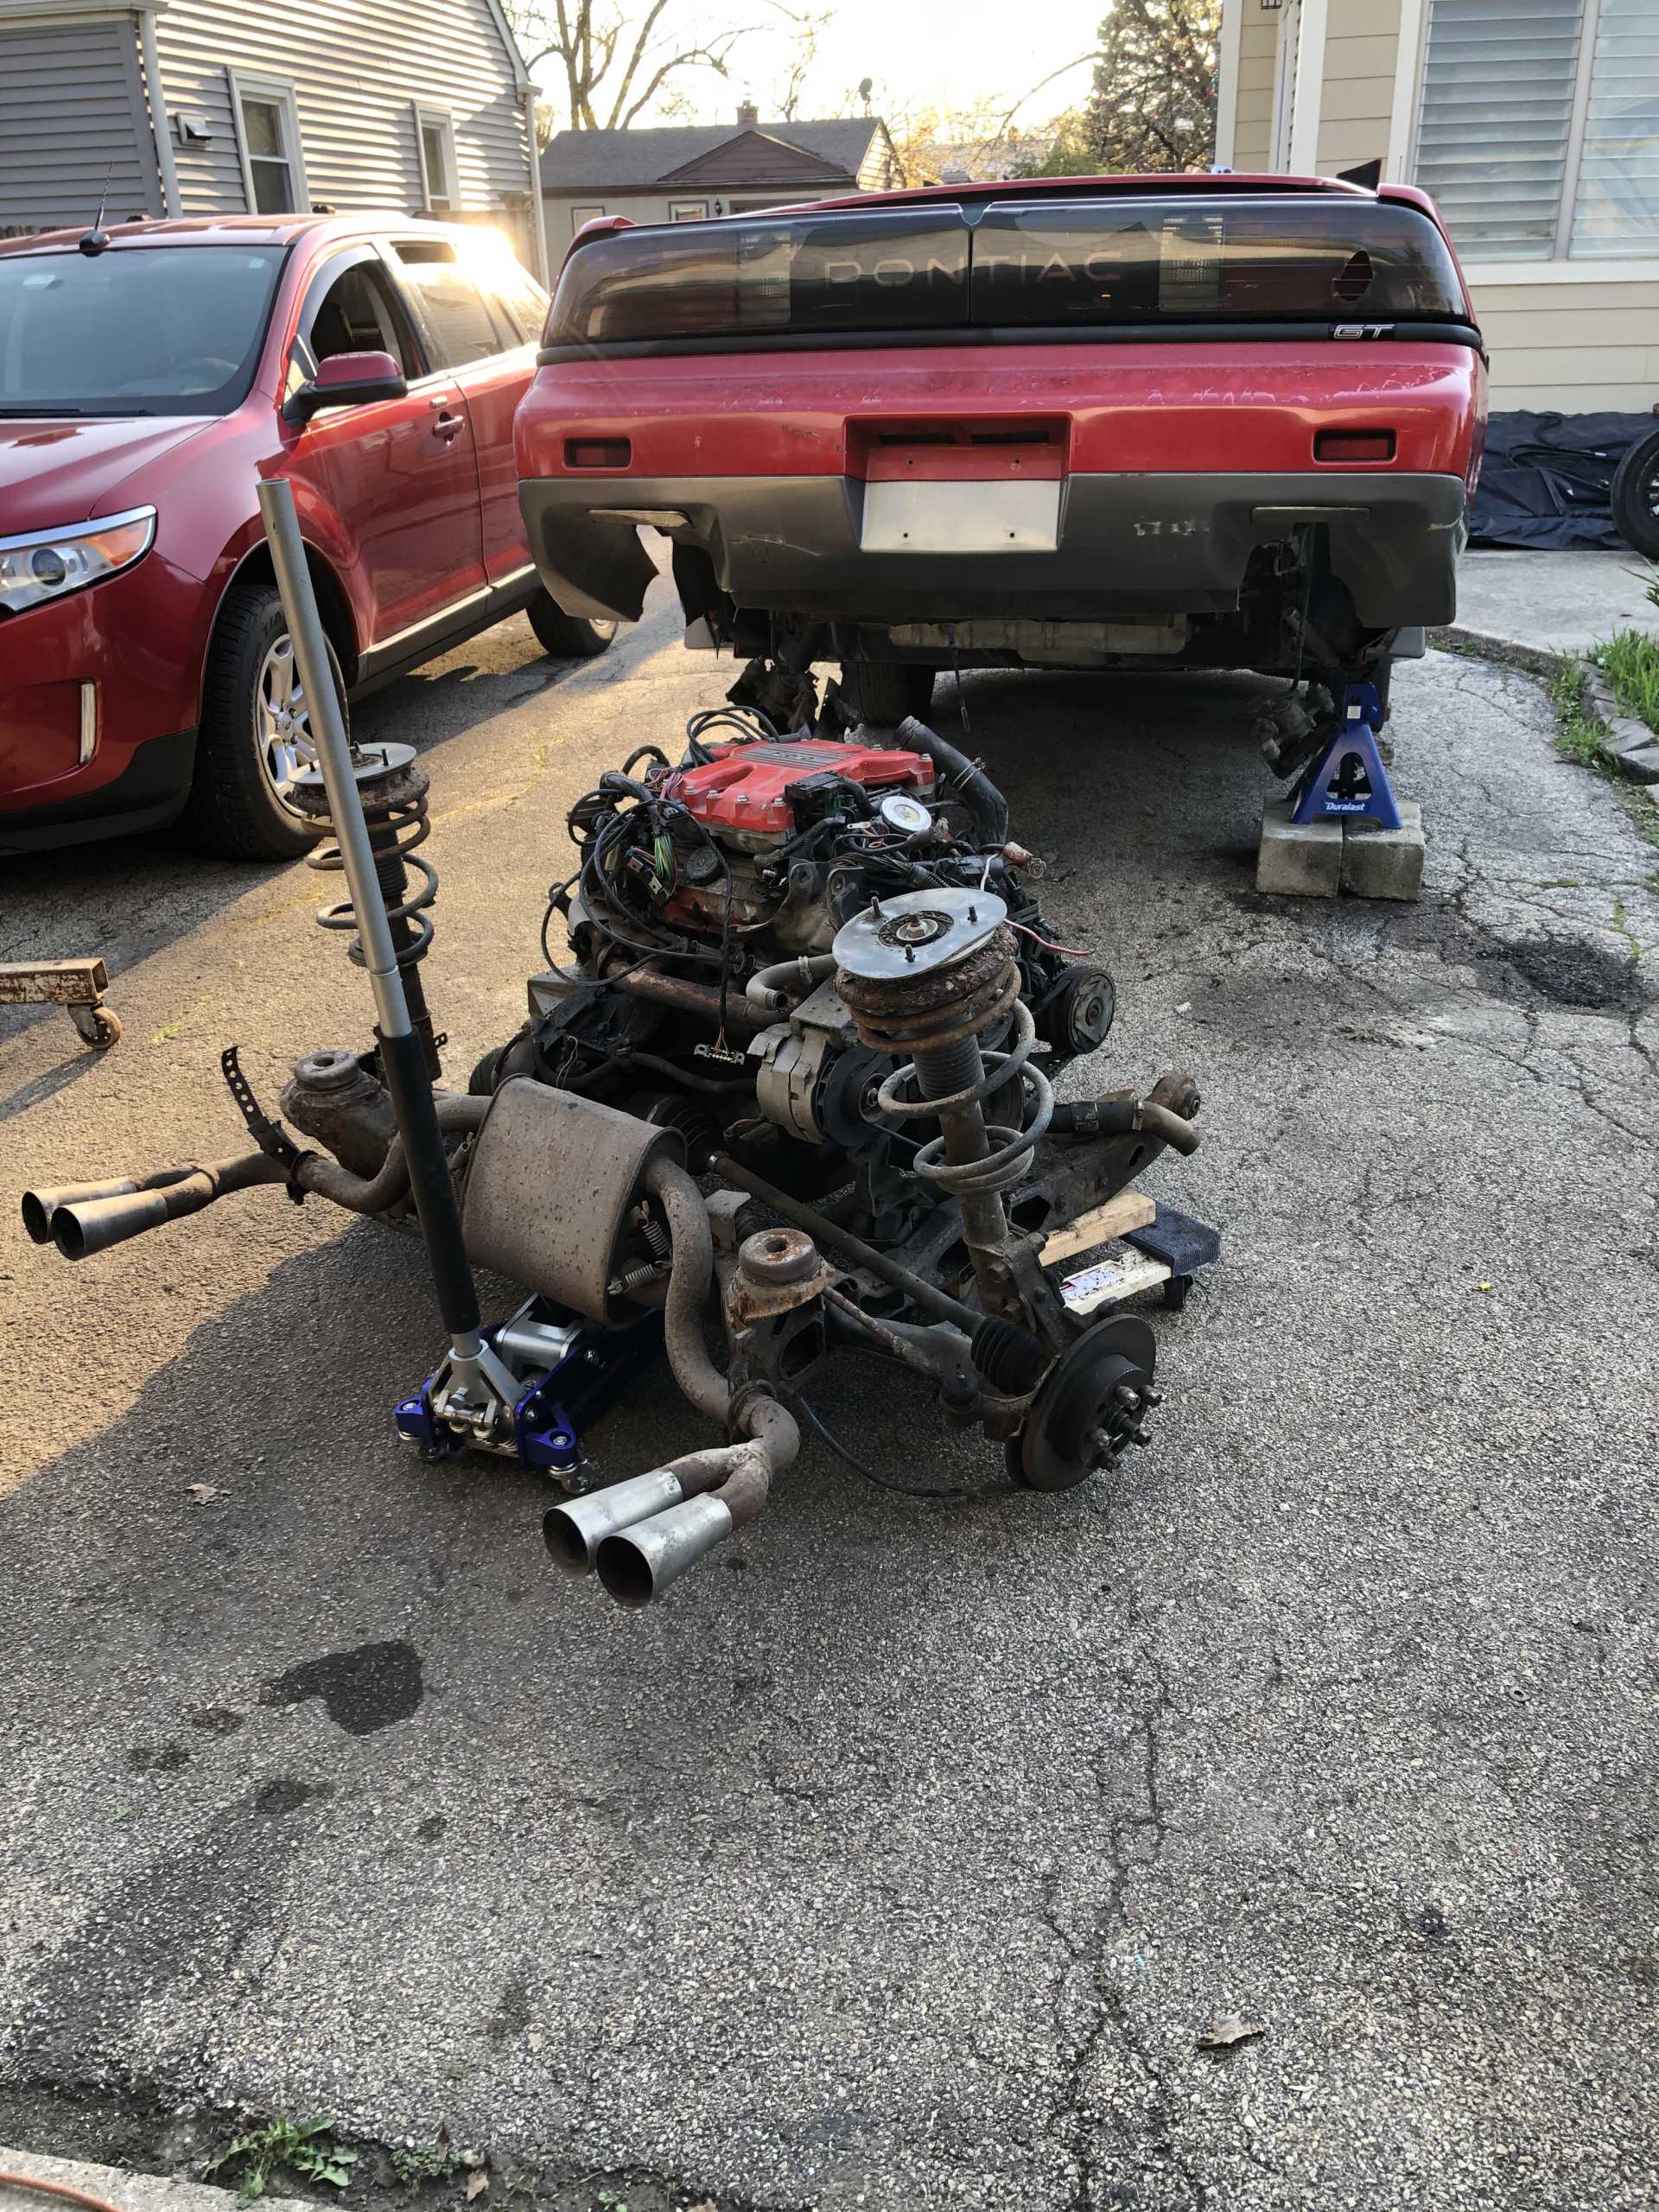
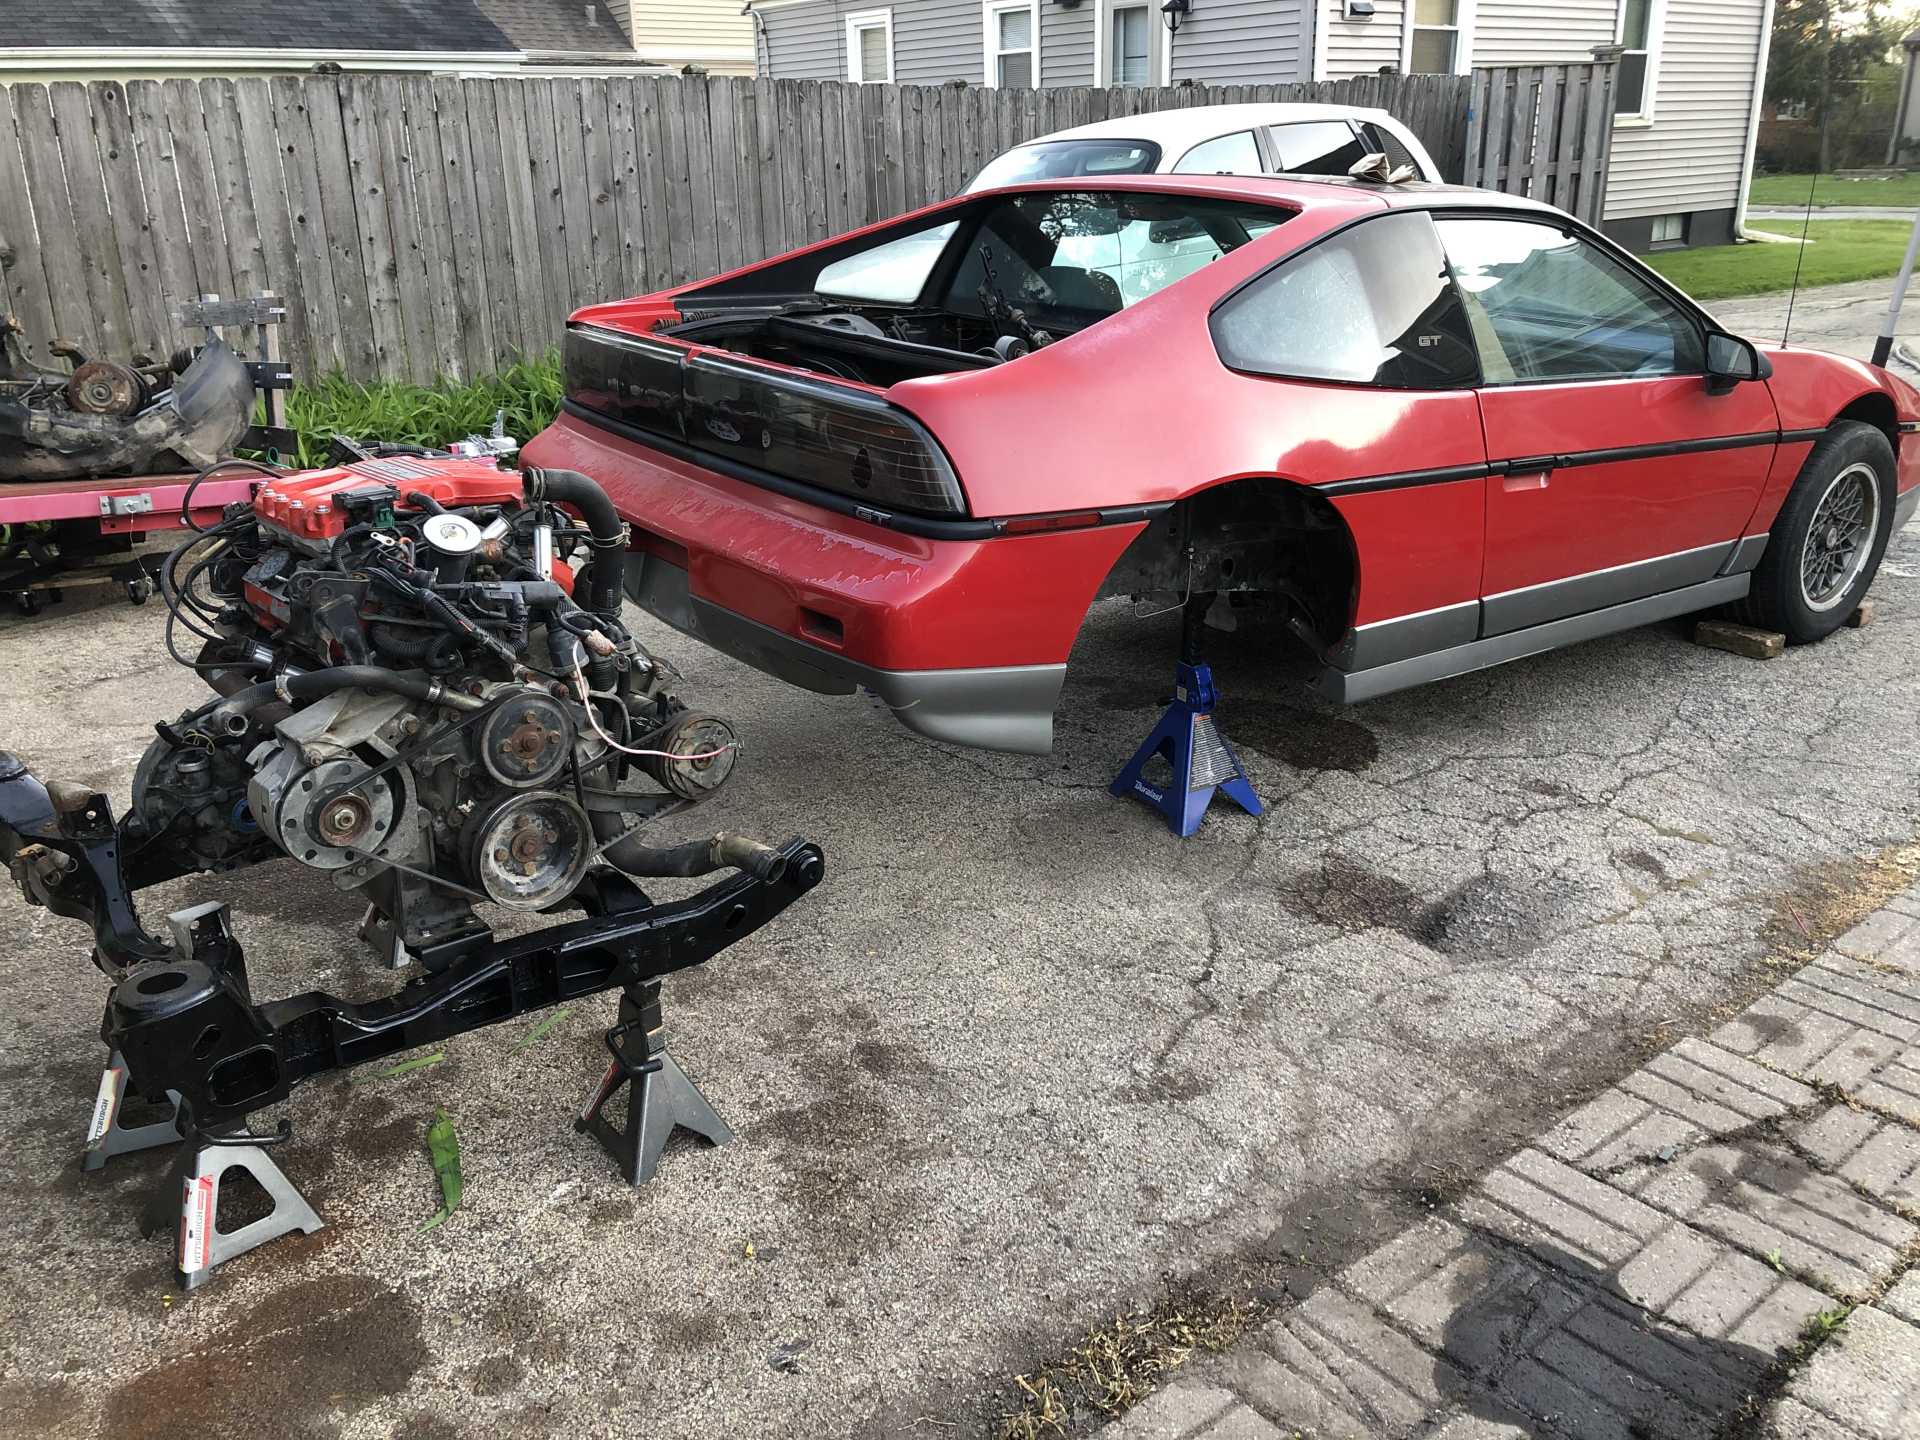
Now onto the fun part. INSTALLATION OF THE ENGINE!!!
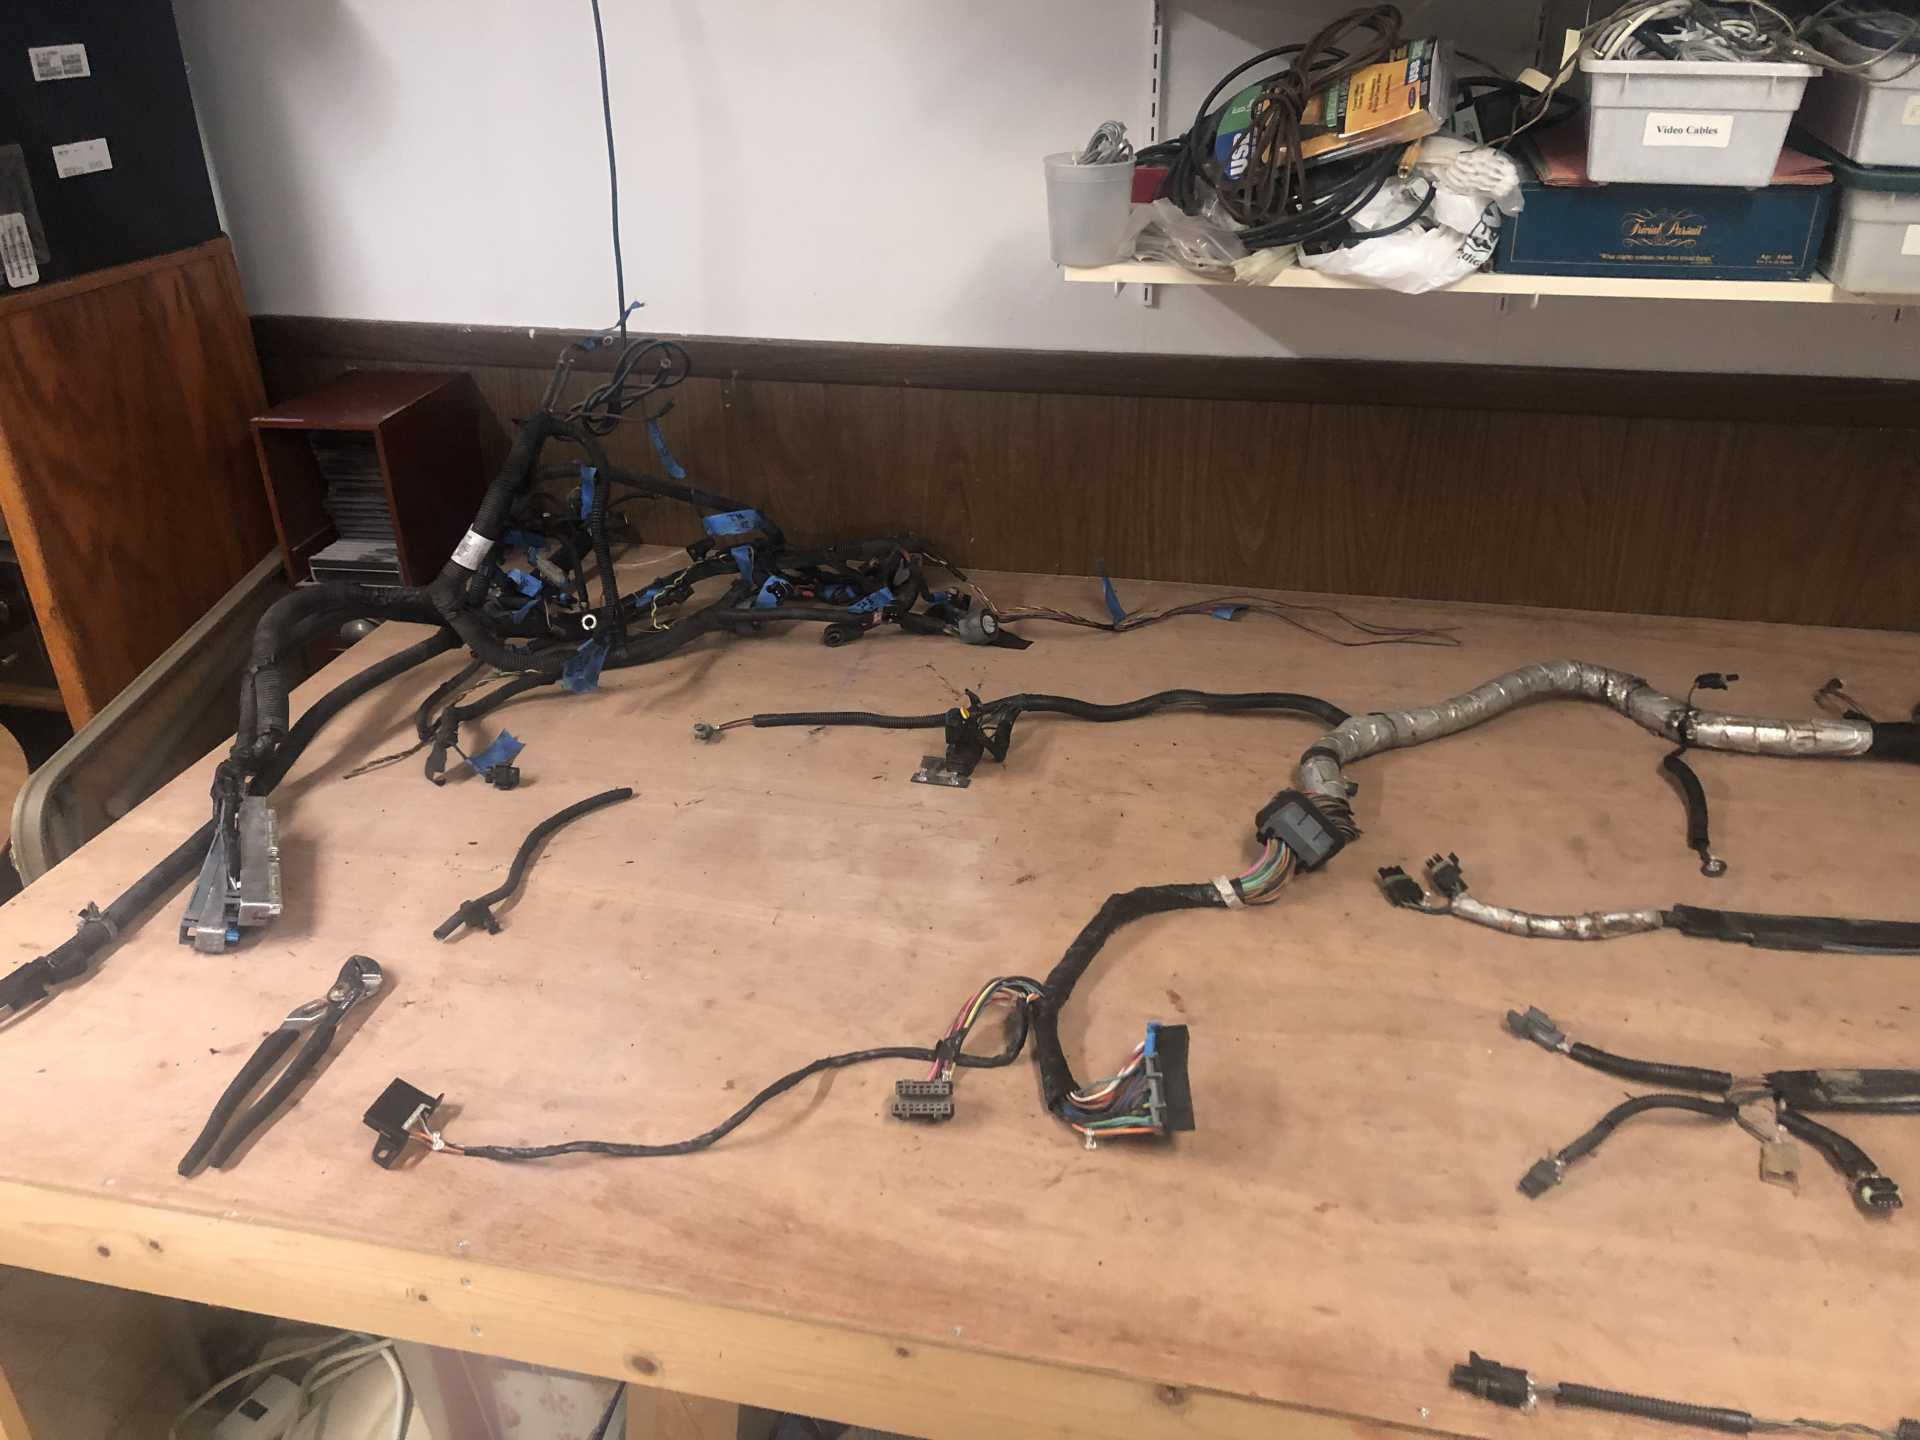
I placed the engine and wiring harness on the cradle and slapped it right in.

No but seriously, it was not that bad to place into the car since I already had the original 2.8 out and in, and back out already, the car was already ready to have everything reinstalled.
For the meantime, I had the ECU not inside the cab, so I can test run it and finalize my wire routing.
For coolant hoses, I used part numbers located on different build threads. also a WCF modified thermostat housing to keep the fill location in the back of the car for ease of bleeding.
For fuel lines, I had a WCF Nylon fuel line kit, but I did not use the supplied 90* quick connect fittings, but used the OEM quick connect fittings from the donor car.
After double, and triple checking everything, it was time to have the first start!
In all honesty, it went way smoother than expected. It literally fired right up with no issues and ran phenomenal. Was able to bring it up to operating temp, watched the cooling fans come on when needed without a hitch. Complete success i would say for a first startup.
Side note: I have not fabricated the exhaust yet, so it was running open header for now.
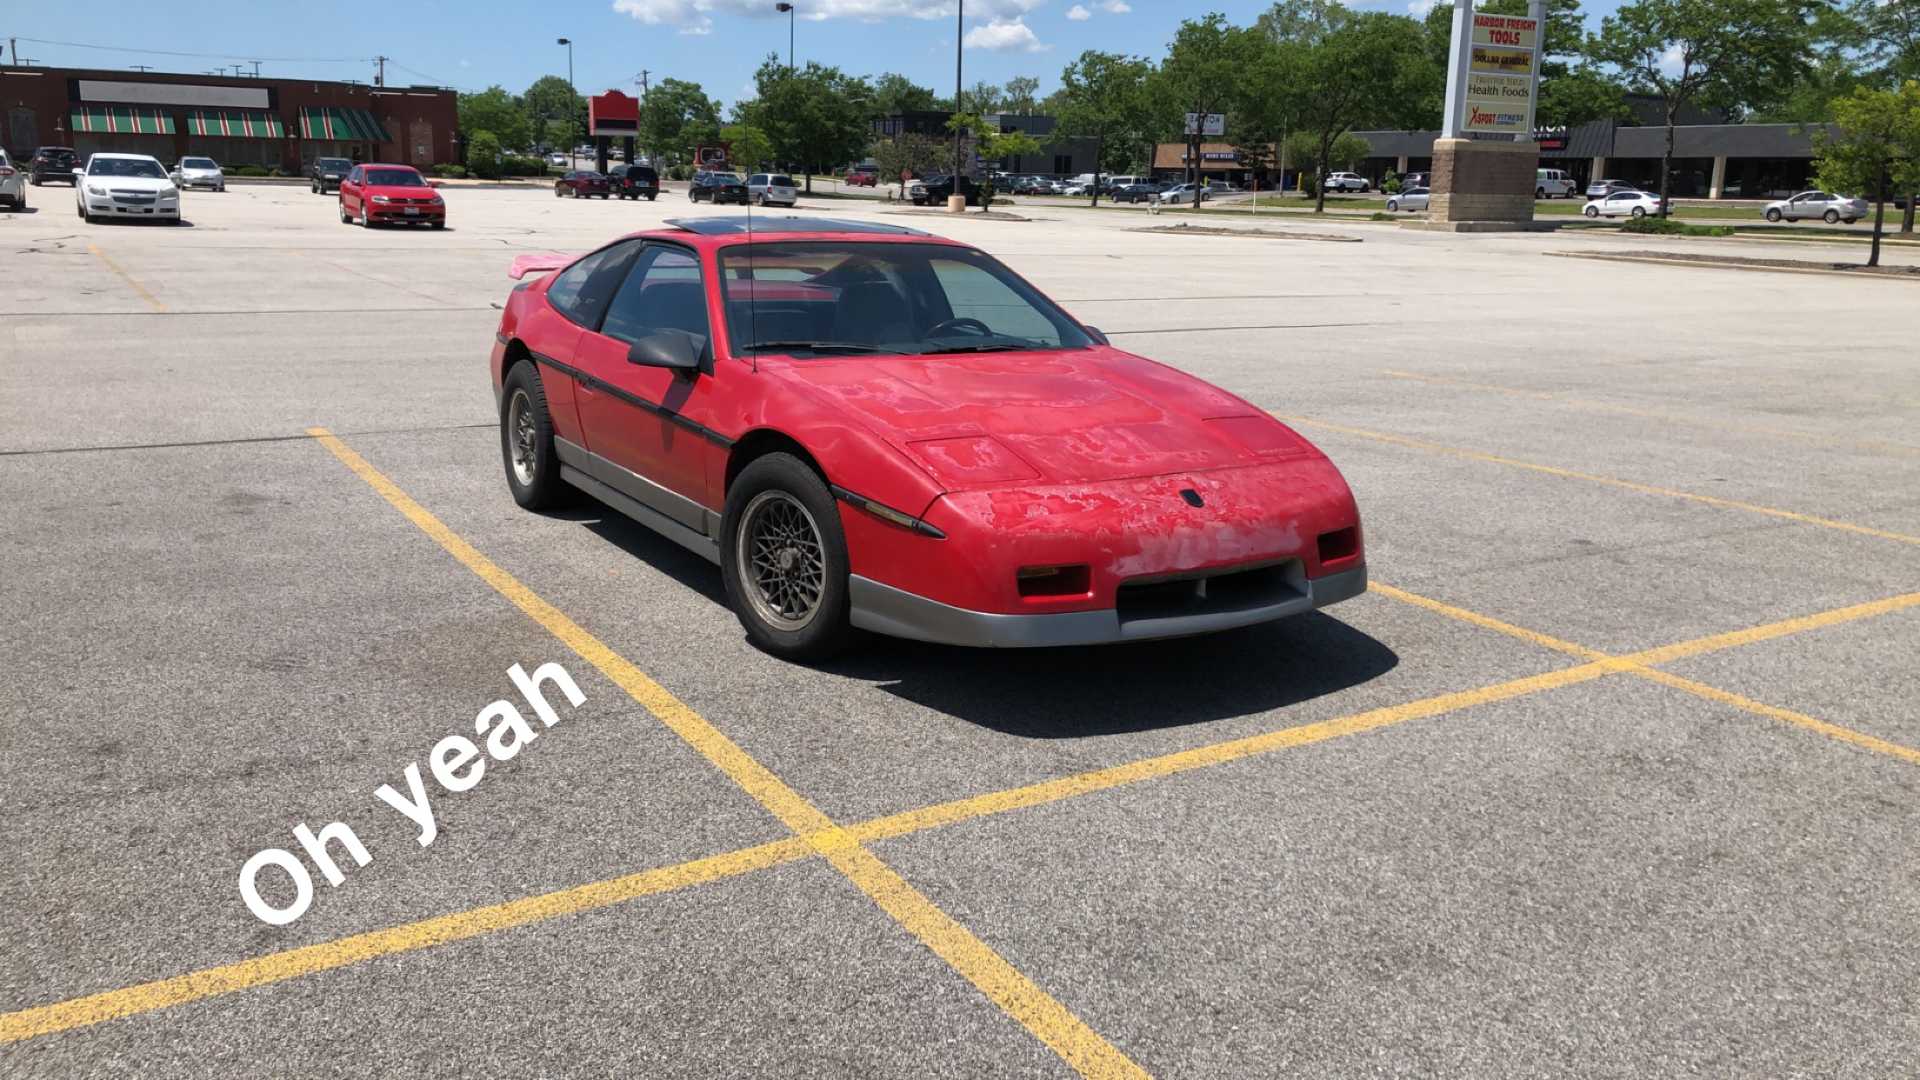
I WAS FREAKING ECSTATIC.
Now i know it was not over yet, its time to find all the little gremlins still lurking around that need to be addressed.
I took it on its first test drive and it died a block away from the house

Turns out I forgot to increase the size of the two fuel injection fuses that was supposed to be done. Oops
Replaced the fuses and proceeded to test drive #2. OH MAN
I knew i was supposed to probably go easy on my first test drive, but I Couldn't help myself so see what kind of power this thing had, and boy i was INSTANTLY hooked.
With the old dry rotted tires, it wouldn't hesitate to break loose the tires in first. instant tire BBQ, and the S/C whine with it just made me giggle like a little girl.
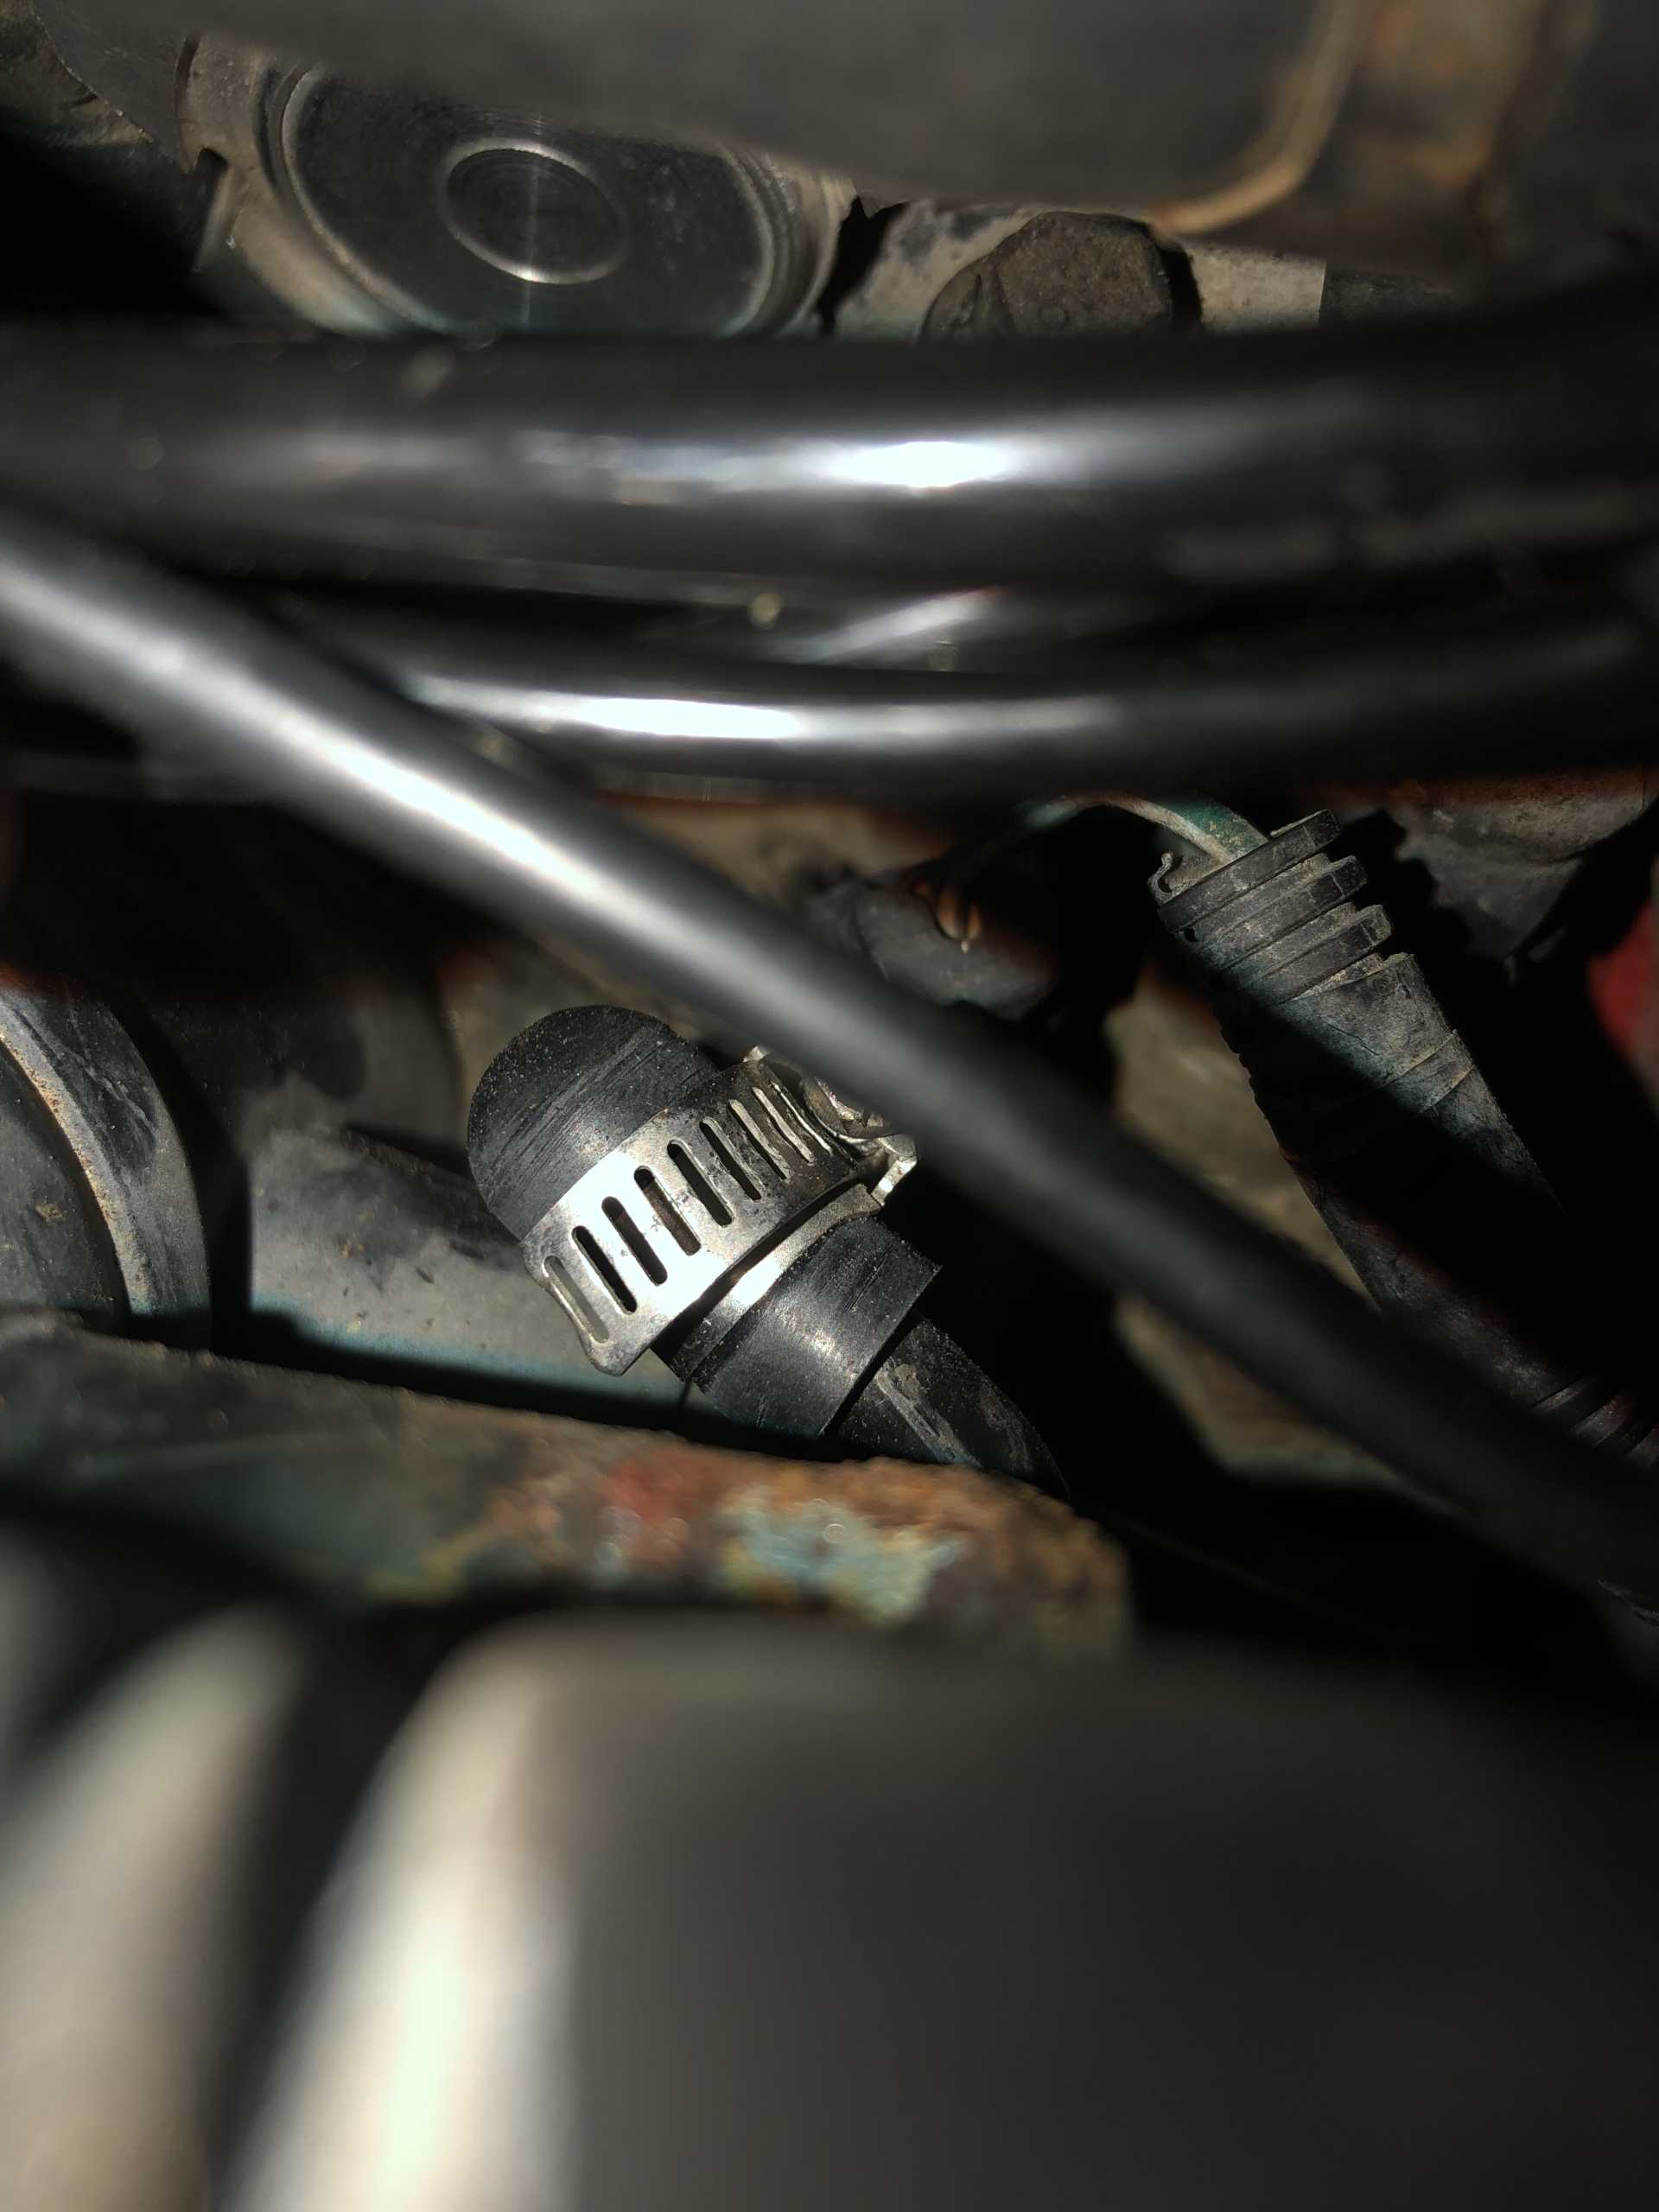
After a few other test drives, I started for find a few more gremlins. mainly coolant leaks. One at the fitting I tapped into the LIM)
the other was from the modified thermostat housing. at temp, and if i gave it WOT, it would puke coolant out of the thermostat cap. One time right in front of my friend's house, waterproofing the road.
Found out once the thermostat housing ages/rusts, it gets weak, and the retaining tabs for the cap bend, once i found that out and looked closely, i saw the whole top of the housing looking like an oval instead of circular. I ended up putting the origional thermostat housing off the 3800 back on.
How I bleed the cooling system now, is I lift the right front of the car as high as possible, to bring the radiator cap up front to the highest point in the cooling system, then crack the bleeder on top of the thermostat housing till all the air is out there and let it run at operating temp for a while, constantly topping off the radiator.
The LIM leak will be taken care of later.
Exhaust is now a crucial part needed now. I went ahead and ordered some tight radius 90* 3" piping, a 1-2 muffler from Summit, and a exhaust flange from ZZP. Then went on to practice my welding
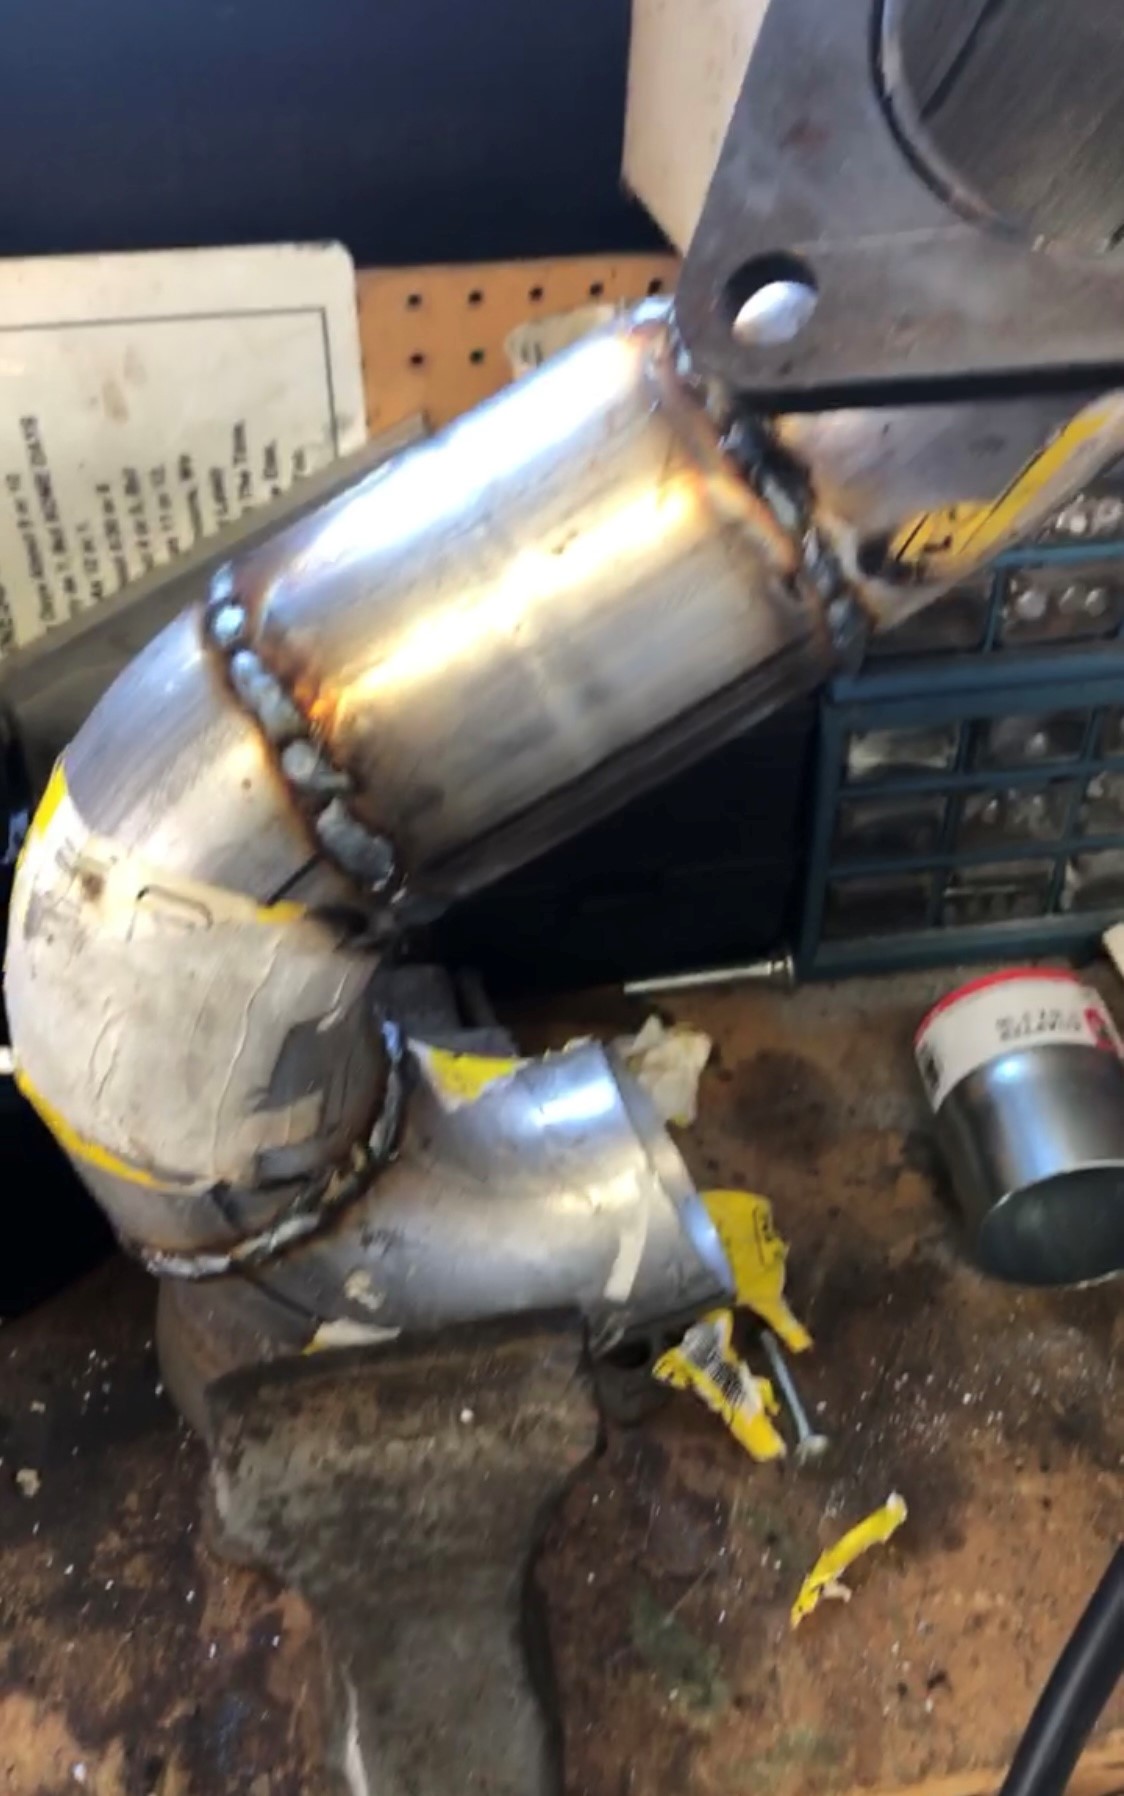
The setup came out alright, but I ended up re-engineering a different setup later.
Once that was complete, it was off to the new home. since I ended up moving in the middle of all this. Guess what, another gremlin showed up on the way to the new place, a still inaccurate fuel gauge. Ran out of fuel not even a mile away from the old house while it showed a half tank. But made it none the less.

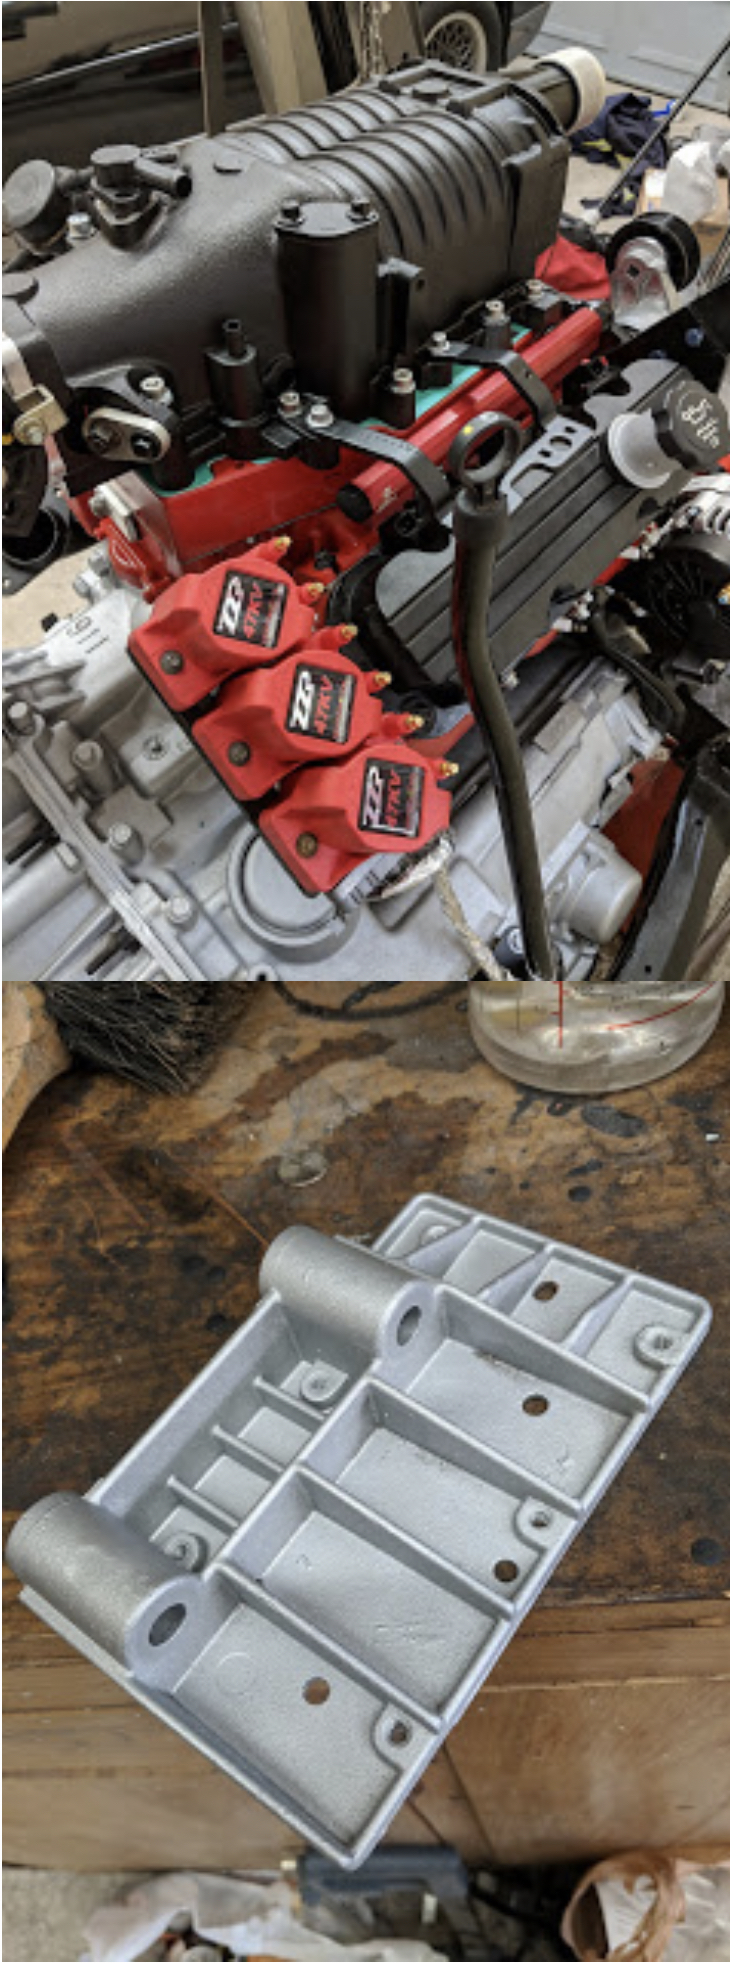
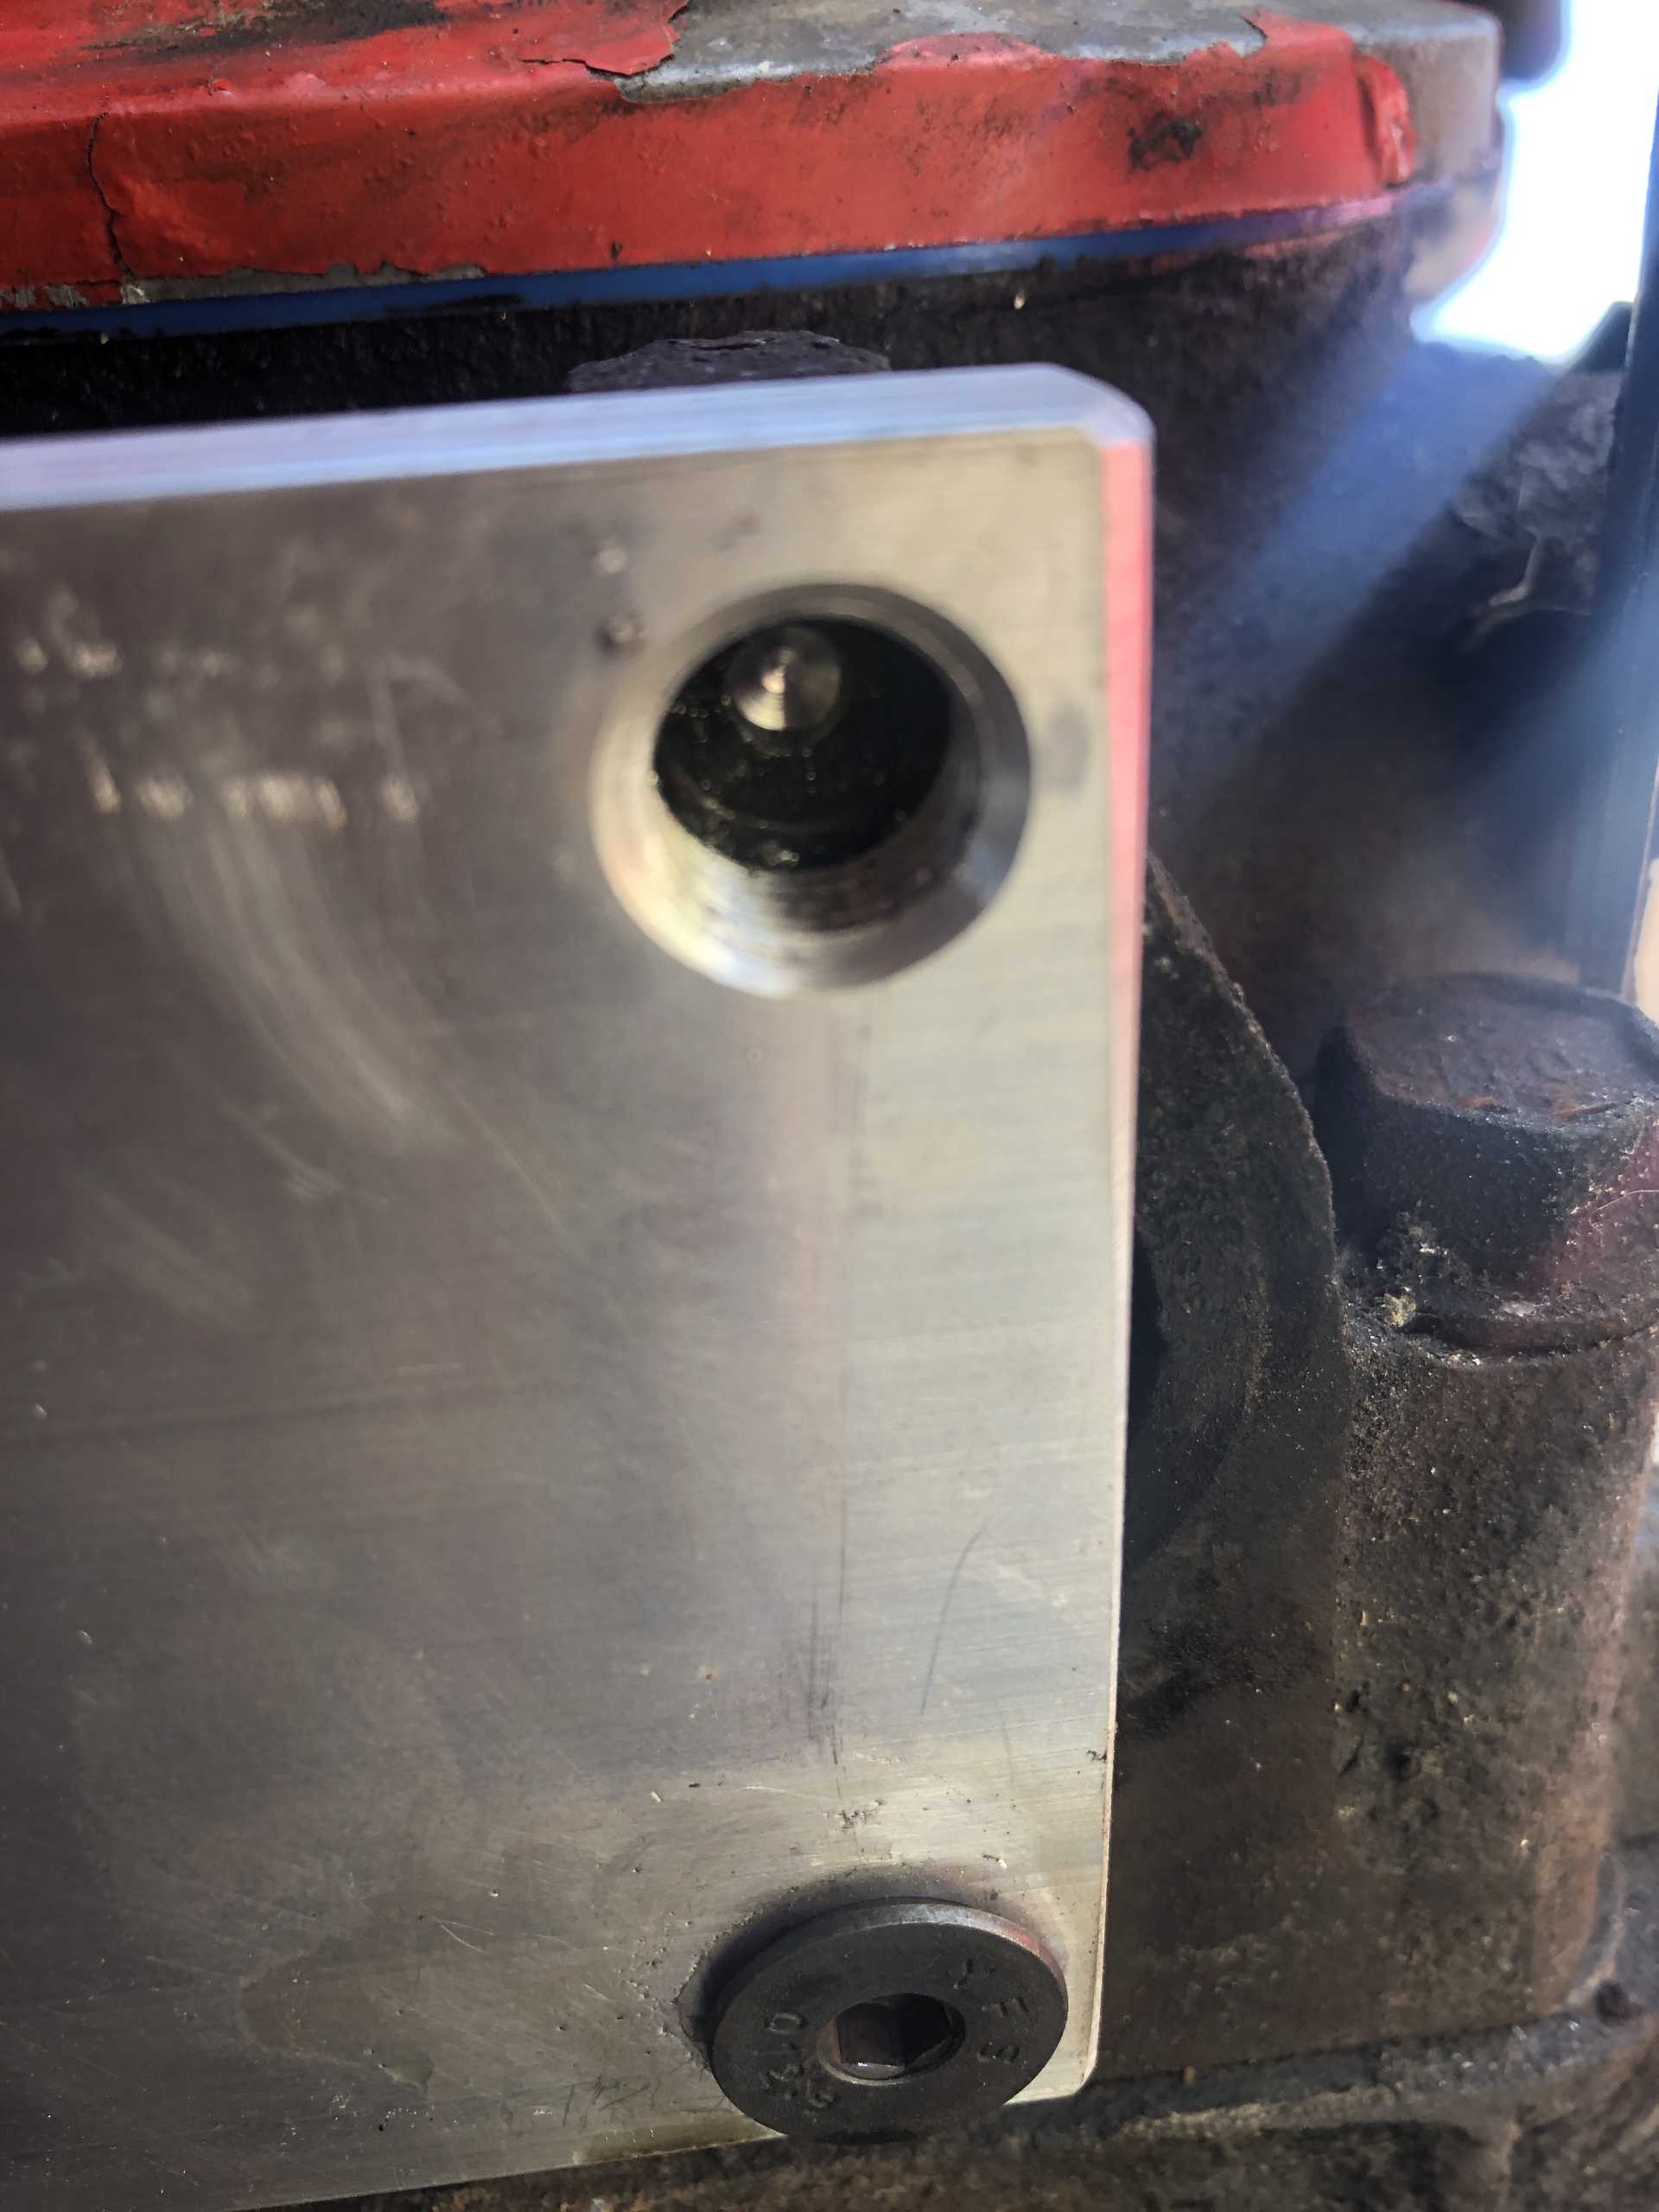
Now to fix all of the little things. First and foremost that LIM coolant leak. Upon further inspection, I found that the LIM was cracked at the hole I tapped threads for the coolant hose elbow, this was because i tried running the tap in without drilling the hole to the proper size previously, which was my mistake I forgot that part. Luckily for me I still had the Gen 3 LIM. Reading up I found the Gen 3 LIM can work with the Gen 5 Blower with a few modifications. I cut the opening of the manifold to the proper size, Tapped the two coolant passages to the Throttle body and plugged them, then properly drilled out the coolant passage for the heater hose fitting and tapped.
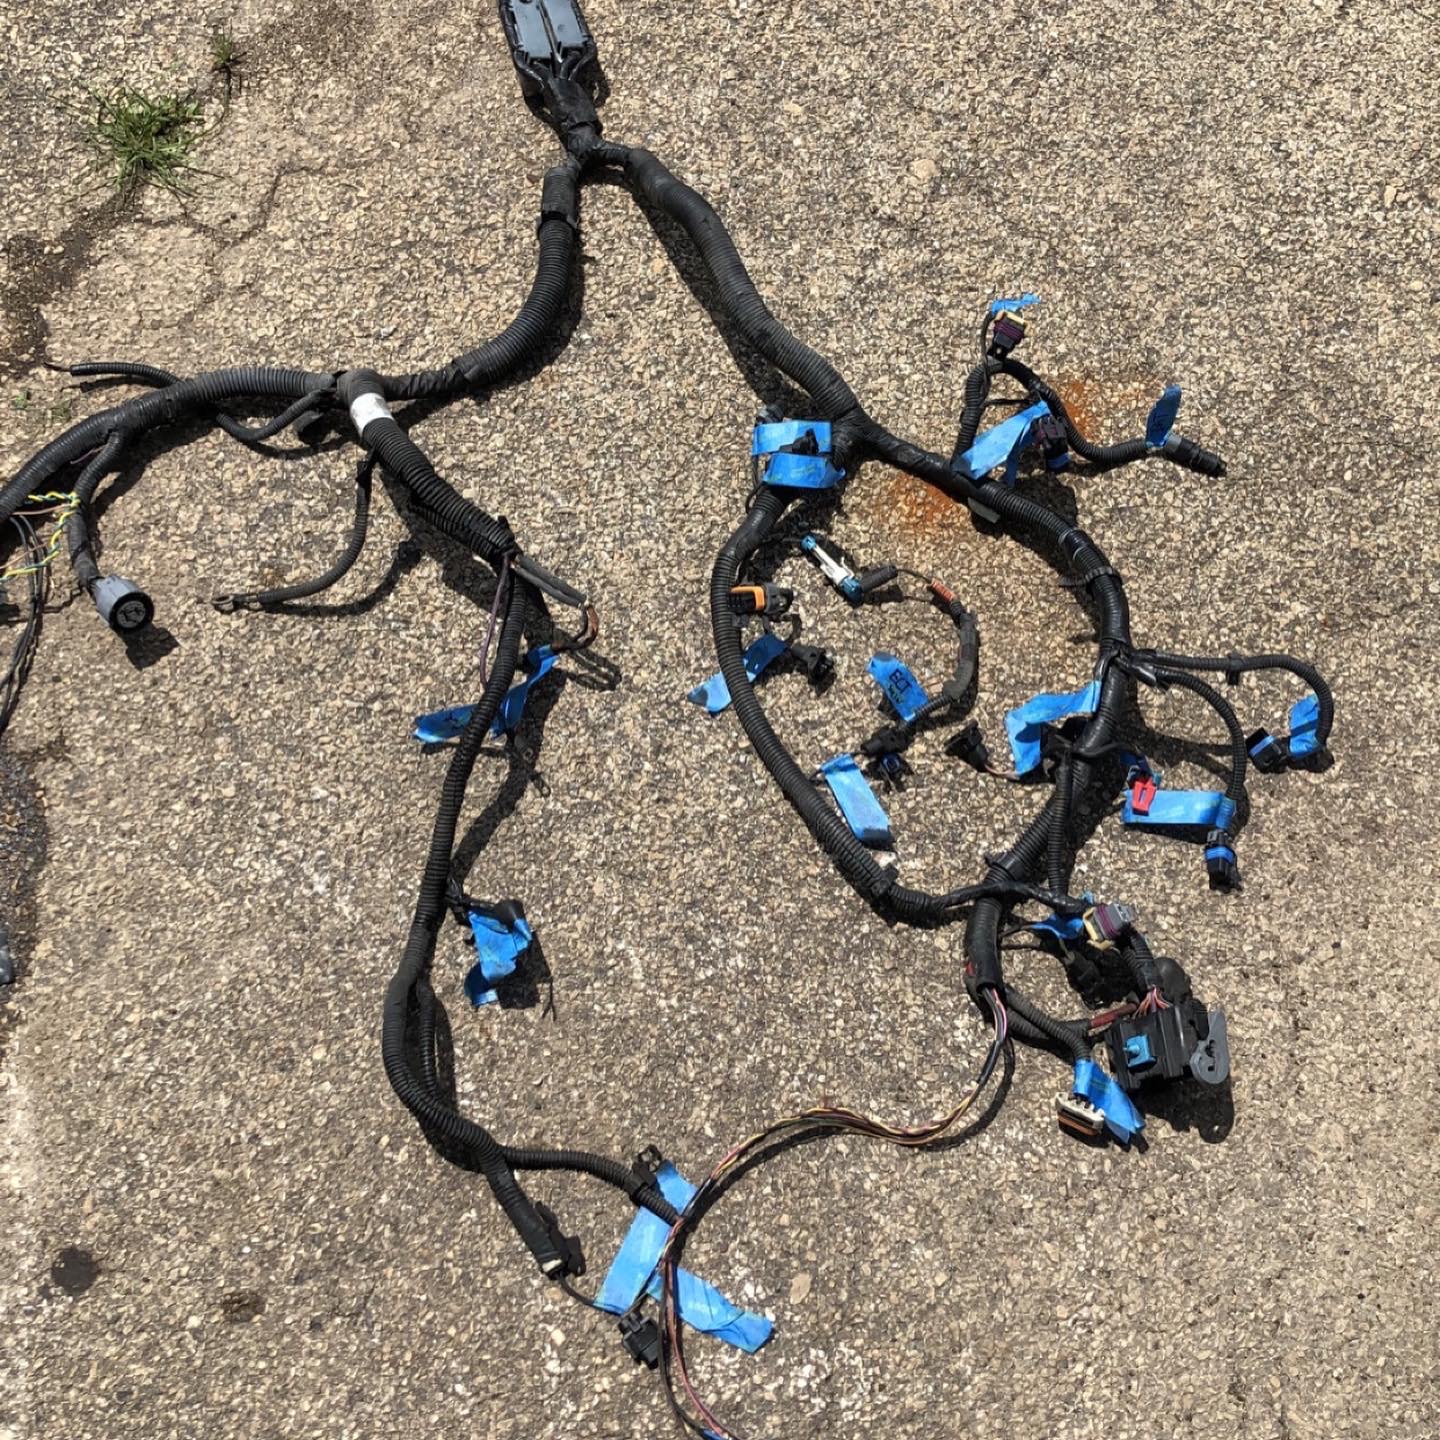
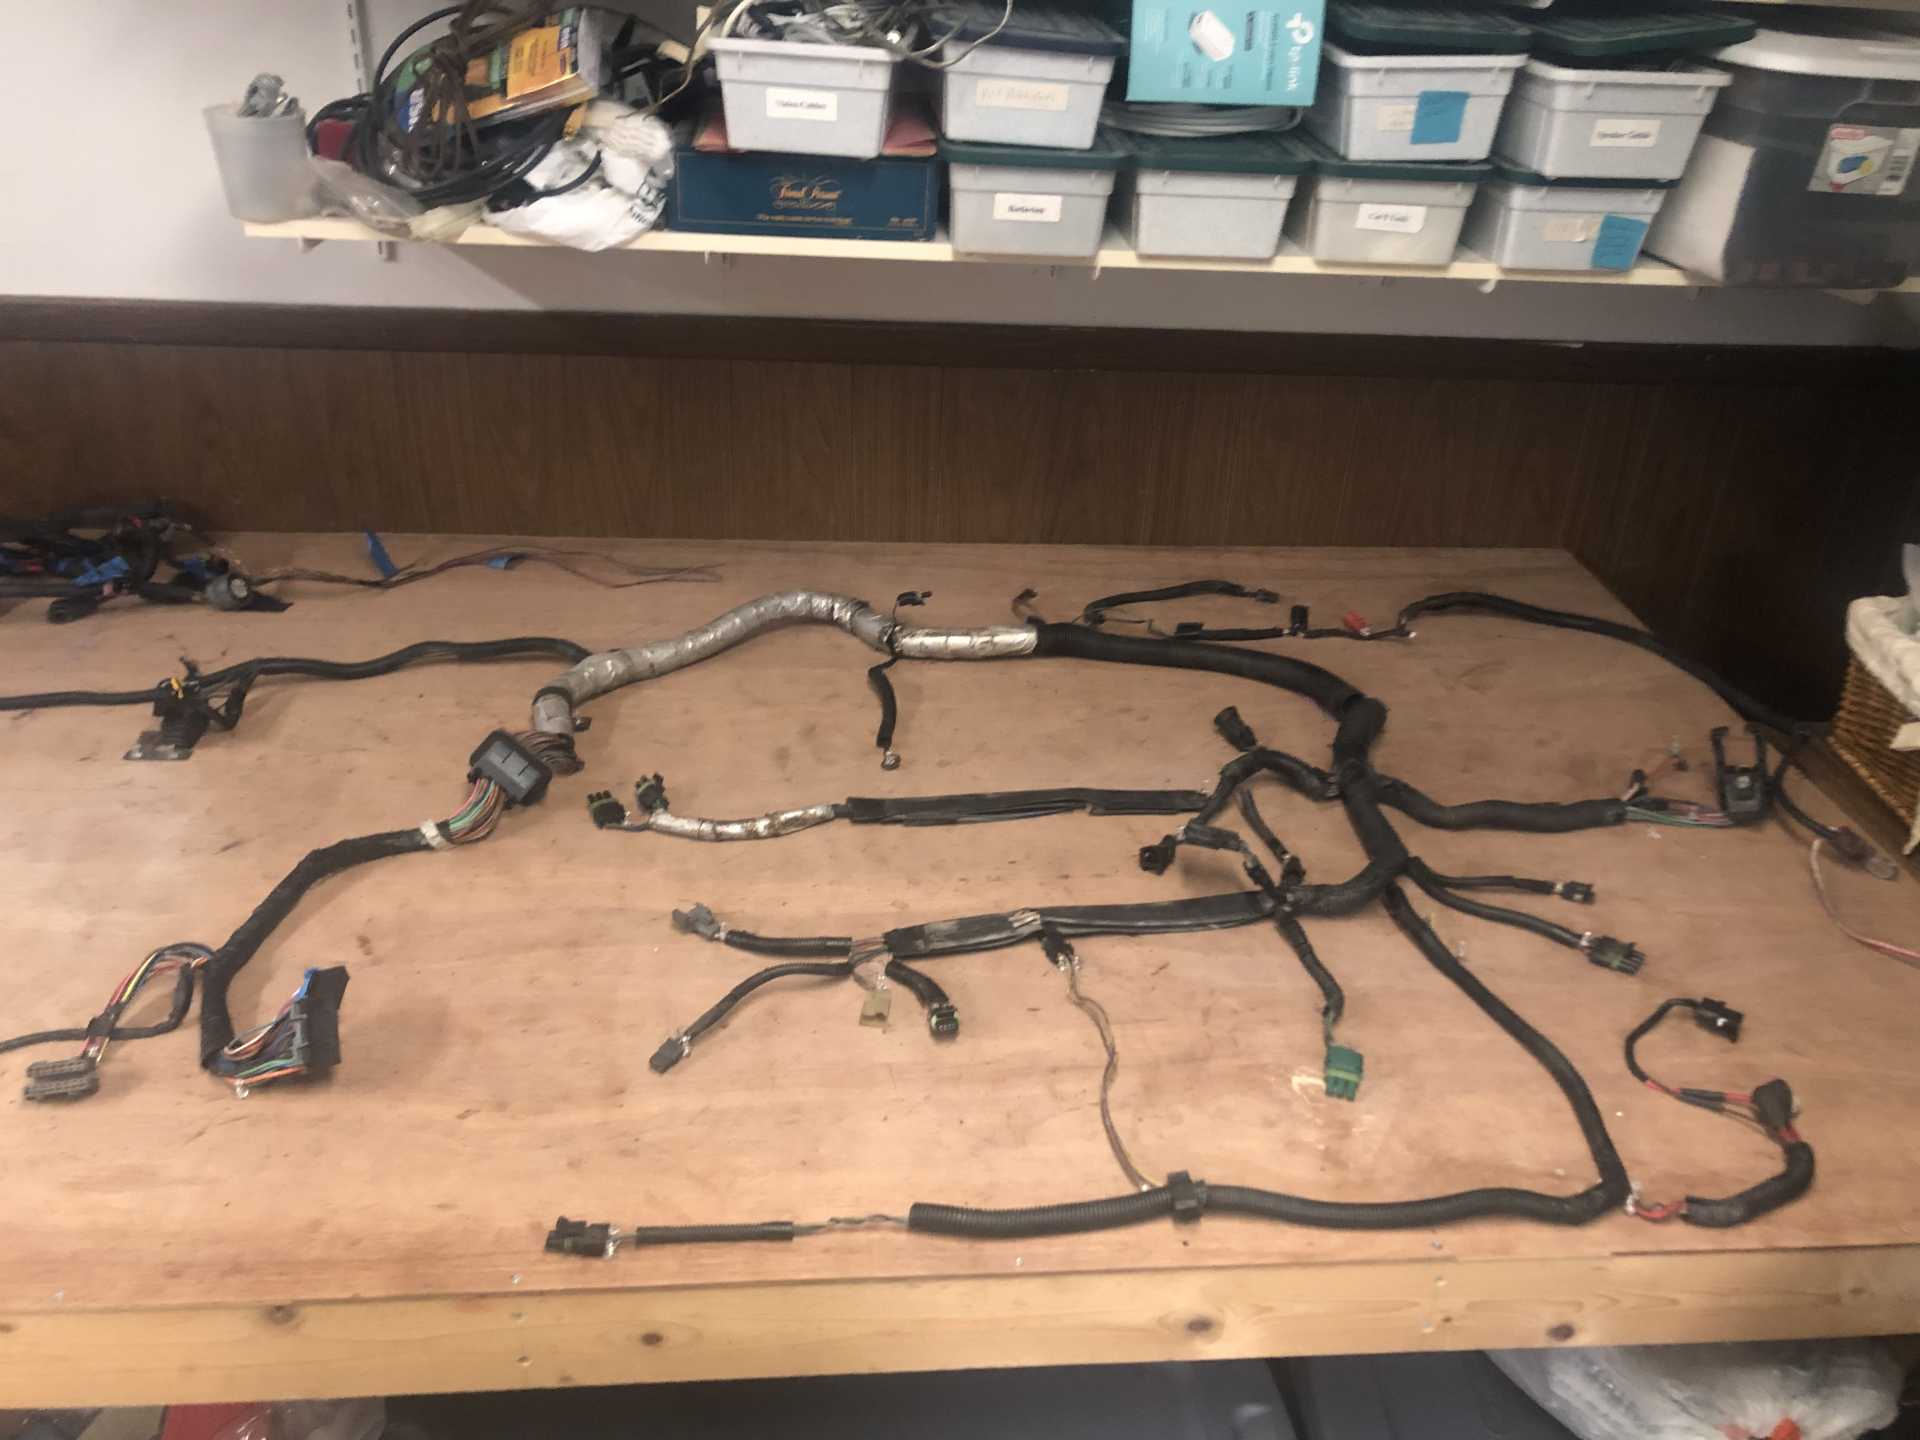
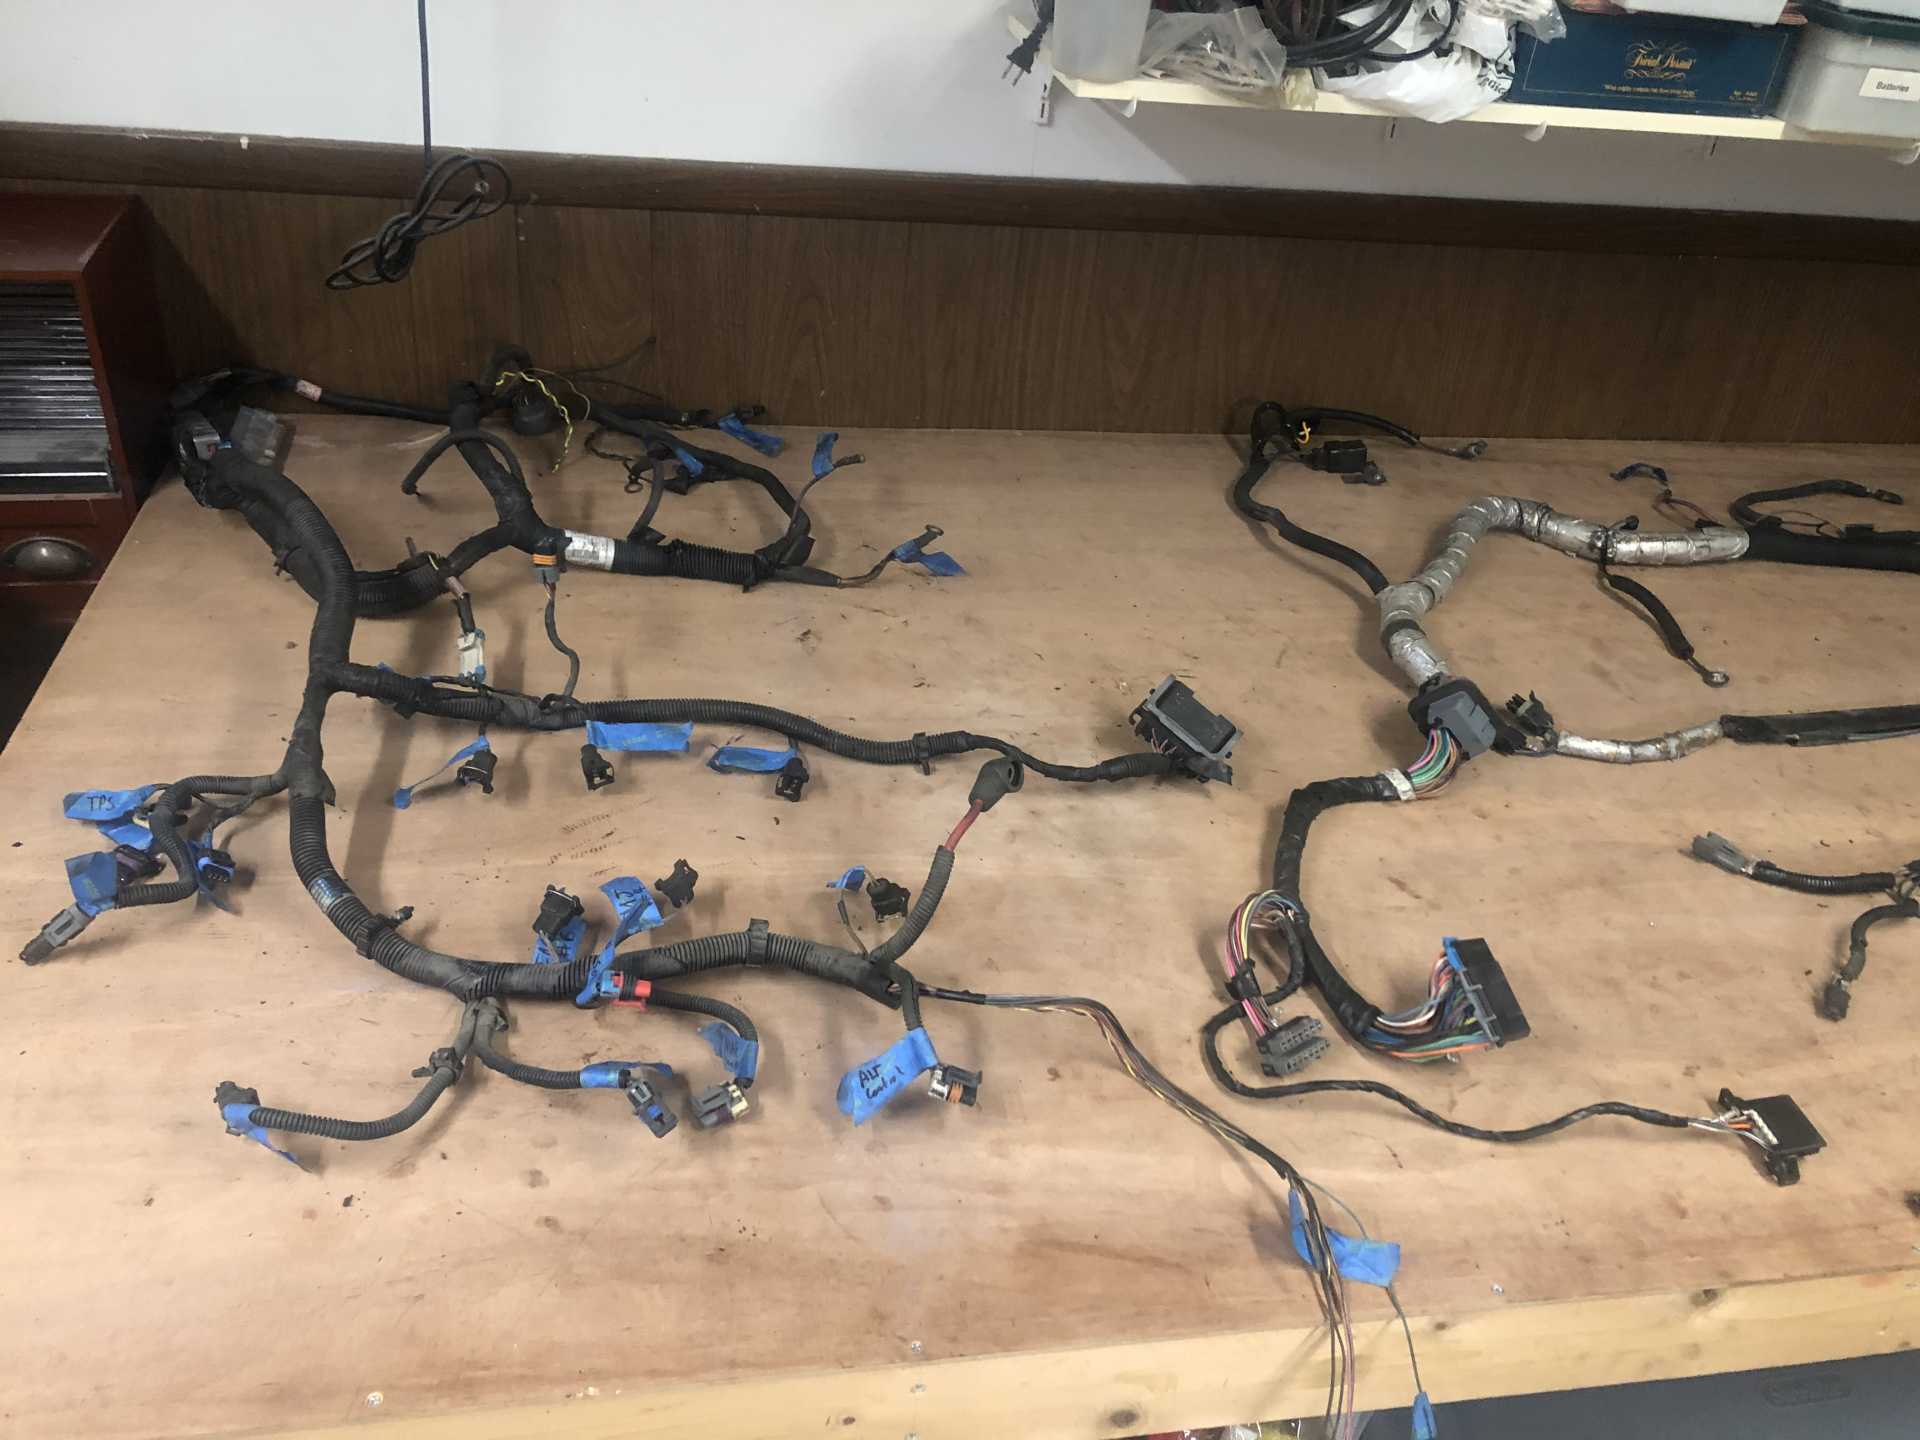
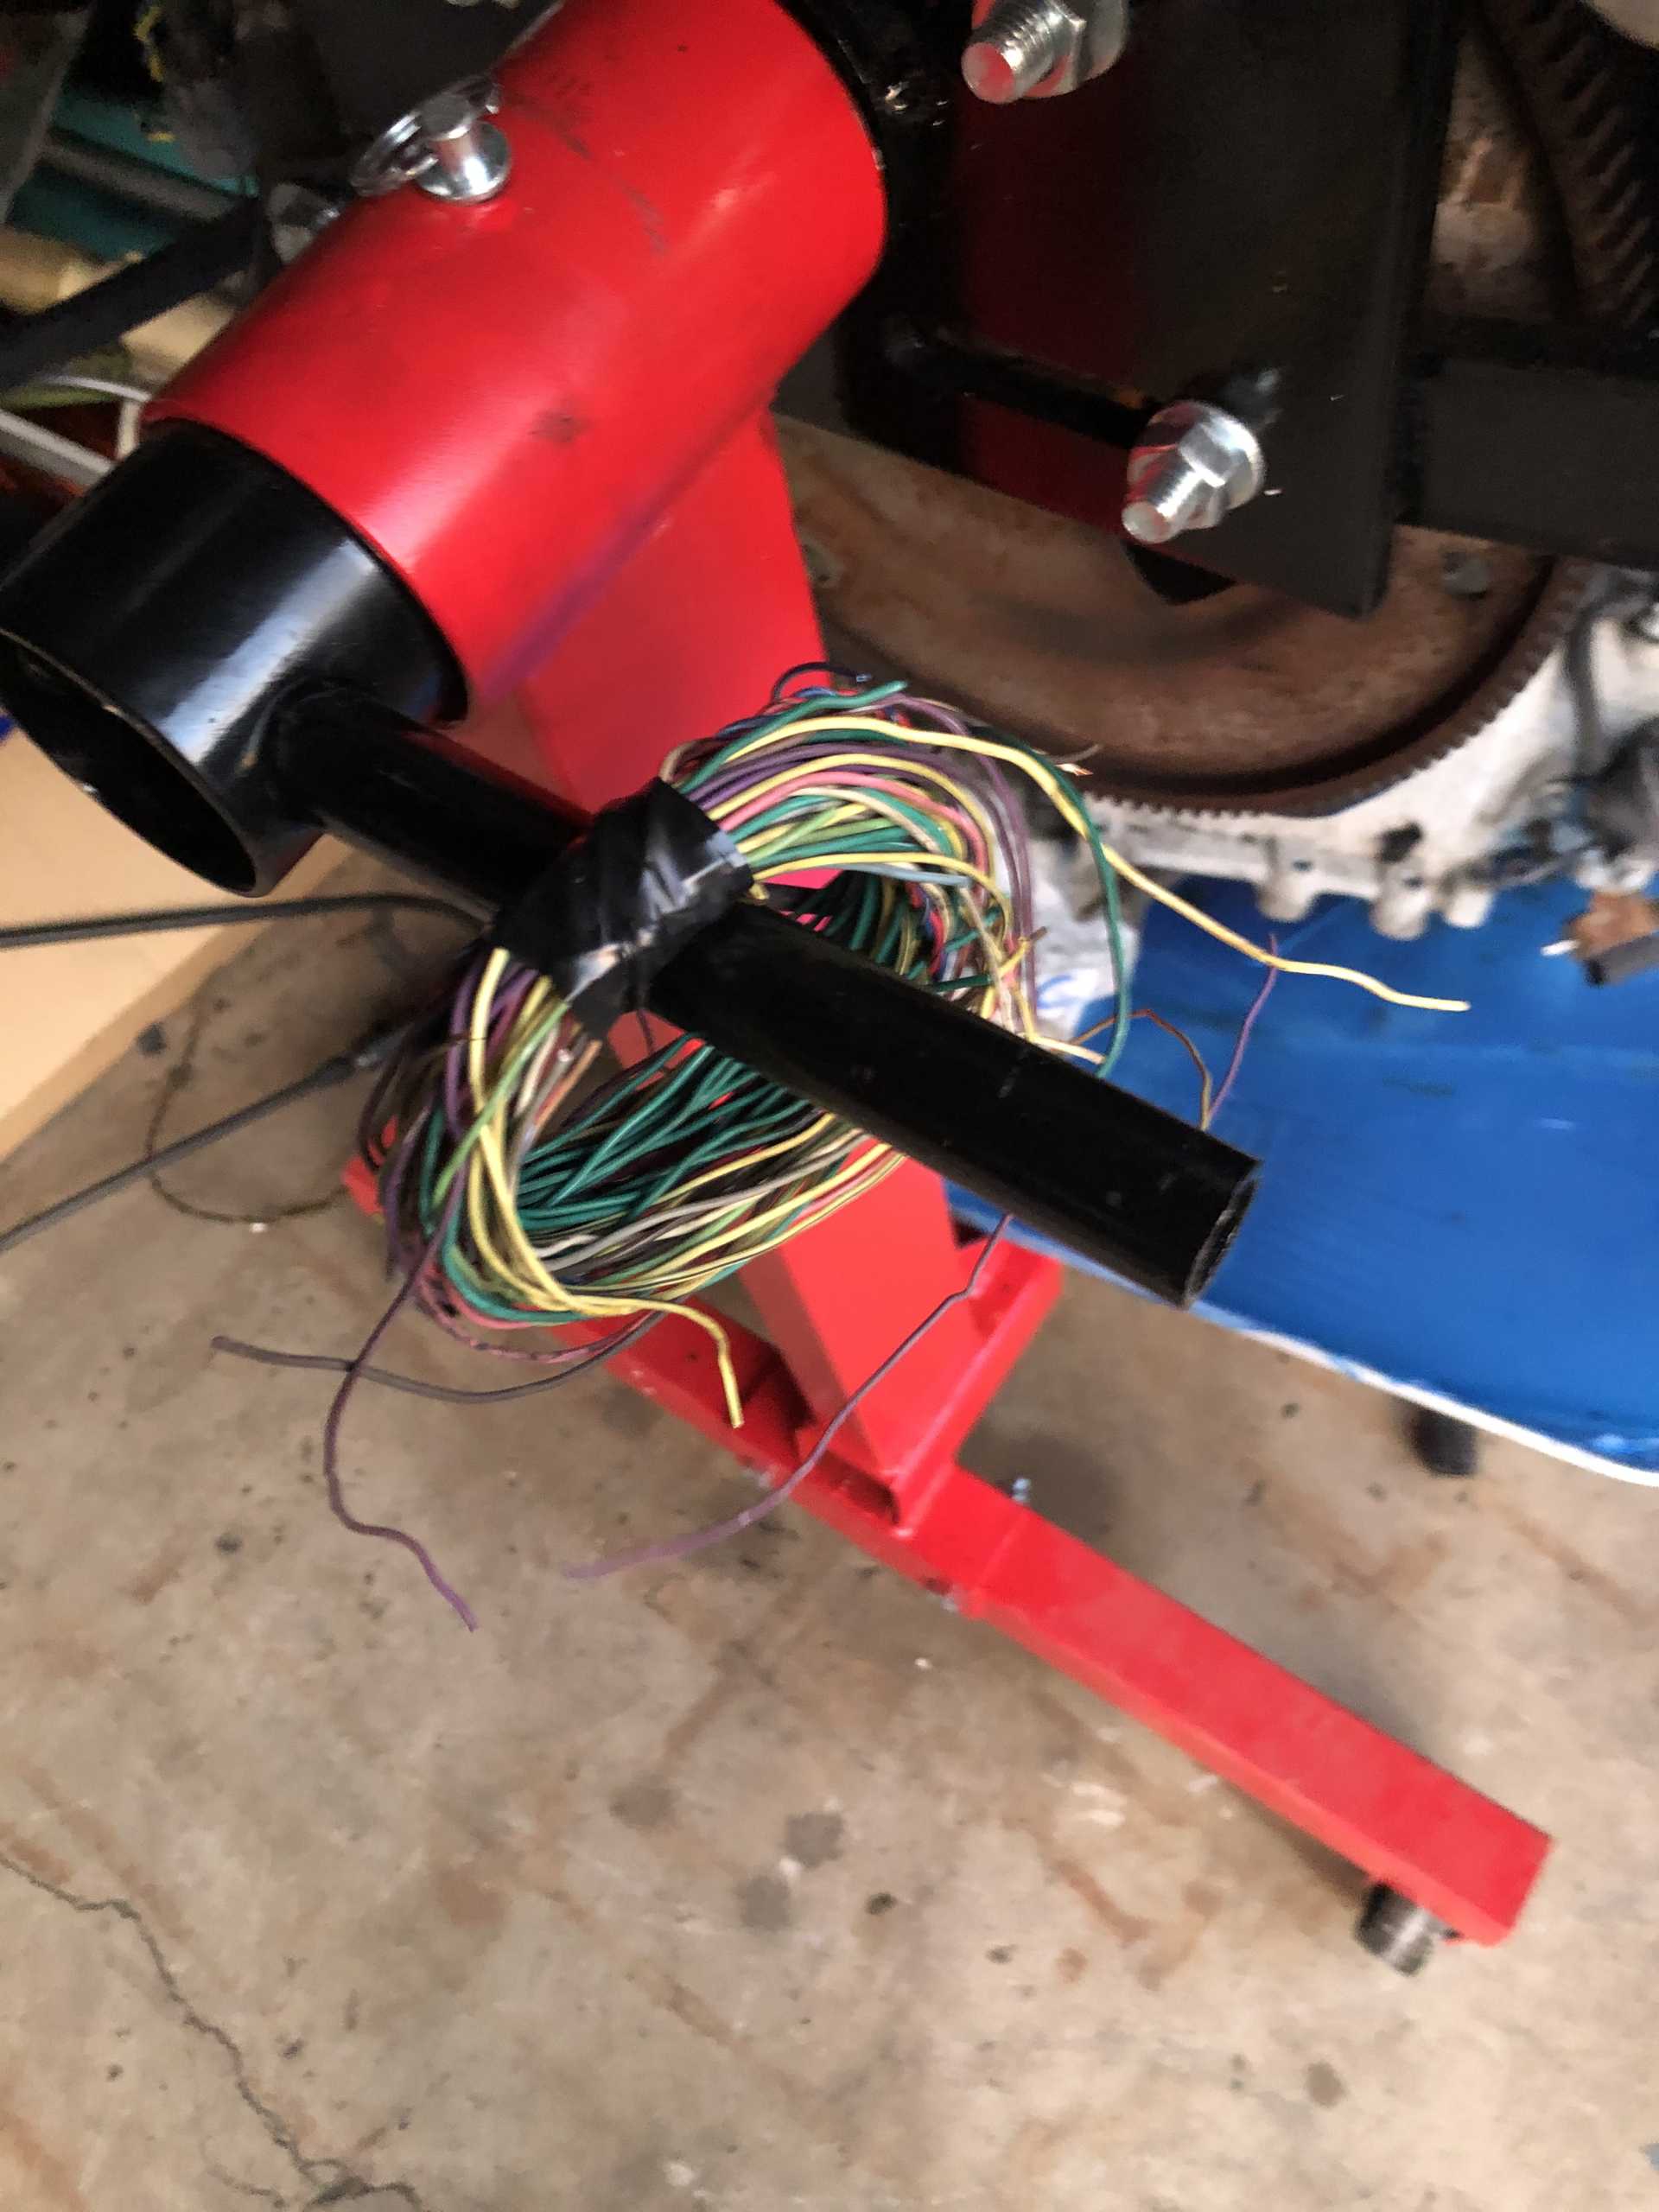
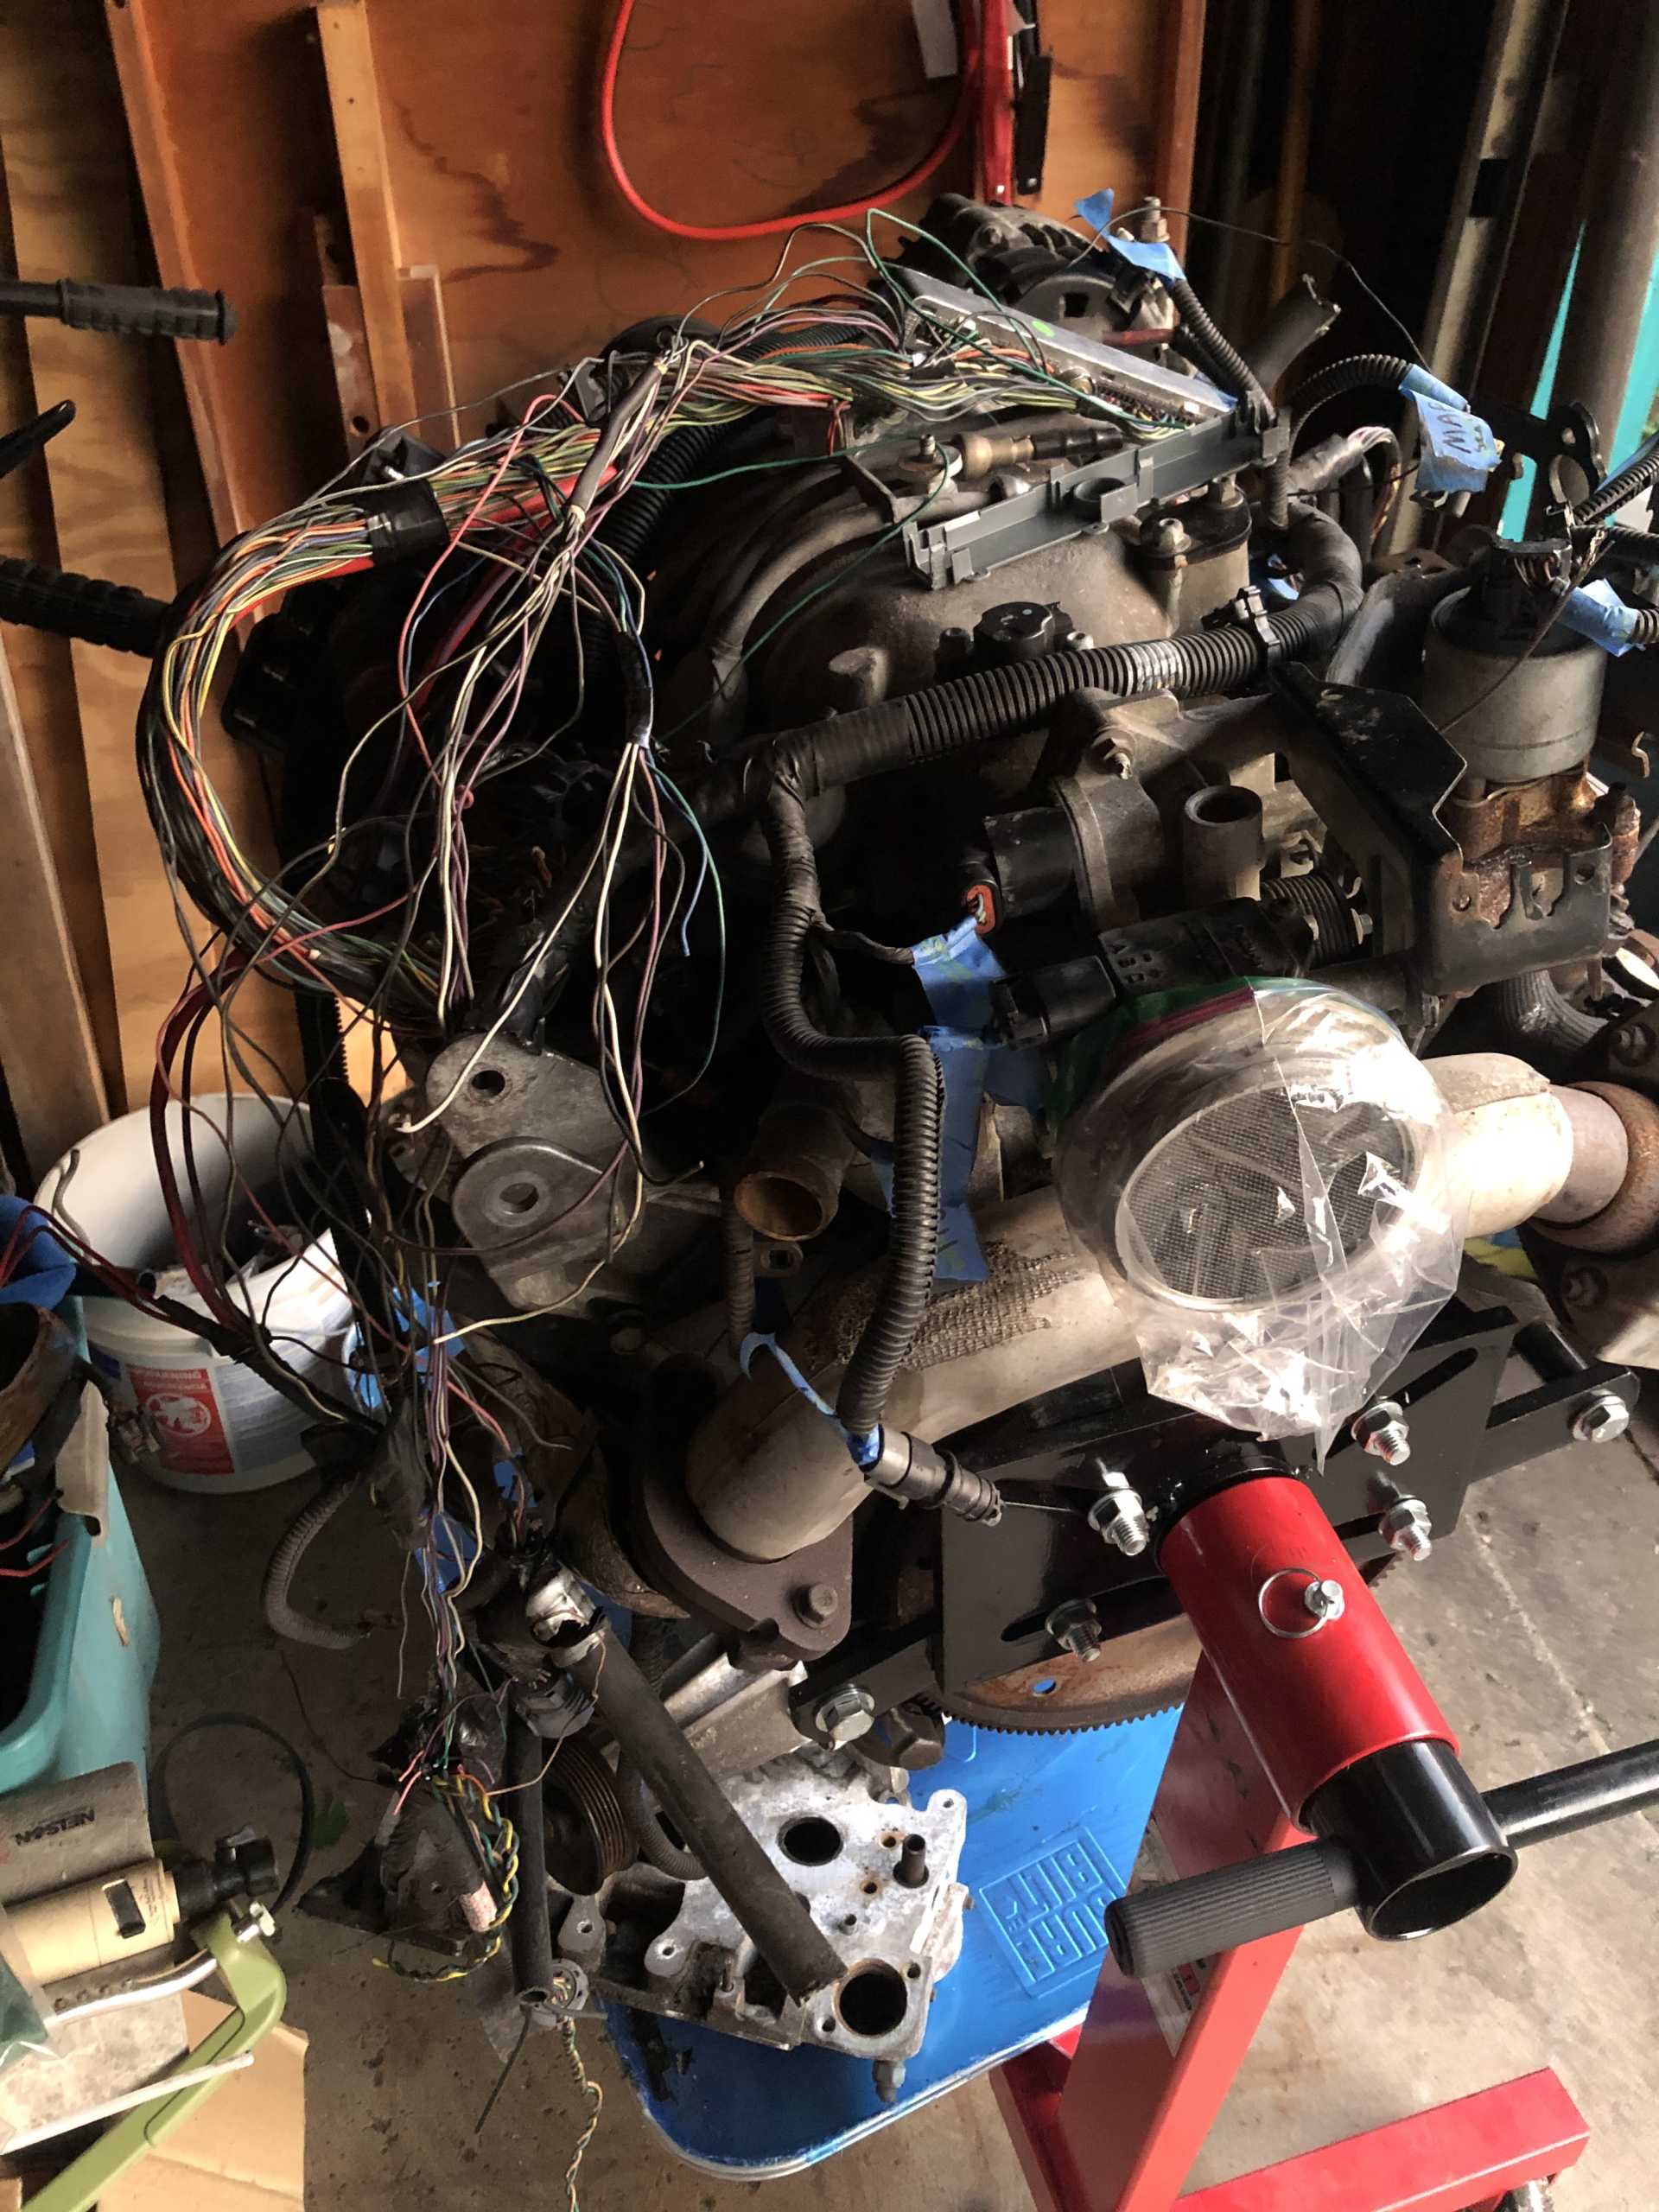
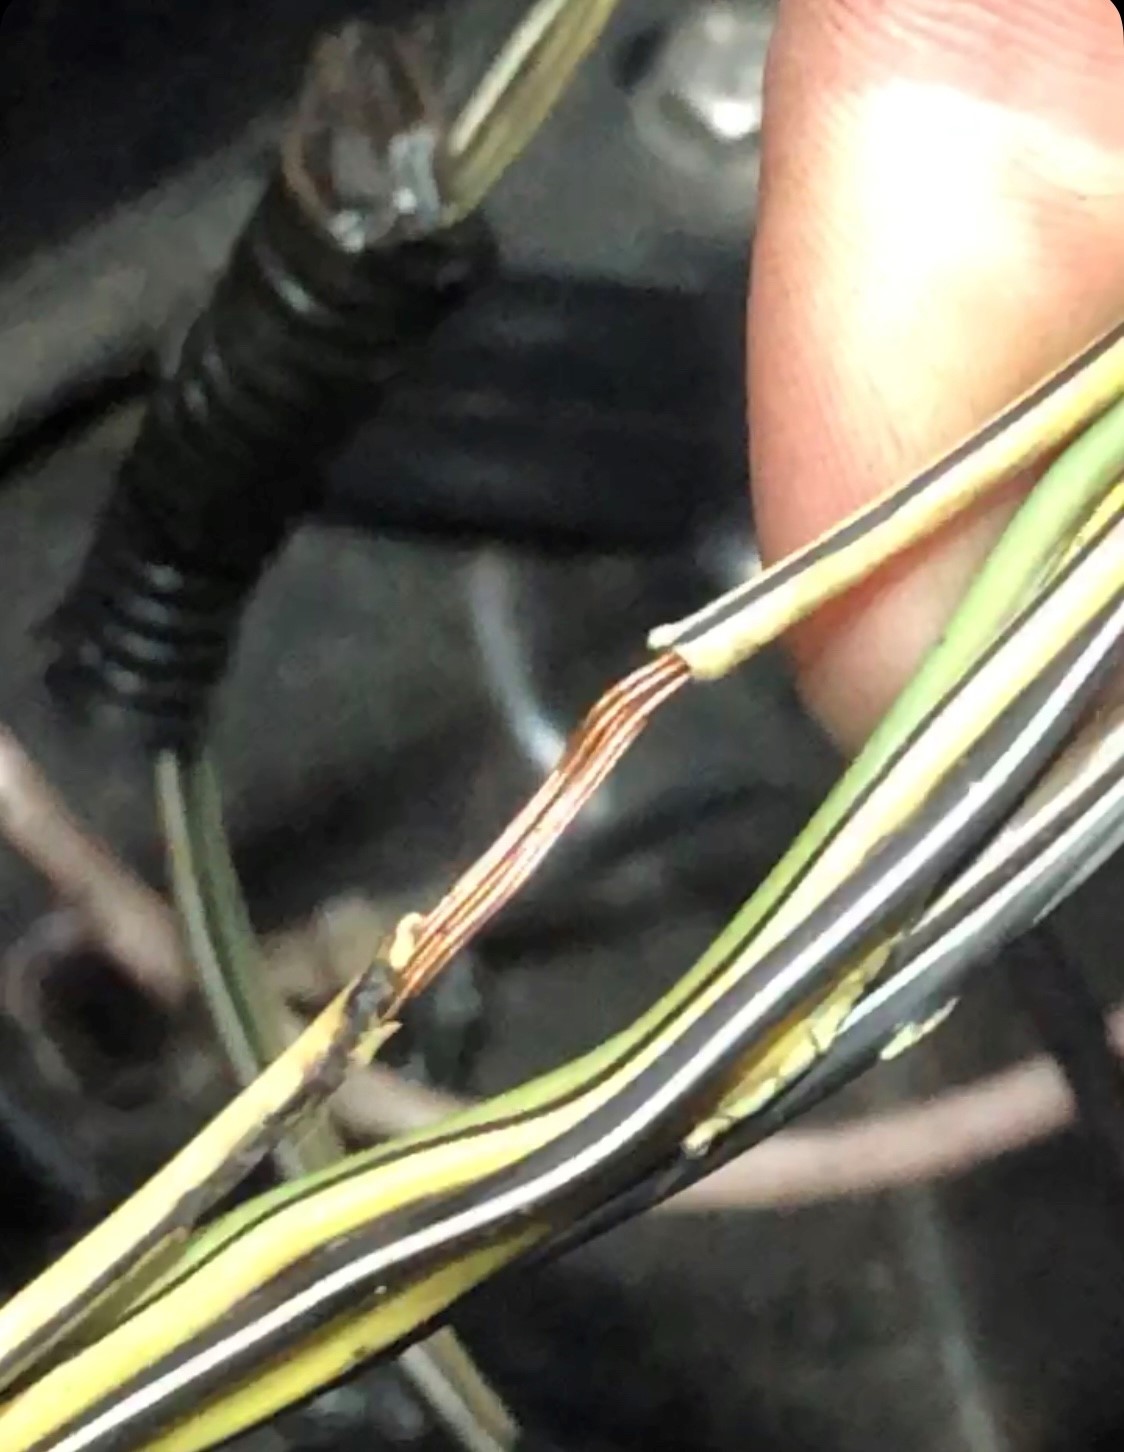
While the blower and LIM were off, I proceeded to fix other things that needed addressed. I rerouted and cleaned up the wiring harness, Put the ECM inside the car under the center console. I also flipped the fuel rail, so the fuel lines would not wrap around the engine, this gave it a cleaner look, and also no risk of the lines contacting the belts. with this i had to remake the lines, like 4 times to get it right.
Once everything was put back together, everything seemed fine untillll i took it for a test drive, This was the start of chasing a misfire for literally 2 months off and on.
it was aggravating because the ECM would not log which cylinders were misfiring, And when I was a tech for ford, I used to be able to view live misfires with a power balance test on their scan tool, with this I had none of that but hand held scanner.
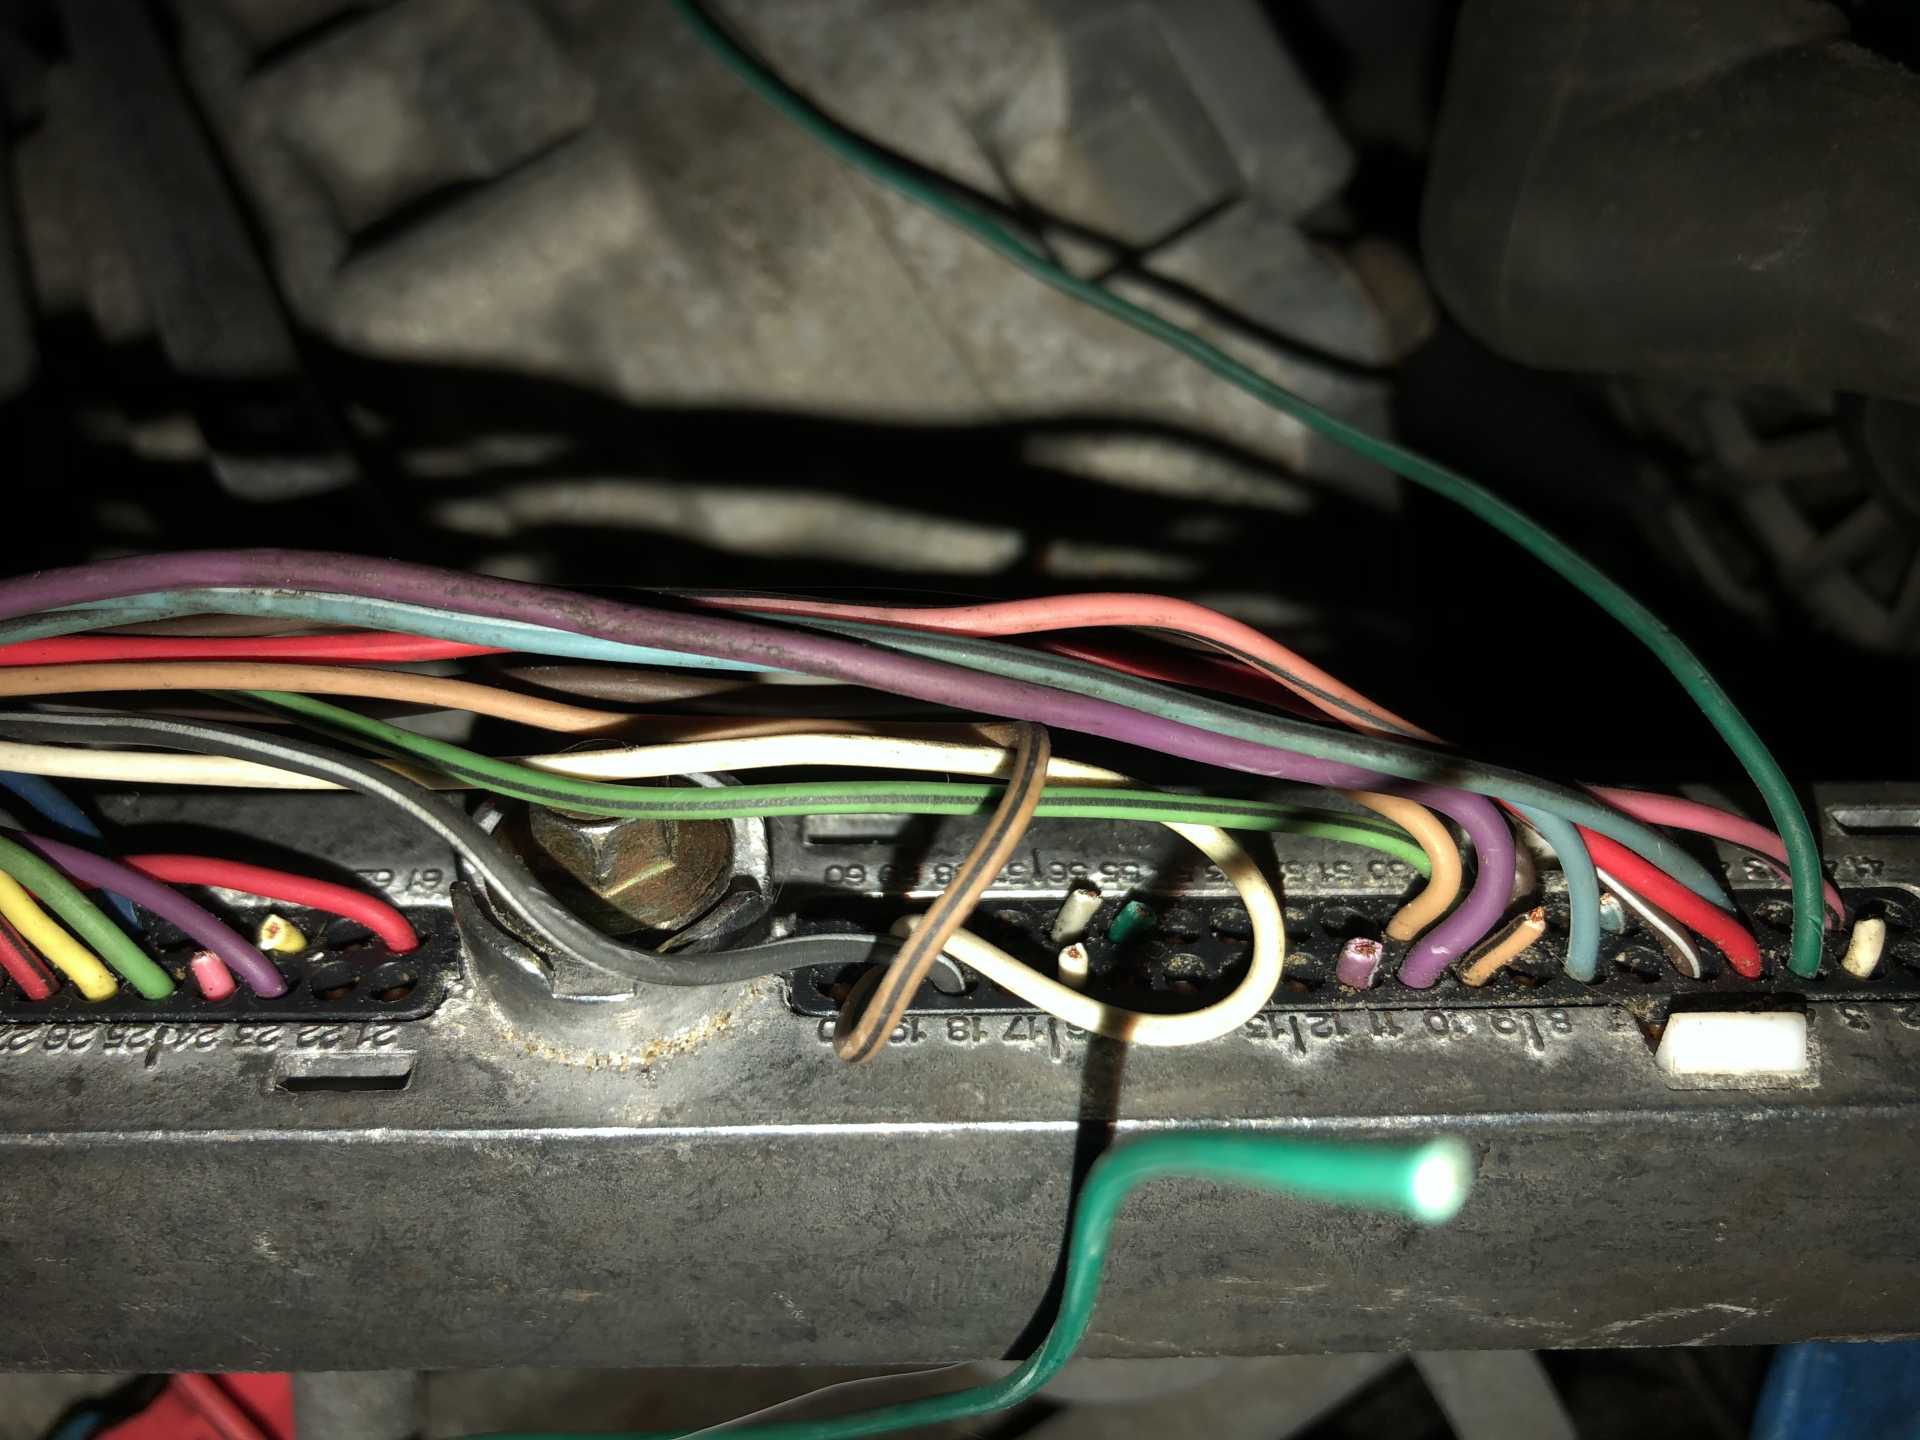
I reached out to James Brown on Facebook and he told me to check the crank/cam position sensor harness. where I did find a problem
I do recommend talking to him for any electrical issues you may have, real great guy to take time out of his day to help.
I repaired that but it ended up not being the problem. but its good to check because that would have caused issues down the road.
long story short, i had two bad coils, one in the original set. and one in the set I got with the other Coil pack mount.
NOW FOR THE SUSPENSION REBUILD

And when I mean rebuild, I mean rebuild.
Front suspension:
Poly upper and lower control arm bushings
Upper "more adjustable" ball joints, Rodneys 1/2" drop lower ball joints
Inner and outer tie rod ends
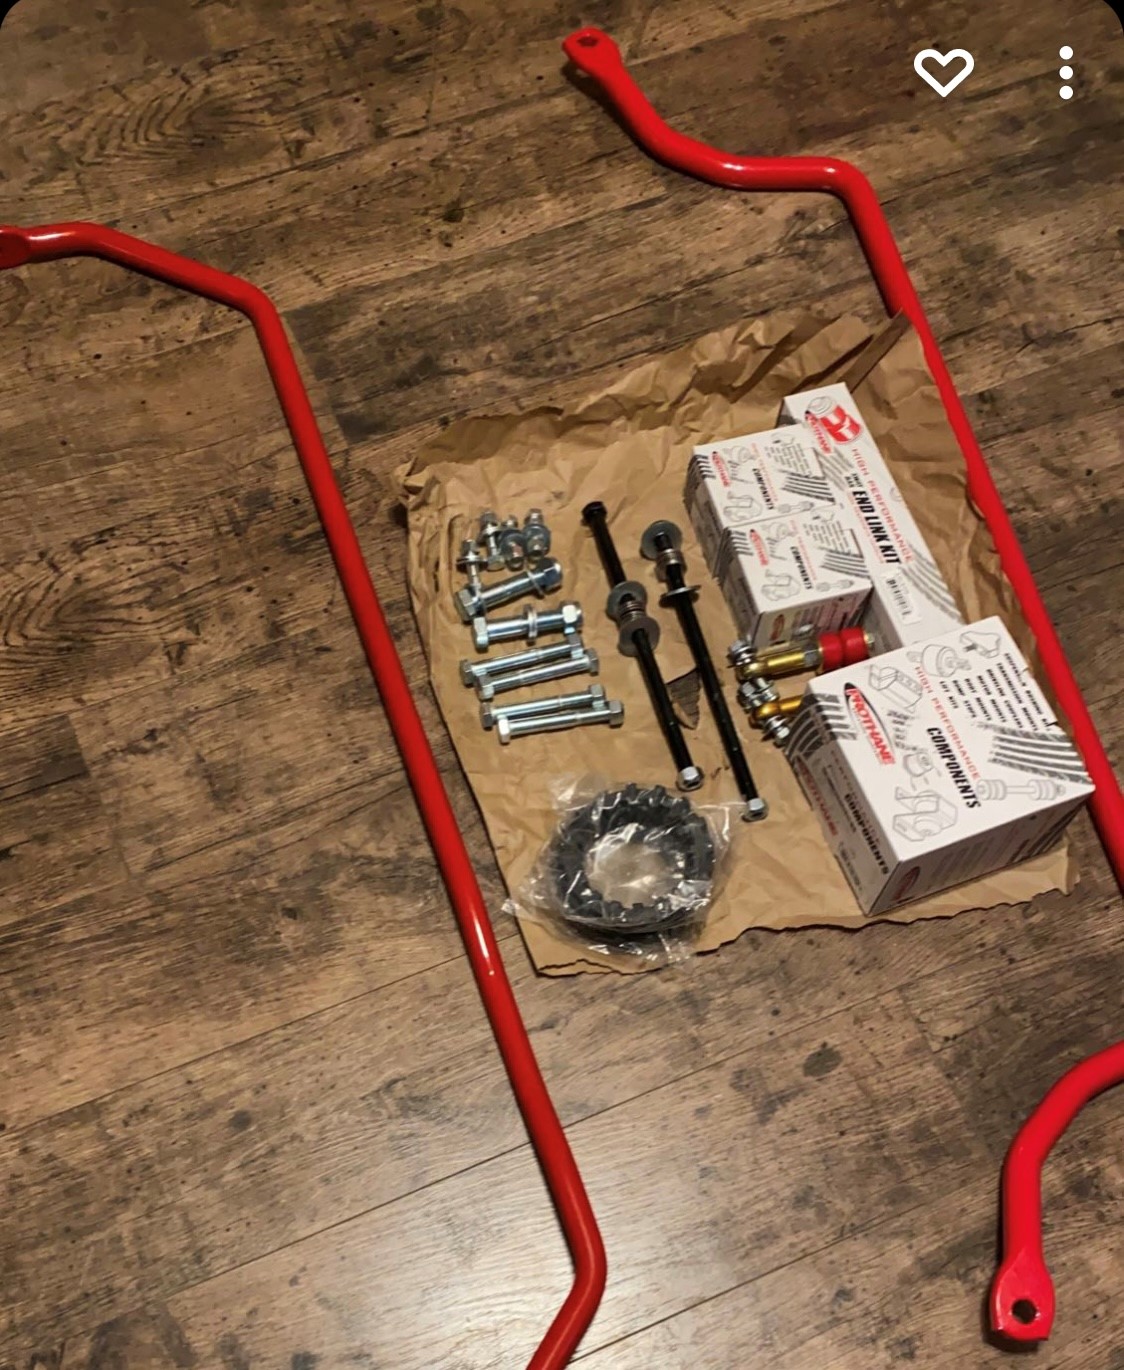
Upgraded sway bar with poly sway bar links
New steering dampeners (Rodneys dual dampener kit)
Cut one coil out of the front springs to lower
All new Hardware
While there, I made an oops. I had to cut one of the bolts on the passenger side control arm, and I clipped the coolant tube with the cutting wheel
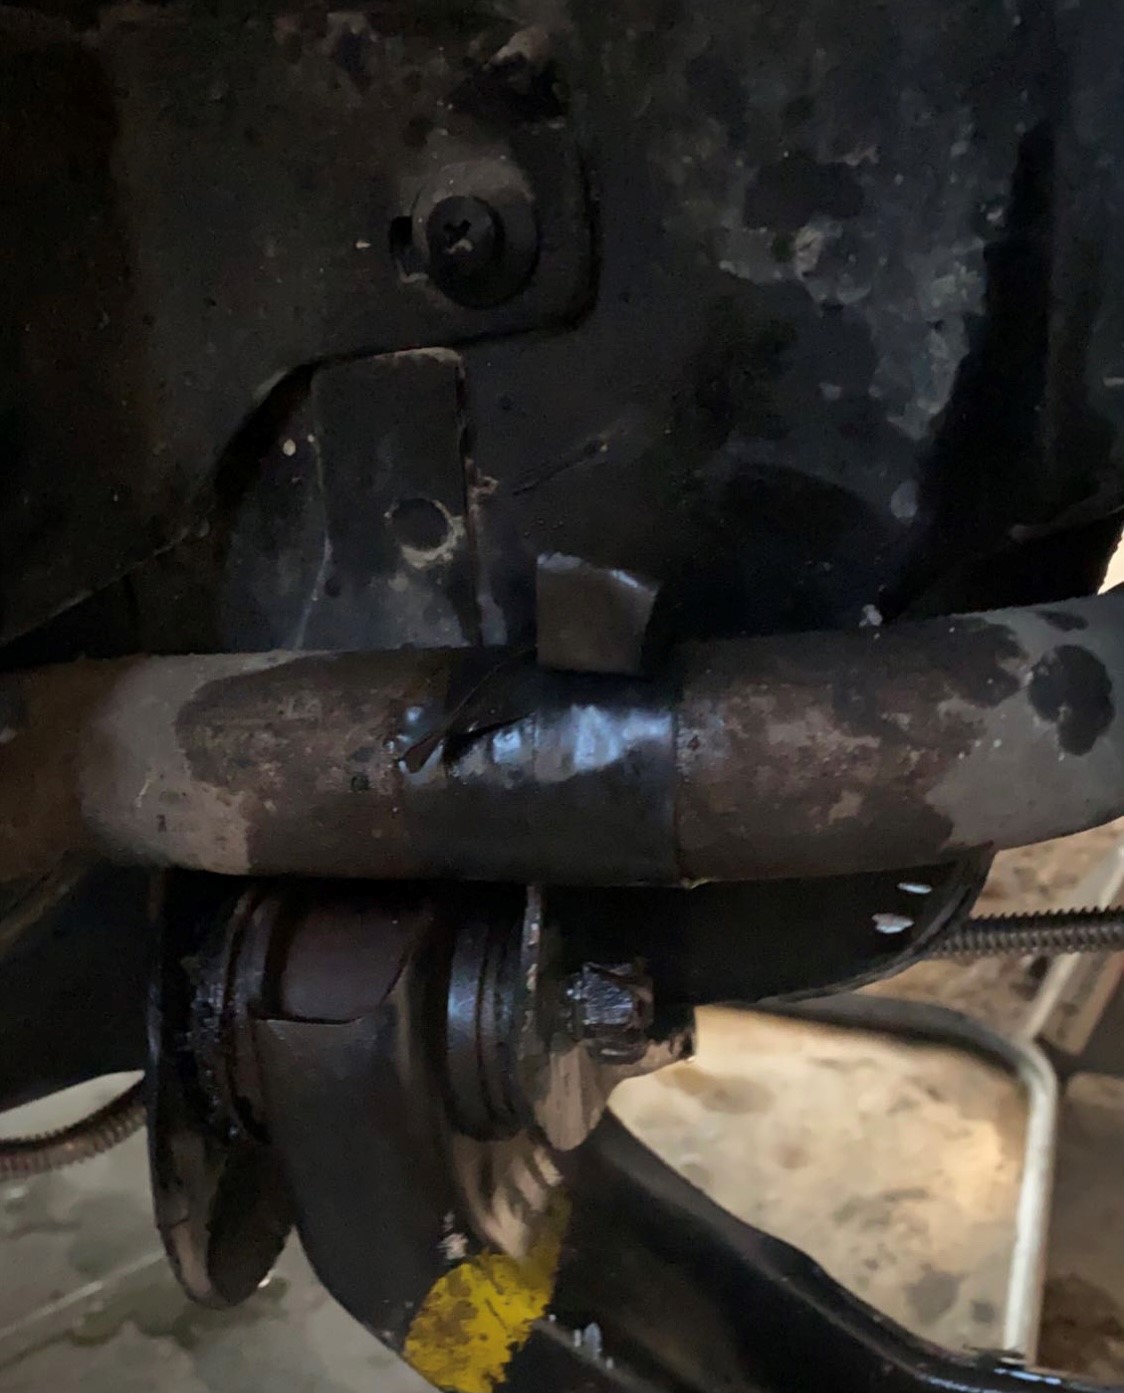
I cut the tube all the way, slid a piece of radiator hose over both ends and secured with clamps. currently looking for a passenger side coolant tube but I'm also not in a rush
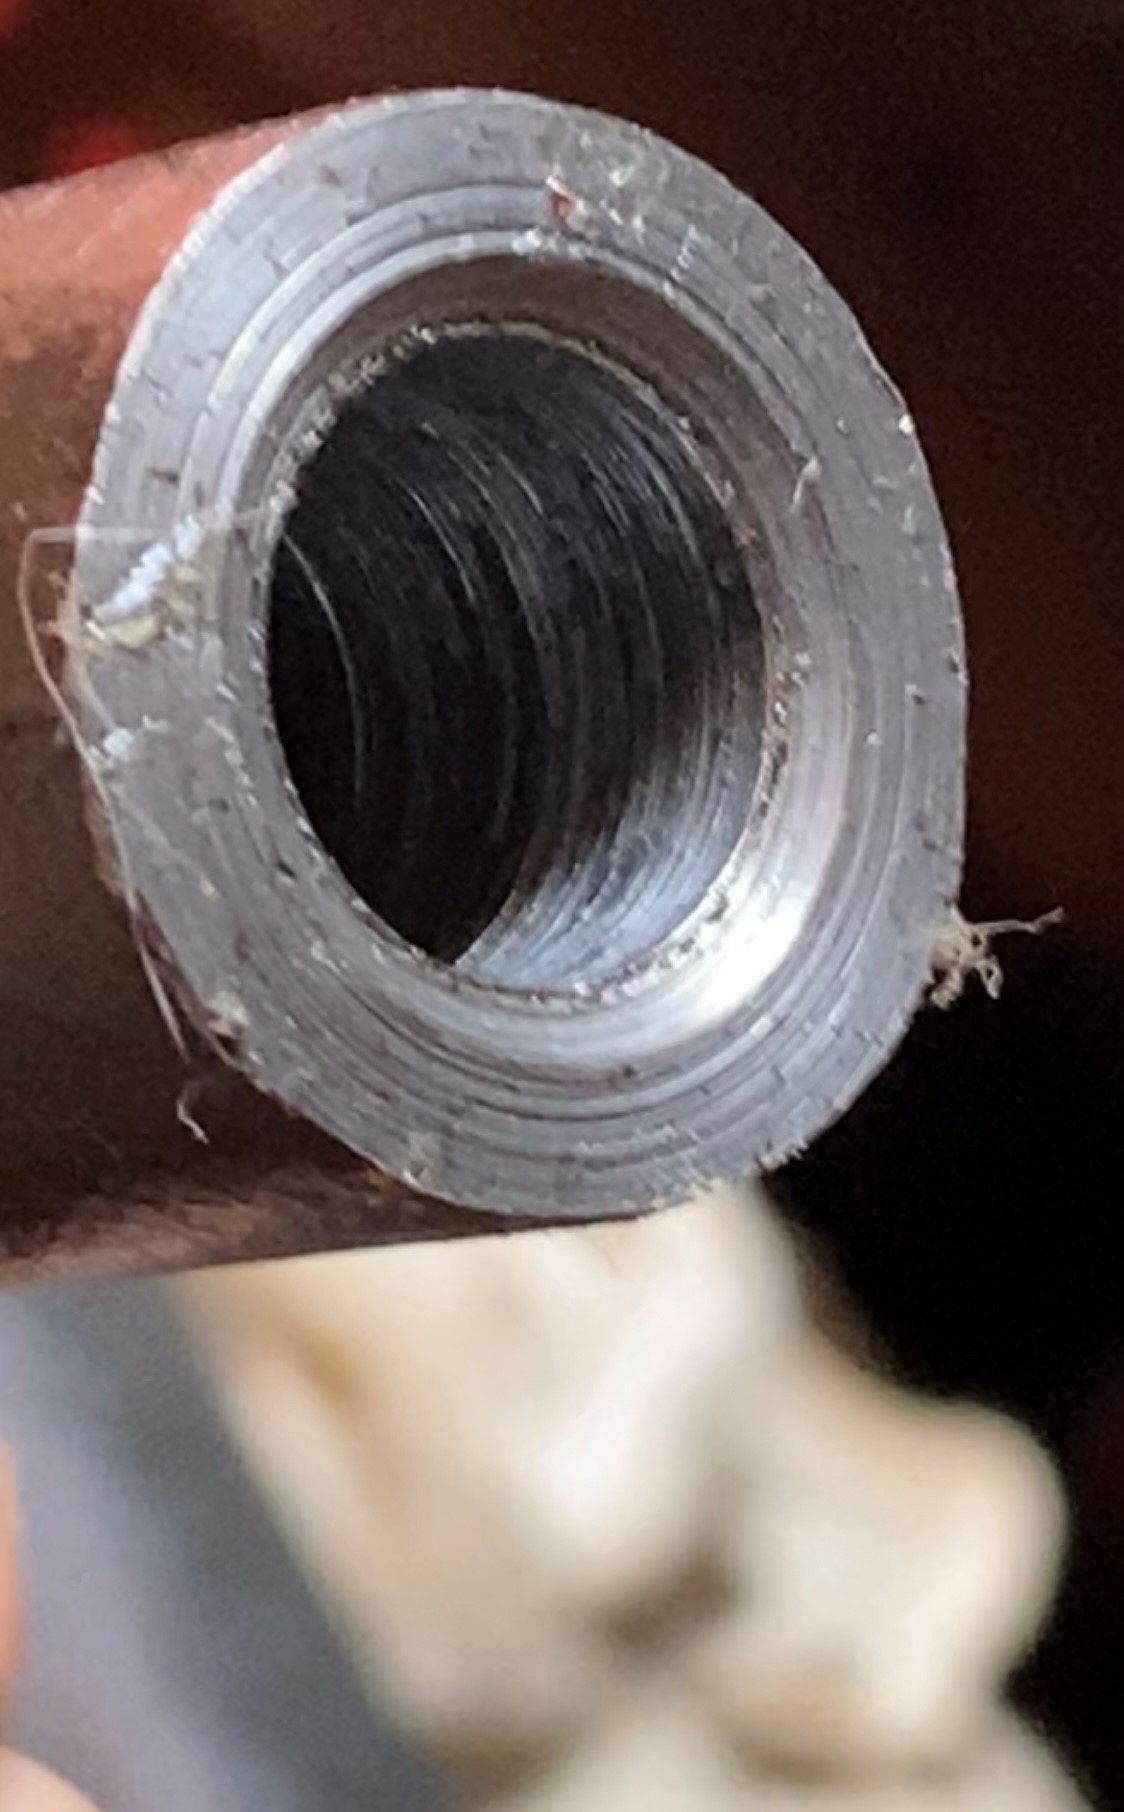
also ran into a snag with one of the outer tie rod ends, It was made with no threads

Rear Suspension:
Wheel bearings, Outer tie rod ends with Rodneys HD inner tie rods
New CV axles
FieroGuru coil overs with 300 springs
Fiero Store add on Rear sway bar with their links
Poly bushings were previously installed
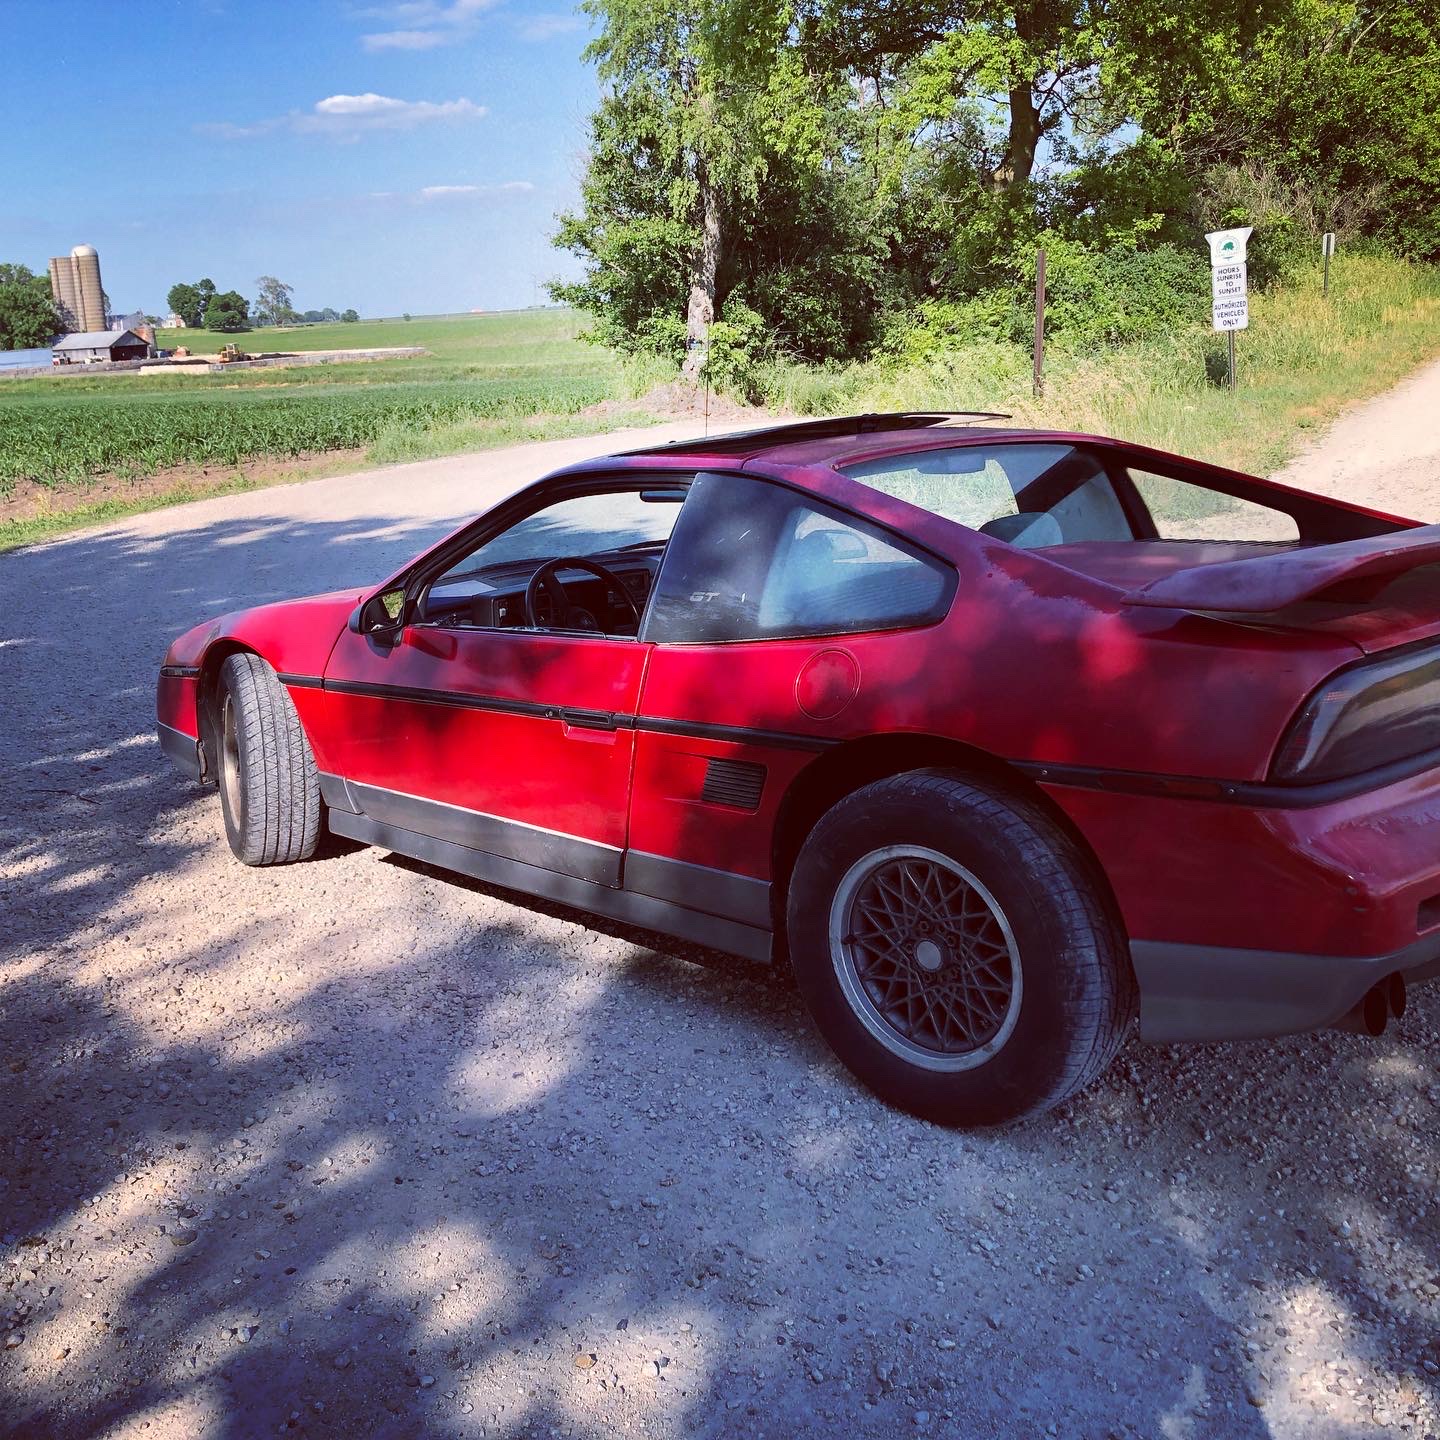
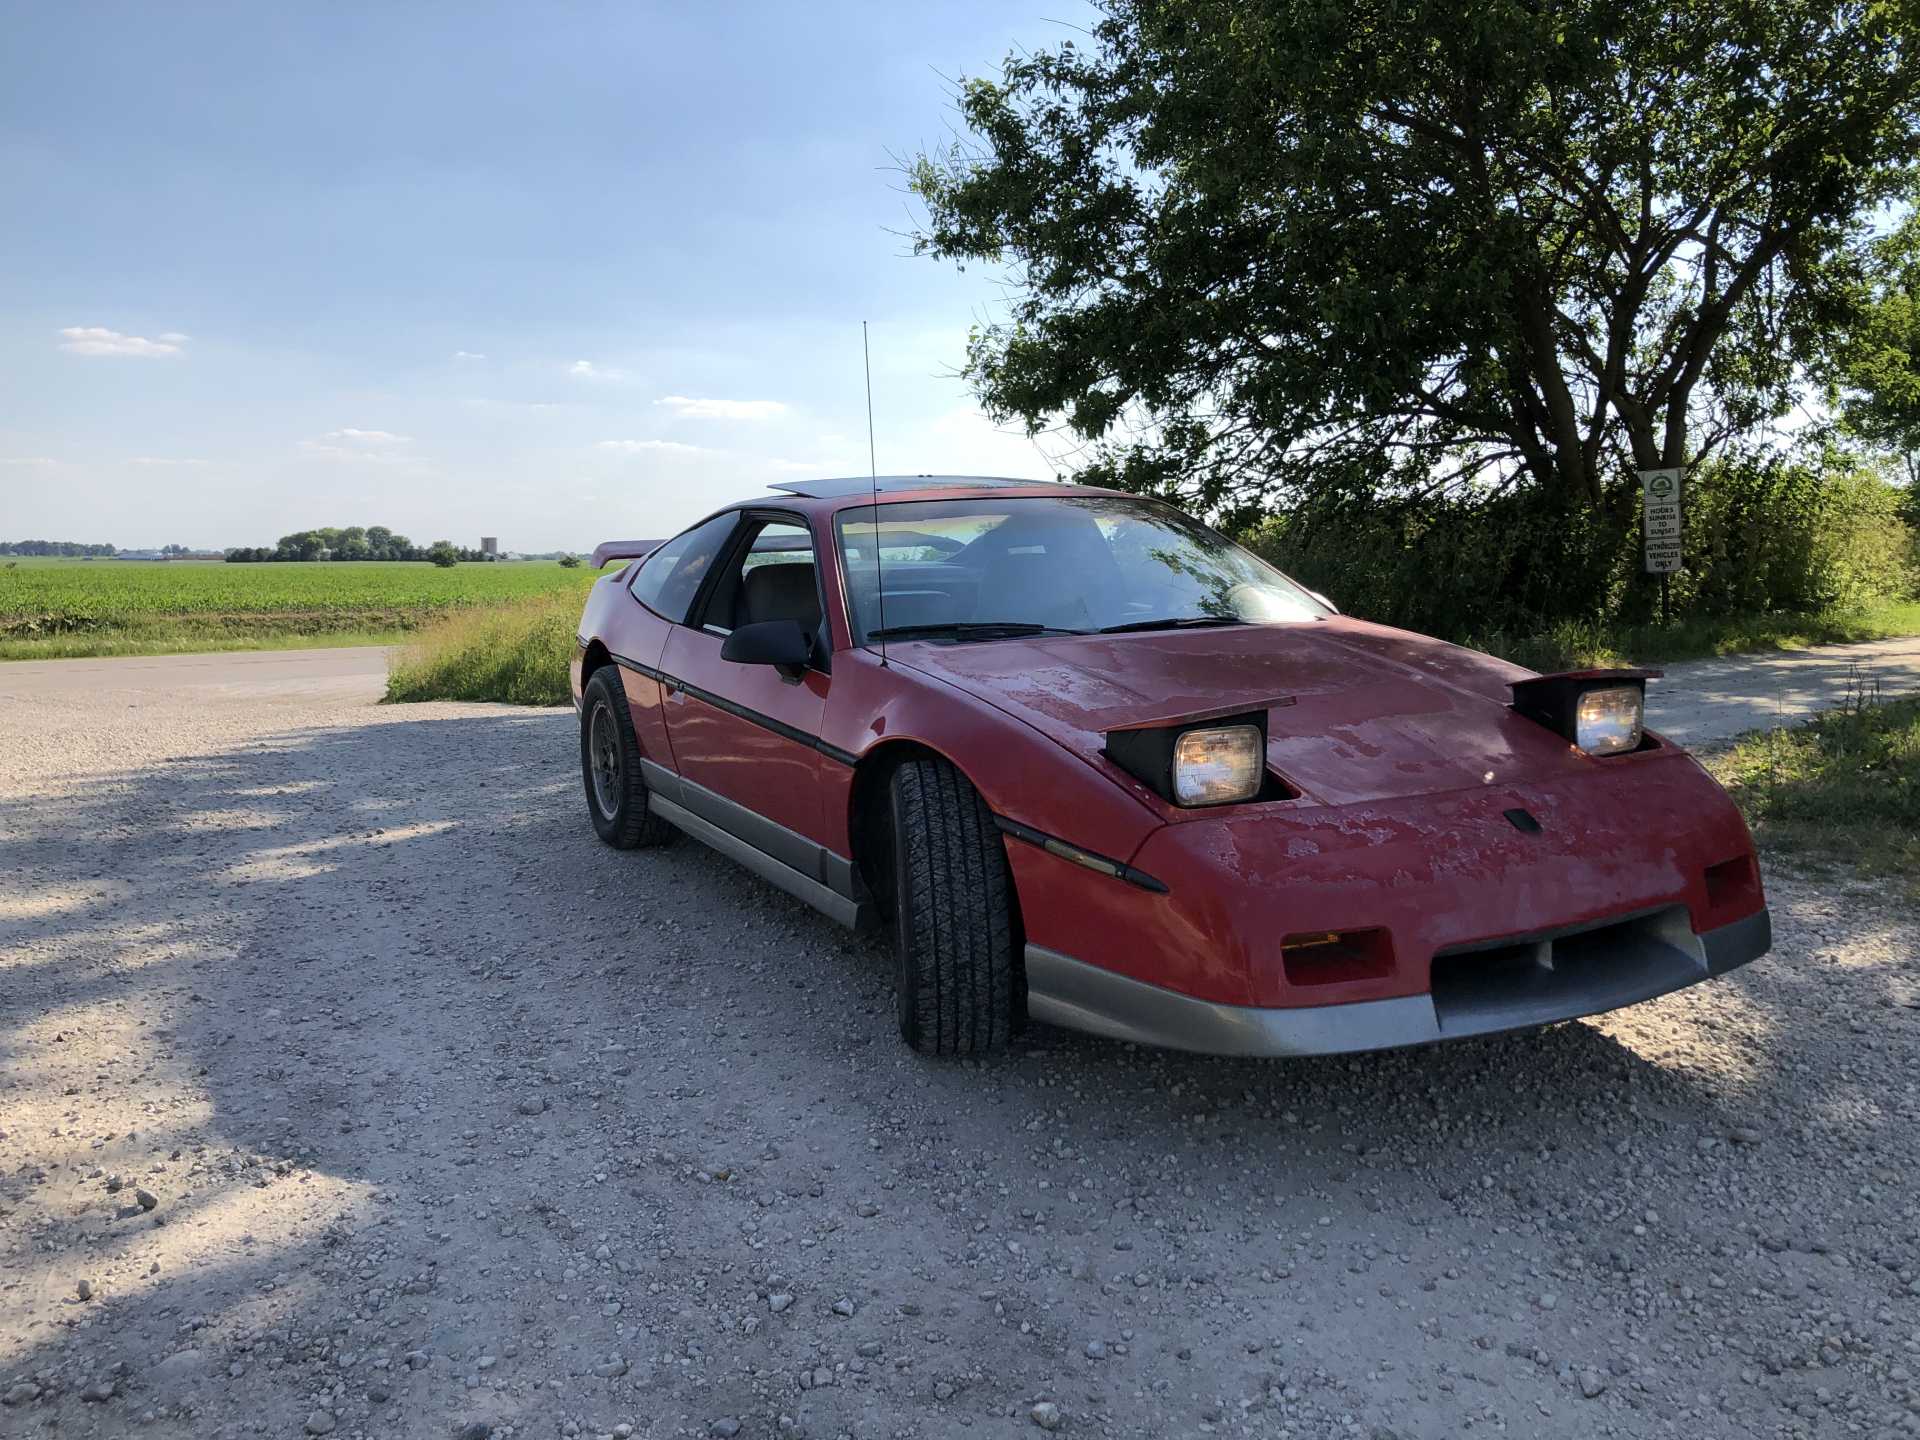
Here is the stance it had with the stock wheels
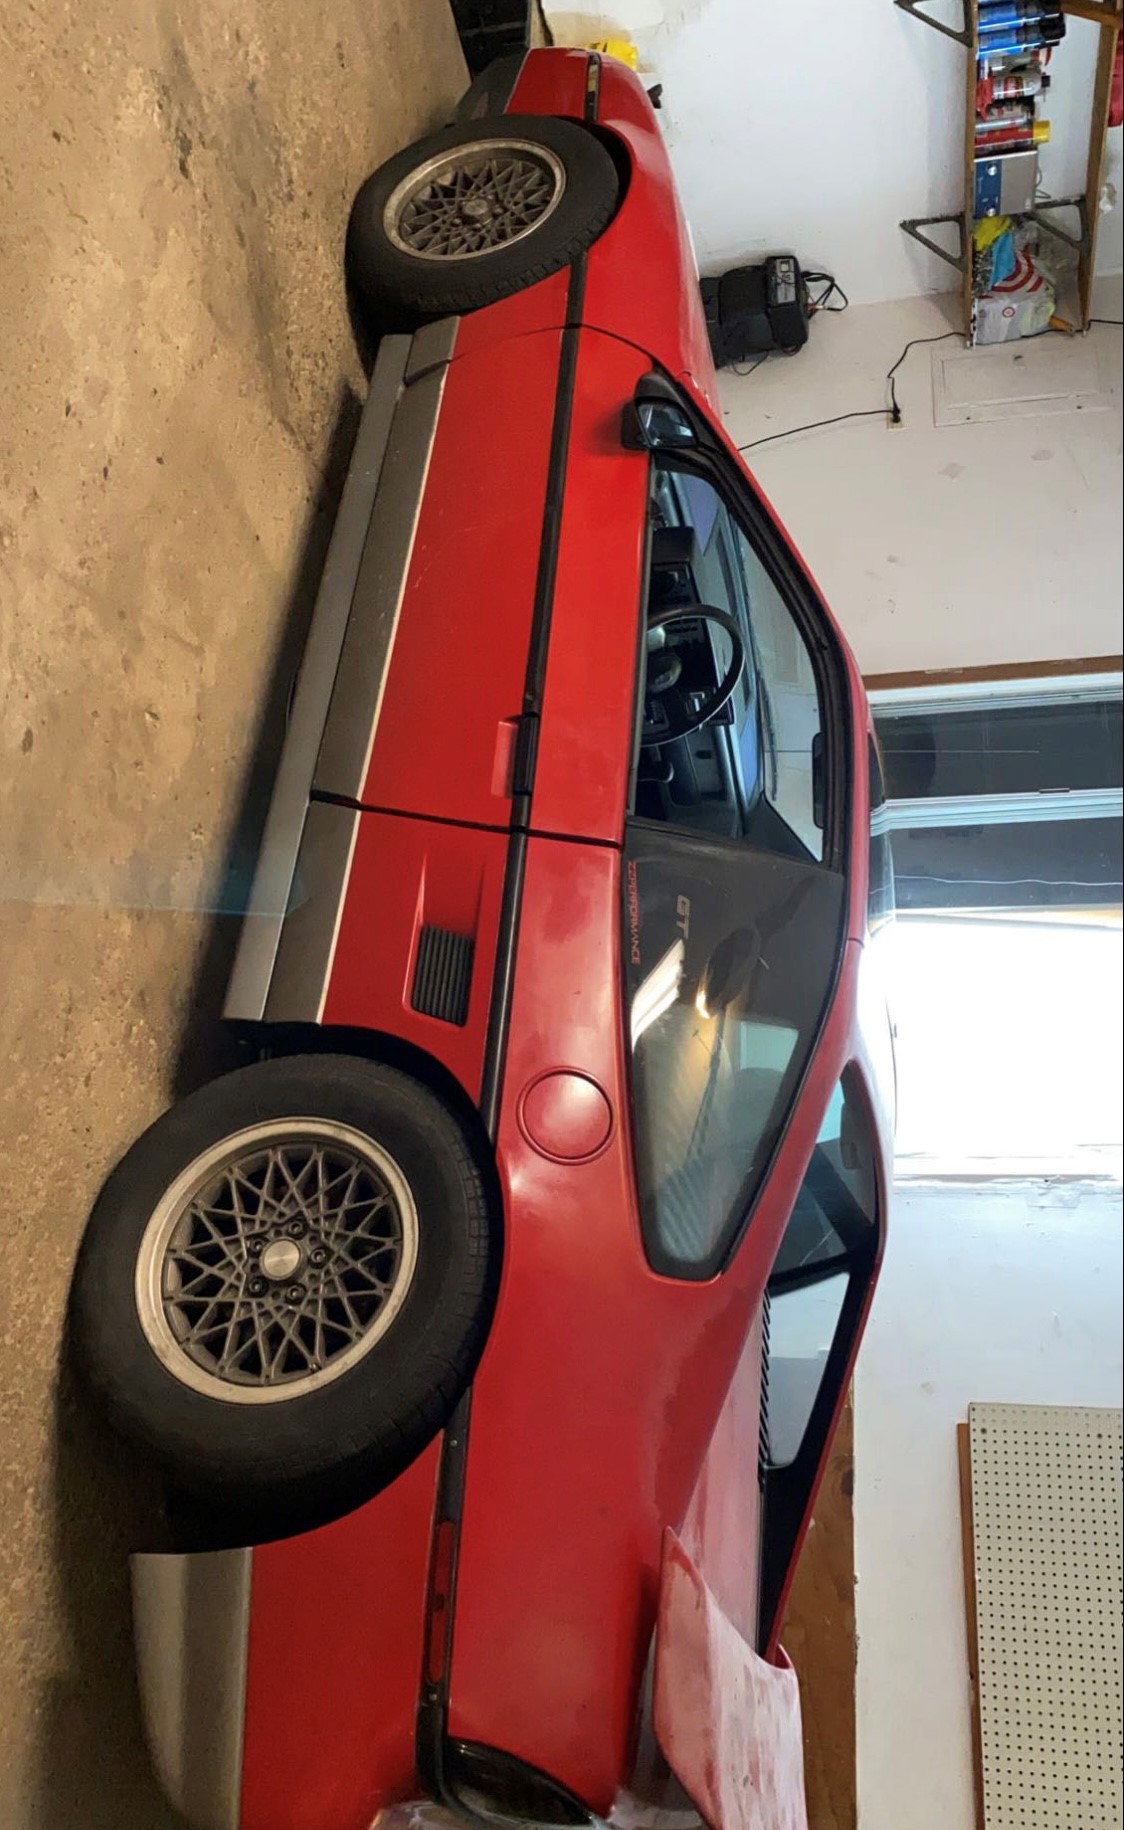
Time for an alignment and new wheels

I cant remember the exact wheel specs , but they are 17" Avid AV06s
Went with a wheel size based on the wheel size fitment chart I found on this forum.
All and all the car drove way better than I expected
There were more "test drives" to come and i found other issues that arose.
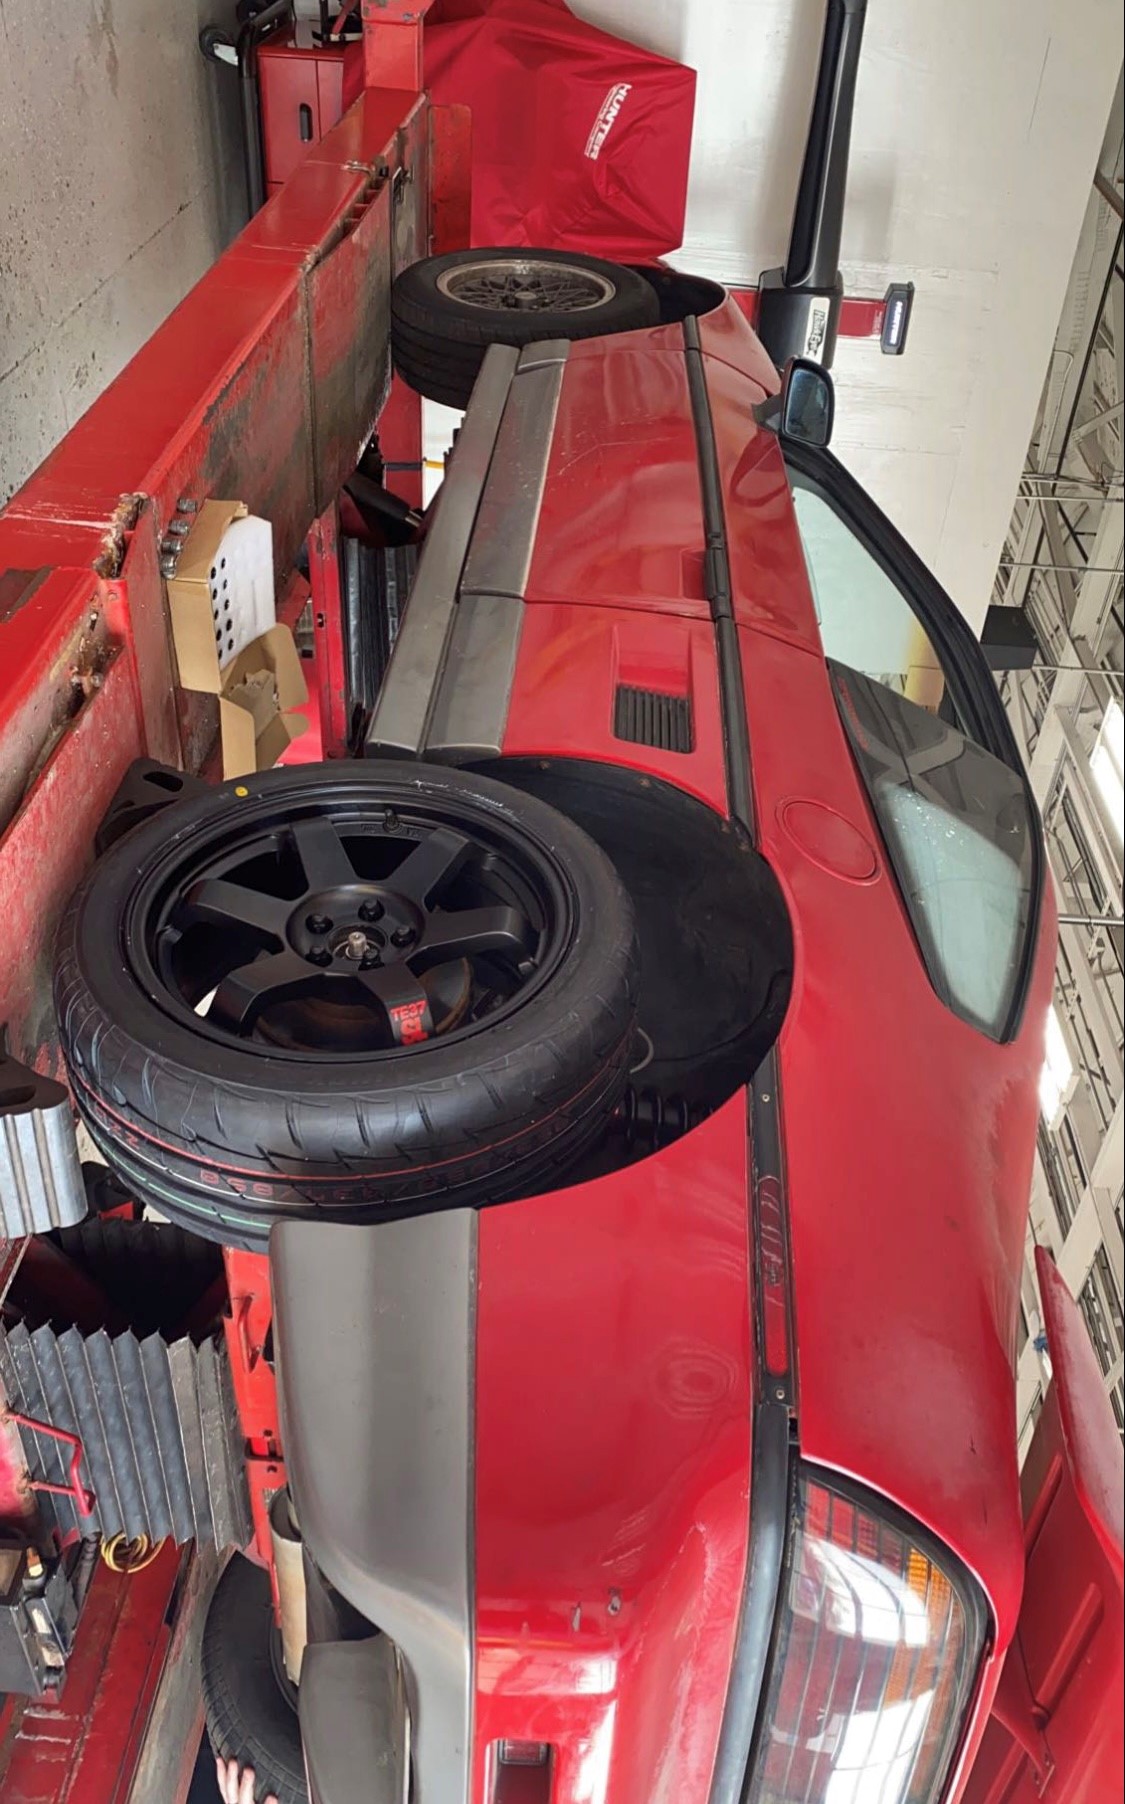
one was that the drivers CV axle would pop out of the transmission. i asked around on FB and the engine/trans was positioned correctly. But what i did find was that there are two different length CV axles available off Rockauto. I ordered the shorter one at first. So i ordered the longer one, As well as hub centric rings for the wheels
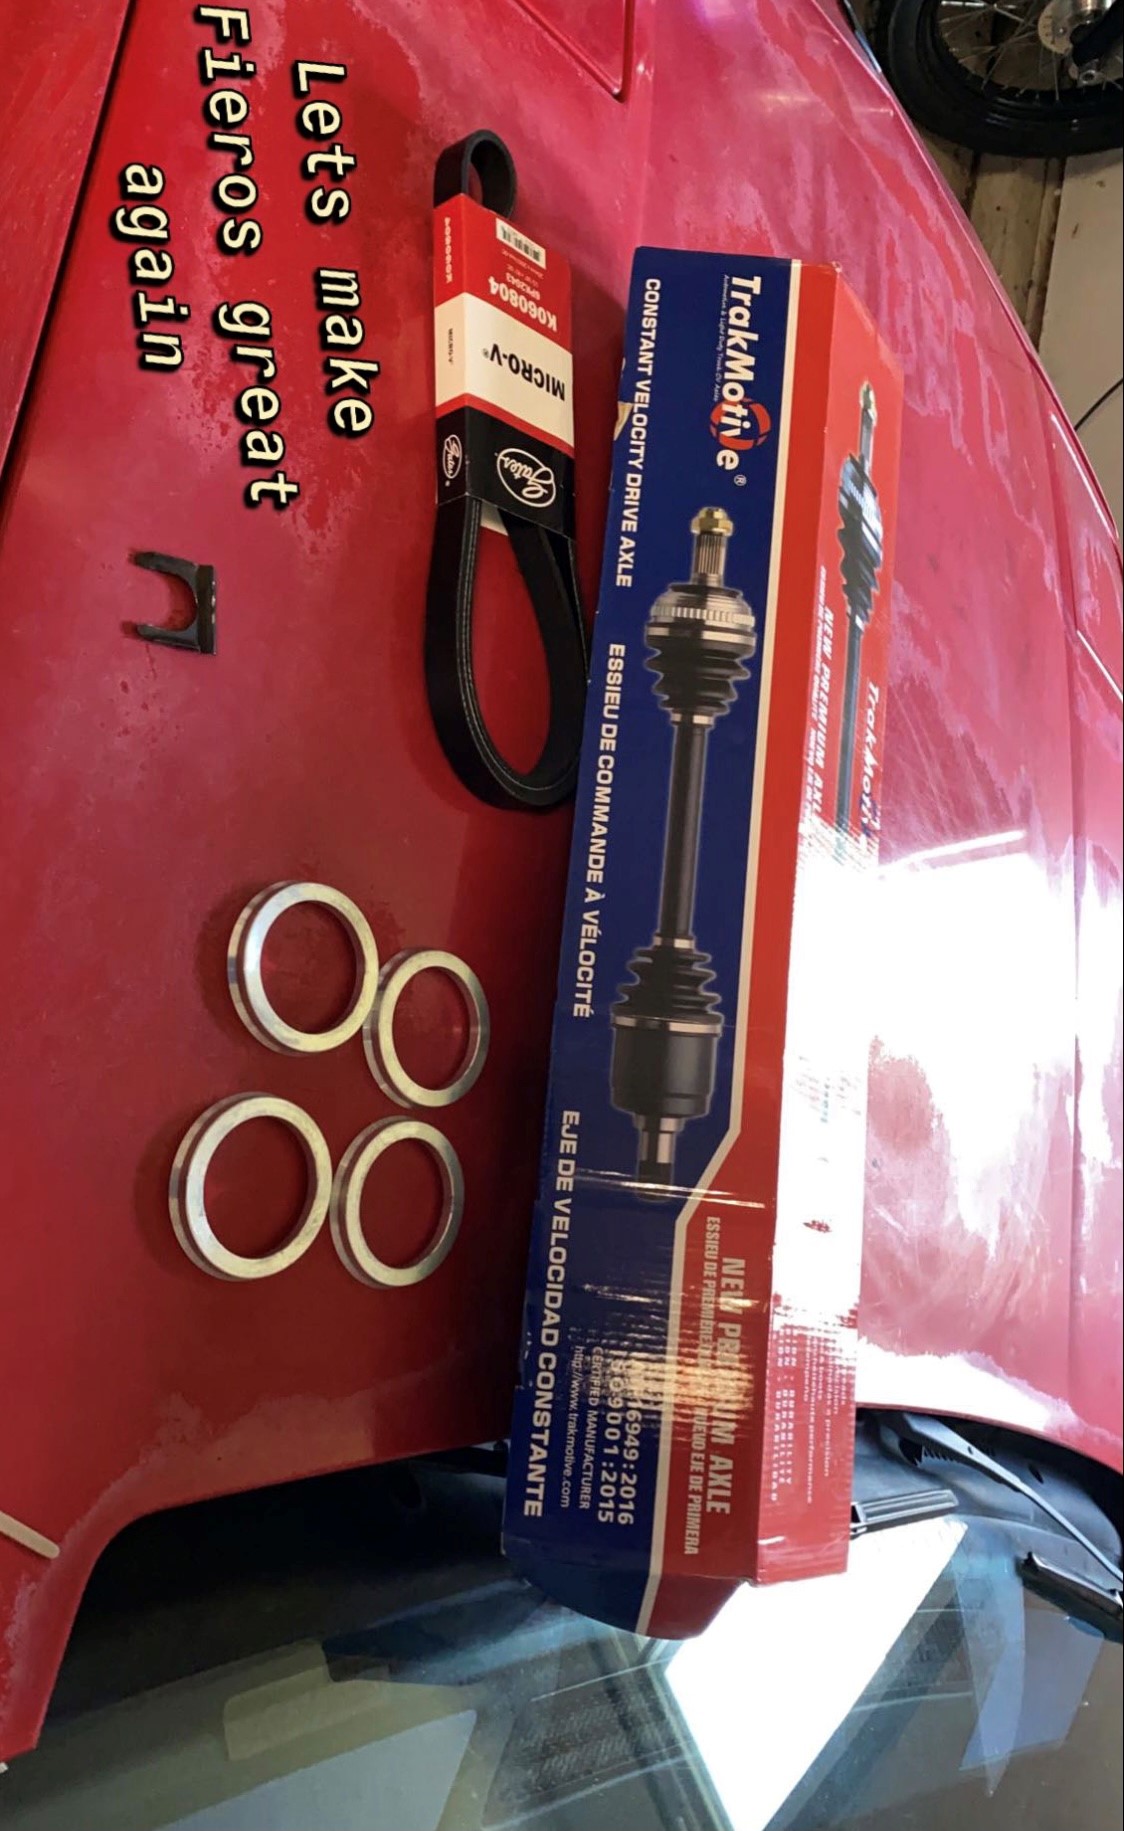
After installing the new longer axle, I had no more problems with it coming out.
Also after driving it for a while and getting more comfortable with longer drives. I realized I needed to make a few changes
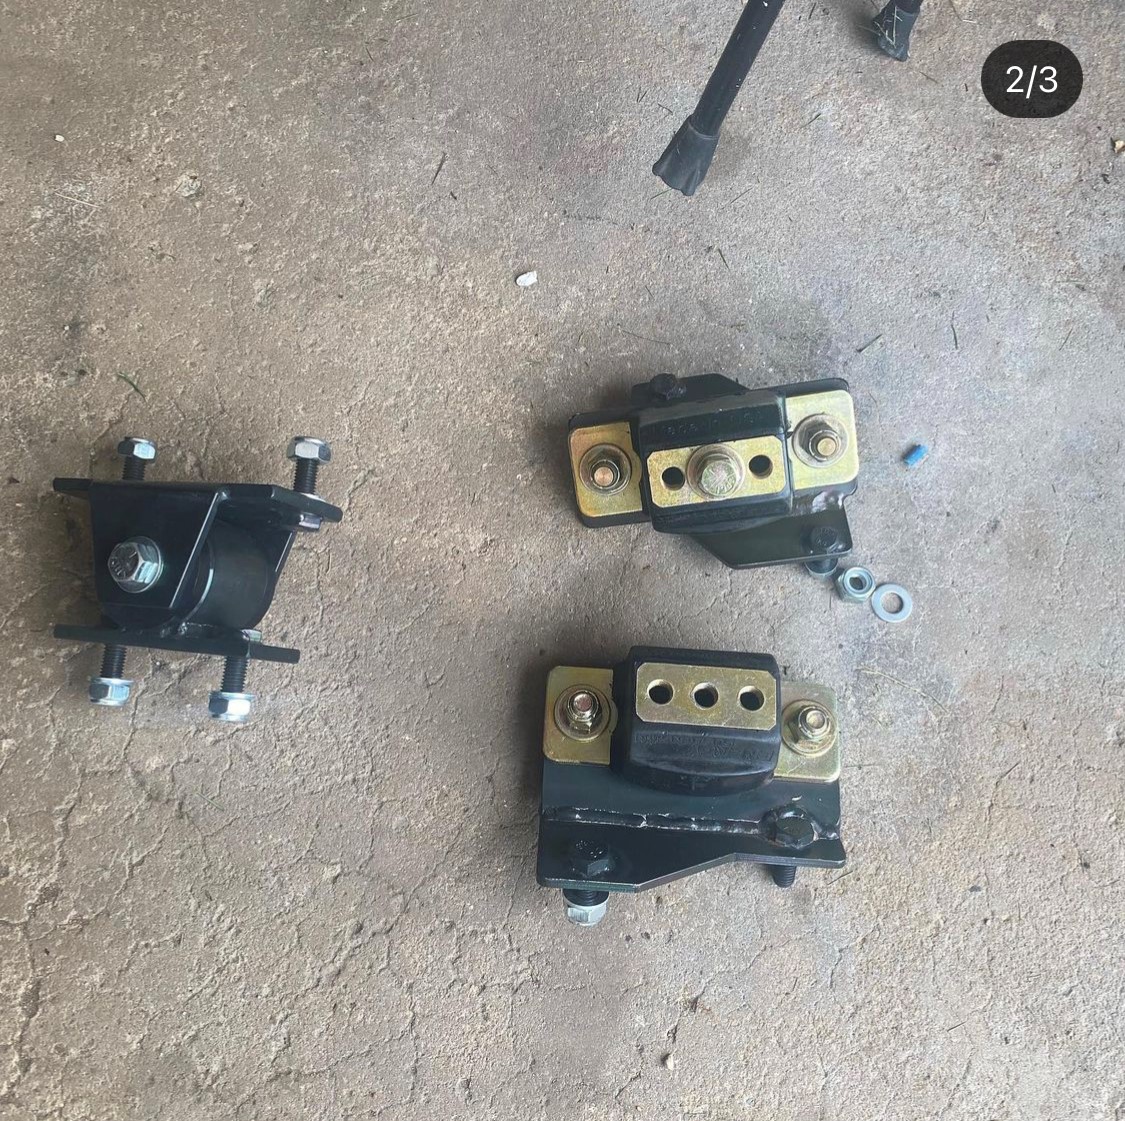
I was not happy with the second hand poly engine mounts, had a lot of vibration, so I ordered Rodneys version of the poly engine and trans mounts
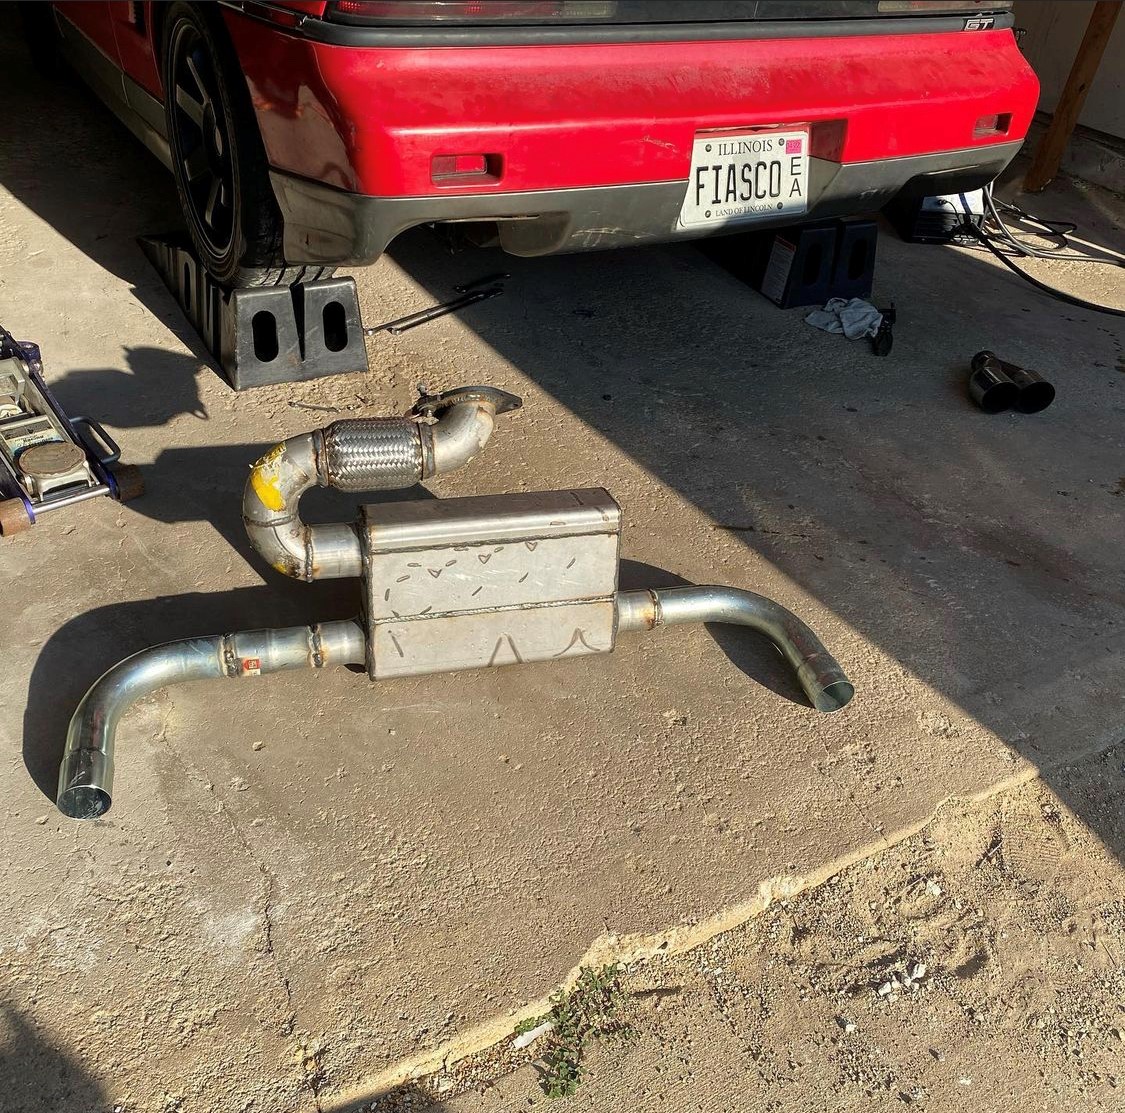
The second thing I had to change was the exhaust setup. I could not stand the drone it had at 40-55MPH
First setup
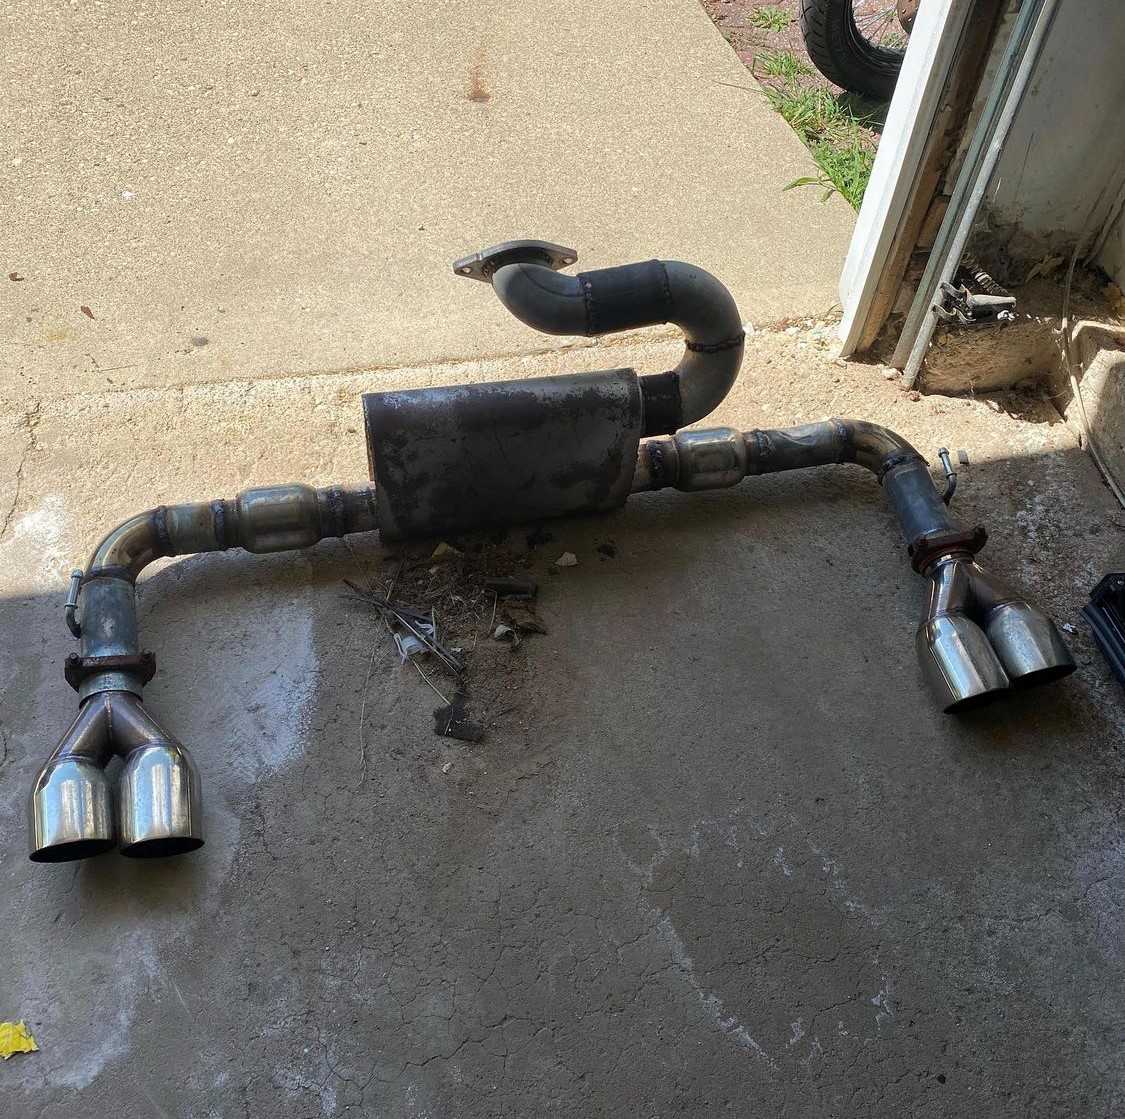
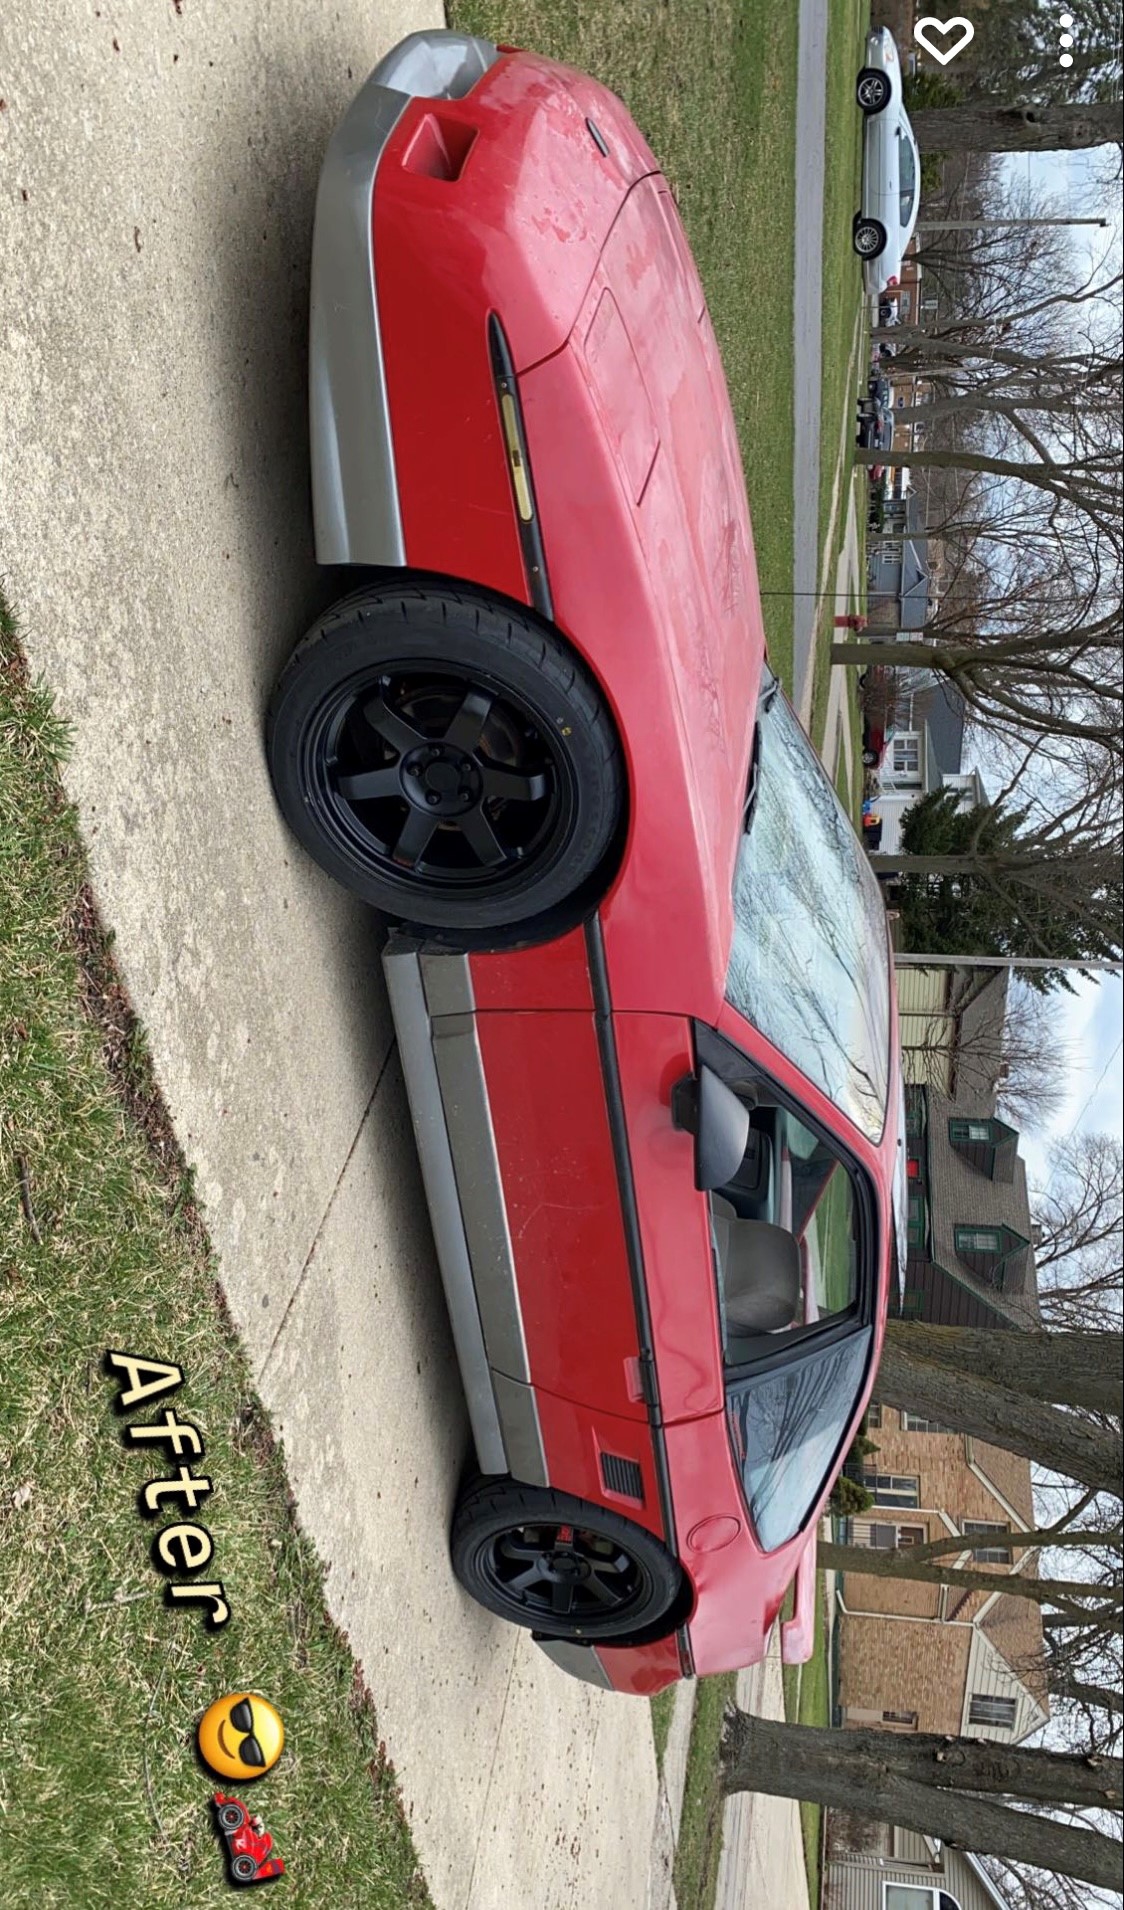
Second setup i added a flex pipe, and used the Spintech muffler instead
It now also has ZZP high power coils and 10mm wires as well
And with that folks, y'all are up to date with my progress!
It has definitely come a long way, but I have a list of changes and other plans coming up for it over this winter
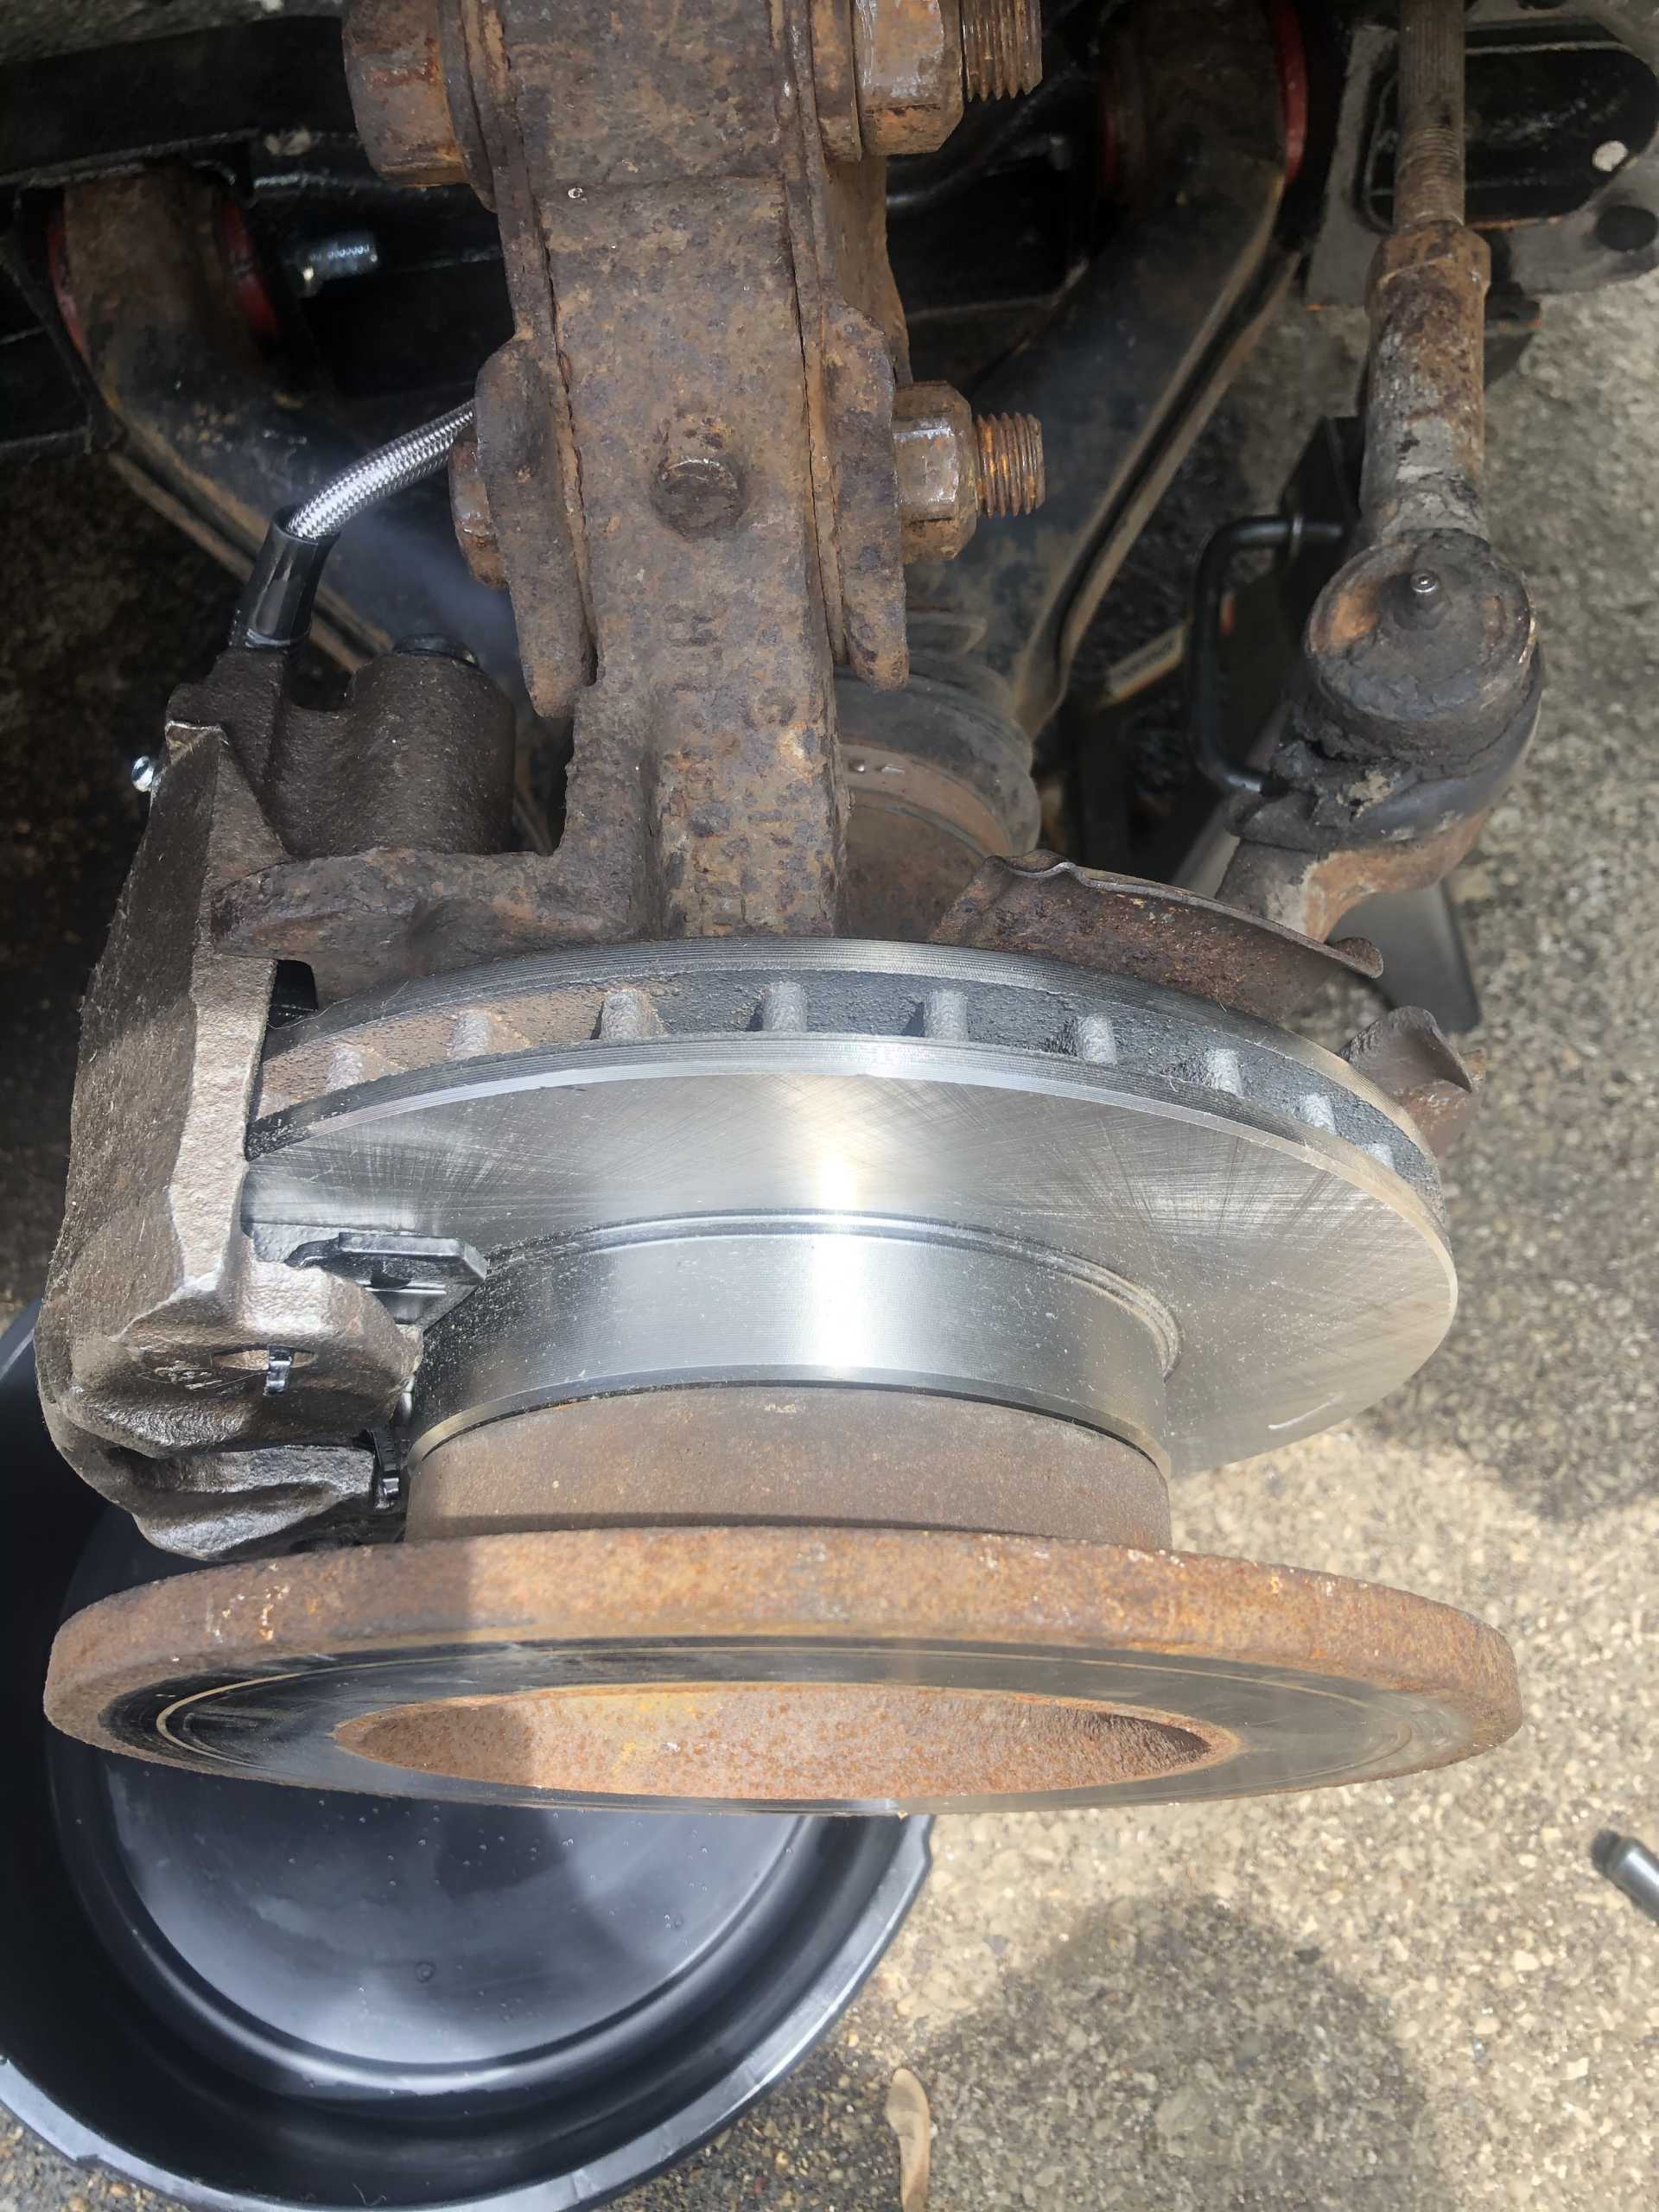
-Subaru WRX front brakes with Full size Blazer master cylinder (I already have the mounting brackets)
-Rebuild the steering rack, it has a quite a bit of play
-Tweak the alignment, not happy with my Caster angles and the front right wheel rubs on the control arm at full right lock
-Paint calipers
-Front and rear exhaust manifolds (Power Logs from ZZP that I already have to install
-Possibly the new Equalizer pipe from ZZP
-Finish air intake to the fender
-Complete interior overhaul:
*Rebuild doors, regulator, motors, door hinge pins and latch bolts
*New steering wheel
*New carpet and Mr.Mikes Upholstery Seat covers
*Sound deadening all around
*Rebuild stereo system with upgrades
*Fix Headliner and rebuild the sunroof
*New 3D printed center skeleton
*New shift cables
*Misc switches
*Boost gauge and AF ratio gauge
I hope y'all are enjoying following my journey of fixing up this Fiero!
I've really enjoyed driving this thing so far, and I plan on keeping it that way
More updates will continue once i start making progress this winter!


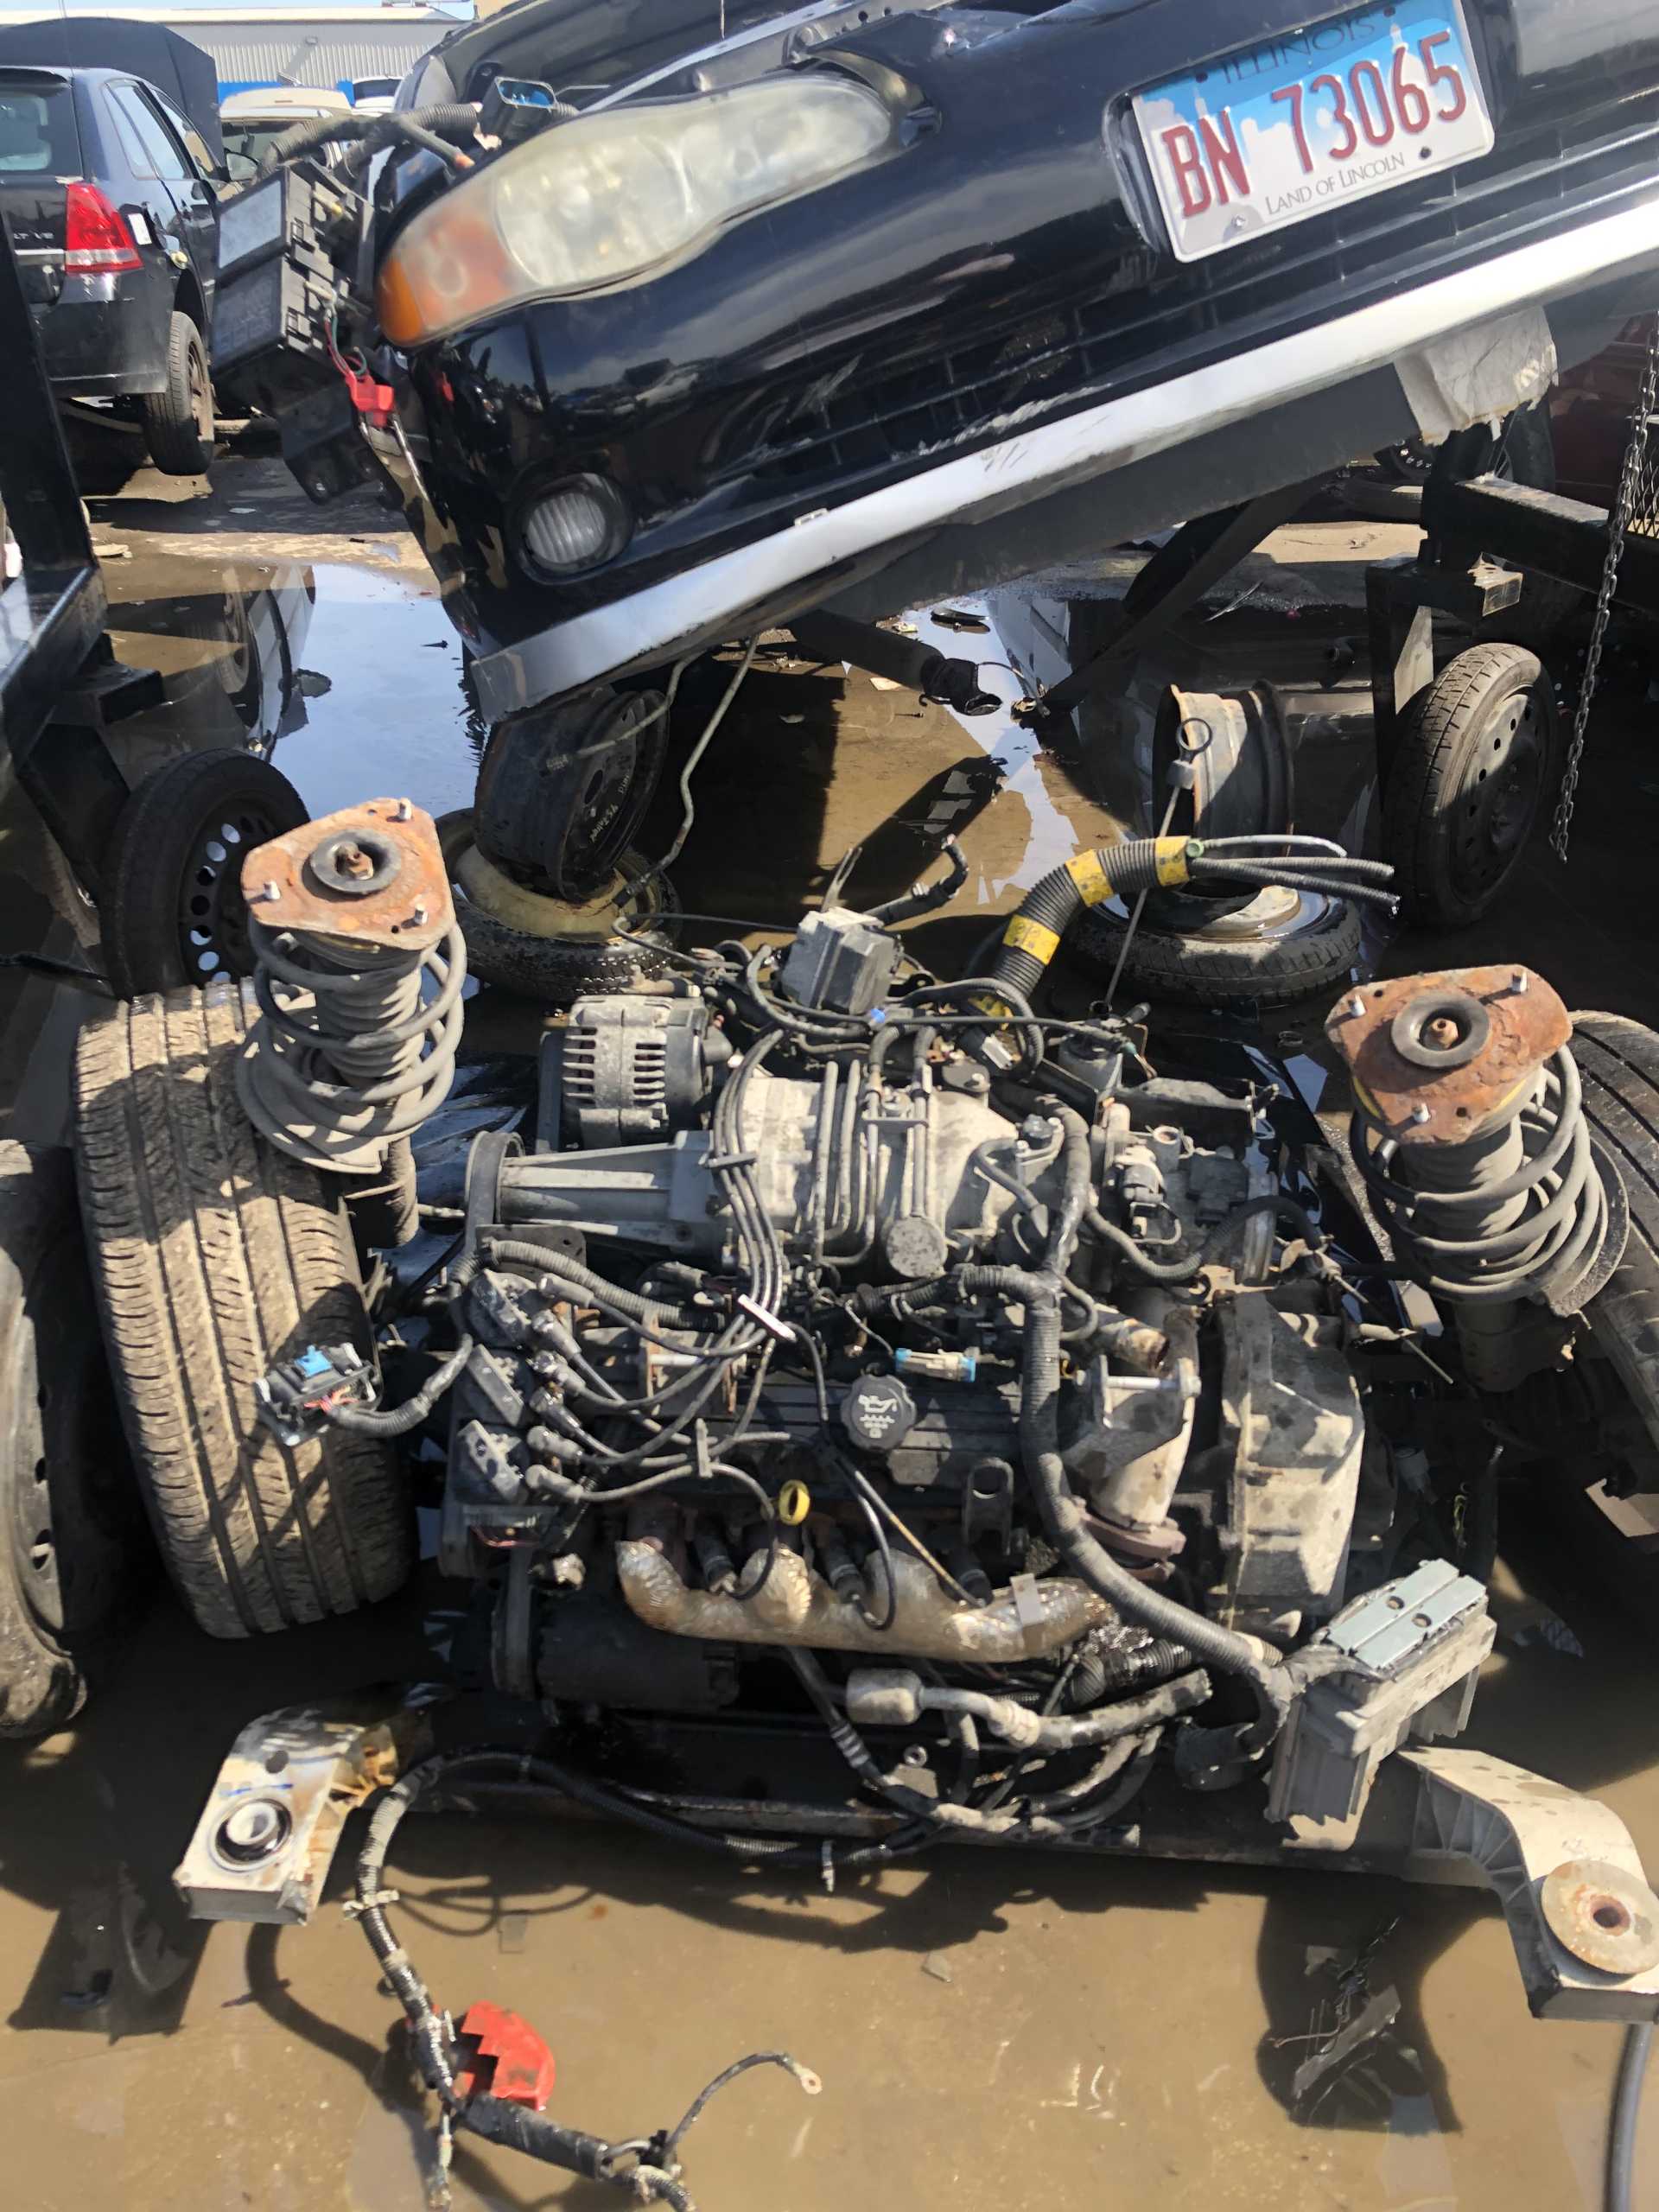
 Didn’t run. Underbody and truck were super clean. Only a small rust hole in the drivers wheel well and in the passenger wheel well as well. Nothing to be worried about. Floor pans clean. (Yes I know there are people who say I towed it wrong. Since it’s a manual don’t have to worry about lack of lubrication, and it handled very well on the 4 hour drive back) Got home, went on eBay and ordered a service manual for it.
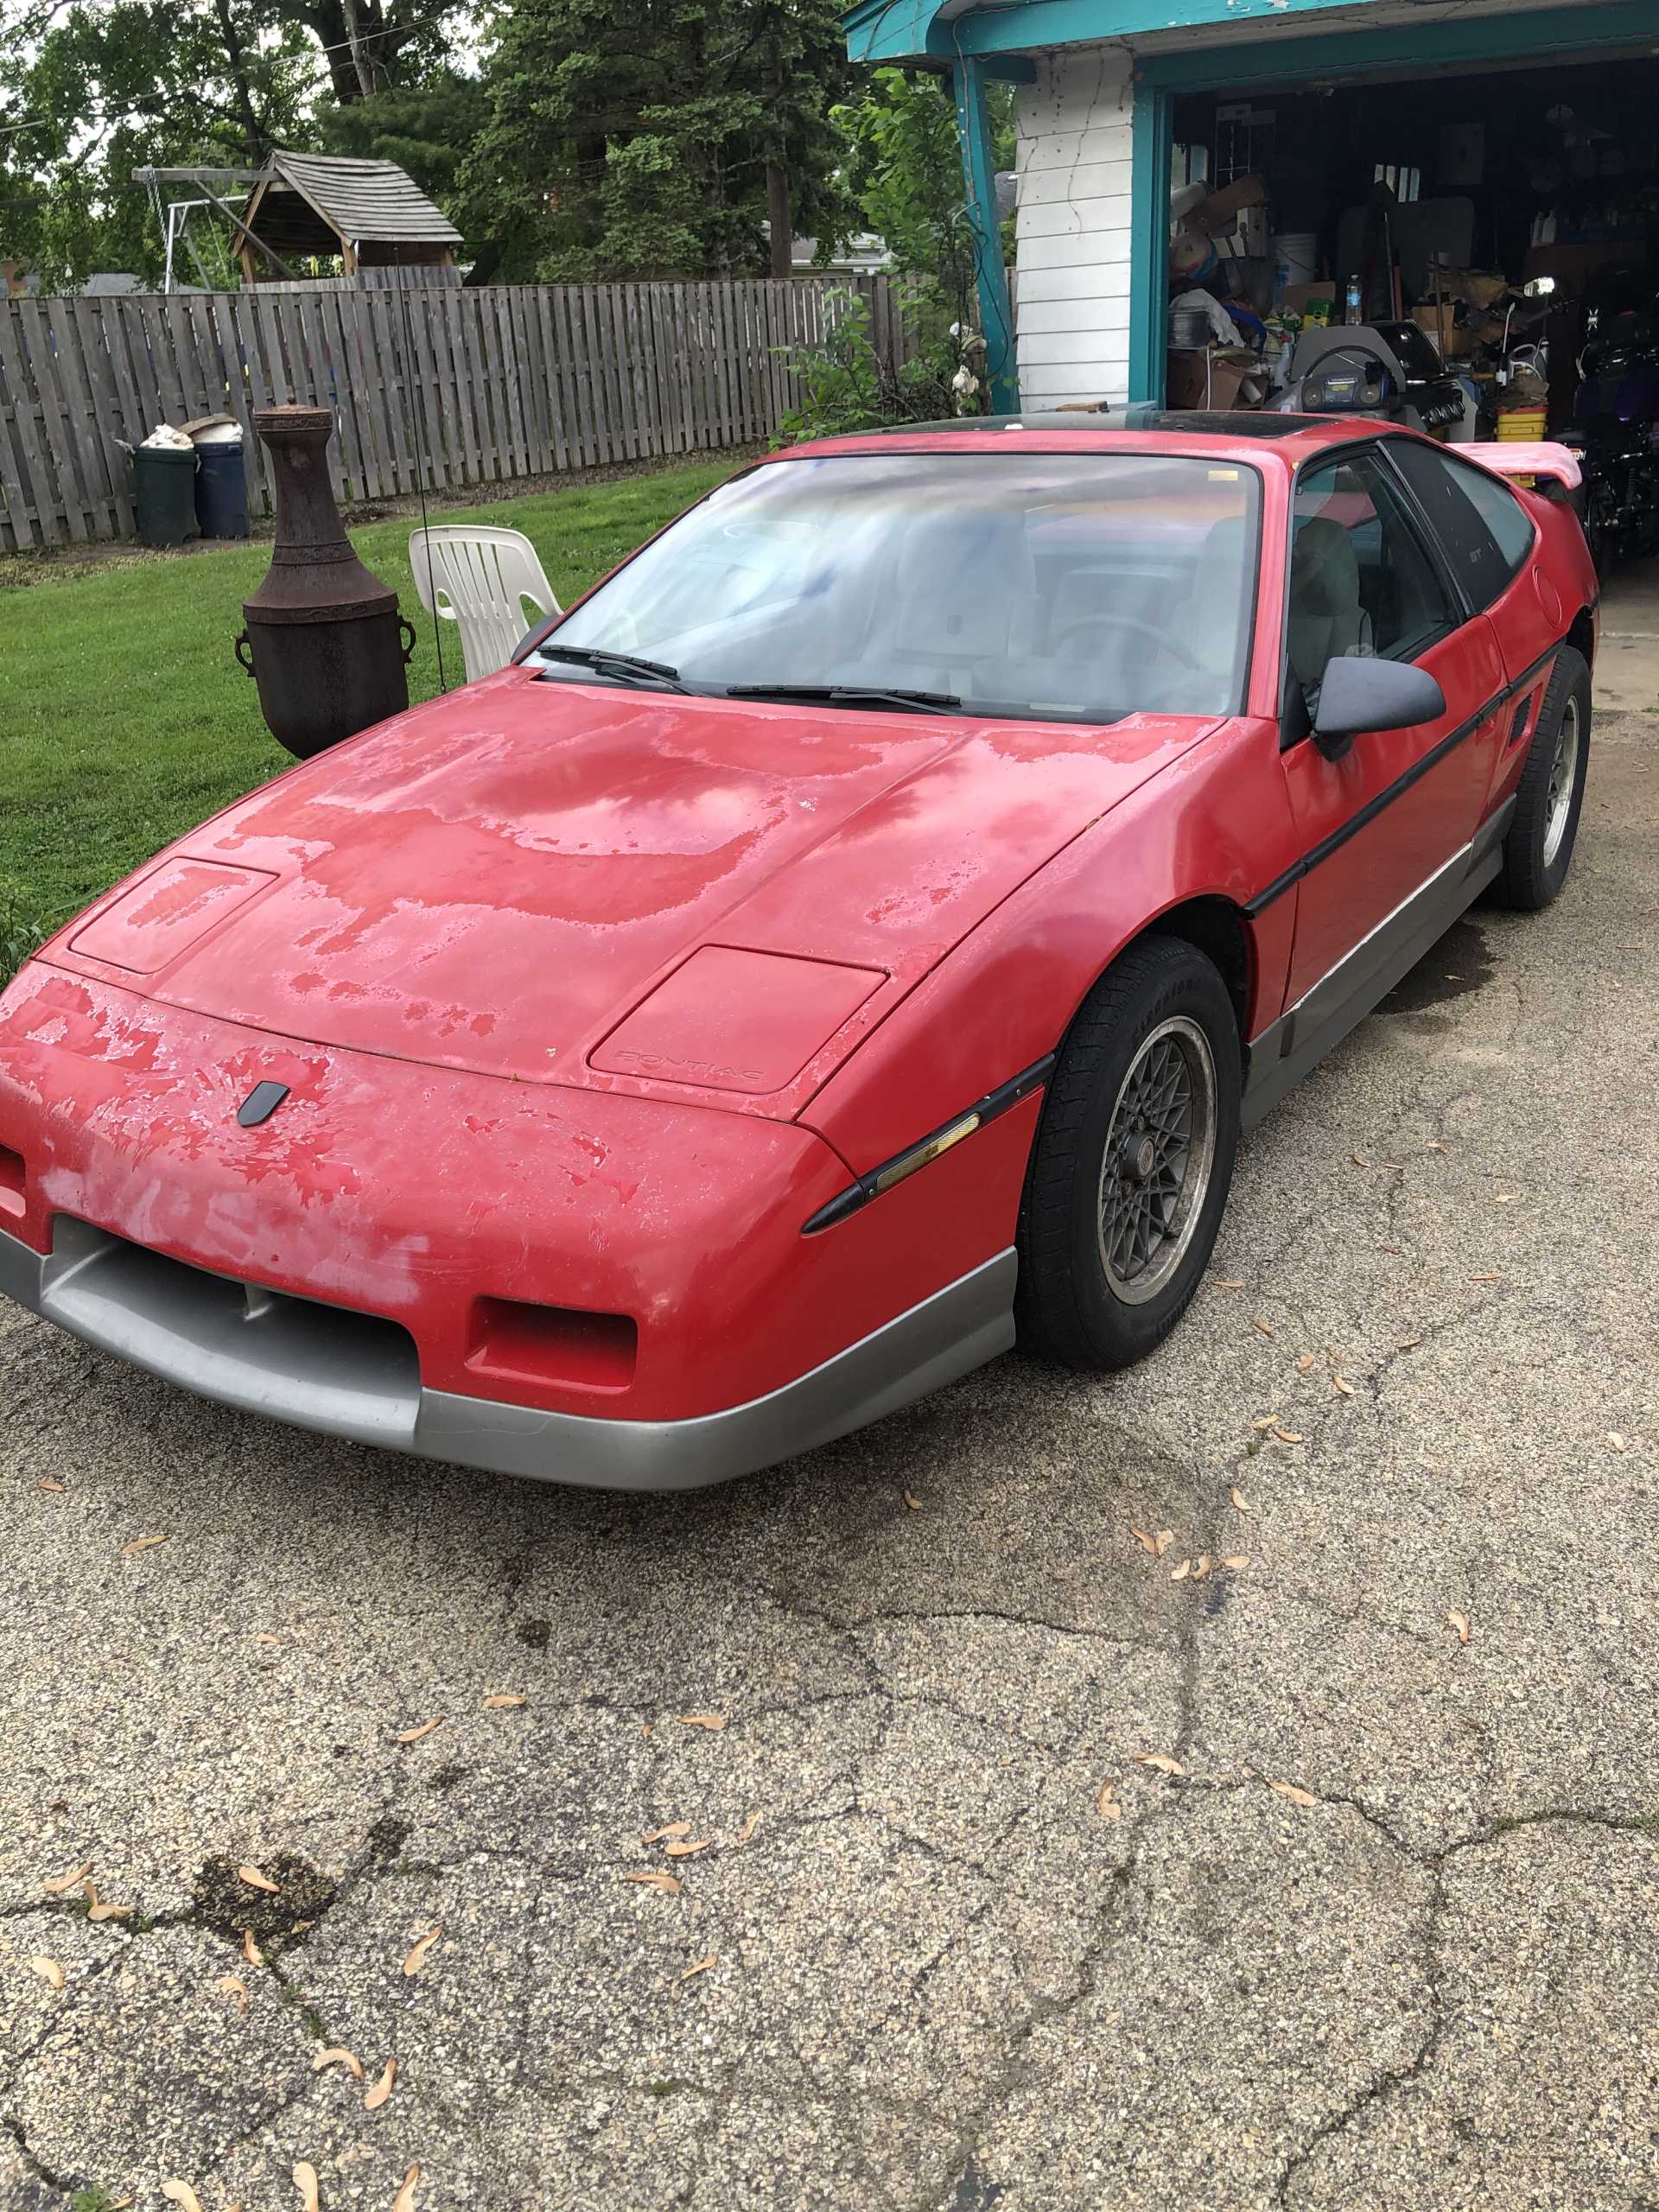
 [img]https://images.fiero.nl/userimag es/Gunganking/9DDD12CA-F123-4056-9005-D390668C4DBF.jpeg[/img]


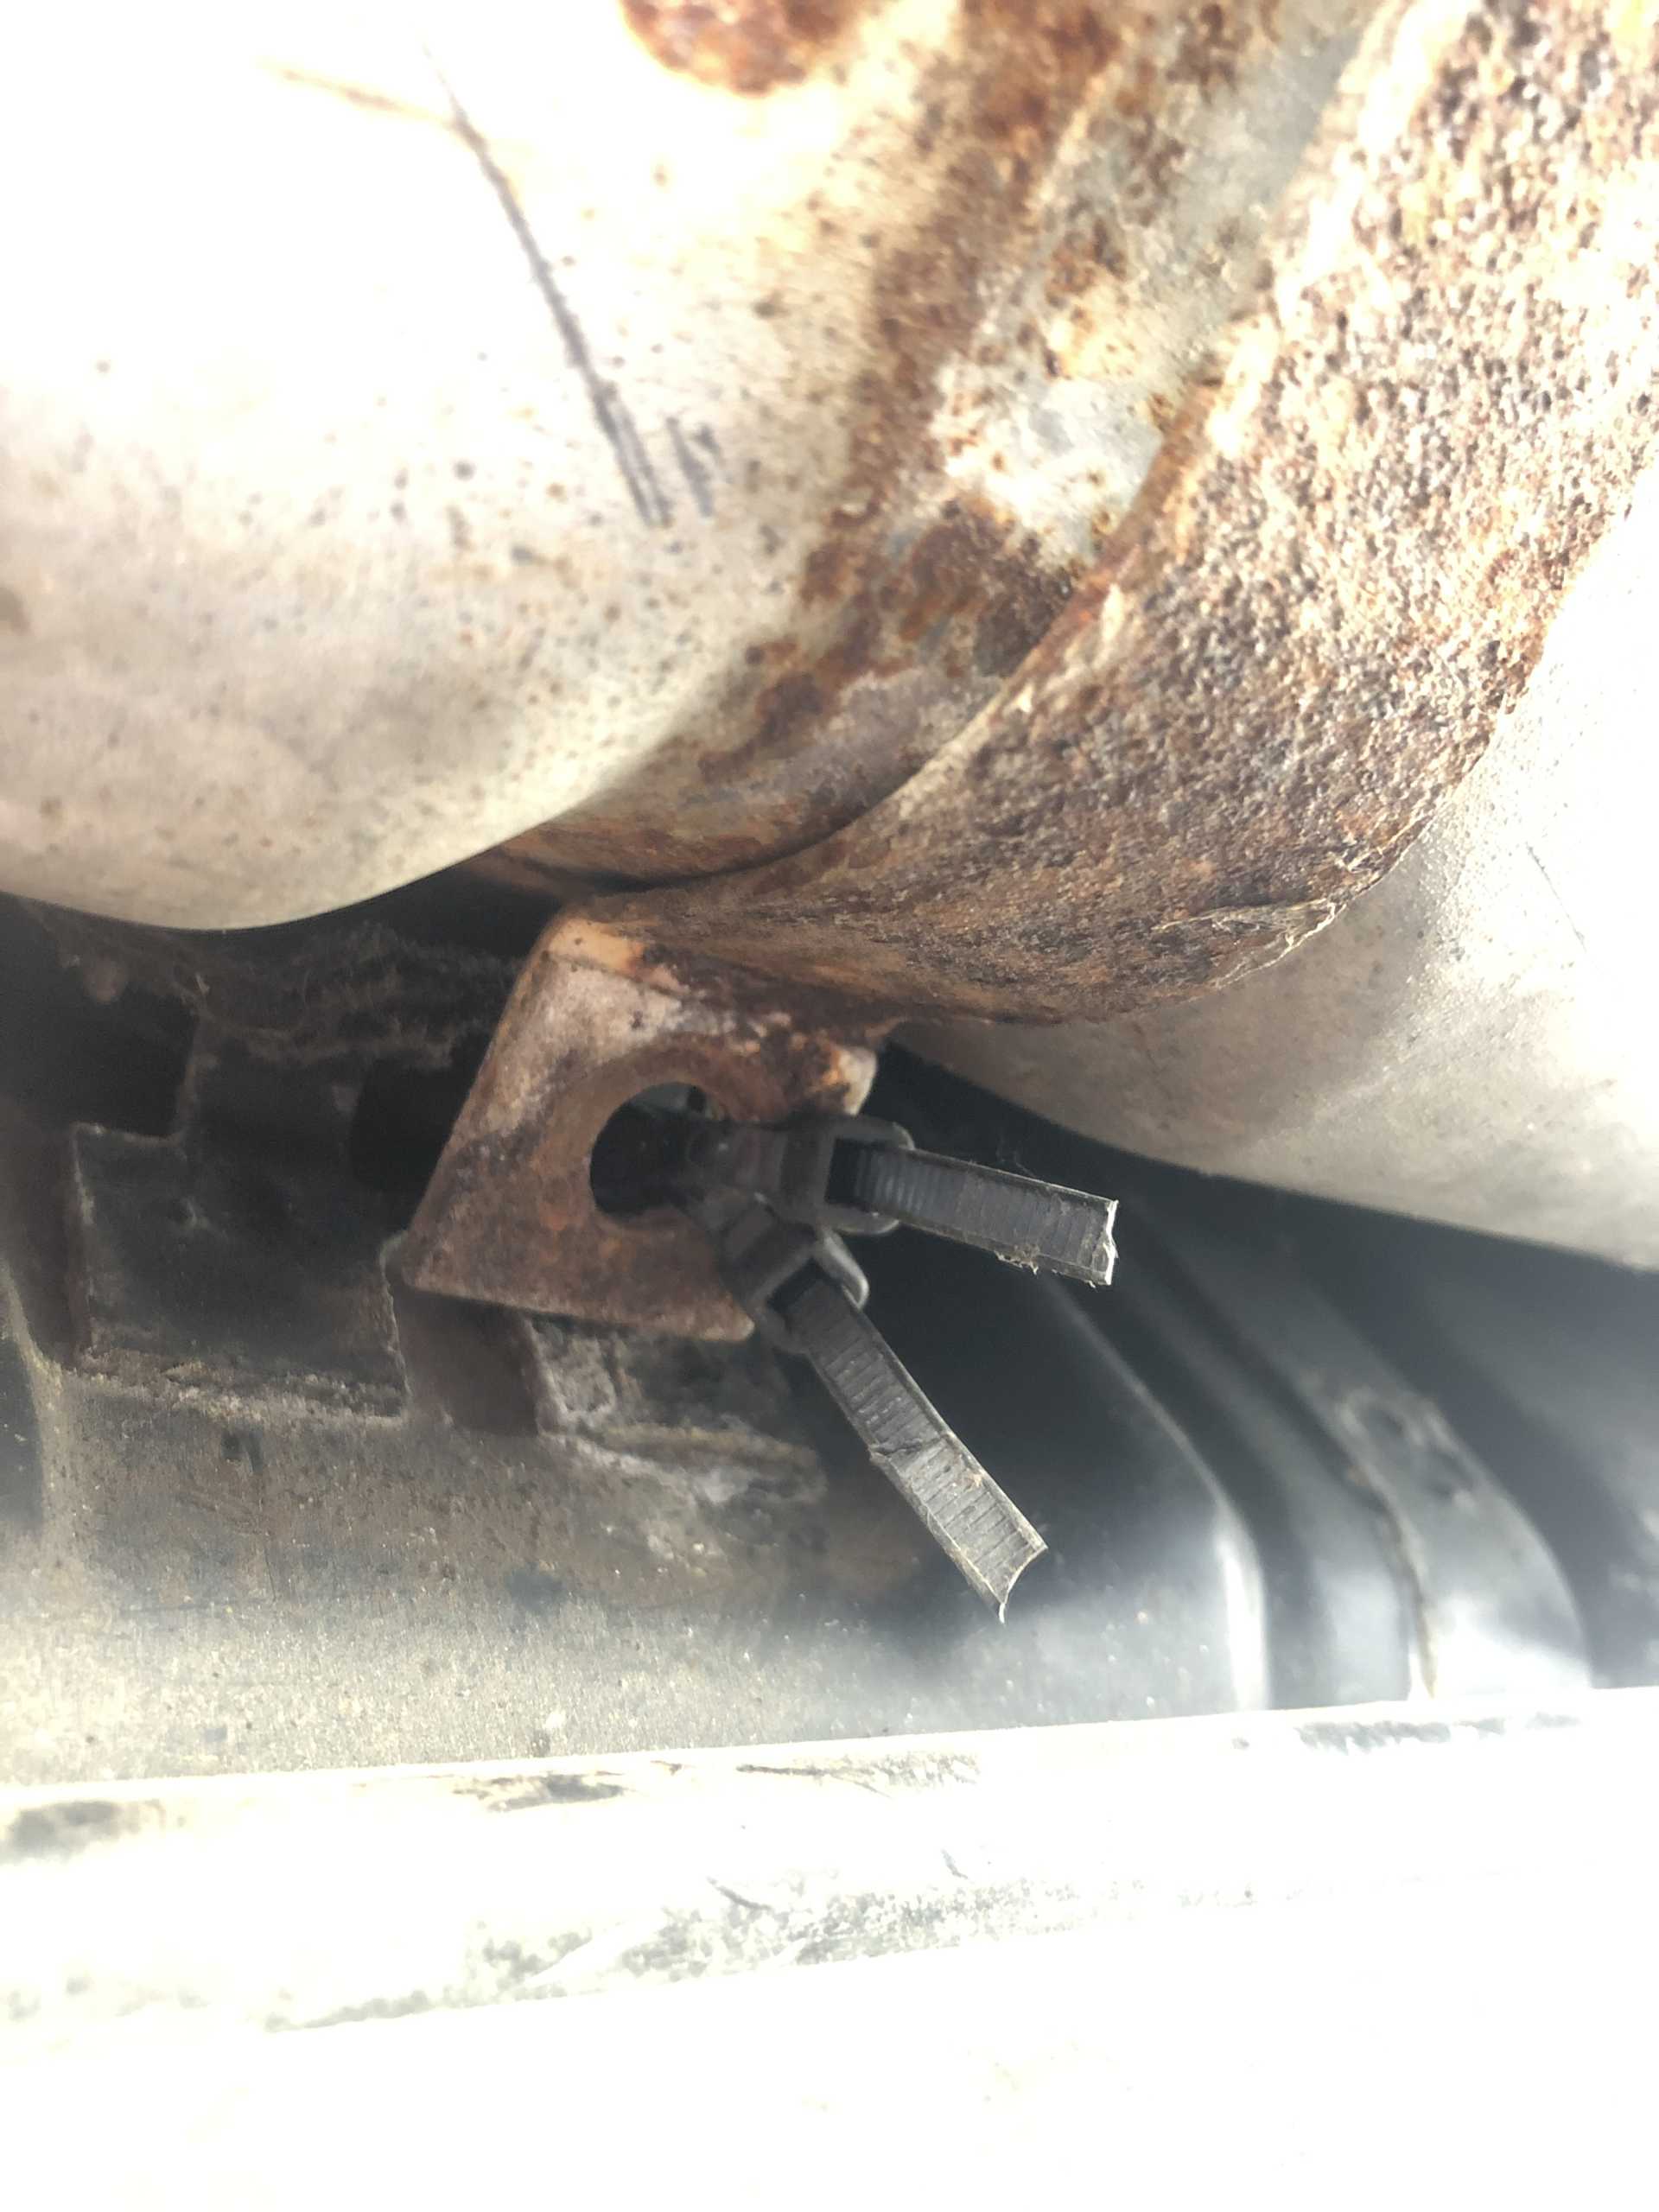
 Doing Stuff Like This Can Kill You!
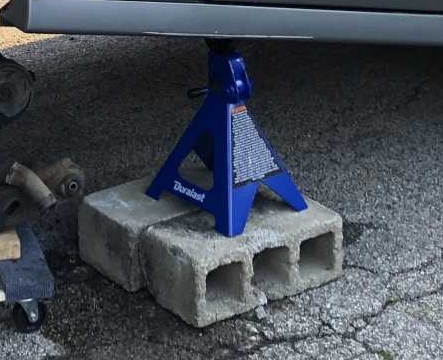


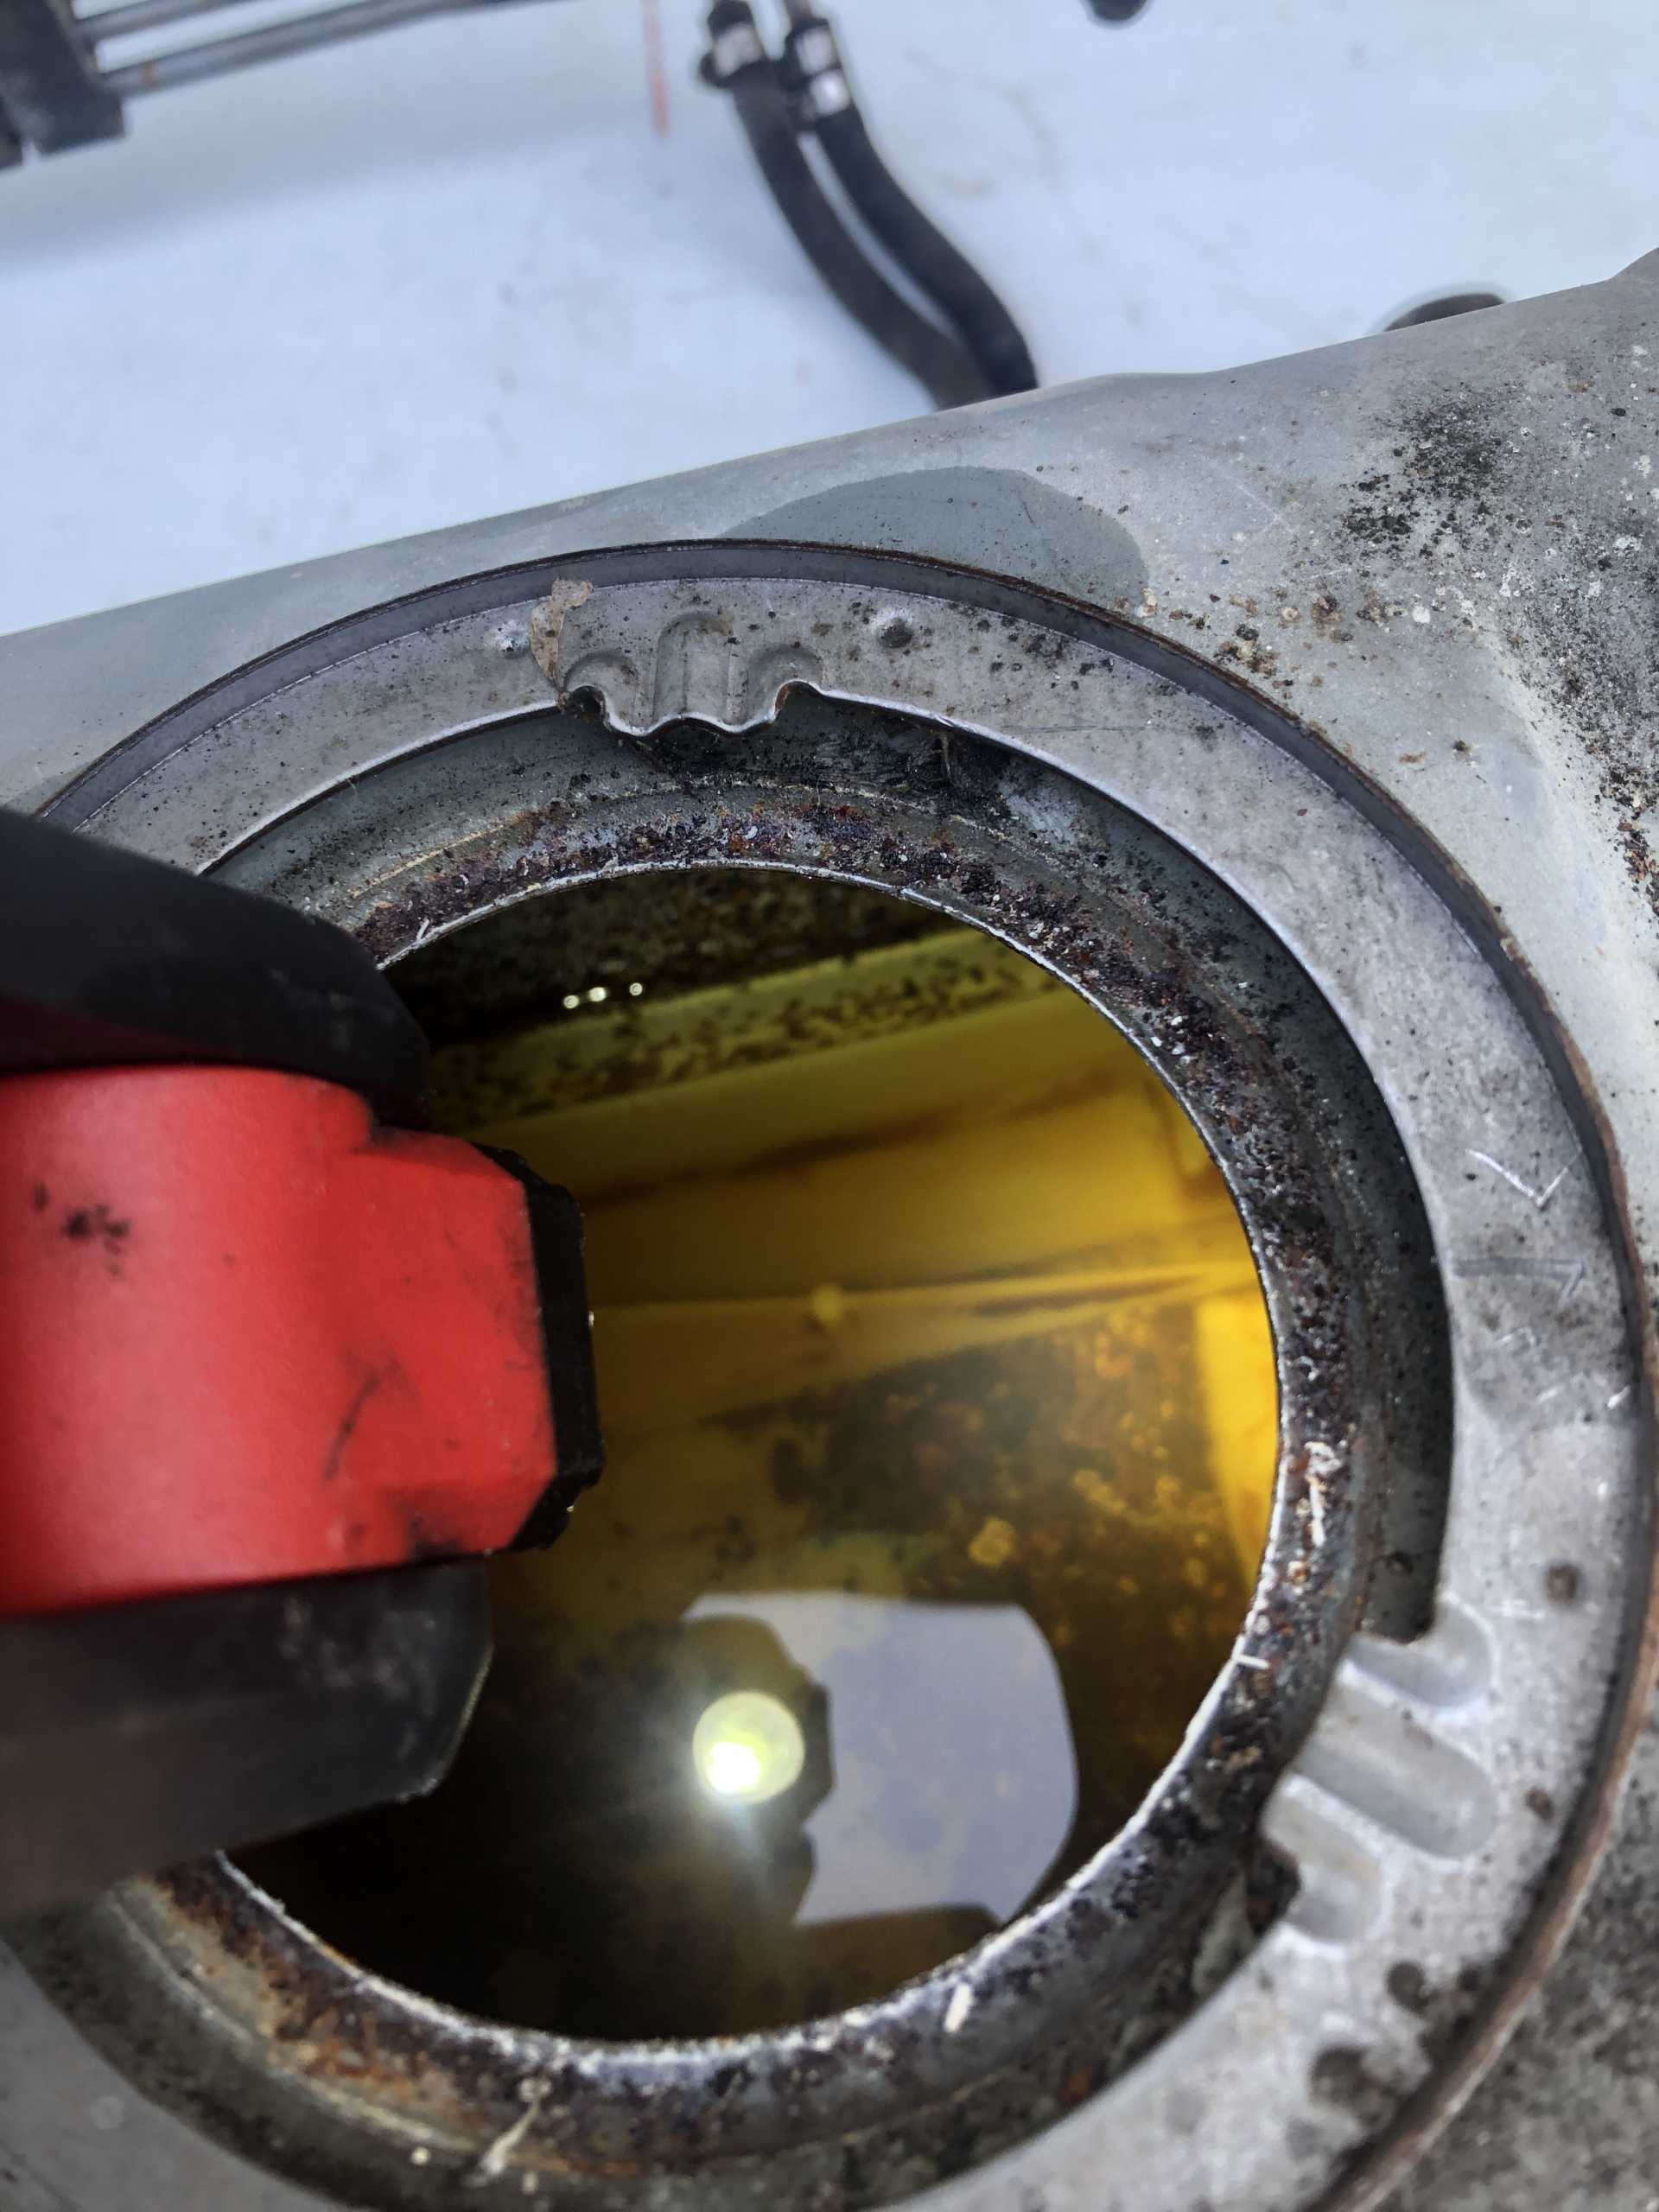
 I lowered the vehicle down on just the jack stands positioned on the rear frame rails without bricks to support them, thenused Sourmash’s method when I reinstalled the engine later on.


 I got really aggravated and let it sit for 2 days. Guess what? It fired right up that day I decided to mess with it again


 [img]https://images.fiero.nl/userimages/Gunga nking/8BBD40DC-D700-41A3-92E8-CB6271A3DA82.jpeg[/img]


 . But it never got that far. I received the new bearings and with the rod installed there was way too much play in the rod that it would be no better than it was before. The car fought me every minute until the very end and won. Only was able to put 147 miles on her