Some of the parts that I had ordered have arrived, hi-temp split wire loom.
Replaced and repaired the bad wiring between the AC compressor control and the lo & hi pressure switches. Replaced and repaired the wiring from AC compressor control to the main wire loom. Cleaned up the wiring for the relay that controls the TCC for the 4T60. Replaced the split wire loom on the wiring I repaired.
Went to pickup some spark plugs from the local parts store, R42TS. Guess what, they had to order! Don't figure. Should be in tomorrow.
The front manifold is still in the shop being worked on (welded). He is fabricating a template so when welding the manifold it stays true and does not warp.
We are getting close to wrapping the project up. Once the manifold is repaired I can begin the process of re-installing the cradle/engine.
[This message has been edited by Cajun (edited 02-27-2018).]
Unless the ECM is made to mount in the engine bay then don't mount near battery tray. (I have many ECM boards but old data doesn't cover case used by a given ECM.)
If ECM is a sealed unit then don't block air flow over the case. Bay Air can be hot to start and blocked flow can be death to them.
You and most DIYers can't make "cabin mount" ECMs and connectors waterproof and still have good heat removal. When a DIY tries to Waterproof, even make a new box for it to live, most will cause more heat problems because the case and air flow in and on the ECM is part of heat management of the whole design.
MOSFETS etc to run Injection and so on generates a lot of heat and heat sink to the ECM case but CPU and many other parts inside generates heat too and heavy DIY waterproofing can make small parts to overheat and die soon. In some cases, some parts may melt or cause a fire when bad waterproofing is applied.
Make a box to put in the ECM or move it inside often doesn't manage heat generated by ECM... Example: Fiero ECMs have problems in OE spot because console insulation blocks air flow over front case but easy fix for that. See my Cave, ECM Heat
------------------ Dr. Ian Malcolm: Yeah, but your scientists were so preoccupied with whether or not they could, they didn't stop to think if they should. (Jurassic Park)
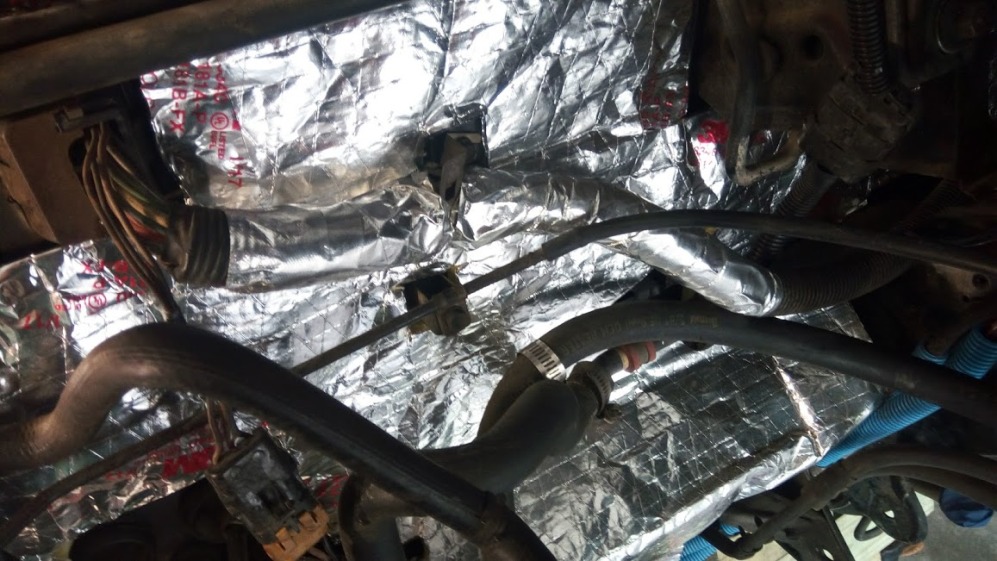
I have installed new High temp insulating tape on the main wire loom (the one that goes to the ECM).
I also installed new High temp insulating tape on the wire loom against the firewall.
In addition, I have also installed a temp senor in the engine bay. No big deal since I have a digital AC temp controller I just added a couple of switches on the outside temp circuit. Now I can see what the outside temp is, the cabin temp and the engine bay temp.
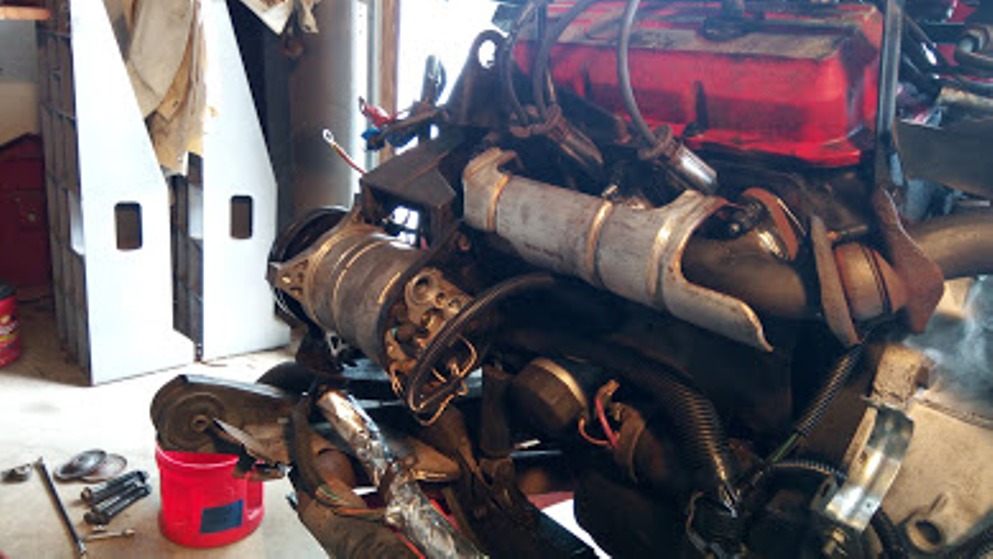
Still no word on the progress of the exhaust manifold repair! While the engine is out I have decided to have a few pieces powder coated.
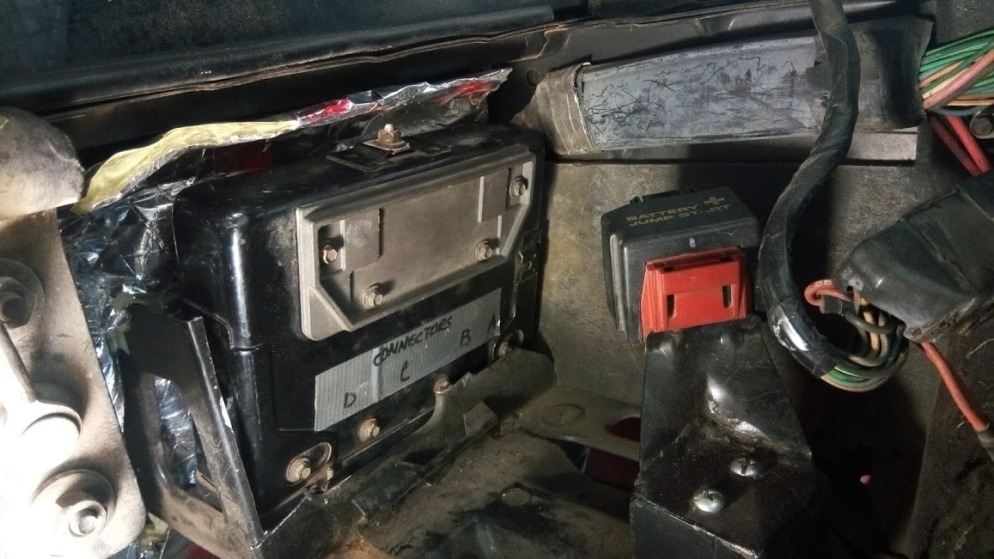
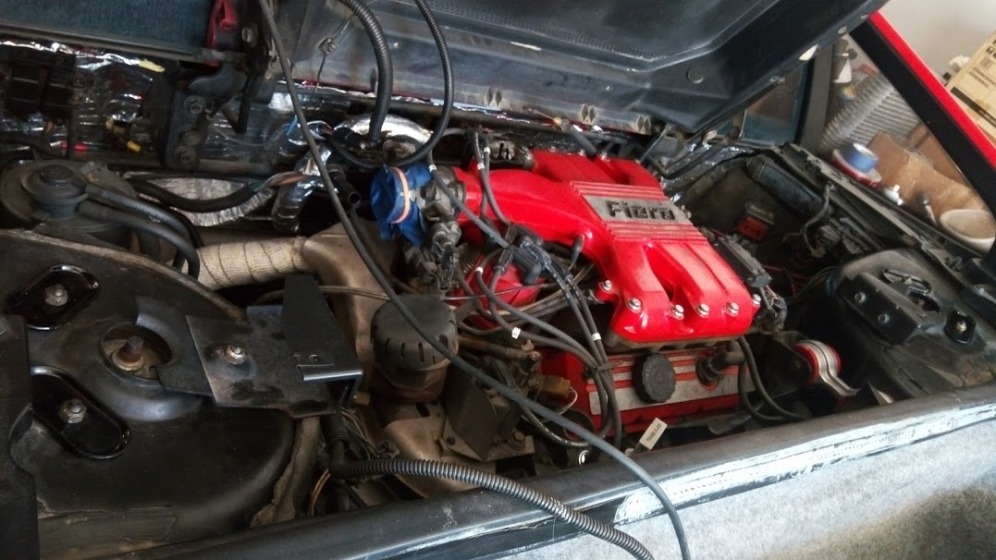
The ECM that I plan on installing in the engine bay area is designed for that application, a 1227727/16198260. In addition I plan on installing a small cooling fan to insure air movement around the ECM.
[This message has been edited by Cajun (edited 03-02-2018).]
Was able to do a little more work on the GT yesterday.
What go me motivated was the fact that I received word that my exhaust manifold repairs were complete and I could pick it up at my convenience. That may be early next week as the shop is about 35 to 40 miles from my location.
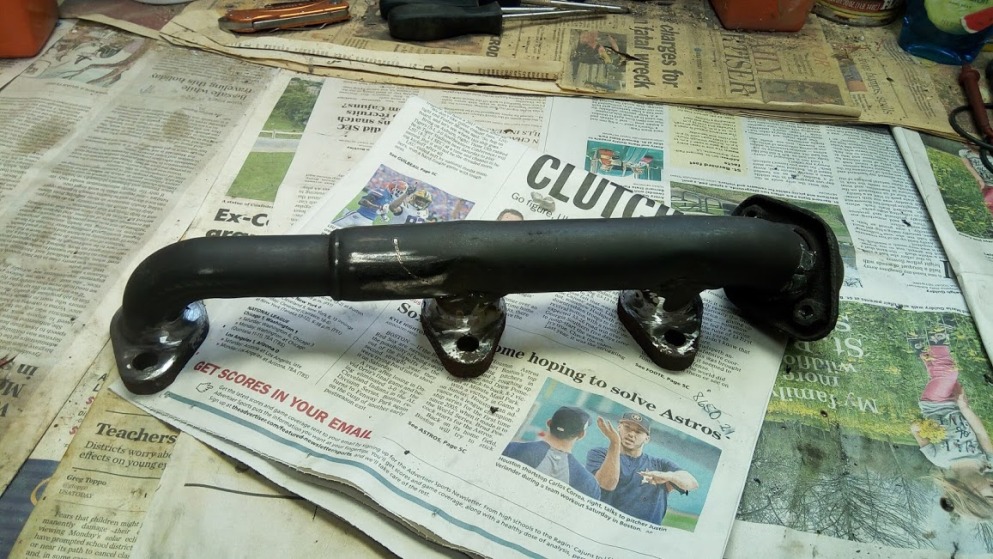
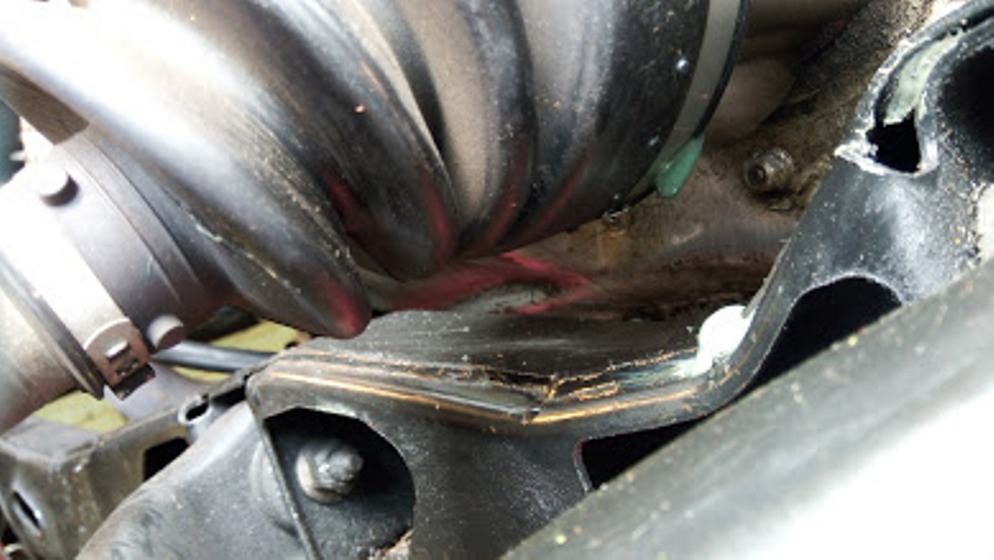
Anyway, I have completed fabricated the Band-Aid fix for the one section of the manifold flange that I could not remove the broken tap. What I did was use a 1 inch piece of 2x2x1/4' angle iron. See photos below. With the angle iron in place I was able to apply the same pressure on the exhaust manifold flange as before.
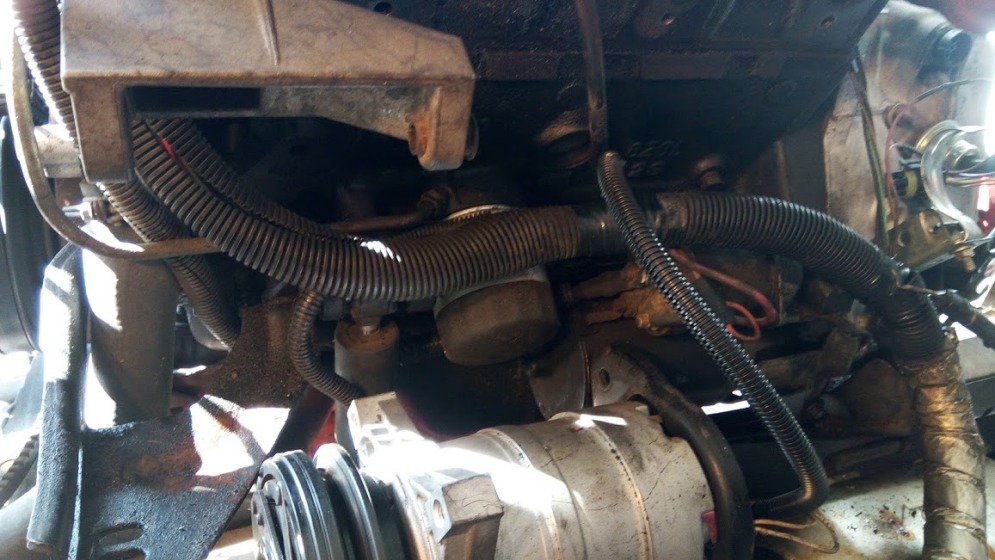
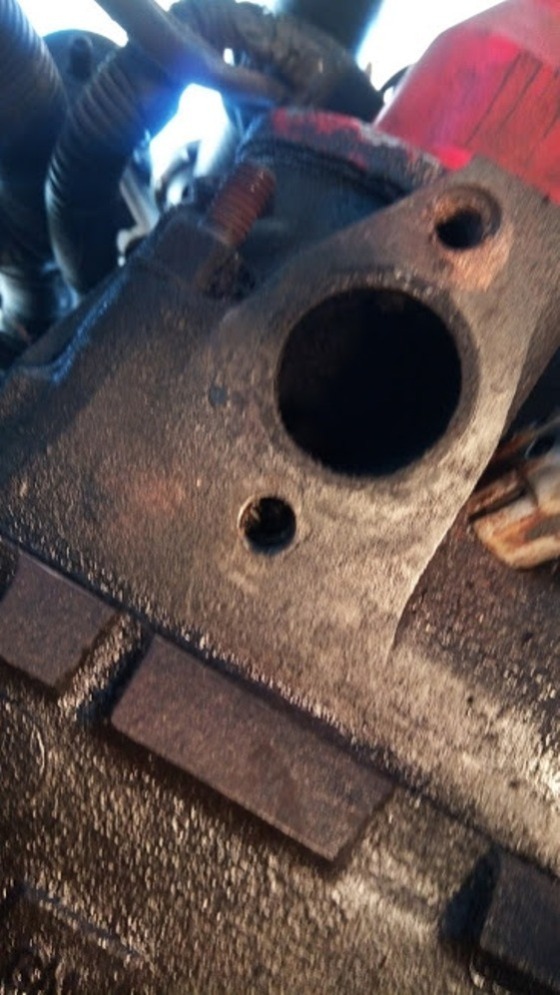
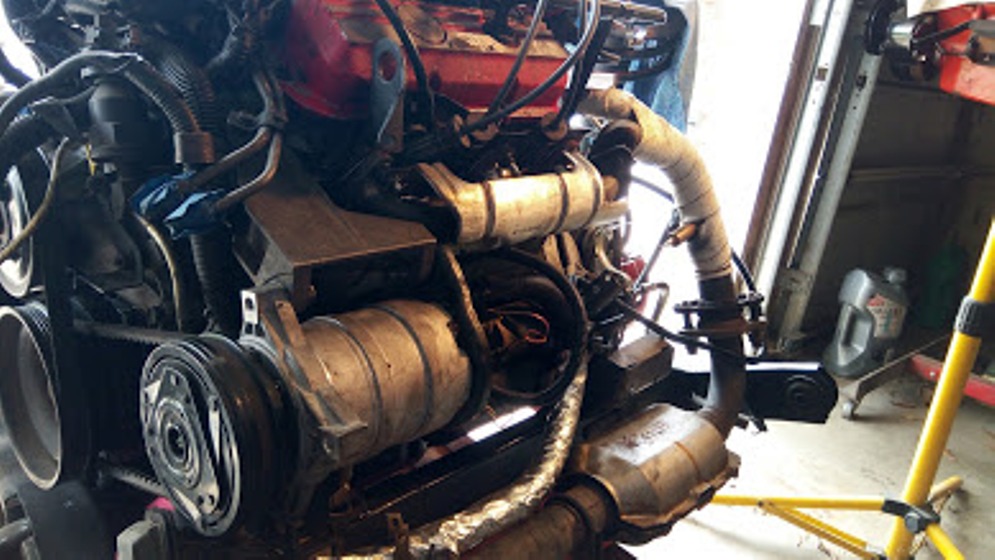
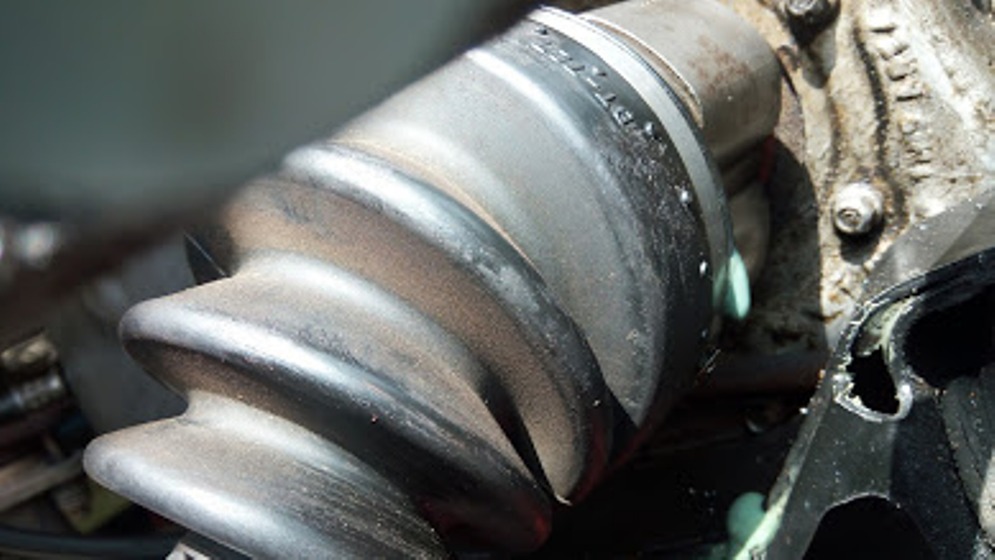
As mentioned previously, I found that one of the exhaust bolt holds in the head was stripped. I have drilled out the hole and tapped to 10 mm. The new bolt size is now M10-1.25. My selection of the 1.25 thread pitch was not too swift as it turns out I am having difficulty locating a proper bolt locally. In order to obtain access to the stripped bolt hole I ended up removing the AC compressor bracket and accessories attached to the bracket.
Once I get the remaining exhaust manifold installed then I should be ready to re-installed the engine/cradle assembly. That should happen in the next week or so. For that operation I plan on using the assistance of my son. If and when he has the time.
[This message has been edited by Cajun (edited 03-13-2018).]
A little set back... Picked up my manifold the other day after repairs were completed. After cleaning up the manifold I suspected I was seeing another hairline crack. I brought the manifold to a friend to have it magnafluxed. Sure enough another flange has a crack. The manifold is back at the shop.
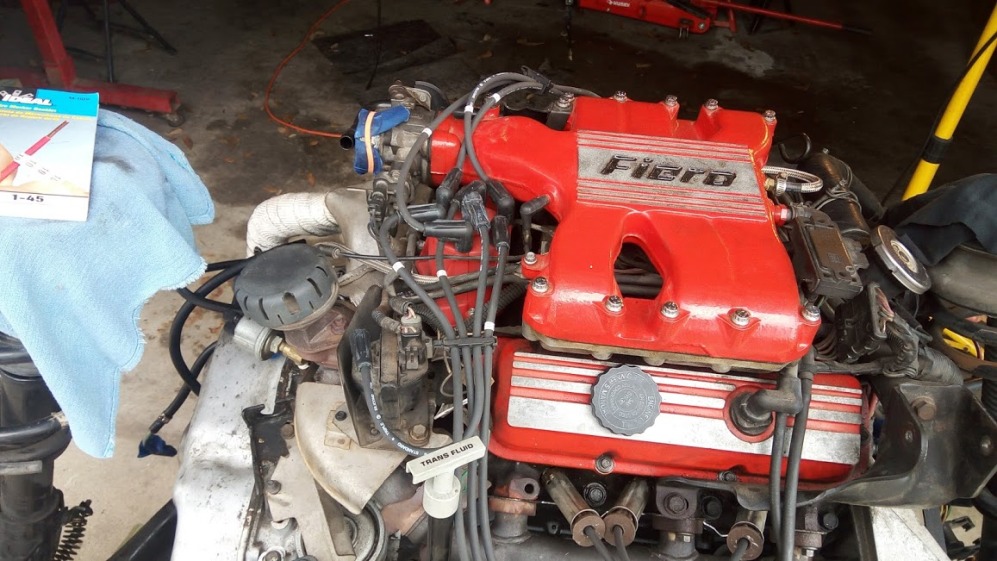
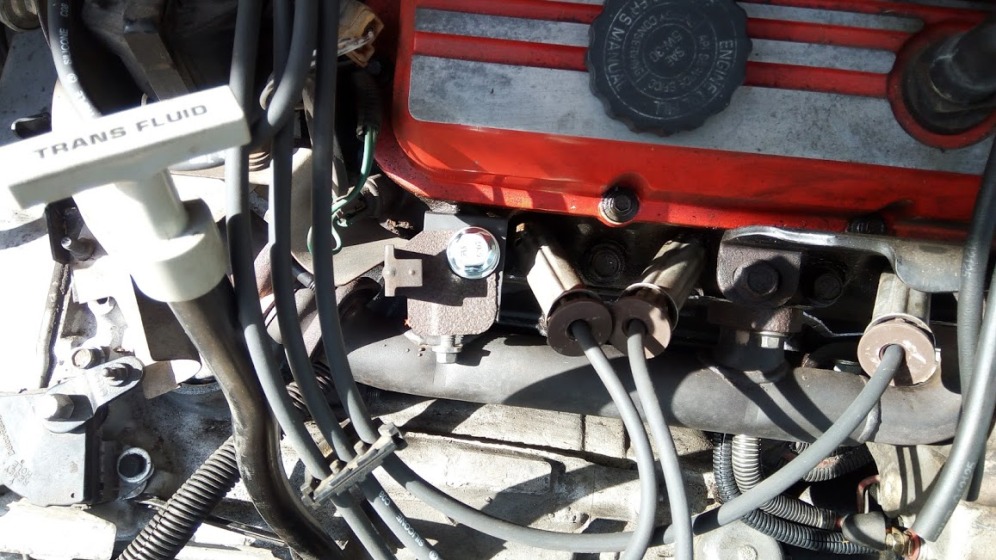
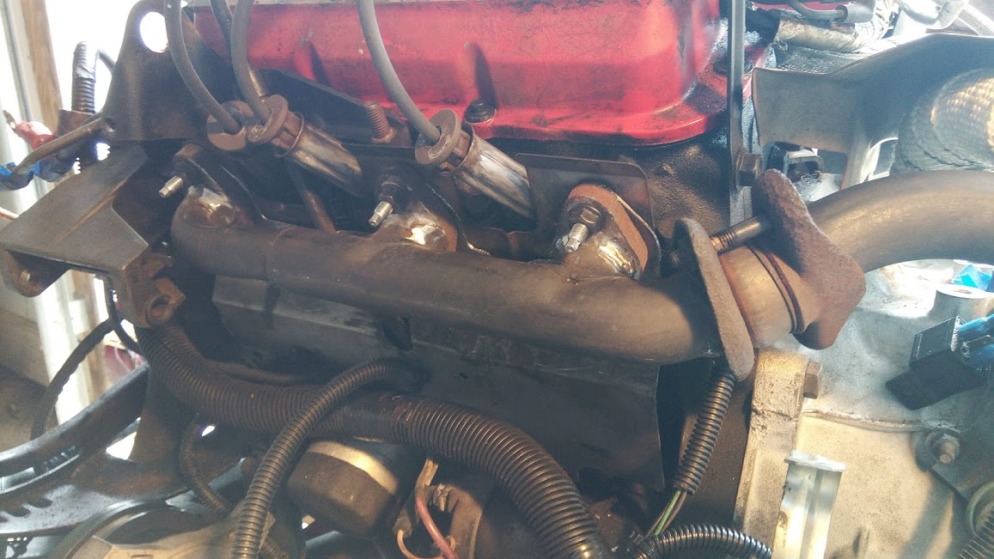
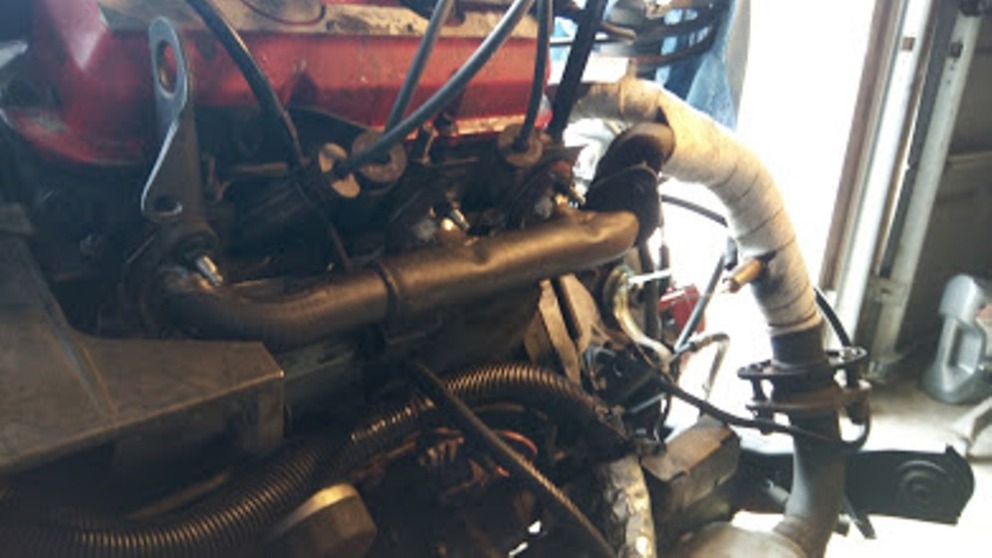
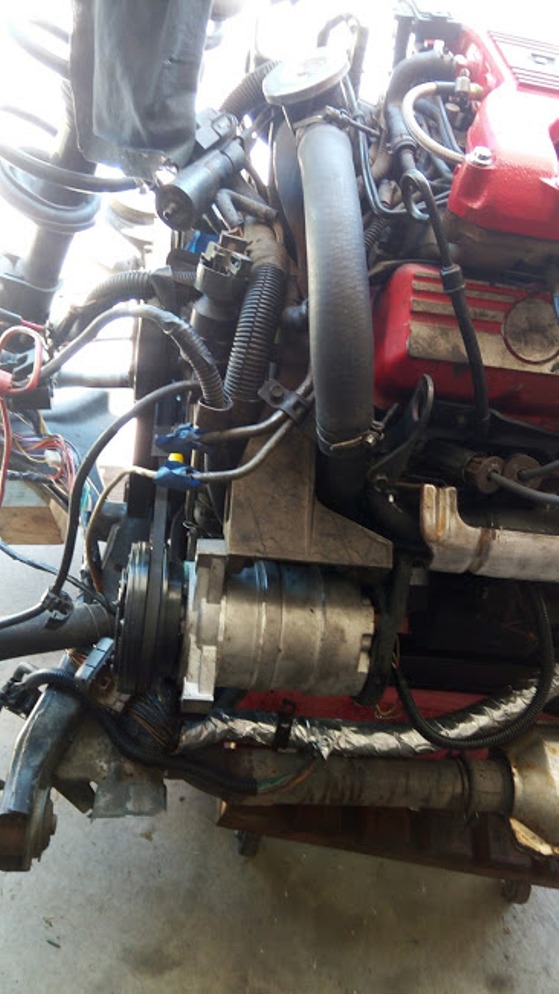
I was finally able to get back to putting the GT back together. The front exhaust manifold (firewall side) has been completely repaired and has been installed. Also installed are the various accessories, i.e. A/C bracket, etc.
A photo of the repaired manifold:
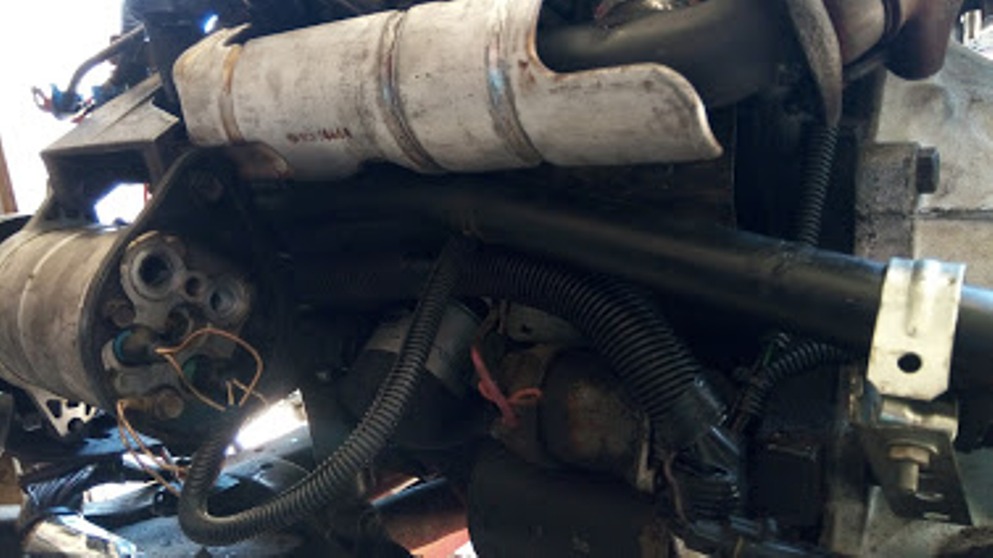
Manifold installed with accessories:
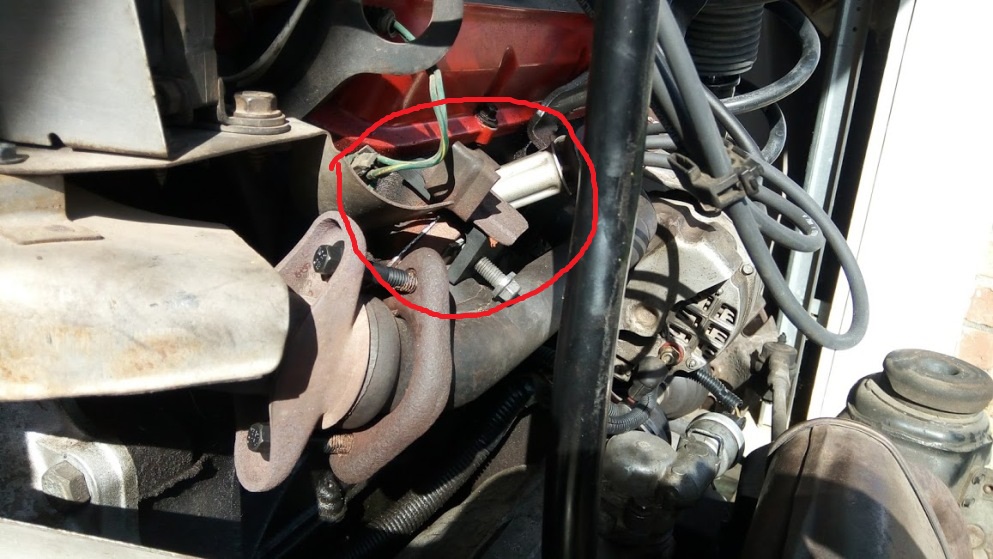
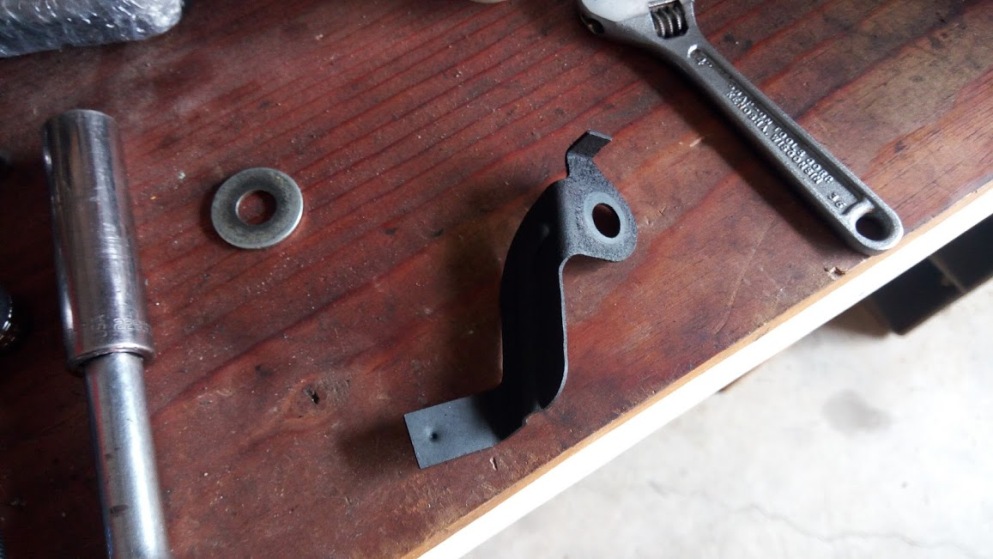
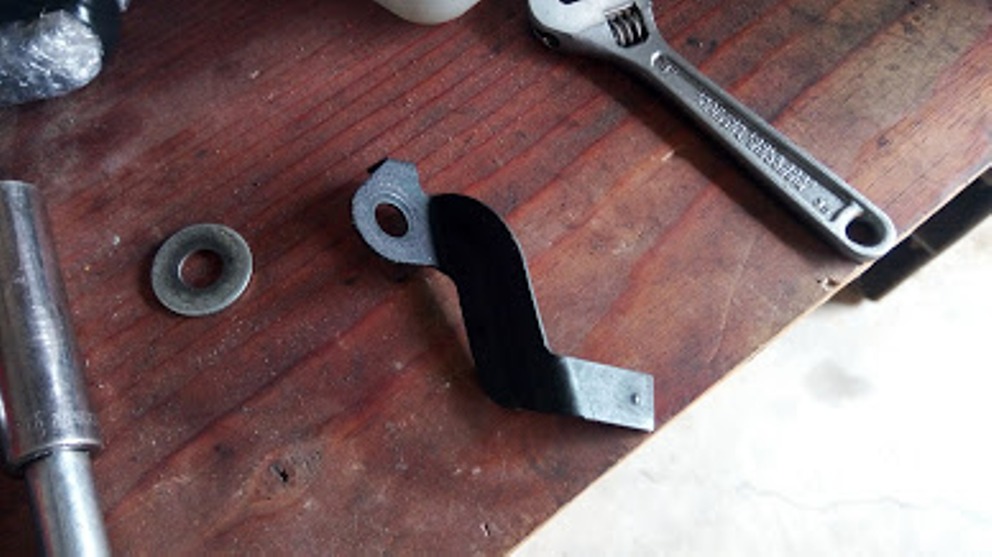
During the re-assembly of the manifold and accessories I noticed that I had an extra part. I'm not real sure where the part goes or for that matter what it is called other than a bracket of some sort! Ok, now for a little quiz; who can name that part?
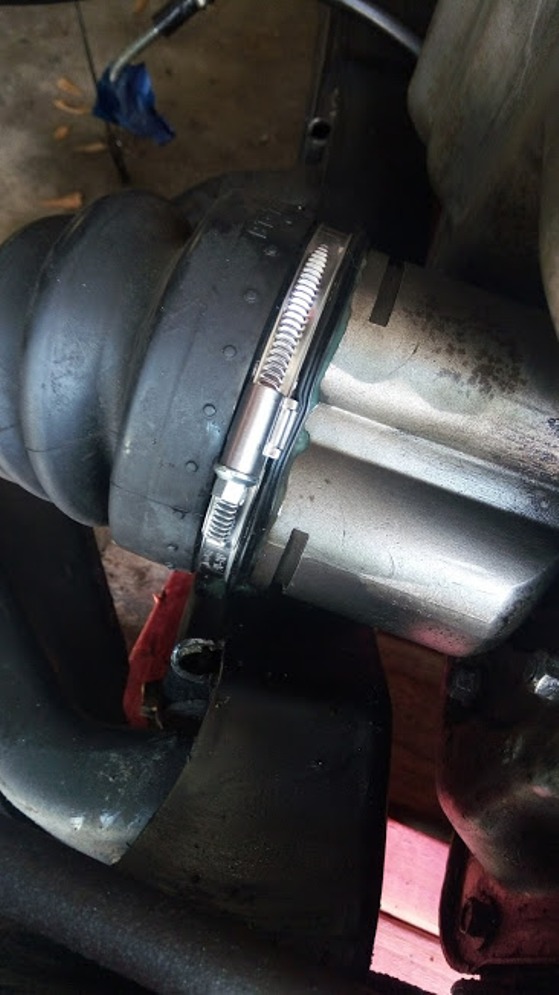
While I was putting everything back together I noticed that some grease had leaked from the driver side CV joint. I know we have had this discussion in the part where a number of you indicated that CV grease cannot simply leak from a CV. Well, I can tell you I has happened.
I'm thinking in total about a tablespoon of grease has leaked out. My question is; how much grease is in a typical CV joint? Is there any concern at this point in time?
Thanks for the feedback about the grease quantity.
Another minor setback; I surprised that no one caught the fact that I had not installed the coolant that goes on the side of the engine. Anyway, the issue has been corrected. It was just a matter of removing the A/C compressor and associated brackets and accessories.
I'm still trying to figure out what I need to do about the CV.
I'm still in the process of putting my GT back together so I can drive it once again. It's been over six months since I began the repairs. It seems that I keep going backwards on some of the repairs. Forgot to re-install the coolant tube which means a lot of stuff has to be remove that had been installed. The coolant tube has been installed.
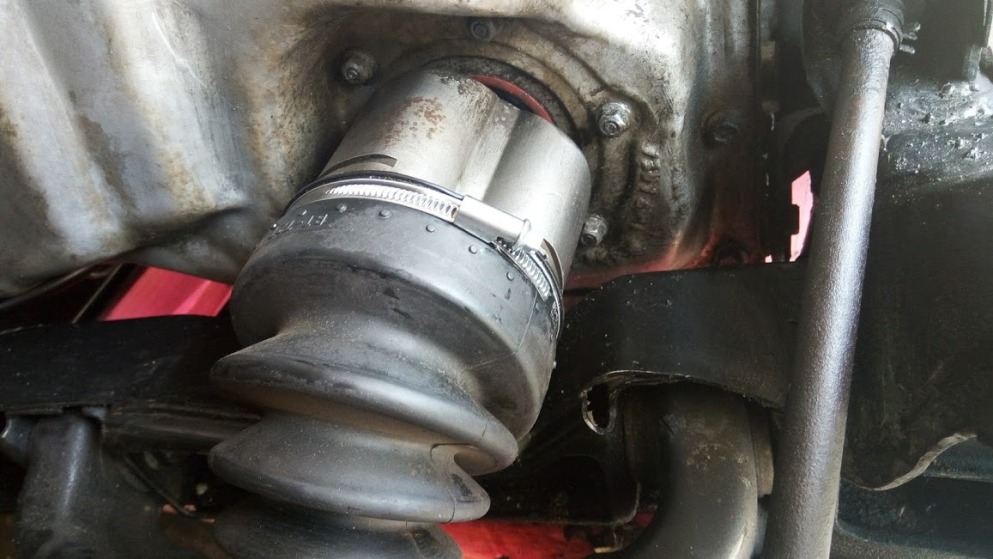
Now on to correcting the CV grease leak issue. I have been procrastinating on how best to approach the problem. I have convinced myself it be best to go ahead and replace the existing CV boot clamp. The question is what type of CV boot clamp to replace the existing with? I was favoring a band type clamp but ran across some information on a Norma CV bolt clamp. It's pretty much just a big ass hose clamp but specific to the CV. So, this begs the question; does anyone out there have any experience with the Norma boot clamp?
I also plan on replacing any grease that has been lost to the leak. To that end I have ordered some CV grease from a local auto part store.
I might be wrong, but I think that little bracket is on the front of the engine, passenger side, near the oil pan. I'm not sure what it's there for - my '87 GT has it just hanging off into space. It looks like it's there to support wiring, but no wiring goes anywhere near it. I nearly removed mine yesterday, but it seemed more trouble than it's worth.
I suspect I have procrastinated long enough about what to do about the CV boot clamp replacement. I have purchased two types of CV boot clamps, one is a Norma 90-110 9mm wide clamp (hose clamp type) and one is a banding type clamp. I could never locate a 9mm wide banding type clamp or for that matter a 9mm wide standard type CV boot clamp. I went ahead and bit the big bullet and went with the Norma clamp. The Norma clamp does indeed clear with about 1/2 inch of clearance at the tightest spot.
Once I made that decision and began the process of removing the existing CV clamp I noticed that I could move the existing clamp a bit back and forth and slightly from side to side. In other words the clamp was loose and thus the cause (in my mind) of the leak.
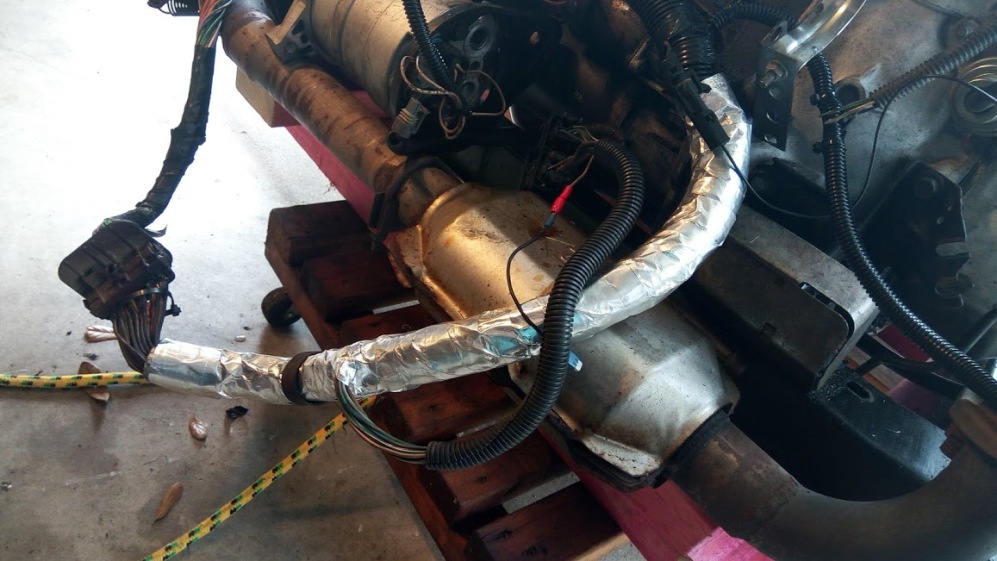
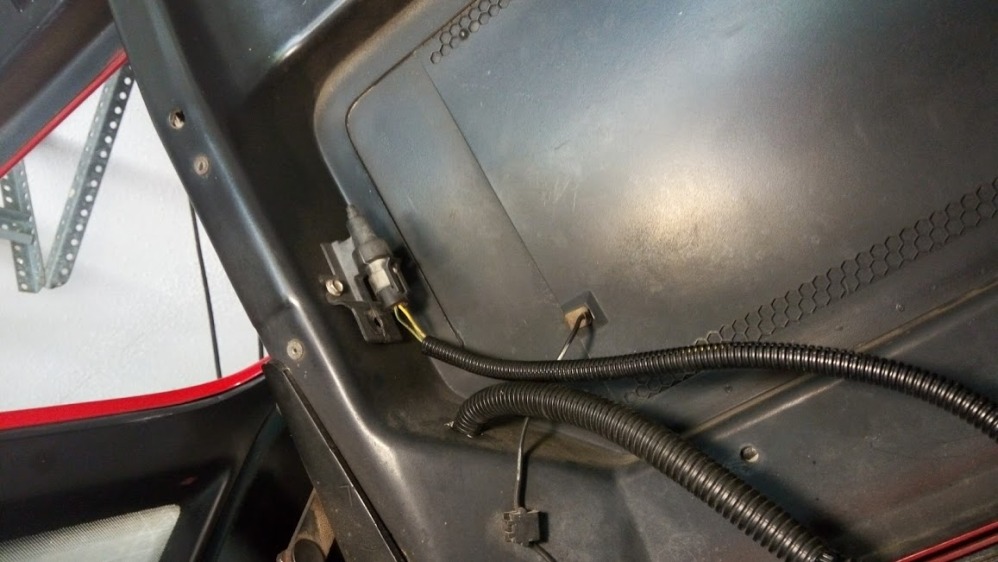
While at it I test fitted the placement of the 1227727 ECM in the engine bay area behind the battery tray.
Now I'm ready to slid the engine/cradle back under the car for the re-install. I just have to wait until my son has a free afternoon to give me a helping hand.
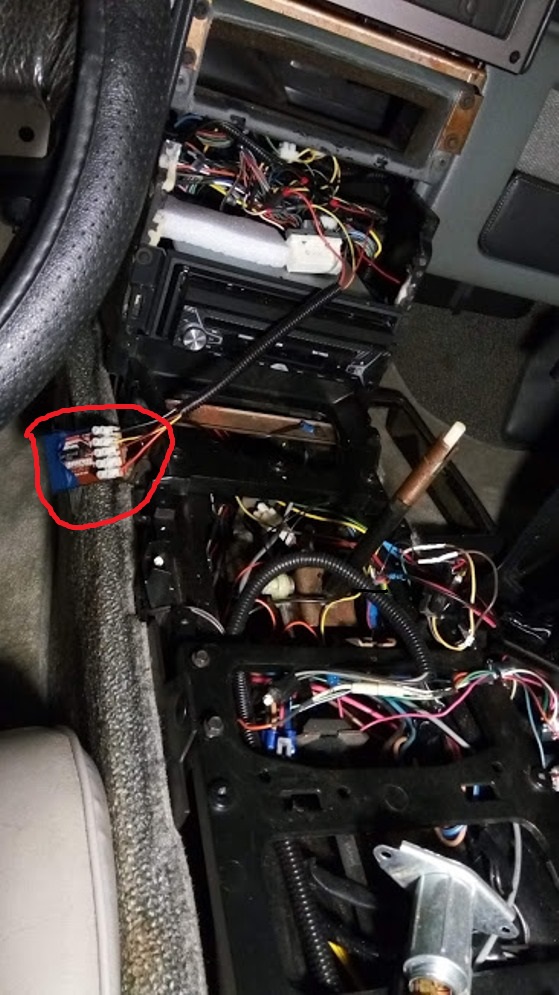
Was able to do more work on putting the GT back together yesterday. I have torqued the cradle bolts, began re-installing the components and accessories that were removed for the engine/cradle removal. The coolant lines have re-attached, Dogbone, brake lines, C-500 and the main power wires (from the front located battery). The main wire harness for the computer has been re-inserted into the cabin but not yet connected.
Also installed a new detent (kick-down) cable and re-installed the accelerator cable. That's were I ran into some issues! I cannot find the accelerator retaining clips. Not good.
I have tried a number of sources but have been unsuccessful so for. I know the part is no longer available from GM or for that matter local auto parts stores. Does anyone know where I might locate 2 of those accelerator retaining clips?
Yep, back at it attempting to sort out the electrical issue or issues. I have disconnected and or removed all 12v power sources to the car. I am powering up one system at a time in attempt to identify which system has the issue or issues. No luck yet. Once I have ID'd the system with the issue I will then drill down to hopefully correct the problem.
While I was at it I decided to go ahead an replace a bad order latching micro-relay for the digital HVAC system.
Work is progressing at a snail pace due to life issues taking the front burner...………
I finally had an opportunity to work on the GT for more than a few minutes yesterday. Over the past several weeks I had been trouble shooting the electrical issues off and on. I'm sure everyone can relate to life issues getting in the way of your hobbies and or passion.
Long story short, one of the electrical issues was caused by a wire that had been pinched by the dash. That wire was from the 2002 Firebird BCM and had shorted from movement in the dash. That issue has been sorted. The other issue was the battery had issues also. I ended up bringing the battery to no less than three (3) different places to have tested. Two of the first places were auto parts stores. They said the battery was good but needed a deep charge. I also brought the battery to two Walmart's (where I purchased the battery about 4 years ago). One store said the battery was fine but again needed charging. The second and last store tested it and indicated the battery needed to be replaced. That is why I had gone to the Walmart in the first place was to replace the battery. I was at the end of my rope with the battery issue. However, before they would sell me a battery they wanted to test my old battery.
The battery: if you measured the voltage it would indicated 12. 3 volts. Hook it up to the car and attempt to start all systems would go dead. Test the battery again, yep. 12.3 volts. Apparently it could not handle any kind of load over 10 or 12 amps. (That was the highest my load test unit could handle).
Okay, yesterday I installed the new battery. Turned the switch, all seems to be okay. Attempt to start, yep the engine turns over. Good news. Now it time to put the accessories back on the engine and car. Replaced the coolant, oils, etc. Attempted to start again. It cranks but will not start. It tries to start but does not.
So, now I'm back to trouble shooting a none start issue.
At least it progress and I'm past the electrical issues. I hope.
Further checking on the bone start issue. The fuel pump comes on, good fuel pressure and spark. During the crank the engine attempts w start but does not.
Any clues about where I go from here to get the engine to start?
Today I had a clear mind, life issues not getting in the way, decided to work on the GT. I have been trouble shooting the none start issue off and on for a while now. Today, I headed in a different direction.
First off I checked to see if the car was throwing any codes. No codes indicated, good news there.
I had a feeling that once I discovered what was causing the none start issue it was gonna be something really stupid and simple to correct.
Checked my Chilton manual to check distributor rotation and plug position. The manual indicated a clockwise rotation. Turned engine over to verify. Yeap, clockwise rotation. And yeap, plug wires hooked up for counter clockwise rotation. Removed plug wires and reconnected for clockwise rotation.
Attempted to start engine, fingers crossed...... it started right up and runs like it's old self.
Now to put everything back on that was removed.
[This message has been edited by Cajun (edited 08-13-2018).]
Everything that was removed for the repairs has been re-installed. New coolant has been added and the system was burped. I have had the car up to operating temperature several times with no issues. When the temp elevates the radiator fan comes on then shuts off when the coolant temp lowers. The brakes have been bled, etc.
All that is remaining is to change the oil and filter. Then I'm good to go. While I still have the car on jack stands I'm considering dropping the transmission oil pan to replace the oil pan gasket and filter. I do have a small annoying transmission lead around one of the transmission pan bolts. I figured it's a good as time as any to address the transmission oil leak issue and change out the filter. Oh, it's a 4T60 transmission.
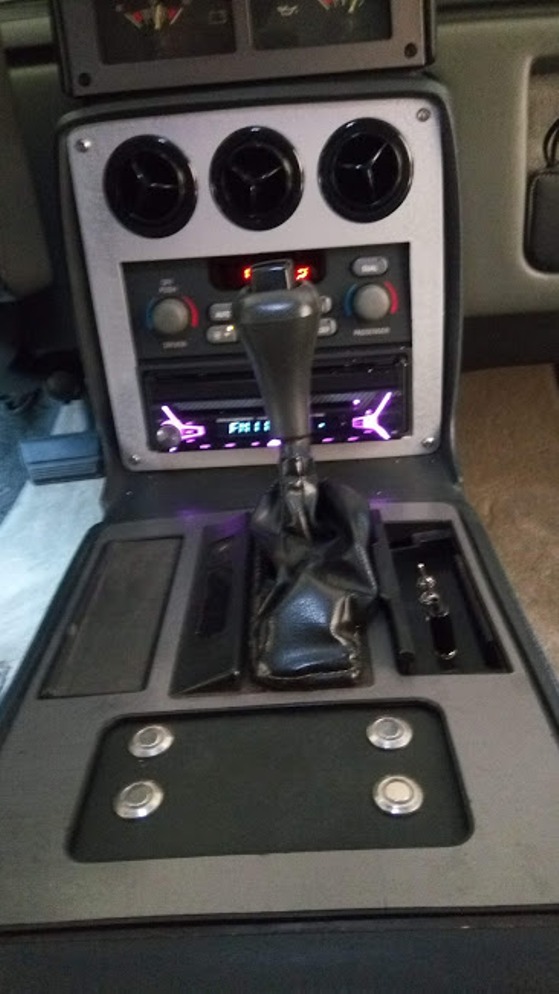
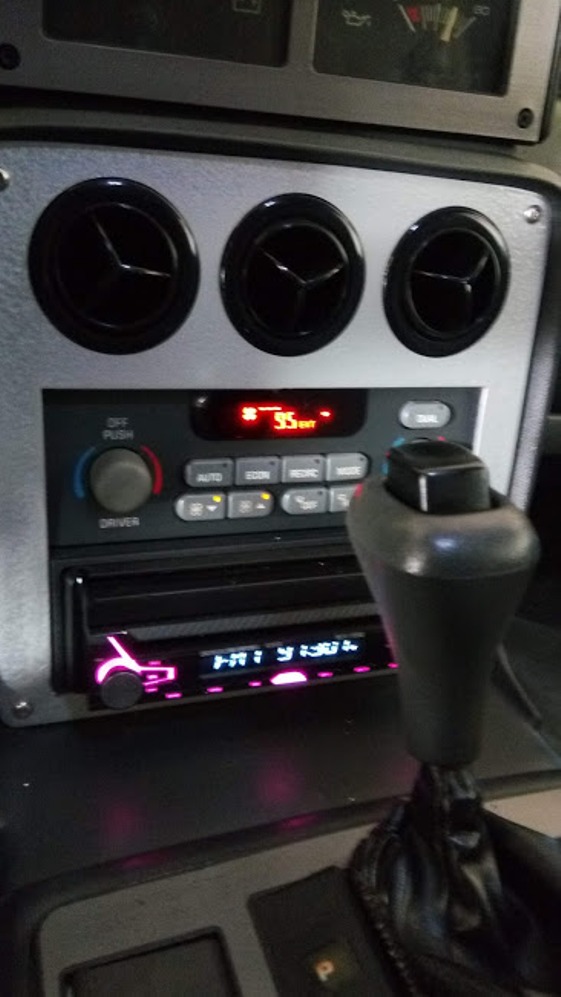
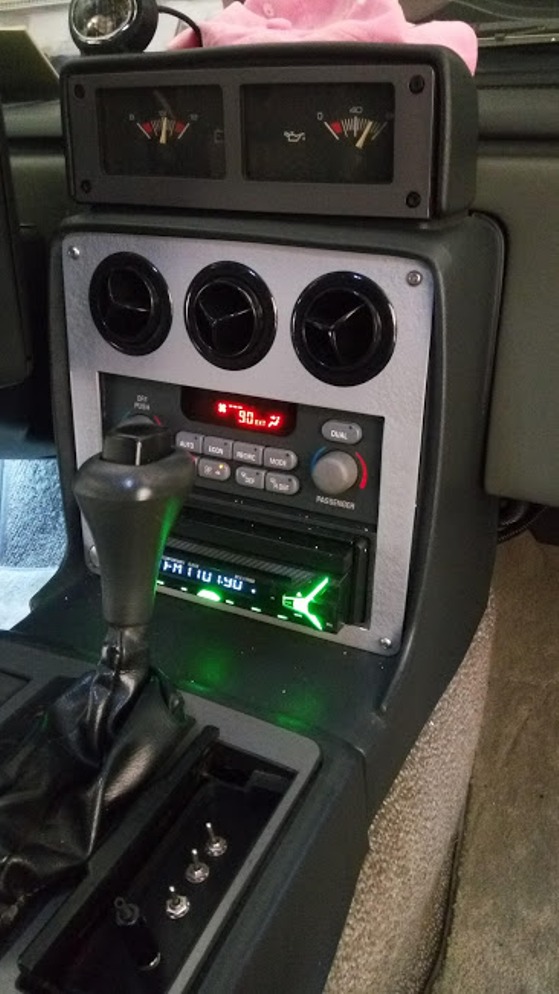
Just for grins I've included several photos of my center console, radio/ AC area.
This should be my last post on this thread unless someone has questions or comments.
P.S.: The radio is a Din1 unit with GPS, Front & back camera.
[This message has been edited by Cajun (edited 08-13-2018).]
Took the GT off the jack stands this afternoon. It's been over a year when I began repairs and mods.
I have run the engine in the past several days to ensure there were no issues.
It's official Dylan (the name of my GT) is back in the road! The only thing that remains is to bring it over to my son's shop to vacuum and charge the A /C system.