Hi all, first post, long time lurker. I've spent many hours researching the subject of better lighting and more hours driving with the stock sealed beam halogens. I've purchased sylvania xtra-vision sealed beam halogens earlier in the year and have also gotten both headlight buckets to go up and down. I've become jealous of all the options available thanks to many fiero enthusiasts. I first looked into solid mount projectors that would do away with motorized buckets. I was turned off by the price and light cutoff from being sunk in. I then looked into modifying the current bucket with projectors, thus having the total open height about half. In the end, I opted to not cut up anything and just have a simple swap. I'll try to outline the basics and answer any questions you may have.
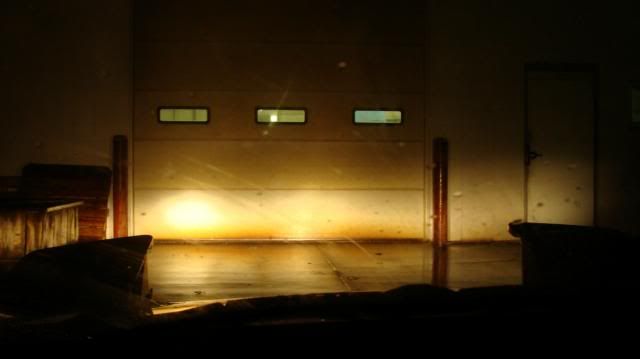
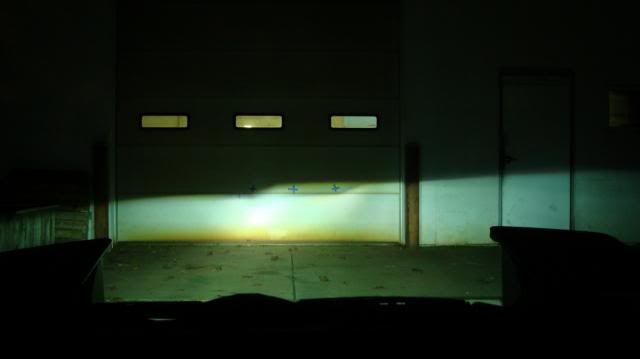
Here is the stock headlights. I tried to adjust them as best as possible, but the light is all over the place.
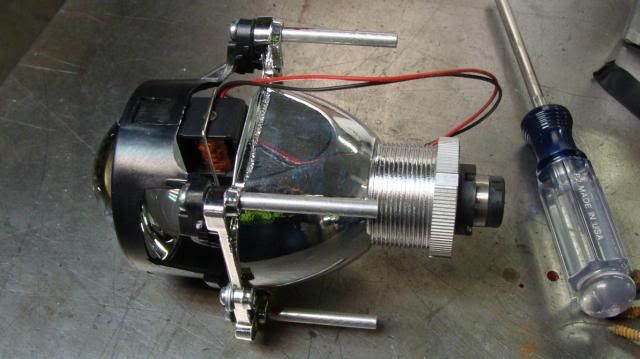
This is the DS2 HID projector I bought:
http://www.amazon.com/gp/pr...00_i00?ie=UTF8&psc=1And the HID system. More on this kit later:
http://www.amazon.com/gp/pr...00_i00?ie=UTF8&psc=1When I spent many hours researching the different ways to fit a projector to the stock bucket, I ran into halogen and HID projectors. Many people used halogen because of a length issue. This is true. If you were to set this HID projector into an aftermarket h6054 headlight, the back of the bulb/projector assembly will keep the headlight door from closing. In order to keep proper clearance, you need to space the projector forward 1.5". Surprisingly, you have this space in front of the headlight bucket assembly and won't interfere with anything. I'll explain.
Some simple aluminum rod extensions attached to the projector. This is nice because the heavy projector is being supported on all four corners for bounce free light.
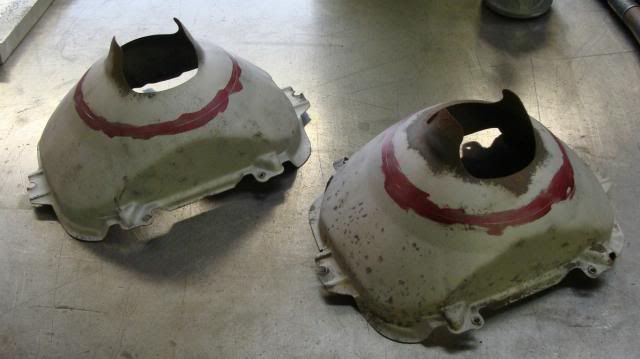
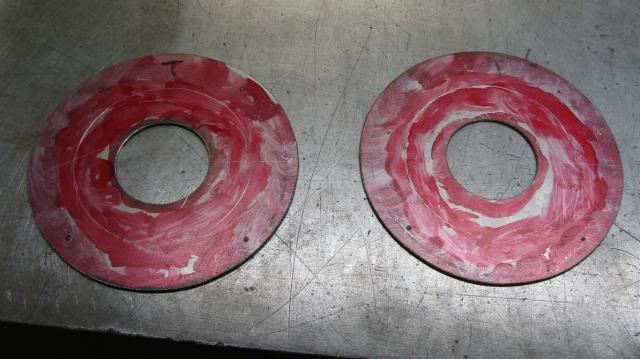
I went to the junkyard and picked up an extra set of headlight bucket assemblies for modification. I stripped them down and started with the metal headlight bucket. I cut out about a 3" circle, making sure that its parallel to the mounting points.
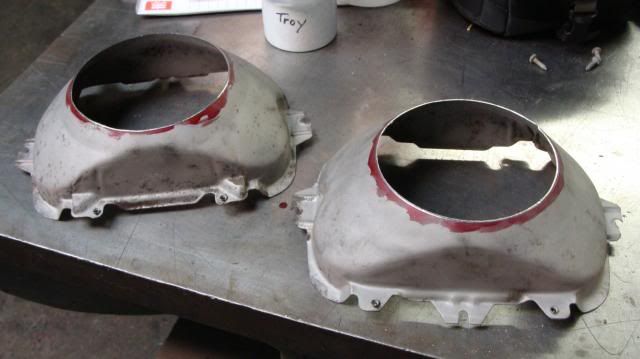
I then cut out 16 gauge(1/16") 3" diameter circles to fill in the back. The center hole is for the back of the projector to protrude through.
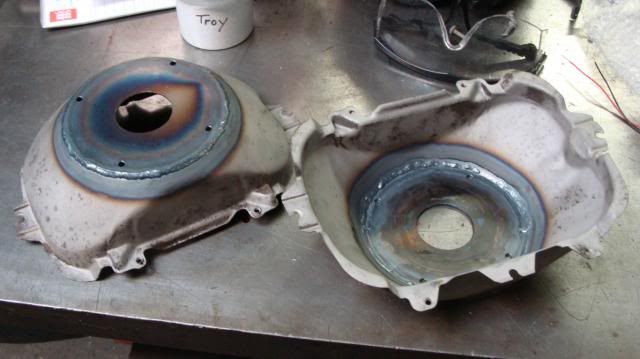
At this point I measured and remeasured to make sure the rear disk is properly centered to the headlight bucket and tig'd it in place. There't no adjustment if the projector is crooked.
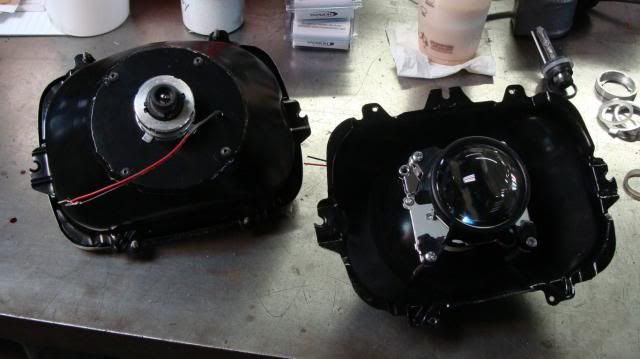
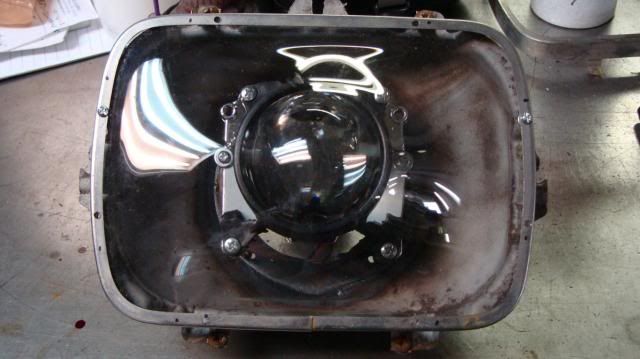
I powdercoated the buckets(harbor freight special with good polyester powder) and installed the projectors. You can see the two small wires coming from the high-beam solenoid.
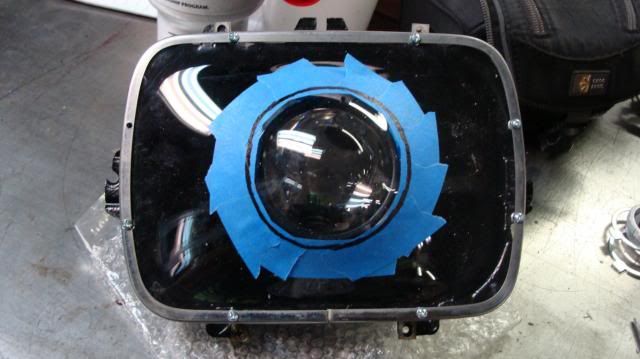
The next problem is now the projector sits 1.5 inches out from the bucket. A simple, flat cover wouldn't work. A quick trip to the home depot got me 5 pieces of polycarbonate(lexan) 8x10 sheets, 0.093" thick. They're about $4.25 a piece so you can mess up a few times. I made up a simple wood frame to hold the lexan. I took the headlight trim ring and copied the inner size to the wood. That way when the lexan stretches, it still leaves a flat surface to bolt onto the trim ring. A quick trip to the goodwill got me a round glass paper weight that will give me the correct spherical shape.
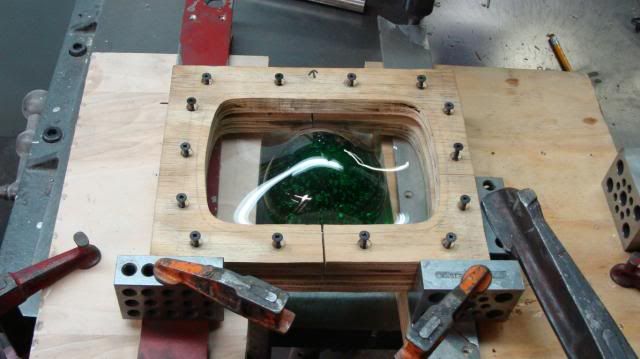
I used my industrial size toaster oven(mainly used for powdercoating) for heating the lexan. Ideally, you should heat the lexan to 250 degrees for 4-6 hours to get the moisture out. This is usually a bigger deal with thicker sheets but I still ran into issues. You need to heat the lexan to 350-375 degrees to get it flexible. However, it will only take about 10-12 minutes to get it up to temp. You'll see it start to sag. Count to 25 and pull it, making quick work to get it on the "mould". If you wait longer, you'll start to see small airbubbles form inside the lexan and you'll need to scrap it.
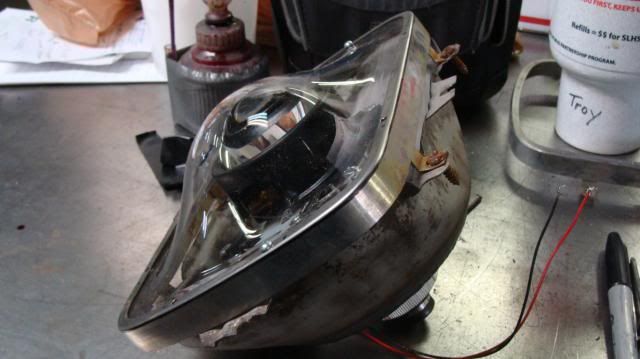
Here's the first one I did. I didn't use this one because the bubble wasn't located correctly. You can see the holes I drilled in the trim ring. I used 4-40 screws to hold in the lens.
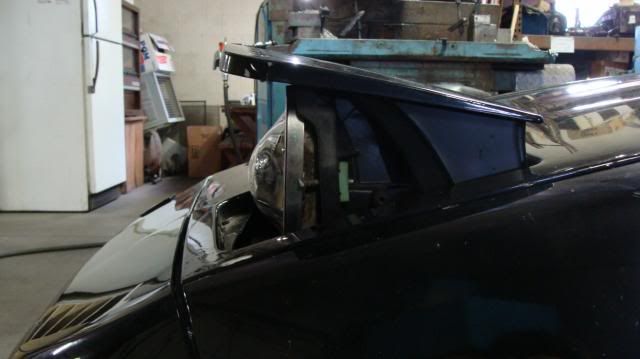
Here's how it looks in the car. Note the height of the rear of the projector with the bulb connector. This is the problem area and in my case, it is well below the pivot point and have no clearance issues.
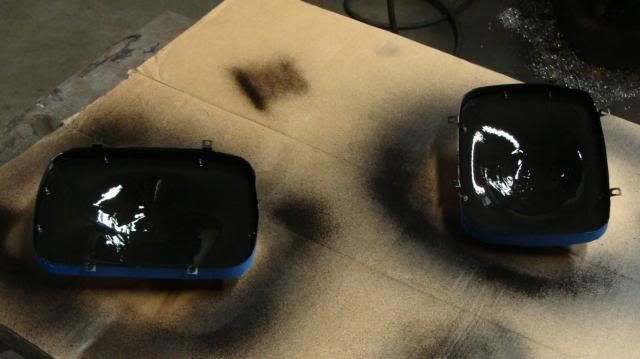
I'm not using any bezels on the projectors, so I need to paint the inside of the lenses to keep out "extra" light. I opted for spraycan plasticoat. It took 3-4 coats, tested with a flashlight for lightspots. I tested the lights to see how close I could get with the paint.
After some assembly, here's a front view compared to the original:
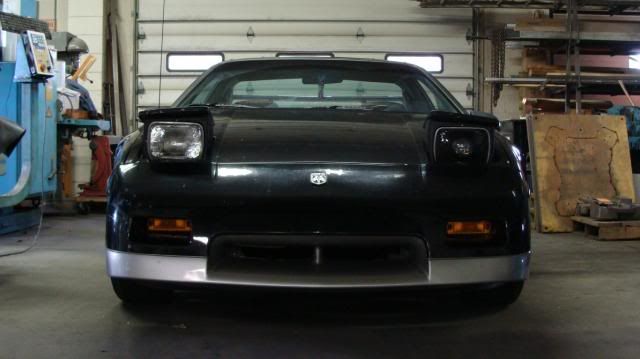
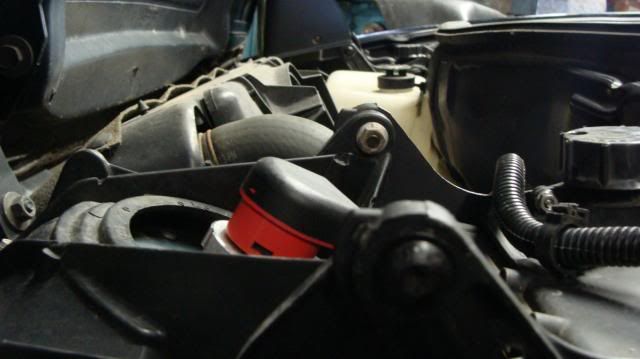
After wiring in the HID ballasts and the lowbeam/highbeam wiring mod, I was in business.
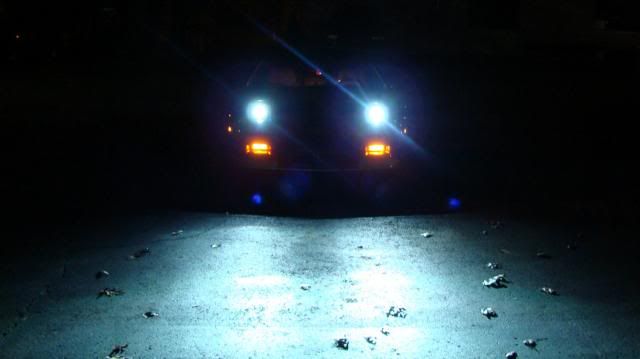
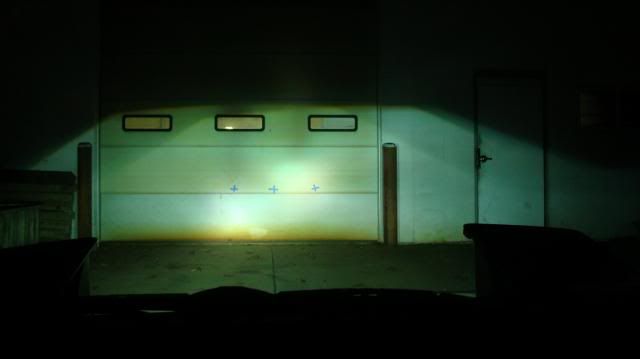
Here's the lowbeam/highbeam. I should've messed with the white balance. In reality it is a pure white with a tinge of blue, same for the other pics.
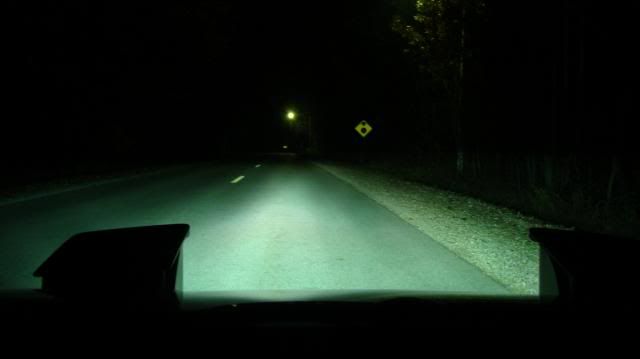
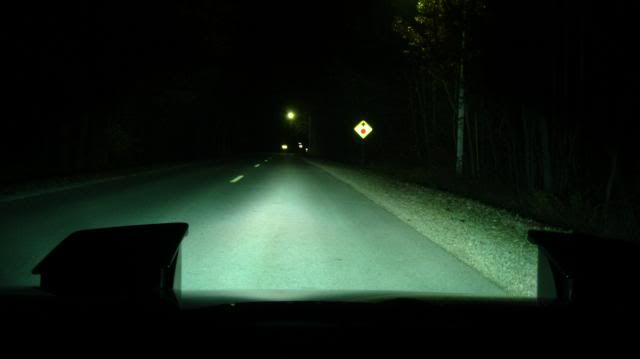
Here's some looking down the road, lowbeam/highbeam:
So far I'm very happy with the results. I've been driving with this setup for about a month. After a week or so, the left bulb wouldn't fire. I would have to pull power from the right ballast, turn off and turn on the lights, then it would turn on. I thought it was a power delivery/ground issue. After adding a relay and two extra grounds, it turns out to be a bad bulb. I used 6000k bulbs originally. I've recently purchased morimoto 3Five 5000k bulbs as a replacement. I'll update this when I get them tomorrow.


