EDITED FOR SUMMARY
Here is what I learned
Make sure you have identified and resolved all body leaks before attempting changing the seals. I removed the seats, carpeting, headliner, and rear spekers, then did an extensive water test with a garden hose and sprinkler. Many people claim their t-tops do not leak, but the leaks are usually hidden. Many Fieros that I looked at in the rainy Northwest were moldy on the inside from these small, behind the fabric leaks.
I found and repaired many minor body leaks including
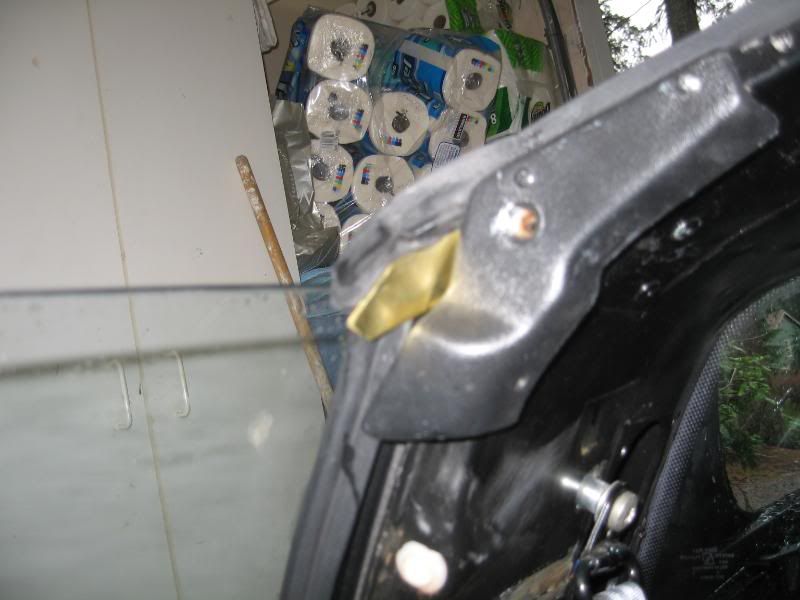
1. There was a small hole drilled in the t-top frame under where the rear top trim molding goes.
2. There was a body seam leak in the bottom of the passenger B pillar, only accessible after removing the quarter panel.
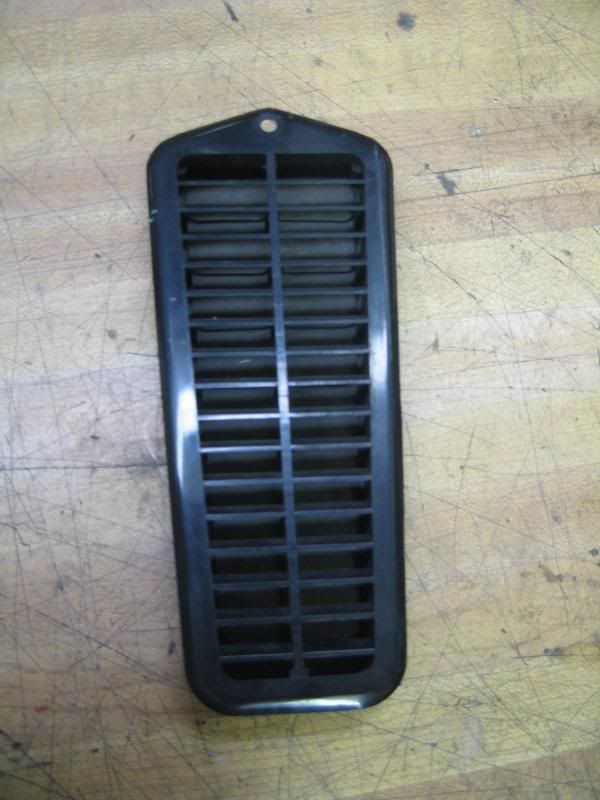
3. Both air vents in the B pillar dripped water which required removal of the sail panels
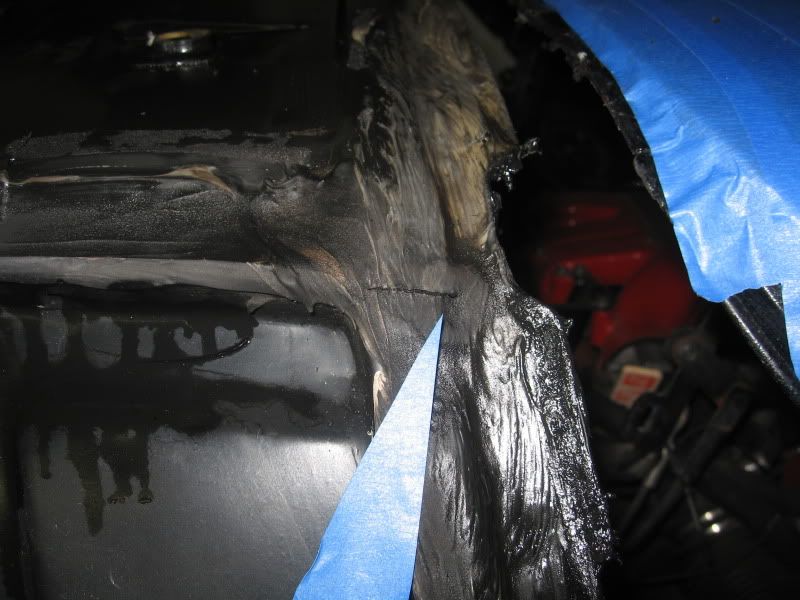
4. There was a leak due to a cracked seam on the upper part of the driver B pillar only accessible by removing the rear clip
5. There was a small leak coming from the engine compartment where the shift cables come through.
It is not cheap even with the not so expensive F82 Camaro seals because you have to buy another set of door seals because the Camaro seals are joined in a different place. I also had to buy the seals for the glass top itself because mine were deformed. With other projects in hand, I spent three months to accomplish the task. In using Camaro seals, you have to cut the B pillars and carefully glue together seals.
It was worth it. The car is now leak free.
ORIGINAL TEXT
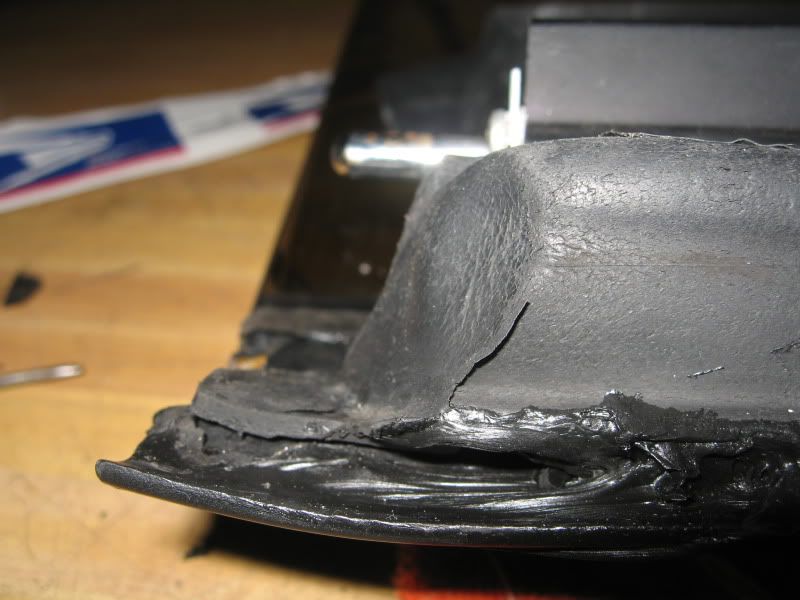
After many unsuccessful attempts to resolve leaks in my 87 T-top coupe, I realized I had to replace the seals. This is a bold step, because correct seals for Fiero T-tops are almost non-existent, so other seals have to be adapted. After I removed my driver’s side seal, I found a possible leak path that I had not seen documented before. The leak path is in a place behind the T-top seal B Butt joint, where the seal attached to the top of the B pillar, in the area the B pillar was originally cut to install the T-top. The open area was filled with caulking, which eventually failed. See my earlier posts on the subject.
https://www.fiero.nl/forum/Forum2/HTML/102941.htmlFortunately, C&C also did T-top conversions on Camaros, Firebirds, Mustangs and other cars. Some people have used Mustang seals; there appear to be at least three versions of Mustang seals used in the 80’s. Last spring at the Kit Car show in Carlisle, I saw an 88 Formula from NY where the owner installed his own T-tops and used Mustang seals. He did not know which versions he had used. He had to splice in a piece of the original T-top seal at the bottom of the A pillar, shorten the part that goes around the top, re-section the B Butt joint, and do some sort of splice at the bottom of the B pillar. Unfortunately, I did not have my camera available at the time, so I do not have pictures of his install.
On PFF, there are some posts briefly describing using the 87-88 Mustang seals (PN WSTT6 newly manufactured and available at CJPonyParts.com). There was one post that stated the F82 Camaro seals were a better fit than the Mustang seals, so I went with those. I purchased my seals from
http://www.sunroofdoctor.com/These are NOS C&C seals as used on the 1982-1992 Camaro and Firebird conversions. Firebirds and Camaros also had factory installed T-tops. These are referred to as Fisher, and are quite different. Last time I spoke with the sunroofdoctor, they had 800+ seals in stock, a supply good for at least 10 years at their current selling rate. Since the F82 seals do not have the bend at the bottom of the A pillar, I recognized that I would have to splice in a real Fiero seal. Since one of the leak areas in my car was the front splice between the C&C seal and the cut down Fiero seal, I also ordered a new set of Fiero Store door seals.
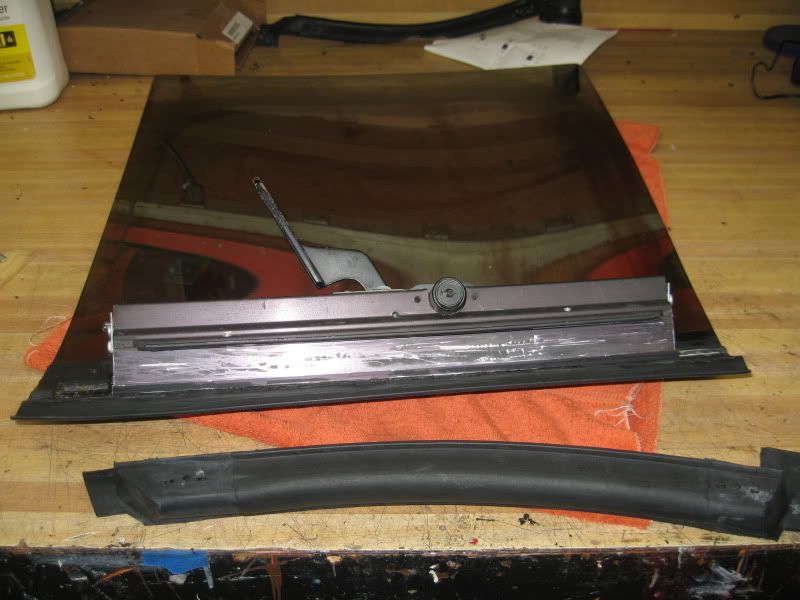
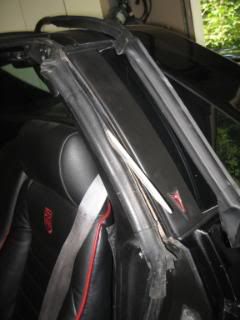
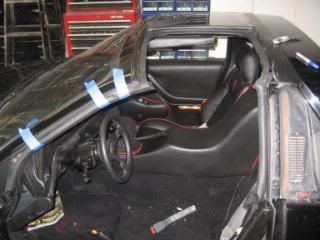
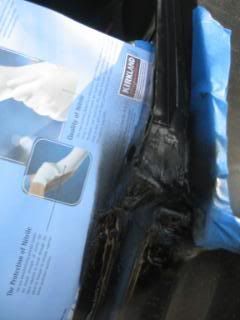
First I wanted to remove the existing seal intact, so I could replace them if all did not work. I used a putty knife, plastic windshield seal tool, and screwdriver (to pry up the top seal that goes around the opening)

I wire brushed and painted all areas before proceeding.
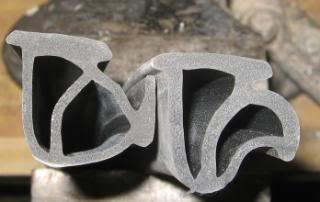
The cross sections of the Fiero store seals and the F82 seals are very similar, so they can be successfully spliced together. The F82 A pillar cross section is on the left and the Fiero Store seal is on the right. The part that mounts to the A pillar is on top. Notice that it is wider on the Fiero Store seal and the Fiero Store seal has more of a lip over where the glass seals.
In examining the A butt joint on both seals, I found them to be almost identical (top to bottom: Fiero Store seal, F82 seal, original Fiero T-top seal):
The part of the seal that goes in the channel, around the top opening appears identical. Some say that the F82 seal is taller, but that may be the result of comparing a new seal to one that is old and had been compressed. Of course, the F82 seals are much longer in that area, so they have to be sectioned.
The real difference in the seals is the B butt joint, where the Fiero seal has a big jog in it. Left to right below: Original Fiero T-top seal, F82 seal, Fisher T T-top seal
Gluing up seals requires both a strong glue and a very accurate cut. I tried the following glues:
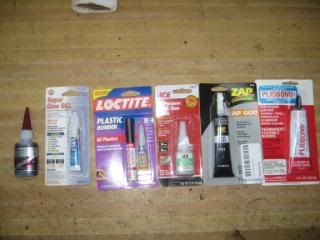
I settled on the IC 2000 a Cyanoacrylate (CA) fast setting adhesive w/rubber designed for use in gluing up model car tires. After testing the glue joints to failure, the CA glues tended to maintain the joint with failure occurring by ripping the weatherstrip somewhere other than the glue joint. The other glues took longer to cure, but failed at the glue joint. The weatherstrips must be cut cleanly, at a 90 degree angle. I looked at several knives
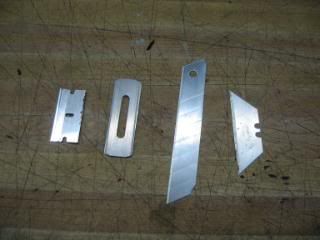
The razor blade was the sharpest and cut the cleanest, but it was too small to span the entire weatherstrip. I ended up using the entire blade of a break off utility knife. I made a miter from some pieces of angle aluminum

Since the rubber dulls the knife pretty quickly, I used a blade for at most three cuts. In this manner I was able to get great, clean cuts. Starting at the A pillar, I cut off the bottom of the F82 seal and placed it on the car.
And now the cut down Fiero Store seal
I cut the weathstripping to be about ¼” longer than needed so the glue joint would always be in compression. The finished joint
The weatherstrip is hanging down a bit and is not yet glued in.
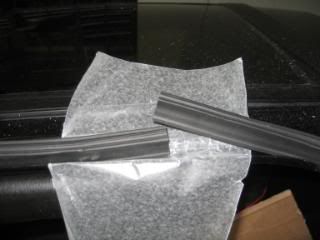
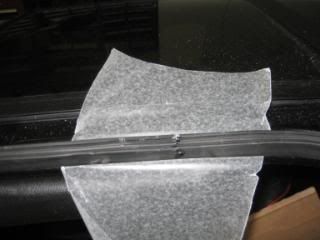
Now on to the top seal which I glued together in place, but with some wax paper so it did not get stuck to the car
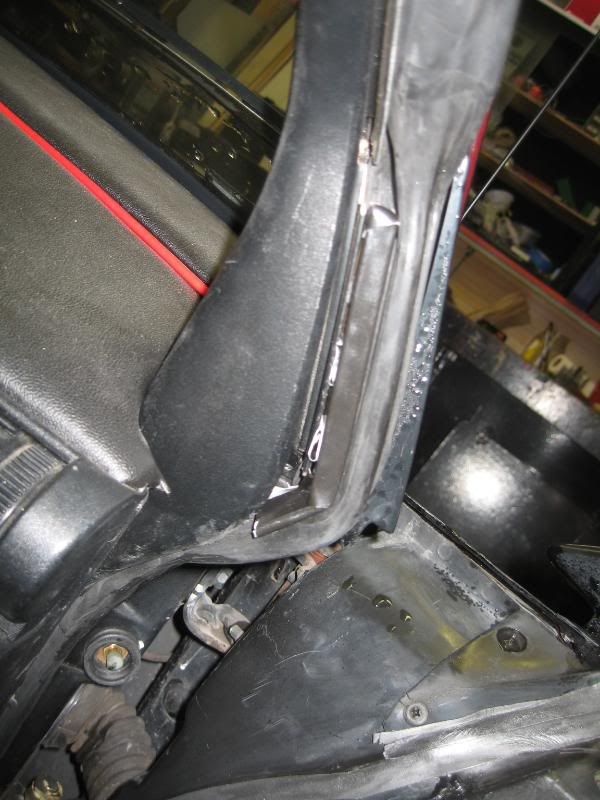
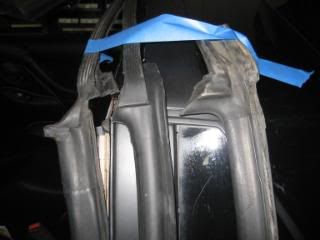
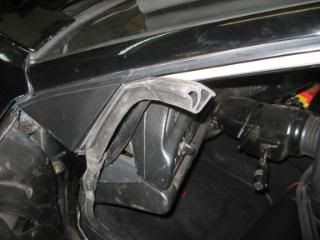
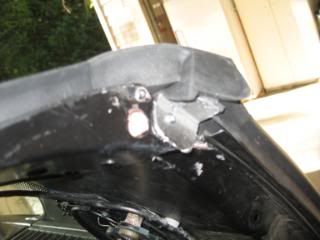
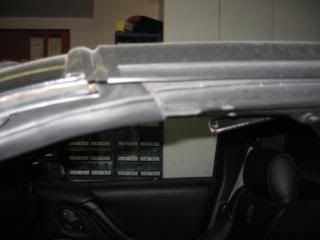
The area around the top of the B pillar is problematic because of the jog in the original Fiero seal. I chose to cut the body and bend part of the sheet metal as shown
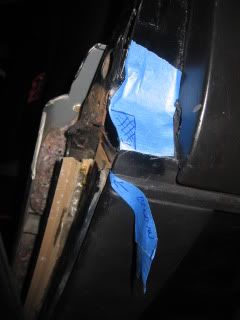
As cut
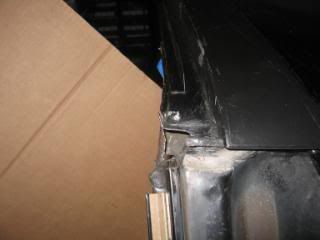
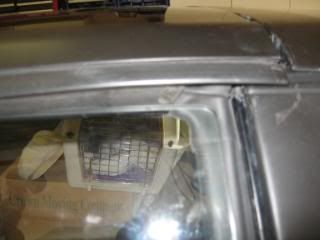
Filled with bondo
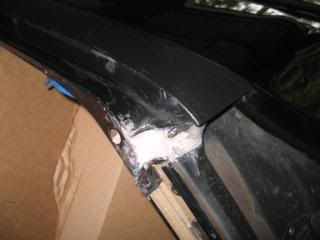
Resin and cloth to make sure it is water tight
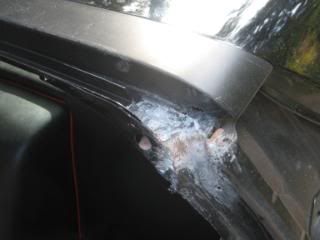
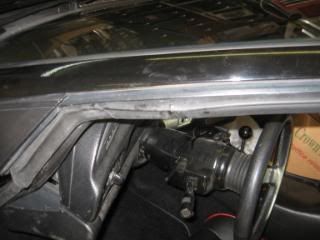
Painted
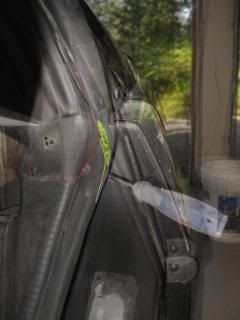
Now looking at the preliminary fit. I took two pictures and overlaid them in Photoshop. The red outline is the F82 seal, as positioned in the newly cut area.
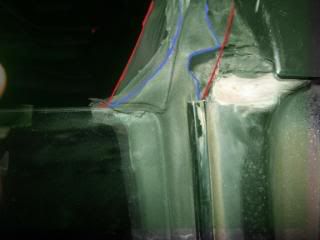
The blue outline represents the original seal. Since there is no screw on the F82 seal to hold and position it on the top of the B pillar, I added two brackets one made of angle aluminum and mounted to the screw hole for the original Fiero T-top seal, and one in a newly drilled hole on the top made out of brass stock, and slightly bent. I did not like the idea of drilling a new screw hole, but it will be sealed up.
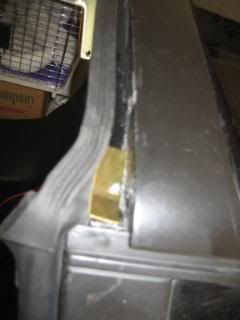
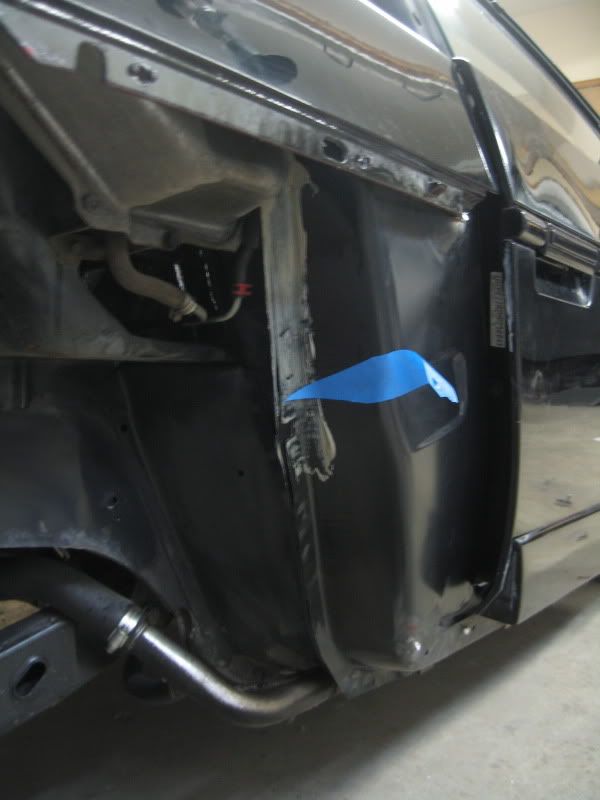
Now the bottom of the B pillar. The following composite photograph shows the F82 seal (outlined in red) and the original Fiero seal, outlined in blue. If I used the bottom of the F82 seal, it would join a cut down Fiero seal (shown in yellow). The green painted area shows the area that would not be sealed if I used the bottom of the F82 seal.
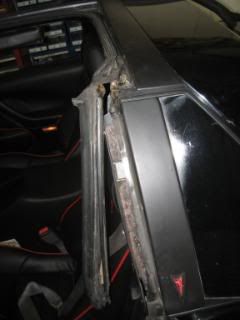
So therefore, I chose to use the F82 seal cut just above the bottom of the glass and section in the FieroStore seal. The final joint looks like this
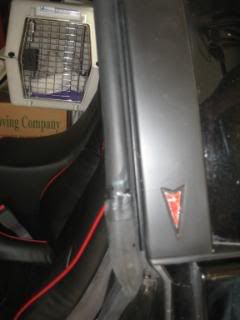
With the joint to the left of the top of the Pontiac symbol.
And now to look at the butt joints, as finished
A:
B:
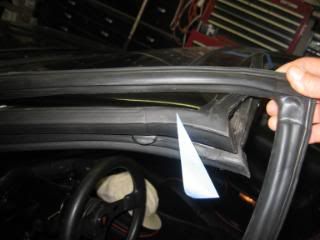
The one thing that I noticed immediately is how pliable the new seals are compared to the old ones.
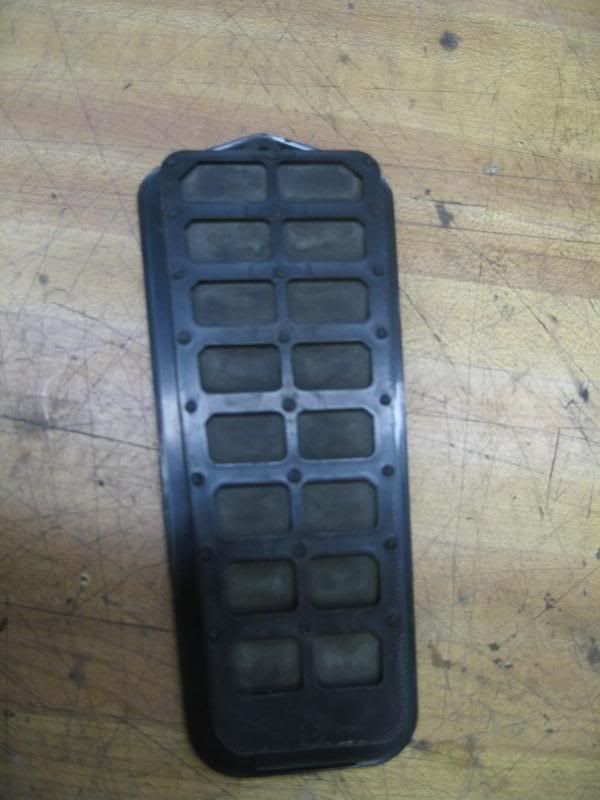
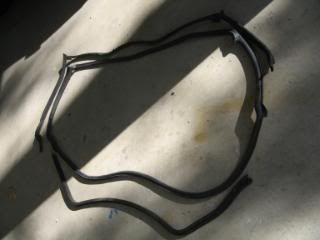
Old seals (two pieces) vs new one piece seal:
I have to do final adjustments, including readjusting the window glass, as it now binds on the new seals, and I have to glue them down. They were originally glued with weatherstrip adhesive along the backs of the seals and silicone at the top of the A and B pillars. I have chosen to use Butyl, as I will be able to pick up and move the seals without problem. Butyl seals well, but does remain sticky, though.
Wish me luck as I go on to gluing, final adjustment, and water test.
Jim
------------------
Jim
86 SE 355 Body Kit w/3.1 Auto (Sold)
87 T-Top Coupe 2.8/5 Speed new project
[This message has been edited by bowrapennocks (edited 02-03-2010).]


 On to Act III ....