Pennock's Fiero Forum
  Technical Discussion & Questions
  Removing deck lid torsion bar system

Post New Topic  Post A Reply
Email This Page to Someone! | Printable Version


next newest topic | next oldest topic
Removing deck lid torsion bar system by Fierotregg
Started on: 06-08-2014 06:59 PM
Replies: 4 (1170 views)
Last post by: 82-T/A [At Work] on 11-29-2024 07:31 PM
Fierotregg
Member
Posts: 185
From: New Albany, Indiana, USA
Registered: Nov 2011


Feedback score: N/A
Leave feedback

Rate this member

Report this Post06-08-2014 06:59 PM Click Here to See the Profile for FierotreggSend a Private Message to FierotreggEdit/Delete MessageReply w/QuoteDirect Link to This Post
What is the best and safest way to remove the rear deck lid torsion bar system?
IP: Logged
PFF
System Bot
Neils88
Member
Posts: 4056
From: Jeddore,Nova Scotia
Registered: Aug 2013


Feedback score: N/A
Leave feedback


Total ratings: 56
Rate this member

Report this Post06-08-2014 07:07 PM Click Here to See the Profile for Neils88Send a Private Message to Neils88Edit/Delete MessageReply w/QuoteDirect Link to This Post
Here's a link to the procedure. I just did it myself last week and it wasn't too hard.

http://www.fiero-store.com/.../Default.aspx?ID=552
IP: Logged
Fierotregg
Member
Posts: 185
From: New Albany, Indiana, USA
Registered: Nov 2011


Feedback score: N/A
Leave feedback

Rate this member

Report this Post06-08-2014 07:14 PM Click Here to See the Profile for FierotreggSend a Private Message to FierotreggEdit/Delete MessageReply w/QuoteDirect Link to This Post
Thanks bud
IP: Logged
2002z28ssconv
Member
Posts: 1436
From: Orlando, FL
Registered: Jun 2005


Feedback score:    (27)
Leave feedback


Total ratings: 51
Rate this member

Report this Post06-09-2014 09:47 PM Click Here to See the Profile for 2002z28ssconvClick Here to visit 2002z28ssconv's HomePageSend a Private Message to 2002z28ssconvEdit/Delete MessageReply w/QuoteDirect Link to This Post
[copied from another post - hope it's helpful]

Some of the tension will be relieved if you prop the deck lid as far up as you can with a broom handle too. For some reason it's easy to forget that the rods are holding up the decklid... The only time my tie-down down slipped, it slid off of the bottom of the torsion bar and popped over to the side. The strap stayed attached and nothing flew anywhere. I was VERY glad my fingers weren't anywhere around the torsion bar when it snapped back against the retaining pin. But I had the strap's metal hook on the spring. So this is how I do it now.


Pull the trunk carpet and rubber seal up to reveal the metal of the trunk wall.
Hook the tie down strap to the lip on the wall, through the bottom of the torsion rod and back to the trunk wall.


Some people just hook to the spring and the wall. If you do it that way watch for an unstable hook on the torsion bar.
Putting both hooks on the firewall makes it a little easier to crank the tie-down strap too. Compound pulley... physics...
No matter which method you use, MAKE SURE THAT THE HOOKS ARE SECURE on the trunk wall. If they come loose the torsion spring WILL send them zinging toward the torsion bar.

There are threads with more pictures that show you how most people do the job. These pictures were from a thread that didn't talk about this topic so I didn't link it.

[This message has been edited by 2002z28ssconv (edited 06-09-2014).]

IP: Logged
82-T/A [At Work]
Member
Posts: 24248
From: Florida USA
Registered: Aug 2002


Feedback score: (1)
Leave feedback


Total ratings: 200
Rate this member

Report this Post11-29-2024 07:31 PM Click Here to See the Profile for 82-T/A [At Work]Send a Private Message to 82-T/A [At Work]Edit/Delete MessageReply w/QuoteDirect Link to This Post
Just bumping this thread because I found it, and it helped my daughter and I figure out how to get the torsion rods installed again. The pictures above were ENORMOUSLY helpful!!!!

Kind of bummed because we originally installed the decklid, got everything properly spaced and centered, only to find out that to INSTALL the torsion bars, you need to remove the decklid. I could think of literally no way to re-install the torsion bars with the decklid installed.

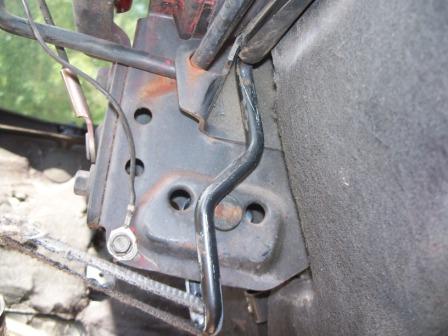
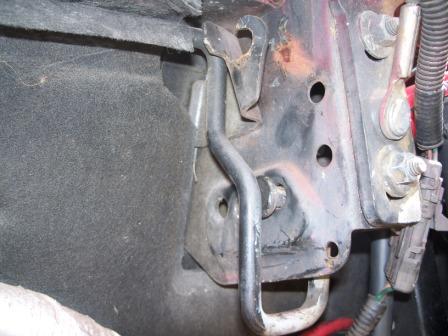
For anyone trying to figure it out, the pictures above are really good to show you how they come together. Per the service manual, you install the passenger side one first (meaning the part that screws in to the bracket on the right is the one that goes in first. It hooks directly into the hook that's hiding next to the decklid mount on the same side of the car where you screw it in. Meaning... the passenger side (the hook is opposite of the mount where the thing screws in). Reference the pictures above... which are fantastic.

The OTHER side of the torsion bar then tucks into the pocket behind the hook that the OTHER torsion bar hooks into. The loop part goes up and under the middle, and the pointed rod slides in.

For me, I was only able to get it in the first one. It was a huge pain in the ass. I had to completely unbolt the hinge, and put a piece of 3/4" plywood behind the bar to prevent it from smashing the window. I then pulled down hard on the hinge assembly with the torsion bar seated and screwed into the hinge arm. I was then able to pull it down hard enough that I could get the 13mm nut onto the threaded end at the top, and then as I tightened that down, I was able to get the nut on the bottom one installed too. I did this all by hand, and it required strength that my daughter didn't have, so I had to do it for her.


A KEY thing to take note of... when you are pulling down the hinge, MAKE SURE you pay attention to the orientation of the bracket and the pivoted part of the bracket.

See this archived thread for what NOT to do: https://www.fiero.nl/forum/Forum2/HTML/134215.html

(Not trying to be mean, just showing a mistake that's super easy to make, and I would have made too had I not seen that thread).


Make sure your bracket does NOT look like this:
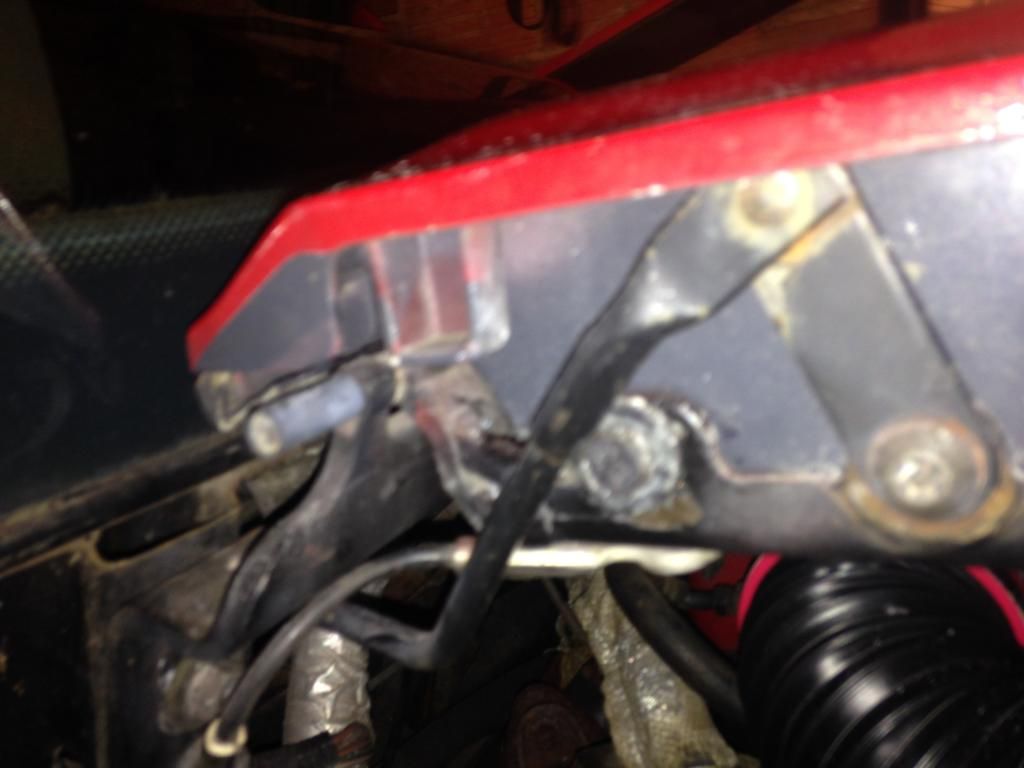


(Note, not my picture, saved off and uploaded from the linked thread above).


When the decklid is in this position, the angle should be the exact opposite. This prevents the decklid from being able to close, and you need to make sure when you pull the bracket down (as you're trying to get the torsion bars in place), that it does not end up looking like this, or you will have to do it all over again.

...

Also... side note. When you are re-installing the decklid and testing the fit and closing the decklid multiple times... please remember to keep your keys in your pocket, and not place them unconsciously in the trunk when you slam it shut. Yes... thankfully the decklid vents were off (makes it easy to align and re-align the decklid), and we were able to connect the power trunk release.


I'm going to have the follow the procedure (post just above mine) because putting the pointed dowel into the front-most hole is not enough to keep the decklid up. I'm going to have to put it in the second hole, and that should be enough. I'll likely use a come-along, carefully, to pull the bracket forward so that I can re-install it into the middle hole. My daughter's car has a luggage rack.


ALSO... make sure you putt grease in the pivots (at the top, and in the hooks where the bars sit). I remember years ago, on my own Fiero, a 1987 Fiero SE / V6, one of my torsion bars snapped, and I bought a replacement from Ed Parks. He told me the best way to keep these good is to grease those little hooks, because the driver's side one almost always breaks at the joint there. Just a little bit of machine grease on all the pivot points.

[This message has been edited by 82-T/A [At Work] (edited 11-29-2024).]

IP: Logged

next newest topic | next oldest topic

All times are ET (US)

Post New Topic  Post A Reply
Hop to:

Contact Us | Back To Main Page

Advertizing on PFF | Fiero Parts Vendors
PFF Merchandise | Fiero Gallery
Real-Time Chat | Fiero Related Auctions on eBay


Copyright (c) 1999, C. Pennock