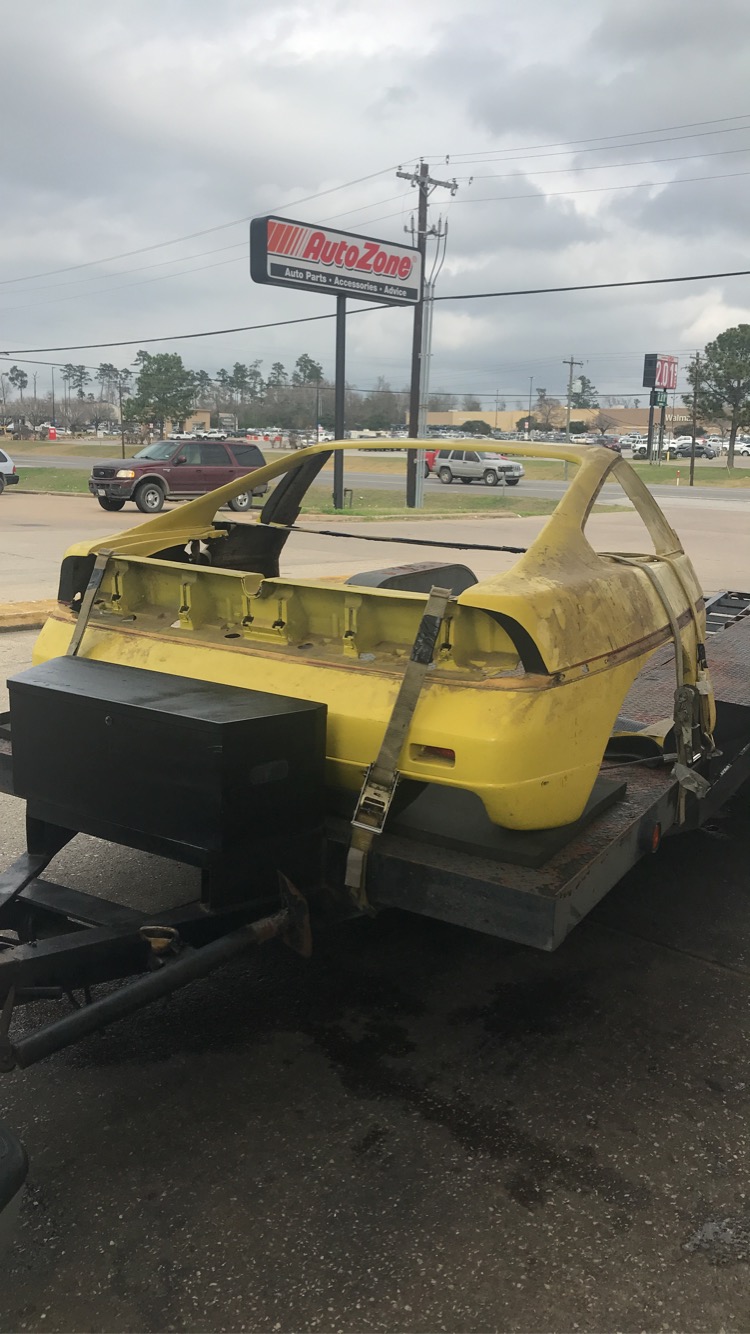
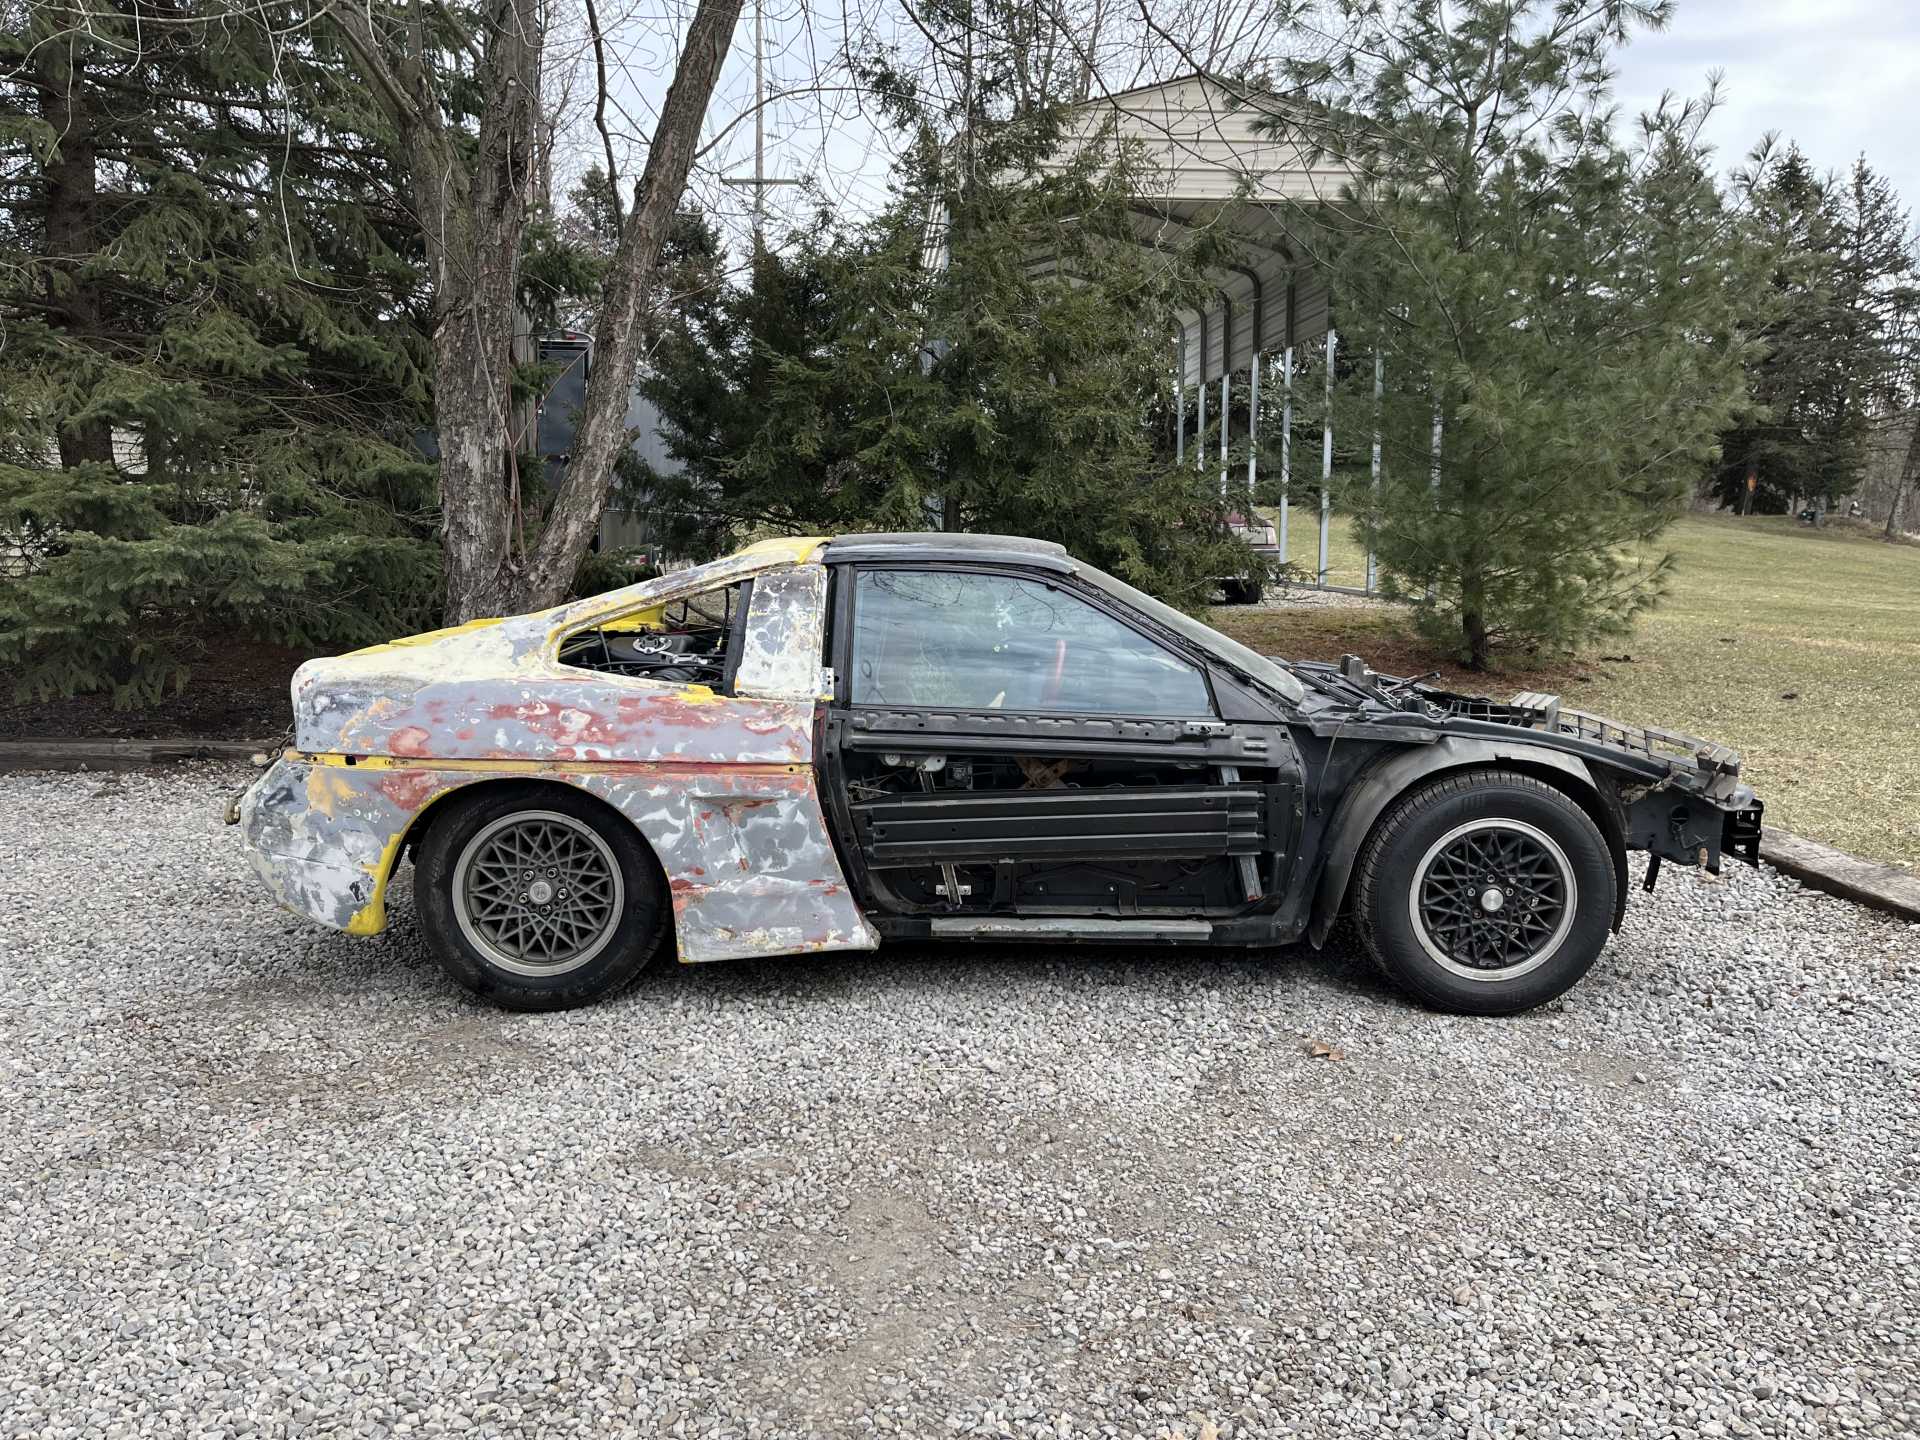
I bought myself a new project... I rebuilt an 1988 Northstar Fiero, and for the past few years I’ve had an eye on the widebodies. My ‘88 is very sad looking with missing or broken panels, so I decided to treat myself and the car.
I’ve done a lot of research into these, and looked at threads. I also have a friend who does bodywork who’s going to give me advice on the best way to do this. If anyone else here has any other tips and tricks I should be aware of, I’m open to suggestions.
This may be on hold until warm weather. I imagine the first steps will be to get all the old paint off(3 layers of it), so it’s a fresh surface to repair old cracks and chips. The rear clip will be the biggest pain. I’ve seen some installed over the stock rear clip to act as a skeleton, but this one seemed to have been installed right to the frame. This will be a huge project but I am excited. It is a piggyback to my 4.6 Northstar Project thread, I’m not sure if I’m gonna combine them or maintain two topics. We’ll see
Most of the mounting holes should already be there to guide you. You may need to add shims under the body at certain points to line up the panels but other than that, it should be an almost bolt-on kit.
As far as paint, your bodyshop guy will know to NOT use stripper on fiberglass. You'll have to sand off the existing paint. I'd recommend once sanded, mount the rear clip and then paint it otherwise if painted off the car, you run the risk of cracking the new paint due to flexing the clip during the install.
[This message has been edited by IMSA GT (edited 02-13-2021).]
Let me just tell you that is a very rare imsa, since it is one of the very first ones made (I heard only 3 of these) cause they were meant for racecar tube chassis. The cover of FOCOA, showing passenger side metallic color dark red imsa at Las Vegas show is another one like yours. I talked to the gentleman long ago and to mount it to his factory fiero chassis he had to cut the rear impact bar on both end. Because the rear clip is slid on fron the rear, like a (pair of pants) . Hope that helps but that's all the info I have..
Just wanted to say congrats on your find! I will also chime in and tell you that I have a set of original molds (DGP made) here that came from IRM after Jim Sutter bought them from DGP.
Point I wanted to make is, that when I got the molds for the fastback, it was intended to be bolted together to make a one piece rear clip like the one you show in your pics.
All the other versions, the notchback (two different models) were already cut up to produce separate rear quarters that had to be grafted onto the existing sub-structure after you "peeled off" the factory skin where needed.
So to help with shipping costs, I sectioned the mold to be the same as the notchback versions. It could still be reversed and made to be as it was originally, but like I said, it was done to help with shipping, as shipping that one piece rear clip would be fairly expensive to say the least. I believe DGP and IRM both produced the one piece rear clip. Not sure who sectioned the notchback molds, but had to be one of those two outfits.
Not disagreeing with John, as I know he knows his stuff! But there is also a set of molds that came with all of the IRM stuff that Doug Kinney got when he bought out IRM, lock, stock and barrel. It is for the race body and is intended to be mounted on a custom built tube chassis.
So I can't tell from the pics, which version you have, but it "looks" like the street version that mounts directly to the factory space frame. If it's not, you will have to do some major mods to get it to mount to a factory space frame.
I've never made a body from the race body molds, so really don't know how it's set up. I have made several bodies from the street version, which like I said, was originally set up to produce a one piece rear clip. The fenders look to me to be from the street version kit, but again, I really can't tell from just the pics. Do you know what the previous owner had the body mounted on? If it IS the race version, maybe somebody else already did the hard part for it to easily mount to a factory chassis?
At any rate, looking forward to your build, and do post updates and pics as you are able. If it goes like any of my projects.....it may NEVER get done!LOL
Great find! I look forward to the day that we can get pictures of your car with the prototype for this body.
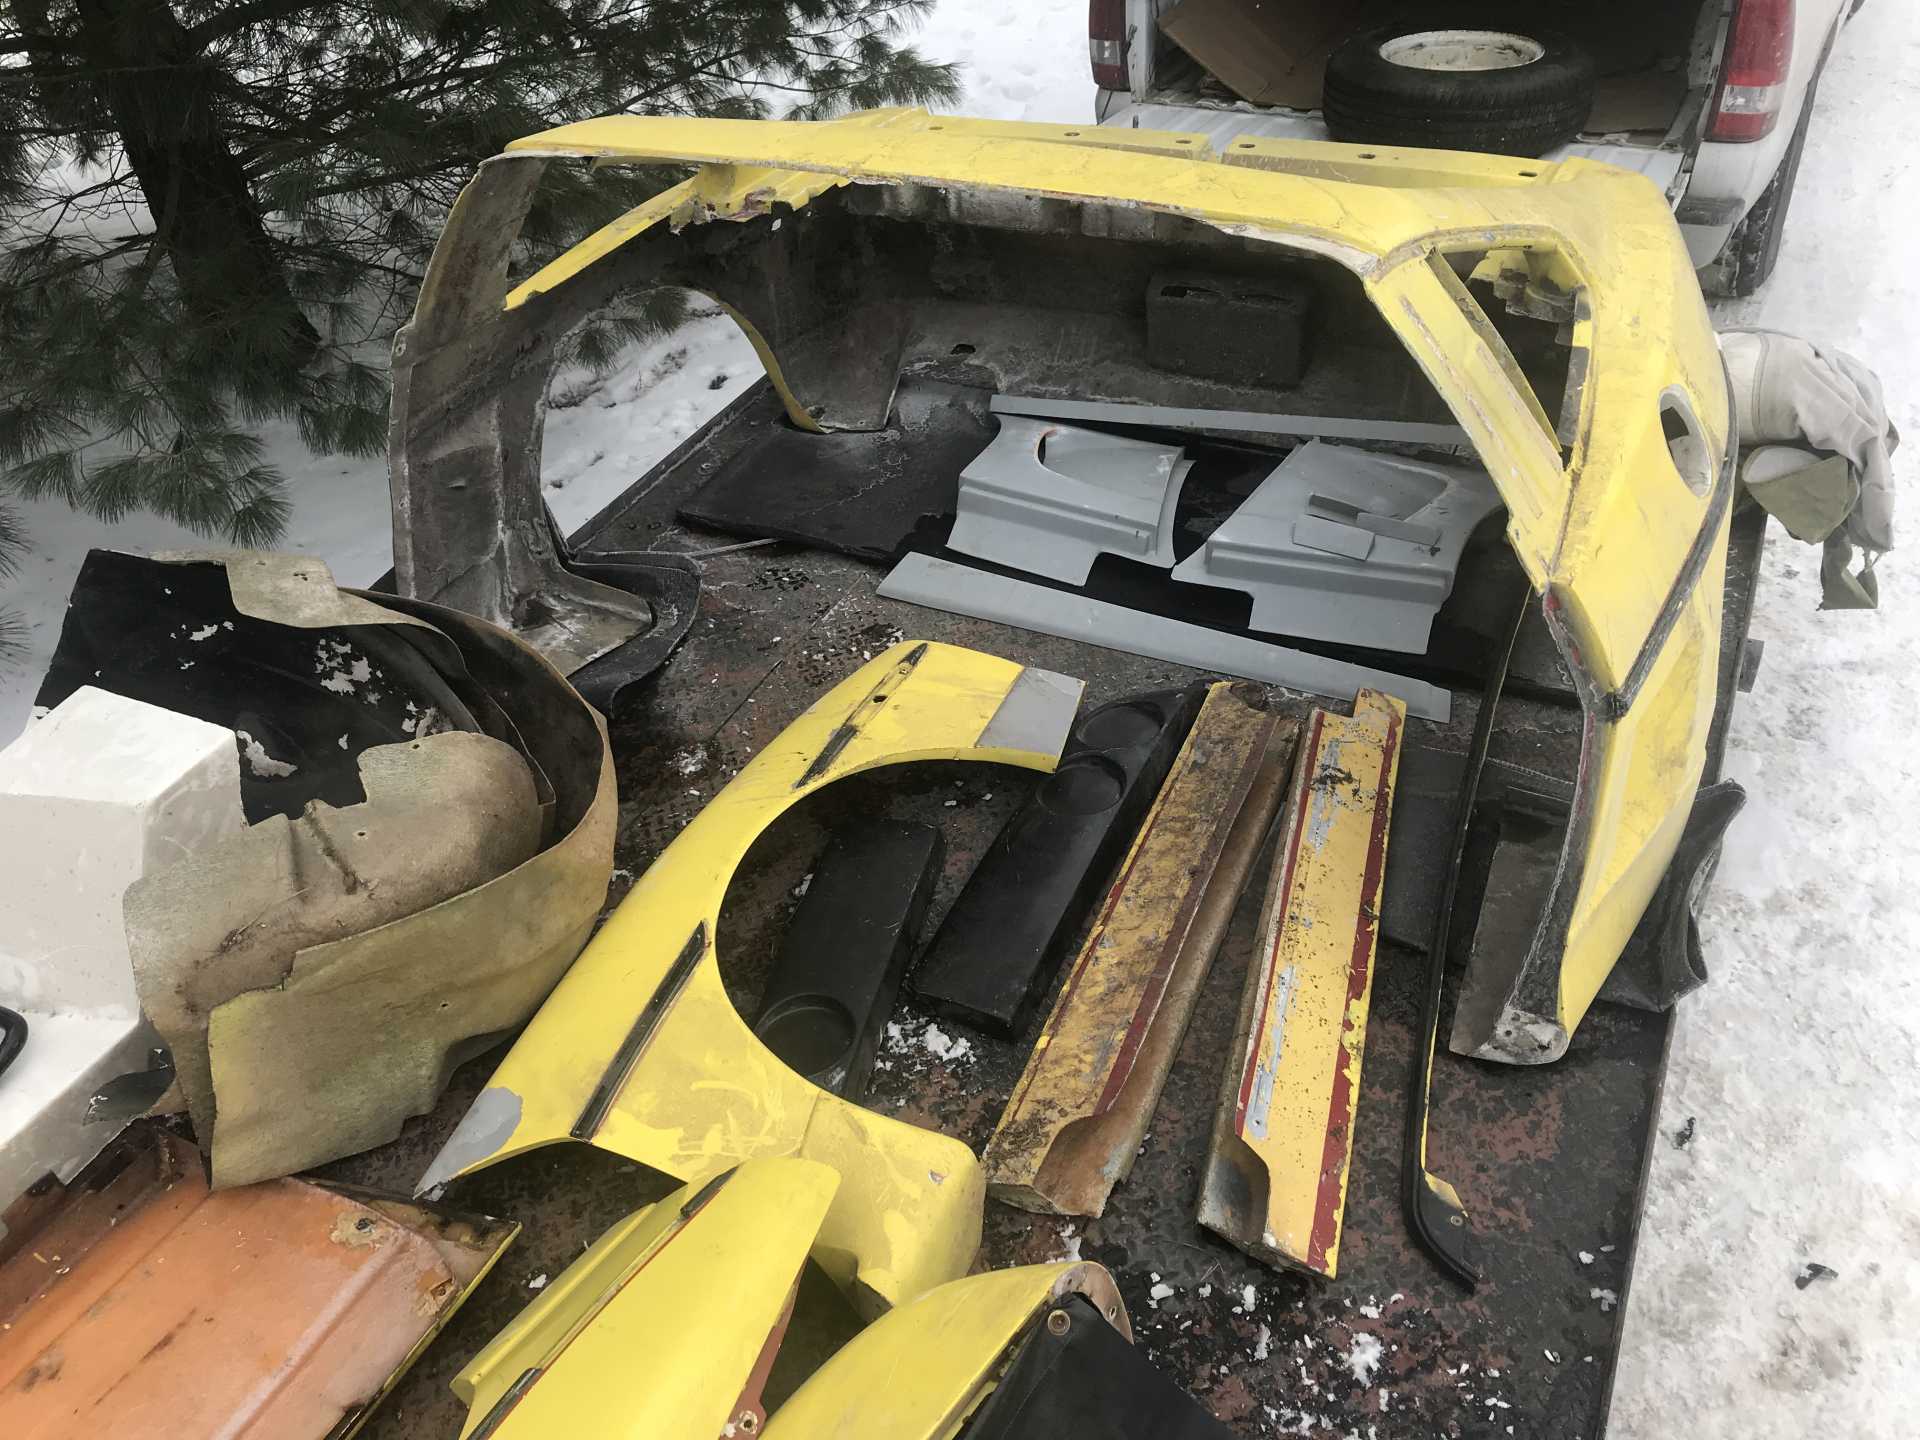
The body panels are not from a race car. They are the street version. I agree that it is an original DGP body kit in the aspect that it is one piece as SAGE indicated that IRM converted the molds to multiple bolt-together pieces.
The race car body broke the body side molding with the wheel arch and the flare for the wheel was up into the upper section of the quarter. It also appears that the front fenders and fascia have stock frame mounting as the race car body would have flanges for quick-release pins.
Good luck with the build. If you need any detailed pictures for installation, let me know.
As far as the Notchback molds go, I have an original DGP Aero IMSA body that was never mounted. The quarters need to be grafted to the stock roof. Maybe the original IMSA notchbacks used a one piece roof/quarter section?
Nice buy with the fastback, it'll be a really sharp car when it's done
Just to add to the pool of knowledge I also have a partial set of DGP race panels (IMSA fastback). They have crisper details and much thinner then that yellow IMSA GT. The big tall tale is that the rear belt rub strips, all the way around the rear clip are separately made in fiberglass ( 3 pieces ) and a little longer to fit the extra girth of the flare.
My notchie IMSA, the rub strip is part of the fender.
I can't wait to see the reresection of a rare piece of automota.
------------------ yellow 88 GT, not stock white 88 notchie, 4 banger
I’m not a body person, and I’m also on a budget. I don’t want to cut corners, but I’m trying to work on this myself.
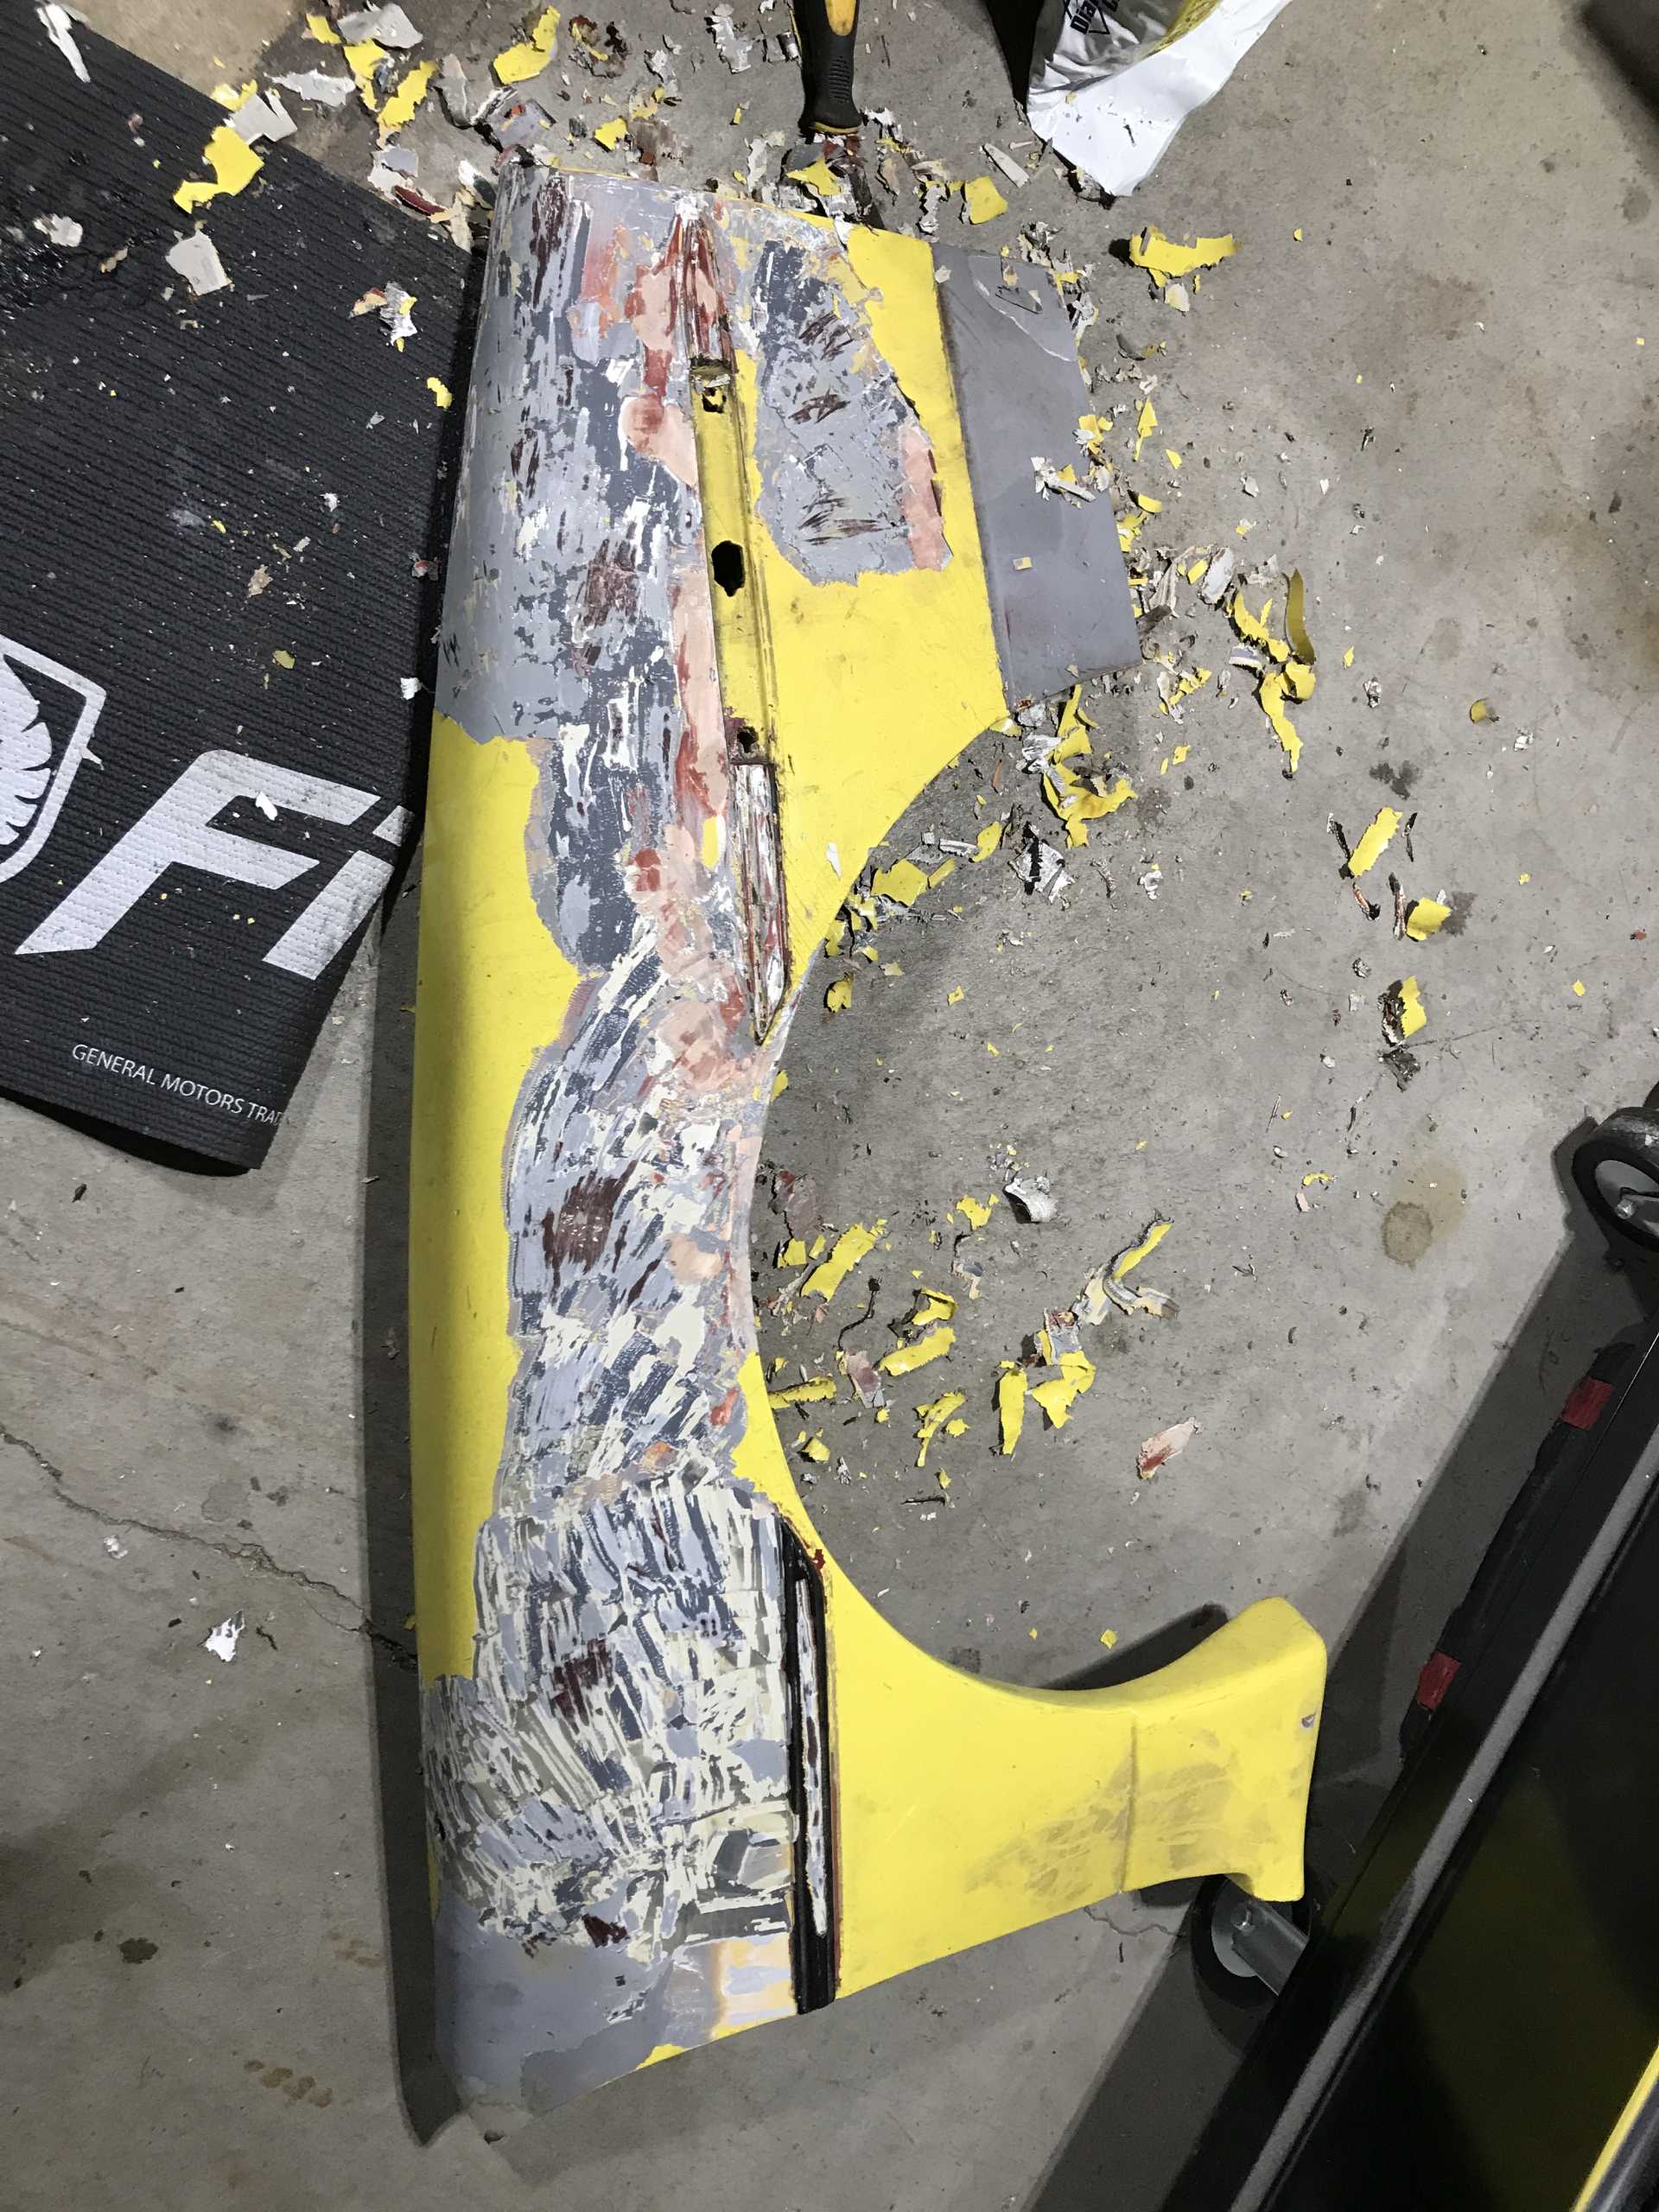
I watched a YouTube video and they used a heat gun and a razor to scrap the paint off. Am I doing this right? There are so many layers. I can see some bondo, some types primer, etc… I don’t wanna mess this up.
I’m not a body person, and I’m also on a budget. I don’t want to cut corners, but I’m trying to work on this myself.
I watched a YouTube video and they used a heat gun and a razor to scrap the paint off. Am I doing this right? There are so many layers. I can see some bondo, some types primer, etc… I don’t wanna mess this up.
Hey there, Far from an expert because I can't say how mine will turn out, but I used a 36 grit 8" disk on a variable speed grinder to take off 4 layers of primer and enamel paint. I took it down layer by layer to gel cote, then I followed up with 80 grit to clean it up.
I’m not a body person, and I’m also on a budget. I don’t want to cut corners, but I’m trying to work on this myself.
I watched a YouTube video and they used a heat gun and a razor to scrap the paint off. Am I doing this right? There are so many layers. I can see some bondo, some types primer, etc… I don’t wanna mess this up.
I am not an expert either. I wet sanded with 80 and lighter on flatter parts with orbital. Hand with 80 on curved and definitely have dips to fix, a lot of hours.
I am not an expert either. I wet sanded with 80 and lighter on flatter parts with orbital. Hand with 80 on curved and definitely have dips to fix, a lot of hours.
It is not metal and you just want a flat surface i don't see the point in stripping every bit of paint off.
I think I have an orbital sander somewhere, I’m most worried about creating divots. It’s crazy how much paint is on here, there is at least a millimeter or two of paint.