According to the Fiero Forum Readers this is Lizardo build Number three......
I began the Lizardo project with a 1986 GT, which was equipped with a 6 cylinder engine, a five speed manual transmission and a sun roof. The car had only 63K miles, so it's been fairly easy to work on. I was lucky, there was very little rust.
I ordered the kit from Fiero Fiberglass with the Accessory Package minus the rear wing (I'm building a larger wing). The kit wing looks nice, but I guess that I'm old school and want the large wing look on the back of the car. The people at Fiero Fiberglass walked me through the order options, body only or add the accessory package. It's important to know the difference, the accessory package includes important extra's like the basic fitting of body parts/panels. Holes are drilled in the panels for mounting on the car and holes are in place for headlights, turn signals and door latches. I'll tell you right now that it will save you hours of time. For a beginner builder it may make or break the kit! The accessory package includes all the light assembly's, side lights, metal grills, fender well extensions, finish emblems and lens covers.
Since this Lizardo is my third kit, I already had a feel for what I wanted to buy. I called Fiero Fiberglass a number times and talked with Jim and Dan to have all my questions answered before I purchase my kit. They were easy to talk to about the car building process and explained that they would help me make my car unique. Fiero Fiberglass is not looking to build a bunch of copy-cat cars, they want their customers to make this car "their-own". I didn't have any problems making modifications to the kit package; they were very easy to work with for my basic changes. So we finalized my personal deal and the car was ready in about three weeks.
They also have a "Turn-Key" car, you just bring them your Fiero and they will build it for you.
They boxed the kit in a large crate, which sat on the back of my full size pickup truck. If you don't have a truck, they will ship the kit.
My first task on this build was to get the car prepped for the Lizardo body panels. I was able do a lot of this prep while I was waiting for my body kit to arrive. I started by removing the easy parts like the front and rear hoods (bolt on), it's a good idea to have someone there to help, the panels are kinda large. After I removed the front and rear lids, I removed and saved the door latch parts because I will be using them again with the the new fiberglass body panels. All exterior factory body panels need to be removed from the car except for the roof panel (it remains as part of the new car). I removed the spare tire and jack to open up the front compartment area. I've been told that the non GT models are faster to strip, it makes no the difference in the build of the Lizardo kit. The base car can be any model Fiero.
I started with the easy items, front hood, rear trunk lid and bumper assembly.
Sorry for the picture quality
On the front and back of the car I removed both the molded and steel bumper, they will be in the way for the new fiberglass body panels. I also cut the front bumper mounting bolts off at there base, they were in the way when I lifted the front clip into place.
[This message has been edited by Mikitcarman (edited 08-24-2013).]
I assume that you are going to put appropriate wheels and tires on it, so a spare tire isn't going to work anyway. On mine I have to rely on a 12v compressor and tire plugs or my AAA roadside assistance. Also I won't try to get every last mile out of my tires like I do on my minivan.
Next, I removed the front quarter panels and rear tail lights. The removal instructions were easy to find on this forum, along with some internet information at Fiero Secrets. Note: Most of the body panels on the Fiero are bolt on. There were some rivets that I had to drill out with a 1/4 inch drill bit. This is very basic information, but some internet site information shows to "punch" these out and I find that there is less damage/faster if they are drilled. These rivets were on bottom of both the front, rear quarter panels and bottom of the door panels.
You need to remove all the turn signals, side lights (I left the bulbs hanging) and generally remove all the flaps and black guards.
As I moved around to the rear of the car, I removed the tail lights first; this way, I had access to the bolts to remove the rear tail assembly. When I detached the quarter panels, I left the fender wells attached on the car (they will be used later with the Lizardo kit).
I removed the exterior door panels from both sides of the car. The mirror on the driver has a remote, so after the mirror was removed there was a hole in the interior of the drivers side door panel that I'll have to cover or repair at a later time..
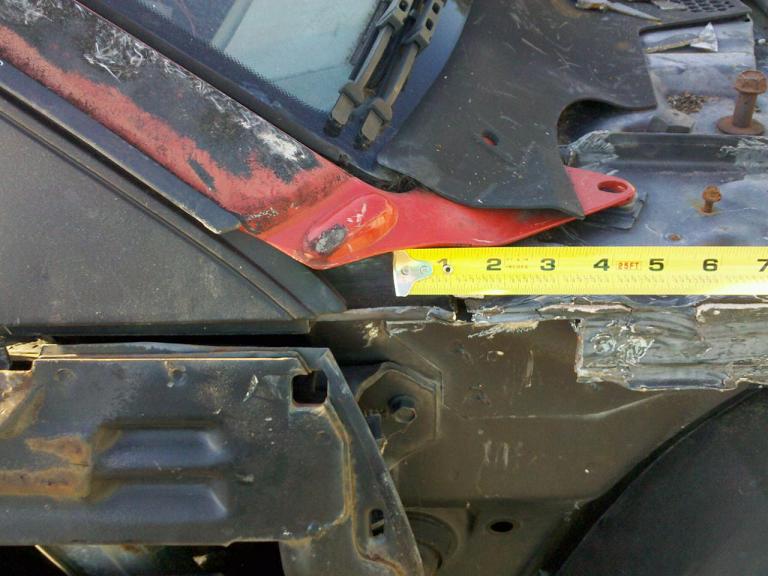
The rear quarter panels need to have a specific cut on the top of the panels where it comes up to the roof. I first cut the panels about 6 inches down from the top edge, then made a closer cut after the Lizardo panels were on site so I could actually have them setting on the back of the car for an exact cut.
Fiero Fiberglass Picture (pic better than mine)
This is what the cut looks like on the top to make the body kit fit correctly.
The rear sail panels were a little harder to remove, I had to unscrew the interior rear door trim to take out a nut on each side. At that point I just removed the bucket seats to get them out of the way. After the sail panels were off the car, the rear deck panels were unbolted and removed.
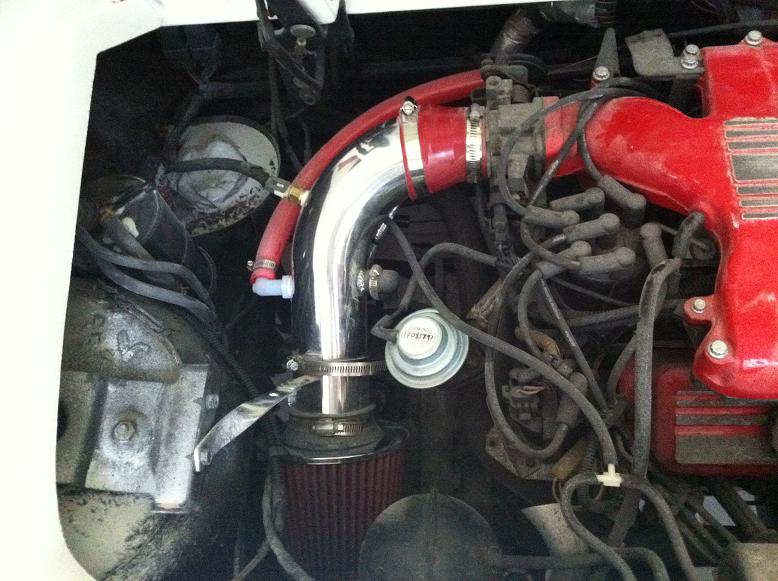
While I had the back of the car wide open I removed the factory air cleaner components and added a new Chrome Air Intake Kit. It was about $60 and it opened up the left side of the engine compartment.
Installed Chrome Air Cleaner
[This message has been edited by Mikitcarman (edited 08-01-2013).]
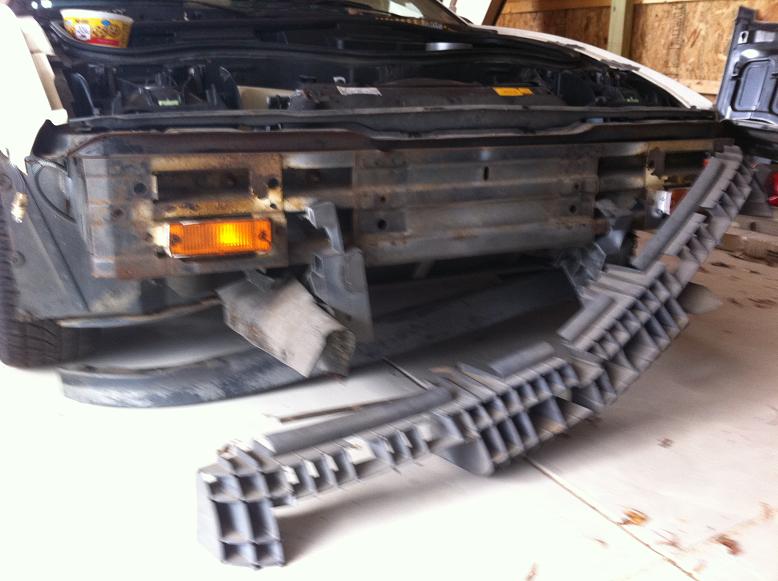
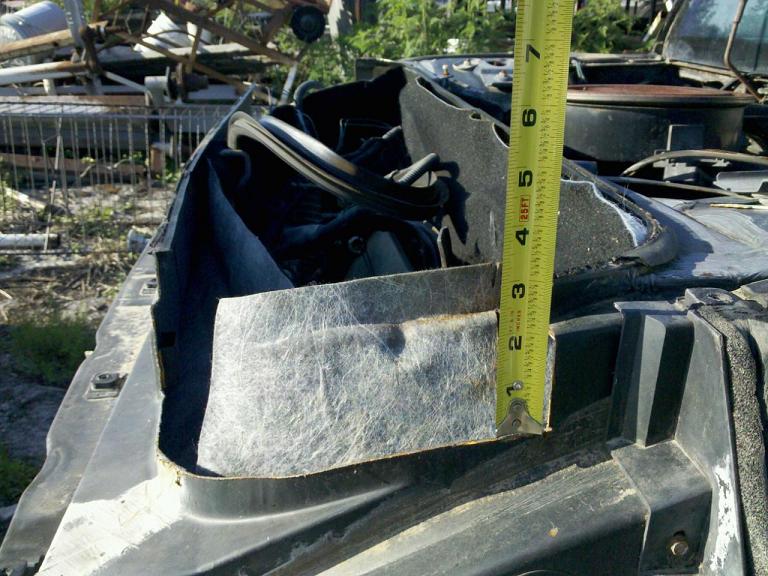
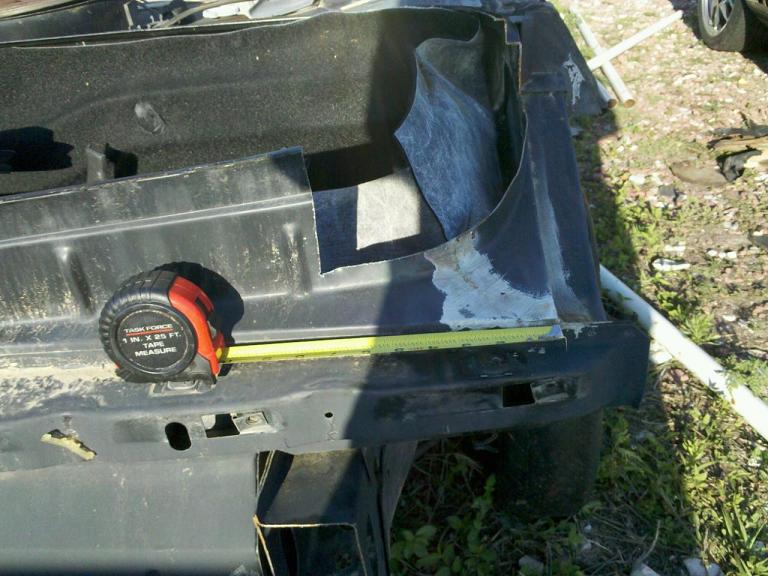
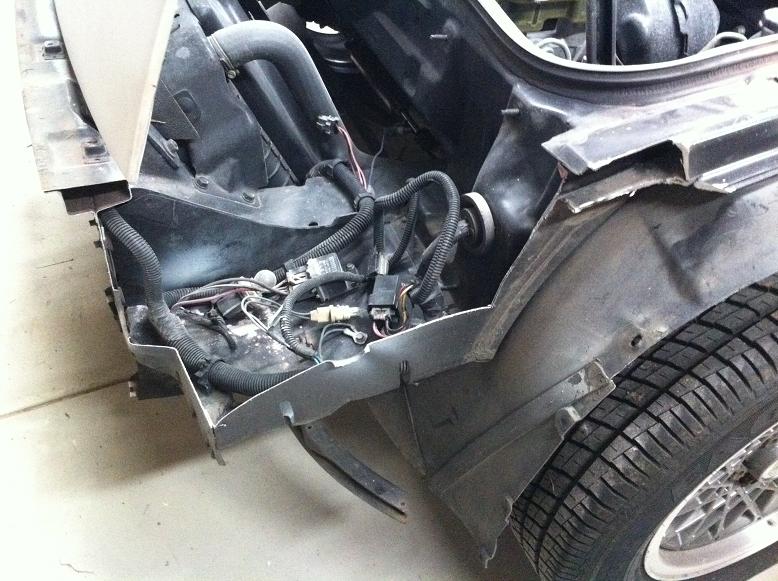
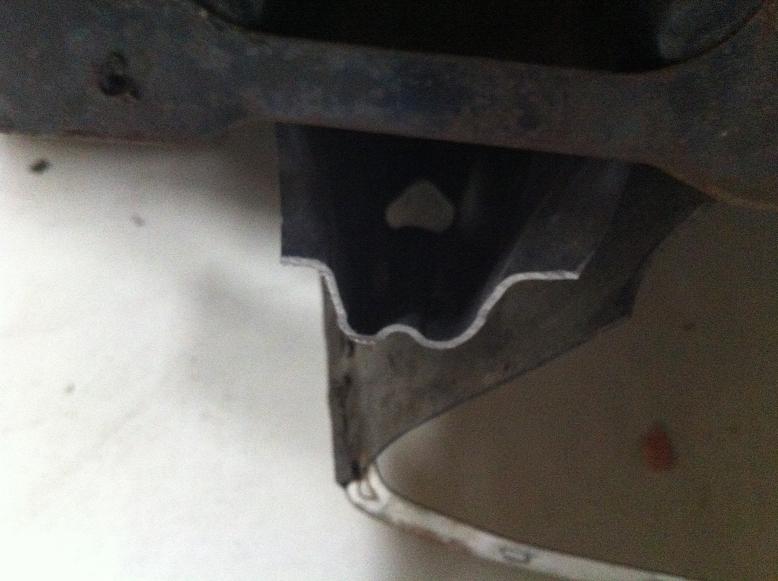
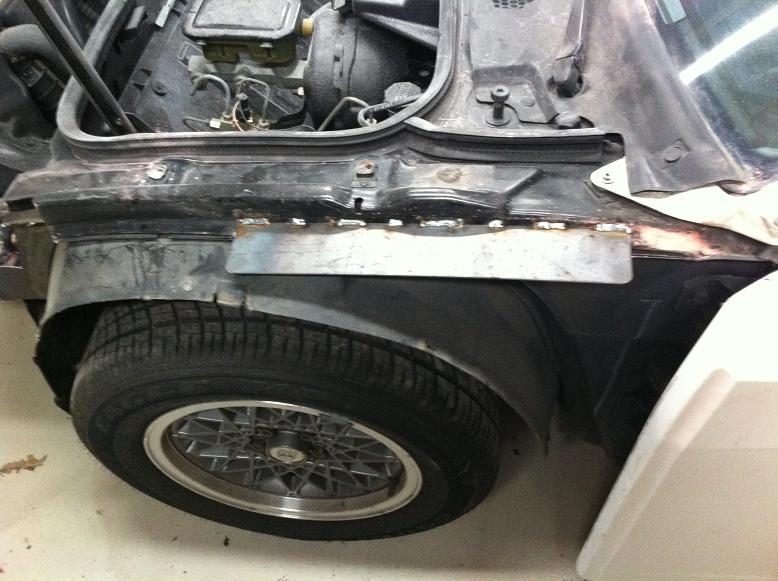
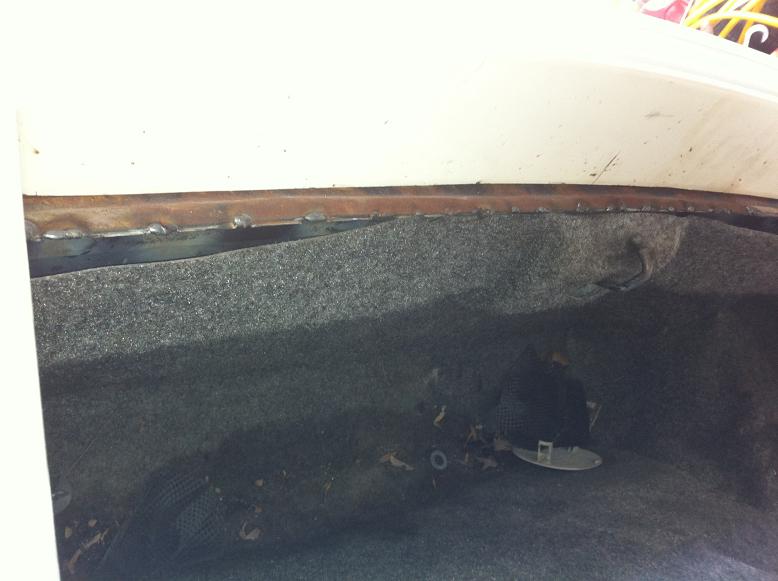
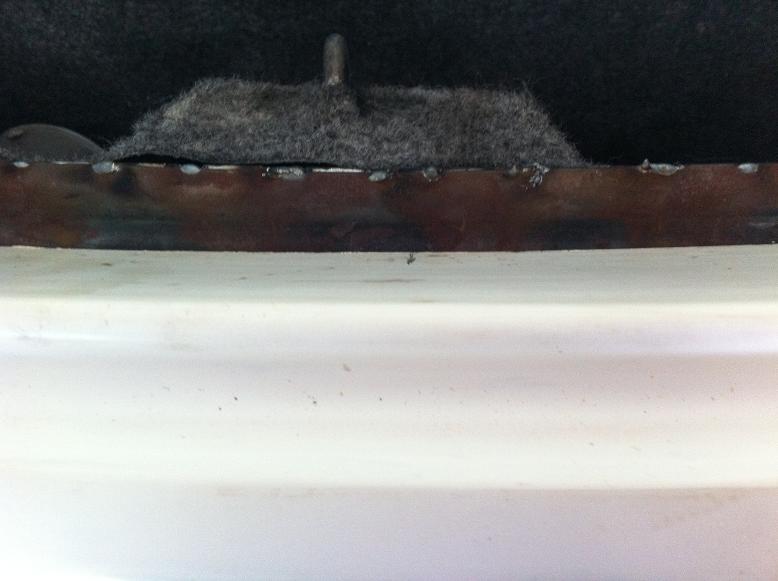
Now that the back end of the car is completely down to the chassis, I had to make some cuts. The metal cuts easily, so I used a battery operated saws-all with a high tooth steel cutting blade. The cuts are on both sides in the trunk area; these cuts will give me access to change the tail lights bulbs under the body after the kit is installed.
Side View - about 1.5" in and 2" down, it doesn't have to be perfect
Rear View - about 4" down
2nd Side View - about 7" back from raised corner
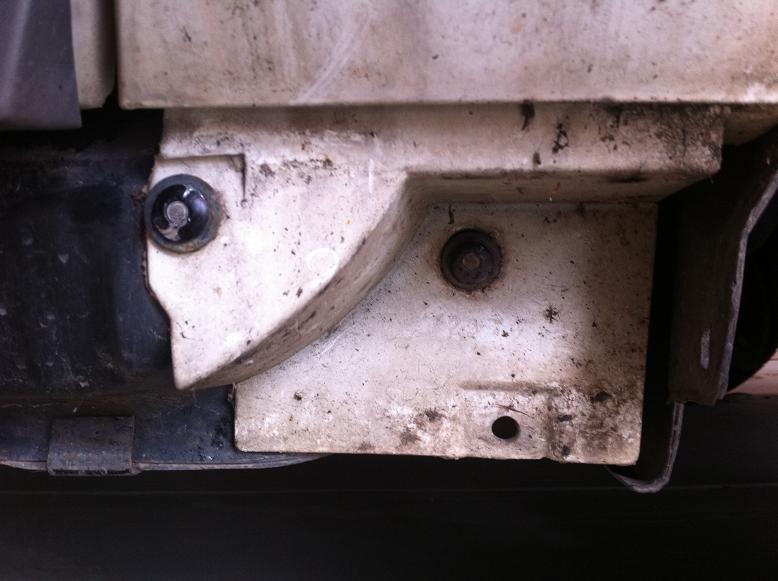
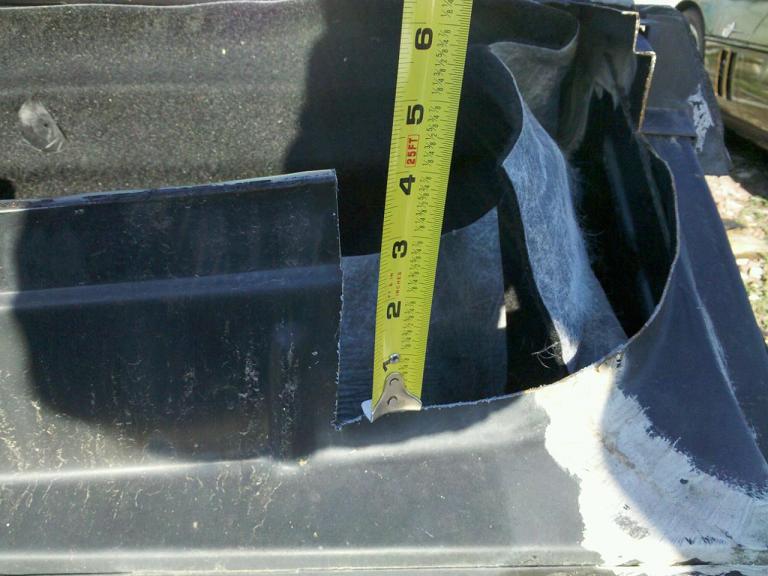
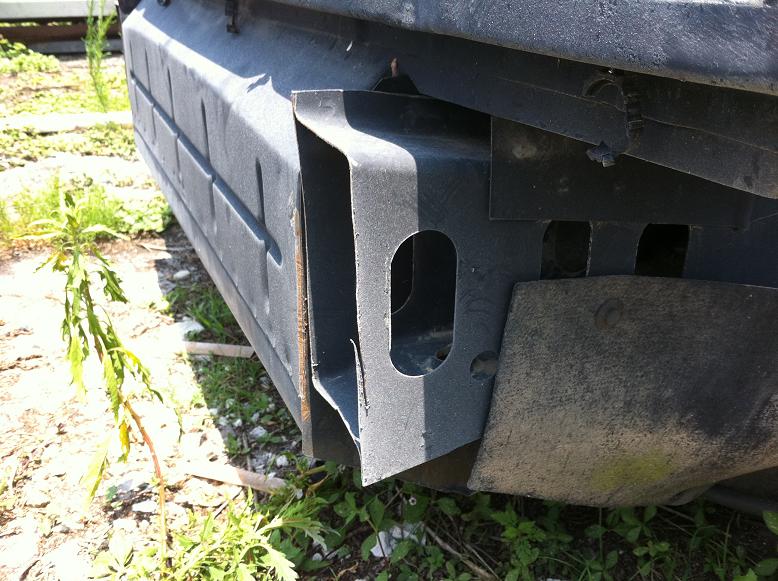
The rear frame bumper mounts need to be trimmed back flush with the trunk box.
I was careful not to damage the trunk felt so I can use it as part of the final car. I removed the trunk seal when I made the cuts, its not used.
[This message has been edited by Mikitcarman (edited 08-01-2013).]
Next I moved to the front of the car, I removed the Fiero pop-up headlight assembly's (sold for a good price!). I had to make two required cuts on the front of the car. The first cut is on the frame edge in front of the doors (so the doors can open with the panels on) and other cut is on the front end where the headlights use to be installed. Once again I used a battery operated saws-all.
Fiero Fiberglass Pic
The cuts needs to be about 3.5" to 4" wide in front of each door. (the steel is double thick at this point)
[This message has been edited by Mikitcarman (edited 09-13-2011).]
The Second cut on the front of the car is the largest. I cut to remove the outside frame edge that surrounds the current lights, this was to make room for the headlights that are recessed and molded in the new body. I figured out after I lifted the front panel into place that these cuts had some room around the edges. I could cut a little bit less off and still had room for the fiberglass to set down onto the chassis.
Top View - I also removed an additional 3.5" on the edge (back about 1/2") of the frame to clear the headlight fiberglass.
Side View
Front View - I cut up and across from existing hole, you can see the bumper mounting blots that were cut off.
Last Cut I made, was to flush cut the frame nose, it's in the way of the front fender.
Wide Front View
[This message has been edited by Mikitcarman (edited 09-19-2011).]
That's all the Cuts, compared to my last kit this was easy!
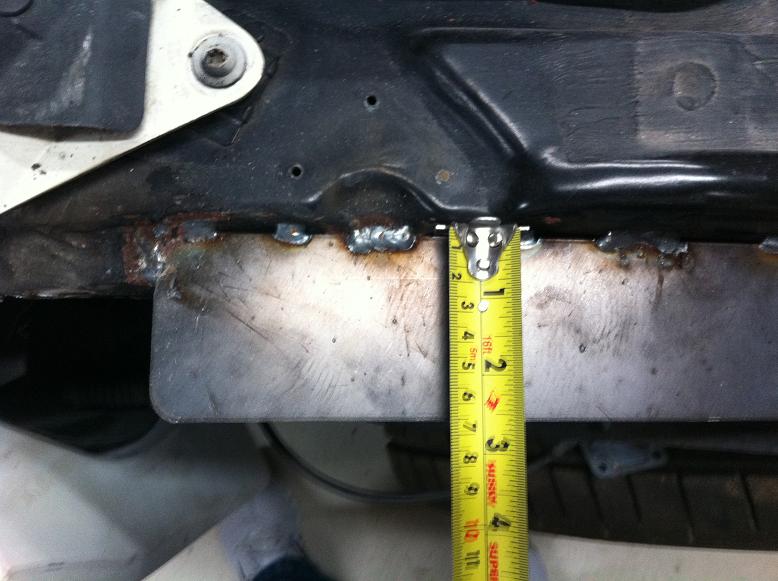
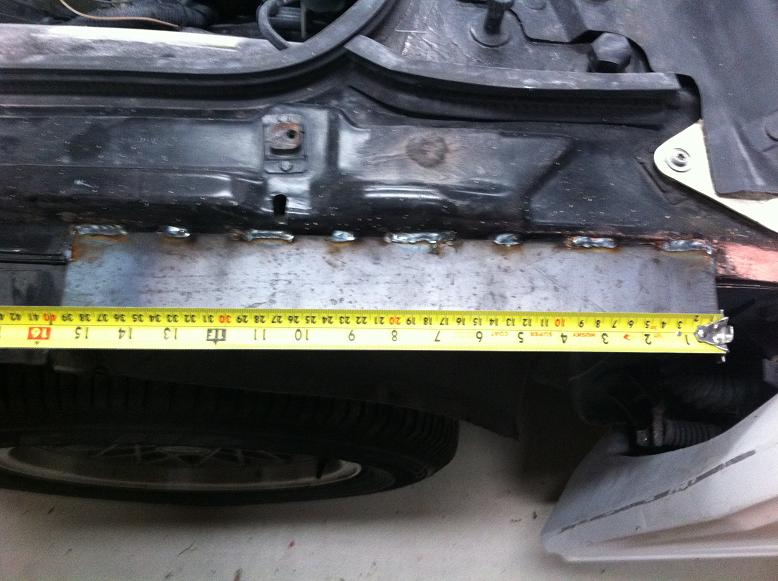
Now I decided to add some 16 x 2.5" medal strips on the front frame. I had it welded at the local shop, they only charged me $40. They cut and installed the two pieces on each side on the front and installed a long piece across the back trunk area. I wanted to close the gap between the new fiberglass body and the existing Fiero trunk frame. I had them slightly cup the back edge of the new steel for a support of the body (This rear steel piece is something I added on my own). These areas were the only welding that I did on the car to prepare for the new Kit.
Make sure that the new door panels clear the steel (plus 0.5") before you weld them into place
Full View - Metal is 1.5" Wide x 38" long, covers full width of trunk
Top View - Metal has bent edge to cover 1" gap from trunk edge to fiberglass
After I completed all of these cuts and welding, I sprayed all the open edges and welds with a rust proofing spray.
[This message has been edited by Mikitcarman (edited 04-21-2012).]
Now I decided to add some 16 x 2.5" medal strips on the front frame. I had it welded at the local shop, they only charged me $40.
Any other Fiero owners in the area with access to a MIG welder? Not trying to knock you man, but I wouldn't have charged you ten bucks to do those few little welds. Tell me they supplied and cut those pieces to size for you for that price.
Ok, negativity aside, this should be an excellent thread! Awesome kit, detailed write-up, and ample pictures! Thanks for sharing with us!
Thanks for the feedback, I'll keep posting the info, let me know if you have any specific questions.
Sorry, I did not take any pictures of the kit in the crate. The entire kit was boxed in one crate, the crate was made of a 2" x 2" frame, It was screwed together with a luan wood sheeting over the entire box. The cool thing was that the box was built so it fit inside the truck bed, we just had to strap it down.
The kit also came with an nice hidden touch. It's two glass pieces that you paint black, they mount underneath, in the front of the fenders. I guess you could call them port fillers. It is to close off the front lower grill openings, so when you look from the front of the car, it's closed off the vent area to the ground. I'm showing now because you can't really see them later.
Unfinished View- mounts under front quarter panels by bottom edge
[This message has been edited by Mikitcarman (edited 08-01-2013).]
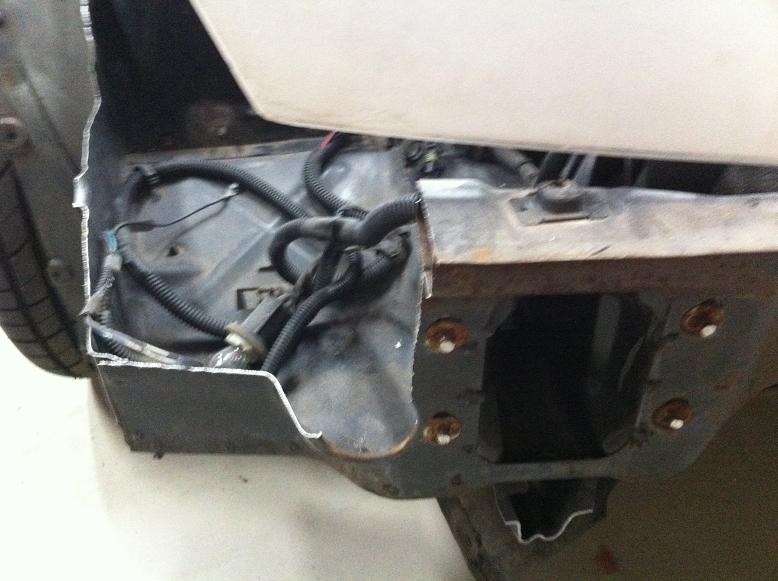
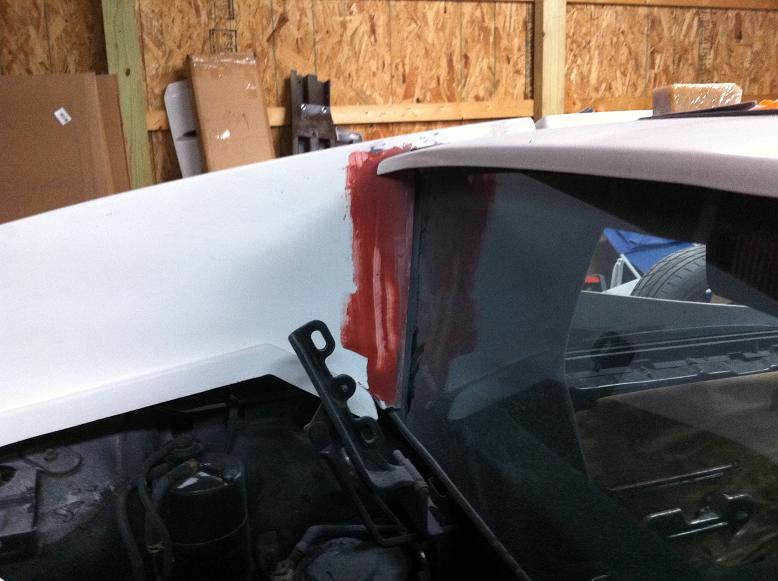
I started with the top rear body panel, It's one piece and raps around the back. It sets 1/8" to 1/4" from rear window glass. After I set the upper panel into place I wanted to make the seams as tight as I could. I glassed in a small gap on the drivers side after the panel was aligned and passengers side was a good fit.
Drivers side small gap repair
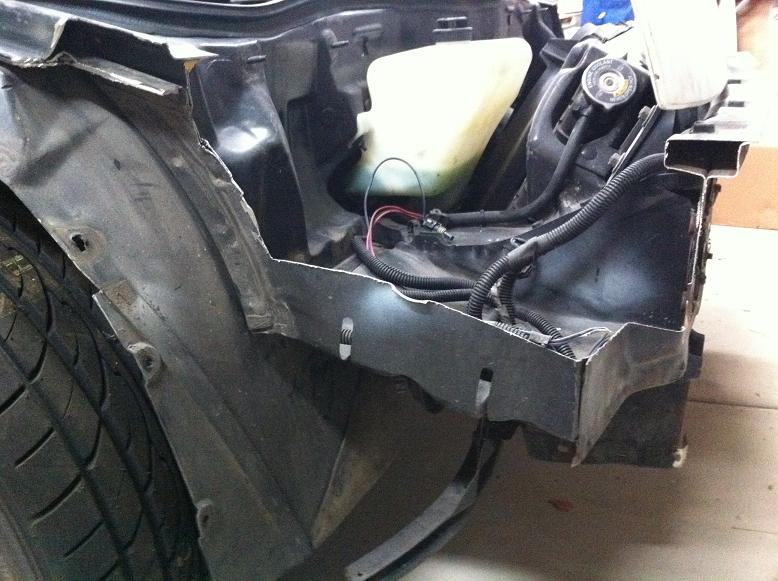
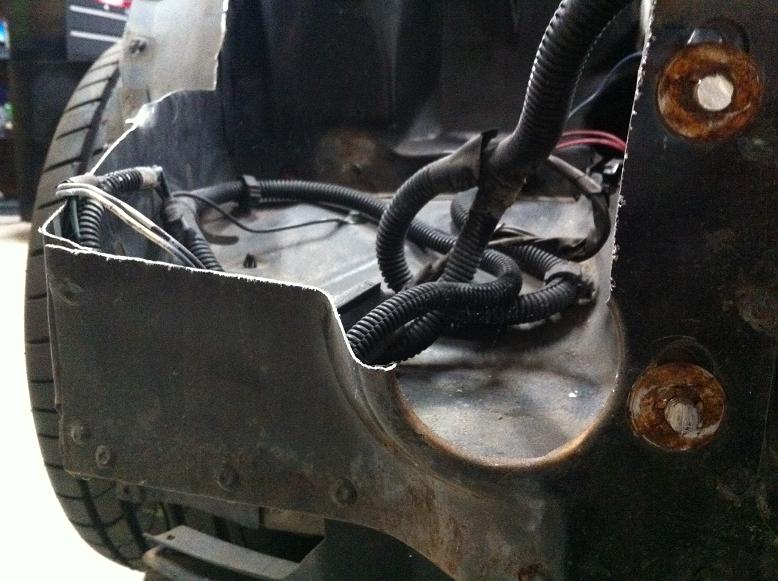
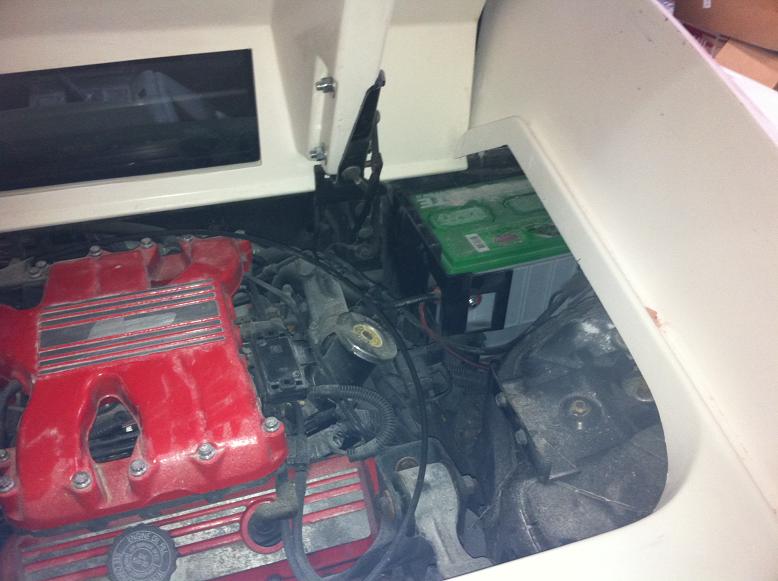
I also noticed that when the body panel is in place, battery is about half covered, so at some point I will move the battery to a new location in the car.
Rear view of engine compartment
This picture also shows a view of the rear trunk lid. If you buy the kit from Fiero Fiberglass pre-drilled, the front and rear lids just bolt on.
[This message has been edited by Mikitcarman (edited 09-22-2011).]
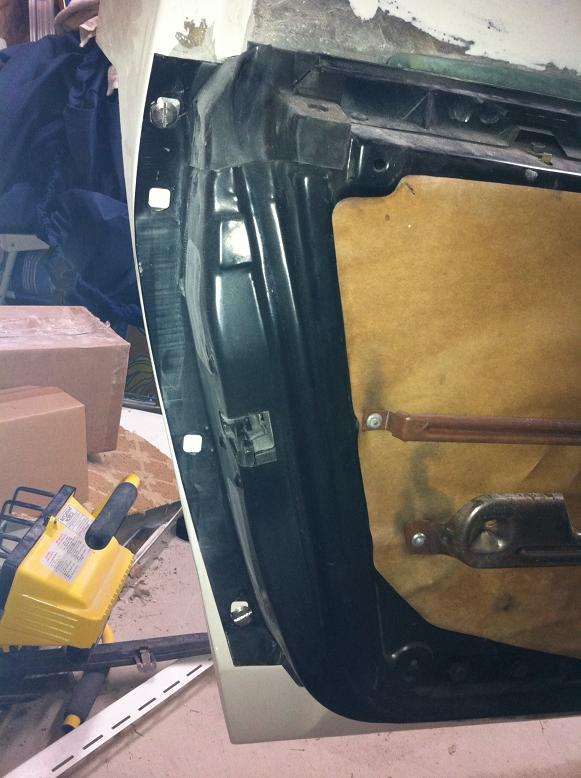
Next I worked on the doors, because I purchased the accessory package, the door panels were drilled and had the screw clips on panel edges. The original Fiero door handles and locks have to be removed from the stock door panels and moved to the new fiberglass door panels.
The new door panels are taller than the originals and need some longer door latch handle rods. Fiero Fiberglass furnished these with the kit in a "bent on one end" version but you need to cut and add part of the old latch rod to extend end and to add the extra length. Once I put the door panels on the car I had to estimate the new length and install my old door handles. I adjusted the rod by bending slightly with a pair of pliers until it worked correctly.
Drivers door, on the top of the door I sanded the edge of the fiberglass for a closer fit to the door frame.
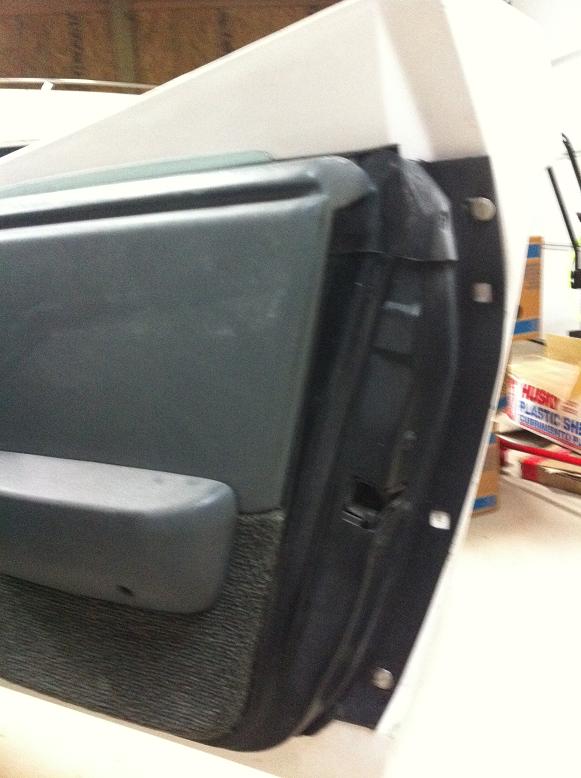
Passenger Side, there are four frame holes in the doors, I'm only using two mount screws at this point of the build.
The kit also comes with the arched pieces that fit over the doors on both sides. It buts into the rear panel and runs on the roof edge.
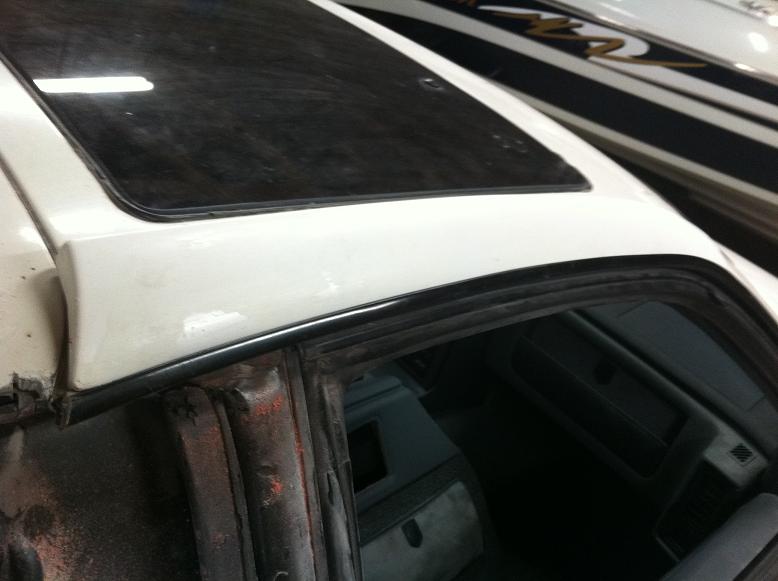
Passengers side, body roof flair
[This message has been edited by Mikitcarman (edited 08-23-2013).]
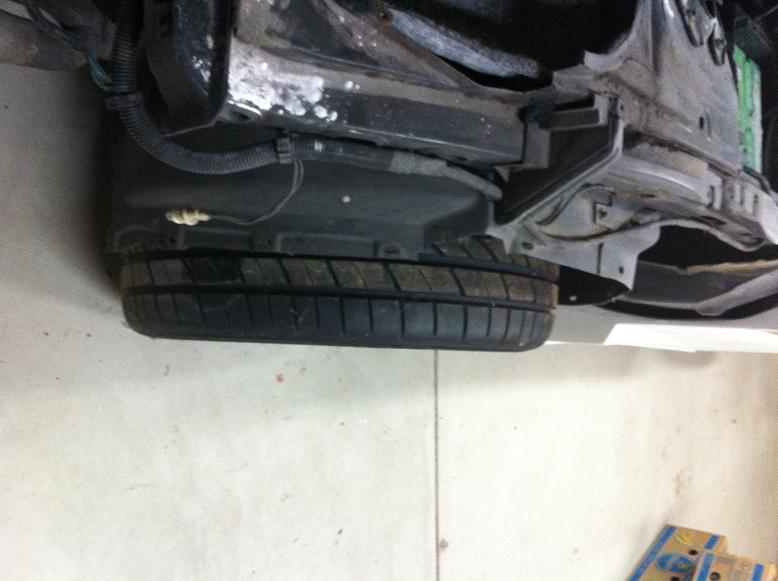
Now I'm at the point where I wanted to buy my tires and wheels. I'm going to paint the car some shade of yellow and black, so I wanted to purchase a Black and chrome wheel.
Here is where I started: The new Lizardo body is 3" wider than the standard Fiero body. The GT standard size is 215 x 60 x 15" , 5 x 100 Bolt Pattern
Where I'm trying to end up: Front 245 x 40 x 18" , Rear 275 x 40 x 18" , 5 x 114.3 Bolt Pattern
I could use a standard 3" wheel adapter (spacer), also to convert from 5 x 100 to 5 x 114.3 wheel bolt pattern But, I want to keep the adapter a s small as possible, so I looked for a wheel with a smaller offset.
I ended up with a 2" adapter converting from 100 to 114.3, it looked better on the car and was a little cheaper. I purchased them from USA Adapter, they appear to be a nice quality. The wheels were for a Mustang, the offset was not as deep as the Corvette.
Passenger Rear Side with Adapter Installed
I used a Tire Size Calculator to work out the "looks" and outside diameter, there is a little more room in the new body for larger tires (mostly in the rear).
[This message has been edited by Mikitcarman (edited 10-11-2011).]