I have been following the threads that hairballrm has posted on his headlight upgrade for projectorretrofit.com for a while. I contacted him a few months ago about possibly buying some and got the ball rolling as he was still unveiling and perfecting the product. We both realized that I had something he needed and he had something I wanted so we decided to do a retail trade, I have access to a 3M architectural film that he uses on his buckets so we traded that for his complete kit.
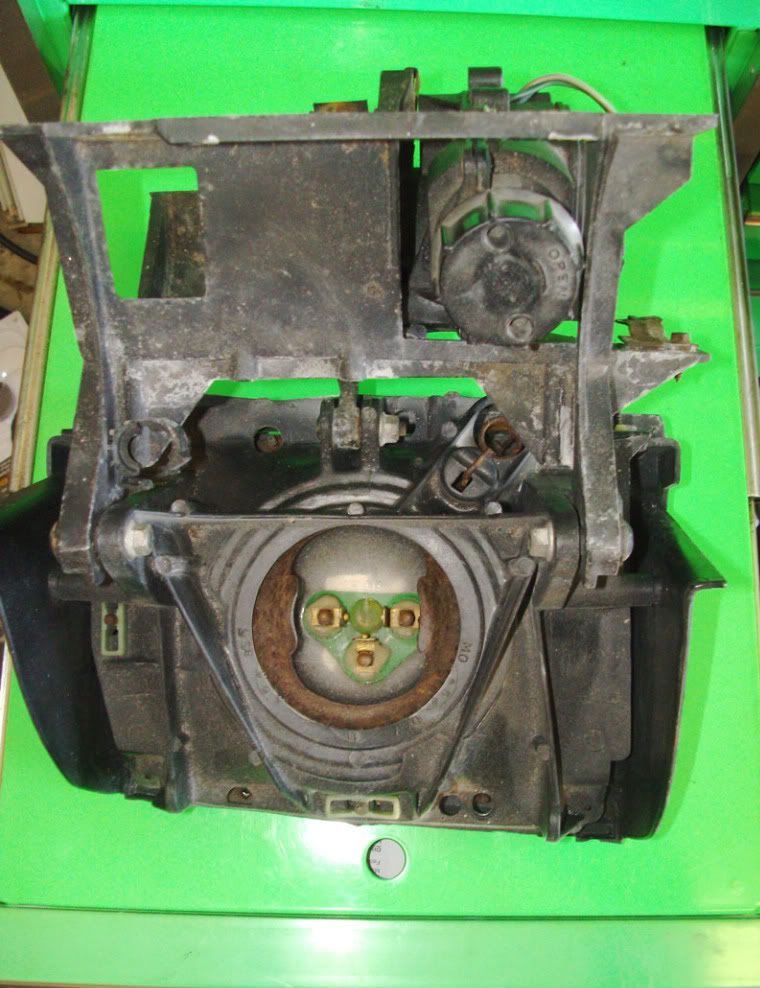
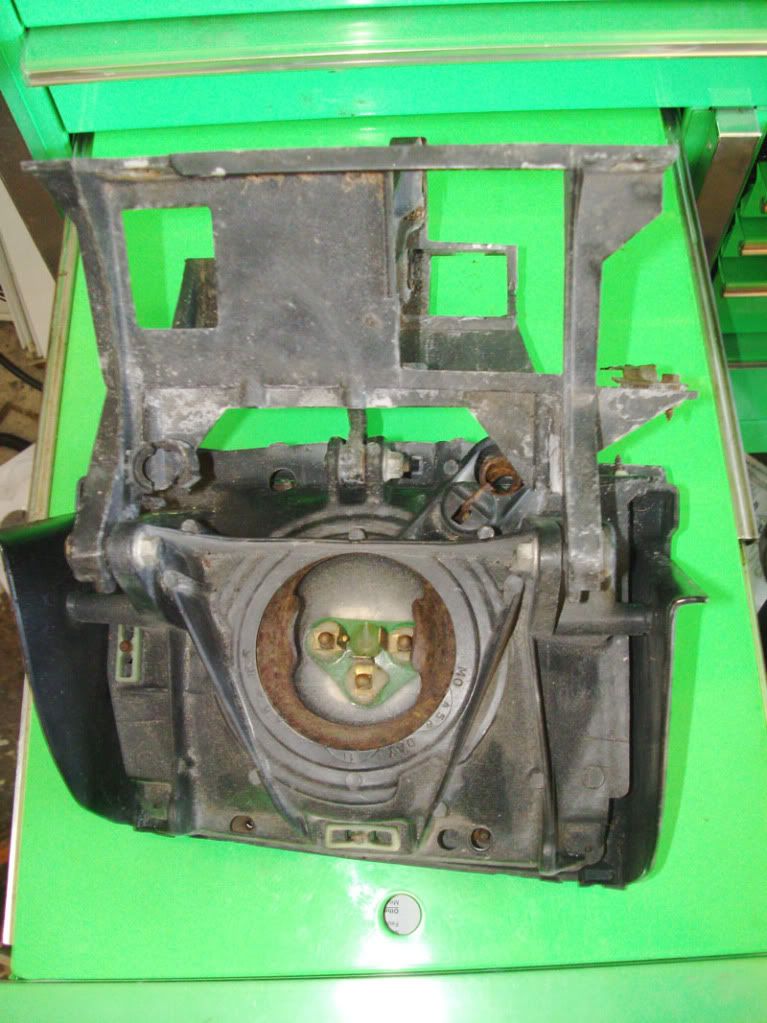
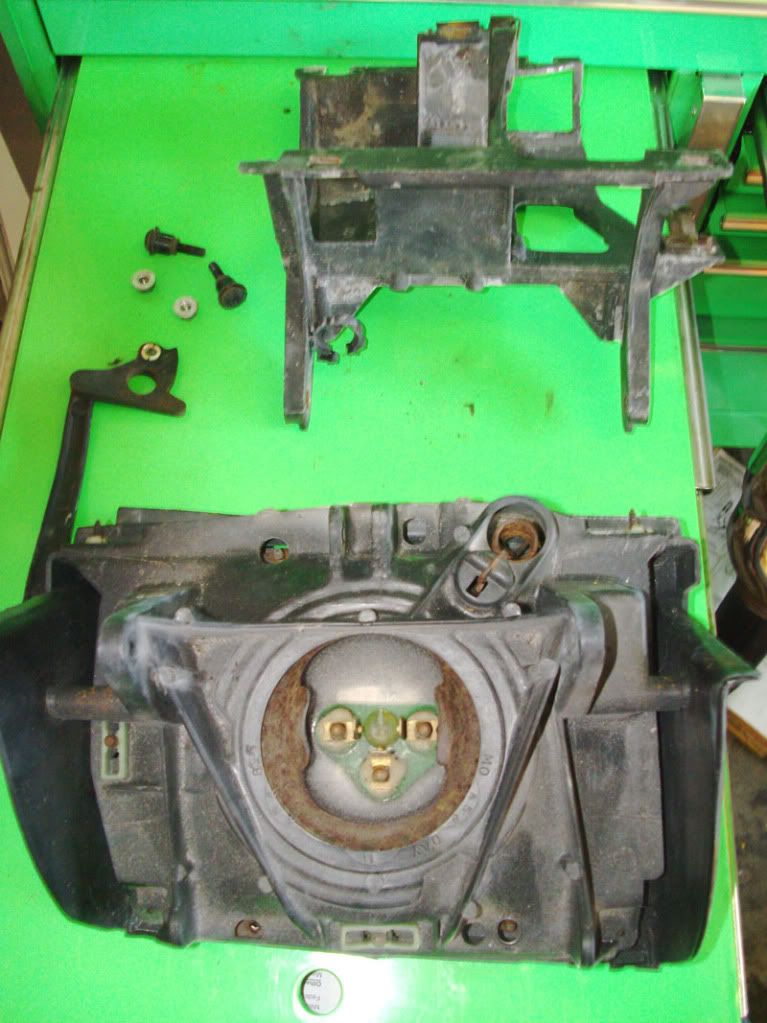
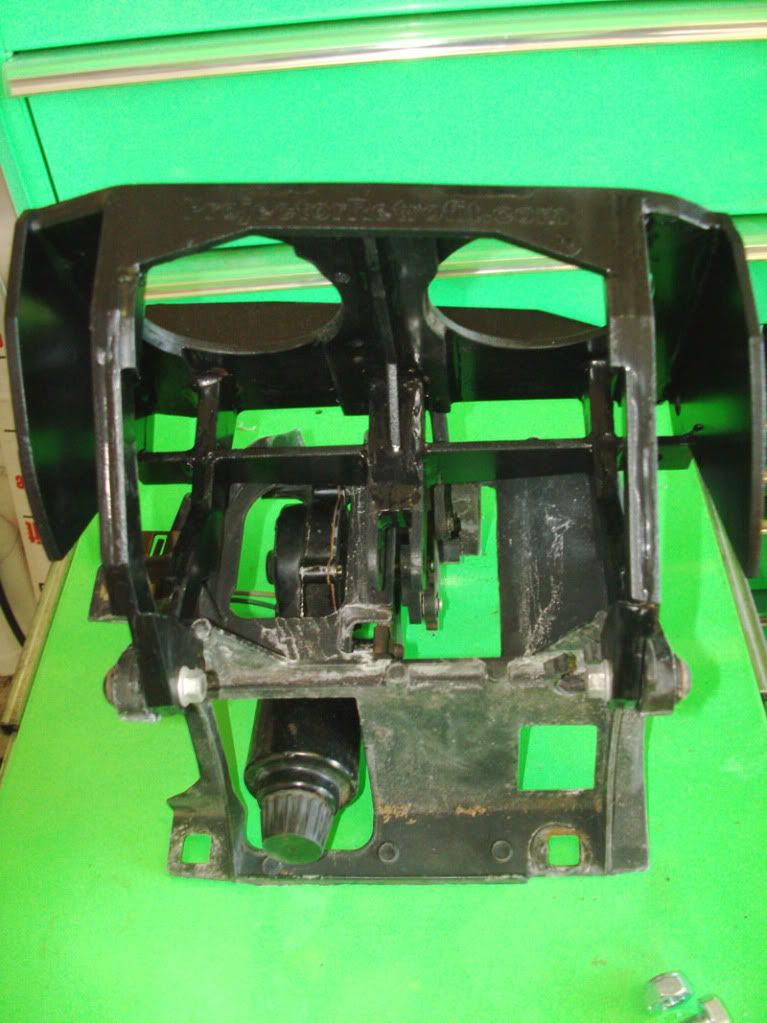
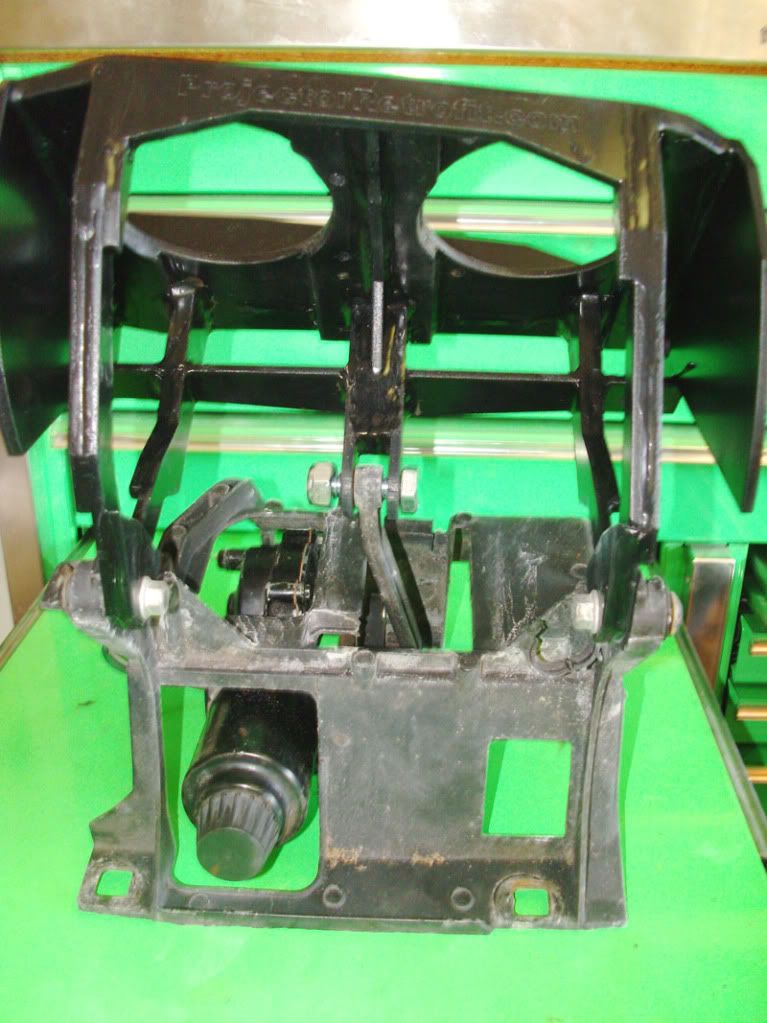
I opted for unfinished buckets without the film applied (oddly enough) and decided just to sand them down and paint them black. The ABS he uses is bonded together very well but that creates seams and glue shows in some areas. Since I was also doing a gen2 headlight motor upgrade with freshly rebuilt motors, I figure the popup function should work flawlessly for years to come which means the only time you will see my buckets is at night when the lights are up which means its dark out, and when my hood is open the lights are down anyway so it is harder to see most of it all. The film covers all the seams and makes for a nicer finish, but I just chose to paint mine black because of the reasons mentioned.
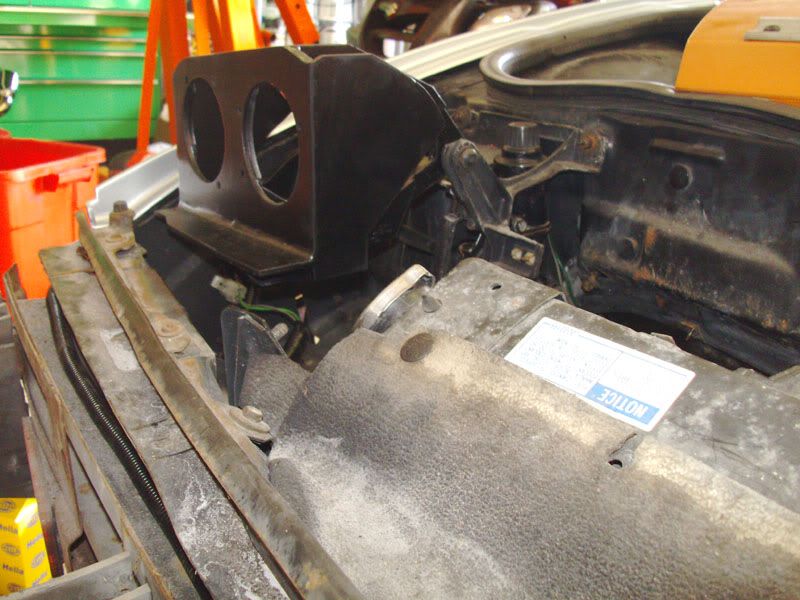
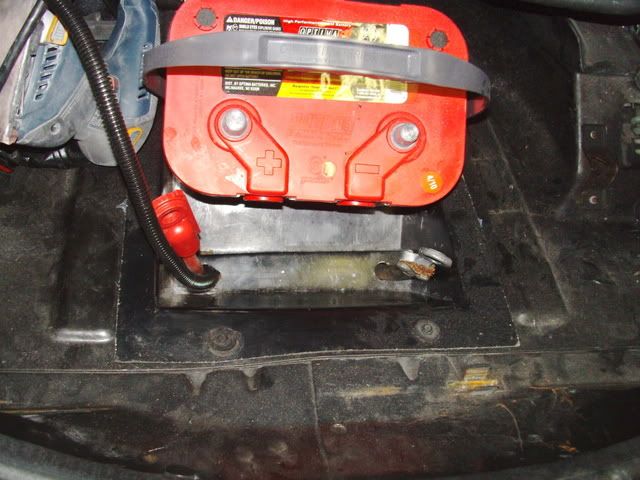
I got a package in the mail on Friday that had two headlight buckets, 4 Hella modules (2 high beam 2 low beam), a full wiring harness built by him, bolts, screws and various other hardware. My battery is front mounted so the power source is up front making things easier because the power comes straight off the battery, through a supplied fuse block and then to the relays. One of the reasons I am documenting this is so it is easier to understand the wiring end of it because there is no printed instructions as of yet, I had to study what went where and make some educated guesses, but it was nothing too painful.
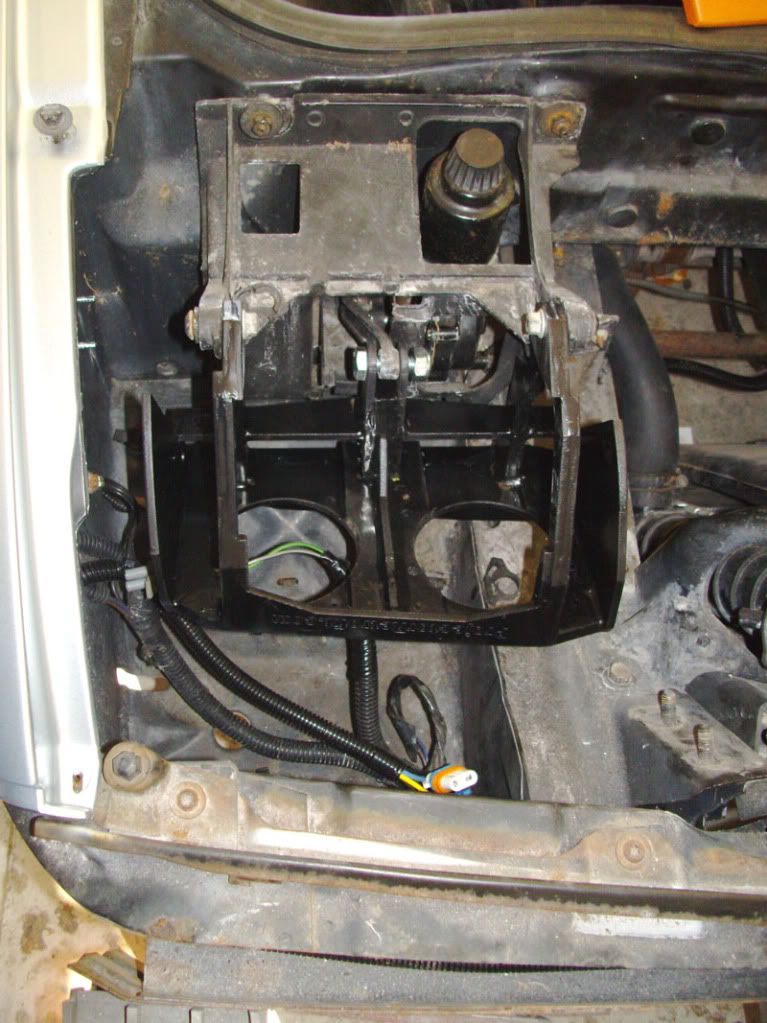
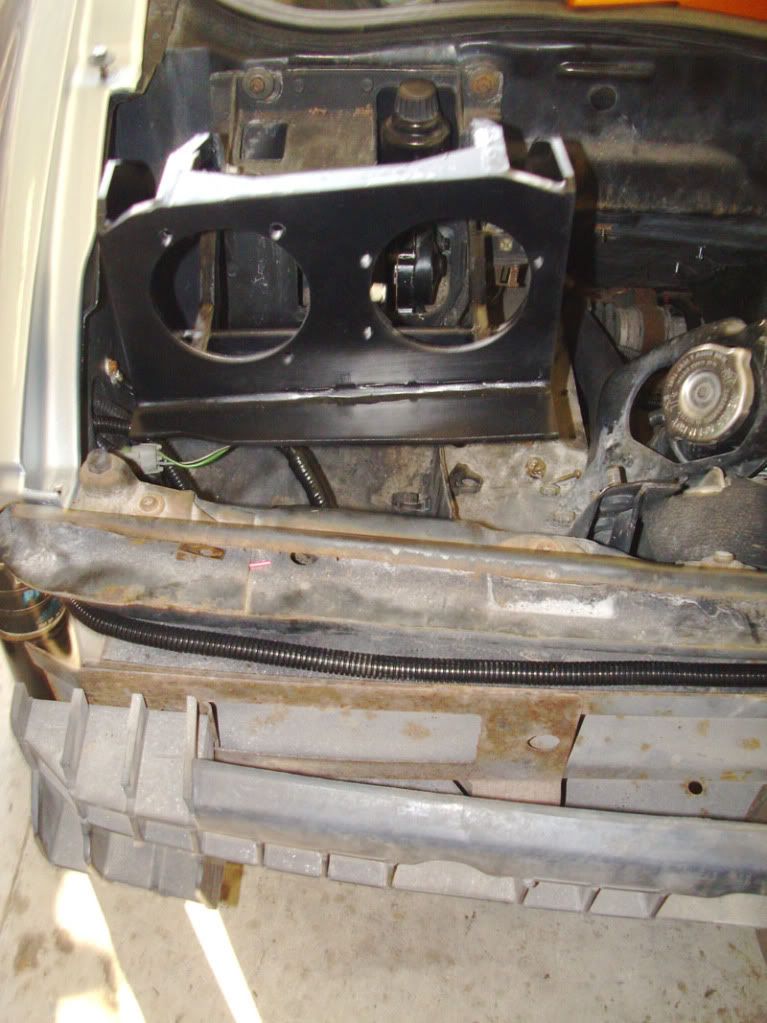
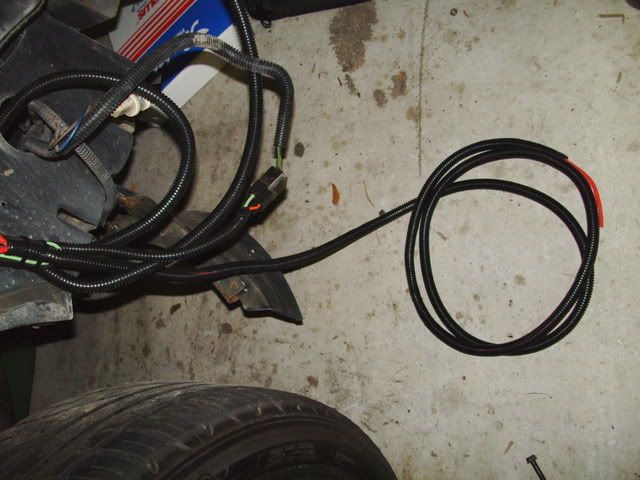
First off, the main wiring harness is two relays with 4 wiring looms coming off of it. I chose to mount my relays on the passenger side to the outside of the headlight bucket to keep the wiring out of sight. This was easier for me though because my fenders, bumpers, and wheel wells are all removed for other reasons.
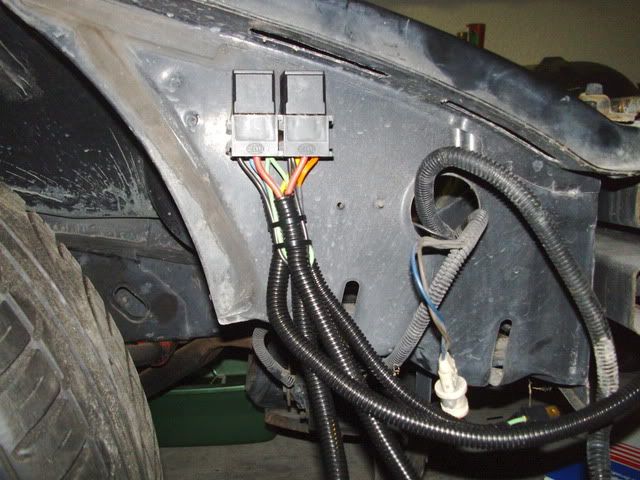
Two of the looms are for the left and right headlights, one connects to the fuse block for power, and the other one connects to your existing connector that used to plug into the old headlight, this just gives signal to the relays when the lights are on so very little power runs through this. That connector that plugs into the old headlight connector was just three terminals and the plastic block was in a bag so I had to put the terminals into the connector, no big deal. The wire colors match your headlight connector so it was just a matter of putting the right color in the right location of the connector. I routed the old headlight connector outside into the fenderwell to clean the bucket area up a bit.
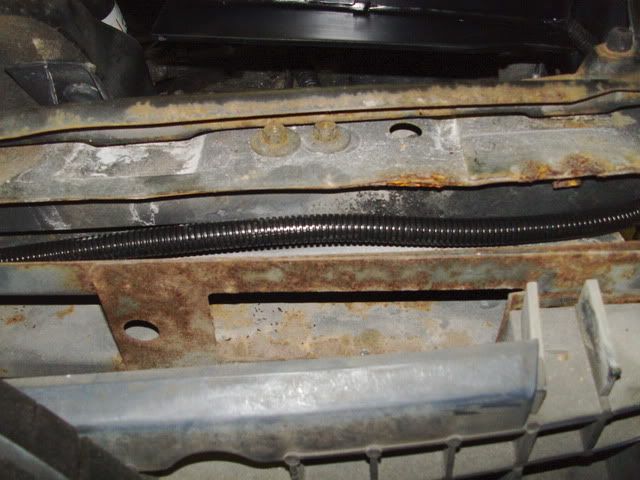
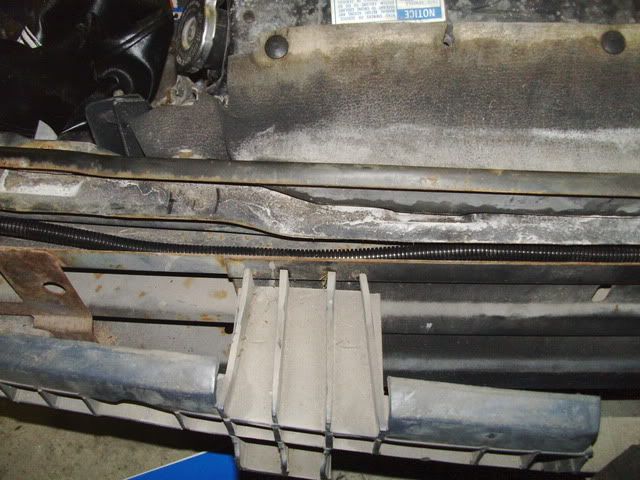
The new headlight connectors are simple, they just sit into the buckets and there is a ground terminal for each side that you can use the existing ground screw in the headlight bucket area for. Since my front bumper was off, I routed the drivers side across the car just over the front bumper support.
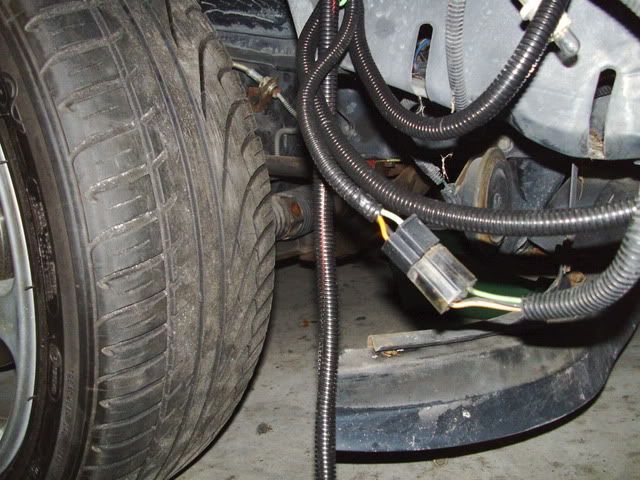
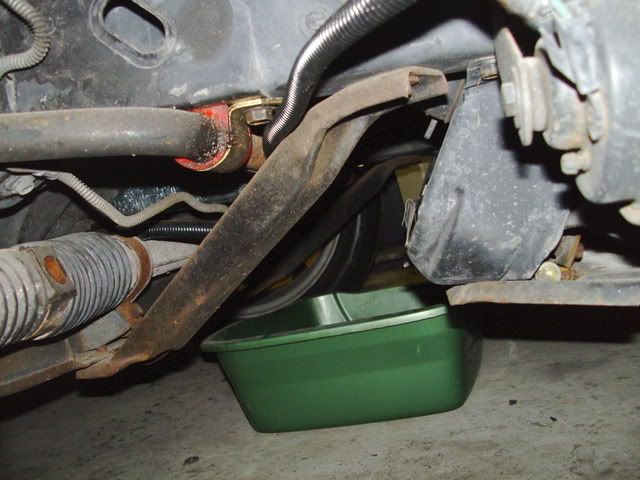
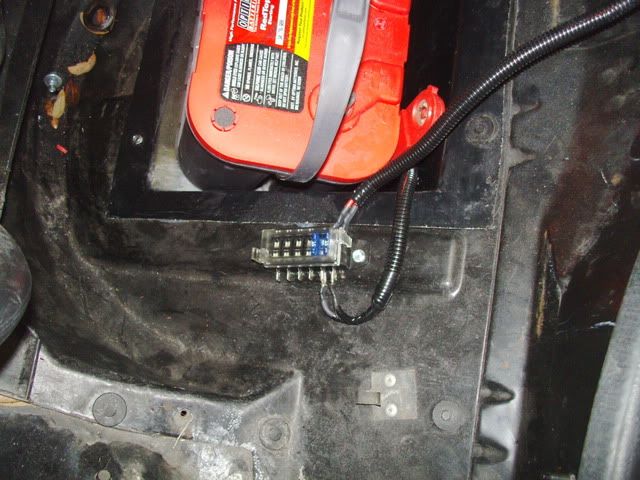
All thats left now for the wiring was the power. There is a short harness with one big terminal that connects to the positive battery terminal and two leads on the other side for the fuse block. The two leads provides separate fused power for high and low beams so that if one fuse blows you arent stuck without lights. Here you can see the fuse block, small battery wire harness, and the loom coming from the relay harness that gets connected to the other side of the fuses.
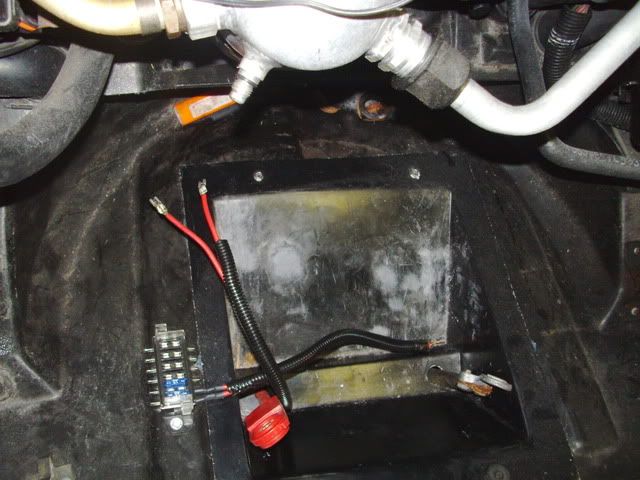
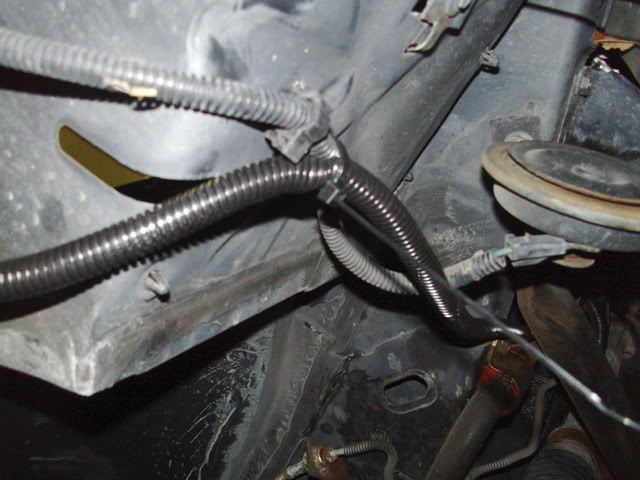
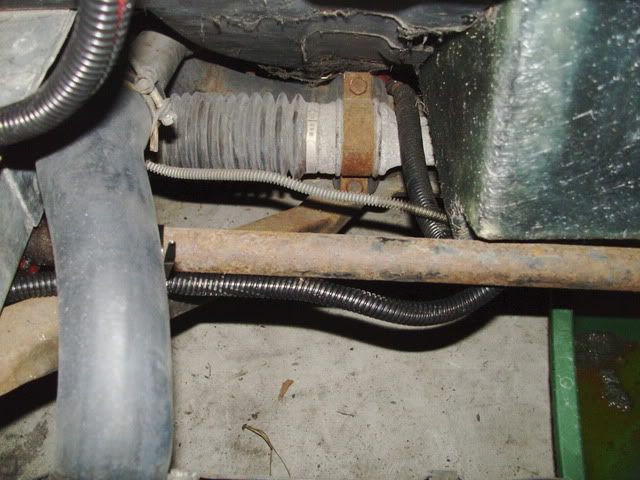
From the relay harness, I just routed my two power wires (which are meant to be too long so you can cut them to length and add the supplied terminals and heat shrink tubing) under the headlight bucket area alongside my horn wiring and then across the sway bar, zip tied in place to keep it safe and away from damage and up through my existing positive cable hole in my battery tray.
Finally to cut it to length, solder on the new terminals and attach to the fuse block.
Now I just made sure everything was zip tied (using supplied zip ties) and safe from chafing or any other road hazard. Pretty easy once you determine where you want to put everything. Once I had an idea what I wanted to do and figured out what everything was, it all only took about a half hour to do.
I will add more to this as I get the modules installed into the buckets and the buckets installed to the motor support and finally in the car.
-Joe