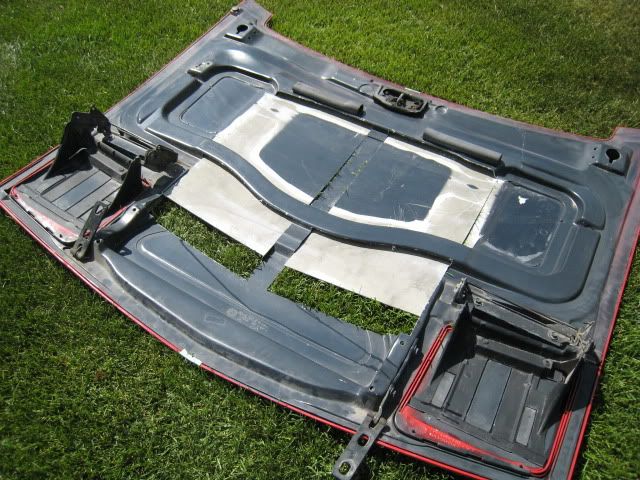
I've noticed that since I'm making the extractor area so wide and long, I'm going to have to cut up the structure underneath a bit too. This should be fun!
if you need to cut the structure close to the headlight covers be sure to reinforce that area, the headlight springs will put tension on the hood especially when open.
IP: Logged
06:23 PM
doublec4 Member
Posts: 8289 From: Oakville, Ontario, Canada Registered: Jun 2003
if you need to cut the structure close to the headlight covers be sure to reinforce that area, the headlight springs will put tension on the hood especially when open.
Thanks for the tip, I didn't think of that. I'll have to come up with something for that too unless I go to non pop ups next season..
IP: Logged
07:09 PM
Aug 14th, 2010
doublec4 Member
Posts: 8289 From: Oakville, Ontario, Canada Registered: Jun 2003
Its lookin really good so far .. I would suggest the product I use on my extractor (EVERCOAT) ... all you do is add hardener mix and apply its like a thick paste .. its made with Kevlar strands and bonds to SMC perfectly ..... no more fiberglass cutting and laying ... this Evercoat product worked great for me ... onced dried I sanded it down with 180 grit down to 600 grit ... stuff is GREAT and easy to work with ... if you go on my build thread Project Black Widow you will see how simple it was to do ... you can buy this at any Best Buy store or body shop supplier for around $27 a bag .. it took 2 bags to do my extractor.... keep us posted ... something tells me it will look really awsome !!! take care Danyel
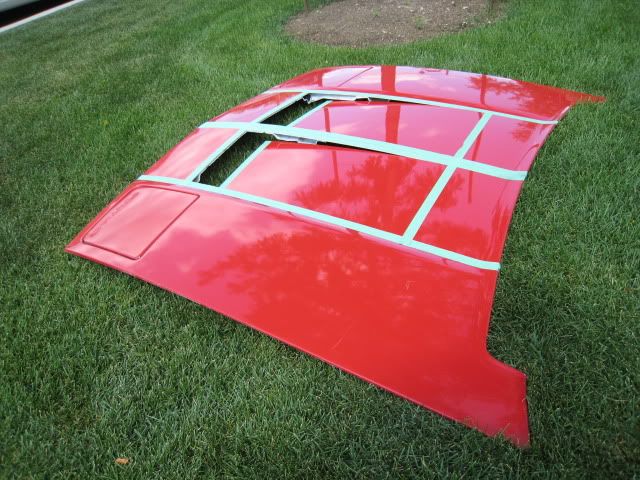
First of all, the SMC in the hood has a very thin "skin" on it, that has some of the original mold release compound in it. In order for your fiberglass to reliably "stick" to the SMC, you need to sand off that skin. That layer is a light gray color, whereas the SMC underneath is white. So when you get down the white chalky stuff, you're good to go.
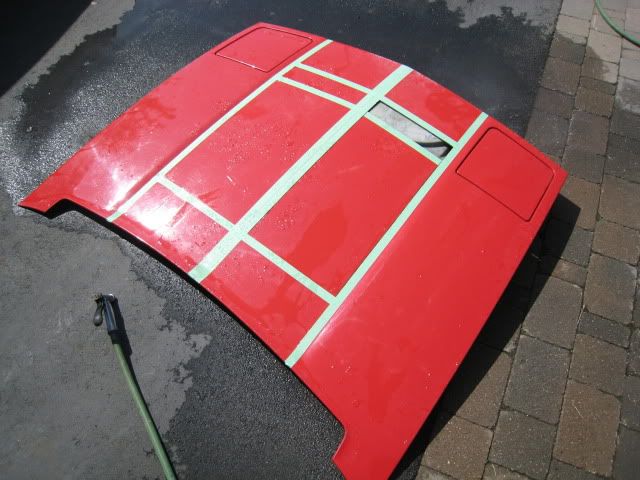
The structural integrity of the hood shouldn't be much of an issue. But just to be safe, you can cover the entire underside of the scoops, including a little of the surrounding area, with a layer or two of glass mat. This will not only improve structural integrity, but help hold everything together. If you want to sand it down to smooth it out, then you should use at least 2 layers of glass mat.
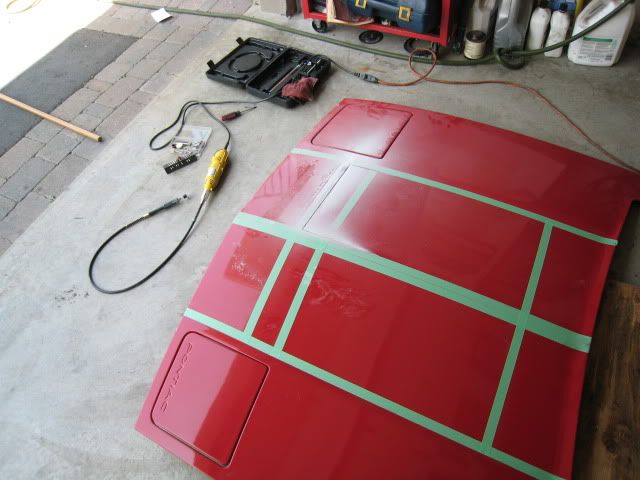
Also keep in mind that when you mix the resin and hardener, you're on a time limit. It would be wise to cut out all your glass mat / cloth pieces beforehand, and test-fit them. That way, you won't need to stop (and waste valuable time) to fiddle with the fiberglass. Also, try not to get too optimistic when deciding how much resin to mix up. If you mix up a small batch, you can always mix up more. You can actually mix up several batches using the same cup and brush, if you empty out the cup (and start mixing the next batch) before the resin starts to harden.
IP: Logged
09:45 PM
Aug 17th, 2010
doublec4 Member
Posts: 8289 From: Oakville, Ontario, Canada Registered: Jun 2003
Blacktree posted some good info. you can roughen and remove surfaces that will be fiberglassed some more, with a powerfile or disc grinder, cutting a bit more into the material allowes a thicker layer of buildup that will hold better even after sanding. Be generous with the resin, make sure the cloth gets soaked well and get airbubbles out..that will save filling and sanding time later.
IP: Logged
02:55 PM
May 2nd, 2011
qwikgta Member
Posts: 4671 From: Virginia Beach, VA Registered: Jan 2001
Haven't made any progress since. I was at school all winter. Hopefully I can start it back up within the next month. I really want to get this finished.


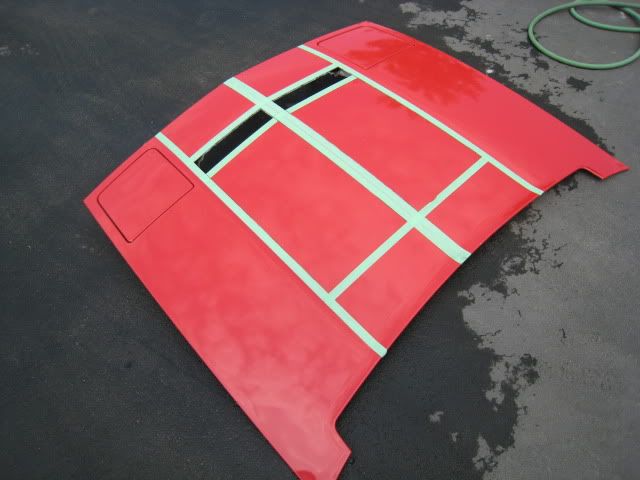
 I'm excited! Just to figure out where to cut the bottom structure now!