FOREWARNING: This project takes a LONG TIME. I mean, it looks like it will take maybe 1-2 days. I took a week. Thats right, damn near a full week. You will also want a friend there to help you, at least with the in-car stuff. If you don't have friends then pay somebody to be one (I found out imaginary ones just wont do!). I did most of this alone and just trust me, I can't count the times I thought 'if only there were someone here to hold this..'
Anyway, on to the project:
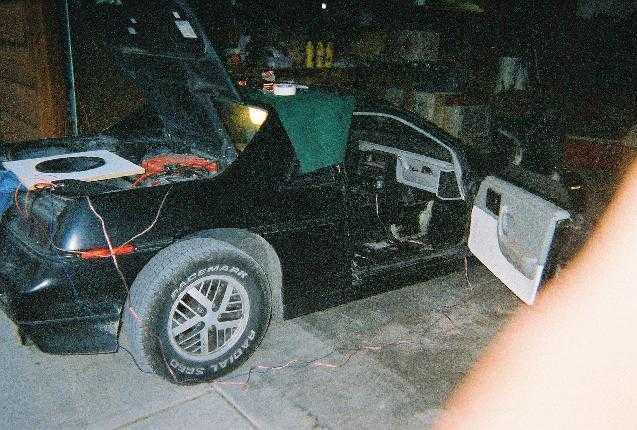
The first and most obvious step is to remove the interior on the side of the car you are doing this to. In order to take out the carpet you will have to undo the seatbelt, use a size 47 (I believe) torx™ bit for this.
Of course, I just had to waste about 45 minutes rigging up the sub so I could listen to it while I worked (and thouroughly drained my battery in the process)
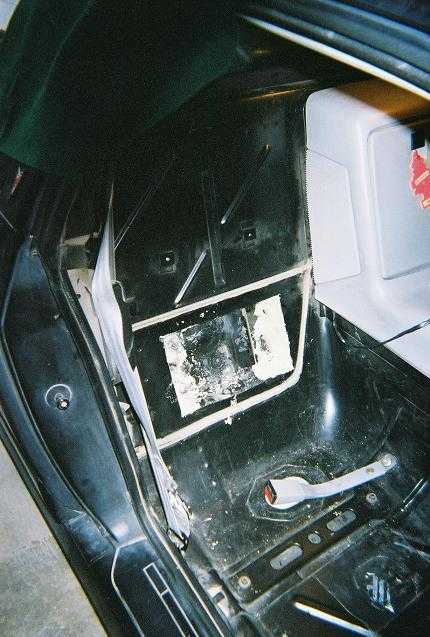
After the seat, carpet, trim, and whatever else it is you find in there is removed cut your firewall hole and put some of that inflatable foam on either side of the hole to reduce vibration.
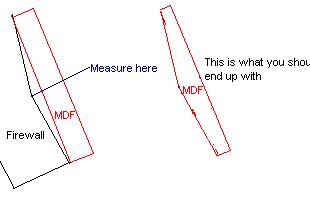
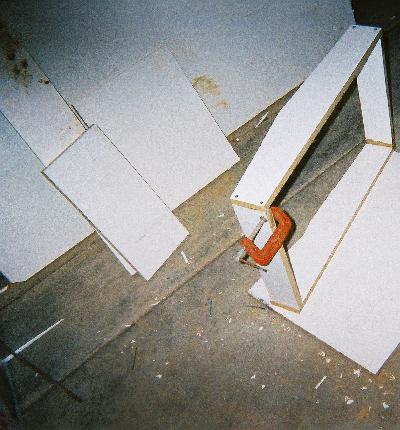
After you have this done cut out your MDF to the height that you want it. How far out you want the box to stick will really depend on how many ftł of air that your sub wants, and if your going to build the box to those specs. So, after you have the basic dimentions figured out and the vertical sides of the frame cut lay them in the car appx where they would go and at the point in the middle where the MDF is furthest from the firewall (where the angle changes) measure the distance from the firewall to the frame. Mark where you measured. Now, take that measurment and mark it on the top and bottom of the wood; draw a line from these markings to the mark on the middle of the frame and cut off the peices.
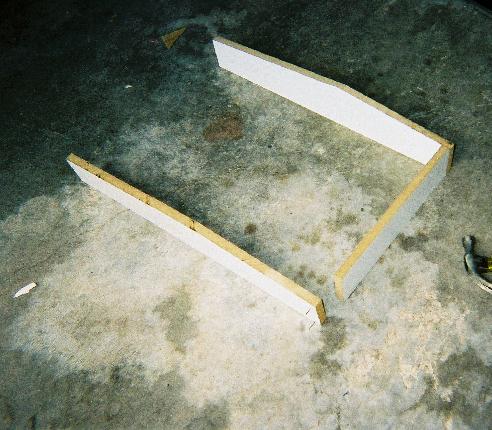
Measure the top/bottom of the frames and cut the top and bottom horisontal frame peices to their respective heights. ------------------ The Black Beauty (85 GT) - Bustedato (86 SE, Parts car) Nobody likes a loser, be a cheater. RAPE ME!! Er, wait, no.. That's not quite right.. RATE ME!
[This message has been edited by Sootah (edited 10-28-2002).]
IP: Logged
10:40 PM
PFF
System Bot
Sootah Member
Posts: 2457 From: St. George, Utah Registered: May 2001
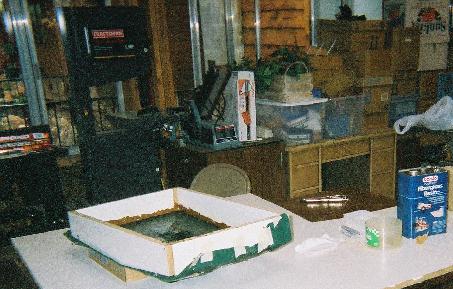
Lay the flat edges on a lever surface and use some finishing nails to tack the frame together. A peice of MDF or whatever would be prefferable, but the floor will work as well.
After you have the frame tacked together securely test fit it and file away some of the edges stick out too far. The frame does not have to be perfectly flush as your useing fiberglass to do the back of the box and that will seal it perfectly anyway.
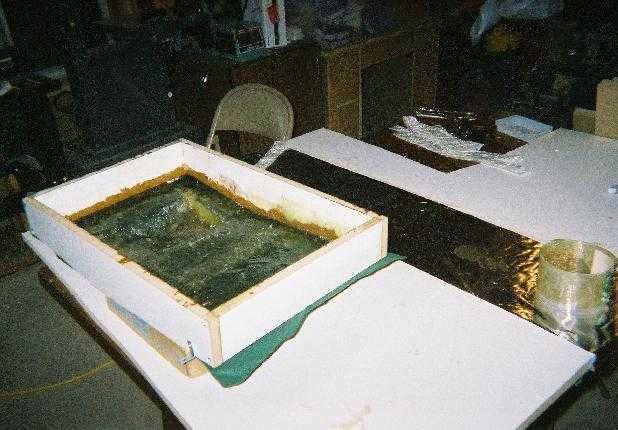
Once the frame is pretty well fit to the wall take out the nails, smear some wood glue/liquid nails in the joints, and screw together. Be sure to drill out the holes first to avoid splitting. I would actually recomend C-clamping the wood where your screwing as well because the MDF splits pretty easily. Any cracks you get put a healthy dose of wood glue into and clamp together.
Let it dry for at least ˝ an hour.
IP: Logged
10:47 PM
Sootah Member
Posts: 2457 From: St. George, Utah Registered: May 2001
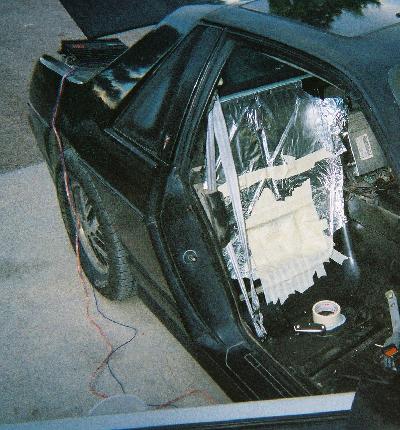
While the frame is drying go back out to the car and start to mask off the area where the fiberglass will be. Mask too much. Way easier to take off some extra tape than it is to chisel hardened resin off.
Cut your glass into the sizes you need (Important to do this BEFORE starting!) Handle with gloves. It looks docile; its not. Way, way worse than fiberglass insulation. Mix up your resin with your trusty mixin' stick™ and set it somewhere where the resin won't bond it to anything. Make sure to have plenty of paint brushes and gloves handy because after every layer of glass you will have destroyed a brush. The gloves you want handy because every time you start to think 'These damn sticky gloves' its time to change them. Gloves are cheap and plentiful.
This part I did slightly differently, but if I were to do it again I'd do it this way:
Prepare the frames mounts, and wet down the area with resin. Lay the glass on and smooth out any air bubbles. You'll probably need some way to secure the glass to the wall so it doesn't slide down. Masking tape works well. Wet down the front side of the glass now nice and even and then secure the frame to the firewall. (Be sure to have scored up the frame really well beforehand to make sure the glass has something to bond to)
Here's how I did it: Layed up the fleece, (a friend reccomended I use it because it'd offer a nice solid backside because it was thick and would soak up the resin. For this it worked really well, but if you want it perfectly molded to the wall then I'd just use straight 'glass.) taped it down and then bolted the frame to the wall.
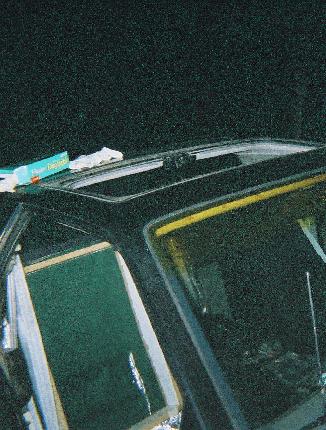
I also took out the sunroof to vent fumes. I'd reccomend setting up a fan as well although sitting on the console w/ my head poking out of the roof worked pretty well.
After I was all prepared I mixed up my resin and soaked the fleece thouroughly.
After letting it cure for about 1˝ hours I took the frame out and removed the masking from the car.
IP: Logged
10:49 PM
Sootah Member
Posts: 2457 From: St. George, Utah Registered: May 2001
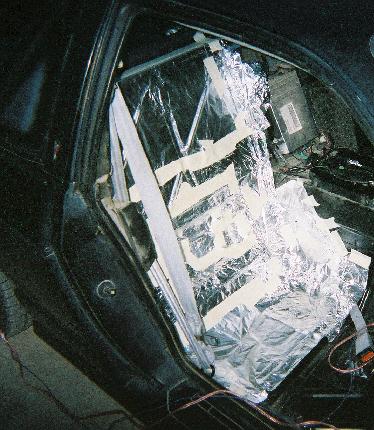
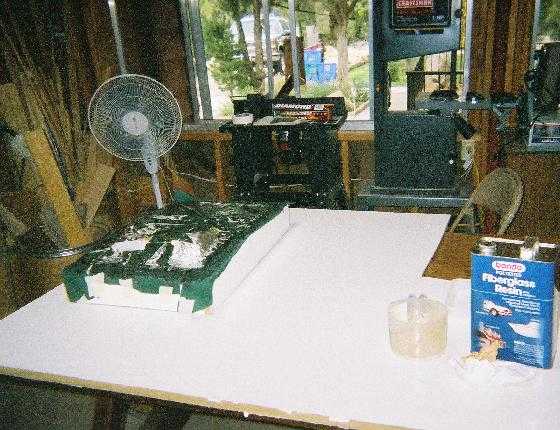
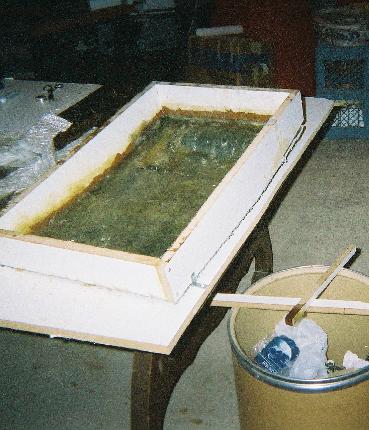
I was worried about the bottom side flexing and then not fitting properly so I supported the top flat side
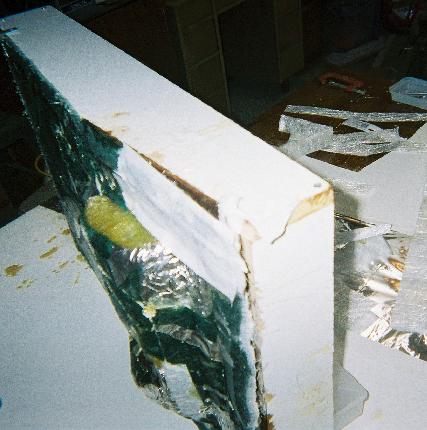
First layer of 'glass
Few more (remember what I said about supporting the mixin' stick™?)
After these have cured fill in any cracks. I shredded some fiberglass mat and stuffed it into the hole and then poured resin over it. Soaked in really well since I had to keep adding resin.
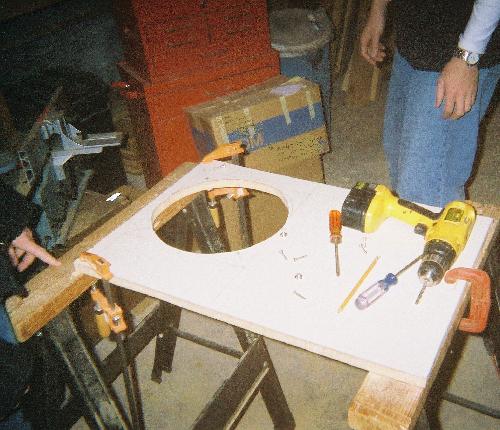
After this I used the temp plate I had cut to see exatly where I wanted to position the speaker (I've got a pic of this, I shrunk it, but for some odd reason it stays 400kb! Man I need Photoshop back..)
Figured out where speaker goes and cut hole. Now, FOR THE LOVE OF GOD CUT THE HOLE TOO SMALL!! ITS WAY EASIER TO TAKE MORE OFF THAN TO RE-CUT THE WHOLE FRIGGIN PEICE! besides, you want the speaker snug anyway.
To secure the speaker I put it on there, marked where the holes should be, and drilled holes the same size as the bolts. IMPORTANT: If you want to be able to take the speaker on/off you HAVE to use tee-nuts! I didn't get a good picture of them, but you can find them easily at any hardware store. Anyway, put the bolt through the hole, screw the tee-nut on and tighten down until the teeth on the underside of the nut go all the way into the board so its flush.
From looking at it you'd think that hammering would be easier. Well, it is. The problem being that its almost impossible to get it in there perfectly straight which means you have a major problem with cross-threading and have to pull it back out and re-do it anyway. (Helped build a few boxes in my day)
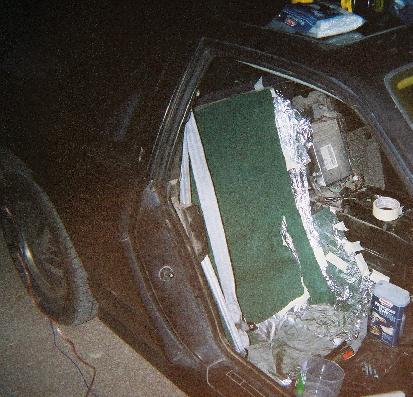
After this just glue/screw the face to the frame (being sure to pre-drill the holes) cover with carpet (or whatever, carpet hides the small mistakes best though) and install speaker.
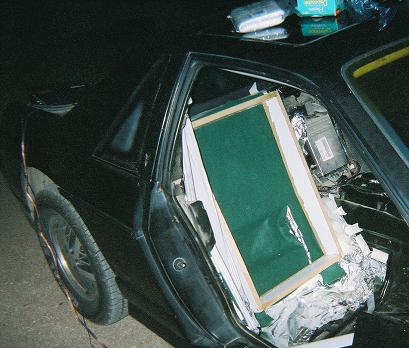
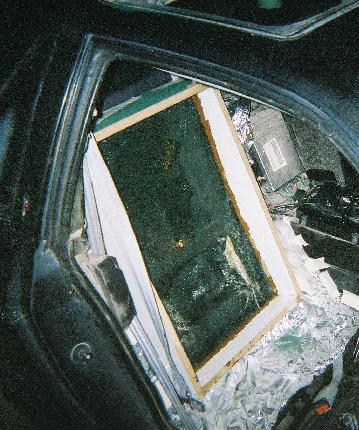
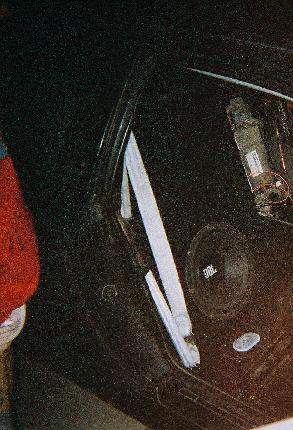
Followed by the test fit and bolt into car.
Obviously you should first put most of the interior back in (After modifying carpet and such), but I havent done this yet. Just a seat and a sub.
[This message has been edited by Sootah (edited 10-29-2002).]
[This message has been edited by Sootah (edited 10-29-2002).]
IP: Logged
10:50 PM
Sootah Member
Posts: 2457 From: St. George, Utah Registered: May 2001
Many many thanks to Wheels1 for patiently answering all of my numerous nagging questions. (I seriously didn't leave the guy alone. Couldn't have done it W/O him)
87GTBro, and AusFiero for their help as well.
IP: Logged
10:55 PM
87GTBro Member
Posts: 1223 From: Edinburg,TX,USA Registered: Oct 1999
This little project nickle and dimed the shít out of me. Including the misc screws, nuts, glue, gas to drive to parents house, thing of resin, then bigger thing of resin and both packs of fiberglass mat; Probably around $80.00 total.
Now if you add what labor would have been... (I charge $35 an hour when I do contract computer work)
BTW: Sounds AWESOME!! I need a mid-bass speaker though, there is a bit of a hole where the stock shitty speakers leave off and the nice-arse sub begins.
IP: Logged
12:16 AM
Joe Torma Member
Posts: 3485 From: Hillsborough, NJ USA Registered: Jul 2001
Great Job..... Looks better then I thought. I'm glad I could help. Email me your pic, I can resize them & send them back. I have DSL so size don't matter.... Again, Very Nice Job. AWESOME!!!!
Thanks, Chris.
------------------ 88 Formula WTB White 88 Formula t-tops w/5spd, pw,pl,cc,a/c,tan int.
IP: Logged
07:52 AM
Philphine Member
Posts: 6136 From: louisville,ky. usa Registered: Feb 2000
i've been wanting to do this in my '86 gt but keep putting it off since it's my daily now. i've used tee-nuts too but lately have switched to wood inserts. they work pretty good and don't back out if you jam the screw in too hard (guess you could glass or epoxy tee nuts in place once they're located though).
IP: Logged
10:32 AM
PFF
System Bot
Sootah Member
Posts: 2457 From: St. George, Utah Registered: May 2001
This car is my daily driver. I just tore out the passengers side and left the drivers alone. (With the exeption of mounting the amp over there)
The only time when you can't move the car is when the first few layers of glass are curing. After that you can remove the whole assembly and work on it out of the car.
Worked pretty well for me.
IP: Logged
11:30 AM
Automoda Member
Posts: 318 From: Bluffdale, Utah, USA Registered: Sep 2002
The only thing that freaks me out about this mod is I'm paranoid about rust starting-- I'd have to smooth the cut's edges and POR15 the crap out of it before I could rest.
IP: Logged
12:47 PM
LoW_KeY Member
Posts: 8081 From: Hastings, MI Registered: Oct 2001
Hmm.. Hadn't though of the rust thing. Ah well, not like I can't just take the box out and fix that lil' problem..
You do lose some leg room. I ended up losing more than I was planning on because I wasn't thinking straight when building the frames. (Didn't account for the thickness of the face plate) I could easily have another 1.5-2" more of legroom if I wanted to go back and re-do it. Not too worried about it though, right now the passengers seat sits one notch further forward than I usually sit, and after I get a grill on the speaker it'll be able to sit at the same level as the drivers seat.
If you were to use a shallow speaker that doesnt require a lot of airspace, you could make a box that loses you no legroom.
Automoda: Where is Bluffdale in relation to Salt Lake or Provo? I plan on going north this weekend (although I say this like every other week and never go) and could show you the box. I also want to see your convertible.
My e-mail address is in my profile.
-Souter
------------------ The Black Beauty (85 GT) - Bustedato (86 SE, Parts car) Nobody likes a loser, be a cheater. RAPE ME!! Er, wait, no.. That's not quite right.. RATE ME!
[This message has been edited by Sootah (edited 10-29-2002).]
IP: Logged
01:08 PM
mckay_lee Member
Posts: 121 From: St George, UT Registered: May 2001
ah you have my babbys in your car how nice, I HATE YOU just kiddin. well since you beat me too it you are going to have to show me how to di it when i get back. I am going to call you in the very near future prolly this week. email me you phone numbers so that i know for sure.
IP: Logged
01:12 PM
Sootah Member
Posts: 2457 From: St. George, Utah Registered: May 2001
I sure as hell wish you were there to help with this. Would have gone way faster. Plus your better at this woodworking crap than I am. (I don't imagine helping build your parents house for like 8 years had anything to do with that.. )
I'll e-mail you my new cell # in a sec.
IP: Logged
01:18 PM
wiccantoy Member
Posts: 3372 From: northwales , pa / Williamstown nj Registered: Mar 2002
congrats it looks great . i too would love to do this mod . buy hate the idea that later down the road i cant just unscrew the thing and it will be just like stock again . (i think the big hole in the fire wall would be a dead giveaway) but more power to ya . and great job. can you get clearer pics of the final job ? or is it just because the pics need to be resized?
------------------ go fast or go home or just drive it like you stole it
email cwandall@yahoo.com
IP: Logged
07:26 PM
fierosound Member
Posts: 15258 From: Calgary, Canada Registered: Nov 1999
I'll take some pics when I get the interior put back in.
Also, hell yes I'd reccomend this! It just sounds soooo much better! I need to add some quilt batting to the box now to insulate the sound better. Nothing is in there at all right now.
IP: Logged
10:45 PM
Oct 31st, 2002
Sootah Member
Posts: 2457 From: St. George, Utah Registered: May 2001
Also used some bigger guage wire to go from the amp to the terminal. I'll have to take some pics of the terminal, as you really can't see it at all when the box is in the car. Its just a standard speaker hookup like you'd find on the back of a receiver.
The results are GREAT. The very low frequencies were sounding kind of muddy, but the new wire (less resistance) and batting more 'airspace' (or however the filler works) combo cleared things right up!
Now I've just got to get a better amp, a grill, and I'm all set.