Need a little advise!! Purchased a New Aluminum Radiator for my 86 GT out of CA. Very nice workmanship and I was excited to put it in. Placed the radiator in the car and it is to BIG. I knew when I purchased the 3 core, it was going to be thicker, which it is by 3/16". The trouble I am having is when you try and place the metal top cover over the radiator. The cover fits so -so over the radiator but it does not meet the car frame. What I am trying to say is there is at least 3/16" between the radiator and the car frame. If I try and pull it down something is going to give. I realized I was going to possible modify the cover. On the passenger side there are at least 2 places that will have to be trimmed out. On the drivers side is a total different story. The corners on the radiator are squared and the cover is semi-rounded, which doesn't match up to well. Which mean a lot of cutting. Before I start cutting or returning it, I thought if any of you have done yours MAYBE I could get some input from you. Any and all info would be appreciated....
You can try to reshape the bracket some but I eventually decided to put washers as spacers in the gap as you don't want to put to much clamping pressure on the radiator while tightening the bolts down.
IP: Logged
01:43 PM
woodyhere Member
Posts: 399 From: prior lake, MN USA Registered: Aug 2011
I made my bracket fit the new radiator. It looks factory. Didn't even burn off the original decal. I don't know if you have access to welding equipment or are able to weld so washers are a good alternative. If you can, extending the brackets is pretty easy. Adding strips gives enough material to reshape the corners. It's extra work but that's what having project car is all about.
I ran into the same thing. had to "alter" the upper cover/brace to get it on. Then when you try to shut the Hood, put some masking tape on the hood "RIB" that will be coming down on the radiator Cap ( that way you can see if the hood is actually clearing, or pushing down on the Cap. even if it "looks" like it clears, you may find that the system loses "pressure" after you drive it, it will pull in AIR instead of coolant from the tank. I had to "notch" the rib on the Hood to Clear it.
IP: Logged
03:40 PM
Jun 3rd, 2013
Synthesis Member
Posts: 12207 From: Jordan, MN Registered: Feb 2002
The three core aluminum radiators can be bolted in with two mods to the factory mounting brackets.
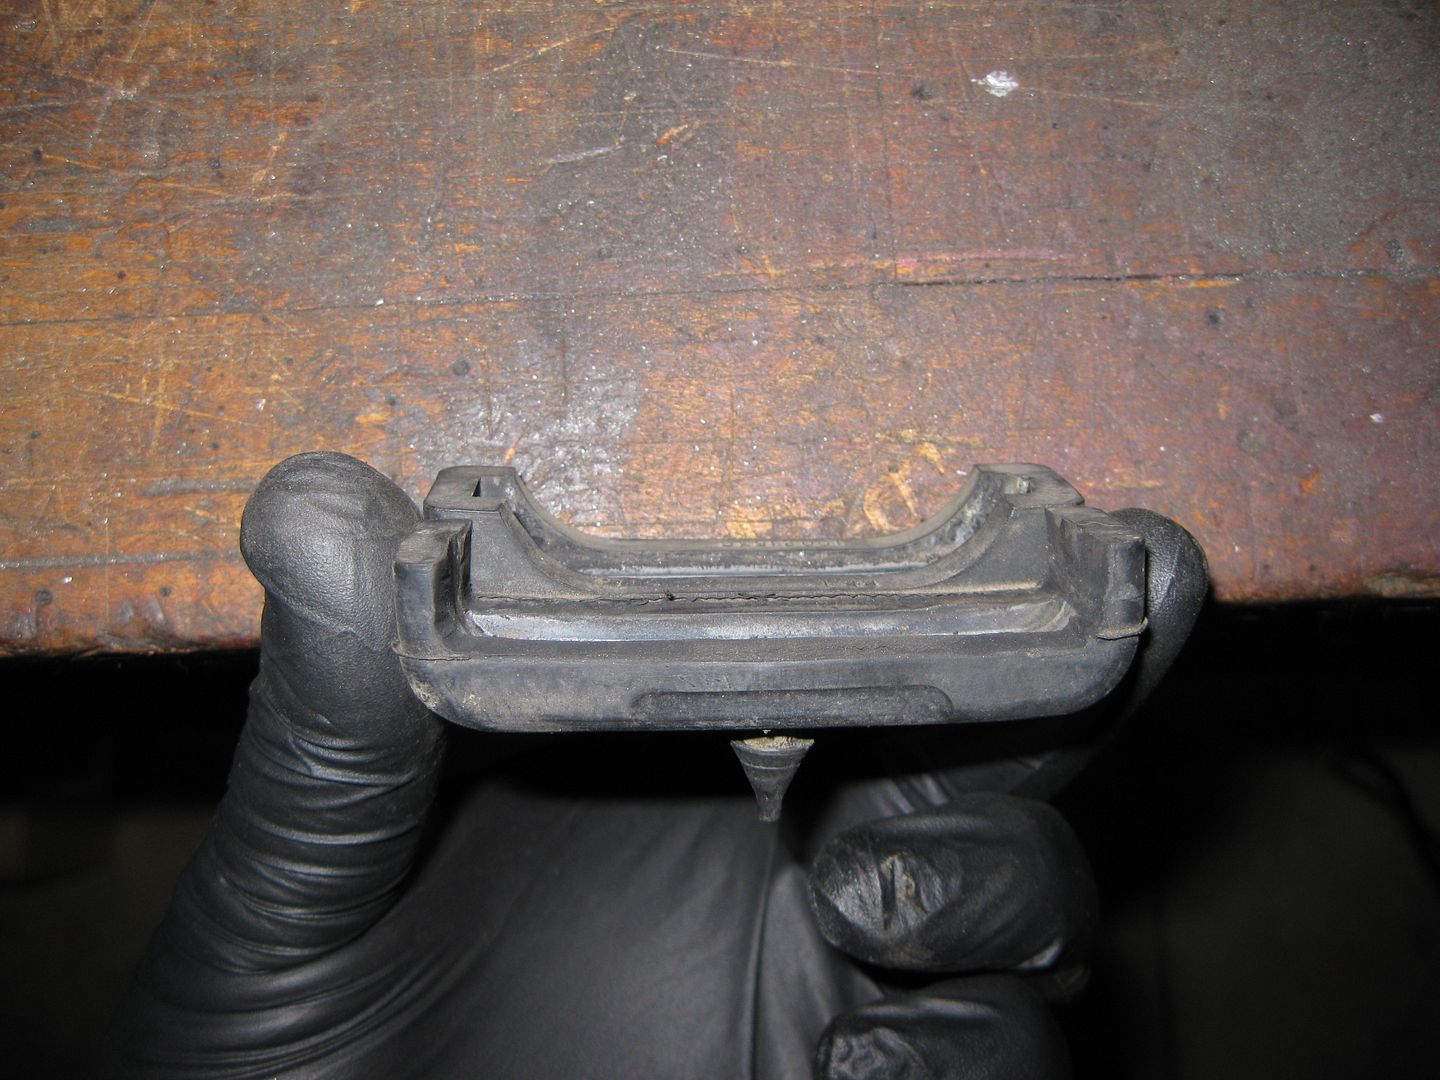
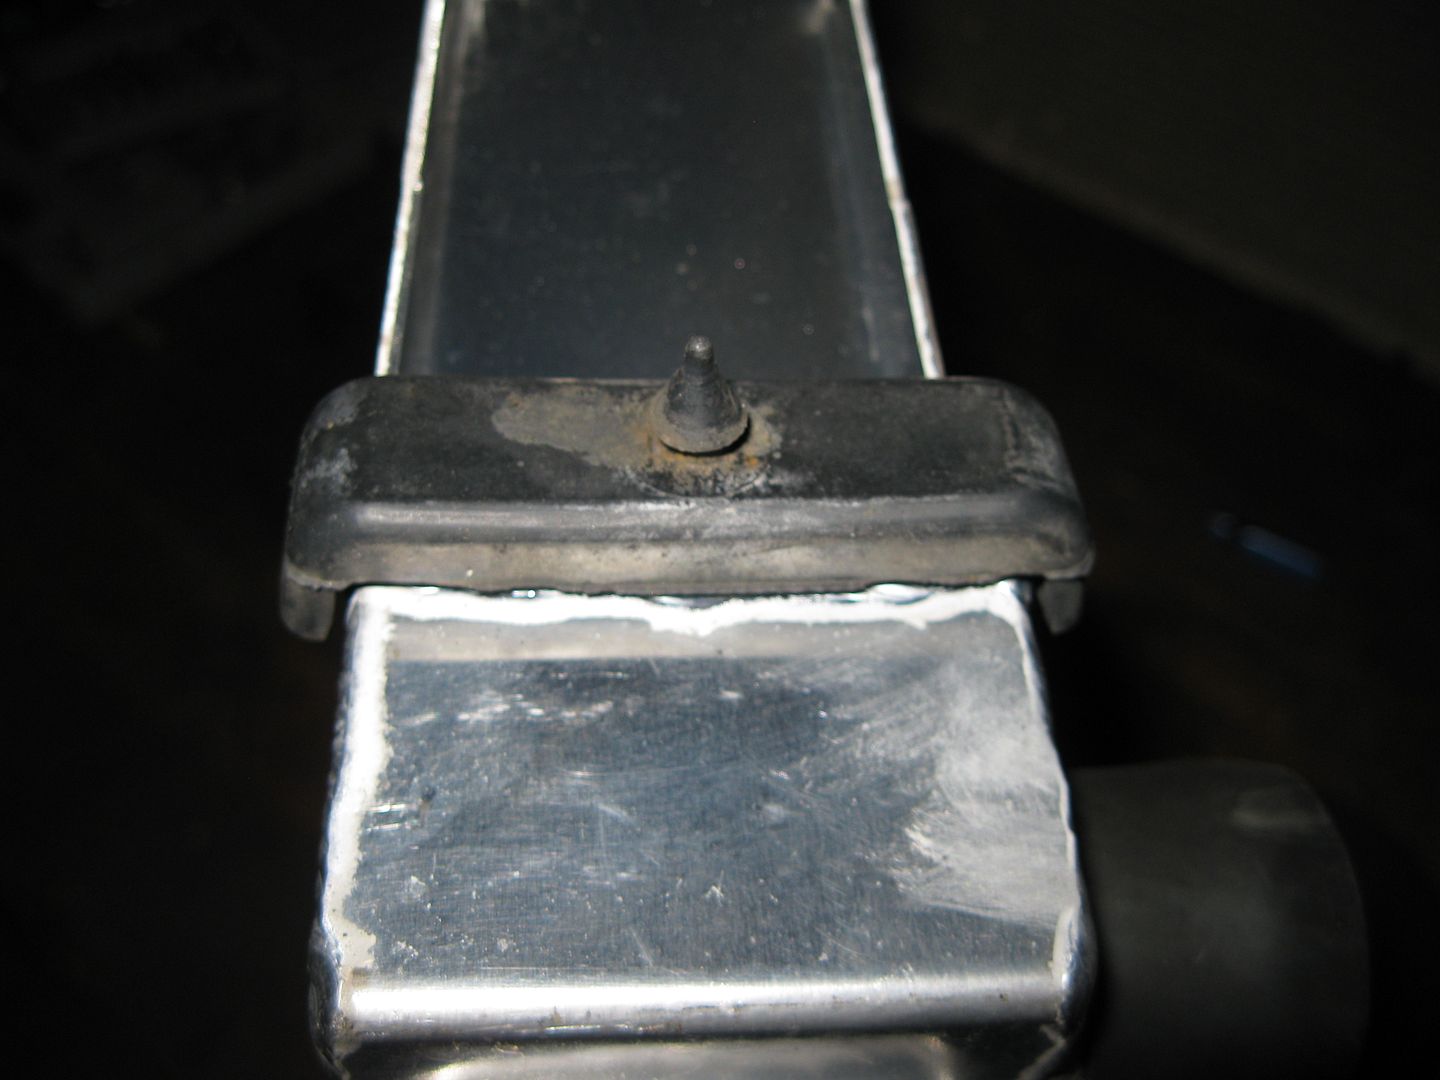
The first mod, remove the rubber isolators from the upper and lower mounts, cut them so that the radiator will fit into the same area the OEM radiator fits. You'll trim the rounded internal edges out so that it sits over the rad.
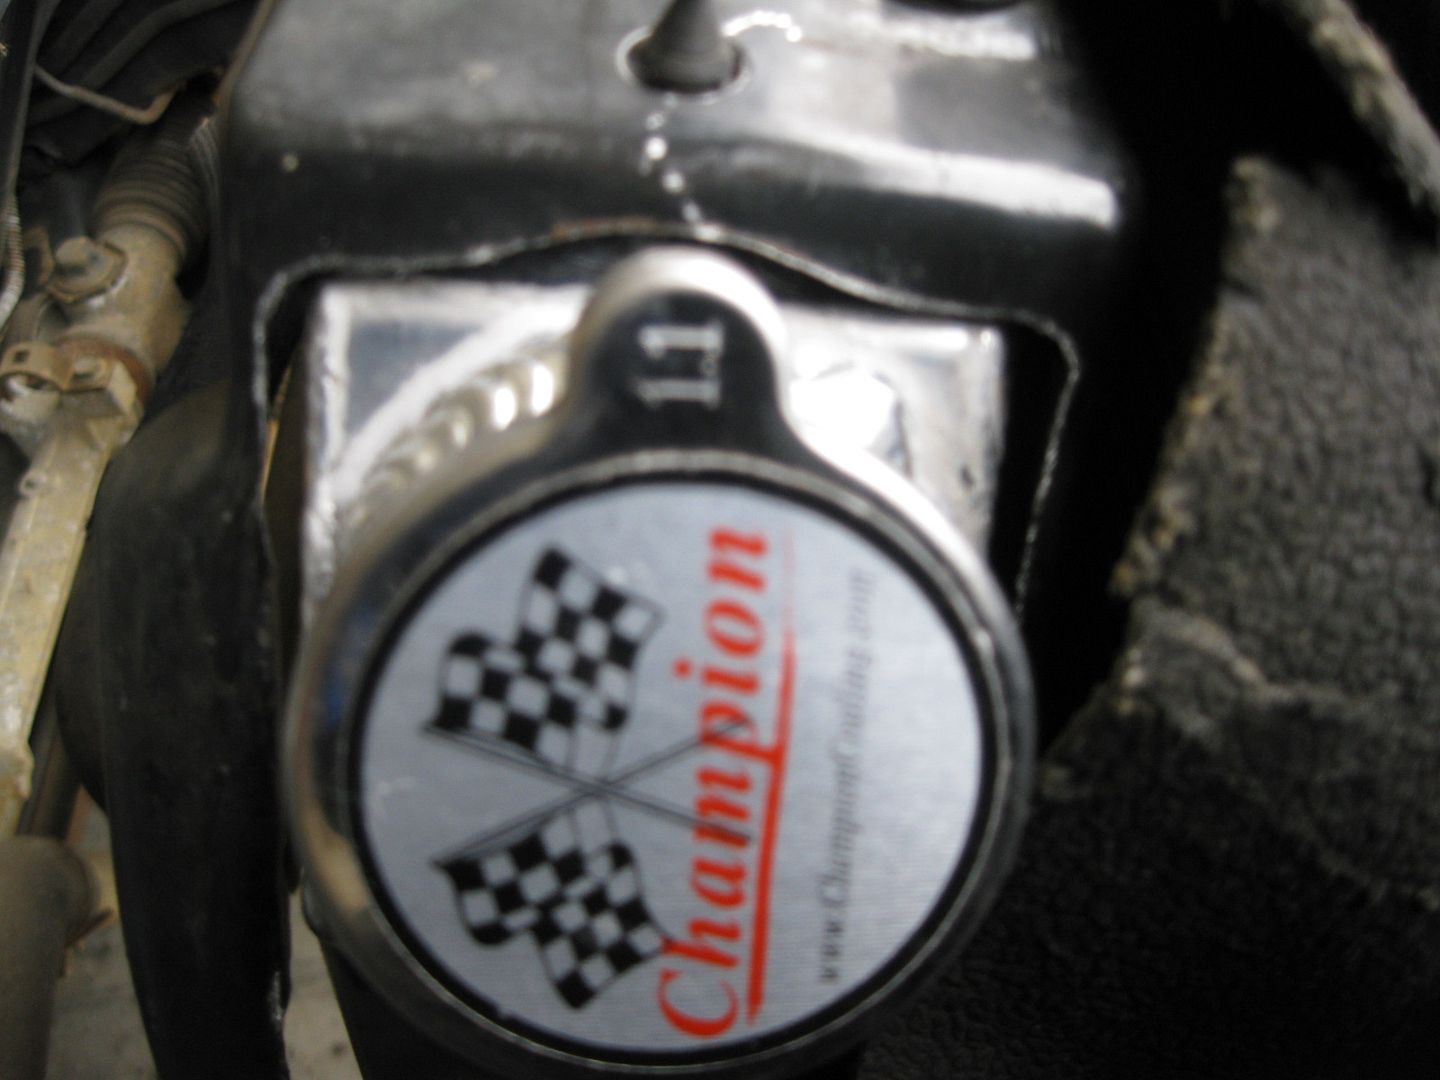
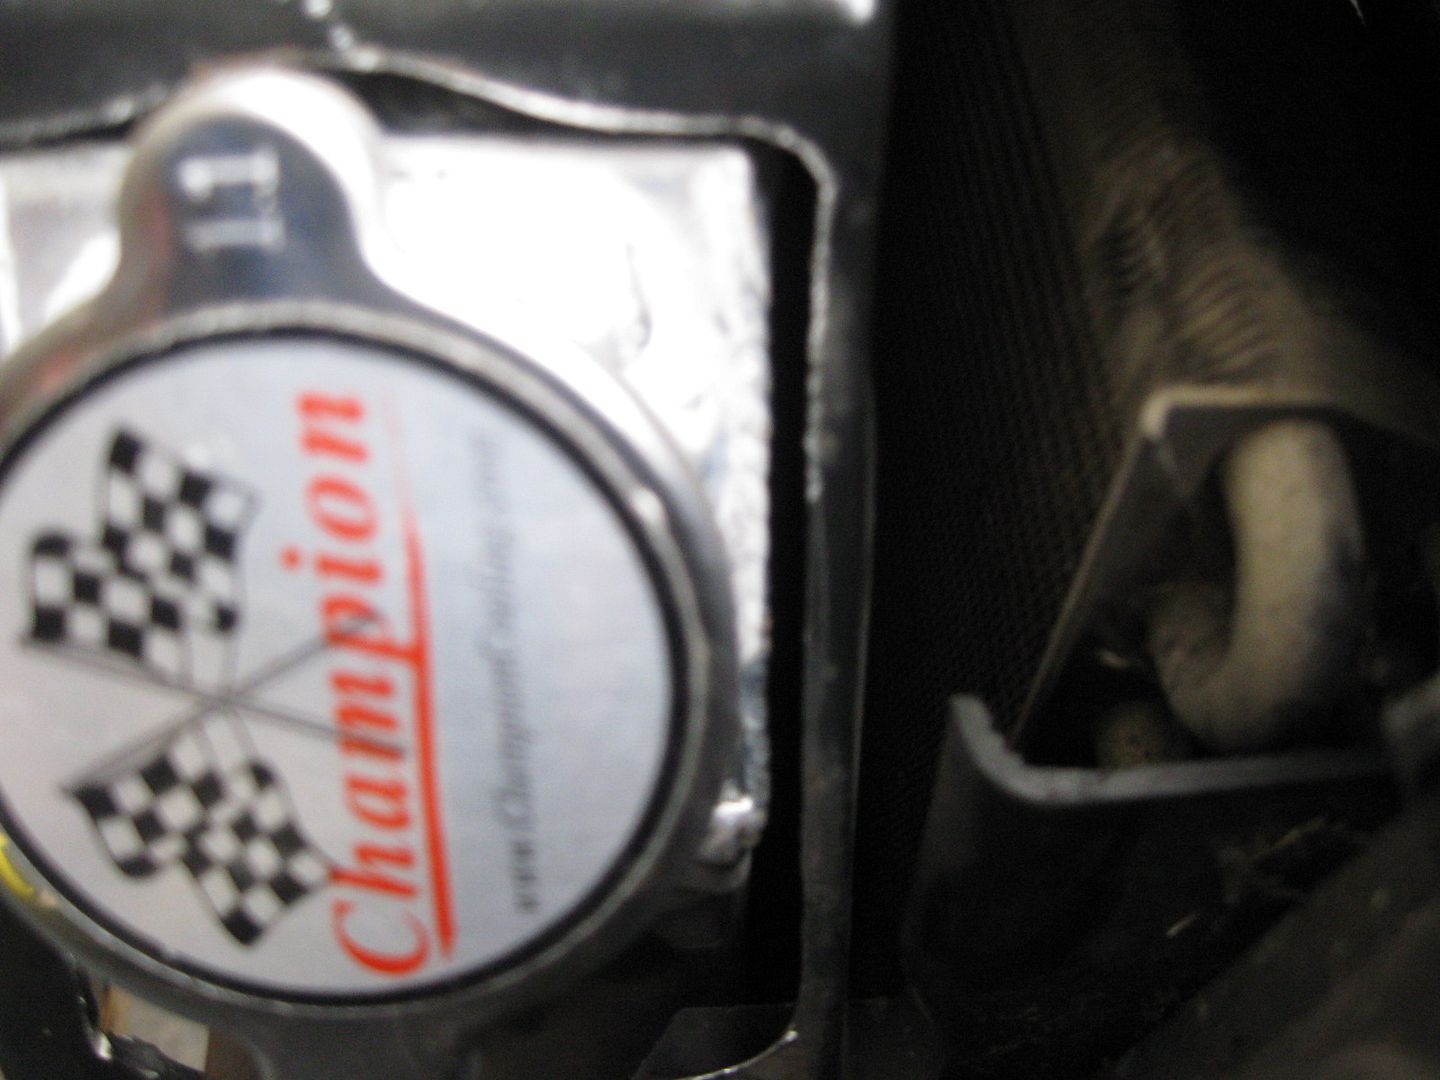
Then, once you have notched the rubber, you just cut the hole in the upper mount so that the cap and hose fitting slide into the opening.
Put radiator in, bolt top bracket in, and done.
Took me 30 minutes to modify everything and bolt it back together.
The three core aluminum radiators can be bolted in with two mods to the factory mounting brackets.
The first mod, remove the rubber isolators from the upper and lower mounts, cut them so that the radiator will fit into the same area the OEM radiator fits. You'll trim the rounded internal edges out so that it sits over the rad.
Then, once you have notched the rubber, you just cut the hole in the upper mount so that the cap and hose fitting slide into the opening.
Put radiator in, bolt top bracket in, and done.
Took me 30 minutes to modify everything and bolt it back together.
Yup!
IP: Logged
12:54 AM
olejoedad Member
Posts: 19801 From: Clarendon Twp., MI Registered: May 2004
Its better to lower the lower mount slightly with spacers than to raise rhe upper mount. Trimming the isolator pads and rebending the upper mount should get you where you need to be.
IP: Logged
07:32 AM
fieroguru Member
Posts: 12519 From: Champaign, IL Registered: Aug 2003
I think the radiator upgrade is now complete. I ended up reshaping the rubber seats (top & bottom, modified one in front, stock one in back):
The only modification to the sheet metal was to open up the hole around the fill neck:
I didn't need to do any modifying to the driver side, probably because I was able to slide the radiator over about 1/8" (with the larger fill cut out) to get everything to clear.