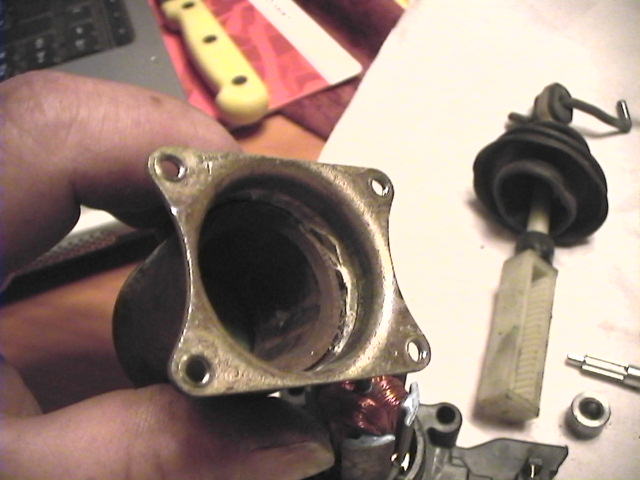
Pennock's Fiero Forum
  Technical Discussion & Questions - Archive
  Repair a power lock unit actuator? Project!!

T H I S   I S   A N   A R C H I V E D   T O P I C
  

Email This Page to Someone! | Printable Version


Repair a power lock unit actuator? Project!! by fierofetish
Started on: 05-05-2008 04:17 PM
Replies: 7
Last post by: fierofetish on 05-06-2008 10:34 AM
fierofetish
Member
Posts: 19173
From: Northeast Spain
Registered: Jul 2003


Feedback score: N/A
Leave feedback


Total ratings: 277
Rate this member

Report this Post05-05-2008 04:17 PM Click Here to See the Profile for fierofetishSend a Private Message to fierofetishDirect Link to This Post
Neither of my power locks worked ever since the car was washed away and sank 3 years ago So as I have taken a deposit on the sale of the car, I thought I would try to repair them . I established there was power getting to them, and so I took them off, and disassembled them. This was very hit-and-miss, becuse I had never taken one apart before
Anyway, I got the first into bits and pieces, and cleaned everything up.Cleaned the brushes and the commutator, put some white vaseline grease in appropriate places ( on the unit!! Hehehe!!). Put it all back together, and connected it up..hey presto!! It works again!! Anyway, I now have the second one apart, and thought maybe somebody might want to know how I did it. Any interest? I can take photos etc...but I guess they are pretty cheap and readily available over there?
Nick

[This message has been edited by fierofetish (edited 05-05-2008).]

IP: Logged
PFF
System Bot
fierofetish
Member
Posts: 19173
From: Northeast Spain
Registered: Jul 2003


Feedback score: N/A
Leave feedback


Total ratings: 277
Rate this member

Report this Post05-05-2008 05:49 PM Click Here to See the Profile for fierofetishSend a Private Message to fierofetishDirect Link to This Post
DAGNABIT!! I lost the whole FLIPPING THING!! That ghost IP just wiped me out again!! AAAGH! 25 minutes!!!! Shall I start again, or is it a wasted effort?
Nick
IP: Logged
JazzMan
Member
Posts: 18612
From:
Registered: Mar 2003


Feedback score:    (7)
Leave feedback


Total ratings: 653
User Banned

Report this Post05-05-2008 05:50 PM Click Here to See the Profile for JazzManSend a Private Message to JazzManDirect Link to This Post
Never hurts to post more info. Many of us are cheap enough that we'd rather overhaul no matter what.

JazzMan
IP: Logged
Nashco
Member
Posts: 4144
From: Portland, OR
Registered: Dec 2000


Feedback score:    (8)
Leave feedback


Total ratings: 74
Rate this member

Report this Post05-05-2008 06:19 PM Click Here to See the Profile for NashcoClick Here to visit Nashco's HomePageSend a Private Message to NashcoDirect Link to This Post
Post it!
IP: Logged
fierofetish
Member
Posts: 19173
From: Northeast Spain
Registered: Jul 2003


Feedback score: N/A
Leave feedback


Total ratings: 277
Rate this member

Report this Post05-05-2008 06:31 PM Click Here to See the Profile for fierofetishSend a Private Message to fierofetishDirect Link to This Post
Here we go AGAIN

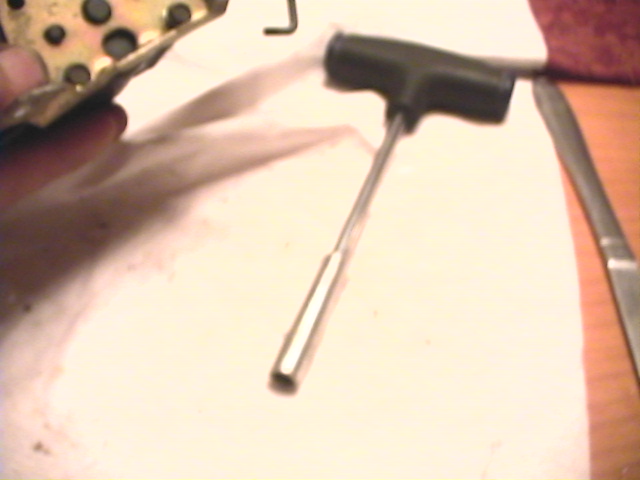
Remove the long screws (there were only three in both mine???) They are an odd size..6.5mm think..my screwdriver adaptor fitted perfectly!!

Then remove the mounting plate. Next you have to prise apart the black plastic body..it isnīt too hard, but take care!!

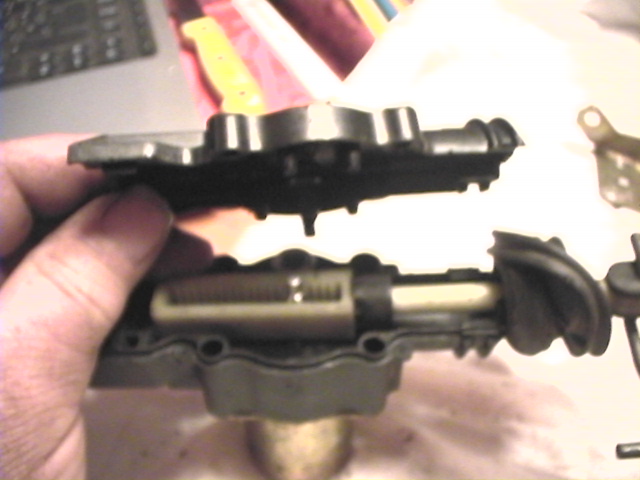
You can now remove the drive shaft with the nylon gear, and the bearing/guide that keeps the shaft in place against the motor drive gear.


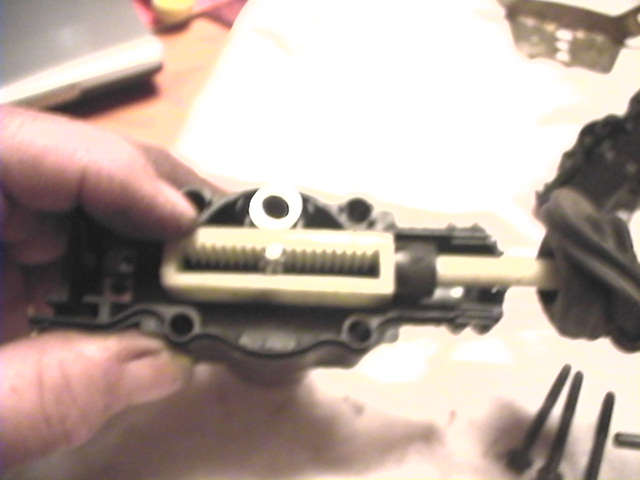
Then, there is a black plastic 'plate' that covers the contacts and brush tubes.You have to carefully prise that up..again be gentle, and it will pop out!

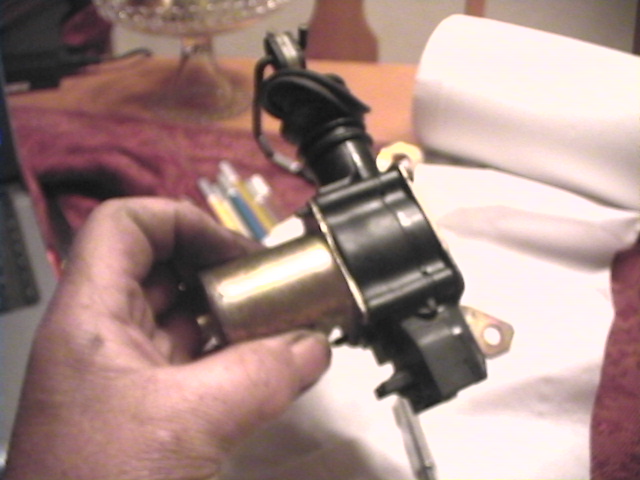
Once that is removed, you can remove the metal gear from the motor spindle. You can then see the metal strips that lead from the connector to the brush tubes, and a glass tube that houses a bi- metal strip that is an anti-overload mechanism.

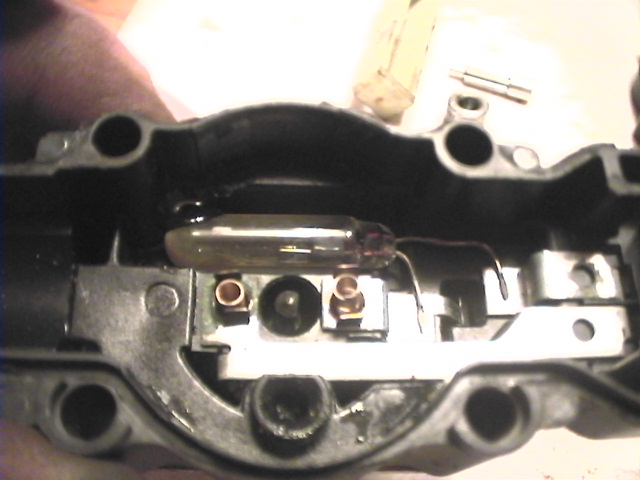
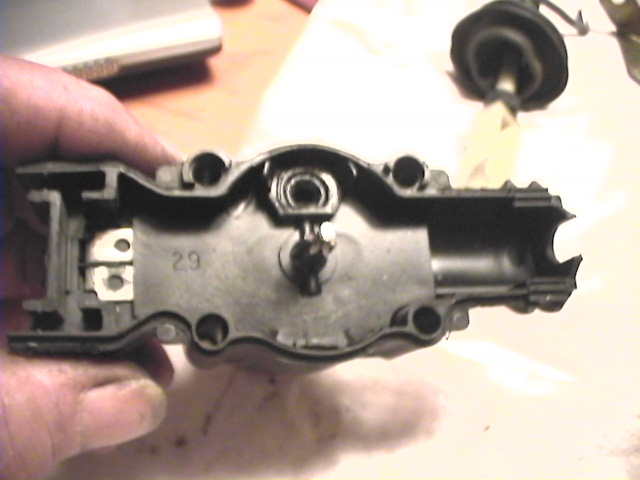
You can use a meter to check continuity from the connector contacts to the brushes.

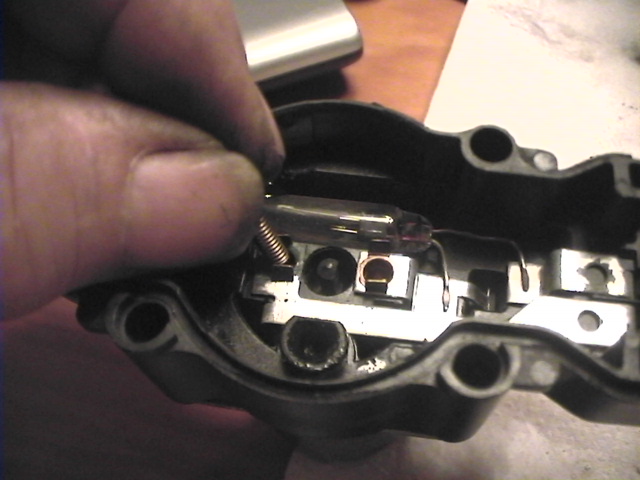
Next, you have to VERY CAREFULLY prise up the two little flaps that retain the brush springs and brushes. They are quite fragile, so be careful!! If they do break off, as one of mine did, you can solder it back into place.Then the springs and brushes can be lifted out..


Now turn the body over, and prise the motor cover up from the body. It is compression fitted to a lip on the body, but comes off quite easily. The commutator will spring out too, because of the magnets.


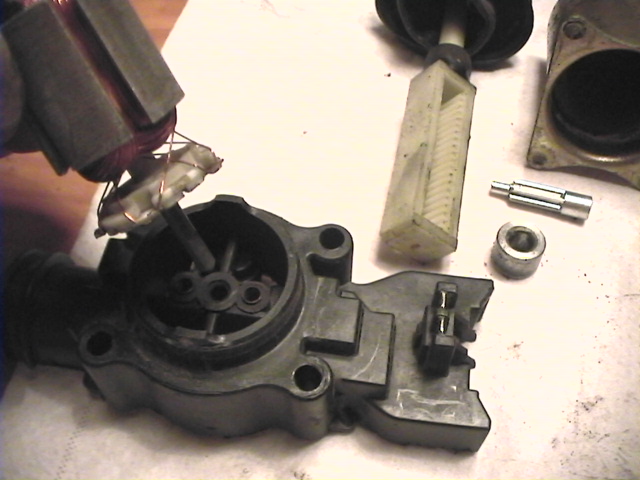
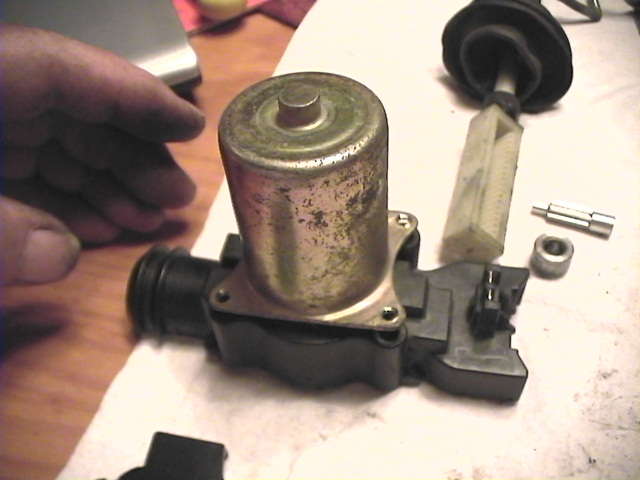
Once it was all apart, I emery clothed the rust off the winding faces, and the inside of the magnets inside the motor shell. I also cleaned out all the old grease from the shaft spigot, and put some fresh white grease in the bearing in the cover top. I also cleaned up the copper contact plates with fine steel wool, removing all the tracks and dirt. My brushes were fine, so I cleaned them up whilst they were out. I also checked all the windings on the armature, and they were good too. So now, to put it all back together was, obviously the same process in reverse

Put the armature into its guide hole, replace the cover, ensuring the spigot of the armature is in the right place!! . Turn it all over, and drop the brushes into their tubes, and then the springs. Next you have to be very careful bending the retaining tabs back over the springs. Replace the black plastic plate, etc, and then bolt it all back together. Hopefully, it will work!!

Nick
IP: Logged
fierofetish
Member
Posts: 19173
From: Northeast Spain
Registered: Jul 2003


Feedback score: N/A
Leave feedback


Total ratings: 277
Rate this member

Report this Post05-05-2008 07:31 PM Click Here to See the Profile for fierofetishSend a Private Message to fierofetishDirect Link to This Post

fierofetish

19173 posts
Member since Jul 2003
Just realised I lost a whole bunch of photos when the ISP went down..I must learn to type things like this into Word or something...I downloaded the photos direct from the camera, and then wiped them to take some more...GRRRRR! I had one photo with all the components laid out nice and tidily..but it has gone, and now it is all back together and on my car...working for the first time in nearly 4 years!! Makes it so much easier to unlock the passenger door when somebody needs to get in leaning across the tunnel speeds up the delamination of the plastic covering, and breaks the plastic spine of the tunnel cover
Nick

[This message has been edited by fierofetish (edited 05-05-2008).]

IP: Logged
JazzMan
Member
Posts: 18612
From:
Registered: Mar 2003


Feedback score:    (7)
Leave feedback


Total ratings: 653
User Banned

Report this Post05-06-2008 09:21 AM Click Here to See the Profile for JazzManSend a Private Message to JazzManDirect Link to This Post
Nice writeup, Nick!

Yeah, I learned the hard way about backing up photos and writings, too. I always copy my photos to two different places, each verified readable, before deleting from my camera. When I compose long posts I do them in a text editor first before posting them here. Redundant redundancy is not redundant.

JazzMan
IP: Logged
fierofetish
Member
Posts: 19173
From: Northeast Spain
Registered: Jul 2003


Feedback score: N/A
Leave feedback


Total ratings: 277
Rate this member

Report this Post05-06-2008 10:34 AM Click Here to See the Profile for fierofetishSend a Private Message to fierofetishDirect Link to This Post
Thanks james..picture quality is poor because I use a video camea with the camera facility..hence problems with focusing !!
Patrick will be along shortly to remonstrate with me Sorry Patrick!! I tried
Being in Spain and there being no secondhand source for parts, I always try to repair rather than incur the shipping costs from America Anyway, that is more fun, repairing it yourself!!
Nick

[This message has been edited by fierofetish (edited 05-06-2008).]

IP: Logged


All times are ET (US)

T H I S   I S   A N   A R C H I V E D   T O P I C
  

Contact Us | Back To Main Page

Advertizing on PFF | Fiero Parts Vendors
PFF Merchandise | Fiero Gallery
Real-Time Chat | Fiero Related Auctions on eBay


Copyright (c) 1999, C. Pennock