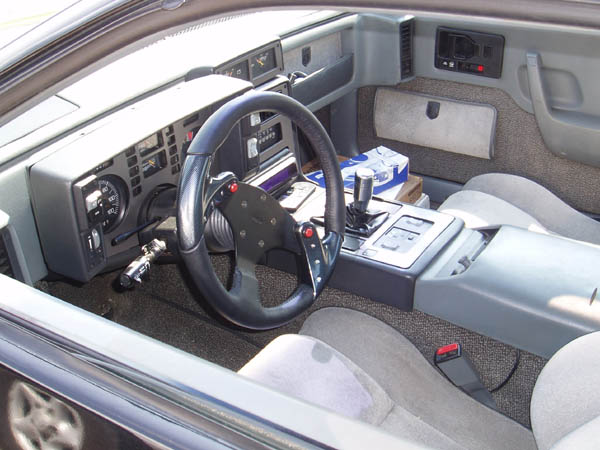
Well I just did a clutch replacement in a 1986 Fiero GT with a V6 and a 4-speed. The throwout bearing siezed up and made a ungodly sound and quite a mess. This car was brought to me by a college kid in Fargo, ND. He is origionally from the Twin Cities in MN, and many of you in the area may know the car. Since I could not find any really good build-up threads I thought I would do one myself and let you know how it is done and easy ways I found to do things.
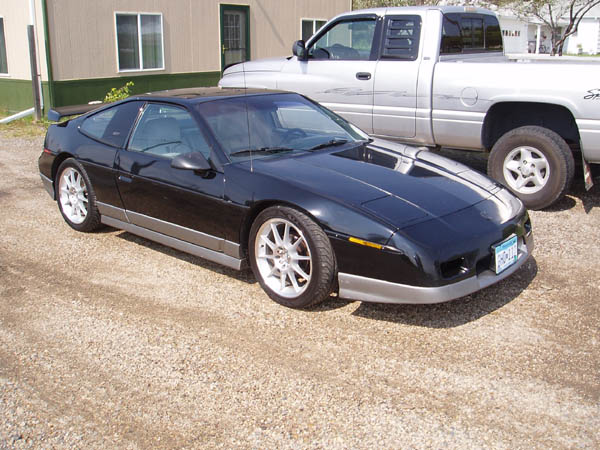
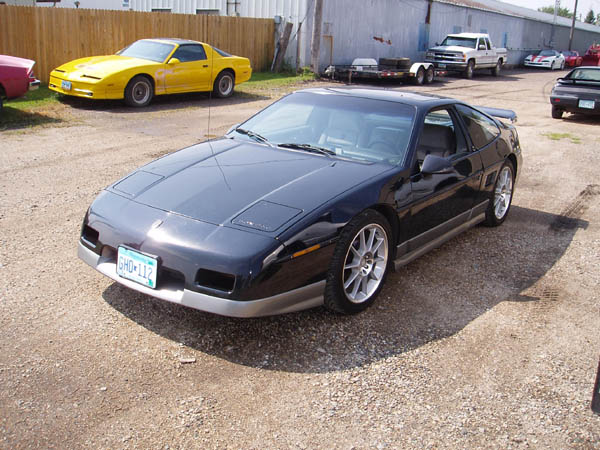
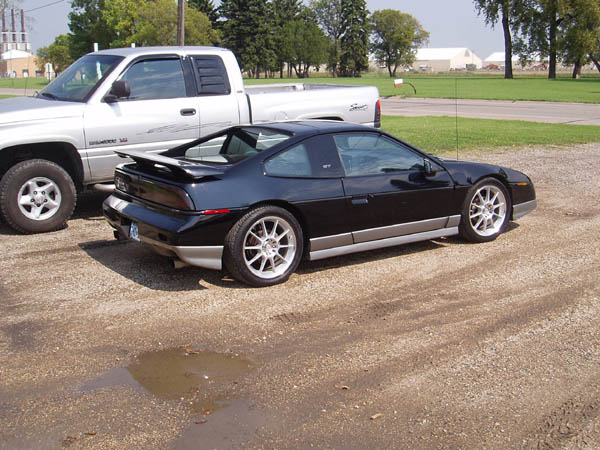
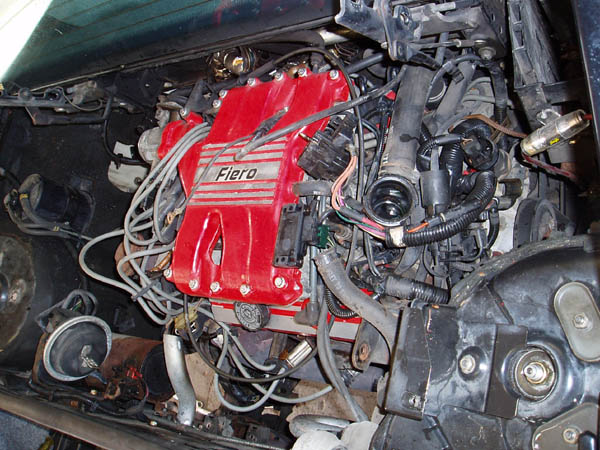
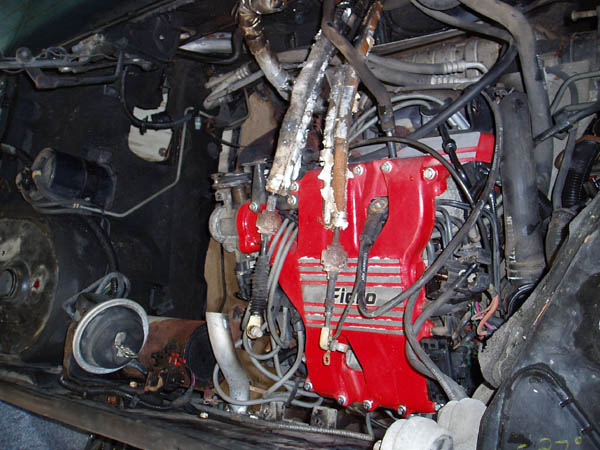
First we start out with the pics of the car
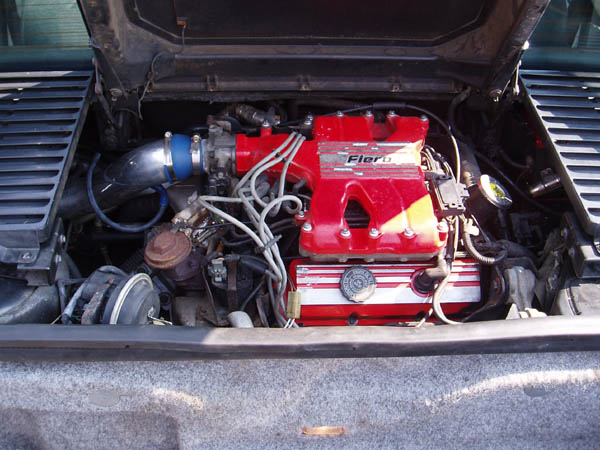
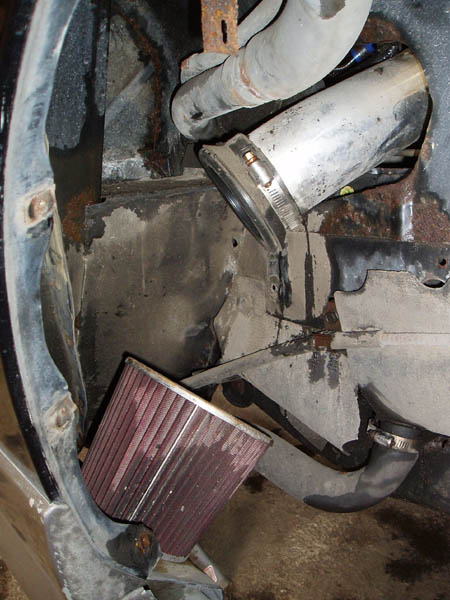
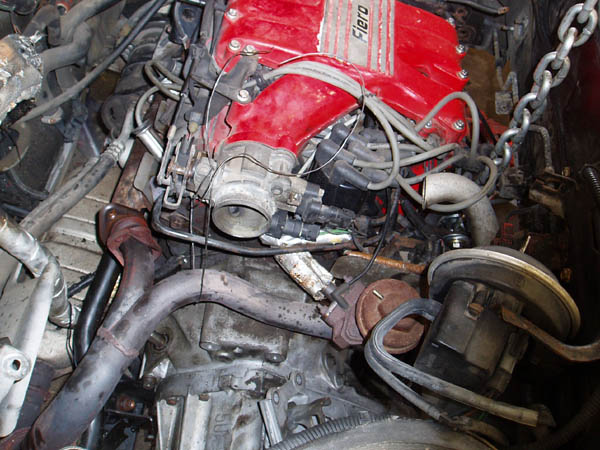
The engine was completely stock other than the cold air intake that he adapted from a Honda. I wasn't very impressed with the intake at all, didn't look to help much and made the car sound like a vaccum with the loud sucking sound, lol.
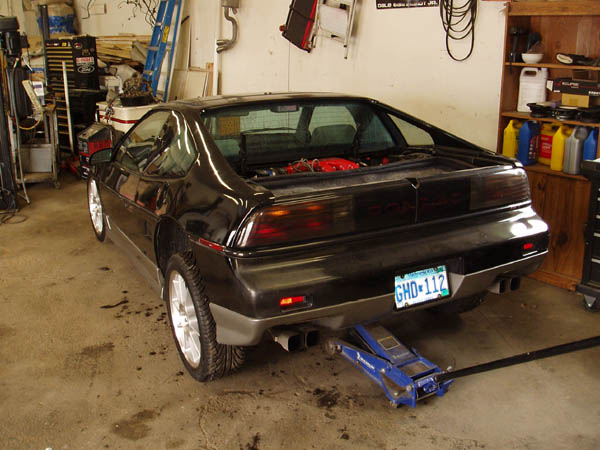
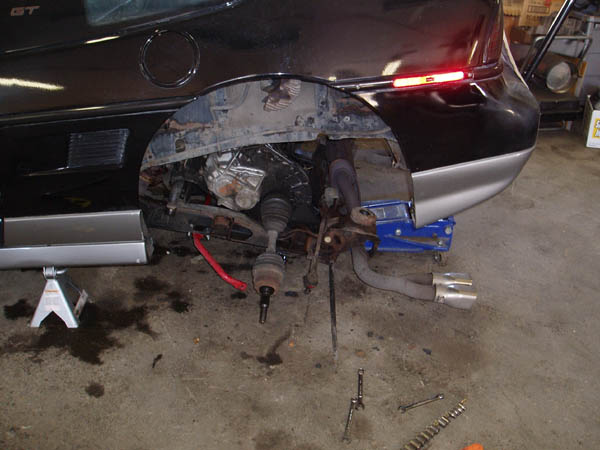
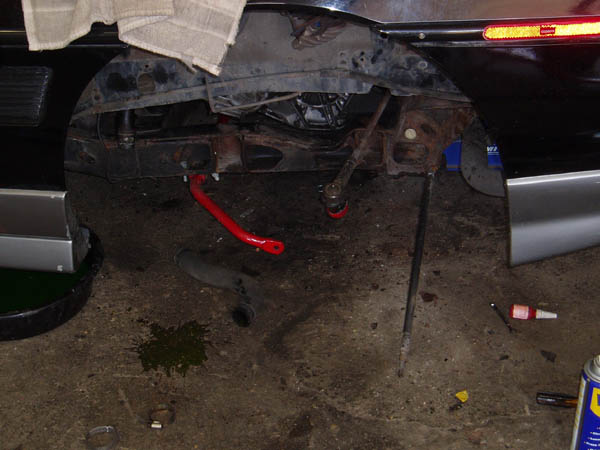
Well First I put it int he garage in a place it will sit until it is done. I positioned the jack under the center part of the rear section of the cradle, because this is a very solid place to jack and will lift the whole rear end evenly. Unfortunatly the car was too low and had to have a buddy help lift the car a little to get the jack under. the car has been lowered a good 2 inches.
The car is in the air now, I put blocks in front of the front tires. I jacked my floor jack as high as it would go and put jack stands just in front of the cradle mounts, so it would hold it safely and still be able to tilt the cradle
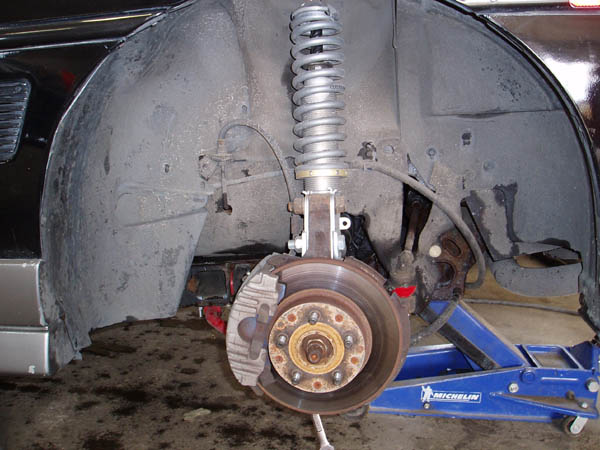
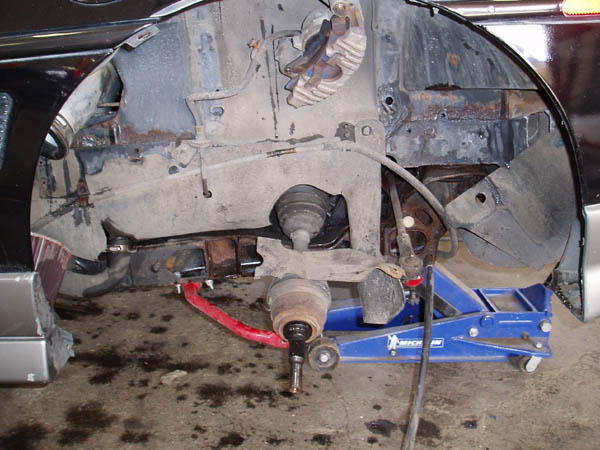
Drivers side suspension, as you san see this is not stock.
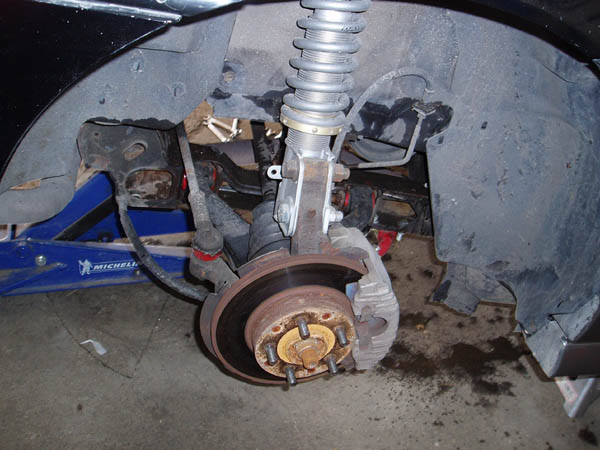
Passenger side suspension.
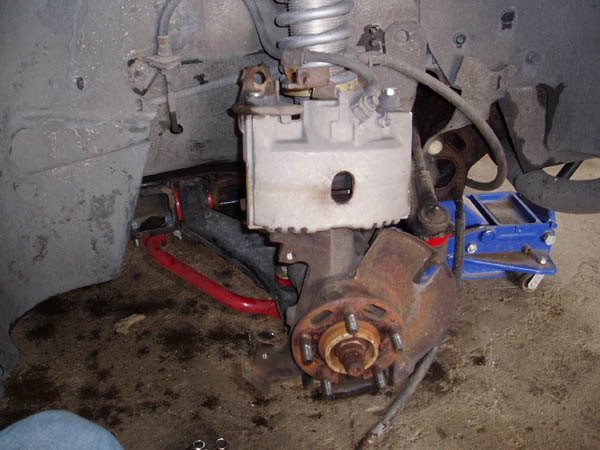
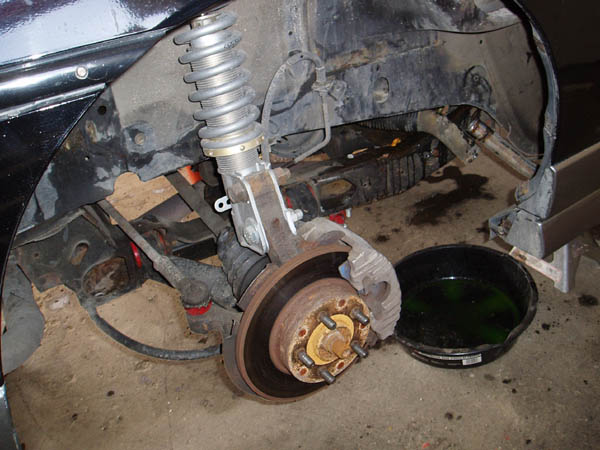
Start by removing the driver side caliped and rotor and hang the caliper out of the way, since the suspenson and brakes were just done a couple months ago, everyhting unbolted very easy.
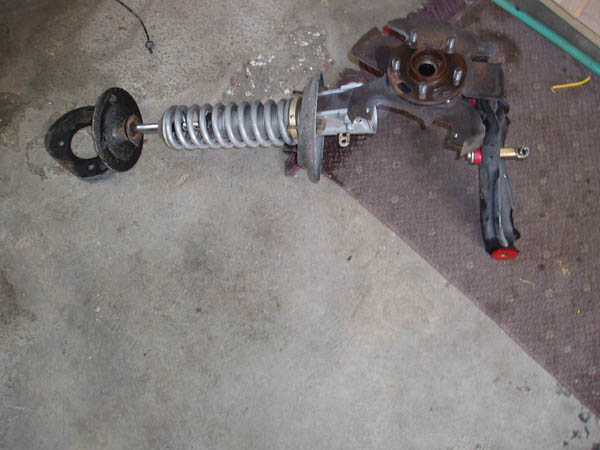
Driver side strut and lower arm remover in one piece and laying on my floor. This makes removing the transmission very easy now.
I removed the drivers side inerliner and gaurds to gain easy access to everything, as you can see the air filter wasn't firly attached to the tube and probally been off for a while.
Passenger side innerliner remover and coolant lines disconnected.
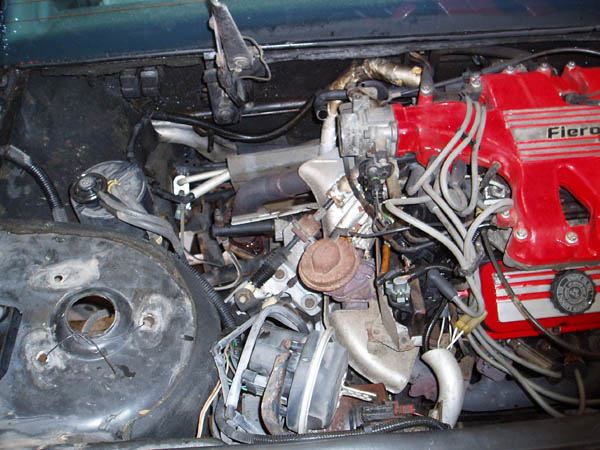
Here is a shot of the engine as I was removing stuff. In order to tilt the engine you need to dissconect a few things. Undo bothe coolant lines running to the fron of the car, also undo the one heater line comming off the water pump. Disconnectt he electrical wiring block and pos and neg battery terminals and lay them on the engine. You also need to undo the 2 vaccum lines goung towards the cruise servo, undo the cruise carble from the servo, undo both shifter cables, unbolt the slave cylinder and hang it out fo the way. You also have to unbolt the rear muffler heat shield and the cooling tube mounted towards the alternator. Everyhting else has the play to stay connected when tilting the engine.
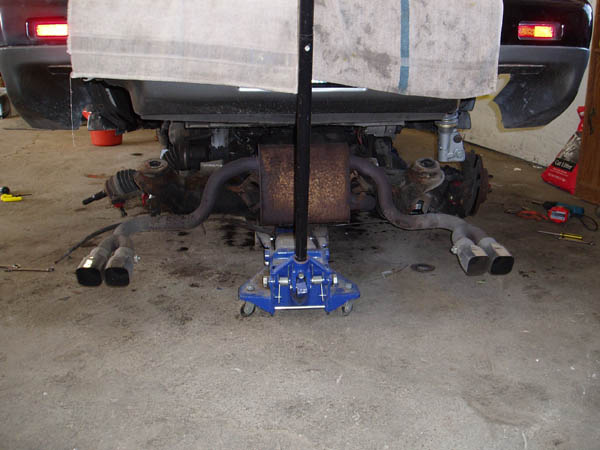
And now undo the 2 rear cradle bolts and use the floor jack to tilt the cradle back, I was able to drop it a little over 14 inches.
Another shot of it tilted from the rear.
Engine shot of it tilted.
Transmission is very easy to get to now. I used my engine hoist to hold the engine up buy the rear lift point and then I unbolted both transmission mounts. If completely remove the brackets from the transmission and the front one front he cradel it gives you more working room. The drive axles just pop out if you pry on them a little too.
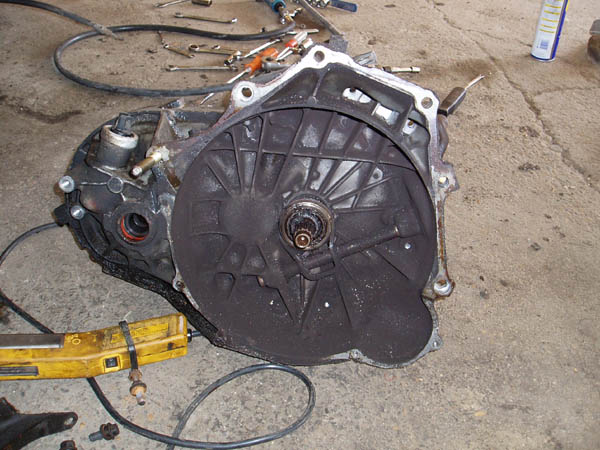
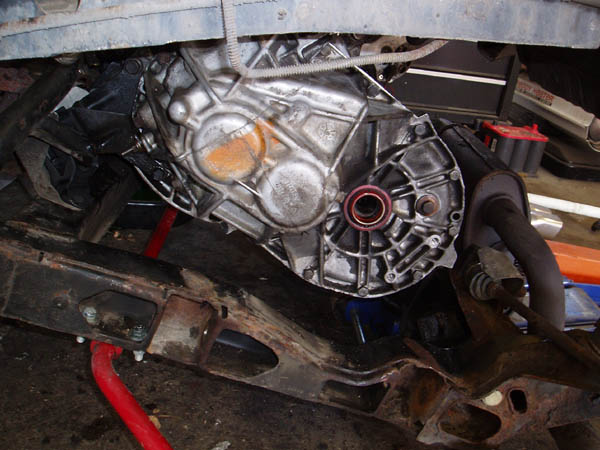
Transmission was unbolted and slid right off. The easy way to do this without damaging the splines on the trans in to take two 3 inch long bolts that are the same size as the engine bolts and cut the heads off and put one in the lowest front bolt hole and one int he rear lowest bolt hole on the tranny. Then just pull it off and it will slide right off without damaging anything. You can see the bolt still sticking out to the right it was a gold colored one.
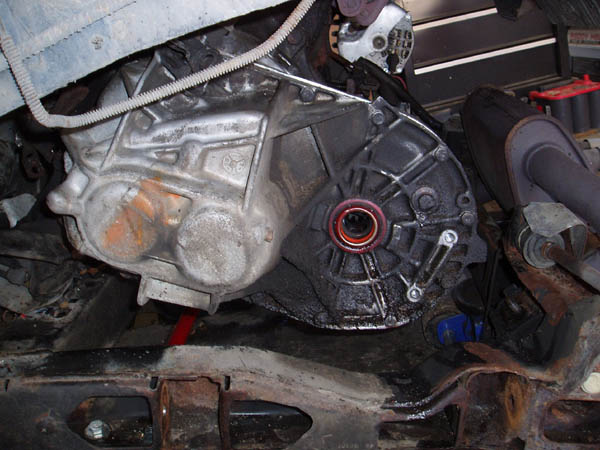
Tranny laying on the floor, now you can see the damage. You can also see the gold guide bolt I used when getting it off still screwed into the transmission. The throwout bearing siezed and busted into 3 pieces and also took one fo the fingers off the shift fork, so that was replaced too.
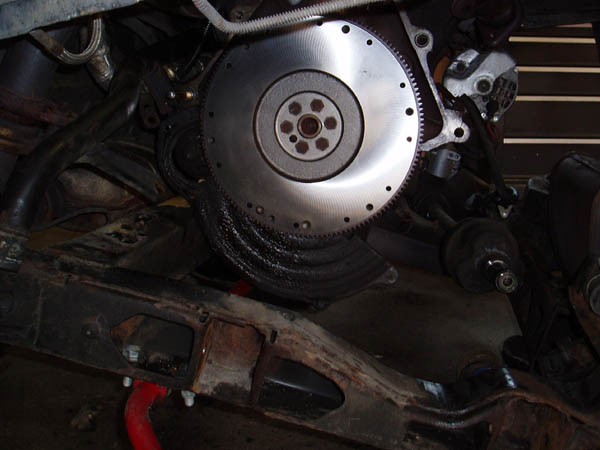
I installed a new flywheel as the old one was pretty grooved and looked like it got really hot.
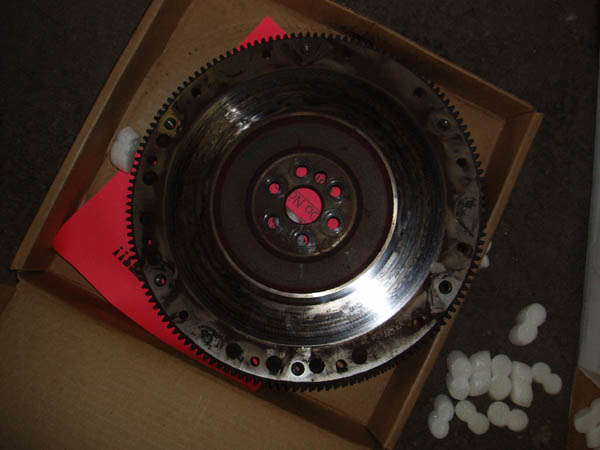
Picture of old flywheel.
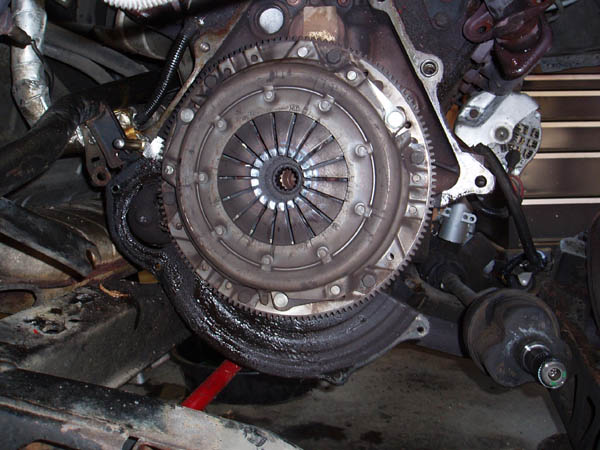
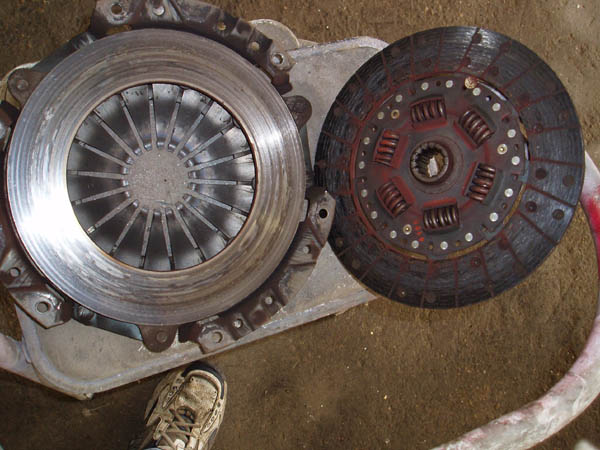
Old clutch and pressure plate. Clutch disk was still good but pressure plate was grooved bad too.
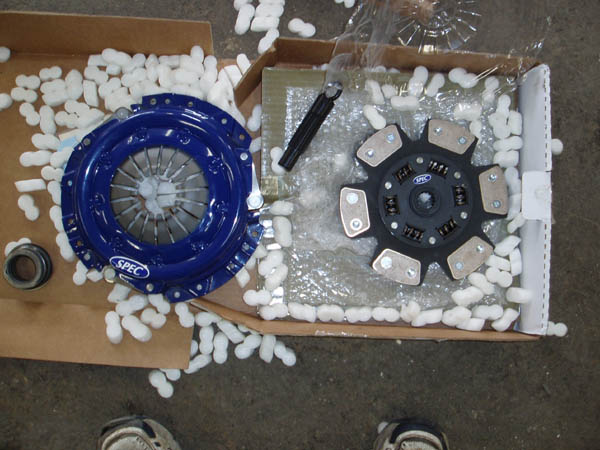
The new spec stage 3 clutch
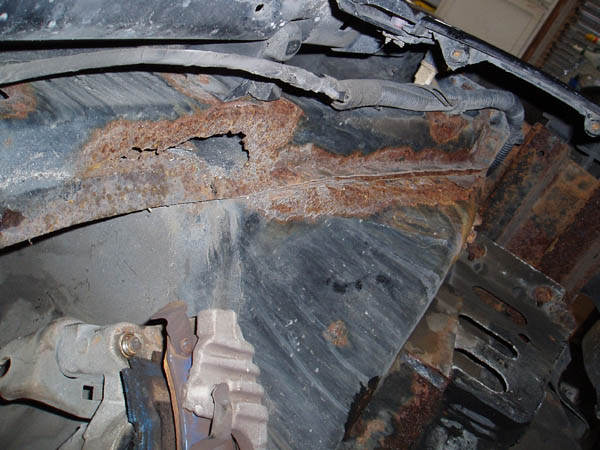
Well I had things apart, he wanted me to fix the rear manifold leak, found a broken bolt and the far right flange was completley busted off the manifold.
Transmission back on, it was easy to just slip it on with the guild bolts, took a minute to get the splines to line up but otherwise everyhting went as planned.
Things slowely getting reconnected, reassembally is the reverse of the disassembally. So it is pretty easy to put it back together. Go a lot faster than taking it apart. Remember to only use SYNCROMESH in fiero manual transmissions.
Cradle bolted back up in place and awaiting the suspension.
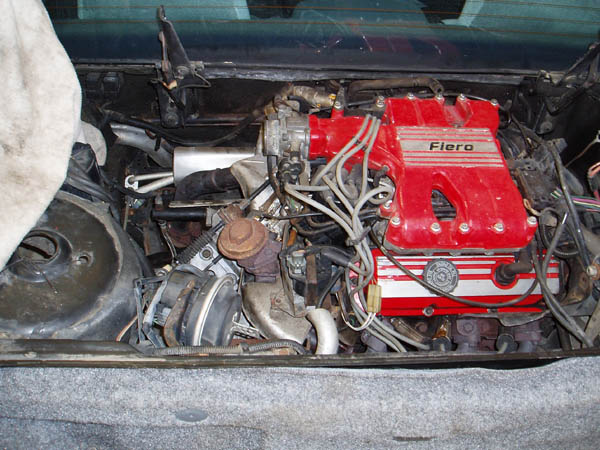
Engine stuff all reconnected and ready to put the intake tube back on.
Well I hope you guys liked my clutch install on the fiero. It was my first one with everything actually in the car. All in all, it would have taken 8 hours to do the clutch and took another 2 hours to fix and manifold. I was able to have this done working on it part time over 2 days. The transmission shops in town told him it would be $900 in labor and 4 days to have the clutch done, and he still would have had to have someone sif the manifold. He supplied me with the clutch, flywheel and fork and I also put new syncromesh in it and a new front tranny mount, and my bill came up to $500.
Well let me know what you guys think, and if you have any questions just ask.
Mike
------------------ www.FierosandMore.comThis is a link to my personal web site, has pictures of all my projects and parts for sale.
IP: Logged
01:13 PM
Chris88GT Member
Posts: 101 From: Hamilton OH, USA Registered: May 2004
Thats nice. Wish i would have done mine that way. Followed the hanes manual procedure. I dropped the cradle while suspending the engine. Pain in the ... You know what.
Thats nice. Wish i would have done mine that way. Followed the hanes manual procedure. I dropped the cradle while suspending the engine. Pain in the ... You know what.
I'll tell you what, the way I did it was really easy, the haynes manual is nuts, I read there procedure and it seemed like more work than the way I did it.
IP: Logged
04:59 PM
avengador1 Member
Posts: 35468 From: Orlando, Florida Registered: Oct 2001
Hey, I like this, I might try this soon, as I will also be replacing my clutch (again). Looks like it would save some time.
I say "again" because I have a "spec" clutch too, and I have recently found out (thanks to another thread) that some of these "Spec" clutches have come from the factory assembled wrong.
Check out this thread page 6, https://www.fiero.nl/forum/Forum2/HTML/059801.html we have been discussing this issue. I only say this because your pic of the clutch disks center spined hub looks like it is the wrong one. It looks just like all the others that have found it to be, mine included.
If you look at the old clutch disk ( I am looking at your pic with it still on the flywheel), notice how the center splined part is flat on the tranny side (pressure plate side). Then look at the "Spec" center piece (tranny side) there is a raised center.
Others have had serious problems with this, just trying to be helpfull. I got my whole car together and spent alot of money trying to fix the clutch, for the wrong reason because I didn't compare the disks before I intalled the new "Spec" parts. The short is the "Spec" center should also be flat.
IP: Logged
11:02 PM
California Kid Member
Posts: 9541 From: Metro Detroit Area, Michigan Registered: Jul 2001
I positioned the jack under the center part of the rear section of the cradle, because this is a very solid place to jack and will lift the whole rear end evenly.
While this appears to be an easier way to get the job done, I'd be a little more concerned about bending the cradle, that's a lot of weight to be lifting with a fairly small contact zone of the jack.
Just a thought.
IP: Logged
11:23 PM
PFF
System Bot
Sep 7th, 2005
rubyredfiero Member
Posts: 720 From: Belle River, Ontario, Canada Registered: Jul 2003
Good write up. Unless they are POLY, may I suggest to add in your instructions to loosen the front cradle bushings to allow the inner sleeve to rotate as the cradle is dropping. This way there is no chance of separating the sleeve from the rubber.
IP: Logged
08:59 AM
tesmith66 Member
Posts: 7355 From: Jerseyville, IL Registered: Sep 2001
While this appears to be an easier way to get the job done, I'd be a little more concerned about bending the cradle, that's a lot of weight to be lifting with a fairly small contact zone of the jack.
Just a thought.
Jeez. If you band a Fiero cradle that way I'll send you a new one. Those things are extremely rigid. You're not going to bend it.
One more comment: Excellent writeup. I always replace the rear main seal and the rear cam cover gasket when I do a clutch. Cheap insurance against early clutch failure due to oil contamination.
------------------ 1986 SE 350 V8
IP: Logged
10:39 AM
Buffalo86GT Member
Posts: 173 From: Williamsville,NY,USA Registered: Dec 2002
That's what I followed when changing my clutch in my 86 GT. Their proceedure leaves the coolant lines in place and sure enough I was able to do that without any issue.