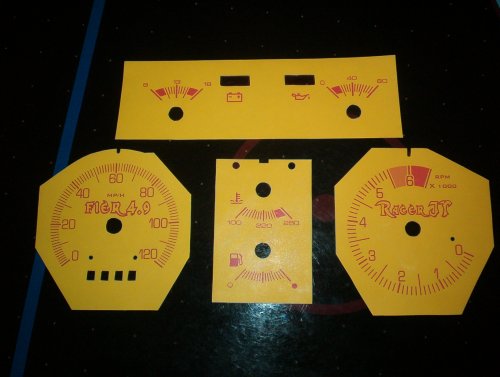
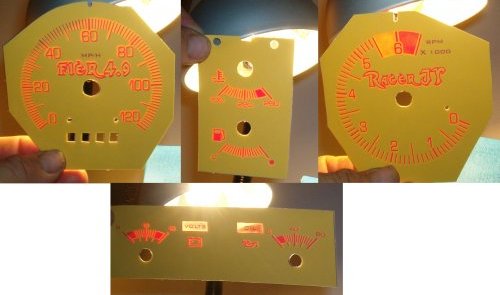
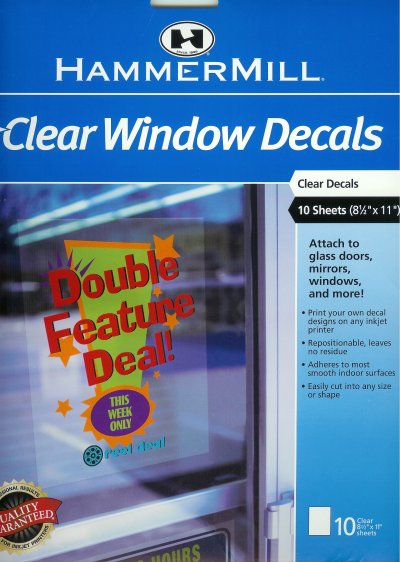
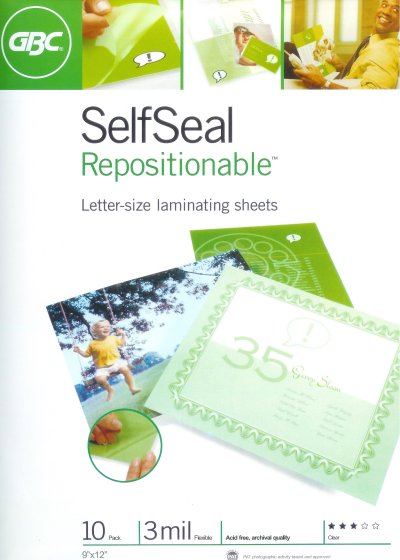
I made these tonight using AusFiero's directions and files from his website. http://www.fieroshop.com.au/ Go to his site and click on Cool Stuff. I modified them a little to get my name and car in them. They look very nice up close and can't wait to get them in the car. I will post more pics when that happens. Took me all af an hour to make them. I used Clear Window Decals for the black outs. White Print and Stick for the faces and then sticky laminate sheets to go on the front and back to finish them off. If any one else has done this please post pics here for everyone to see.
Thanks to AusFiero for taking his time to bring this to us free of charge, You are the Man Great Directions too.
------------------
[This message has been edited by Racer_JT (edited 08-08-2004).]
IP: Logged
11:36 PM
PFF
System Bot
Aug 9th, 2004
Racer_JT Member
Posts: 1419 From: Lynchburg, Virginia, USA Registered: Apr 2002
Looking good - take some good pics of them installed too!
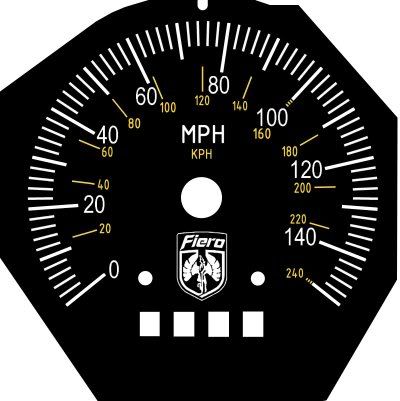
Awhile back I tried to create a set of indiglo-style white-face gauges (based on the basics of what AusFiero provides on his site). Didn't work out quite as I had hoped (so I "donated" my design files to SpeedHut, and they now have custom indiglo gauges available). Anyway - here was my custom AUX pod (it looked fine until you actually had to lite it at night):
I got all my paper's from Staples I went by Aus's Instructions. Other than my white paper was the sticky paper. Which I then used to stick it to the clear window decals. For the Black Out (rear) of Guages I used this. Beacause it is not sticky paper I did not print this backwards.
This is the White page. Which is the guage Face. Self Sticking Paper.
Then for protection and thickness I laminated both sides(front and back).
It took me about an hour to print and stick and cut to get them all right. I spend about 30 minutes getting the file modified to my liking, and so that my name's were lit also! After I get these in the car later this week, I'll take more pics. Also if they come out like I think they will(GOOD). If anyone wants, I'll print them out for you guys. I'll have to charge something for my time to do them, but I can do them. Lets make sure mine work good first though. Let me know if anyone would want that, and we will talk.
Jesse
IP: Logged
06:45 AM
achawkins Member
Posts: 1891 From: Greenville S.C. Registered: Jun 2003
I did a set about three weeks ago, and I'm reasonably happy with the way they turned out, accept that I must have been off a little with my backlit set, when I stuck them together, because it doesn't light like I had hoped, but I'm going to do the whole thing again with better paper and see what happens.
What kind of adhesive did you all use when gluing them to the guage cluster?
Anyone have a clue on the best way to get these on the gas guage? Mine doesn't have a face plate it looks like all one peice to me?
Oh yeah, AusFiero Thanks for doing the work and letting us use it.
------------------ Marty, '84 SE, '85 2M4, '86 SE, '87 GT, '88 GT
[This message has been edited by achawkins (edited 08-10-2004).]
IP: Logged
09:11 AM
achawkins Member
Posts: 1891 From: Greenville S.C. Registered: Jun 2003
I did a set about three weeks ago, and I'm reasonably happy with the way they turned out, accept that I must have been off a little with my backlit set, when I stuck them together, because it doesn't light like I had hoped, but I'm going to do the whole thing again with better paper and see what happens.
What kind of adhesive did you all use when gluing them to the guage cluster?
Anyone have a clue on the best way to get these on the gas guage? Mine doesn't have a face plate it looks like all one peice to me?
Oh yeah, AusFiero Thanks for doing the work and letting us use it.
well you could try rubber cement if you ever intended to take it back off... or you could use double sided tape
IP: Logged
03:40 PM
achawkins Member
Posts: 1891 From: Greenville S.C. Registered: Jun 2003
I used Elmer's, because I had a bottle of it on my toolbox. It worked and I'm sure I can remove it later, I just wonder if that was the cause of the lighting problem I have at night. (ie: not as crisp and bright as the stock)
Does anyone know how to get the gas gauge faceplate into place? Do you glue it on top of the stock one or did I miss a way to remove it? I pulled the whole fuel / gas gauge pod out of the cluster but I didn't see anything other that a couple of small rivets.
------------------ Marty, '84 SE, '85 2M4, '86 SE, '87 GT, '88 GT
[This message has been edited by achawkins (edited 08-10-2004).]
IP: Logged
03:55 PM
shop_rat45 Member
Posts: 3271 From: Lapeer, Michigan Registered: Mar 2004
As for adhesive... being in the print industry I had a few special "resources" and used a 3M "Optically Clear Adhesive" that retailed for about $300/roll (it's what automotive suppliers actually use for gauges - it's also used to hold layers together in LCDs and PalmPilots ). I'd just recommend the thinnest & clearest 2 sided tape you can find (thicker & colored adhesives will reduce the light output you see through the gauges).
quote
Originally posted by shop_rat45:
If you are giving free handouts, I'll take a copy of it in the .AI format.
Well, if you insist on paying for them - go ahead and send paypal payments to my listed email address (I personally would like to order a Speedhut.com set) otherwise they're free for the taking to anyone who wishes to play with them
My file is a 2-up layout with all gauges (120 Speedo/Tach/Fuel & Temp/AUX), Signal Covers, and HVAC controls. The only real notable difference in style is that mine have a slightly different "fan" blade for the blower control... but you're welcome to do whatever you like with them (SpeedHut already has ).
Here's the Illustrator File (note: the fonts are Mac PS fonts, so they may not work on a PC - but the .ai file itself will read OK). The ZIP file is about 3MB... be sure to check the layers for different versions & colors. http://209.150.197.180/MinnGreenGT/IndigloFiero1.zip
Here's a Layered PhotoShop file for those that are daring enough to play with it instead of the .ai file. This is the same, but obviously you can't control the image as you could the vector art. File is 300dpi with 6 layers in RGB color mode. File is about 2.3MB http://209.150.197.180/MinnGreenGT/IndigloLayersPsd.zip
I made these tonight using AusFiero's directions and files from his website. http://www.fieroshop.com.au/ Go to his site and click on Cool Stuff. I modified them a little to get my name and car in them. They look very nice up close and can't wait to get them in the car. I will post more pics when that happens. Took me all af an hour to make them. I used Clear Window Decals for the black outs. White Print and Stick for the faces and then sticky laminate sheets to go on the front and back to finish them off. If any one else has done this please post pics here for everyone to see.
Thanks to AusFiero for taking his time to bring this to us free of charge, You are the Man Great Directions too.
VERRRY Nice!!! I just have one question why do you leave the "O" out of "FIER 4.9"