 
     |
| Question on John Deere lawn tractor engine oil drain plug (Page 1/4) |

|
Patrick
|
APR 15, 02:46 AM
|
|
.
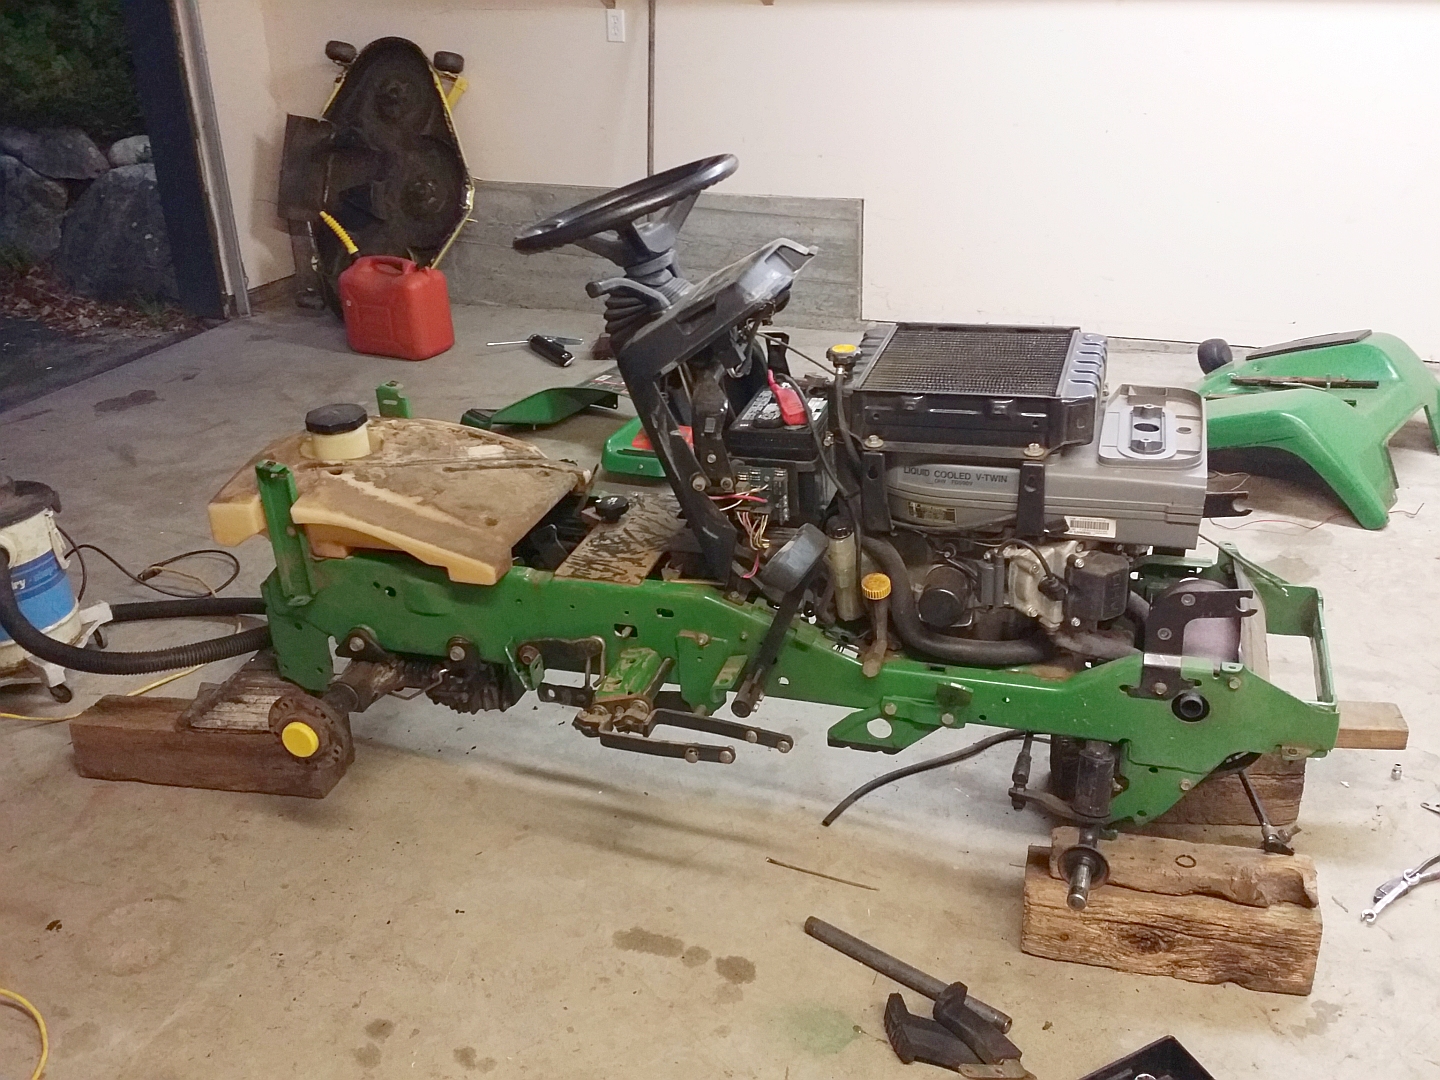
I recently bought a new (to me) home on 1.1 acres. It came with a John Deere 345 lawn tractor. The previous owner wasn't exactly a mechanic, so I've stripped a lot of the lawn tractor apart to check it over and repair as I see fit.

The grass is rapidly growing, and I need this lawn tractor ready to rumble this week.
I've got its Kawasaki FD590V (V-twin) water-cooled engine now running smoothly, so I'm ready to change the oil and filter before I put this beast to work. Seems like something simple, but... I'm not 100% sure how the oil drain plug is supposed to be removed.  There appear to be different types of drain plugs used on these machines, and I grabbed the image below from someone's YouTube video of their engine which has the same type of drain plug as mine. Keep in mind, this is a vertical crankshaft engine. The engine in the image below has been tipped on its side. There appear to be different types of drain plugs used on these machines, and I grabbed the image below from someone's YouTube video of their engine which has the same type of drain plug as mine. Keep in mind, this is a vertical crankshaft engine. The engine in the image below has been tipped on its side.
I assume (because I don't know for sure) that the plug on the end (green arrow) unscrews from the fitting identified with the blue arrow. I've been spinning wrenches enough years to know how to use two box wrenches in such a manner that you can slightly offset the two wrenches and squeeze them together to loosen such a fitting. However, when I try this, the end plug does not want to budge. I don't understand why an oil drain plug should be so freaking tight... which is why I'm wondering if anyone one else here has a similar oil drain plug assembly on their John Deere lawn tractor.

I'm about ready to try an impact gun on the plug with a box wrench holding the inner fitting. I don't want to go too crazy with the impact gun though, as the rest of the assembly (which attaches to the block) is just aluminum and I don't want to crack/break it.
So, is anyone familiar with this style of oil drain plug? Am I going about loosening the plug in the correct manner?[This message has been edited by Patrick (edited 04-15-2025).]
|
|

|
cliffw
|
APR 15, 02:44 PM
|
|
Patrick, that is not a lawn tractor, it is a lawn mower.
I have never seen a oil drain "plug" like that. It appears to me it is all one unit.
Over tightening is a common problem, be it an oil plug, an oil filter, and many other things. I was taught to tighten first, before trying to loosen. I don't know how that makes sense but I have never broken a head hold since.
|
|

|
Patrick
|
APR 15, 03:34 PM
|
|
| quote | Originally posted by cliffw:
I have never seen a oil drain "plug" like that. It appears to me it is all one unit.
|
|
If the area identified by the blue arrow was smooth (like a pipe) I'd agree with you, but it isn't. It's made to accept a wrench, as is the plug on the end identified with the green arrow. Deductive reasoning would indicate that a wrench is expected to be used on both components, which makes sense as this would prevent any twisting motion to be transferred to the rest of the aluminum assembly which bolts to the block. I suspect that I am trying to go about this in the correct manner... but I'm hoping for some reassurance from someone who's familiar with this style of drain plug. 
| quote | Originally posted by cliffw:
... that is not a lawn tractor, it is a lawn mower.
|
|
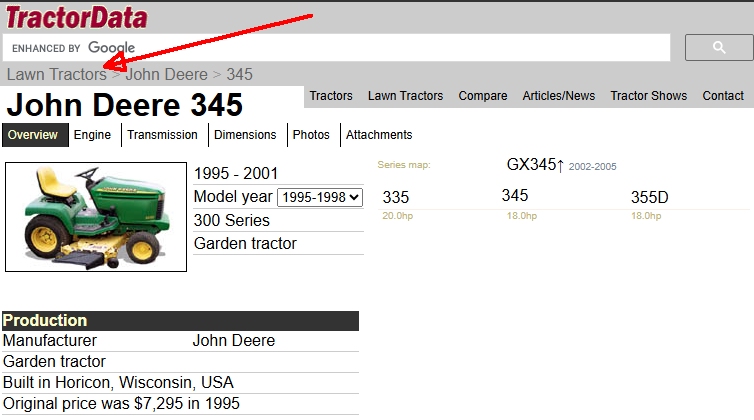
Not sure why you wish to be pedantic about this... but here's a screen grab from the site I linked to above.

|
|

|
MarkS
|
APR 15, 03:42 PM
|
|
Love those old JD's. I have a 316 from the mid 80's with an Onan engine. Damn near bullet proof. Has the hydrostat control on the dash, which is handy. But they probably moved it to floor pedals because you could fall off easily at full boogie hitting a ditch then the damn thing would just keep going.  [This message has been edited by MarkS (edited 04-15-2025).]
|
|

|
Additivewalnut
|
APR 15, 06:30 PM
|
|
The little bit of research I did seems to show there's supposed to be a spout under the filler cap to drain the oil from. That appears to be missing so I wonder if ol boy broke it off by accident and just found something with the same thread to stick in there. I have half a mind to say try to remove the part the blue arrow is pointed at. It almost looks like there's a washer or something between it and the tube it's screwed into.
Worst case I think you had the right idea about impacting the green arrow off while holding the blue with a wrench. If you break it, I'm sure you can find something with the same pitch at ACE.
Worst worst case, unbolt the tube from the block!
Good luck!
|
|

|
Additivewalnut
|
APR 15, 06:32 PM
|
|
|

|
Patrick
|
APR 15, 07:31 PM
|
|
| quote | Originally posted by MarkS:
But they probably moved it to floor pedals because you could fall off easily at full boogie hitting a ditch then the damn thing would just keep going. 
|
|
Yes, there are pedals for forward and reverse... plus a brake pedal of course. In regards to falling off, there's a sensor/switch attached to the bottom of the seat that does something safety-wise if the seat becomes vacated during operation. 
| quote | Originally posted by Additivewalnut:
The little bit of research I did seems to show there's supposed to be a spout under the filler cap to drain the oil from. That appears to be missing...
|
|
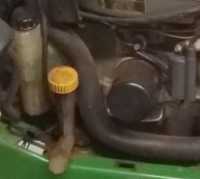
Keep in mind that the image of the engine above of somebody else's engine has exactly the same oil drain assembly as mine... so I suspect this is OEM. There were variations over the years of the oil drain assembly used/installed by John Deere. The following is an enlargement of the oil drain area from the photo of my JD at the top of the thread. If you squint, you can see it's the same style of oil drain assembly as the engine from the YouTuber's video pictured above.
 | | CLICK FOR FULL SIZE |
| quote | Originally posted by Additivewalnut:
It almost looks like there's a washer or something between it and the tube it's screwed into.
|
|
Yes, it kind of looks like a rubber O-ring in the photo. I'll have to take a closer look at my engine the next time I'm out there to see if it has that same feature. (I haven't actually moved in yet, and I'm an hour away from the place.)
| quote | Originally posted by Additivewalnut:
Worst worst case, unbolt the tube from the block!
|
|
I was hoping to avoid doing that, as the oil would come out of the block on top of the middle of a frame rail. Could be messy... but yes, it's an option.
Thanks for that, but that's for the GX345, a newer version of what I have. I did find the factory manual for the 345, but it's unfortunately of no help with this.[This message has been edited by Patrick (edited 04-16-2025).]
|
|

|
MarkS
|
APR 15, 07:47 PM
|
|
Quote:
"Yes, there are pedals for forward and reverse... plus a brake pedal of course. In regards to falling off, there's a sensor/switch attached to the bottom of the seat that does something safety-wise if the seat becomes vacated during operation. "
On mine, only if the deck PTO is engaged, 'course I never checked to see if there was a malfunction in the harness somewhere.
|
|

|
Patrick
|
APR 15, 07:58 PM
|
|
| quote | Originally posted by MarkS:
On mine, only if the deck PTO is engaged...
|
|
Mine's probably the same then, as I'm able to start the engine without being seated.
In regards to the PTO. I haven't actually looked up how to engage it yet.  I've got the mower deck removed in order to sharpen all 6 blades (12 cutting edges!) and to service the three blade spindles. I can tell from looking under the engine that it has what appears to be a brand new PTO unit installed. Nice and shiny! I've got the mower deck removed in order to sharpen all 6 blades (12 cutting edges!) and to service the three blade spindles. I can tell from looking under the engine that it has what appears to be a brand new PTO unit installed. Nice and shiny!
|
|

|
Patrick
|
APR 16, 01:33 AM
|
|
| quote | Originally posted by Patrick:
Yes, it kind of looks like a rubber O-ring in the photo.
|
|
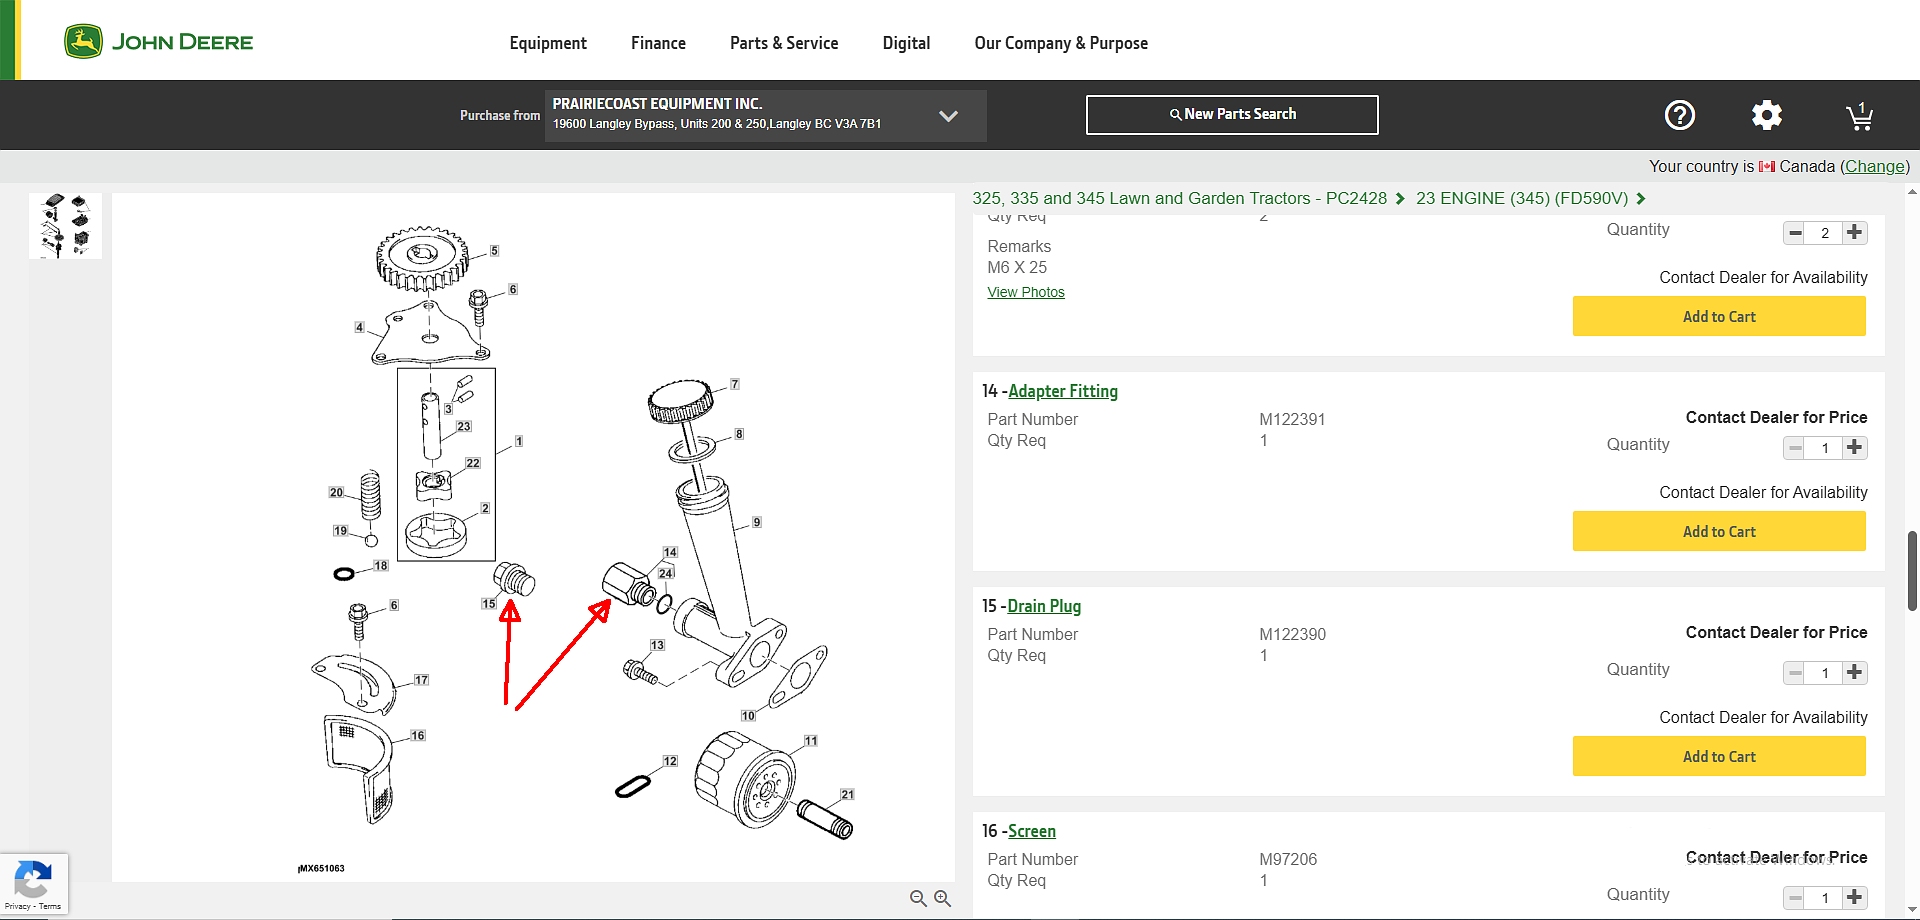
I dug a bit deeper online... and yes, that is an O-ring. I discovered this by doing something I probably should've done in the first place... I looked up this lawn tractor in the John Deere parts catalog. The two red arrows below pointing at #14 and #15 are what I have, and #24 is the O-ring. So yes, it does appear that the plug on the end (#15) is supposed to unscrew from the fitting (#14)... but damn it's tight!

|
|
    
  |
|


