 
     |
| New 3D printer: Creality 3 V3 SE (Page 3/7) |

|
williegoat
|
NOV 02, 03:32 PM
|
|
I have been playing with Blender and TPU. I made some feet for a Raspberry Pi case that I found on Thingiverse.
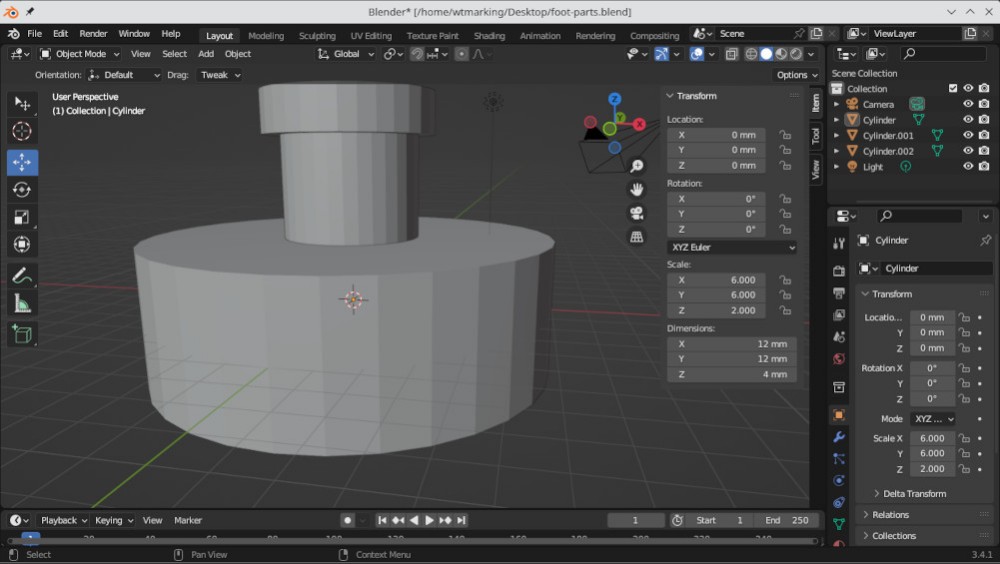
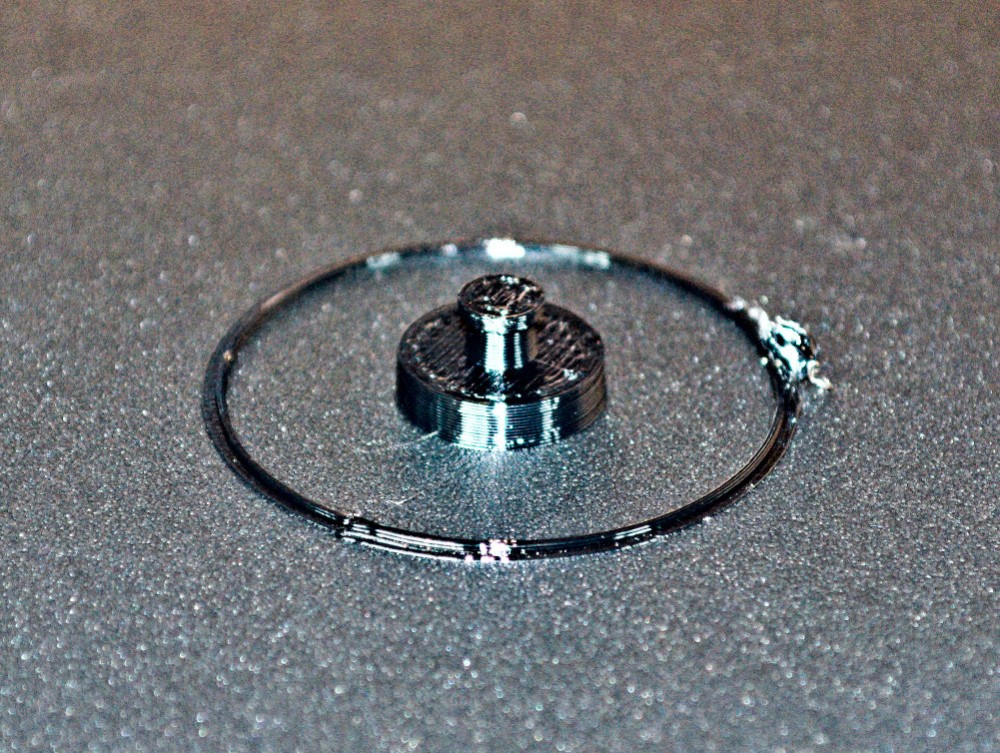
I am modding the case with Blender and I will post some pics once I am done.
|
|
|
|
Cliff Pennock
|
NOV 04, 12:06 PM
|
|
|
I just ordered a roll of TPU filament. I was wondering if I would be able to print a thermostat sealing ring. I have the original (discontinued) Stant thermostat for the Fiero here, but its sealant ring has disintegrated... Of course TPU is a thermoplast, but maybe coolant temp doesn't get high enough to cause problems? 🤔
|
|
|
|
williegoat
|
NOV 07, 12:56 PM
|
|
| quote | Originally posted by Cliff Pennock:
I just ordered a roll of TPU filament. I was wondering if I would be able to print a thermostat sealing ring. I have the original (discontinued) Stant thermostat for the Fiero here, but its sealant ring has disintegrated... Of course TPU is a thermoplast, but maybe coolant temp doesn't get high enough to cause problems? 🤔 |
|
I wish I could help, but all of this is new to me. I am learning as I go along.
| quote | Originally posted by williegoat:
I am modding the case with Blender and I will post some pics once I am done. |
|
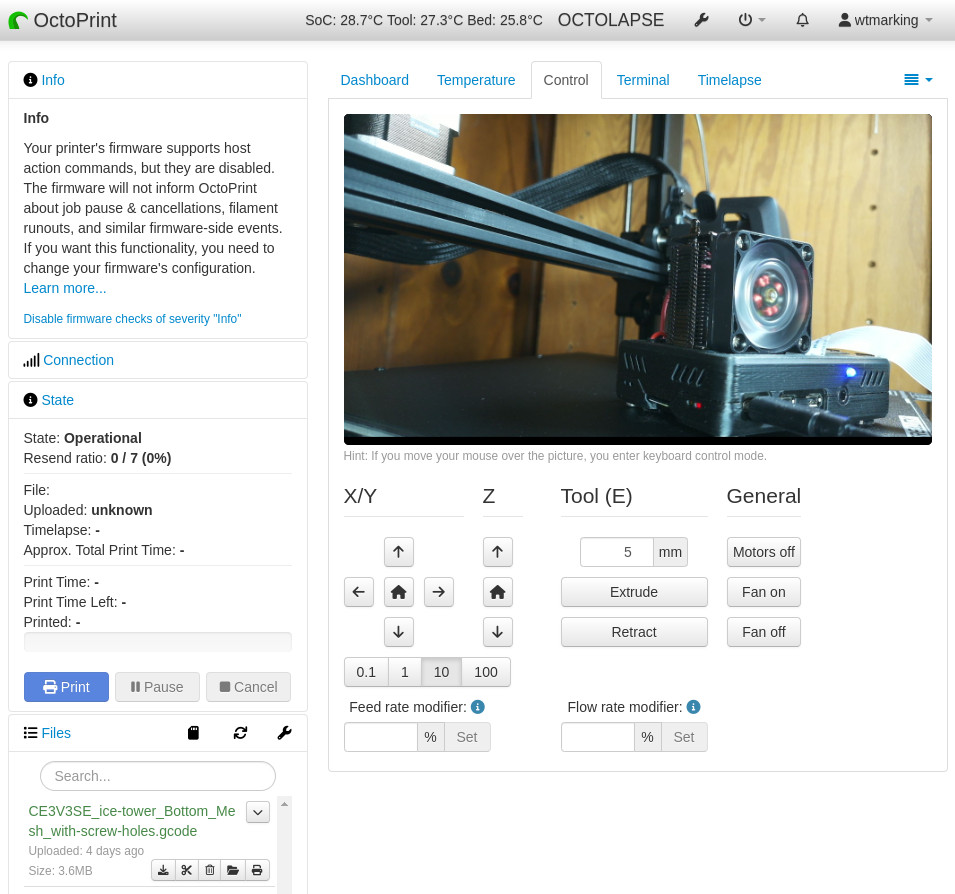
I have set up a new Pi 4 dedicated to my 3D printer and running OctoPi.
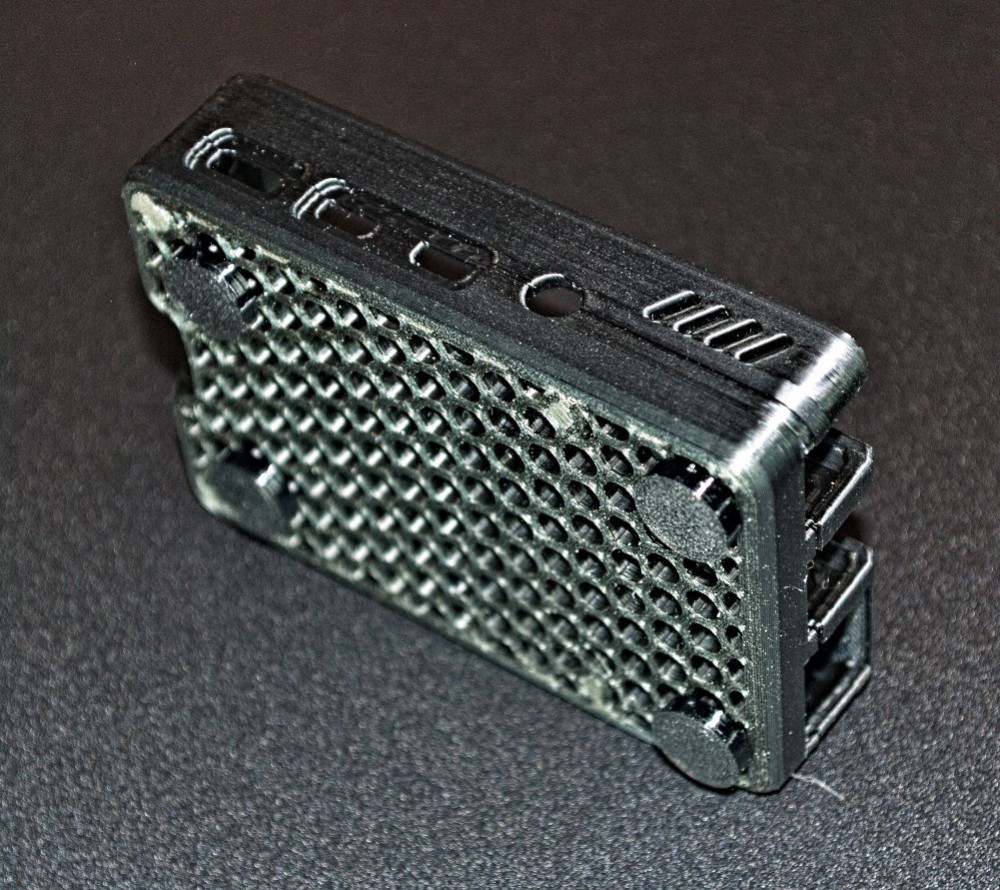
This is the case that I found on Thingiverse: https://www.thingiverse.com/thing:4084803
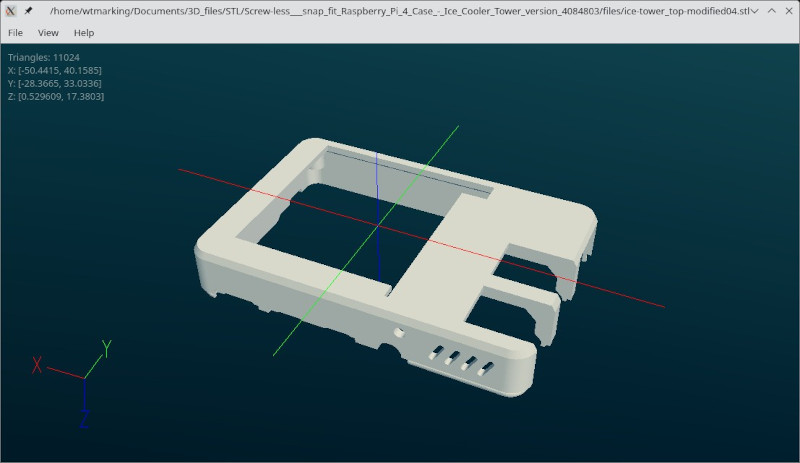
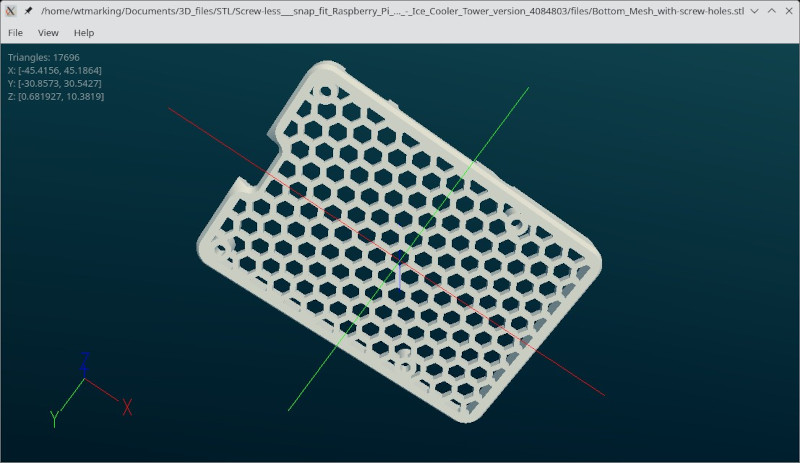
This is my project:
I made a few mods as described below:
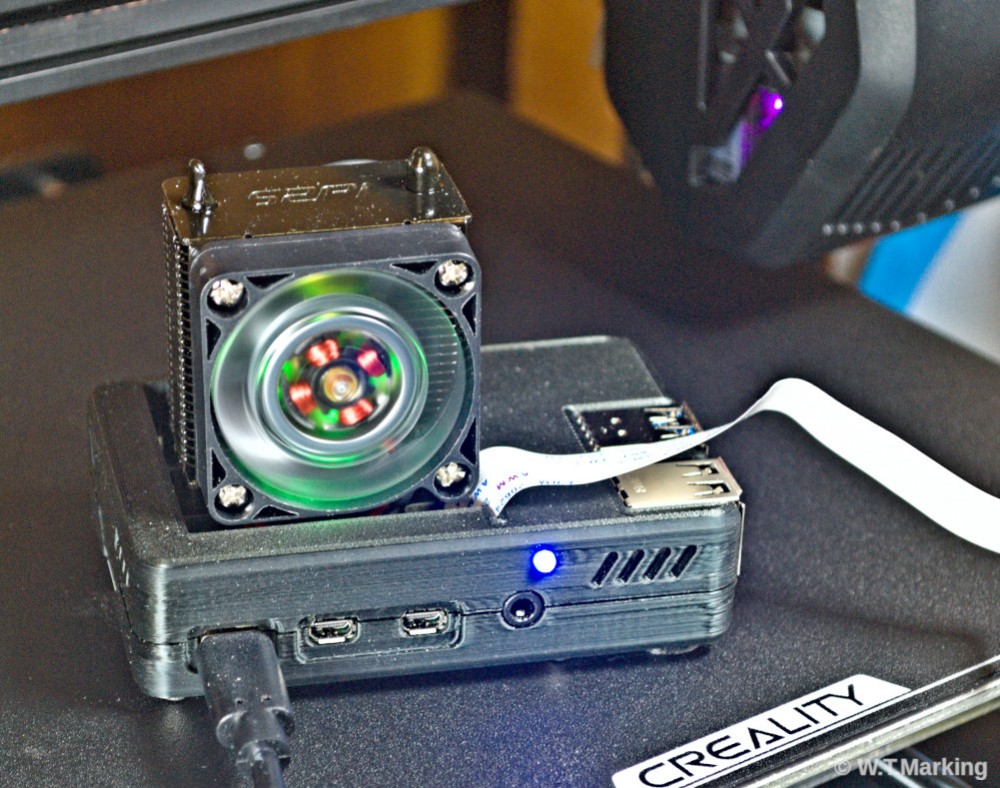
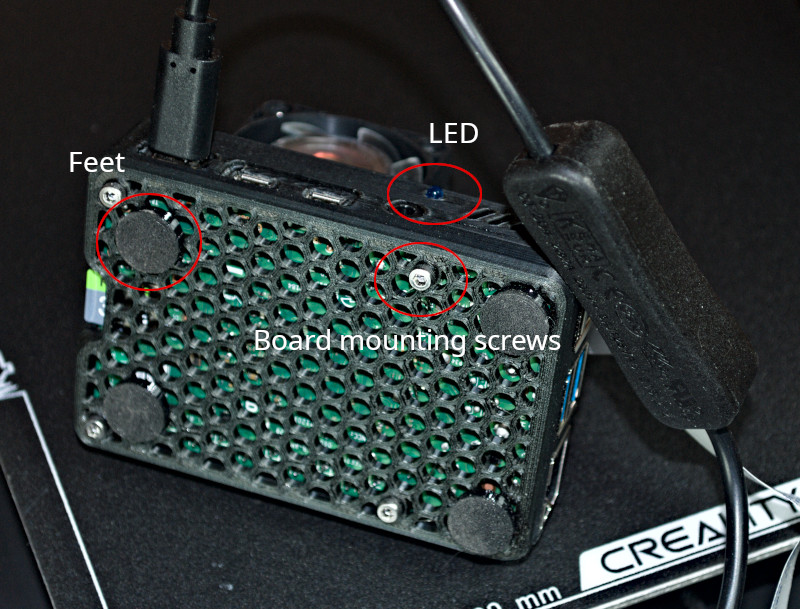
The back of the case exposed only the pins necessary to connect the fan, but I opened it up to expose all of the GPIO pins. I also added holes for a 3mm led indicator light and to secure the board with screws.
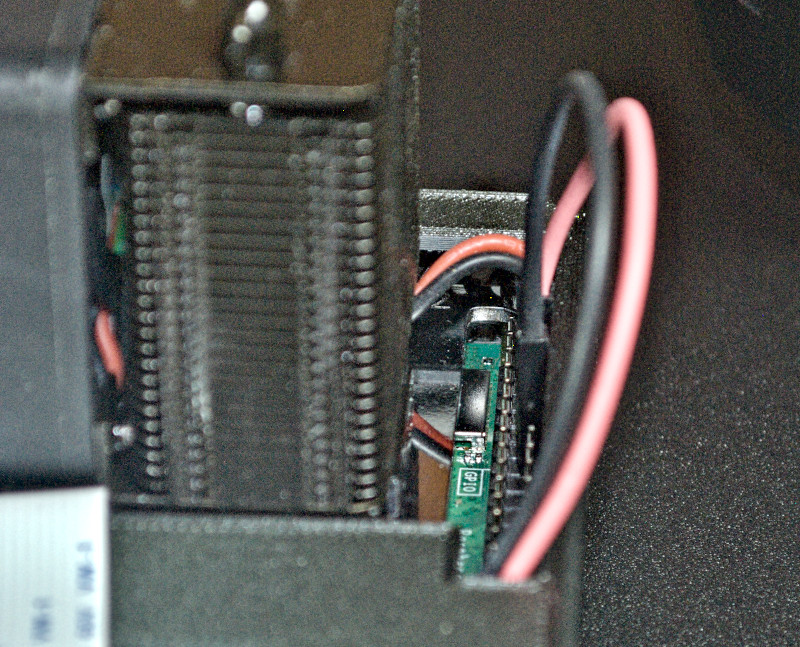
I have some button head screws on the way to replace the socket heads.
Here is the OctoPi looking at itself.
|
|
|
|
Wichita
|
NOV 12, 05:02 PM
|
|
|
New 3D printer out together and did the old boat test. Three prints so far for the new printer. All 3 failed. 😥
|
|
|
|
williegoat
|
NOV 12, 05:13 PM
|
|
| quote | Originally posted by Wichita:
New 3D printer out together and did the old boat test. Three prints so far for the new printer. All 3 failed. 😥 |
|
Post some picks and/or describe the failures. I know we can figure this out.
|
|
|
|
williegoat
|
NOV 13, 12:40 PM
|
|
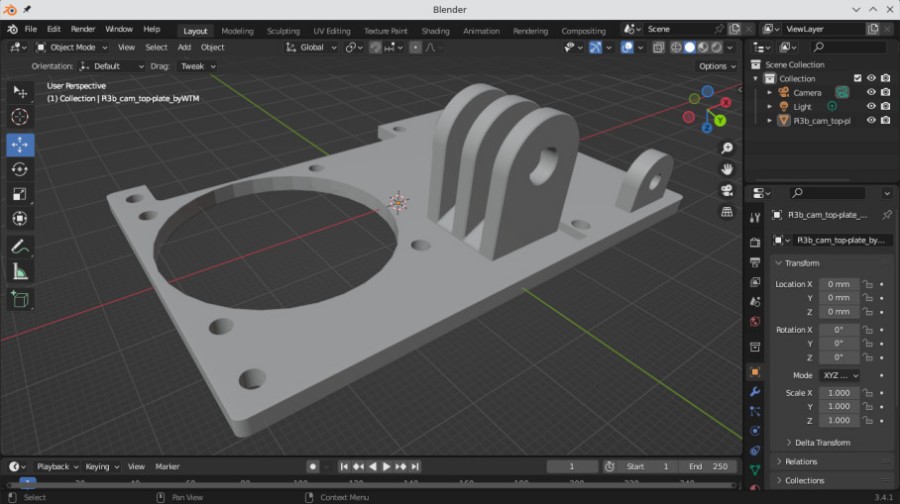
I am starting to get a handle on Blender.
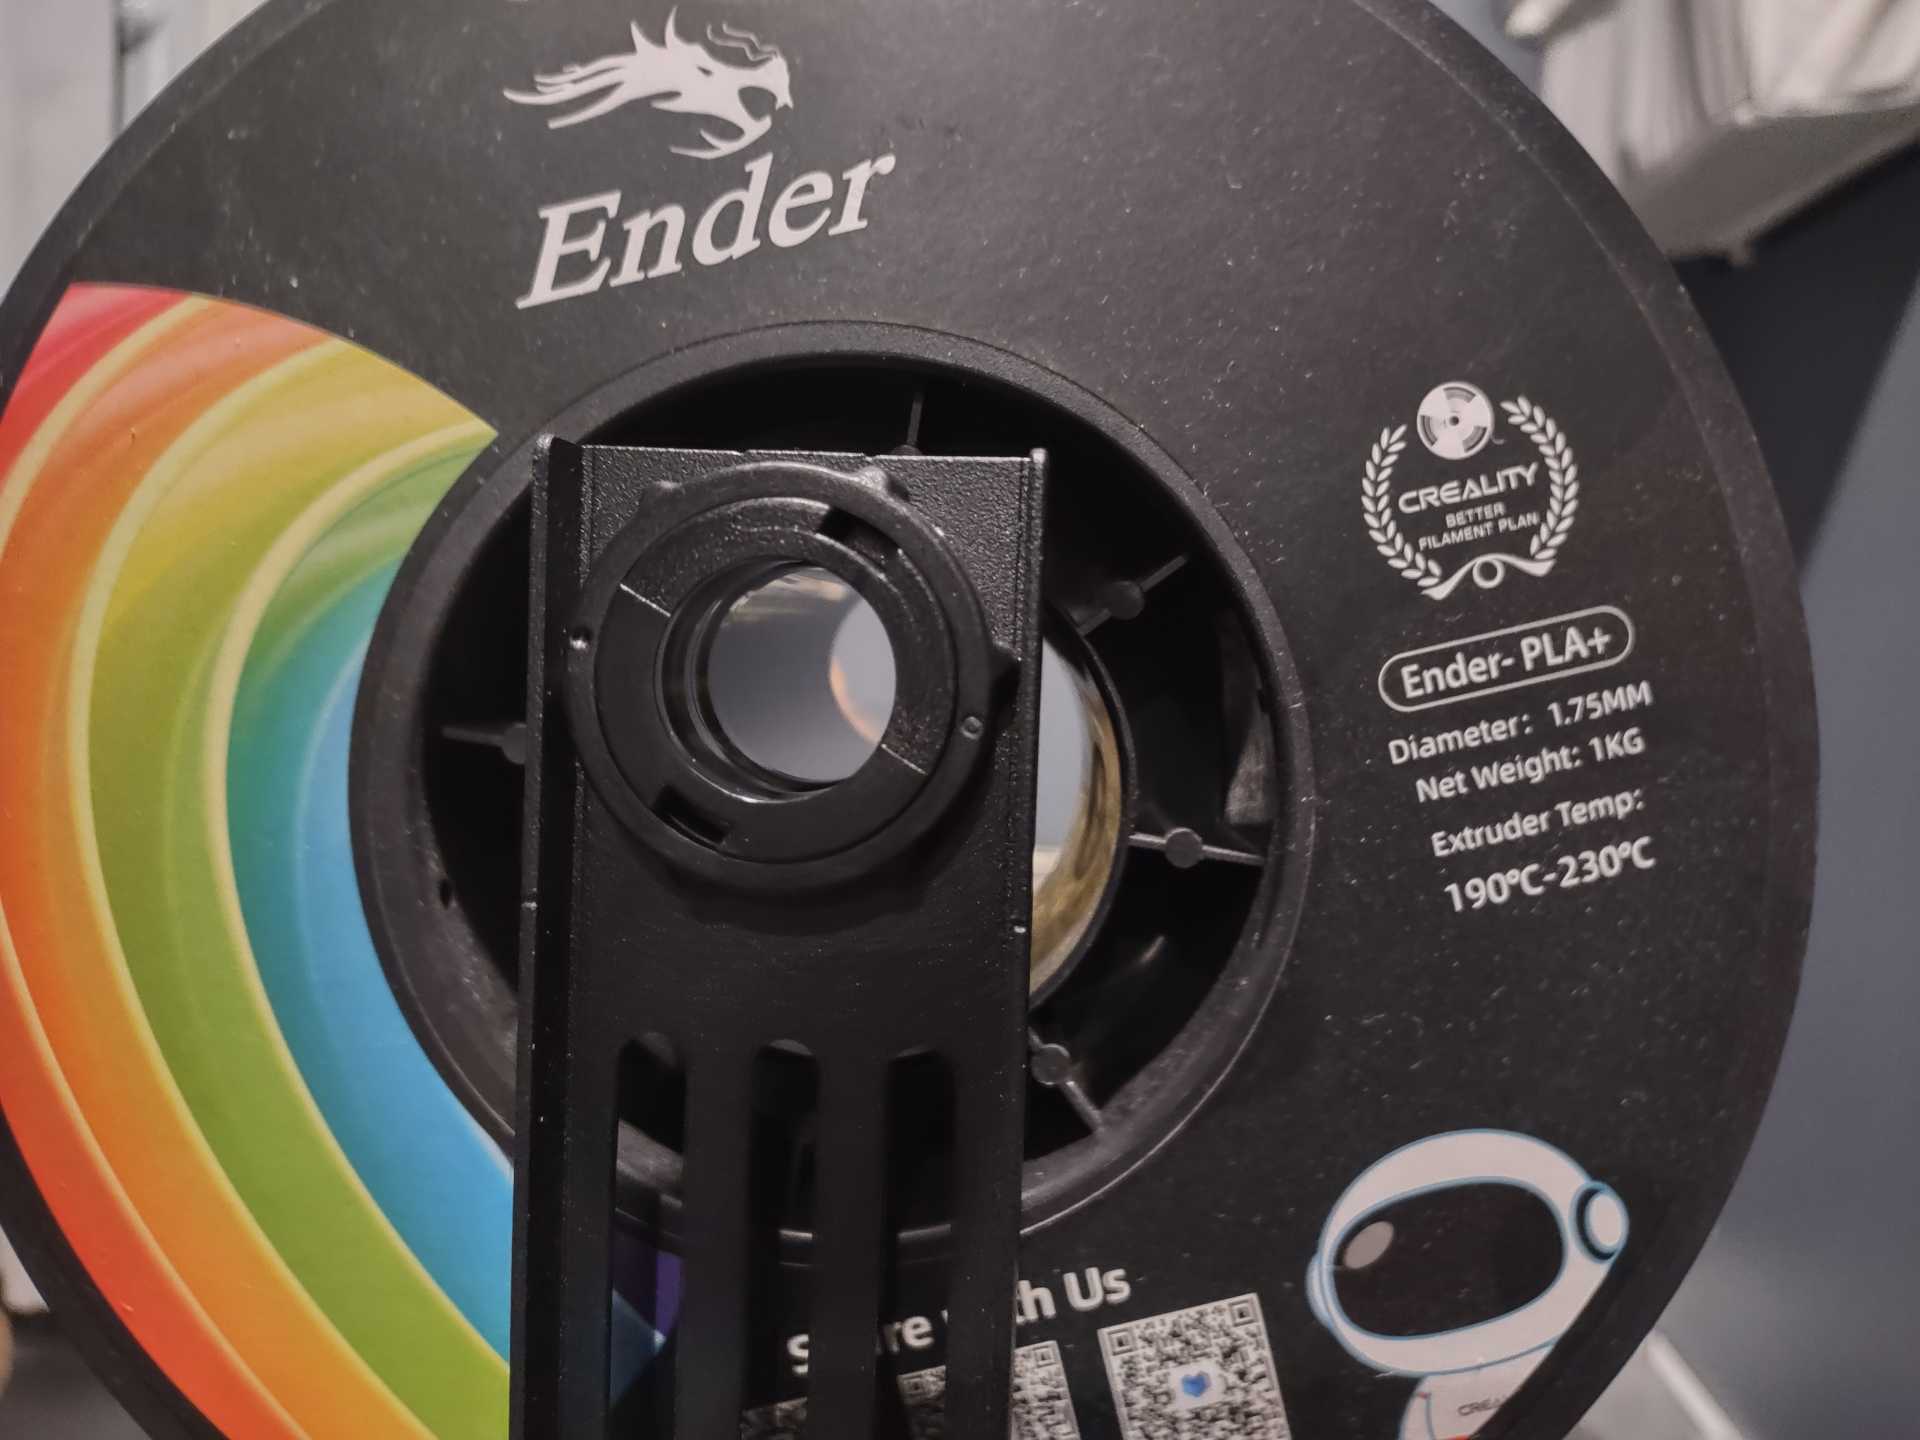
Yesterday morning I designed and printed a top plate for my Pi3b that mounts a Picam module. I found the cam case on Thingiverse.
All I have to do is give it power and set it down, and it will wirelessly stream live video to a browser on my LAN.
 [This message has been edited by williegoat (edited 11-13-2023).]
|
|
|
|
Wichita
|
NOV 19, 09:32 PM
|
|
I haven't had a successful print yet on the new 3D printer. Used glue stick, and it didn't do a damn thing. Still failed. It just won't stick to the bed.

 [This message has been edited by Wichita (edited 11-19-2023).]
|
|
|
|
TheDigitalAlchemist
|
NOV 19, 10:19 PM
|
|
I was playing with one of those at a local Microcenter the other day, it wasn't autoleveling properly.
Does it say how to initially set up the bed? The four screws on the corners, should you turn them so the bed goes 'all the way down'?
I'd level the table the printer is on, then level the bed using one of those circular levels (like 2 bucks on Amazon), then do an autolevel, then do a "bed test level" (Thingiverse)
|
|
|
|
Wichita
|
NOV 19, 10:35 PM
|
|
| quote | Originally posted by TheDigitalAlchemist:
I was playing with one of those at a local Microcenter the other day, it wasn't autoleveling properly.
Does it say how to initially set up the bed? The four screws on the corners, should you turn them so the bed goes 'all the way down'?
I'd level the table the printer is on, then level the bed using one of those circular levels (like 2 bucks on Amazon), then do an autolevel, then do a "bed test level" (Thingiverse) |
|
I'm willing to try anything. I'll get one if those circle levels. I auto level each time. I'll report back.
|
|
|
|
Cliff Pennock
|
NOV 20, 04:07 AM
|
|
A level bed doesn't necessarily mean the print height is correct. After auto leveling, I would do an Auto Home and check the distance between the nozzle and the bed with a piece of paper. You shouldn't be able to just slide a piece of paper under the nozzle. But if you push the bed down a little, then slide the paper under the nozzle and release the bed, you should be able to slide the paper with some resistance.
Also, I hate using glue sticks. It makes a mess, can clog your nozzle and it simply doesn't adhere good enough (due to it not drying and therefor acting like a lubricant instead). I use a "special" glue spray which really isn't more than hair spray (in fact, I'm pretty sure it's rebranded hair spray because it's even lightly perfumed). I never have problems with bed adhesion and it's easy to clean (and it smells good 😉).
Also, check if you can flip your bed. My bed has a special layer on one side, and is just glass on the other side. I use the glass side. My prints stick much better and get a nice shiny mirror-like surface at the bottom.
PS: Looking at your pictures, I'm pretty sure your first layer prints waaaayy too high.
PS2: If you insist on using a glue stick, lower your bed temperature. Perhaps even turn the bed heating off.
|
|
|
