'88 Fiero Build "War Hammer" (Page 9/24)
joshh44 FEB 08, 07:20 AM
you can do it!!!
i believe!
War Hammer FEB 08, 04:38 PM
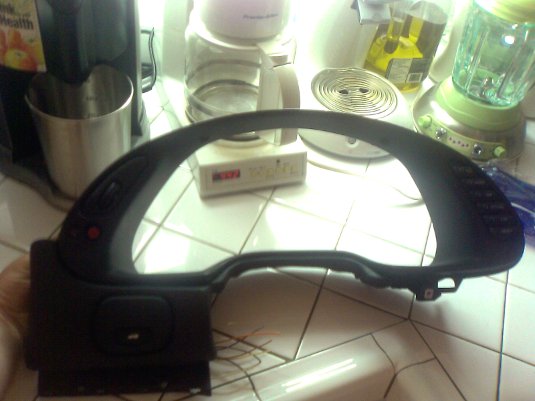
War Hammer is alive and kicking! Whadeduck and I put in a new alternator (upgraded to 140 amp from 105) and it breathed new life into the car. Misfires stopped and after a few minutes of blowing out carbon, it was purring like a kitten. Now to get on with it. I am going back to the fiero dash for a little while. The corvette dash conversion might be sold in the future. I will see if Fie ro might want to sell me one of his (d) .
War Hammer MAR 14, 09:33 PM
Going to work on the car tomorrow. I just got back after 3 weeks away.
fiero67 MAR 15, 07:49 AM
added to my favorites... i want more pics!

------------------


Project88GT build up thread

War Hammer MAR 30, 01:21 AM
Did a lot today for me. I made a plate for my switches. I also removed the restrictive screens on my deck lid vents.

The switch plate.


The grill mod.


The grill mod definitely lowered under hood temps.

The switch plate will be redone tomorrow but it gives you an idea what I'm going for. :P

Let me know what you think.

Paul

------------------
1988 Fiero
3800SC Series 1 w/5spd
Lowering Springs
18's w/Pirellis
Corvette Dash Mod

1985 GT
1986 Notchie
1987 Notchie

sjmaye APR 01, 06:53 AM
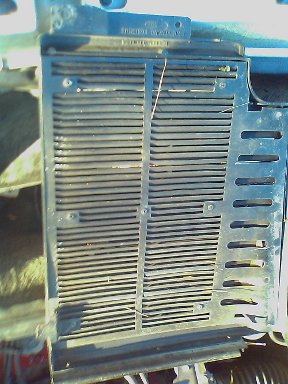
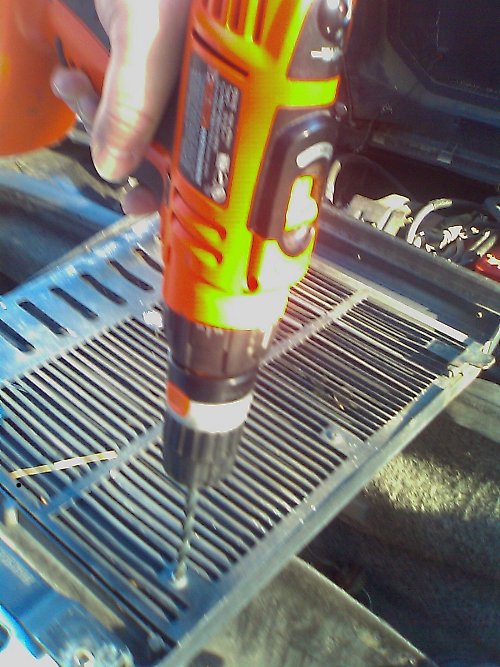
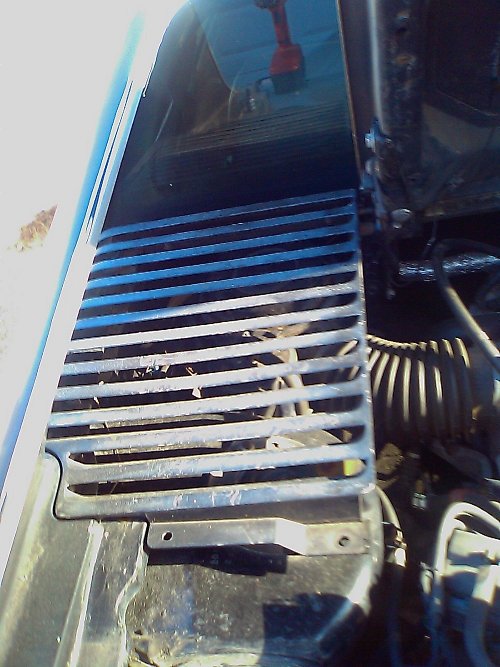
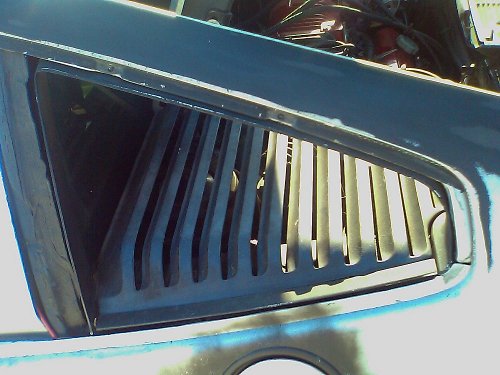
I did the same for my deck grills. I have noticed since that leaves and stuff freely get down through these to the engine compartment. Luckily I now keep the car in the garage all the time. I believe it does pull heat better than with the screens, but I think I will put them back on with fasteners that would allow me to remove the screens quickly next time. If nothing else just to clean them out.
War Hammer APR 01, 06:03 PM
I keep mine covered. Pine needles still get everywhere with the screens in.

------------------
1988 Fiero
3800SC Series 1 w/5spd
Lowering Springs
18's w/Pirellis
Corvette Dash Mod

1985 GT
1986 Notchie
1987 Notchie

War Hammer APR 06, 12:57 PM
Hello All,

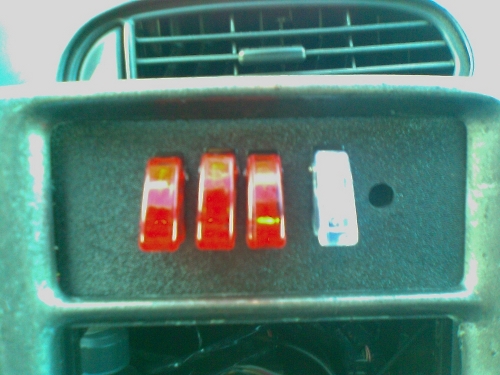
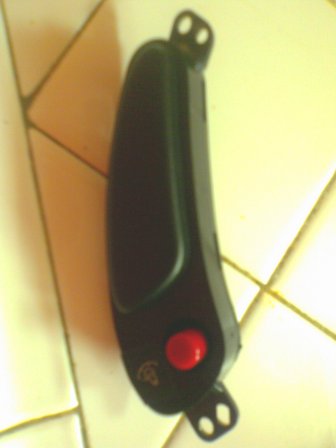
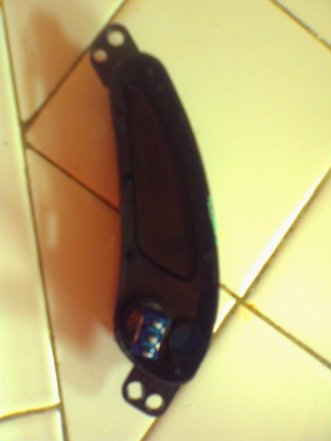
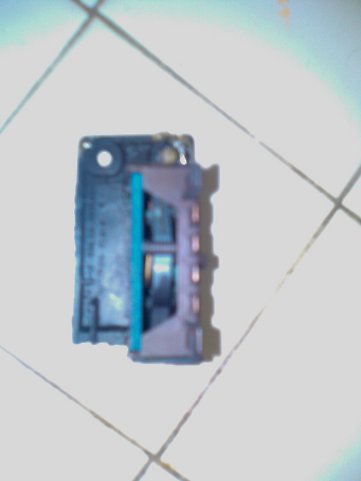
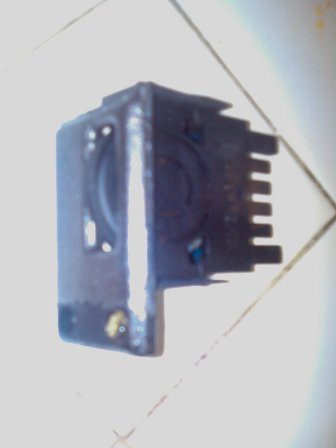
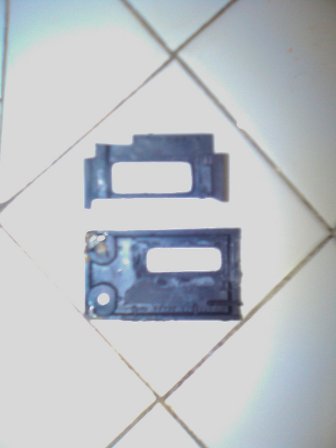
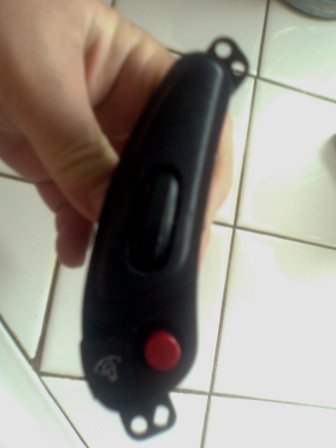
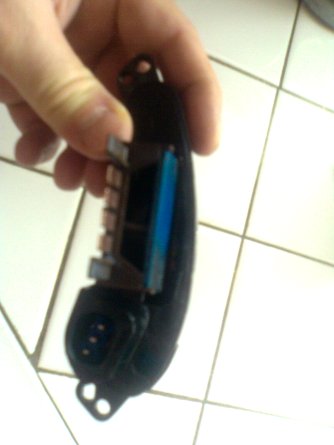
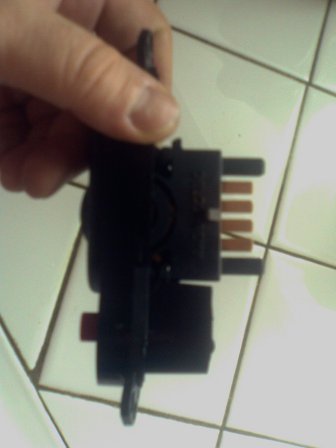
I was up most of the night looking for wiring diagrams for Corvettes and Fieros. Found most of what I need. What this thread for the next few days for a rewire of the Corvette switches.

Paul

------------------
1988 Fiero
3800SC Series 1 w/5spd
Lowering Springs
18's w/Pirellis
Corvette Dash Mod

1985 GT
1986 Notchie
1987 Notchie

War Hammer APR 07, 05:08 AM
OK. I just decided to jump right in and tackle the dimmer switch as this will be one of the most time consuming part of the wiring. At first I thought I would try to make the Corvette dimmer work, but after many hours of study and a case of insomnia I decided to install the Fiero dimmer in the Corvette dimmer housing and try to make it look as stock as possible. The stock looking part is not that easy.

The Corvette switch is a rheostat type. That is to say that you turn a knob to increase or decrease panel illumination intensity. After opening the switch I quickly realized that there is no way the puny wiring of this switch could handle the demands of the Fiero wiring so I removed the Corvette switch and discarded it. I realized the Fiero dimmer would fit quite nicely in the unused heads up display (HUD) portion of the housing.

I then had this hole and thought why not go to Radio Shack to fill it so I bought a small push on push off switch that fit the hole left by the Corvette dimmer. This switch will be used later (guess what for). I originally thought that the knob for the Corvette dimmer would fit over the red knob that came with the switch so I tried to drill it out - bad idea. As I was drilling it out I discovered the inside of the knob had a metal liner that is much stronger than the rest of the knob. Needless to say the knob disentigrated as I tried to drill it out.

Next to the new switch is where a tiny LED was placed by GM. I have no idea why except to guide you to the dimmer switch. I will later mount a new LED to inform me when the switch is armed (guess what is in the future yet?).

Following this I studied the Fiero dimmer - holding it repeatedly up to the housing to decide on proper placement. The switch housing was studied and I realized that the inner clamping device can be removed and used to hold the dimmer in place so the dimmer could be easily removed in the future. So I separated the clamp from the original housing with a flathead screwdriver. A caution here, do this slowly and carefully or you will break the clamp.

After this I held the Fiero dimmer face plate up to the Corvette housing to select the proper position to mount the dimmer. I used a stabilo pencil to trace the inside of the Fiero opening on the unused HUD portion of the Corvette dimmer housing. A stabilo pencil is available in many colors and is water soluble so you can wipe the marks off easily as you try different placement posotions.

Now the fun part starts. Out came the trusty dremel tool with cutoff wheel. BE VERY CAREFULL FROM NOW ON AS CORVETTE DIMMER HOUSINGS ARE EXPENSIVE. I slowly cut out the opening for the Fiero dimmer. When you select the location to mount the dimmer please remember it is larger than the hole required. The rough opening now made (don't try to finish the opening with the cutoff wheel) switch over to a 60 grit sanding spool and begin shaping. Make your hole a little larger than the dimmer wheel. This allows for fine tuning of the dimmer placement later.

Since I removed the rear cover of the Corvette housing to install the push button switch I repeatly checked the openin for wheel clearance. Now I installed the clamp on the Fiero dimmer and began trimming the clamp to fit in the housing. I trimmed the clamp a lot and the inside of the housing to allow the LARGE Fiero dimmer to be installed. What I found was that with the clamp on th edimmer wheel did not go through the front of the housing enough to appear stock or allo easy operation. So, even though I am not a fan of doing things this way. I removed the clamp from the equation and decided to bond the dimmer directly to the housing. First I tried this with a super glue type chemical and after it failed I switched to Liquid Nails. It seems to hold OK now.

Now you can stop here if you are the type of person who says if I can't see it it isn't there, but if you are like me (anal retentive - Whadeduck thinks I should go into quality control) and pay attention to delail you will want to reinstall the rear cover of the housing. To accomplish this I took out my drill and a 3/8" bit and drilled out the area behind the push button switch. After drilling I cleaned it up with the sanding spool and 60 grit paper on my dremel. Next I switched to the cut off wheel on the dremel and cut out the rough shape of the dimmer and cut off the Corvette wire connector housing. Now that I was satisfied with the initial cut. The hole was shaped, deburred ,and cleaned up. I removed most of the material from the rear of the housing. If you do this make sure you leave enough material to allow it to lock closed.

This is basically it. The dimmer should be done. I will test it tomorrow.

Just remember life is too short to get upset.
.
.


The unmodified Corvette dimmer / HUD housing. (Make sure you get one WITHOUT HUD controls.)
.
.


The weak excuse of Corvette dimmer.
.
.


The red switch after I placed it in the hole left by the pathetic Corvette dimmer.
.
.


The view of the red swich from the back.
.
.


The nasty repainted Fiero dimmer that Pacethis had installed in the dash.
.
.


Side view of the Fiero dimmer.
.
.


The clamp after it was removed from the back of the Fiero face plate.
.
.


The front of the finshed switch. Isn't it pretty?
.
.


The rear of the finished switch. Please note how much material was removed from the back.
.
.


I took this opportunity to clean the contacts with Flitz (a previous owner had painted over 1 side of them )
.
.


The other side of the finished switch.
.
.


Close up view of the finished dimmer housing in the gauge pod.
.
.


The finished dimmer housing in the gauge pod (wide view).


I will be changing the red button to a black one soon for a more stock appearance.

Let me know what you think.


Paul

edit for typos.
------------------
1988 Fiero
3800SC Series 1 w/5spd
Lowering Springs
18's w/Pirellis
Corvette Dash Mod

1985 GT
1986 Notchie
1987 Notchie

[This message has been edited by War Hammer (edited 04-07-2009).]

sjmaye APR 08, 05:51 AM
Nice work Paul. Keep us posted on your progress. I love your dash build.