
 
     |
| Aurora 4.0l / Izuzu 5 speed swap into 88 coupe (Page 72/102) |

|
cptsnoopy
|
MAY 22, 07:42 PM
|
|
Thanks Bob!
Hi Rob,
I am not sure that Paul recommends leaving as much of the substructure or "lower skin" as I call it in place. The one other build thread that I looked at here shows that Scott cut away all the lower support except for a little at the front edge. I decided to keep the lower structure intact to retain as much strength as possible and also because this new version of the vent lets you do that. Also, it already matches the weather seal (if you don't accidentally cut that piece out) and should help keep the spare tire bay free of debris and moisture. What I did not think of was the possibility of using wood screws instead of machine screws. By using wood screws you might be able to have them "self" tap through a pilot hole in the bonding strips and allow for not using glued on nuts. The down side to that is you would not have the option of large fender washers on the bottom side to spread the clamping load. Another thing that you are confused about (because you cannot see it in the pictures) is that there is a layer of adhesive between the top and bottom skin that is ~ 1/16" to 3/32" thick most of the way around. If you were to lay in the vent on the lower skin it would sit about that much too low relative to the top skin. I sanded my bonding strips to the correct thickness to act as a spacer for the adhesive. Also you need the bonding strips to hold the vent skin and hood skin in alignment all along the perimeter of the vent. Once you have it in hand you will see what I mean. So far I like how this v2 vent looks over the v1 vent but I am biased of course. I highly recommend it. I believe you would have to relocate your coolant overflow bottle but on my car the bottle has been eliminated in favor of a coolant expansion tank in the rear engine compartment. I run a 21lb radiator cap in the front on the radiator and a 16lb cap in the rear on the expansion tank. I am not sure what you would do with a stock setup. I suspect you may be able to just lower it as necessary.
Charlie
 [This message has been edited by cptsnoopy (edited 05-22-2011).]
|
|
|
|
qwikgta
|
MAY 24, 04:19 PM
|
|
Charlie,
Thanks for the info. I think I get it now. I was unaware of the bonding strips, and I get that you need them because of the diff in the thickness of the upper and the scoop. That makes sense. Do you just place them in between the two skins? Do you have to force them in, or do they just fit in between them? Is it the screws that hold them in place too, or do they just sit there until the scoop is bonded, and then they cant move. Sorry for the dumb questions, I just have not seen this in person, and I know it makes so much more sence to you because you have done it already. I'll be in the same boat someday explaining it to someone else.
Can I ask one more thing. Can you get a pic of it from the front looking at the car from the drivers front quarter, I want to see how much the front edge of the scoop rises up. I love the look but I want to be sure the scoop looks wide enough, I have seen some "home jobs" that are too narrow and it just does nto look right onthe hood.
Thanks again and I can't wait to see it all done.
Rob[This message has been edited by qwikgta (edited 05-24-2011).]
|
|
|
|
cptsnoopy
|
MAY 25, 03:26 AM
|
|
Hi Rob,
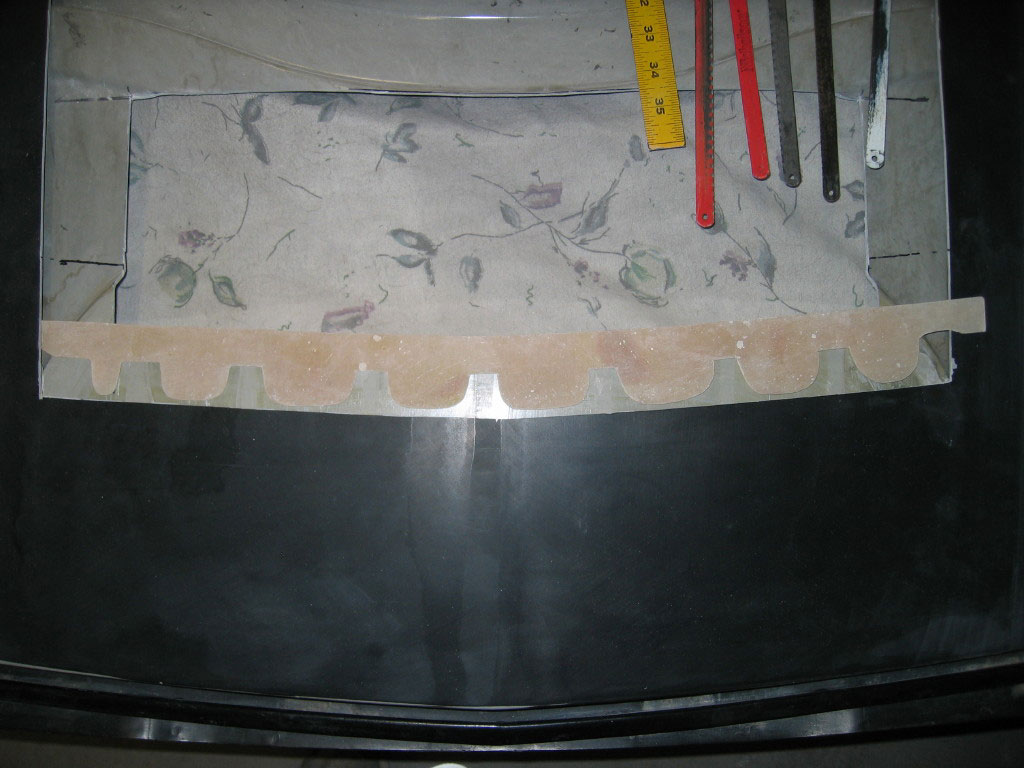
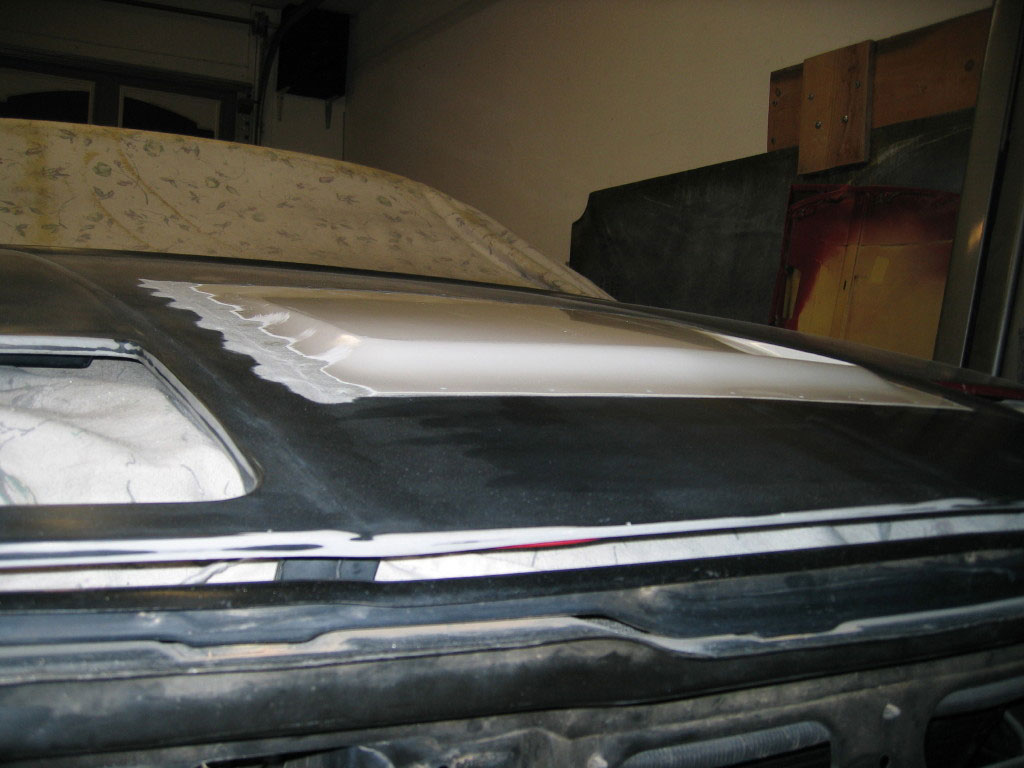
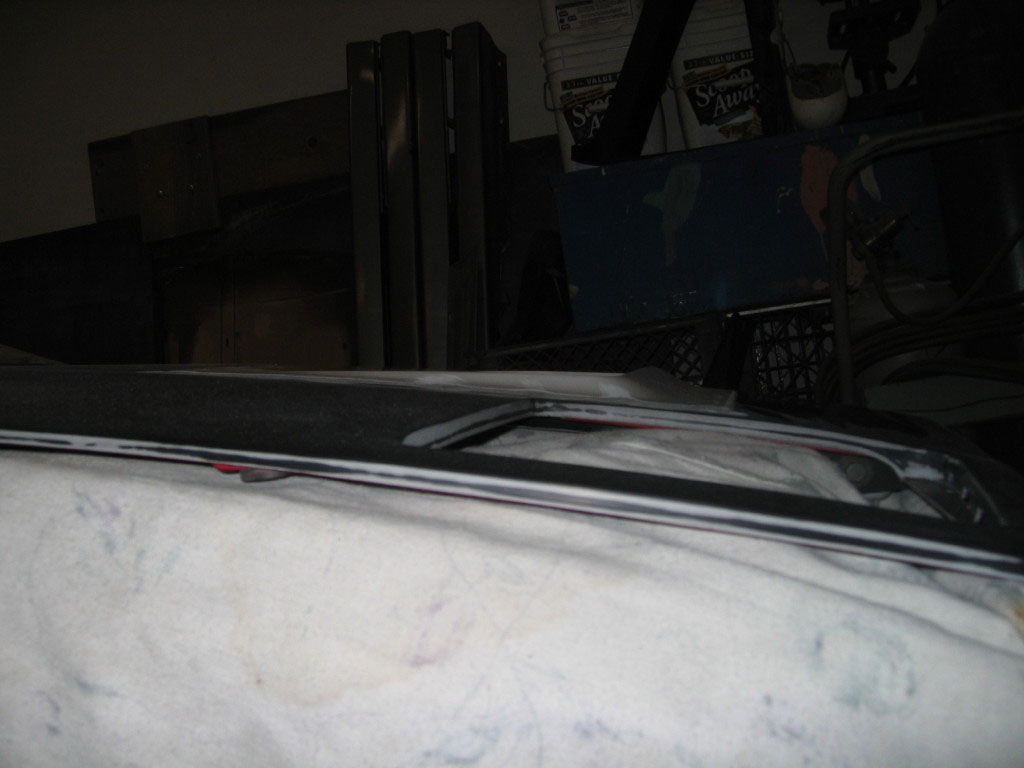
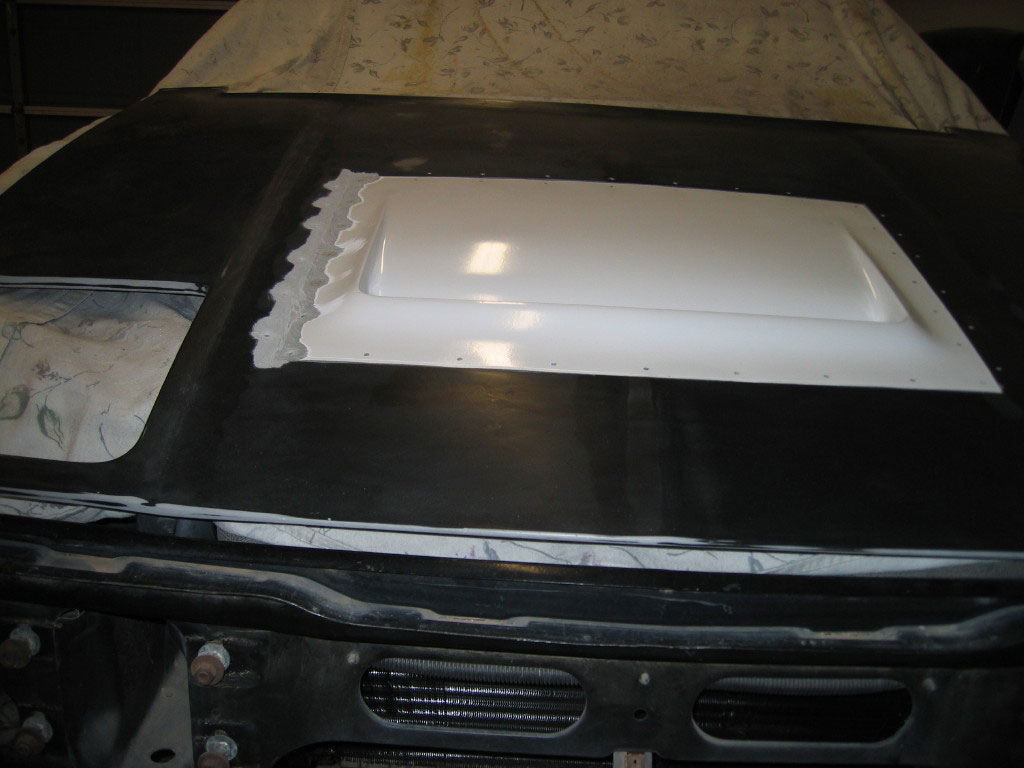
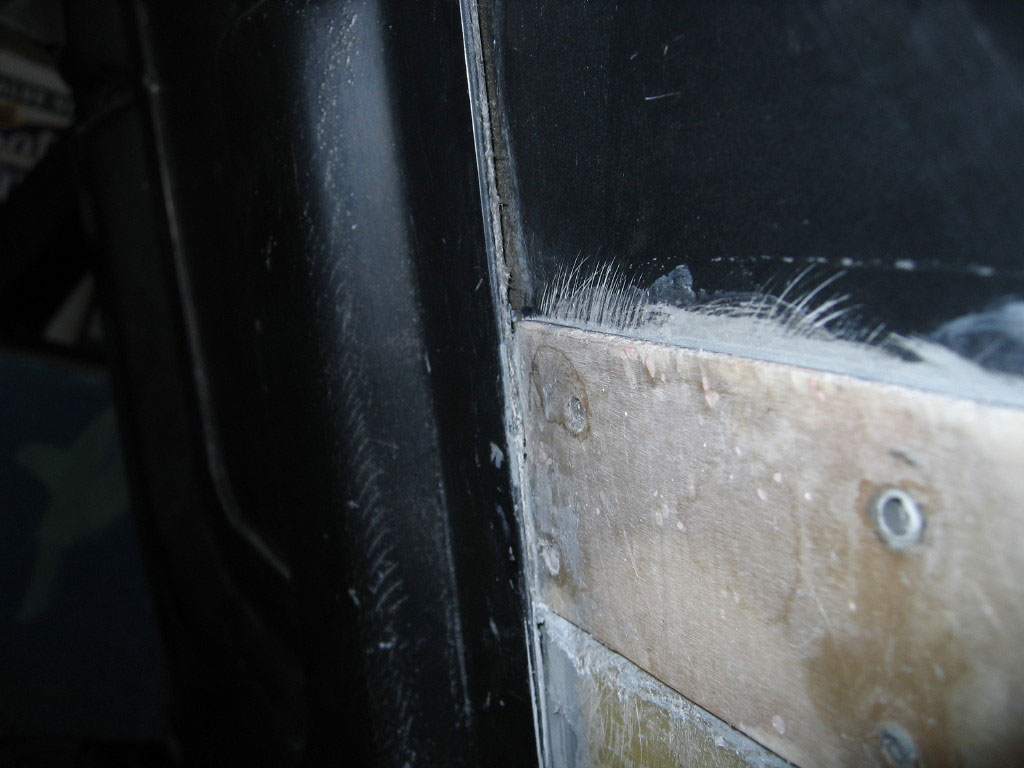
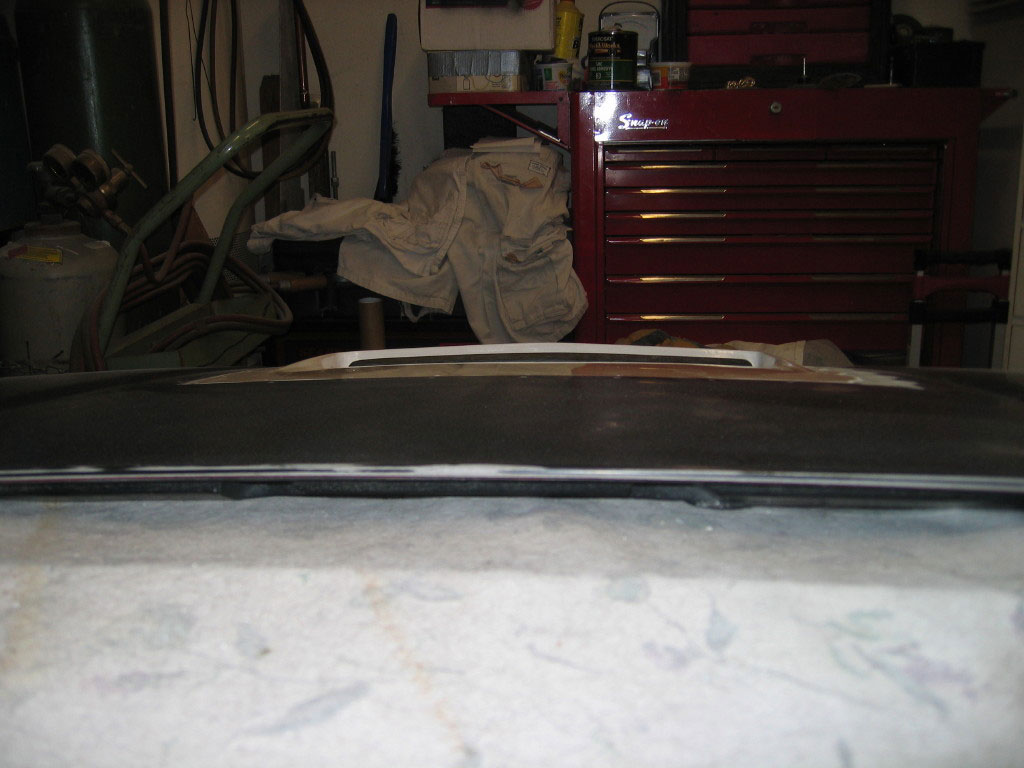
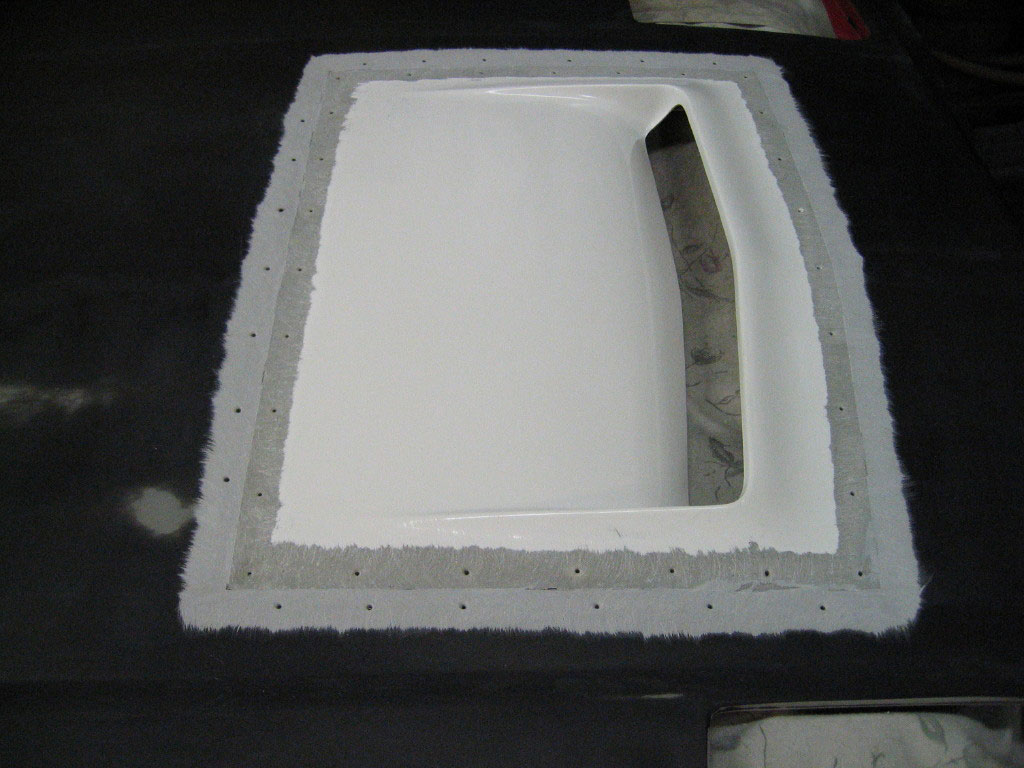
The thickness of the hood vent is roughly the same as the upper skin of the hood. There is a gap between the bottom of the upper skin and the top of the lower skin (or sub structure). The gap is about 1/16" to 3/32" thick and has factory bonding cement holding the top and bottom of the hood together. The cement is not spread across both surfaces 100% but it was squeezed out of a nozzle in a semi random pattern. If you look at the picture below you can see that the cement was run front to rear in the area I am placing the bonding strip. I did not want to try and dig out the cement to put in the bonding strip so I just notched the bonding strip to fit around the areas of cement. I did put the bonding strips between the top and bottom skin where the bottom skin was along the edge of the cutout. However along the sides and rear of the cutout there is mostly just top skin and not much substructure up tight near the top skin. In those areas the bonding strips are very important to keep the edge of the hood vent and the upper hood skin aligned properly. I used screws with nuts to clamp the bonding strips to both the hood and the scoop. I took my time and bonded one strip at a time. The most time consuming was gluing nuts to the underside of the bonding strips for the screws that needed to be installed after I could not get to the bottom of the hood vent. (those nuts that had no access after the vent was in place) I received a message back from Paul that he normally just uses wood type screws that do not need a nut. All screws are removed after the hood vent is bonded in place and allowed to cure fully. I am now in the process of grinding away the hood and vent skin along the seam so I can fill it and start sanding. I cannot get a picture from the driver's side as there is no room in the garage for that right now. I will take some pics from the passenger side and hopefully it will help you see what you are looking for.
The belt sander is not being used on the car...  
Charlie
|
|
|
|
qwikgta
|
MAY 25, 11:16 AM
|
|
Yep, thats what I needed. I just contacted Paul and started the process of getting one. Thanks again for the time, can't wait to see it all done.
Rob
|
|
|
|
Tha Driver
|
JUN 07, 12:47 AM
|
|
| quote | Originally posted by qwikgta:
Charlie,
Thanks for the info. I think I get it now. I was unaware of the bonding strips, and I get that you need them because of the diff in the thickness of the upper and the scoop. That makes sense. Do you just place them in between the two skins? Do you have to force them in, or do they just fit in between them? Is it the screws that hold them in place too, or do they just sit there until the scoop is bonded, and then they cant move. Sorry for the dumb questions, I just have not seen this in person, and I know it makes so much more sence to you because you have done it already. I'll be in the same boat someday explaining it to someone else.
Rob
|
|
Hi all,
I was just made aware of my hood scoop added as progress in this thread. Looks good Charlie.
What I use is sheetrock screws or sometimes sheetmetal screws (when I need shorter ones). I drill 1/8" holes in the top skin & scoop, & let the sheetrock screws make their own threads in the bonding strips - and yes you want bonding strips all the way around the scoop. As Charlie mentioned, there is usually a space between the original inner & skin pieces that allow you to slide the bonding strips between them. I use a cutoff wheel on a die grinder to rough up the areas (& cut out some of the original bonding glue if needed) I can't get to to grind with the 24 grit.
And yes I recommend cutting ONLY the area needed to drop the scoop in. With the original scoop, that was a pretty large area. With this one, just the small area in front of the "trunk" seal area.
~ Paul
aka "Tha Driver"
Custom Fiberglass Parts
|
|
|
|
88GTS
|
JUN 07, 07:53 PM
|
|
Hey Charlie or Paul,
Just to make this write-up of the hood vent install complete, can you please list the glue and filler that you should use for this job.
Thanks, André
|
|
|
|
Tha Driver
|
JUN 07, 10:37 PM
|
|
|
|
|
cptsnoopy
|
JUN 17, 01:16 AM
|
|
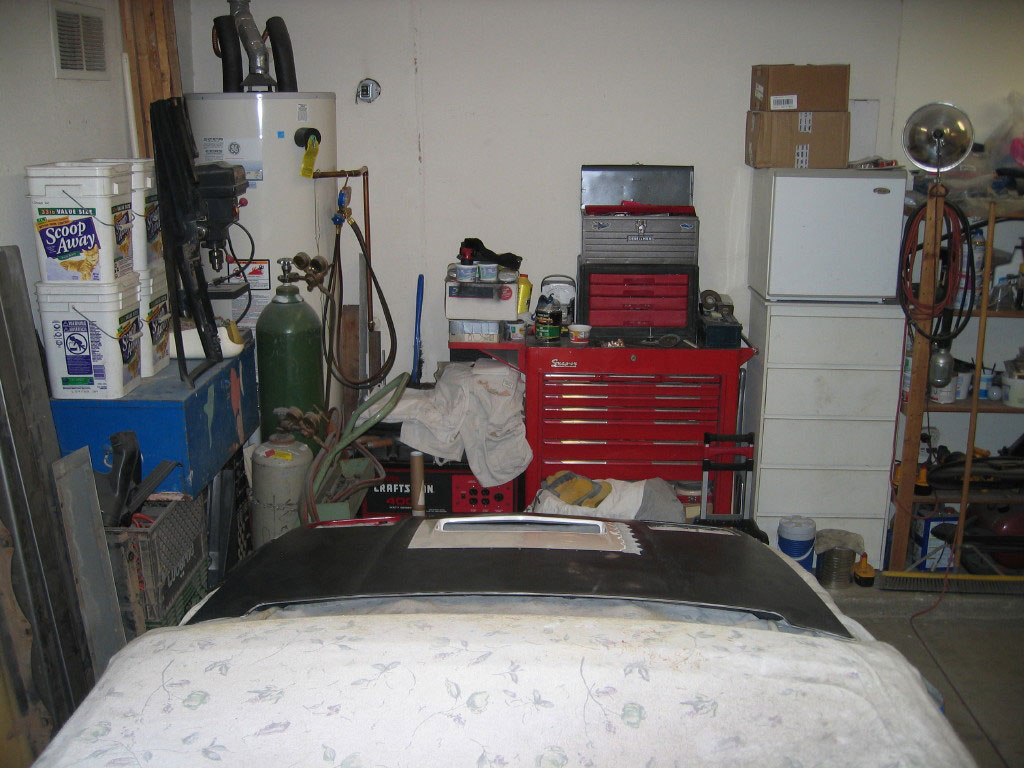
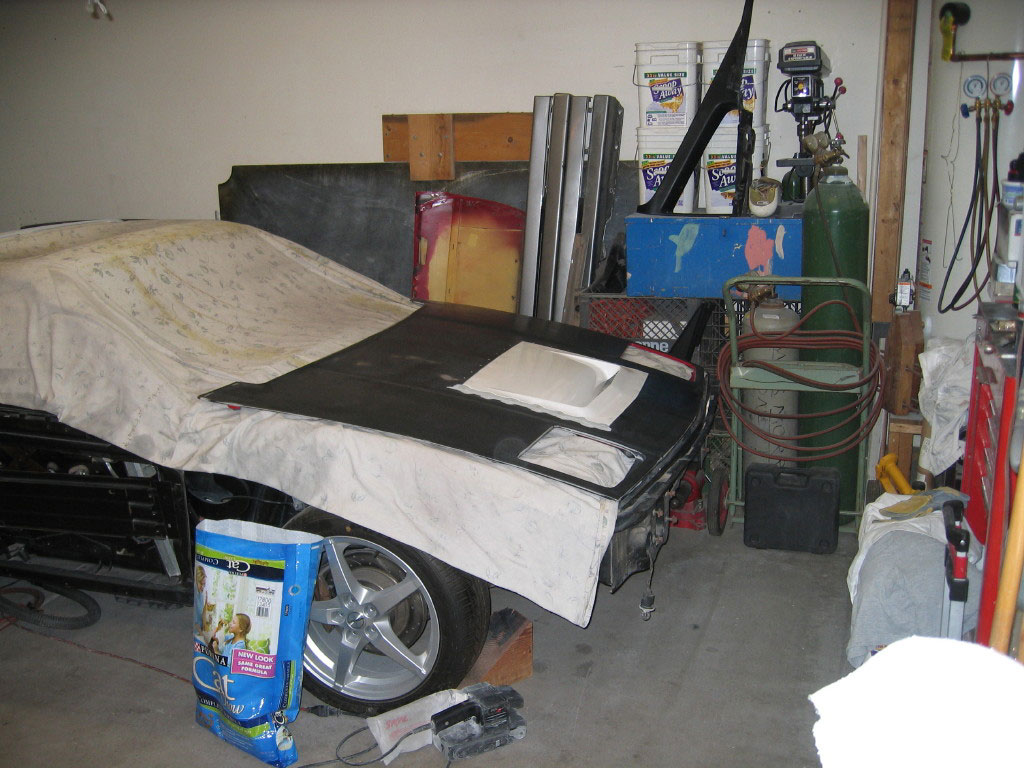
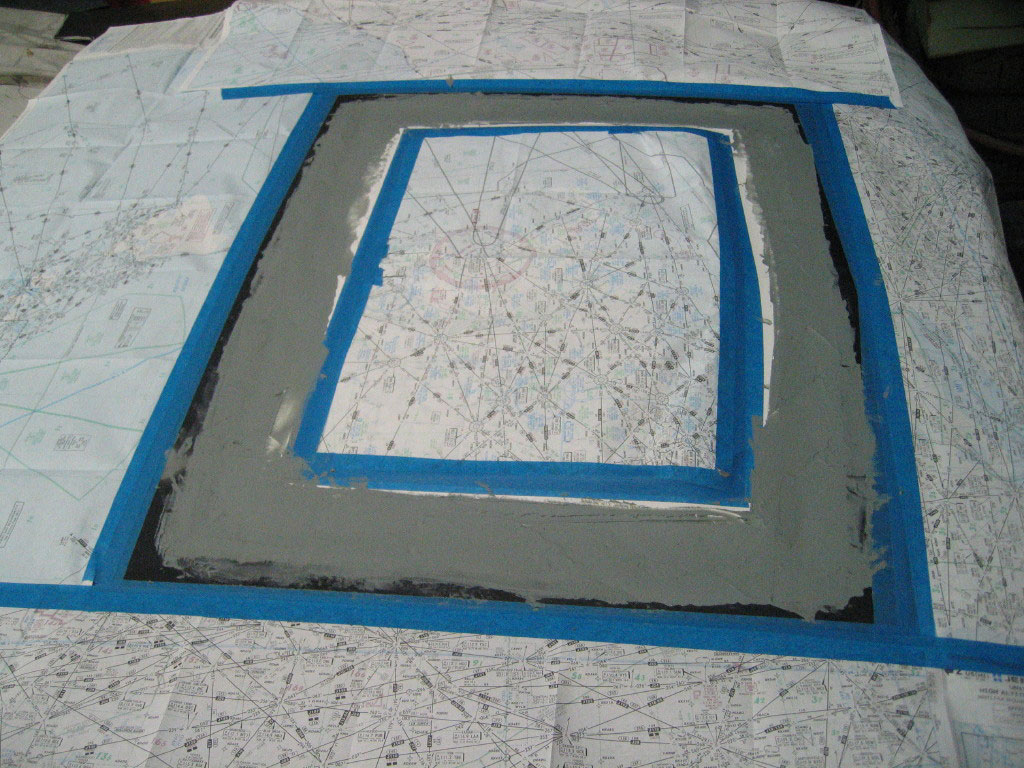
Got a lot of other things tugging at me right now but I was able to get out to the garage tonight and do some more sanding. I think it is ready to start applying the SMC panel adhesive/filler. I will be doing it in several layers to see if I can catch any bubbles before they become a problem...
Charlie
|
|
|
|
cptsnoopy
|
JUN 17, 02:07 AM
|
|
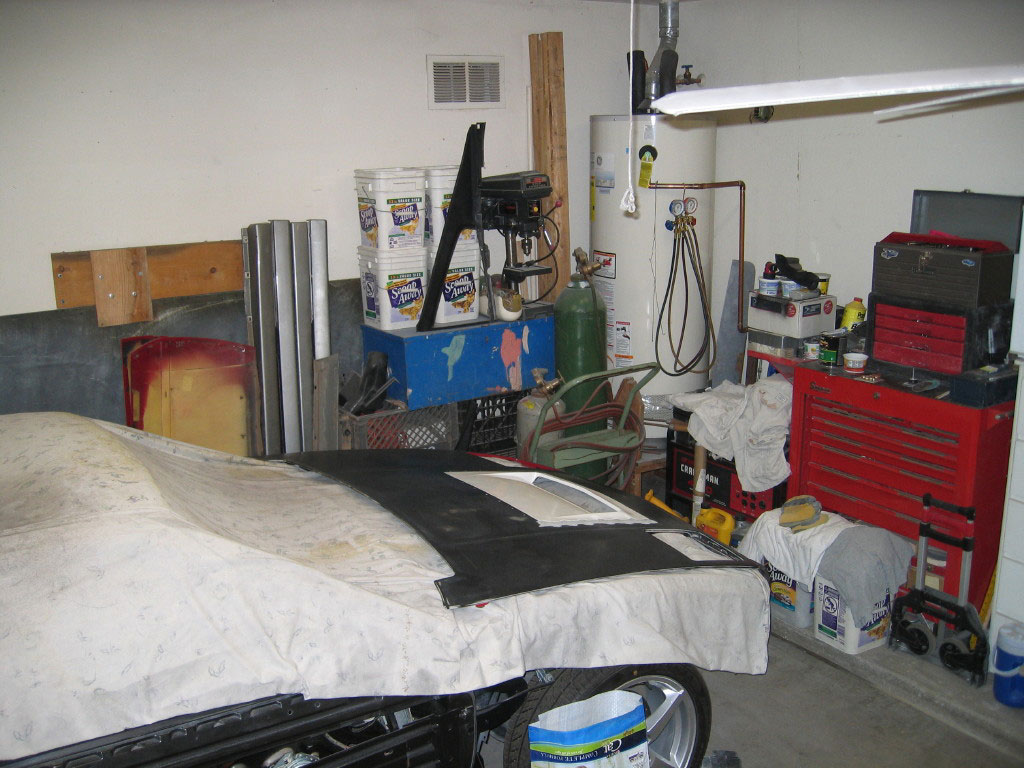
A little while later...
|
|
|
|
qwikgta
|
JUN 18, 10:48 PM
|
|
sent payment off last week, should have mine next week. Can't wait to start. Have the hood already prep'd in the garage.
Rob
|
|
|
|