|
| Ferrari 288GTO build (Page 27/64) |

|
dobie1
|
SEP 22, 08:39 PM
|
|
Hey Shem
Thanks for stopping by and for taking the time to leave your feedback!!
Wayne
|
|
|
|
dobie1
|
SEP 22, 08:57 PM
|
|
The weather she is a changing, having to move indoors due to the rain we have been getting lately. It is Slowing down the curing time on the layups.
Don O stopped by today and I had him give me some feedback on doing the molds for the car as well as a second opinion on the dash finishing.
From Don’s visit today more changes coming to the build ,some changes to the centre console. Due to the fact that RiceBurner is no longer building the HVAC controller for the 355 interior it kinda left me in a bit of a quandary. So I'm now moving to a electronic LED screen to control all the HVAC and switches. More to come as I build it out.
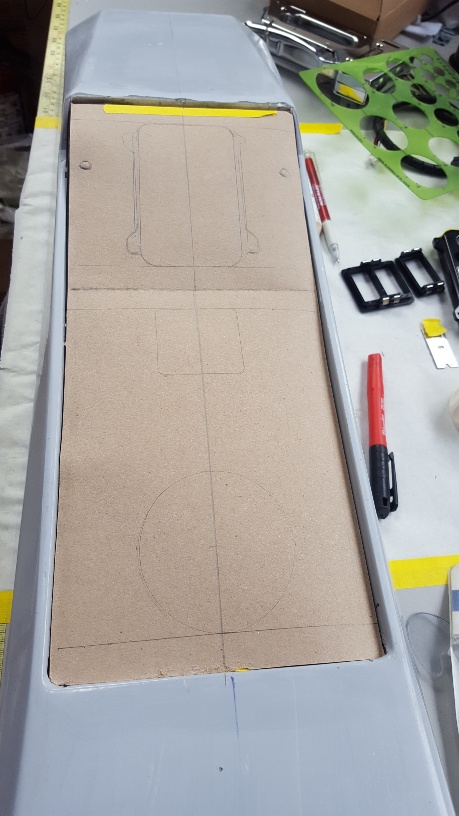
For this update I produced the first Carbon Fibre Cap for the dash still needs lots of work but proof of concept is complete. I also did a test fit for the stereo plate and location of the future LED screen is built but needs finishing as well.
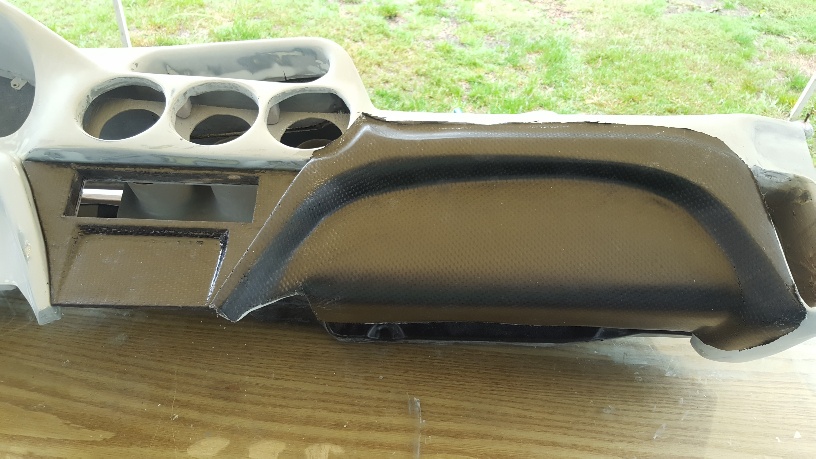
enjoy
Wayne[This message has been edited by dobie1 (edited 09-23-2019).]
|
|
|
|
dobie1
|
SEP 23, 09:04 PM
|
|
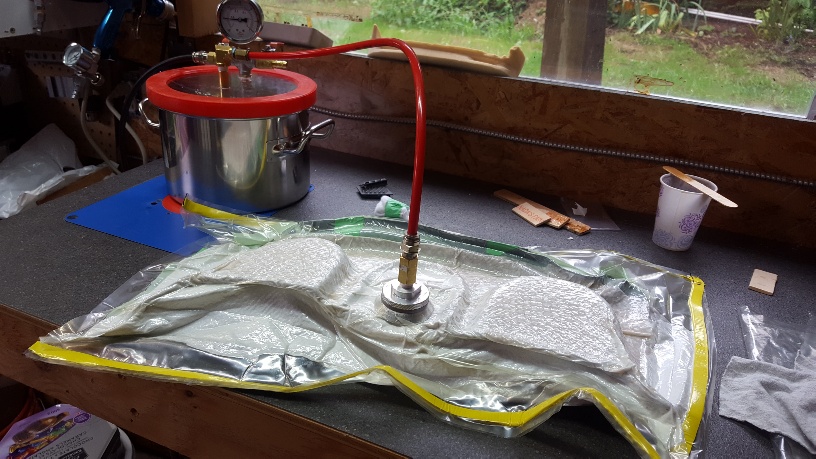
I took a couple shots today of the last Carbon Fibre dash cap for the drivers side. This is the vacuum bagging operation , it will stay under vacuum for 24 hours for the full cure.
I though some of you might be interested.
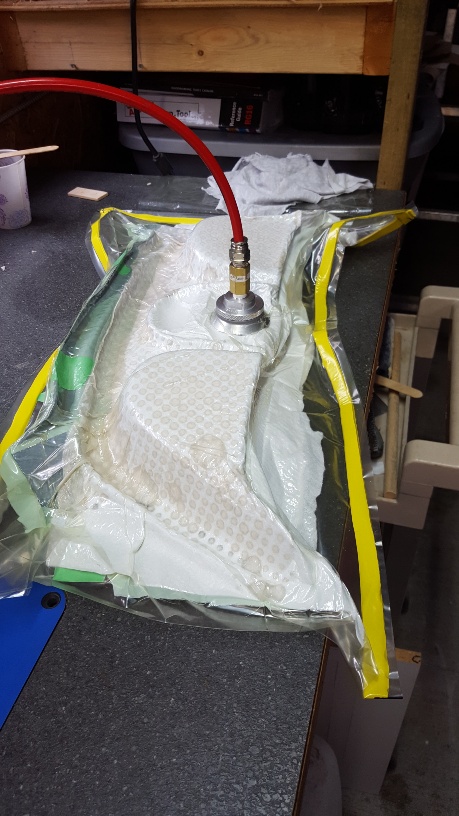
Wayne
|
|
|
|
LEEEZARD
|
OCT 30, 05:20 AM
|
|
|
|
|
Toddster
|
OCT 30, 08:06 AM
|
|
|
I like the homage to the Fiero with the original defrost vents. Nice touch.
|
|
|
|
dobie1
|
NOV 04, 11:57 AM
|
|
First let me say thanks for the comments LEEEZARD and Toddster. Always appreciated.
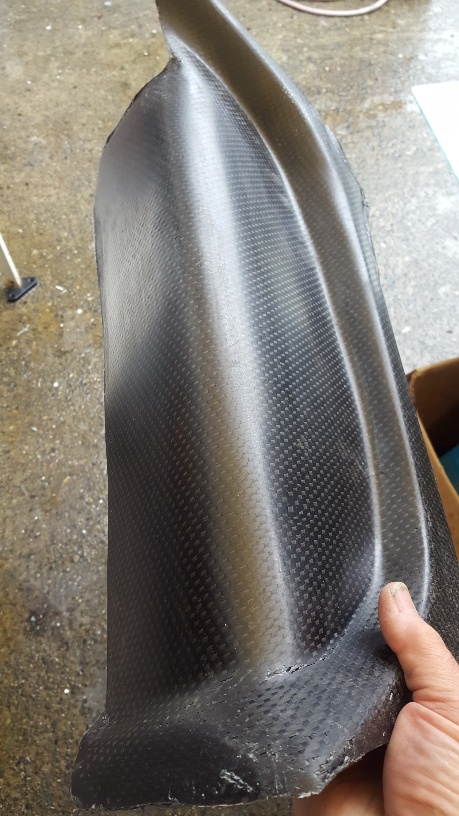
I have been busy working on the interior trim pieces, I did a carbon fibre wrapped on the overhead roof light console,
this for me was a proof of concept in wrapping all the A & B pillar trim pieces it is a lot of work getting to a 600 grit Finnish, I now know it works....The main problem is the temps have dropped below recommenced gel and catalyst setting temps for epoxy resin, so I'm on hold till spring with finishing those pieces. I did come up with the final centre console carbon fibre switch panel design, I produced the mold and built the part i'm happy with the clean look and how it will flow into the dash.
I'm working on the electronic transmission pad placement as well as window switches, Power mirrors, fog lamp switch and USB ports.
Don O. has been working on the HVAC LED controller, writing the language between the panel and a Arduino which will use the existing wiring to control the vent doors and fan as well as AC. with out Don graciously volunteering I would have been stuck possibly having to use the OEM Fiero controller and reworking the dash to accommodate.
So I'm setting aside finishing the interior other than finishing the dash as time permits.
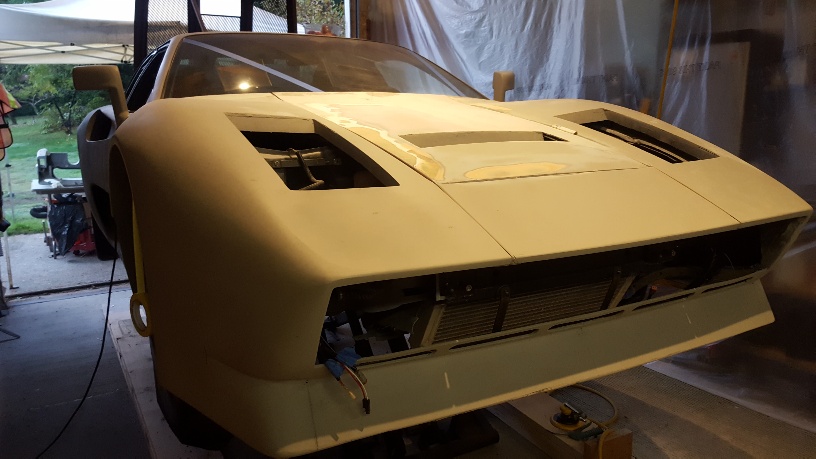
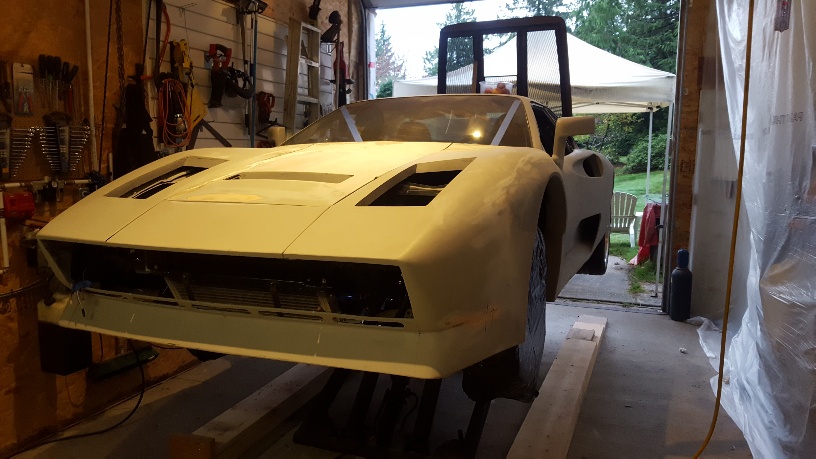
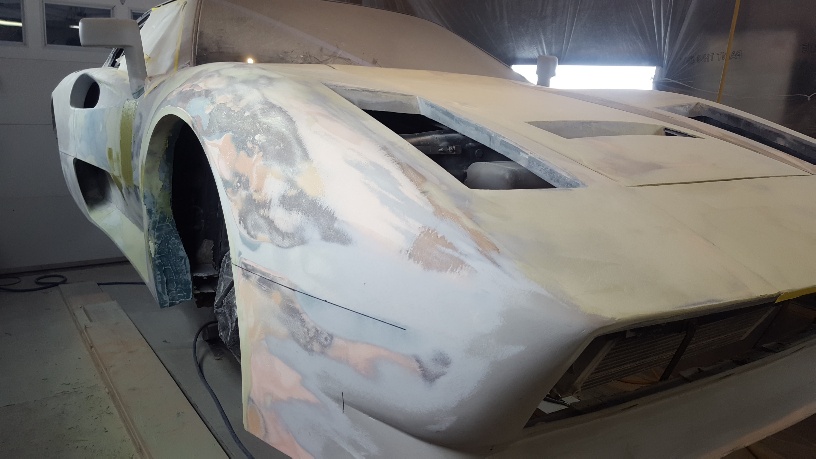
I've moved on to finishing the body getting it ready to build the body molds. Im hoping to have it in paint by the end of January weather permitting
i'll post some pics later.
|
|
|
|
dobie1
|
NOV 04, 10:53 PM
|
|
|

|
Patrick
|
NOV 05, 12:25 AM
|
|
| quote | Originally posted by Sage:
Such a bummer that PB messed up all your earlier pics...this is such a great build!
|
|
| quote | Originally posted by dobie1:
Ted “Sage” it is unfortunate that PB did that now I guess unless I go through the entire thread and replace all the pics all most will see is the finishing of the build.
|
|
As far as I can determine, all the Photobucket hosted images are still in place. For anyone having a problem seeing any of those images, perhaps have a look at this thread... Photobucket Fix It works wonders!
Wayne, your work is beautiful  ...but it puzzles me a little why you're not posting the maximum width images allowed so that we can fully appreciate your craftmanship. Is this being done on purpose, or are you having an issue with image compression/file size? ...but it puzzles me a little why you're not posting the maximum width images allowed so that we can fully appreciate your craftmanship. Is this being done on purpose, or are you having an issue with image compression/file size?
| quote | Originally posted by Patrick:
PIP requirements/restrictions are... Maximum width - 1024 pixels. Maximum file size - 300 kb.
|
|
[This message has been edited by Patrick (edited 11-06-2019).]
|
|
|
|
dobie1
|
DEC 05, 09:36 PM
|
|
|
|
|
dobie1
|
DEC 07, 09:54 PM
|
|
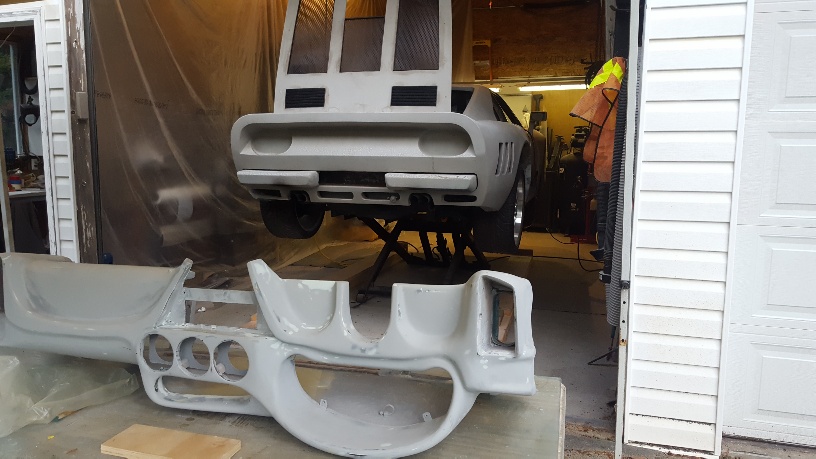
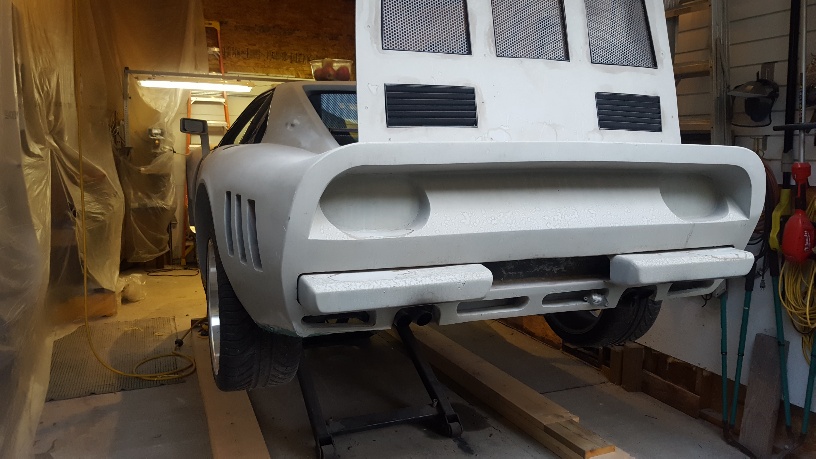
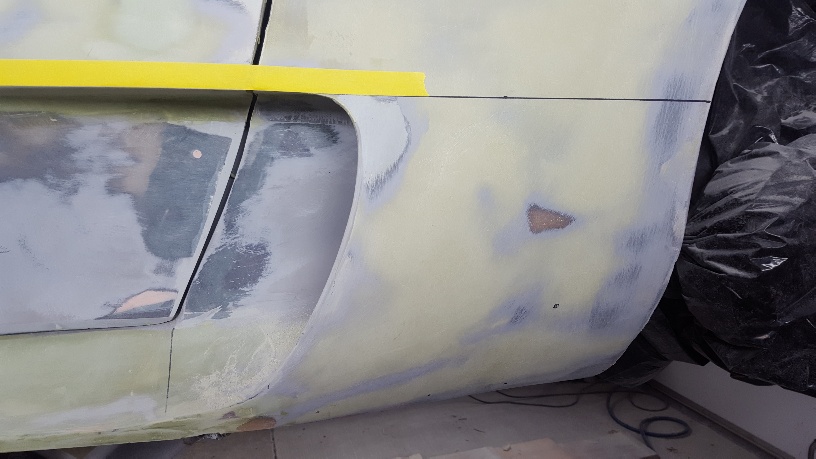
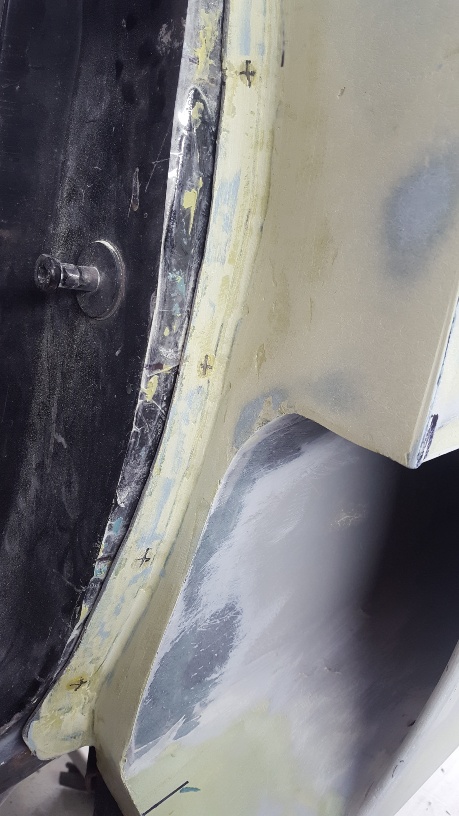
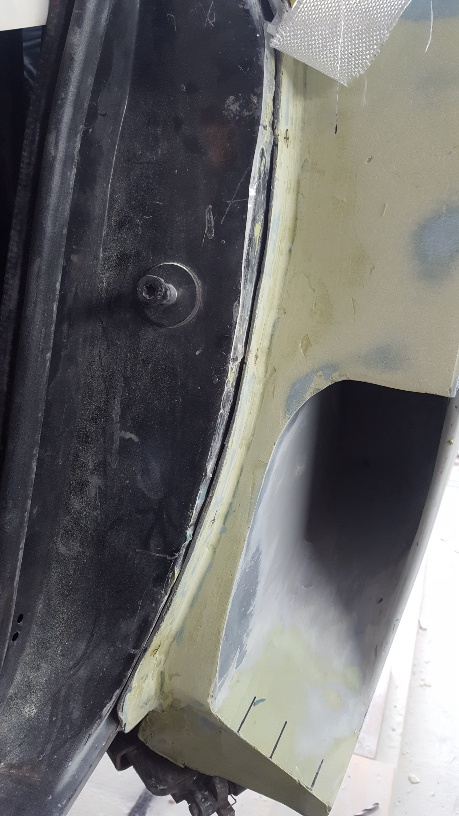
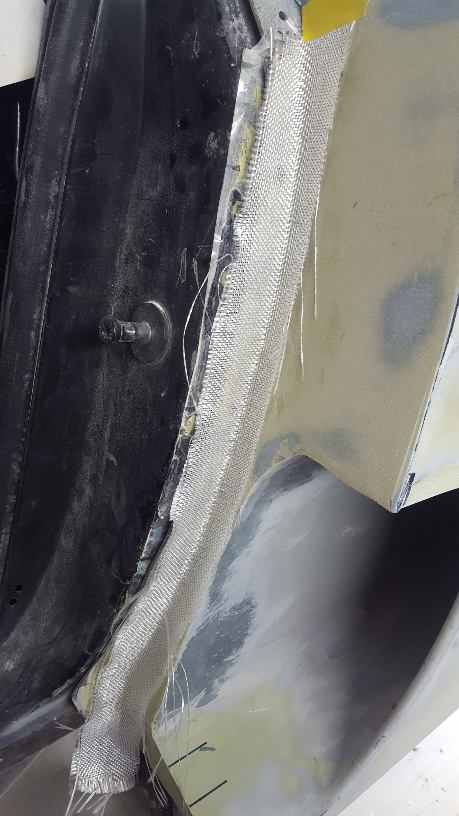
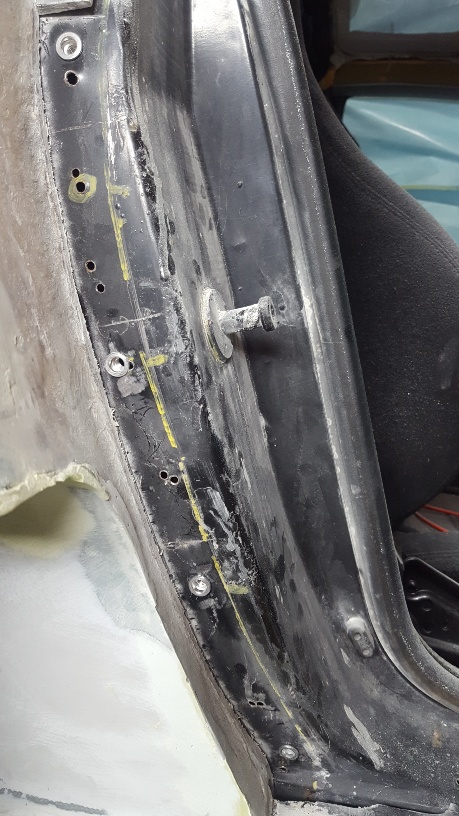
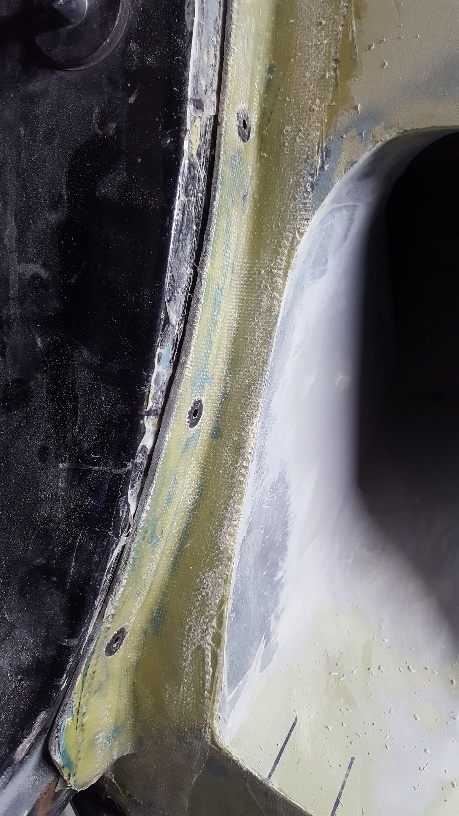
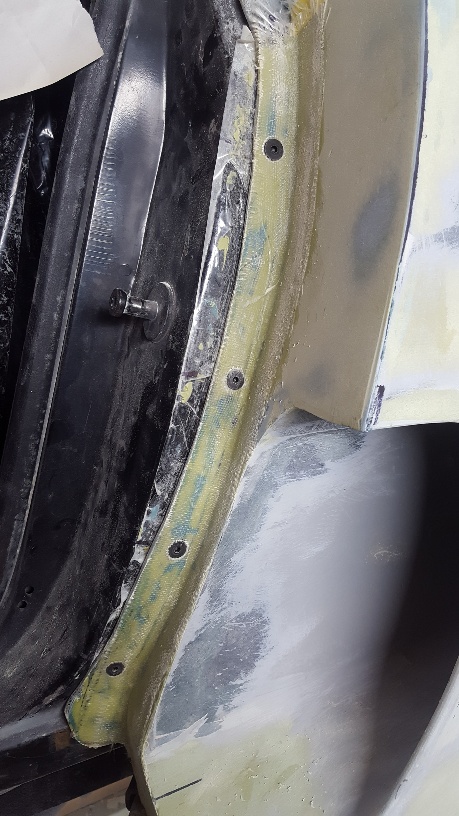
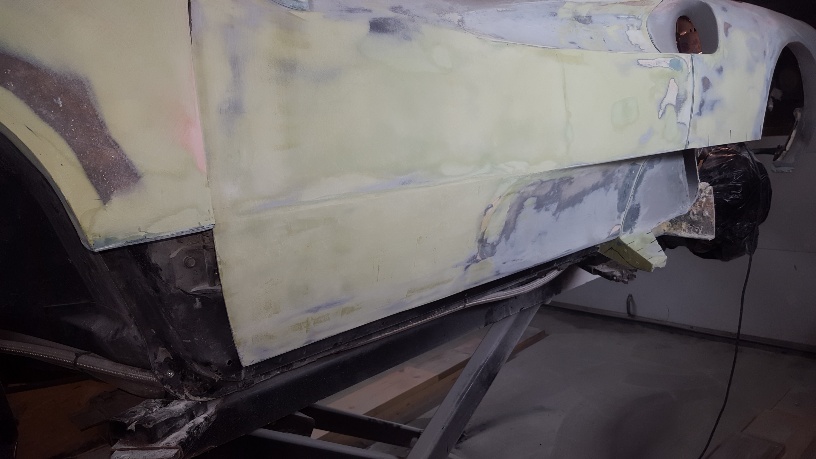
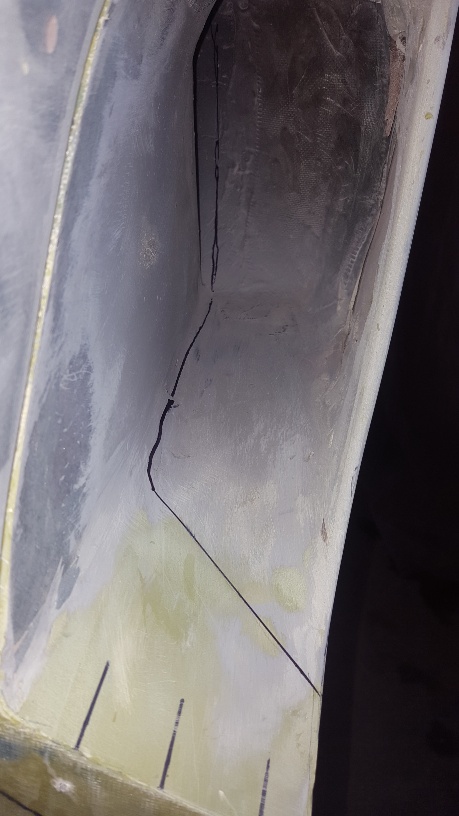
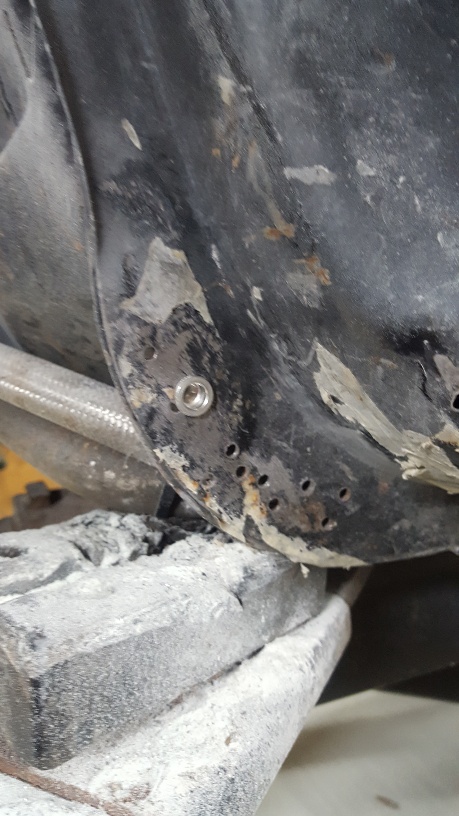
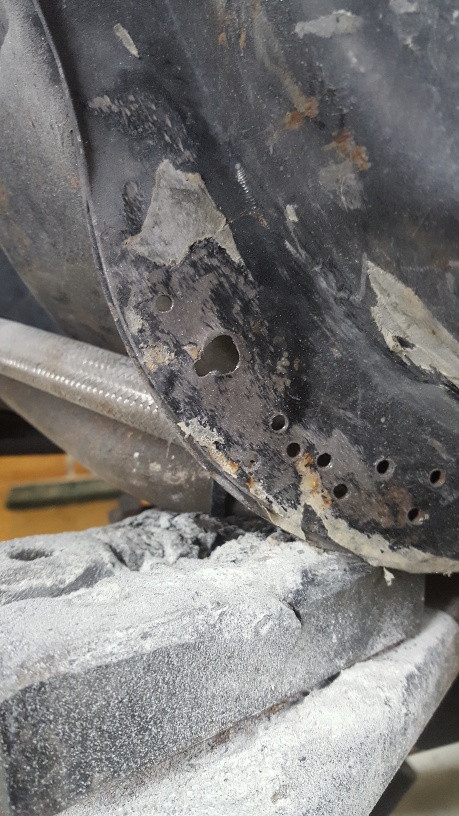
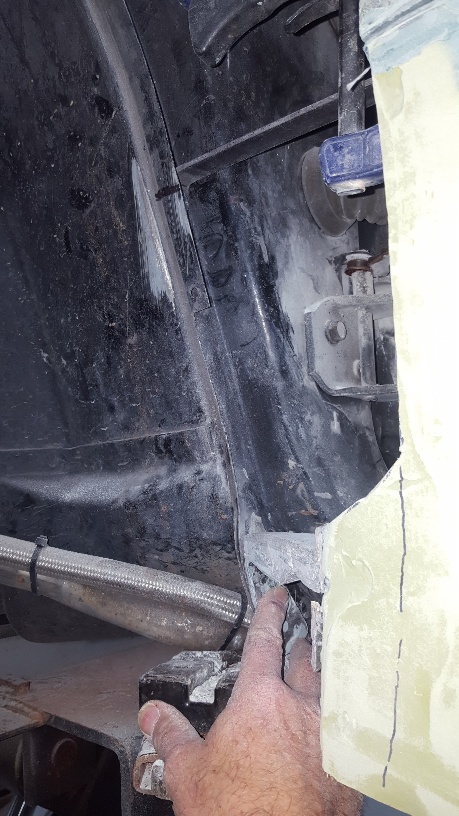
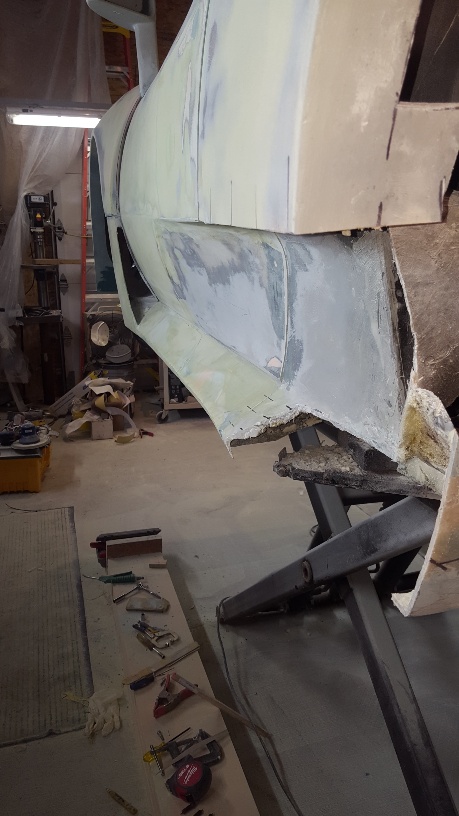
I put in another full day on the car, I finished the drivers side lower rocker installation, fabricating attachment plates between the front fender and lower rocker. I installed riv-nuts for Permanent attachment points. I made the final decision add cut the lower scoop out , was easier than i thought it would be .
Lots to clean uo to do but in the end I think this will be the way to go.
here are a few pics, enjoy


wayne
|
|
|
|