|
| Trinten's SBC/F23 build - The work has begun! (Page 22/76) |

|
Trinten
|
OCT 13, 08:38 PM
|
|
^
|
|
Everyone, that is what FieroGuru considers "whipped up". Seriously.
Looks awesome man.
|
|

|
fieroguru
|
OCT 18, 08:13 PM
|
|
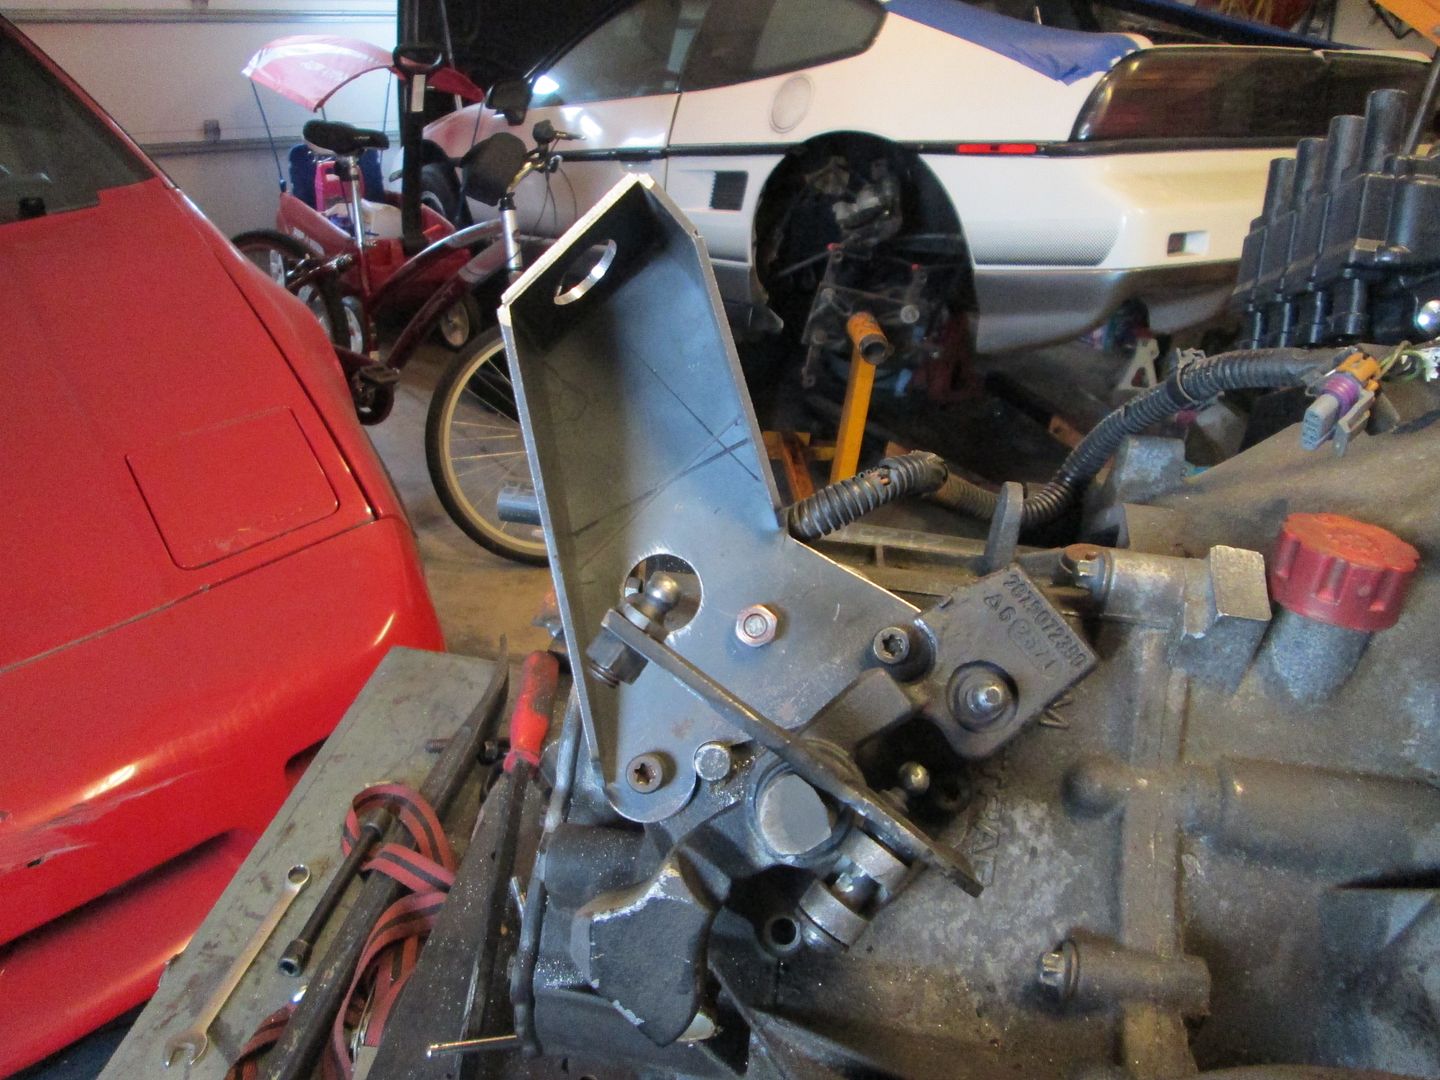
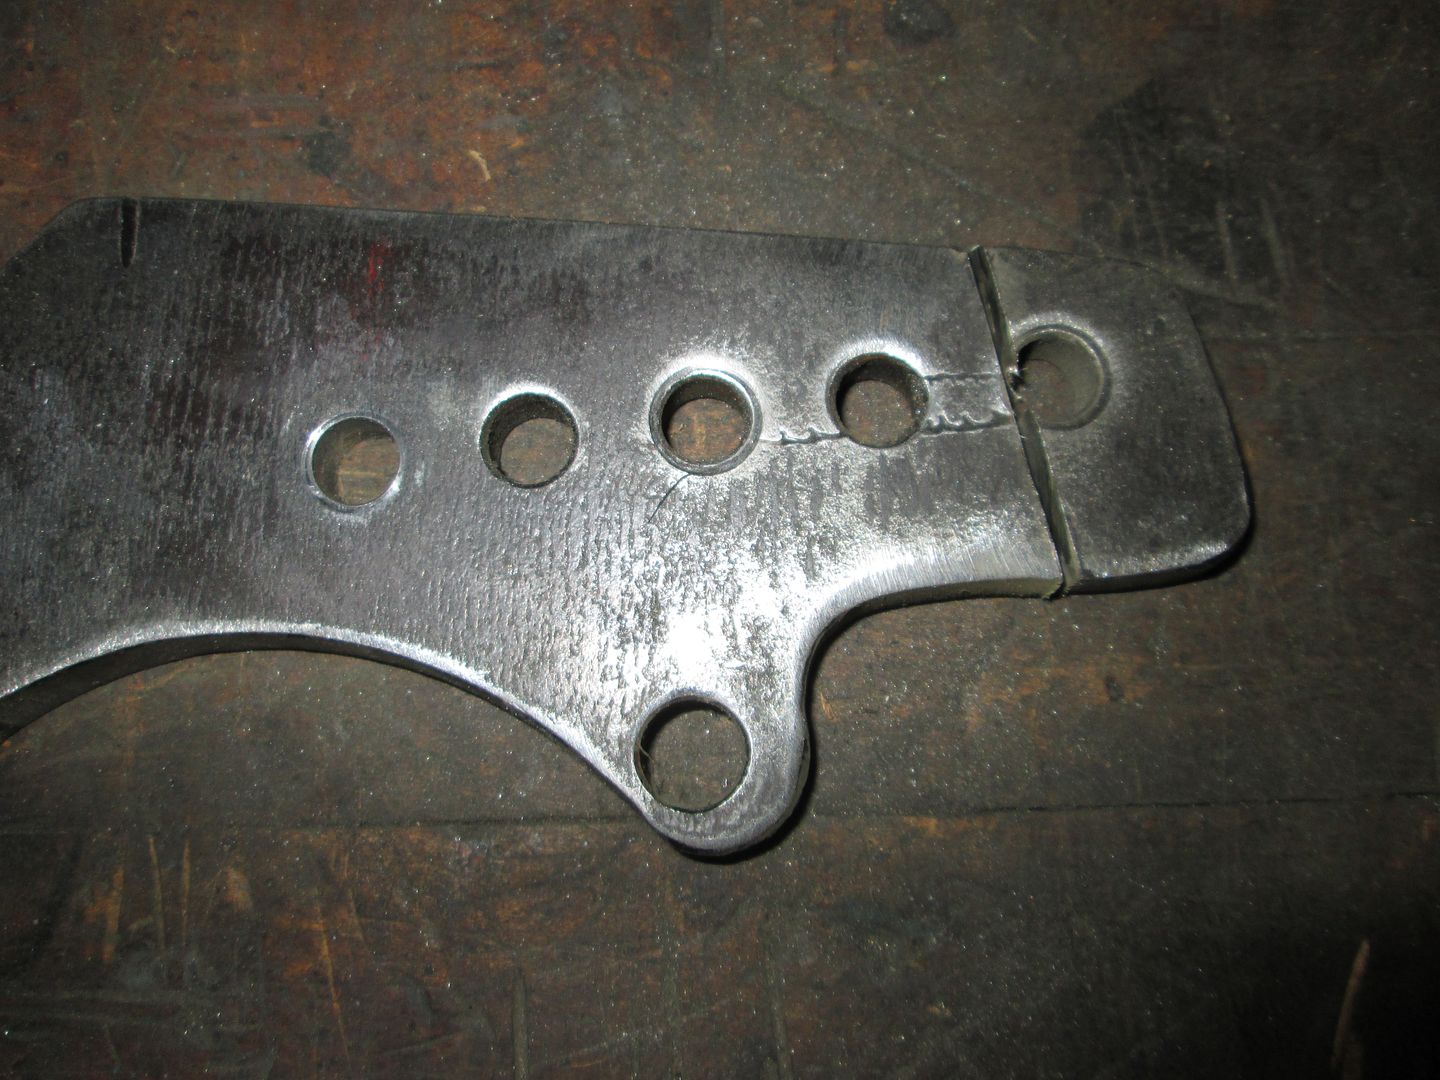
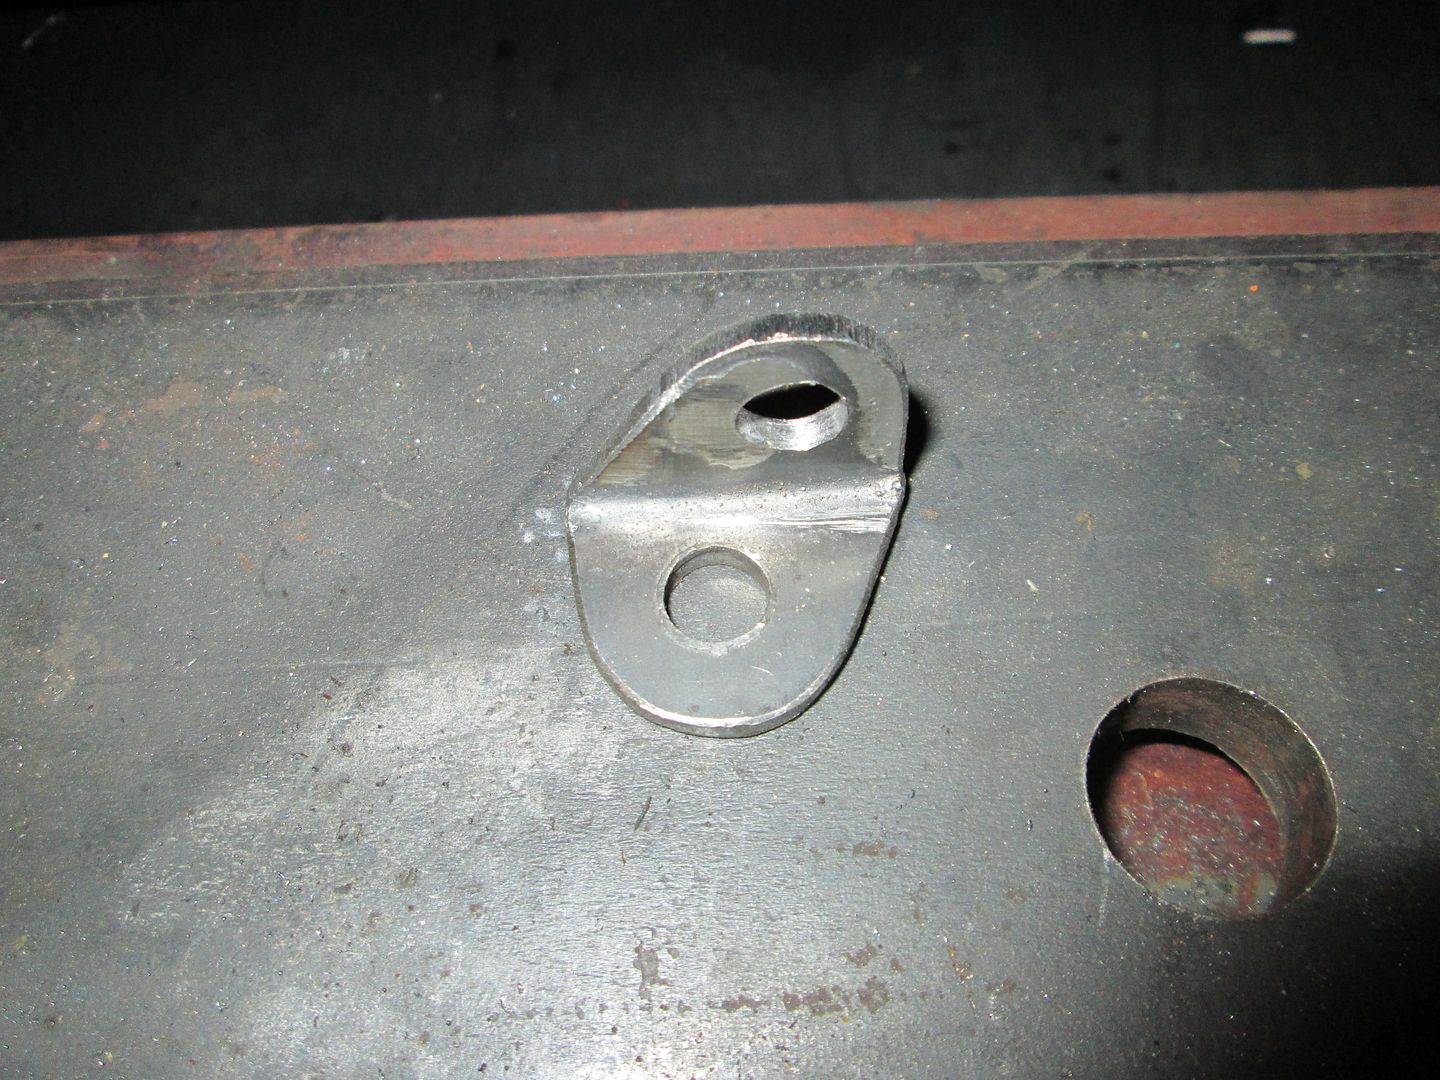
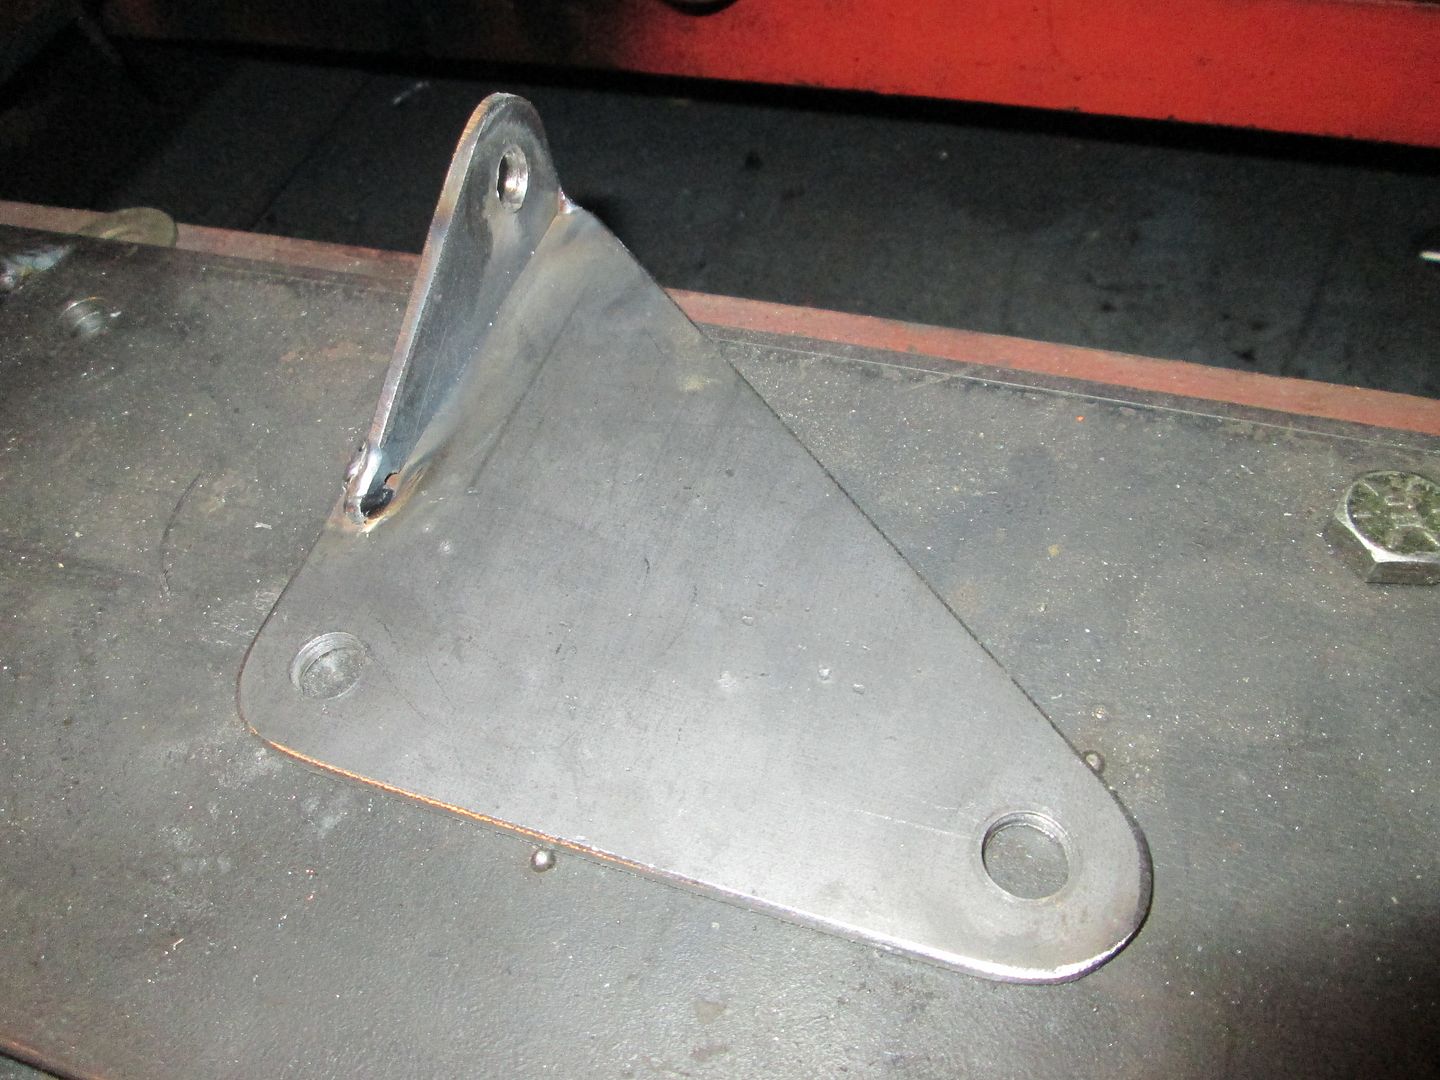
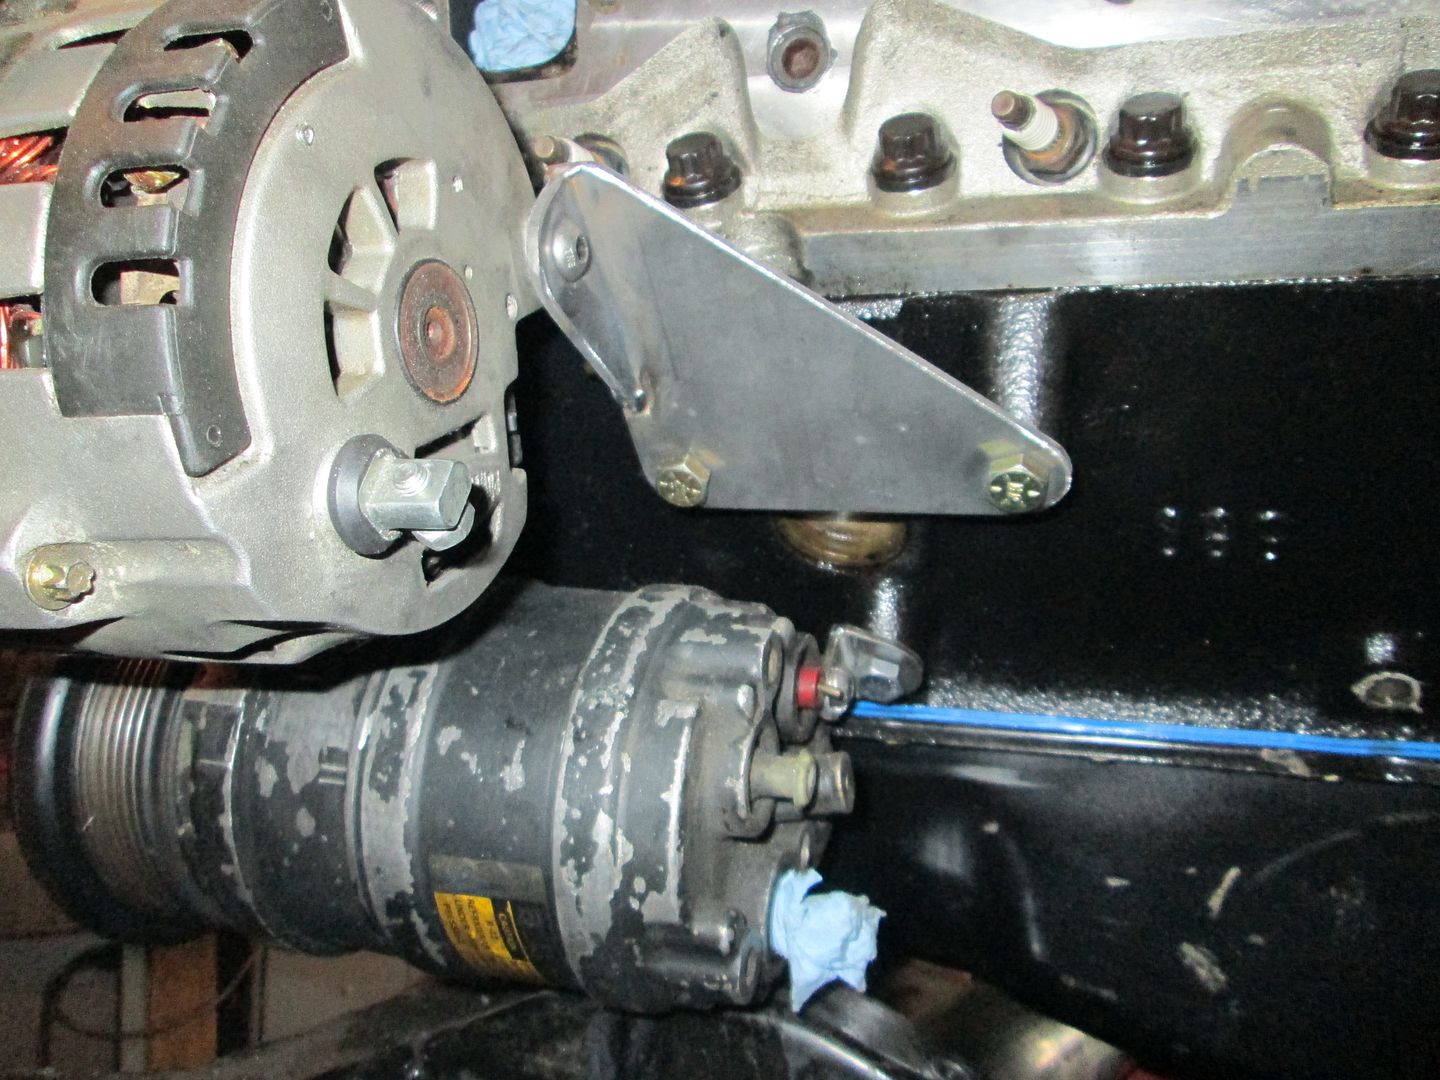
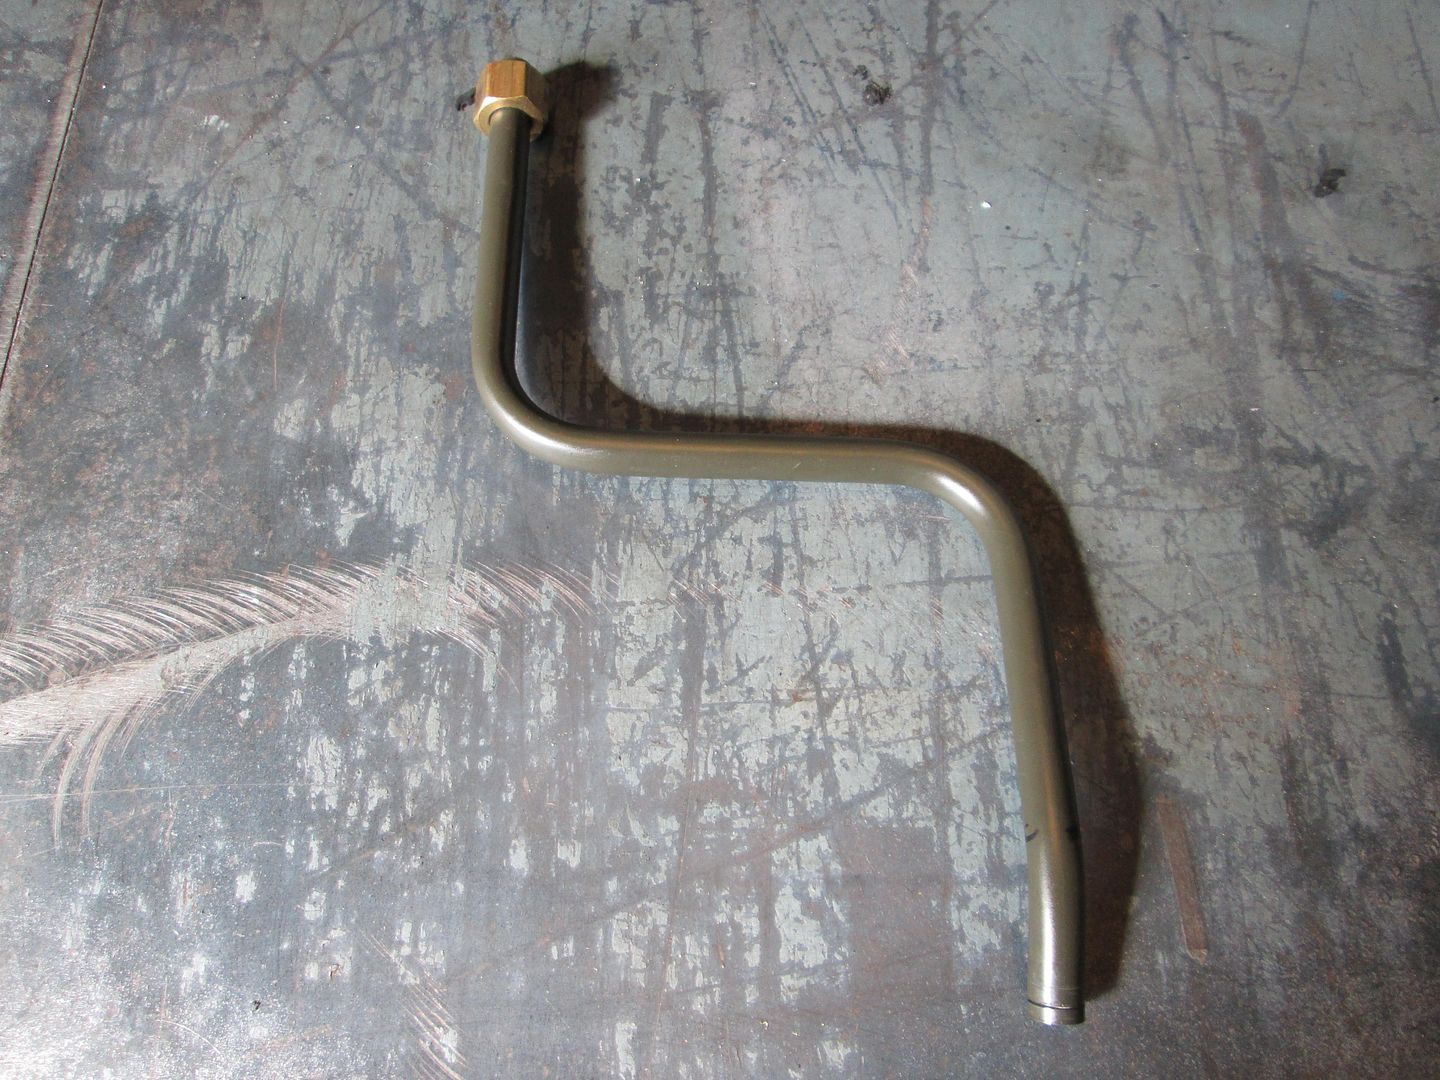
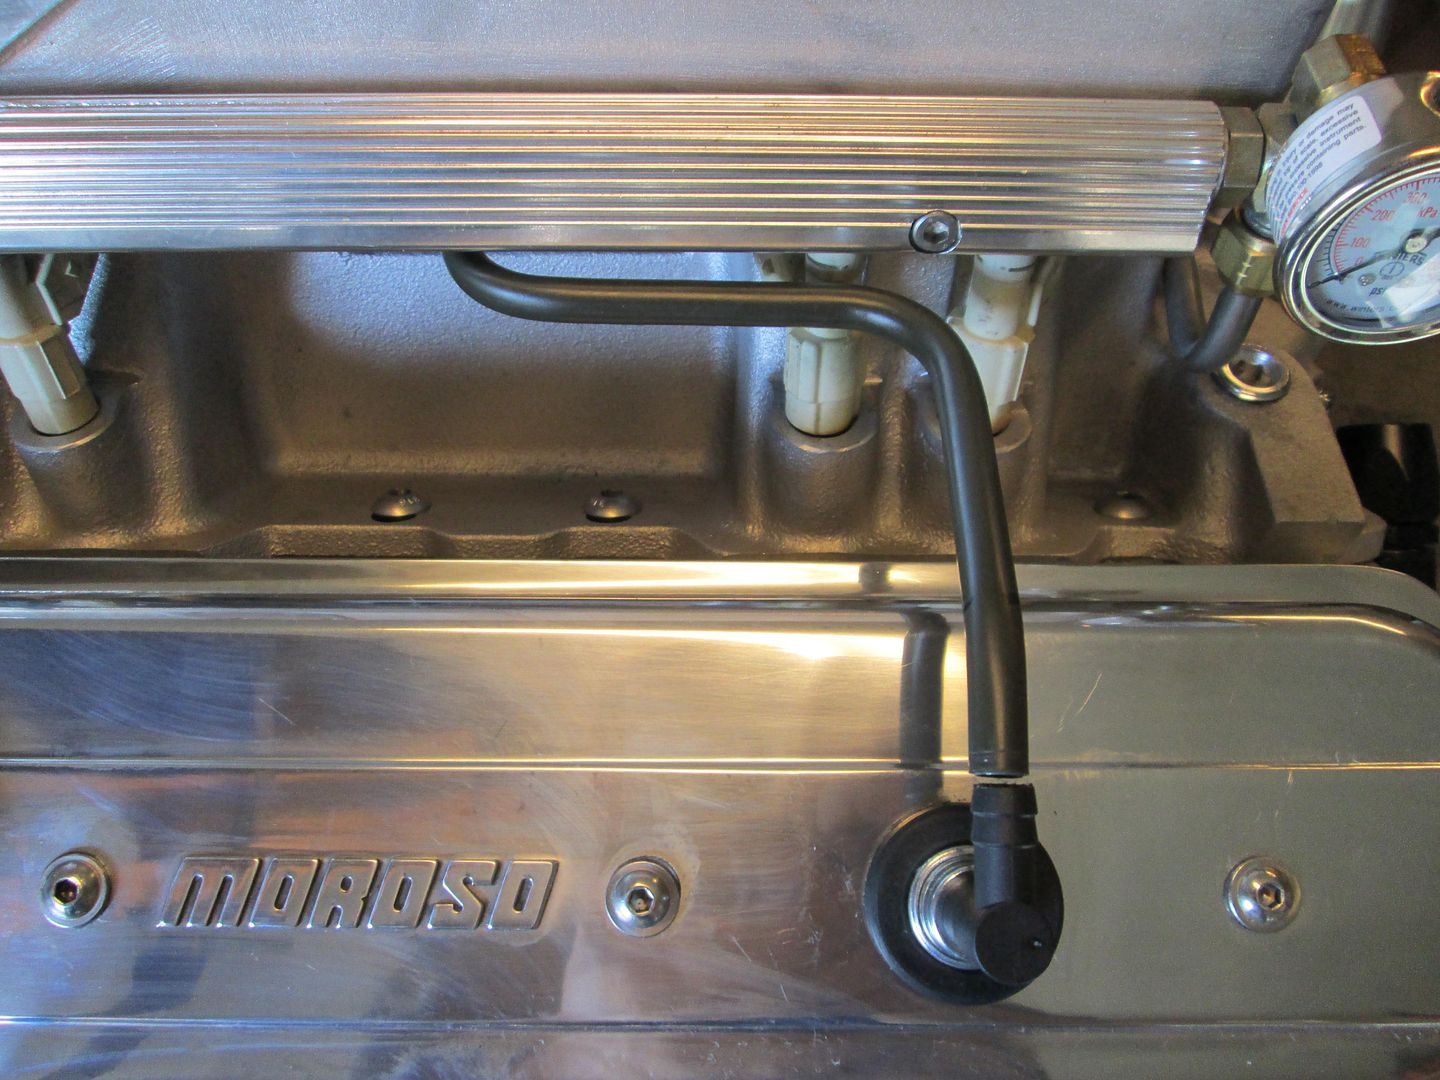
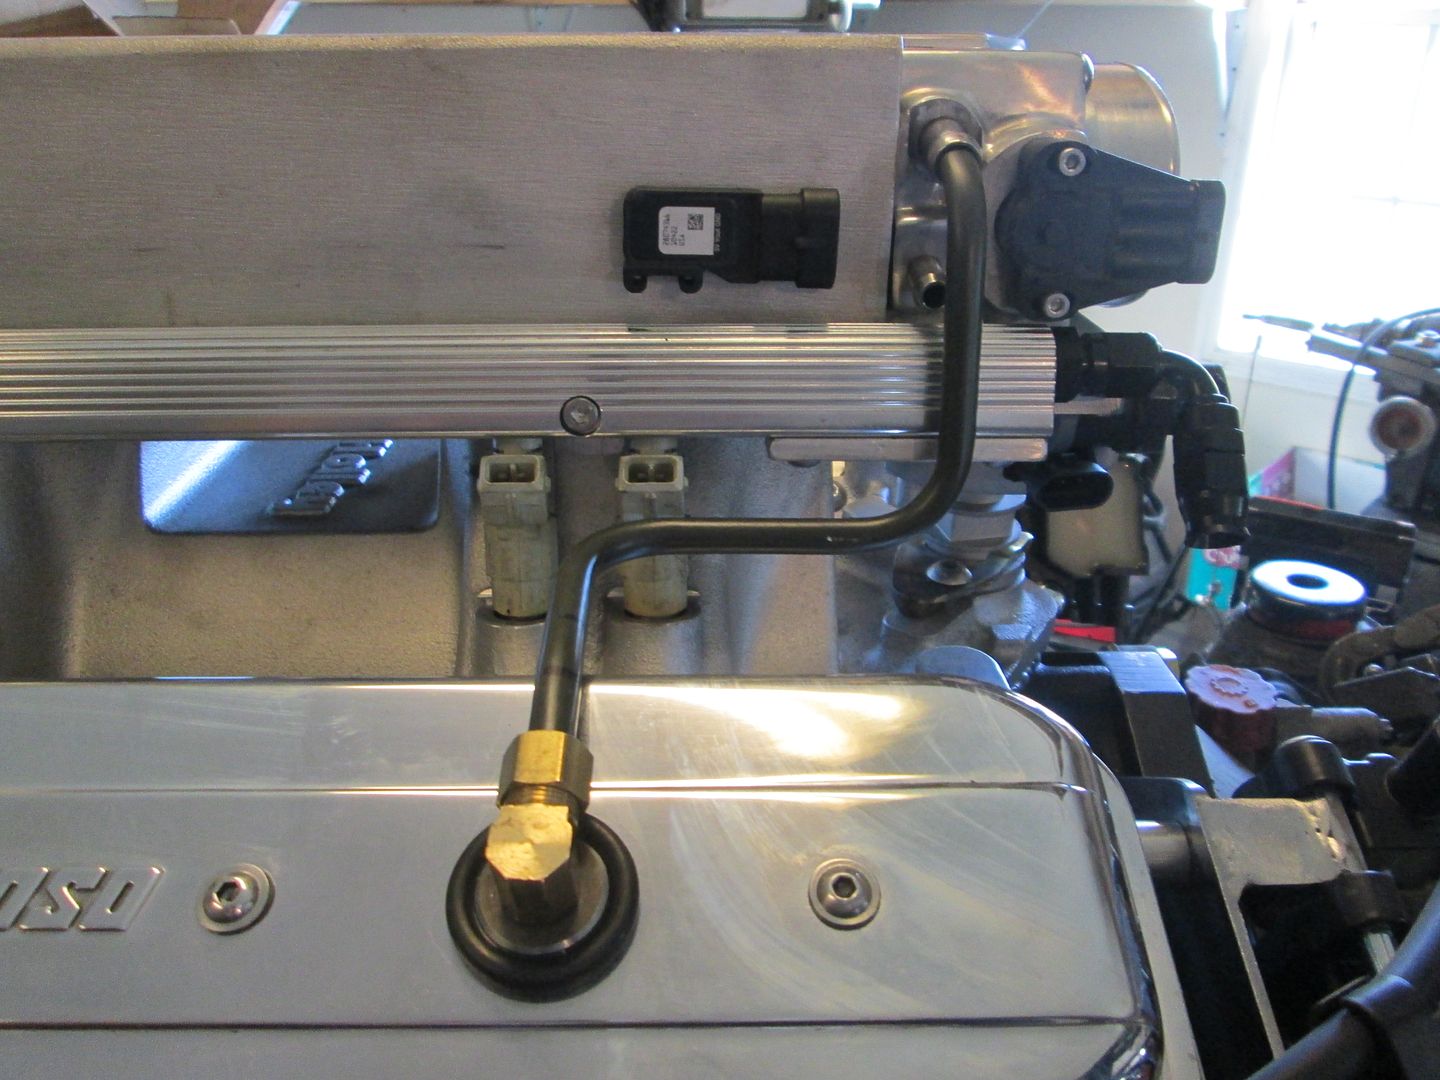
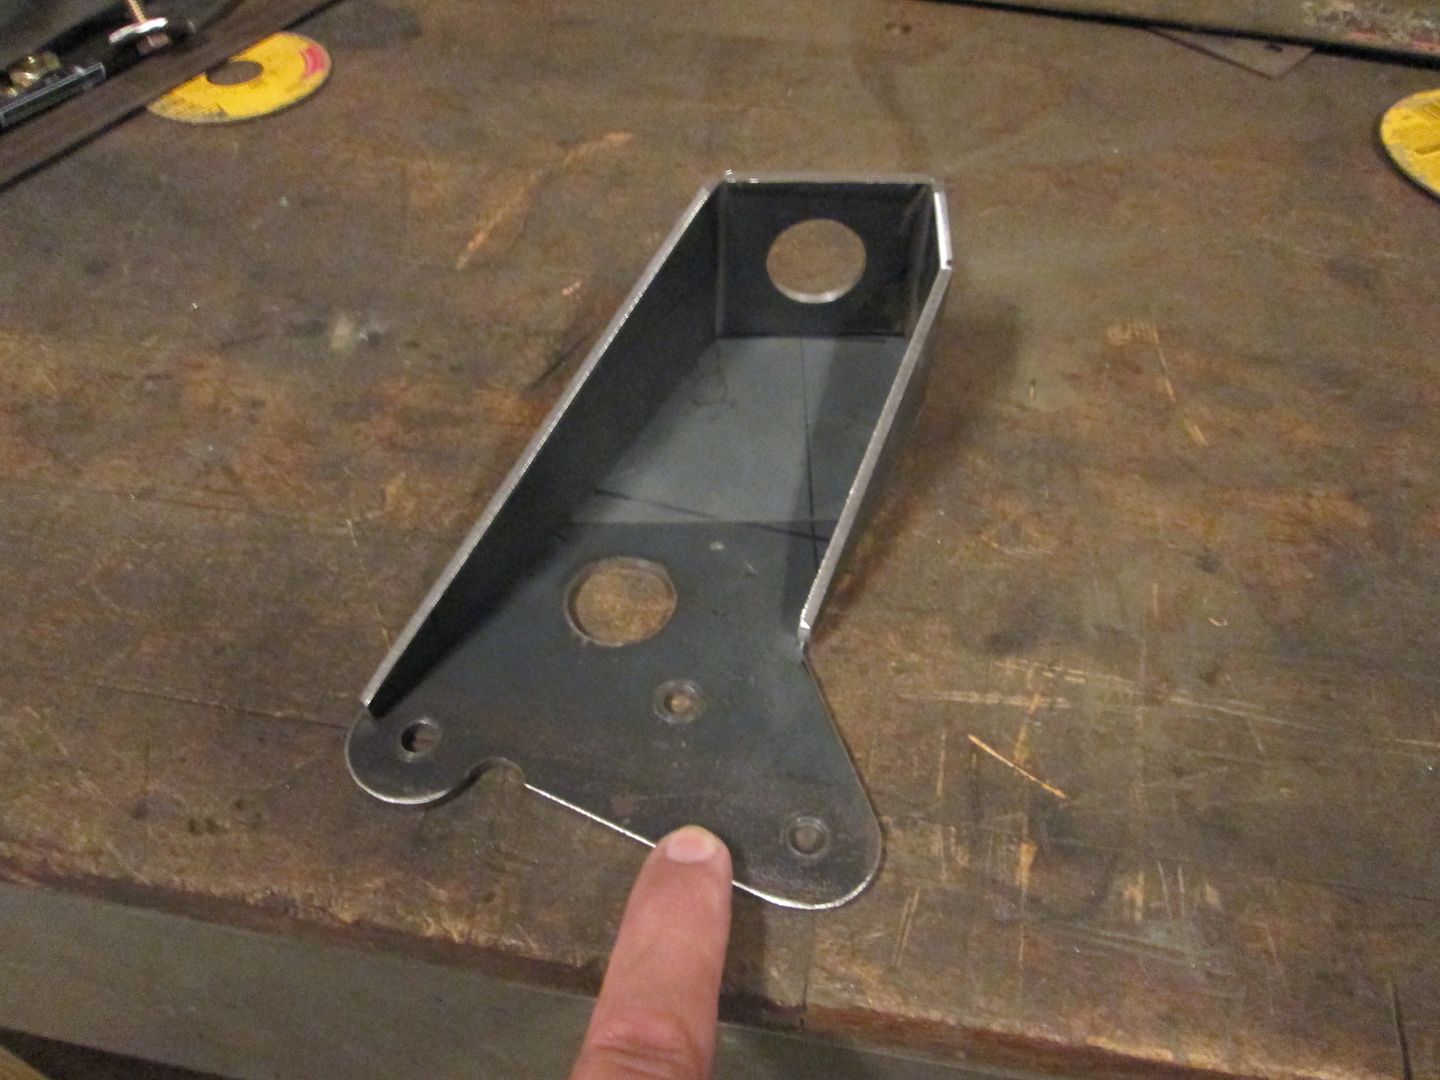
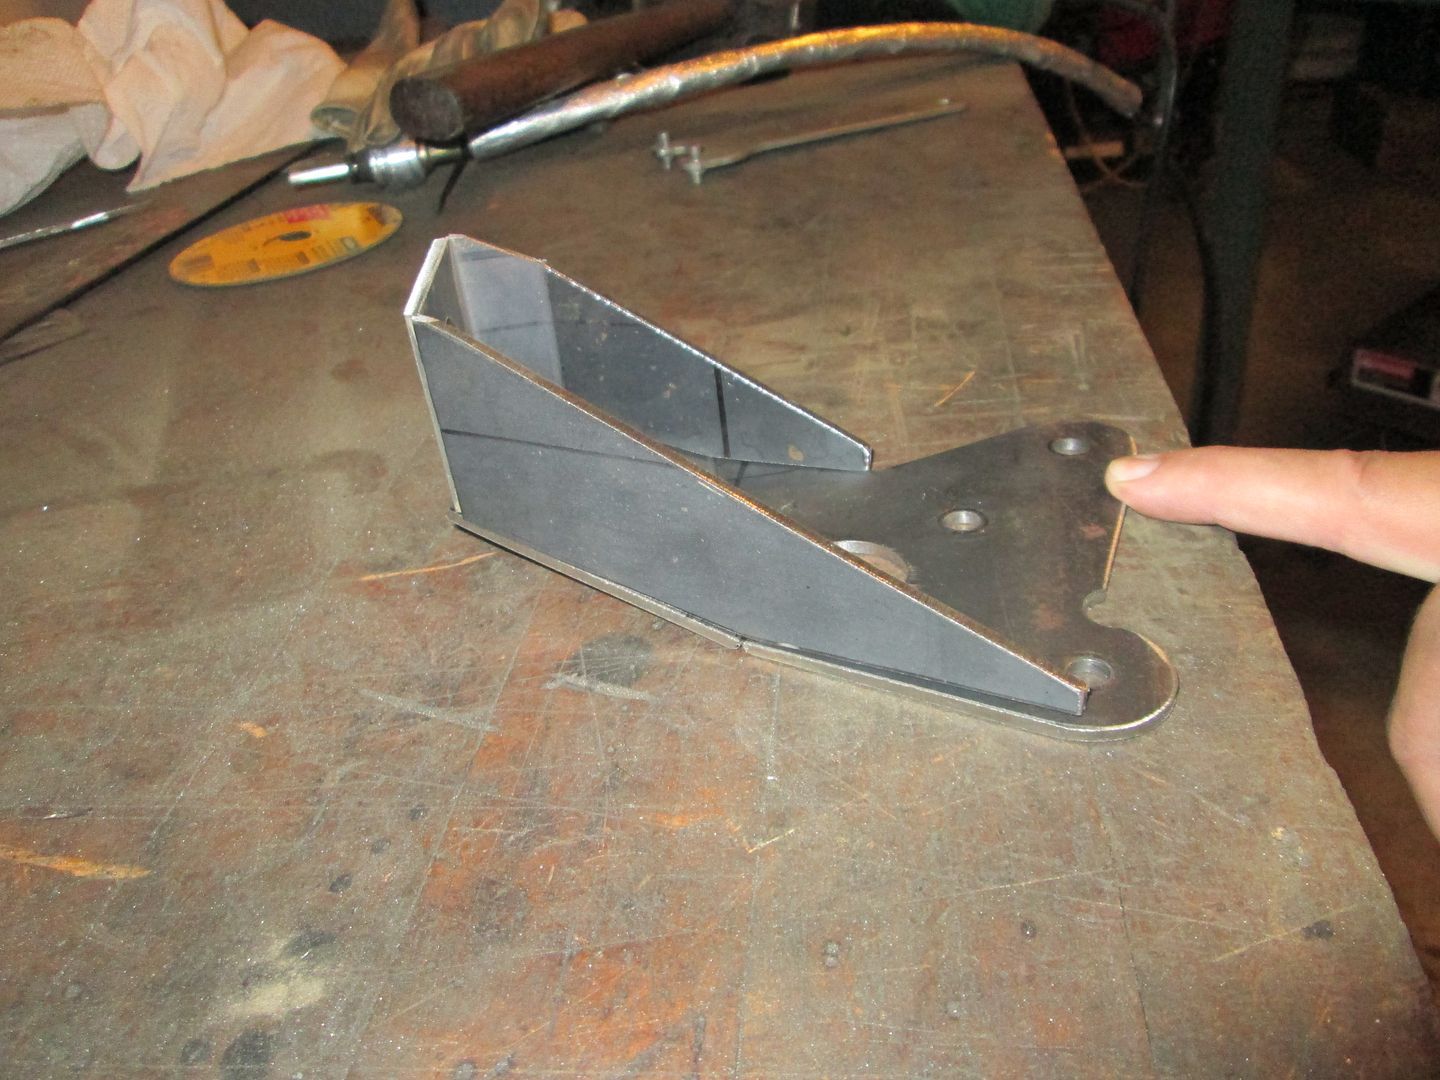
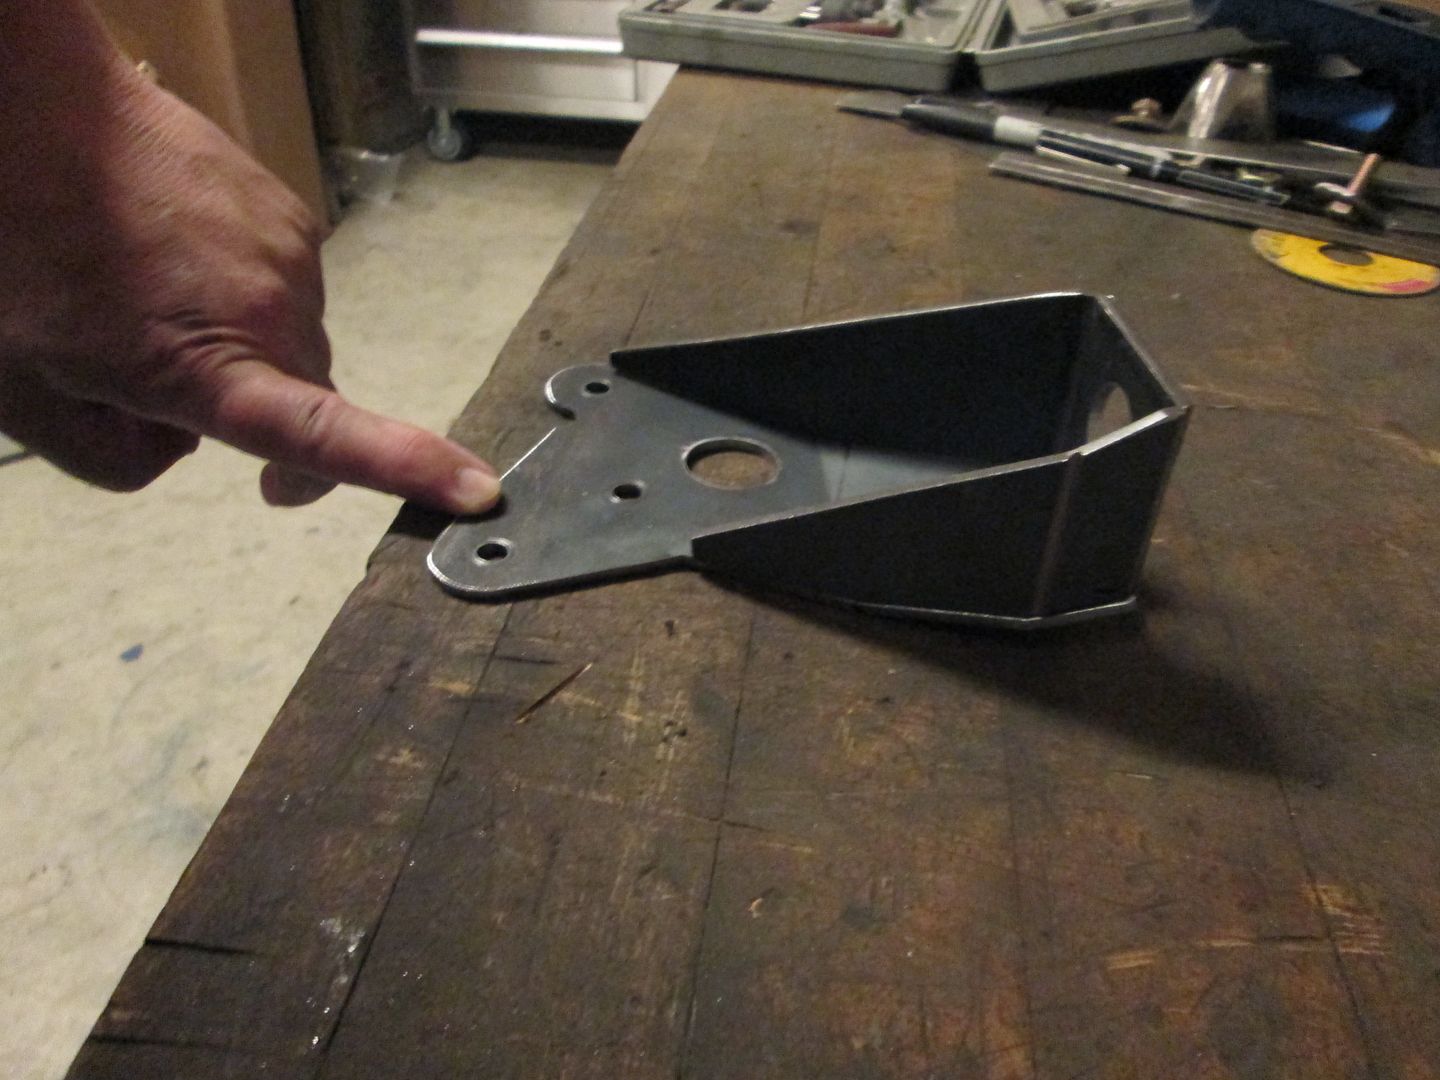
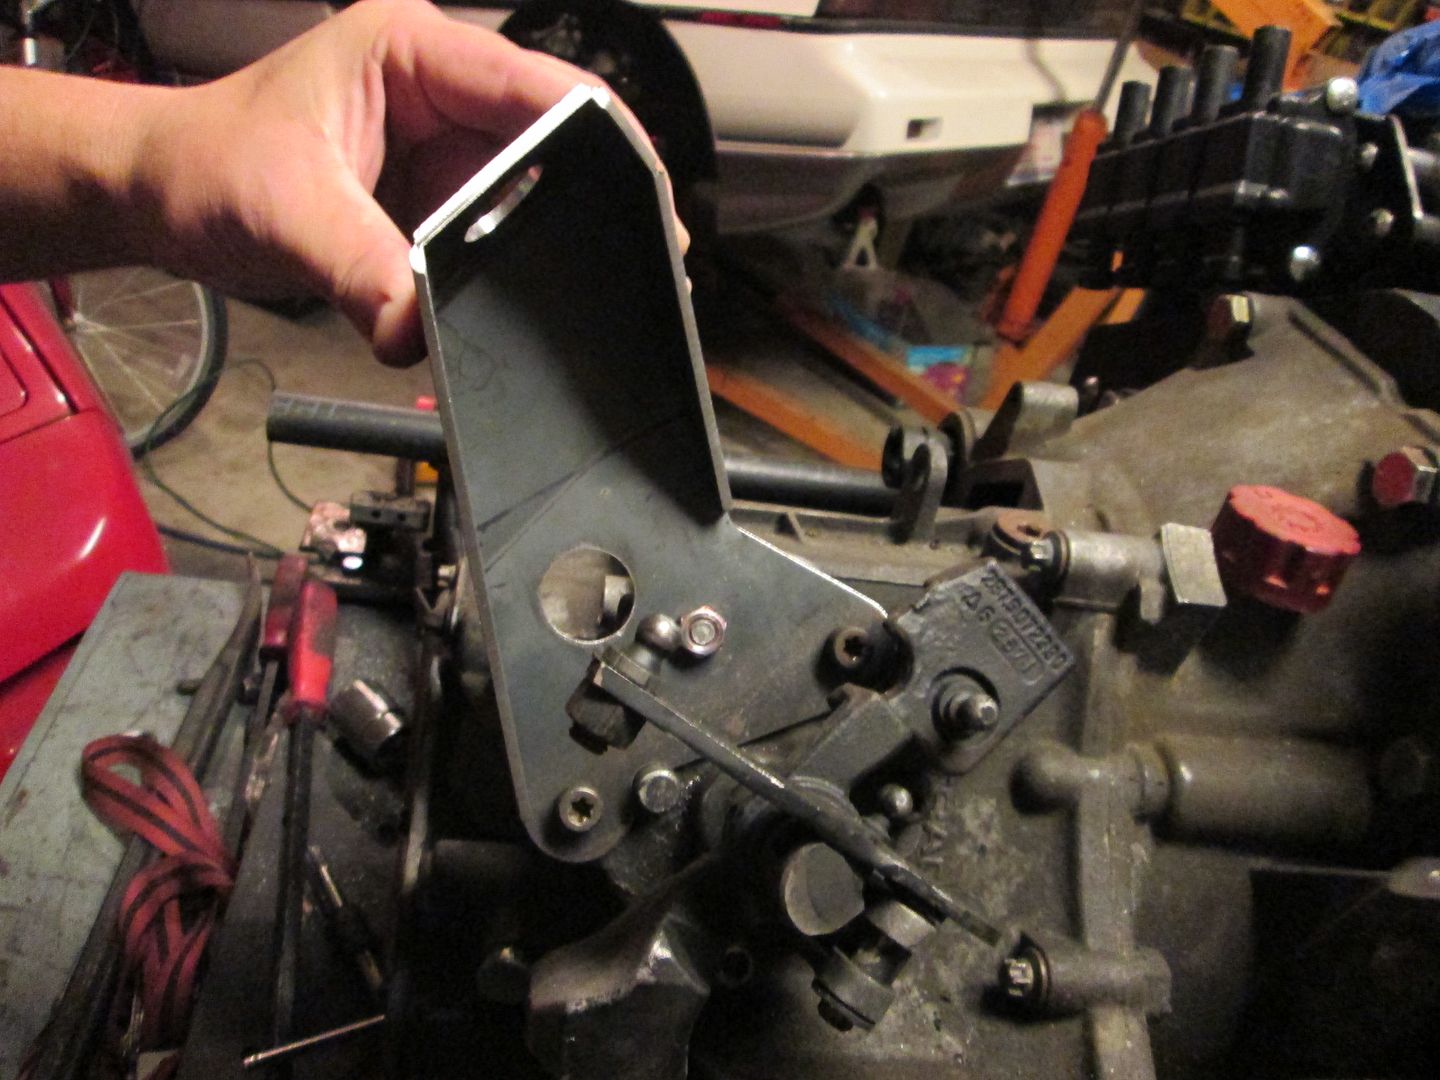
The more I looked at and reviewed the shifter bracket, the more I just wasn't liking it much, so I decided to redo it.
Here are some pics of what the new one is starting to look like. I just need to finish the final shaping and tack weld it before the next test fit:
|
|
|
|
fieroguru
|
OCT 19, 05:17 PM
|
|
|
|
|
joshua riedl
|
OCT 19, 06:43 PM
|
|
|
What cables does this transmission use?
|
|
|
|
fieroguru
|
OCT 19, 07:31 PM
|
|
| quote | Originally posted by joshua riedl:
What cables does this transmission use? |
|
This car was used for the Getrag F23 tutorial: http://www.fiero.nl/forum/Forum1/HTML/087296.html
That thread states the car uses a stock Getrag Select cable and a custom length cable for the shift cable.
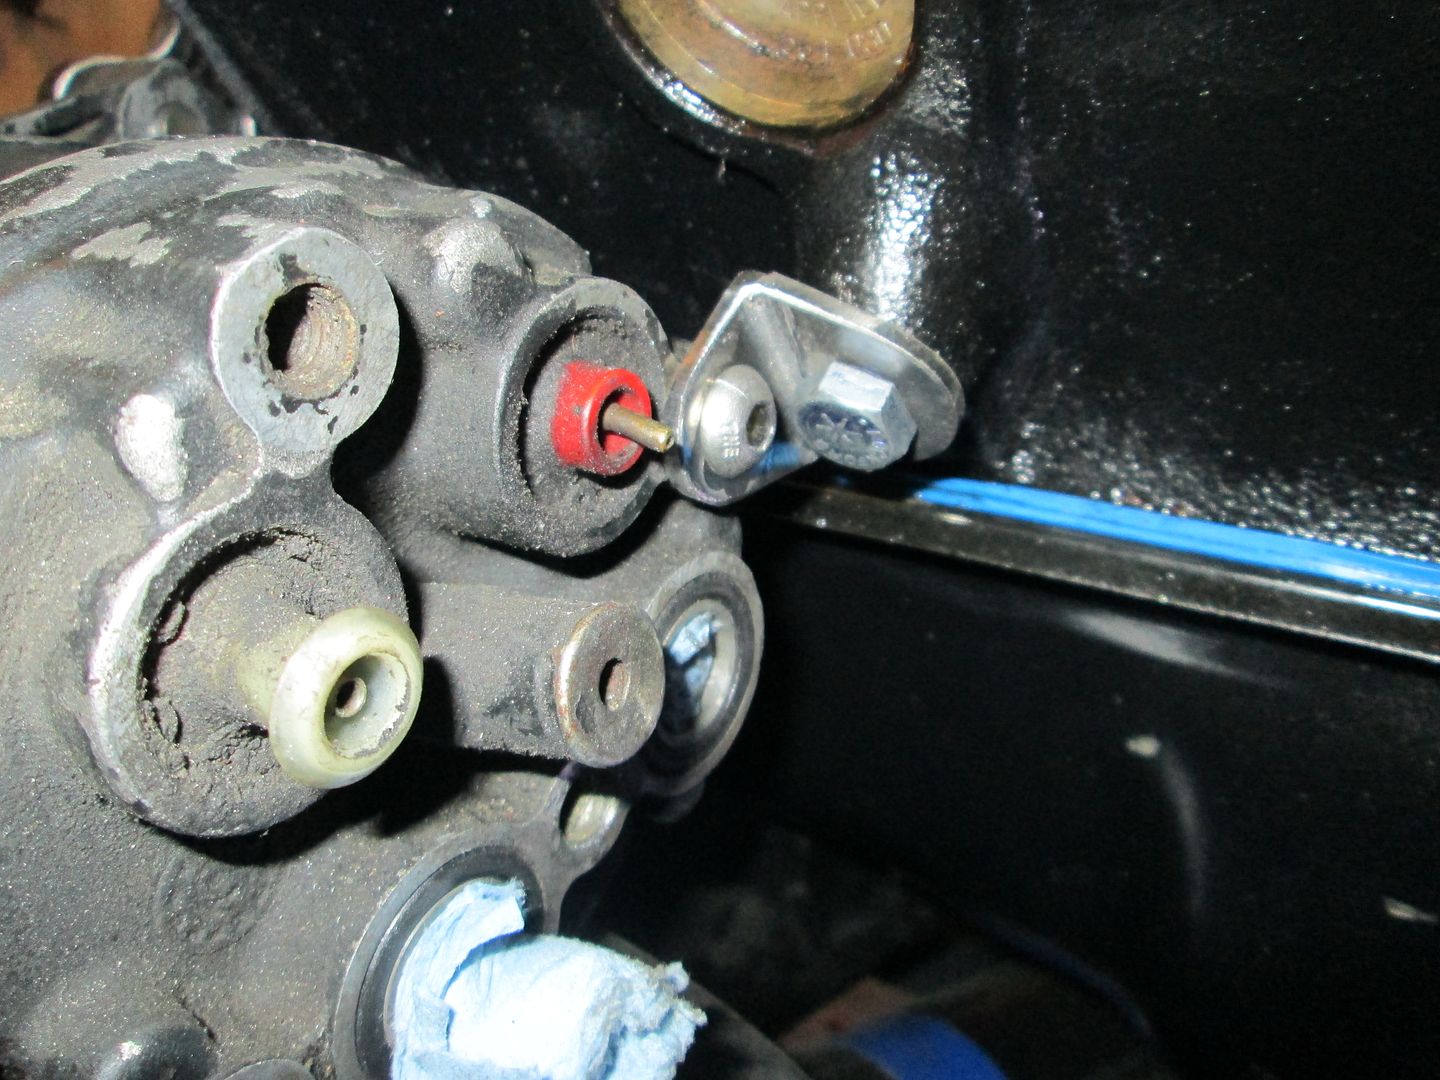
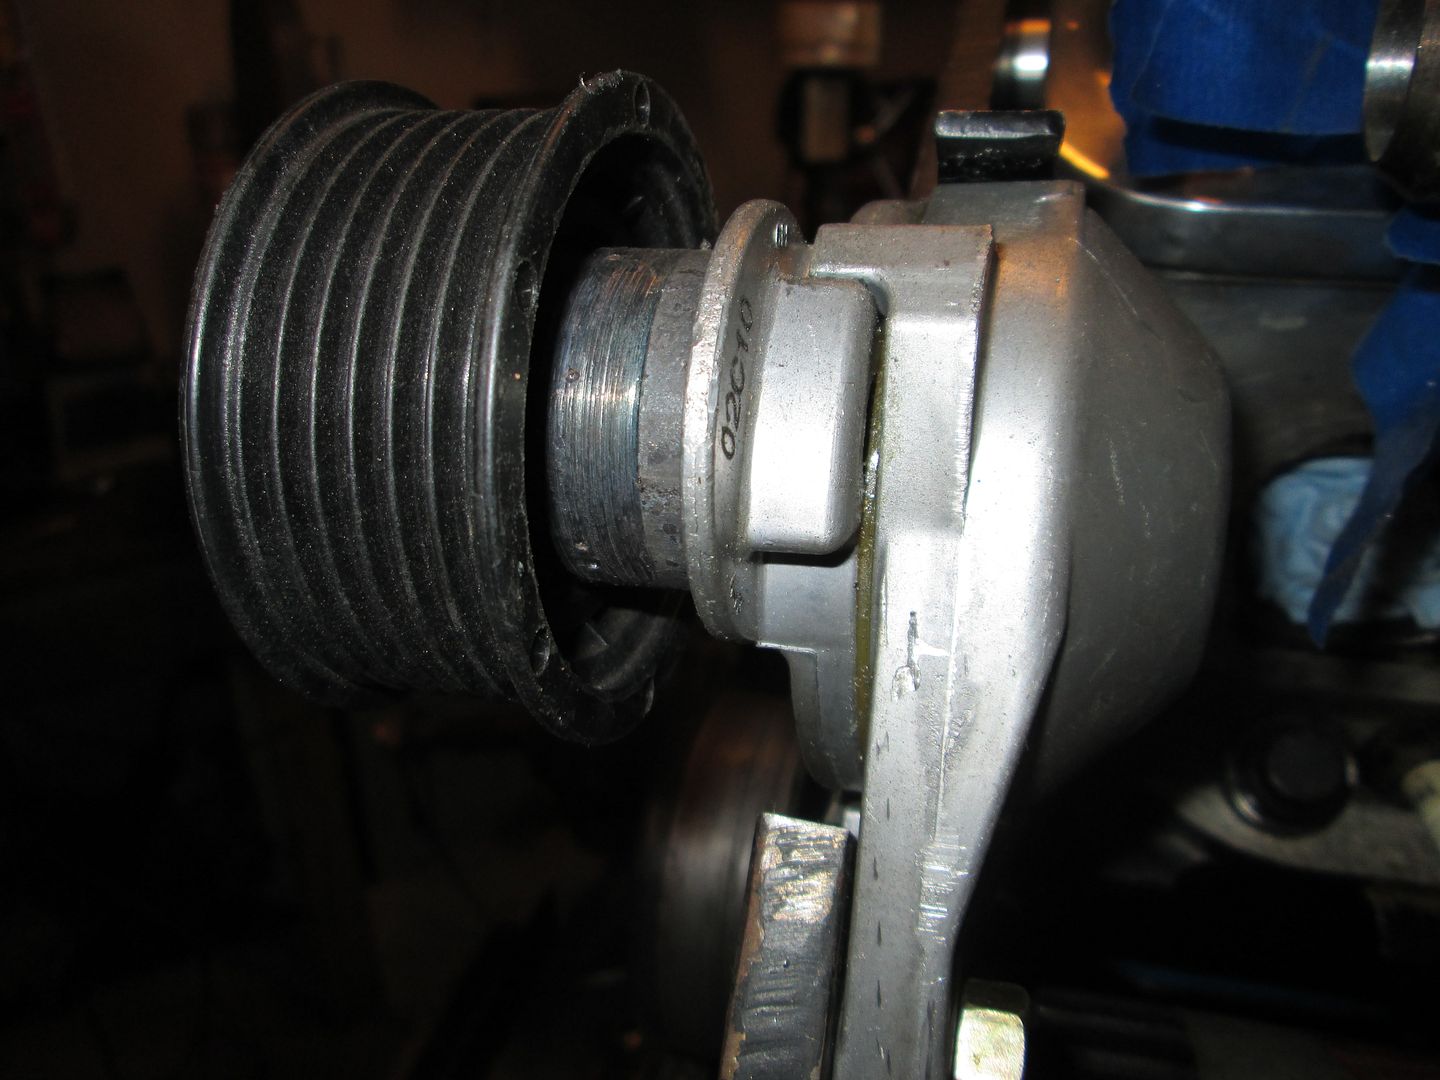
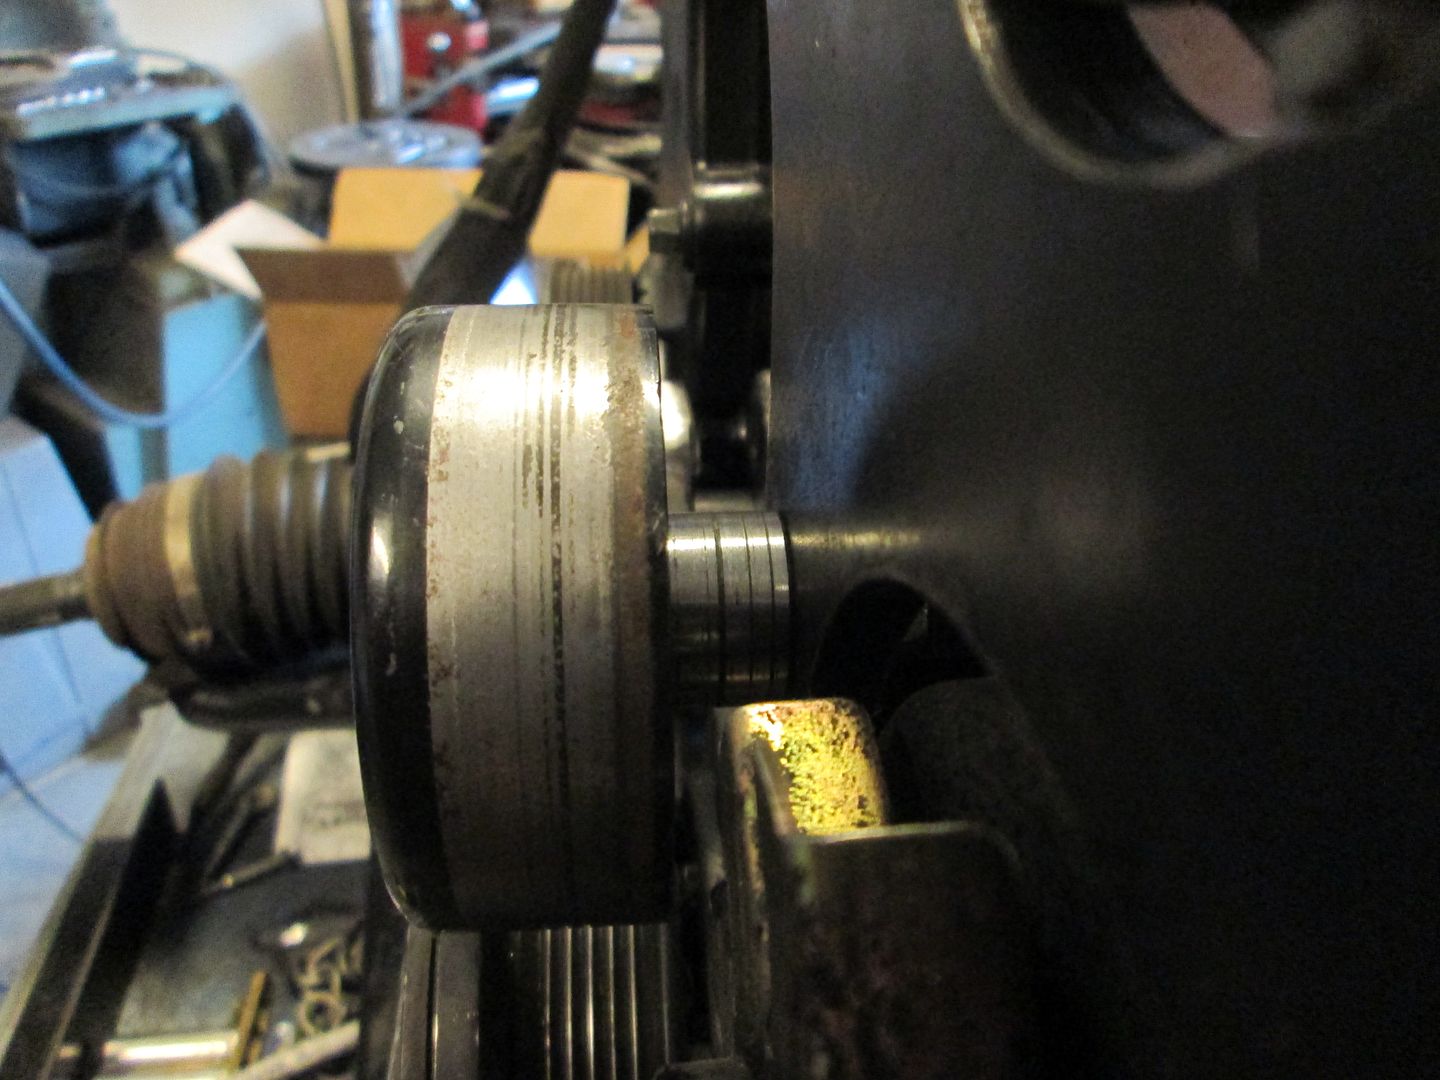
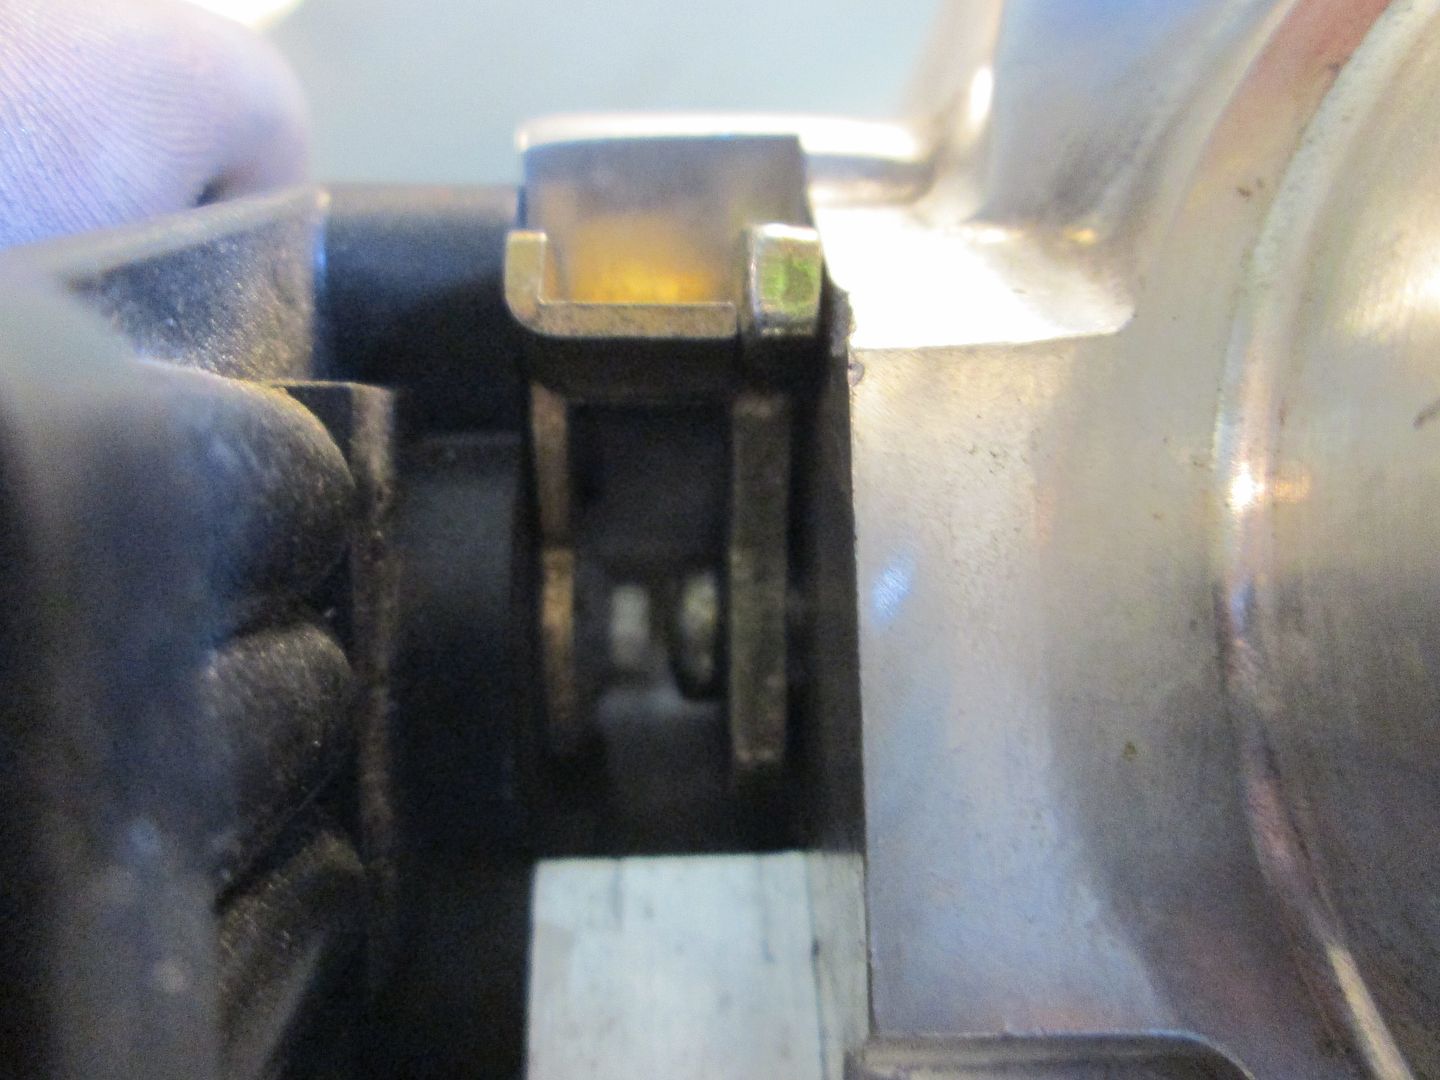
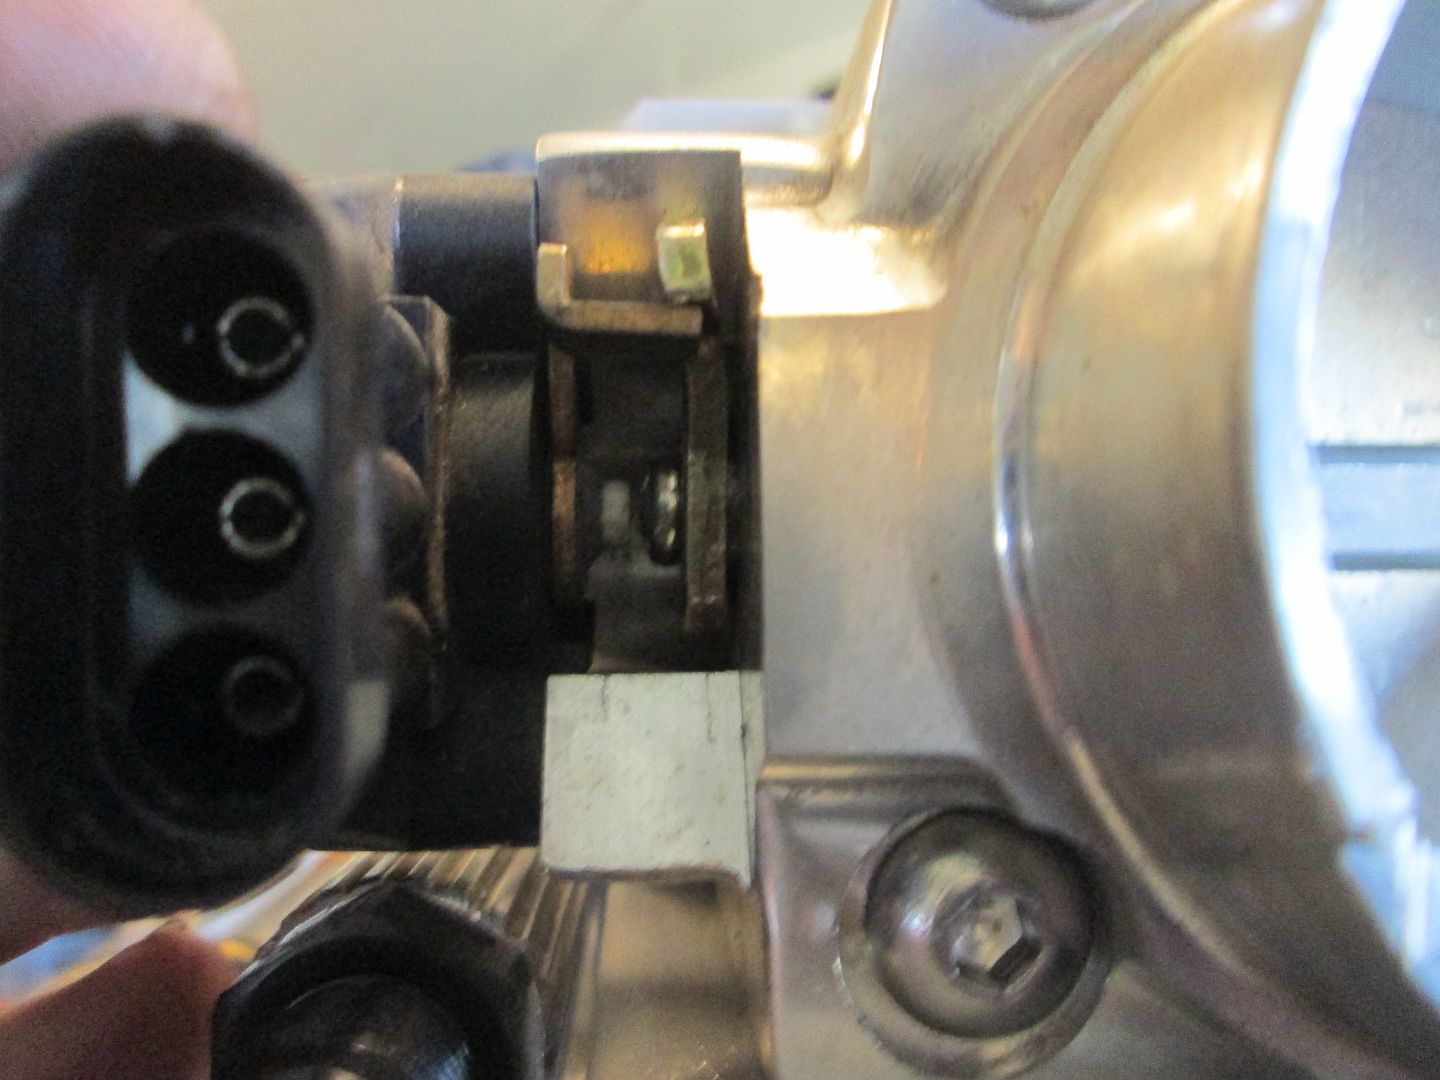
I am a stickler for detail and think the statement that it uses a stock Getrag select cable is somewhat misleading. The only reason the select cable works in this Fiero is because it is of the adjustable aftermarket style. The stock OEM getrag select cable as well as the cables from Rodney Dickman are non-adjustable and will not work with this bracket setup.
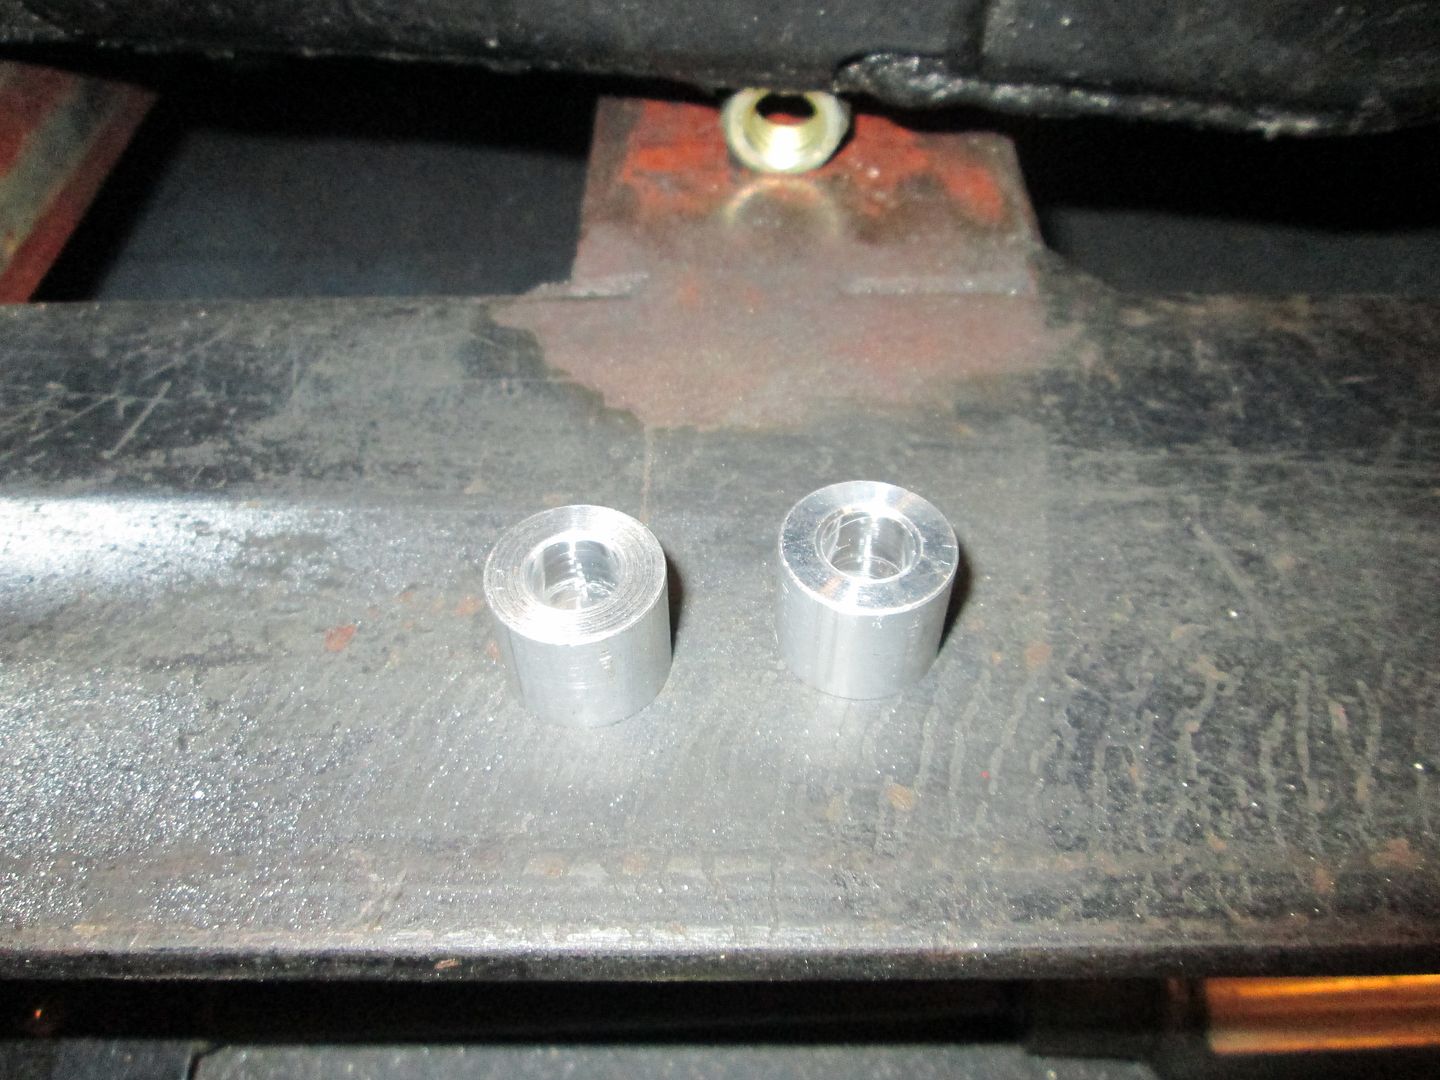
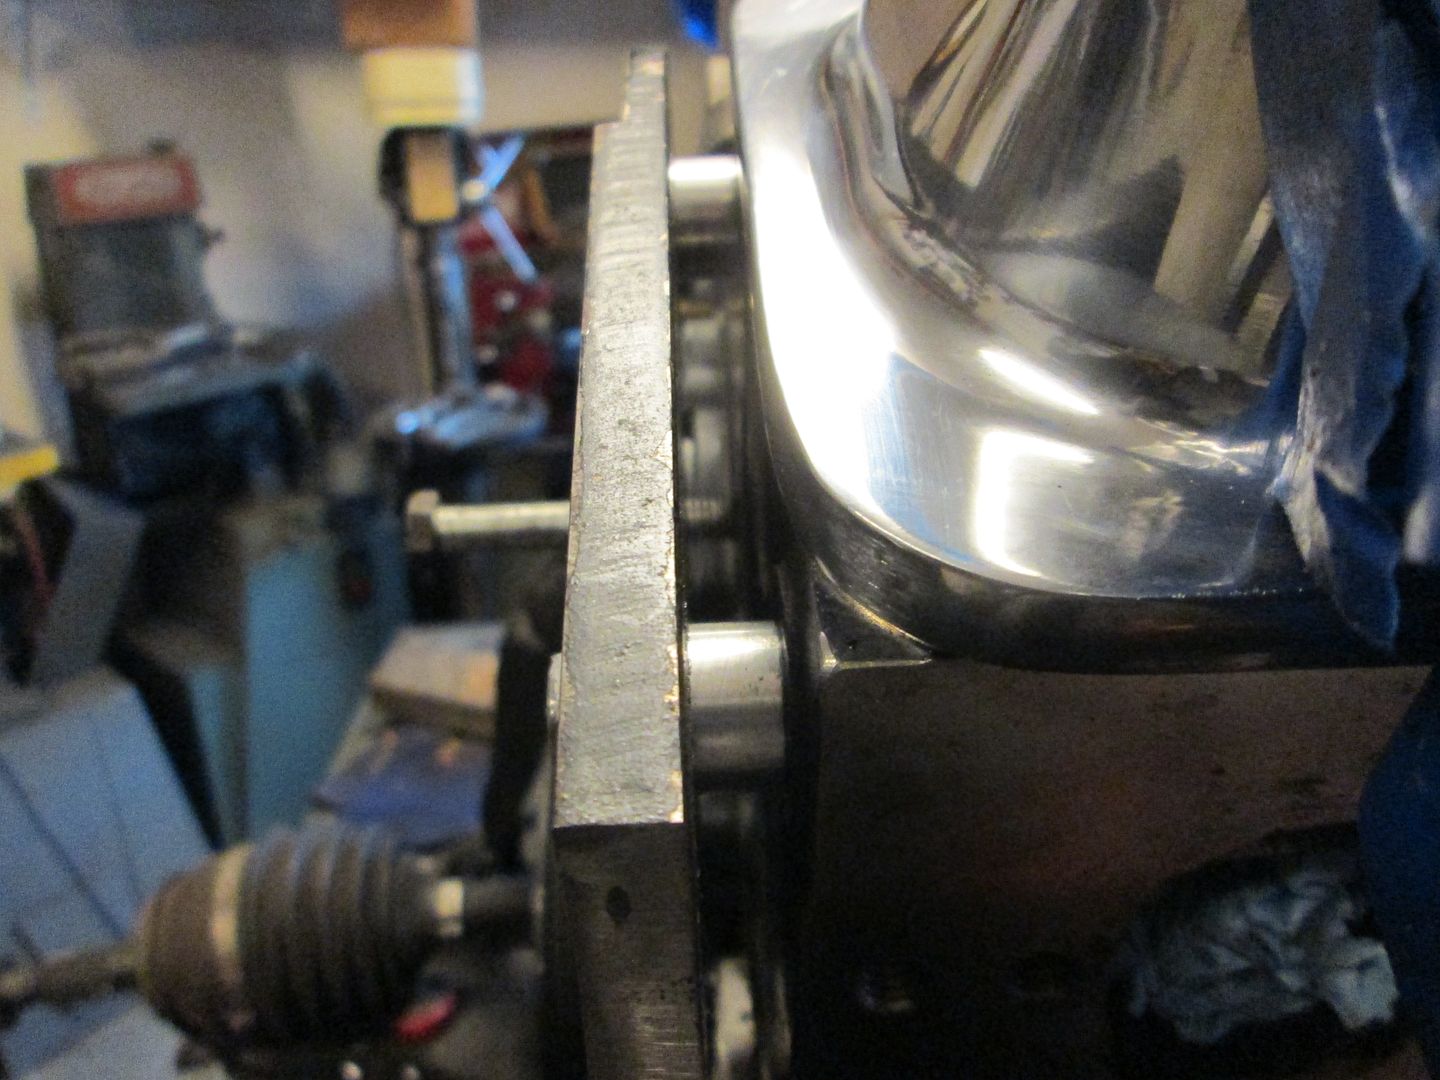
Here is a picture of a Rodney Dickman Getrag Select cable (top cable) side by side the one that is in this car. Notice in the fully retracted state, the distance from the mounting boss and the ball ends are significantly different, and you can see quite a bit of the adjustment has been used to make the sleeve of the cable longer.
http://www.fiero.nl/forum/Forum1/HTML/087296.html
I would classify this as a modified sleeve length getrag select cable.
|
|
|
|
joshua riedl
|
OCT 19, 07:54 PM
|
|
|
I already have my car setup with stock select cables and saw you broke yours and was wondering if this car had a stronger solution. It shifts nice but I'm afraid to jam the gears. I also noticed that even with my adjustable pushrod as short as it goes I'm having an over travel issue where the clutch reengages. I'm wondering if this is a spec clutch issue or an f23 issue. Easy fix either way I suppose. Great build though, it one of the few threads I look forward to when I see updates.
|
|
|
|
fieroguru
|
OCT 19, 09:16 PM
|
|
| quote | Originally posted by joshua riedl:
I already have my car setup with stock select cables and saw you broke yours and was wondering if this car had a stronger solution. It shifts nice but I'm afraid to jam the gears. I also noticed that even with my adjustable pushrod as short as it goes I'm having an over travel issue where the clutch reengages. I'm wondering if this is a spec clutch issue or an f23 issue. Easy fix either way I suppose. Great build though, it one of the few threads I look forward to when I see updates. |
|
The cable issue on my F40 swap is due to using the thinner select cable for the shift cable. The forces the shift cable sees are just too high for the select cable. This F23 swap has a legitimate shift cable for the shift functions, so it should be OK.
The overextension issue is likely a mismatch between the HTOB travel, the design of the pressure place fingers, and the clutch disk or a combination there of.
|
|
|
|
fieroguru
|
OCT 20, 05:10 PM
|
|
|
|
|
Trinten
|
OCT 20, 05:24 PM
|
|
|
That looks awesome! Thank you for the update.
|
|
|
|
ltlfrari
|
OCT 20, 05:58 PM
|
|
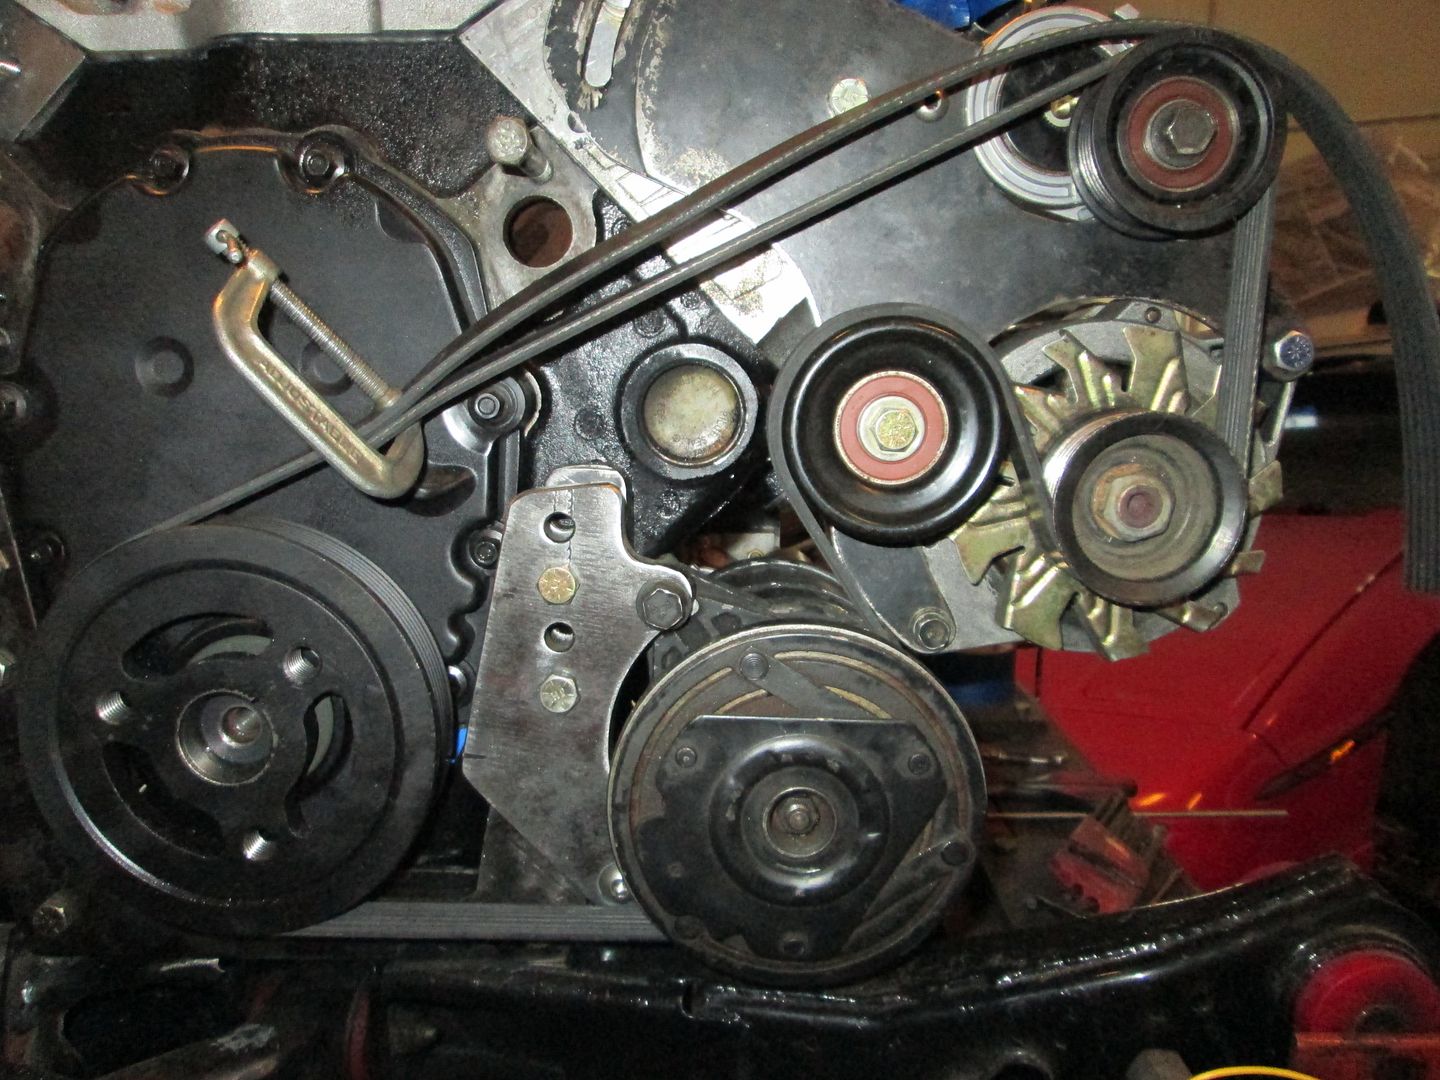
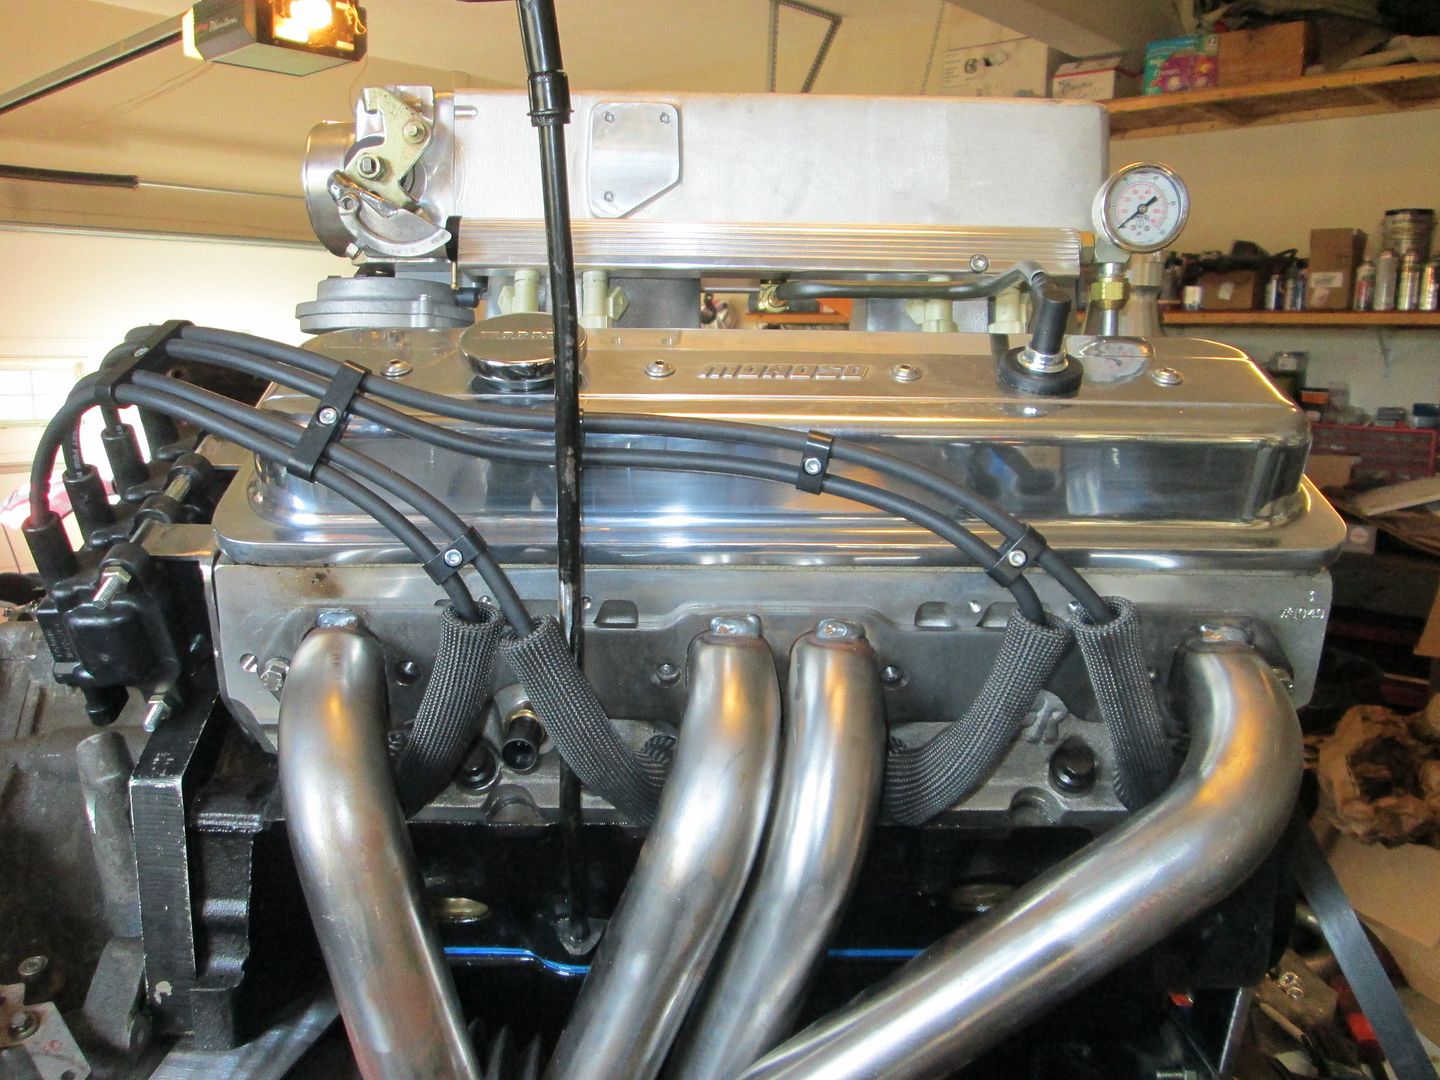
It looks awesome but I have to laugh. I keep seeing pics of this wonderful beast of an engine and there, tucked away under it is the same tired ol' crummy a/c compressor without so much as a lick of paint to make it look 'nice'.
Truly fabulous work though.
------------------
Anything I might say is probably worth what you paid for it, so treat it accordingly!
Dave
www.ltlfrari.com
|
|
|