|
| LS4 / F40 swap - fieroguru (Page 197/216) |

|
fieroguru
|
MAR 17, 07:41 PM
|
|
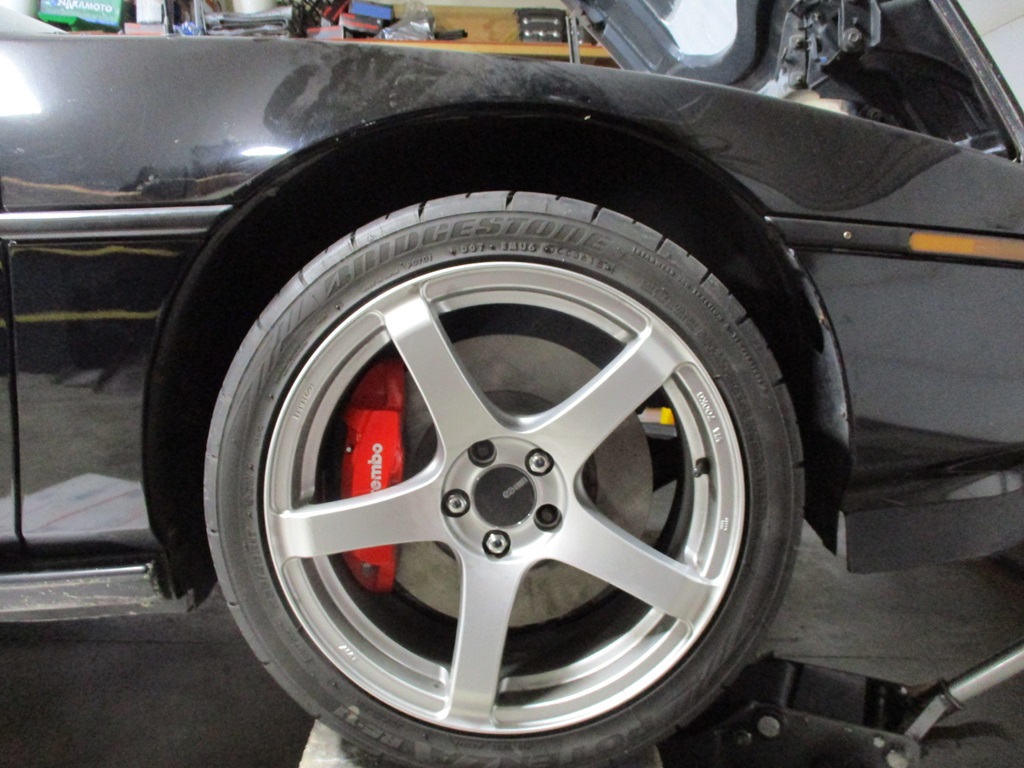
Only got to work on the car today... pulled front passenger wheel and wheel liner to run the fused 8ga amp wire to the battery. The amp battery cable passed from the inside to outside just above the door wiring pass with a new hole and grommet. The cable is ran in split loom and rests on the top of the wheel liner. Before it connects to the battery, an inline fuse holder was added.
Once the power cable was ran, then it was time to finish installing the dash and sub, wire up the radio and perform the first in car test. I think the finished install looks very good. There is 10" from the carpet to the bottom of the sub box.
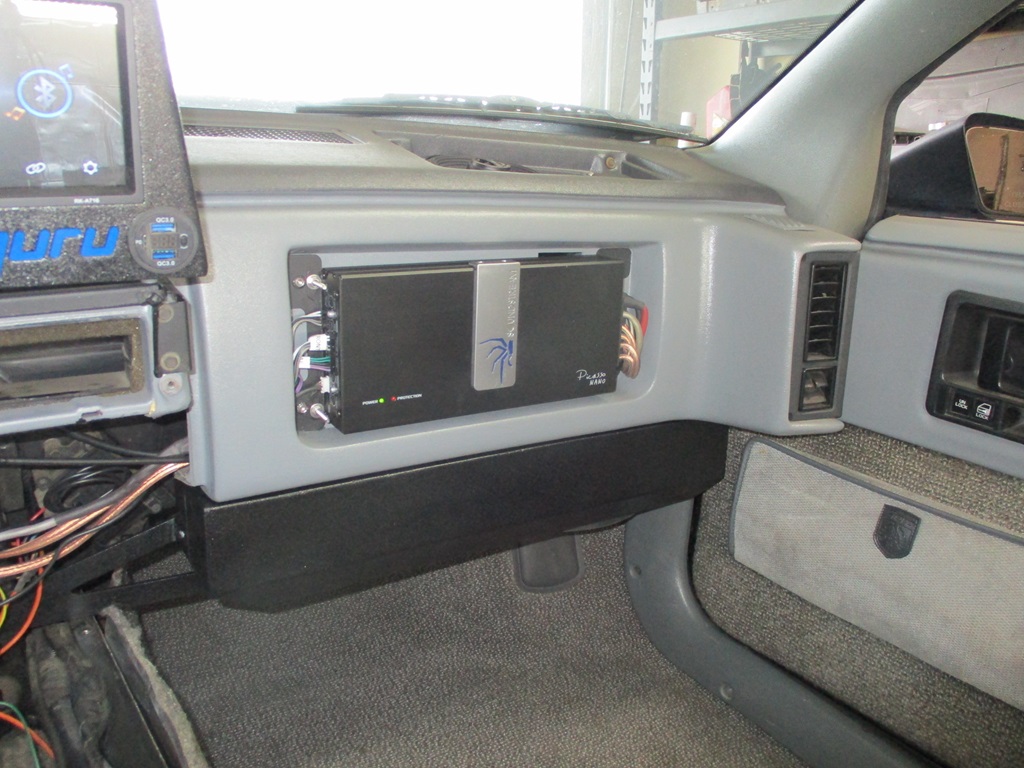
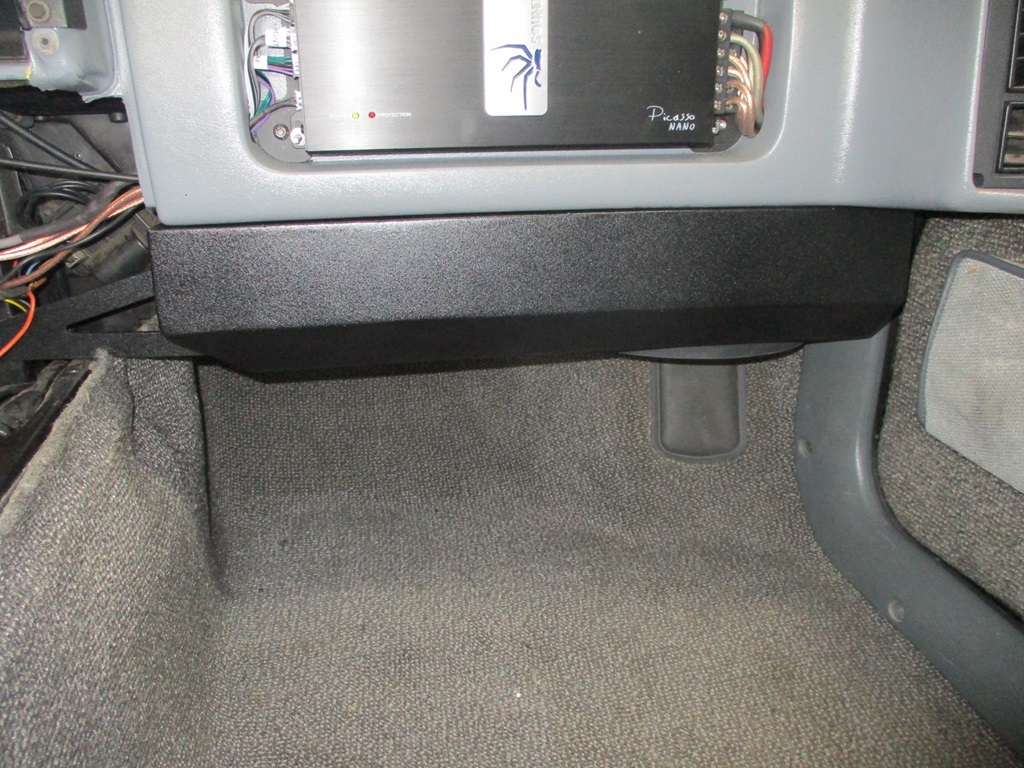
Played some AC/DC - Thunderstruck and Back N Black and turned it up. Sub works very well w/o and ringing or resonance. The base hits hard enough to shake the rear view mirror and carries into the house enough to annoy the cats. Overall it is louder than I need it to be and probably has more bass than needed in a Fiero as well. Overall I am super happy with the sound... Now I just need to finish putting the rest of the interior back together.
While the front wheel was off I went down a rabbit hole...
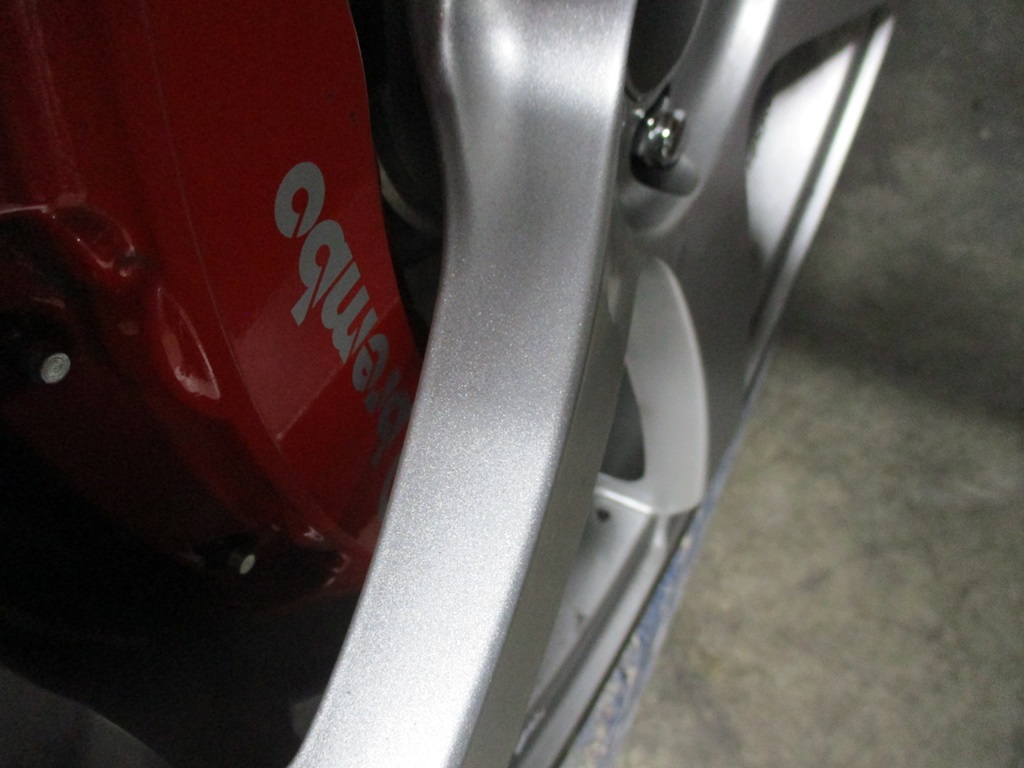
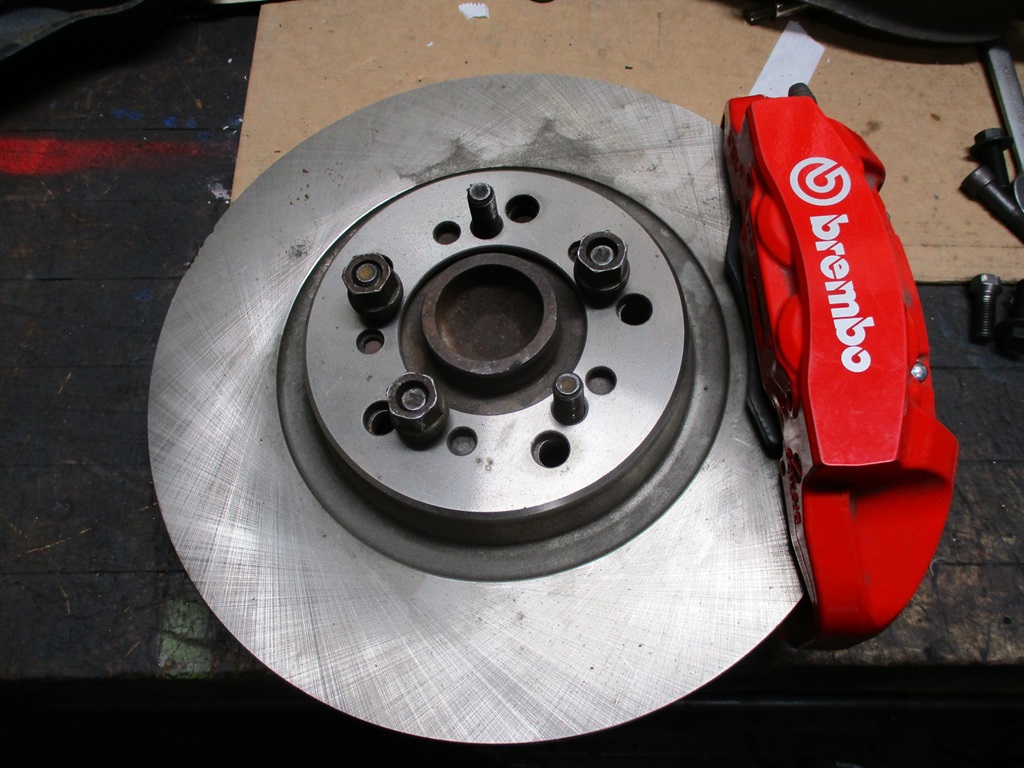
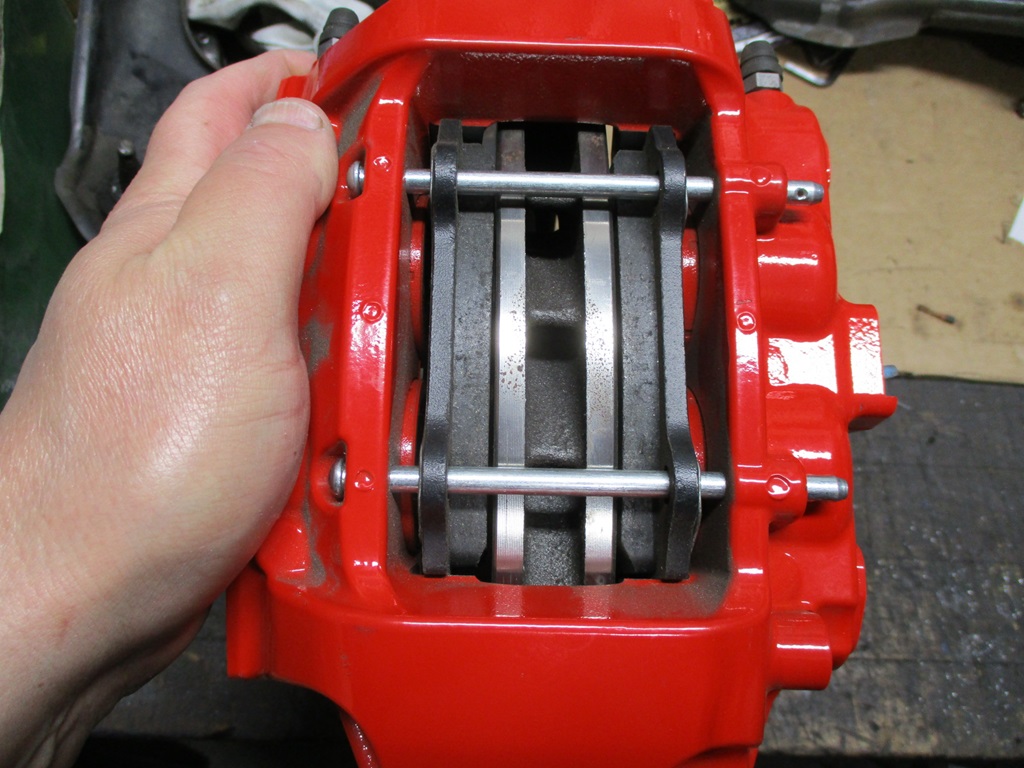
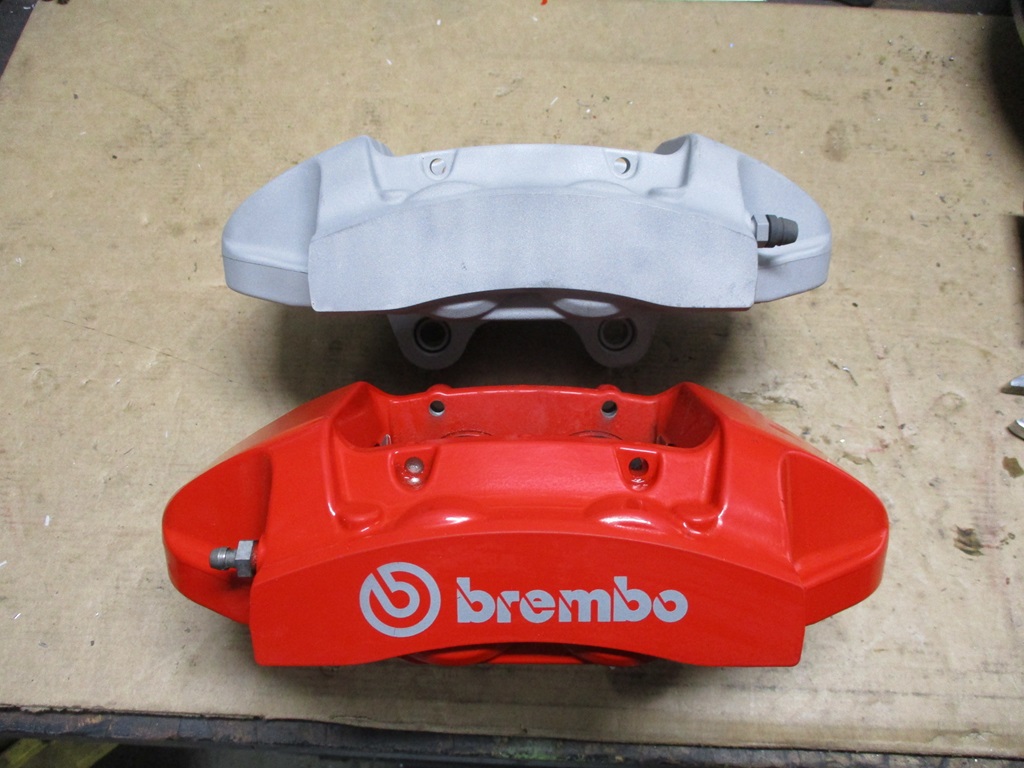
This is the Brembo 4 piston caliper that is a hydraulic match for the 88 Fiero calipers.
Hydraulic match means they can be swapped w/o changing clamp load or front/rear bias - which means they can be a front only upgrade while keeping the stock Fiero rear caliper with parking brake.
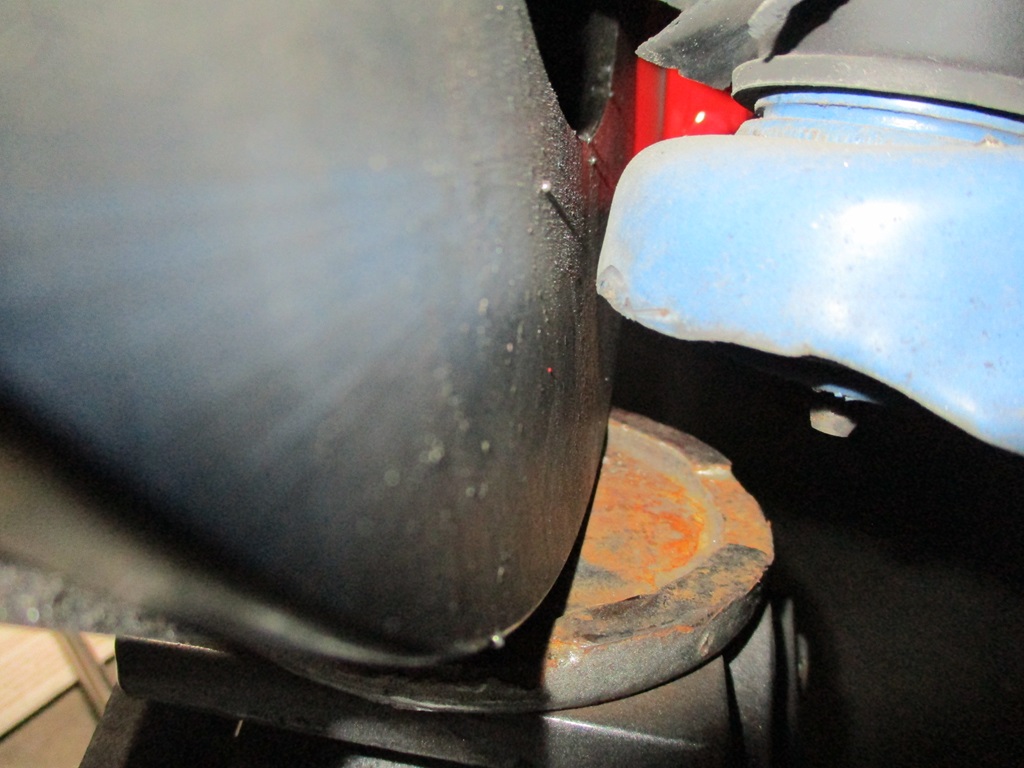
I am planning to use these calipers with my custom 88 front knuckles, but I am still a long ways away from installing those, so I decided to see if I could adapt these Brembo calipers to the stock 88 knuckle. So far so good... it appears the nose of the lower a-arm will clear the back side of the rotor. The caliper has to be rotated around the knuckle to allow for caliper bolt and caliper adapter bolts to coexist. This likely could cause some interference issues with the upper a-arm. If it does, I might try rotating it down vs. up. The rotor is 13" and 1.1" wide with some aggressive vanes for air movement. If everything clears, I will go ahead an install these (once they are painted blue!) in the front on my car. Like I said, they are a hydraulic match, so I can swap these calipers with the 88 front calipers w/o changing brake bias or brake feel.

|
|
|
|
qwikgta
|
MAR 20, 10:29 AM
|
|
The rotor is 13" and 1.1" wide with some aggressive vanes for air movement. If everything clears, I will go ahead an install these (once they are painted blue!) in the front on my car. Like I said, they are a hydraulic match, so I can swap these calipers with the 88 front calipers w/o changing brake bias or brake feel.
Any chance you'll offer the brackets and center ring's as a kit w/ part numbers for the rotor/caliper????
Rob
|
|
|
|
fieroguru
|
MAR 21, 06:12 AM
|
|
| quote | Originally posted by qwikgta:
Any chance you'll offer the brackets and center ring's as a kit w/ part numbers for the rotor/caliper????
Rob |
|
You are getting way ahead...
- First it has to fit w/o interference.
- Figure out the concentric ring solution.
- Test, Test, Test.
- Validate bracket fabrication process
- Determine sources for rotors, rings, and calipers - this rotor application already has 2-piece rotor options. Not cheap, but definitely lower weight.
- Create caliper fitment templates to allow verification of fitment to various wheels
- Run economics to determine pricing
If It makes it through all the steps, then I likely would launch the kit as a front upgrade for current my 13" brake kit with me supplying everything. Eventually I might sell hardware only kits, but from history with my current 13" brake kit, as well as my coil overs, 97+% of the buyers don't want to mess with sourcing parts or assembly and are willing to pay more for less headaches and ease of installation.
|
|
|
|
fieroguru
|
MAR 24, 06:11 PM
|
|
|
|
|
fieroguru
|
MAR 31, 06:22 PM
|
|
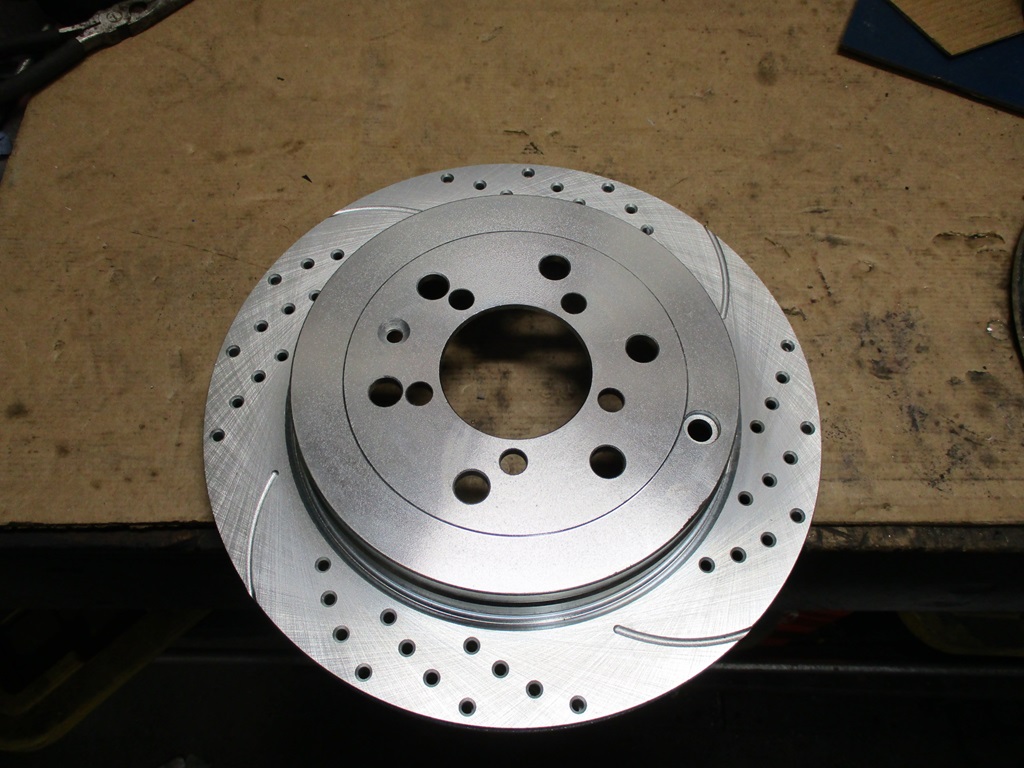
I wasn't having any luck with an off-the-shelf concentric ring, so I made some on the plasma and trued up the ID and OD on the lathe.
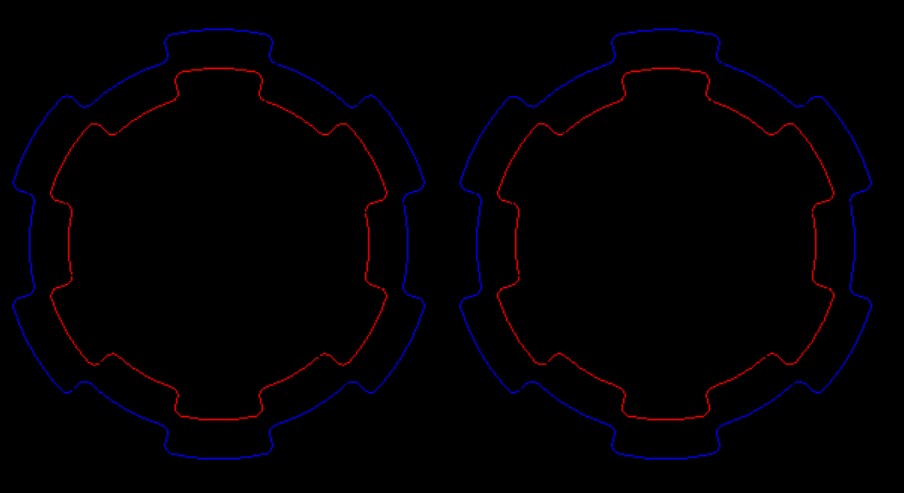
I made 4 of them and used 1 for the drill guide for the 5x100 pattern and then drilled the new rotors. In a month I will have the 2 piece rotors - but I want the car back on the road by the end of next weekend. So these will do for now.
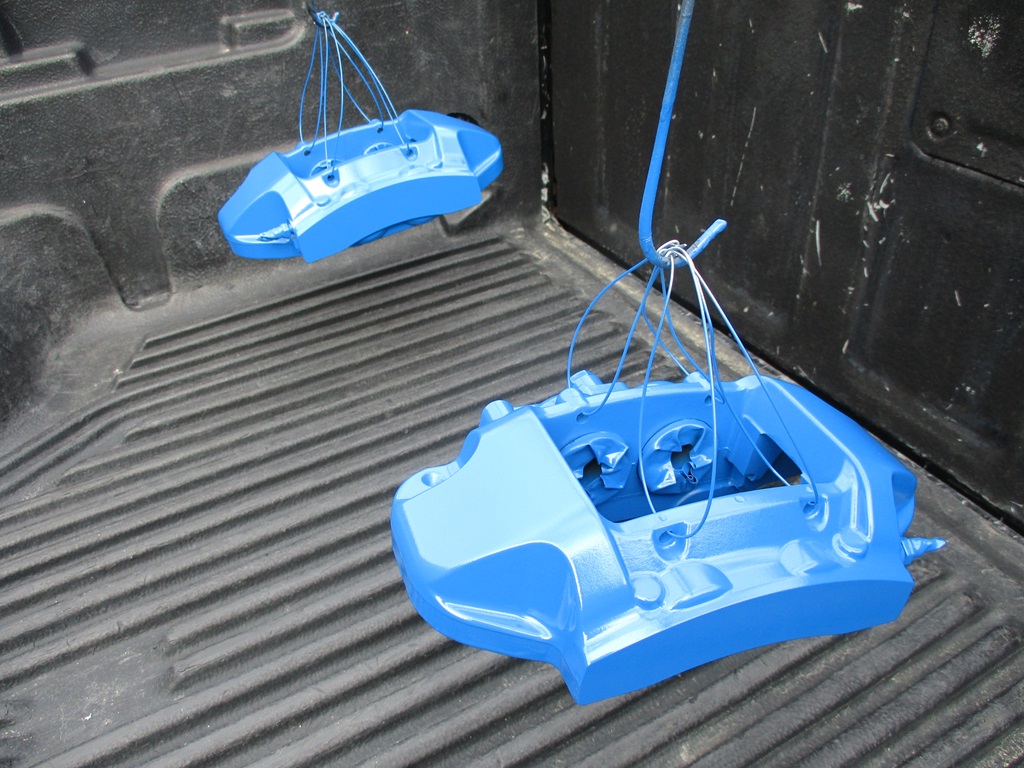
No more red on the Brembos:
Ordered:
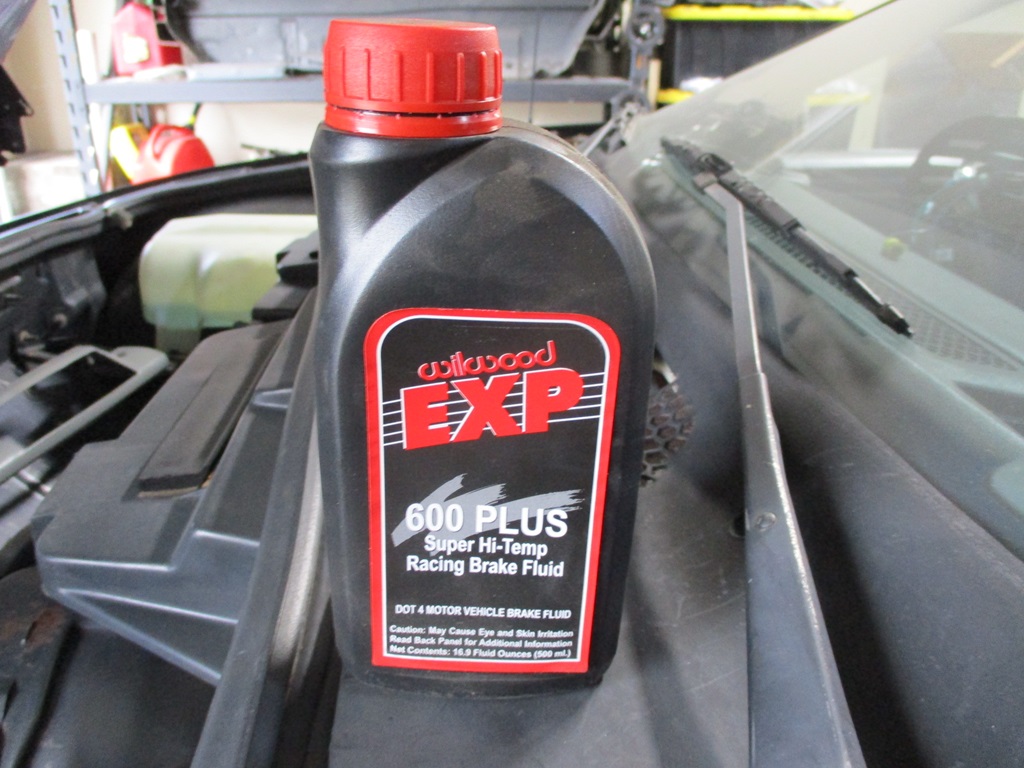
Russel DOT brake lines - the ones on the car had been there since 2013.
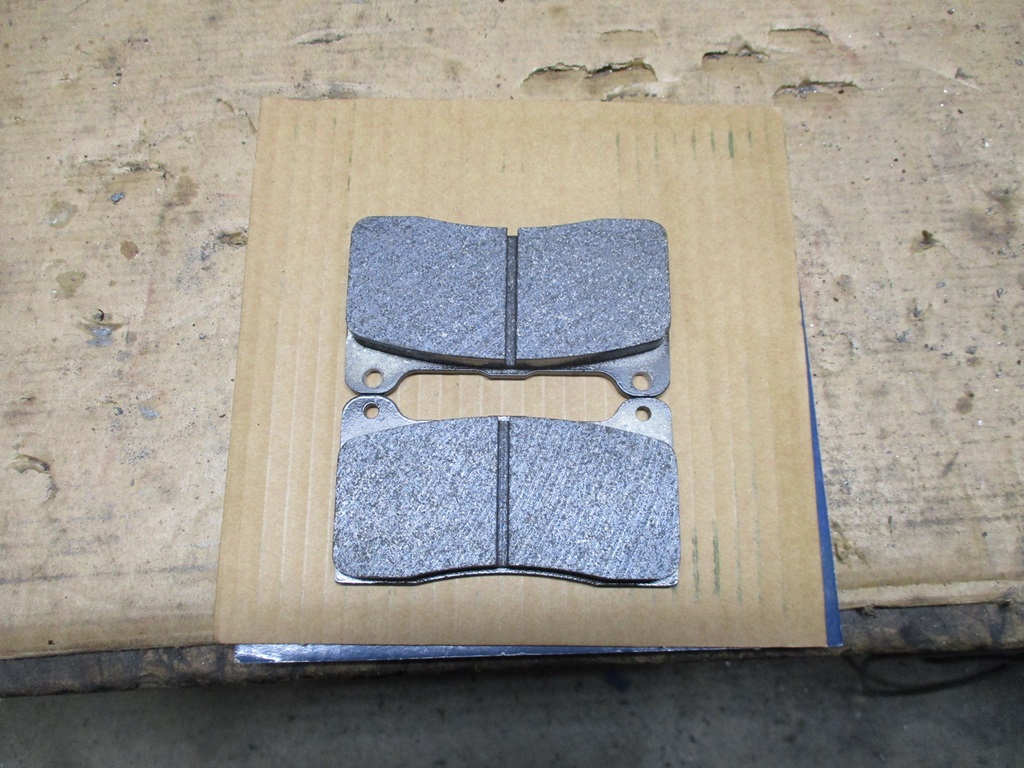
Hawk Performance pads for front and rear. Between the two caliper designs, I was able to find 2 compounds with very similar coefficient graph. The front are also a low dust compound, which would be a nice change.
The car won't be done by next weekend, but I want to start driving it and most of the remaining items are interior related, so I can do them while putting miles on the car.
|
|
|
|
fieroguru
|
APR 02, 07:45 PM
|
|
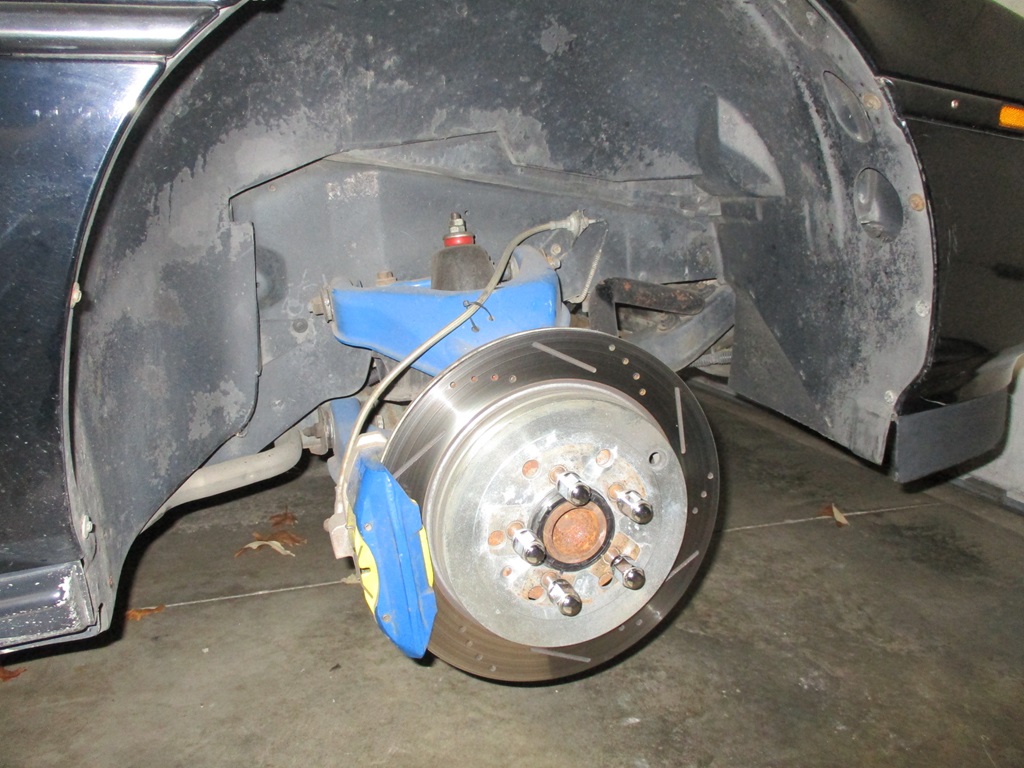
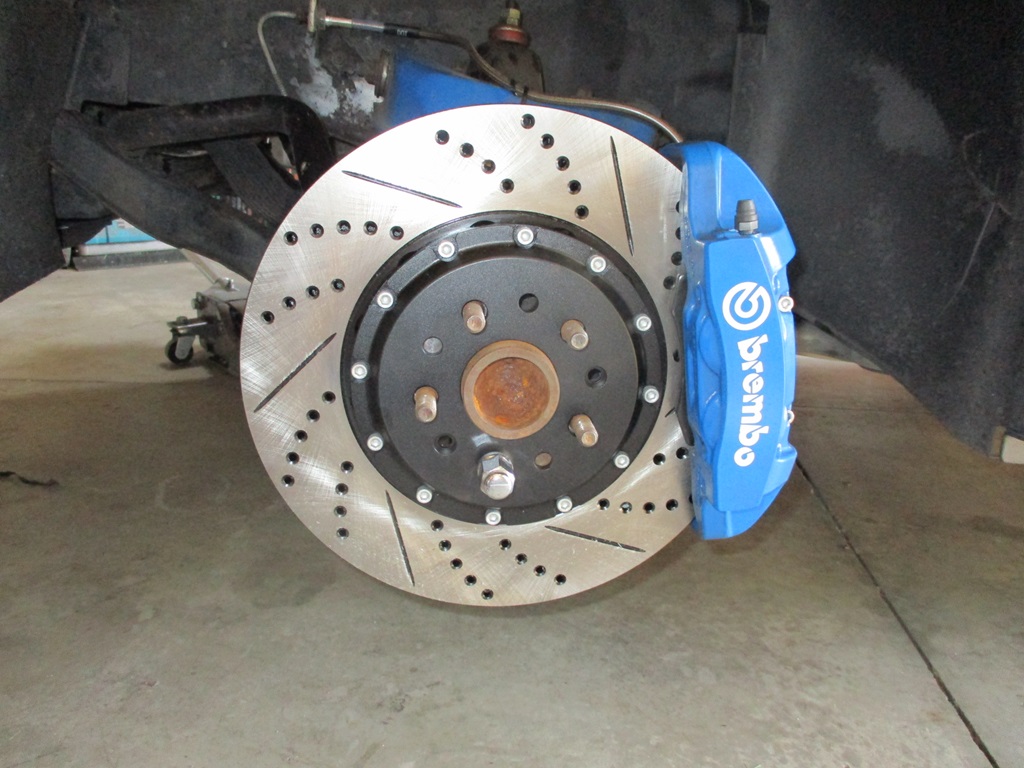
Caliper brackets and calipers installed!
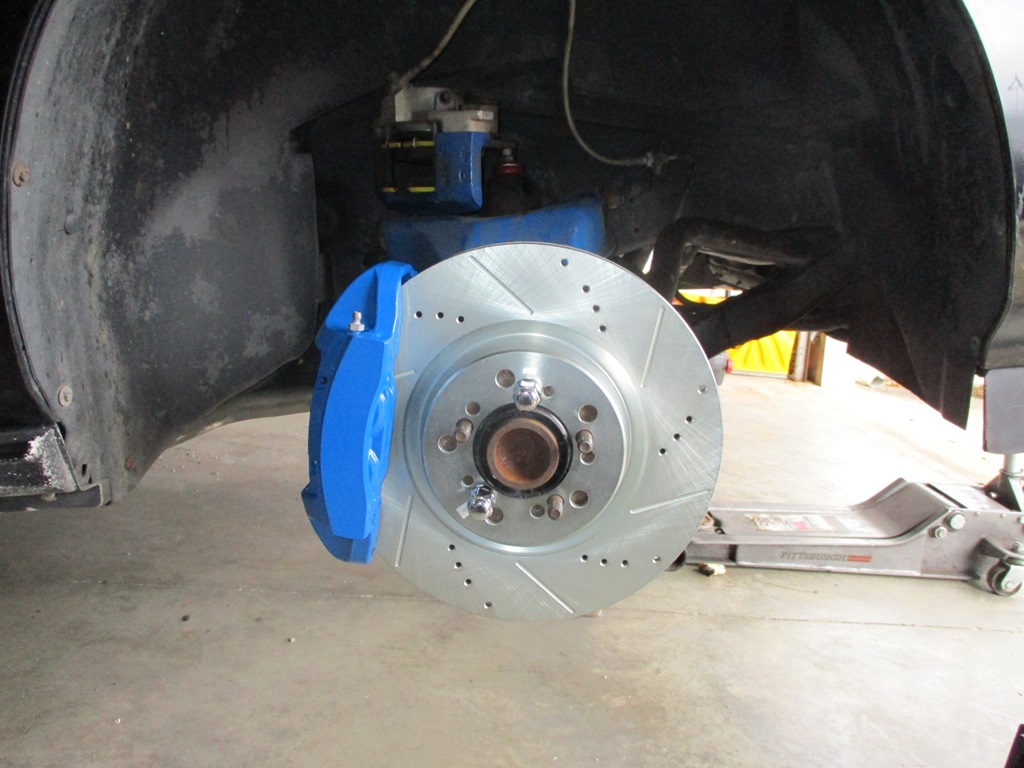
Just waiting for the pads, hoses and Brembo stickers...
|
|
|
|
fieroguru
|
APR 07, 07:01 PM
|
|
This weekend was pretty short as we were in Indy to see Hadestown on Saturday and we got back around 10 AM today.
I got the front brakes nearly complete. Trimmed some M6 stainless bolts and lock washers to work for pad pins, pads installed, modified the new brake lines to clock the hose connection so it clears the upper a-arm, flushed the brake fluid, installed the hoses, did a gravity bleed on all 4 bleeders, and installed the Brembo stickers. A final bleed full brake system bleed will be completed once I am done with the rears.

Then I switched my focus to the rears. Jacked the rear of the car up, removed the rear caliper bridges, pads, and rotors and drilled new rotors for 5x100 pattern, and flushed the rear brake system.
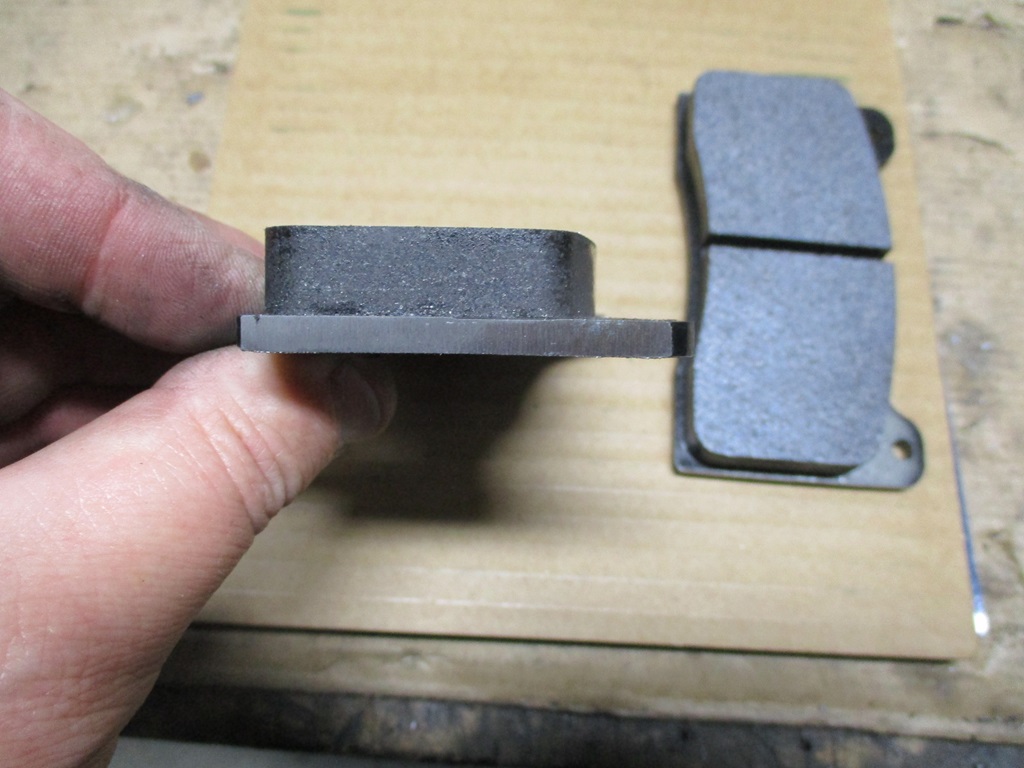
Then I got bogged down making the hawks pads for a Wilwood caliper work with an 88 Fiero caliper. The two mods that are needed are:
1. Use a belt sander on the edges to bring the width down from 100.6mm to 100.0mm.
2. Drill out the holes for the pad retaining pin. Since I will be using 6mm stainless bolts for the pins, I drilled them out to 6mm which is slightly smaller than the split roll pin the 88 Fiero calipers use.
Now I am waiting for the 6mm bolts to arrive (the Fiero calipers need to be 10mm shorter than the Brembos). With the switch to bolts vs. split roll pins, I will be able to install the pad with the bridge installed, so while waiting, I will get the rotor and bridge installed and check to see if I need to make a spacer for the bridge (these pads could be a little too thick).
|
|
|
|
Will
|
APR 11, 11:05 AM
|
|
| quote | Originally posted by fieroguru:
Started looking for sources of the hub rings, and finding off the shelf ones looks to be a challenge... but I am still looking. I really don't want the added cost or time to make them, but we will see.
|
|
This outfit will make custom concentric rings, and has a large selection of "standard" rings, which I think are still made to order. I have their wheel adapters to bolt 5x4.75" Corvette wheels onto 5x115 A-body hubs.
https://www.motorsport-tech.com/hub_rings.html
|
|
|
|
fieroguru
|
MAY 12, 10:16 PM
|
|
I have been slacking on updates - probably have about 400-500 miles on the car, 160 of them were from a trip I took in it yesterday... just to prove it could do it - cruise wasn't working so I was ranging in speed from 70 to 80 and didn't end up being a good MPG run. I have had a few issues with the calibration being corrupted after a log session and flashing the next iteration. The new one runs rough and the wideband goes to 21 with upshifts (tuning OL VE and I have DFCO turned off). Not sure what is going on, but I normally flash in an older version and fix the issue, but it is aggravating.
Not sure the size of the wastegate spring (supposed to be an 8lb spring), but with exhaust and boost pressure (under the diaphragm) it lifts about 3.7 psi currently w/o using my manual adjuster to limit the boost at the diaphragm. I don't think my 50mm wastegate is large enough to keep it at 3.7 psi as after holding flat for a while, boost increases. I did a pull yesterday in 3rd gear from about 2400 rpm to 5200 rpm. By the time the throttle was 100%, I had 1/2 psi boost. 2.5 psi boost was 1 second, 3.5 psi was 1.5 seconds, and it held 3.7 psi for about 3 seconds then climbed to 6 psi by 5200 rpm. The engine is still 10.0:1 and I am running N/A timing up to the boost transition and the turbo is on the smaller side for LS engines, all these things mean the turbo lights off quick, which works well with a manual.
Past several weeks I have been working through some electrical issues:
2 were issues with bad wiring diagrams, 1 failing part, 1 was on me as I picked the wrong VSS pin.
Fought a ground loop hum at key on with the stereo... The amp harness provided grounds for the speaker level inputs and the instructions said to ground them... that is what caused the hum. Remove them and stereo works w/o issue now. The 8" sub really packs a punch. It has probably been 20 years since one of my cars has music you could "feel".
Cruise wasn't working. I had the clutch switch wired for 12V when pressed (wiring diagrams shows N.O. switch). From others with working E40 cruise it needs to be 12V with the pedal at rest (N.C. switch). Reworked the wires and connector to use the N.C. pins on the same switch. I haven't had an chance to test it again.
Tach was working, just wasn't reading right (tach board starting to go bad), so picked up a new calibratable tach board from phonedawgz. Neighbors were proud of me revving the engine to 5000 rpm and holding it there for about 30 seconds to get the tach dialed in.
Speedo wasn't working either, I had used pin C1-49 VSS to ABS and ended up needing to use C1-21 VSS to BCM, just moved the pin at the connector and then it started working.
In between wiring issues, I also worked on the upgrades for the brakes.
Installed the hawk pads in the rear 88 calipers. Had to modify the pads for the larger pins/bolt as well as clearance for the slider mounts. Also the pads were a smidge too thick, so I made some 88 caliper bridge spacers from some 14ga scrap I had laying around. This will likely be a new product I sell now that I have the CNC plasma program done.
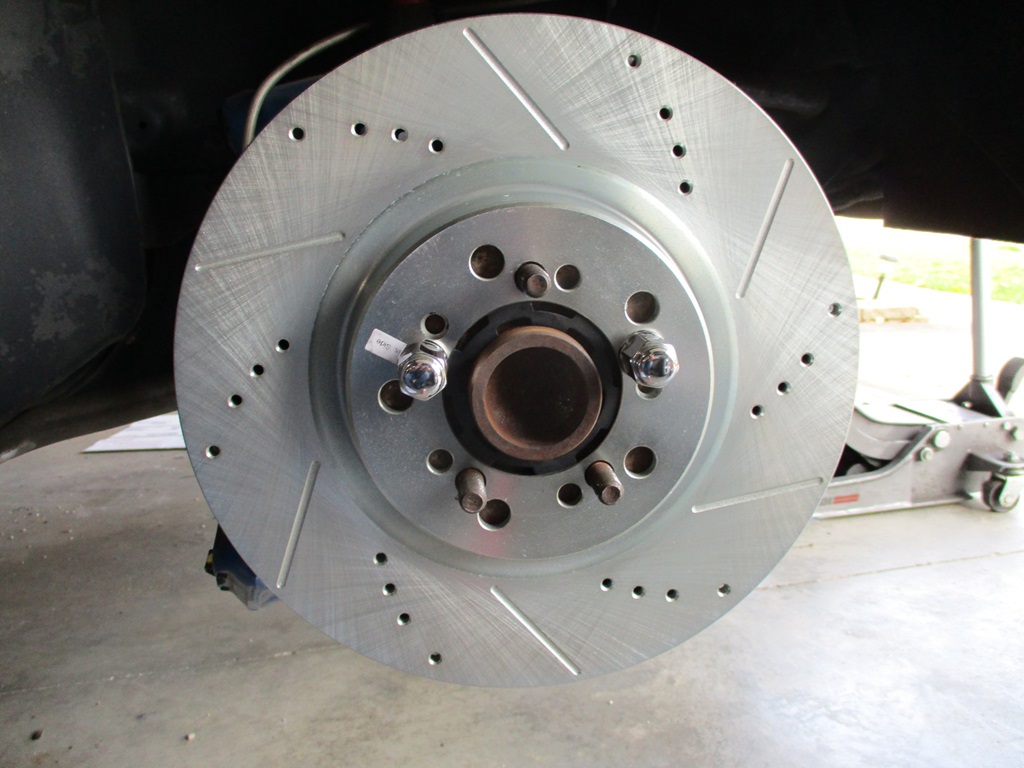
The front Brembo setup and the hawk pads worked very well! The 2 piece rotors also came in, so I installed them. I ordered them with custom hats with the 5x100 pattern and Fiero hub bore. They are 15 lbs 8oz and the 1 piece rotors are 18lbs 10oz. Not sure 3lb 2oz is worth the $800+ upcharge, but if nothing else, they look cool!
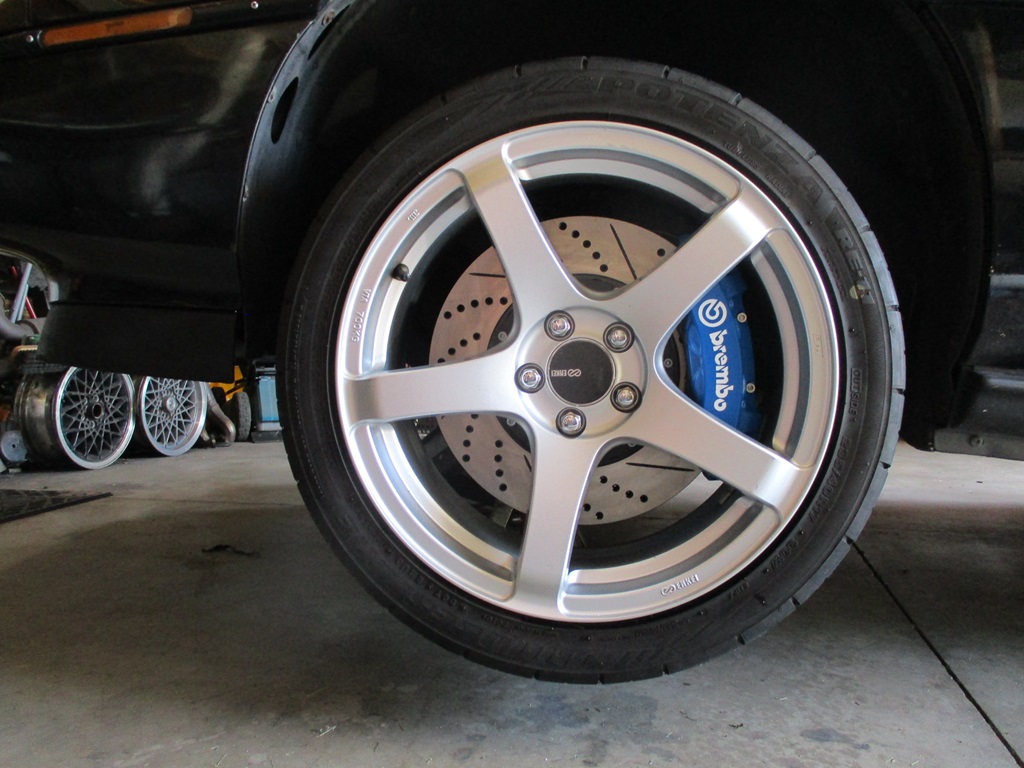
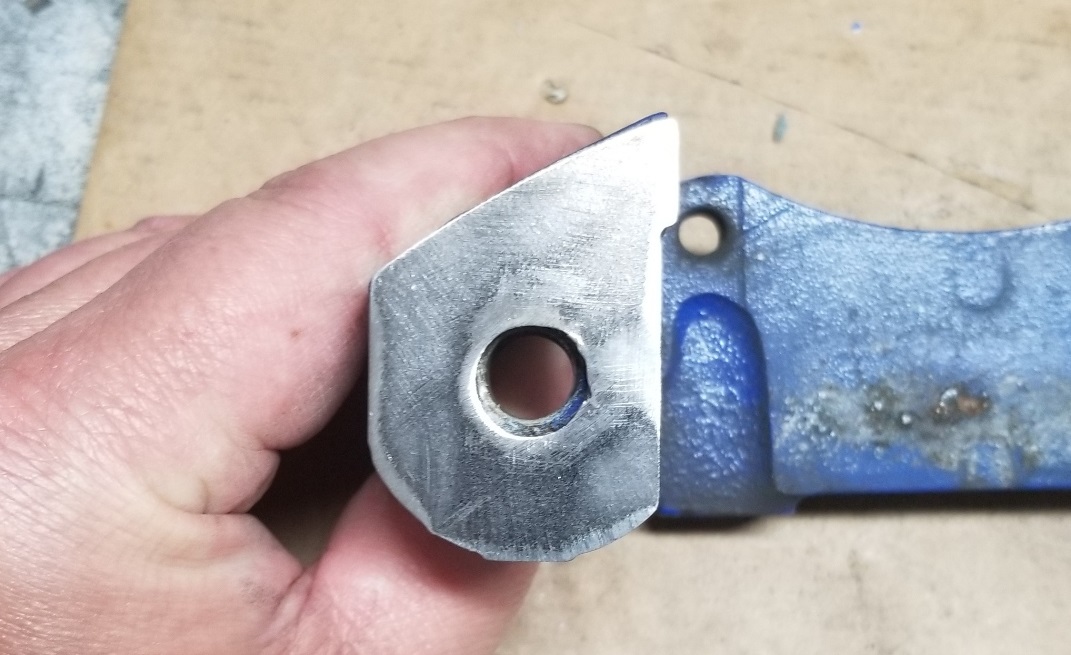
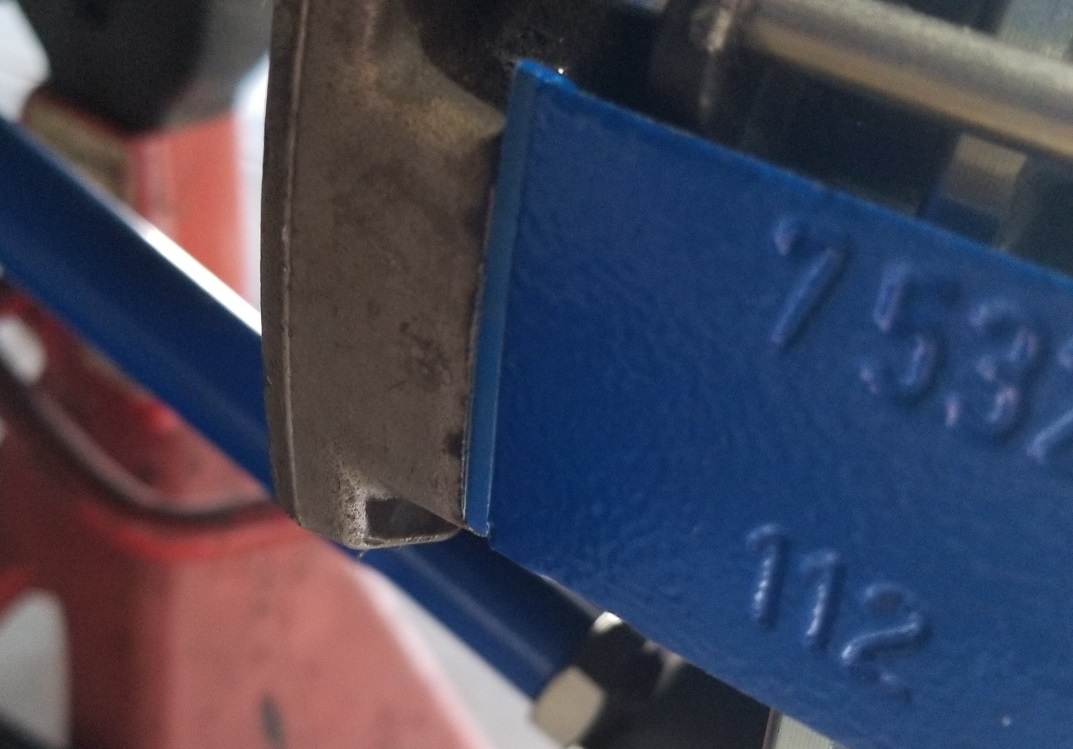
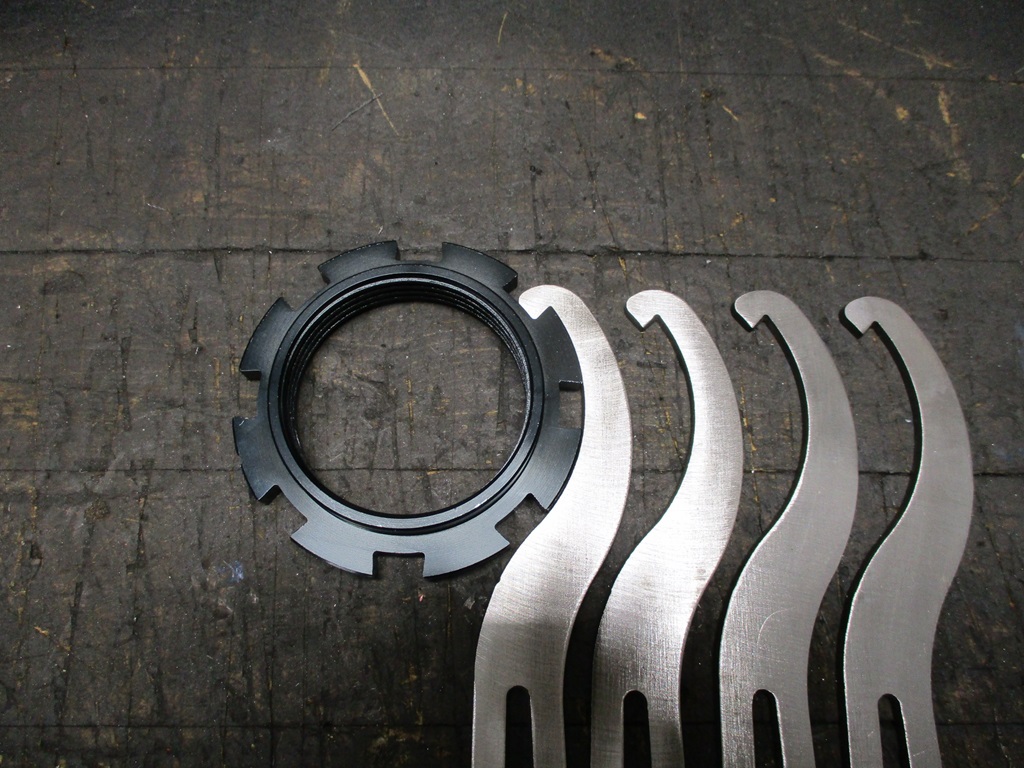
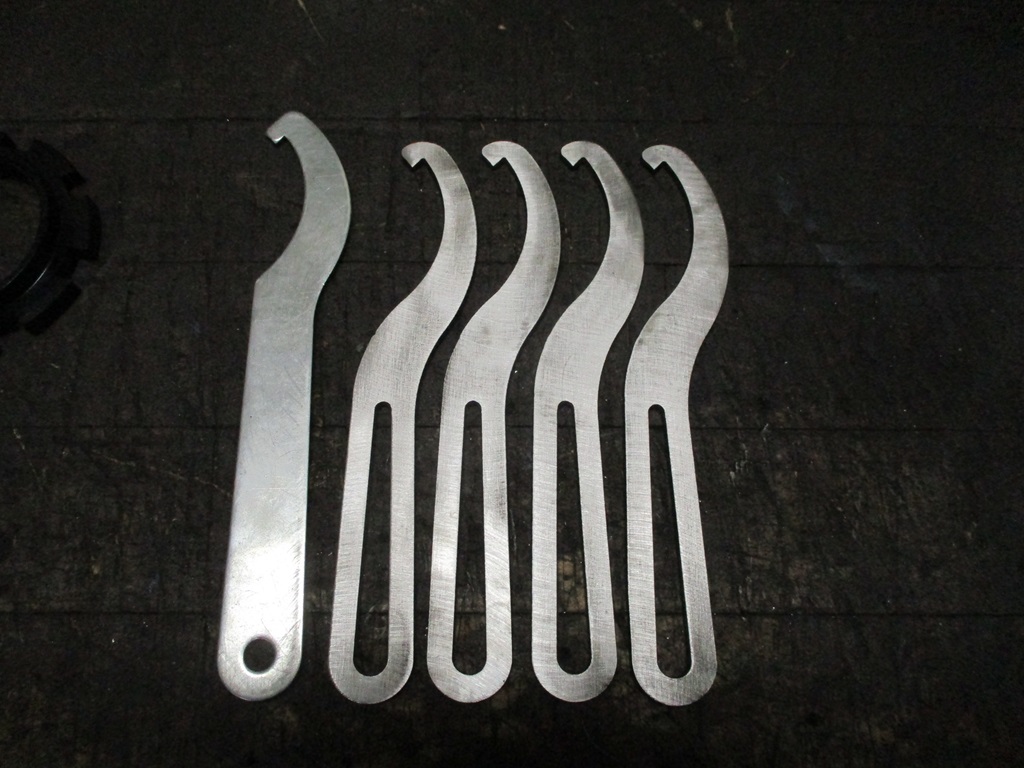
While setting the ride height, I couldn't find my original spanner wrenches, so I decided to make my own. Of course I found one of the old ones after these were done:
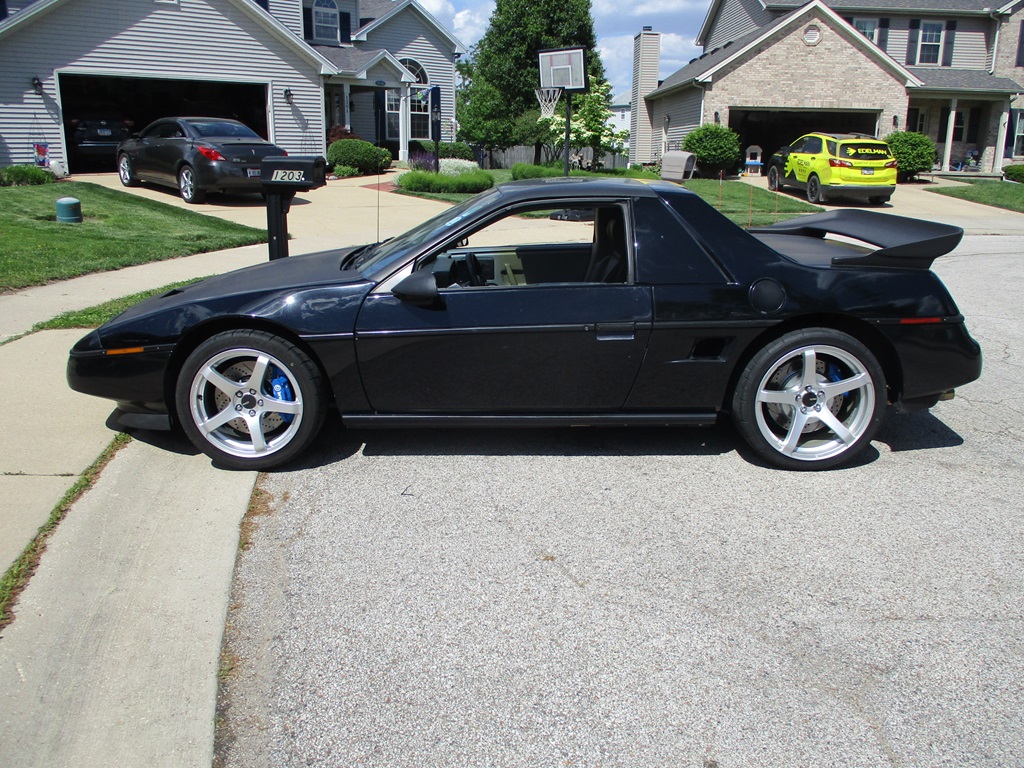
Here is a picture of the car out in front of the house:
Once I verify the cruise is fixed, I can start putting the console area back together. and charge up the AC.
|
|
|
|
Trinten
|
MAY 13, 01:48 PM
|
|
Wiring gremlins! I'm glad they were all fast to find and fix.
And definitely worth the upcharge on the custom hats. "Drill my rotors? Why?" That brake setup does look pretty awesome.
Are the Hawks brake pads the "HPS" compound?
I've been debating on one of the street-rated "EBC" brake pads, I would really like to hear your thoughts on the Hawks.
|
|
|
|