|
| Ecotec, Fastback, T-Top Build. (Page 19/22) |

|
Tony Kania
|
JUL 02, 12:13 PM
|
|
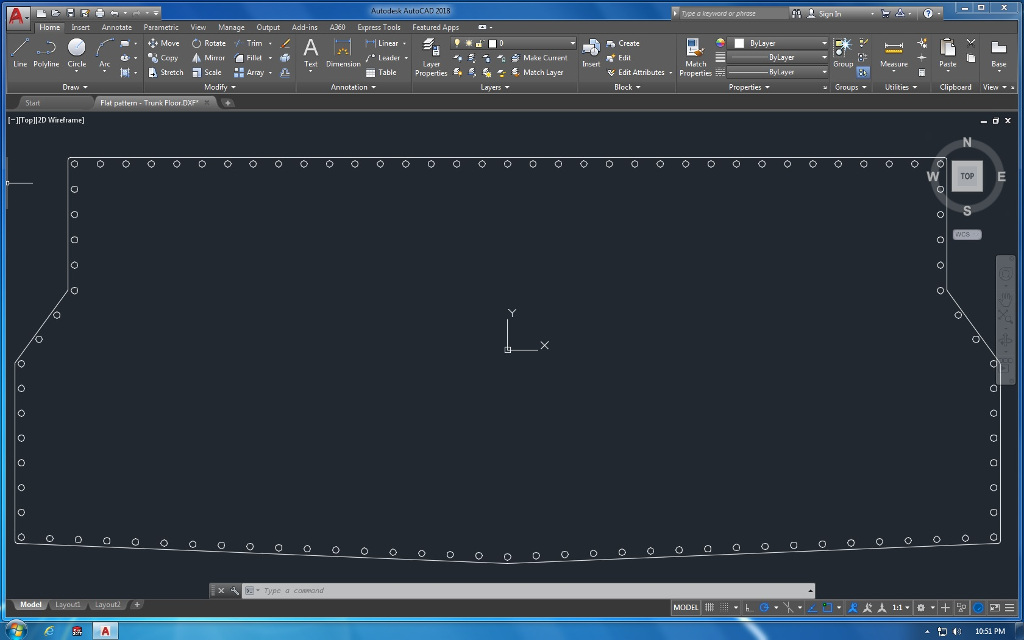
Coolant pipe bead tool. 
|
|

|
Lunatic
|
JUL 22, 06:43 AM
|
|
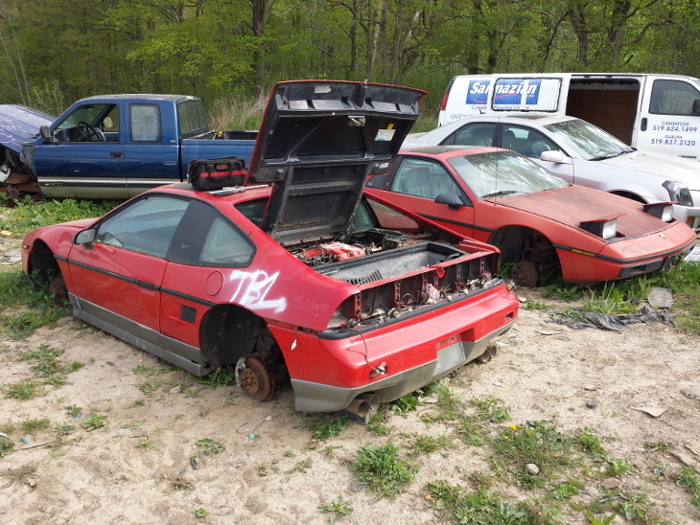
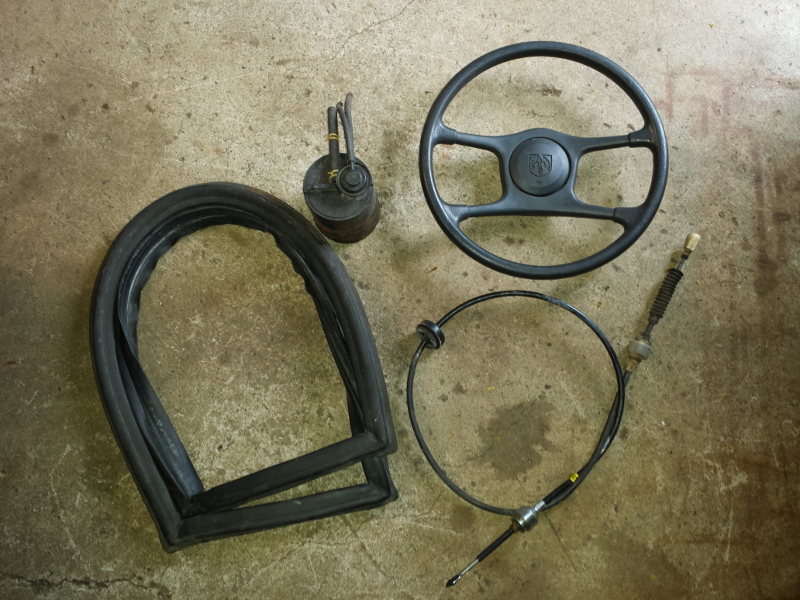
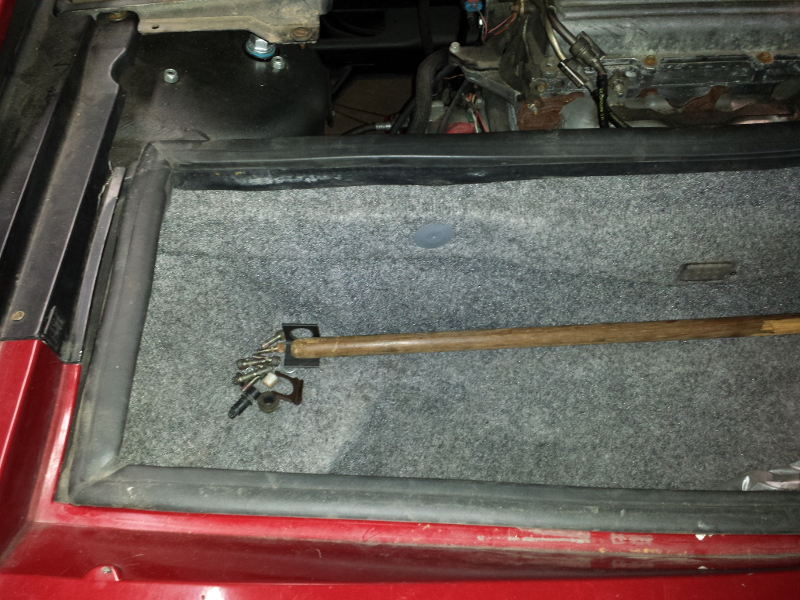
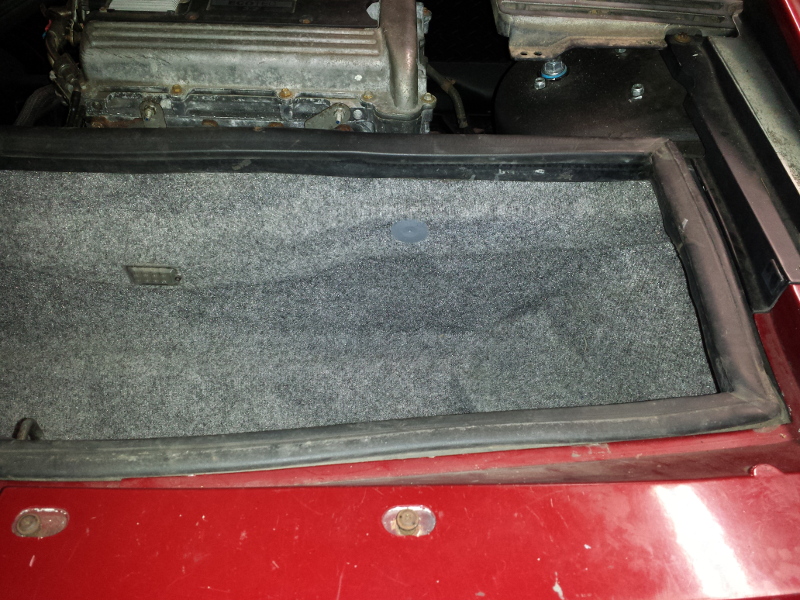
While walking around the salvage yard, I spotted a fastback. Some parts have previously been removed. However, there were still some good parts left. I removed the steering wheel, the vapour canister, trunk seals and a spare shifter cable. Most of which will make their way onto my car.
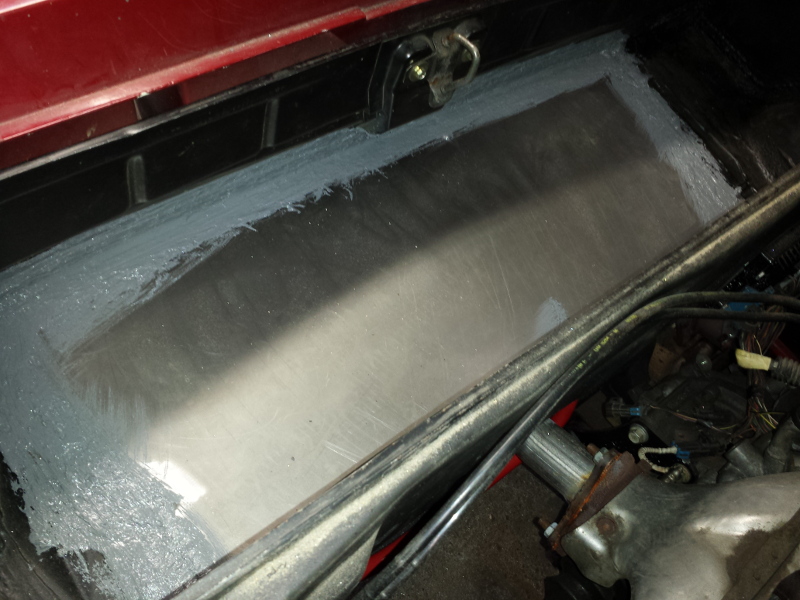
After that excursion, I took the time to double check all my hoses and connections. Knowing all was tight, I filled the cooling system.
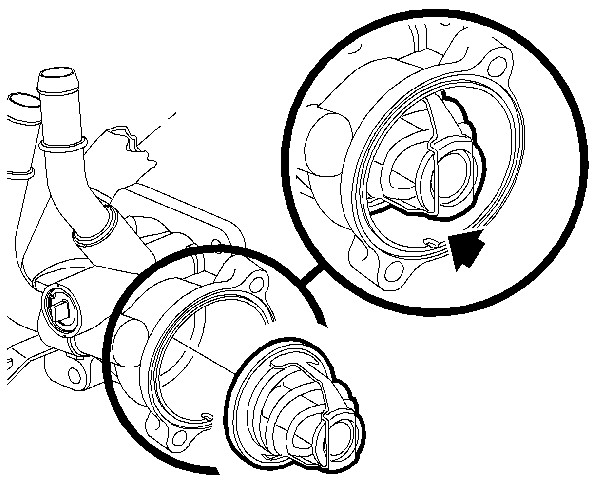
For those with the 2.2 Ecotec, the thermostat goes into the housing first, followed by the plastic sleeve. Orientation as shown.
I was very pleased to finally have coolant in my car. I let it run for around a hour. In that time, I checked for fan operation, leaks, and weirdness. All is well, I called it a day.
For the record, I used an Airlift device to fill the cooling system. It works perfect and is highly recommended.

|
|
|
|
wftb
|
JUL 22, 10:56 AM
|
|
Looking really good. If I wasnt so lazy I would copy some of the stuff you have done. I had time today to take a picture of my overflow bottle setup. The original hoses were printed on them where they went. So I just copied that .The large hose and one of the small hoses go back to the engine, the big one on the hose that has the tee on it and the small one to the fitting on the cyl head. The other hose I put to the puke tank fitting on the Fiero rad. Worked great at a hot track day on Thursday in Grand Bend.
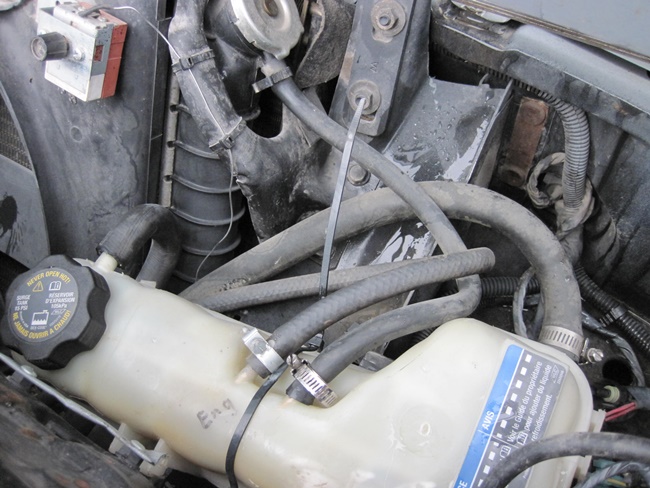
The hose under the tank cap is just open to the ground. I should put another catch can under that I suppose.[This message has been edited by wftb (edited 07-22-2017).]
|
|
|
|
Lunatic
|
OCT 29, 06:14 AM
|
|
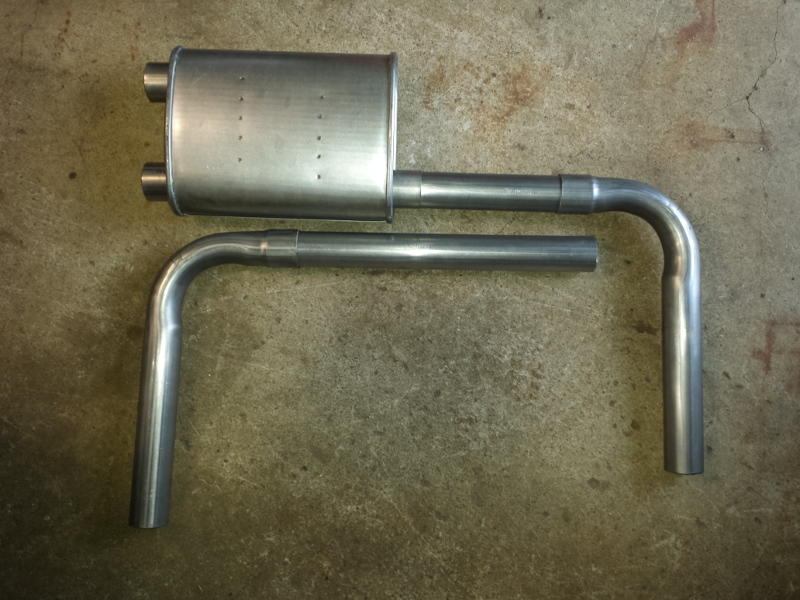
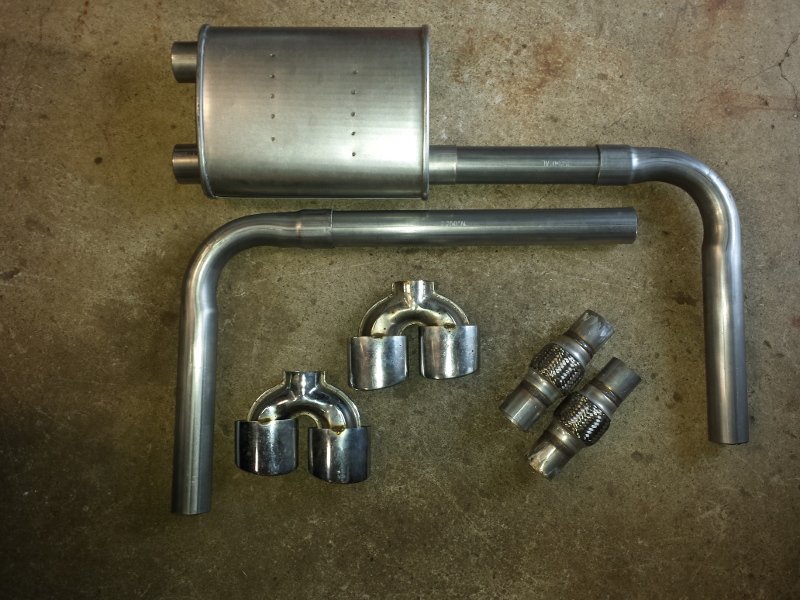
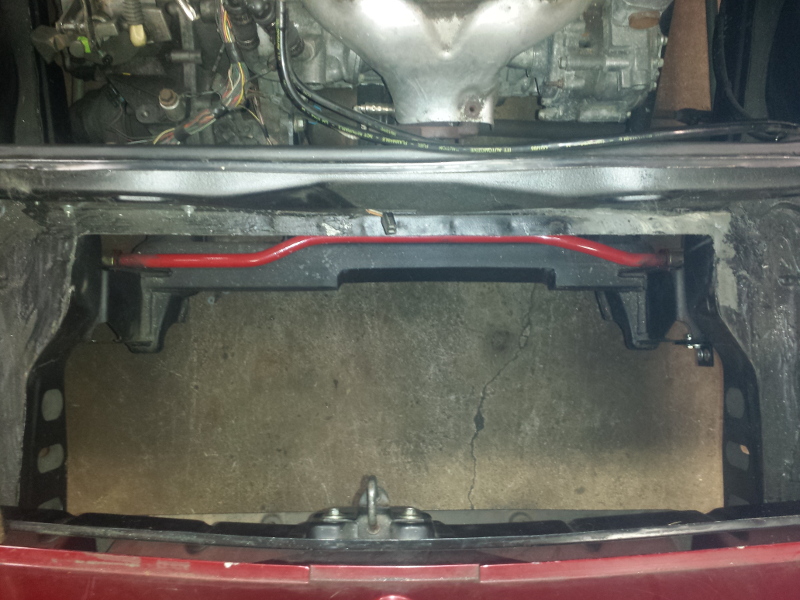
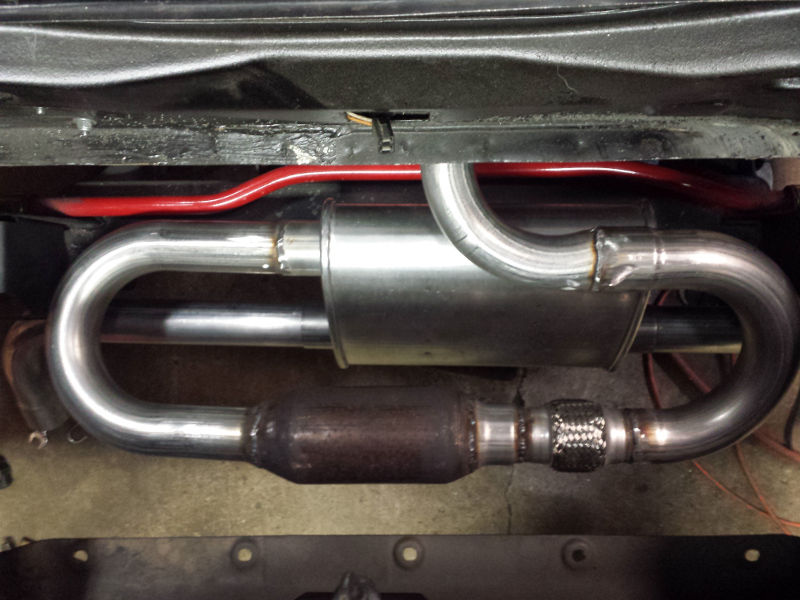
I needed to quiet down the exhaust as having just a catalytic converter with two resonators was way too loud. I ordered up a simple F-body muffler and some bits and pieces to make all this quieter.
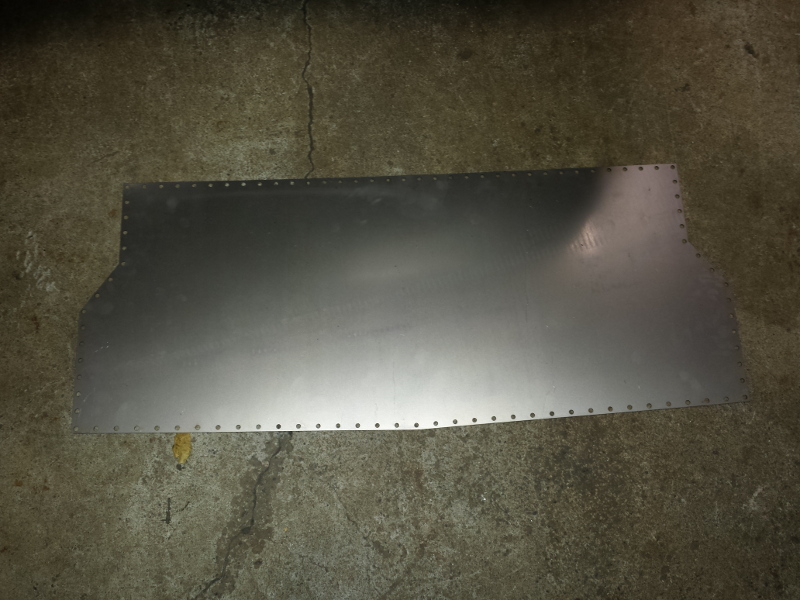
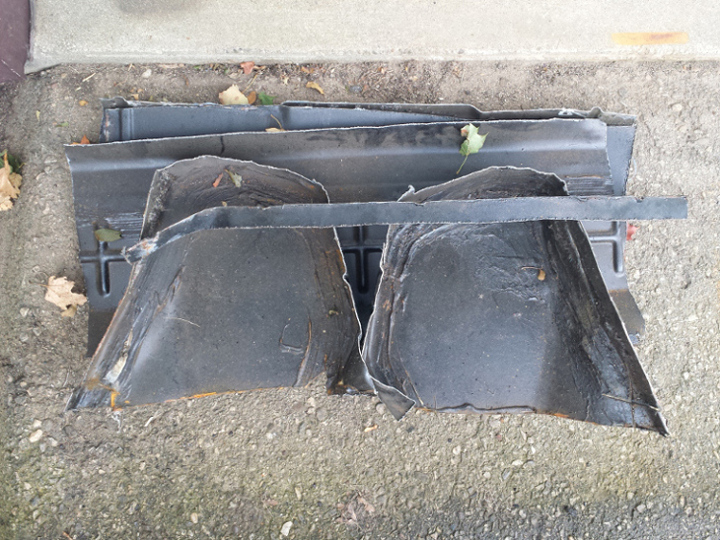
While many of you have a full exhaust and and an uncut trunk, great. I just decided it would be best to remove the lower section of the trunk. The added room was welcome. Besides, I don't travel heavy and I won't miss the space.
A Sawzall makes quick work of this.
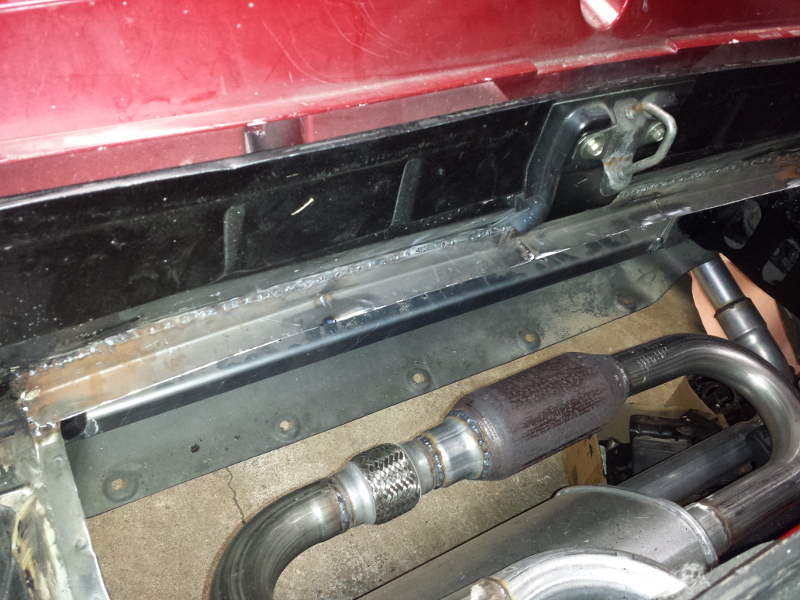
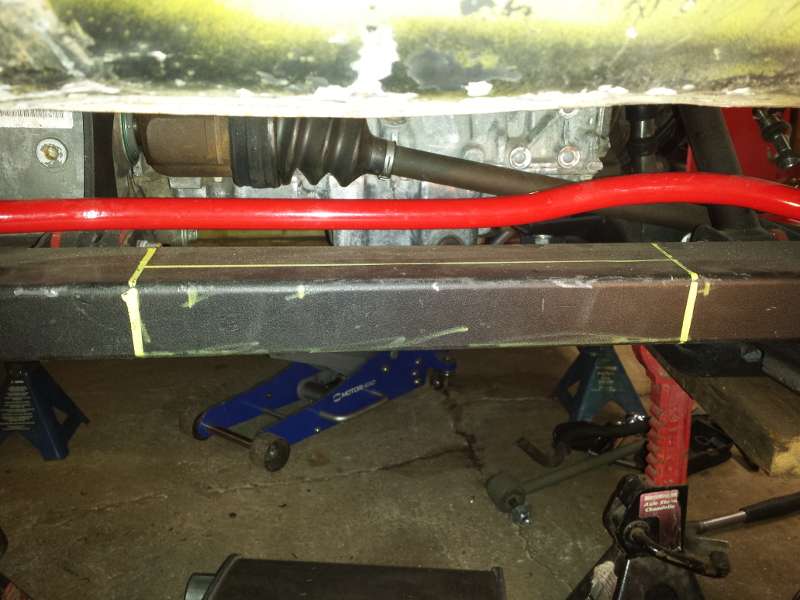
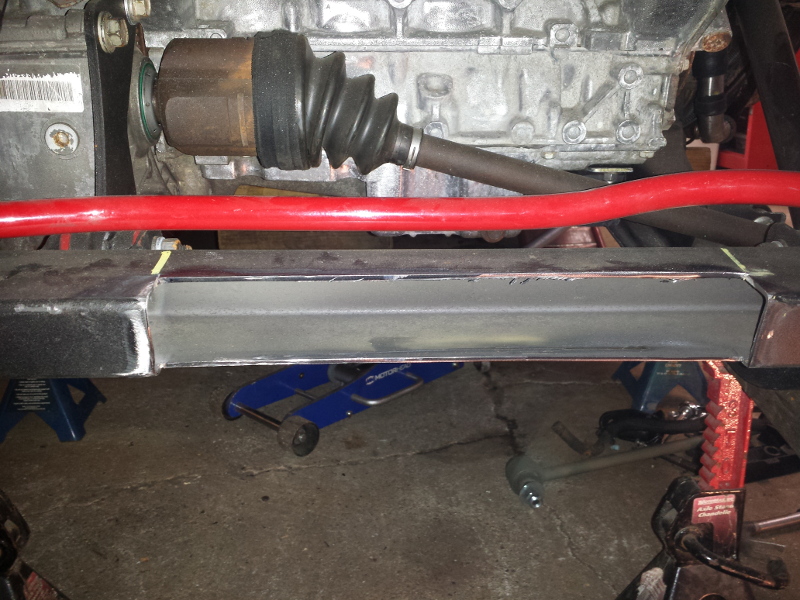
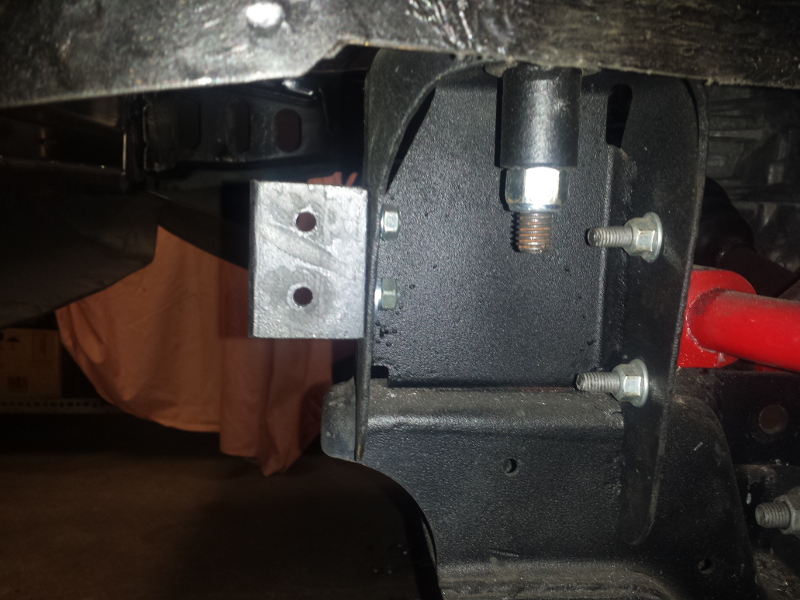
Now, I chose to notch the rear cradle crossmember as I wanted the muffler canted forward.
Here we go. Chop, cut, rebuild.
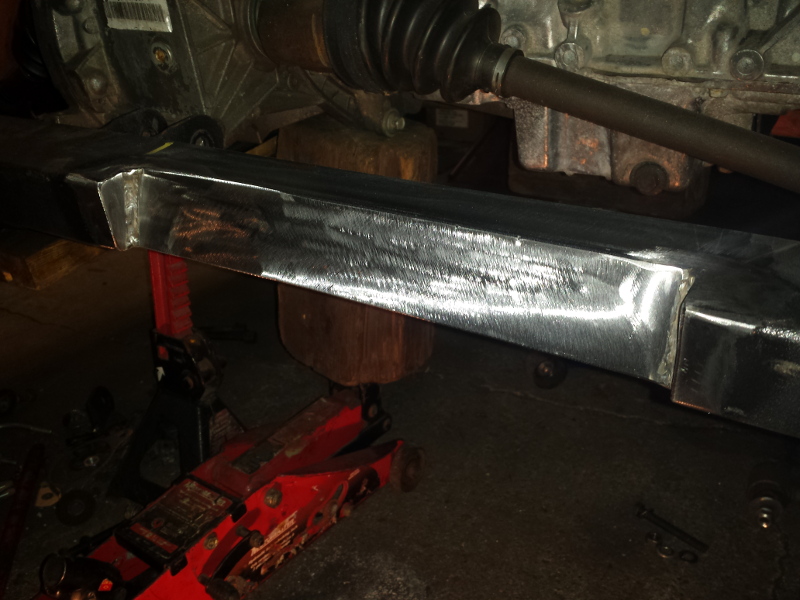
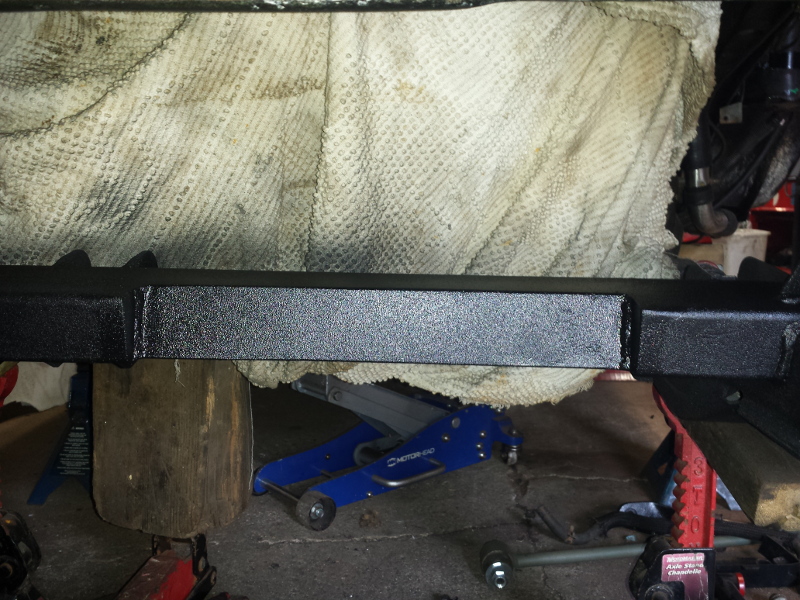
Here's a few pictures of the trunkectomy.

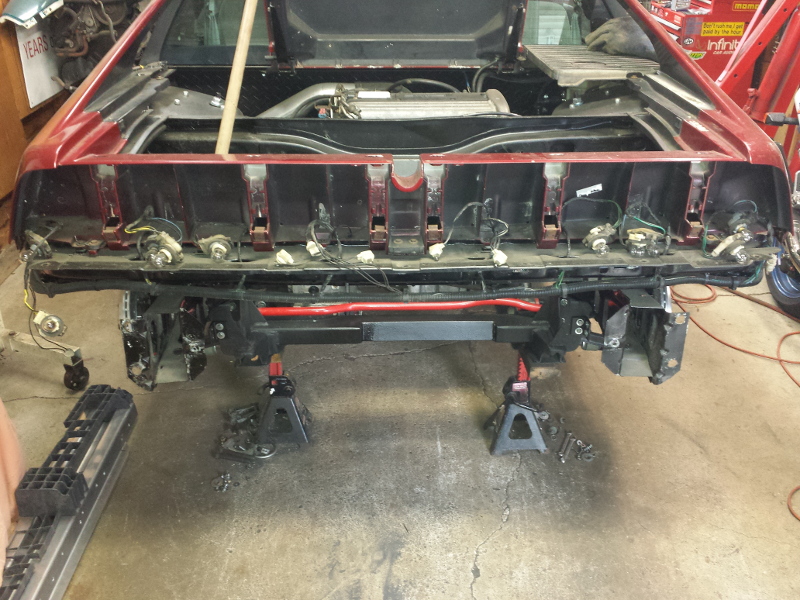

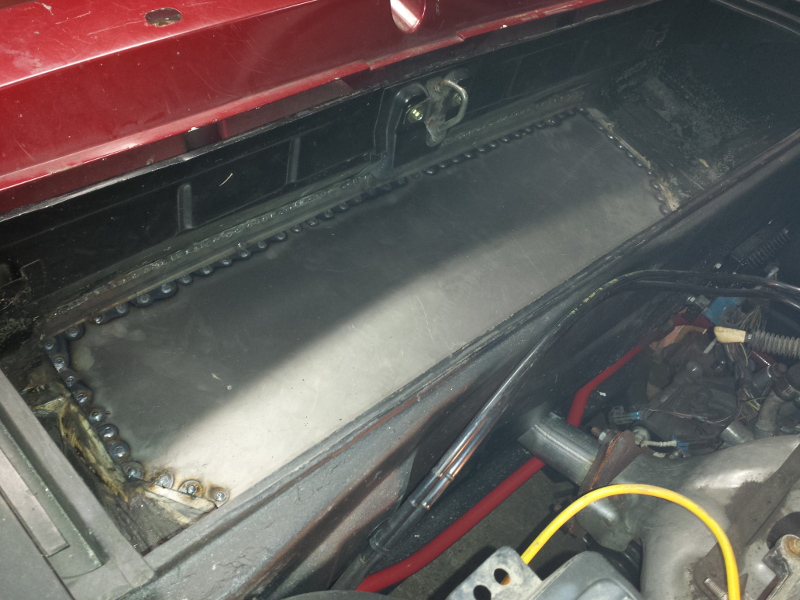
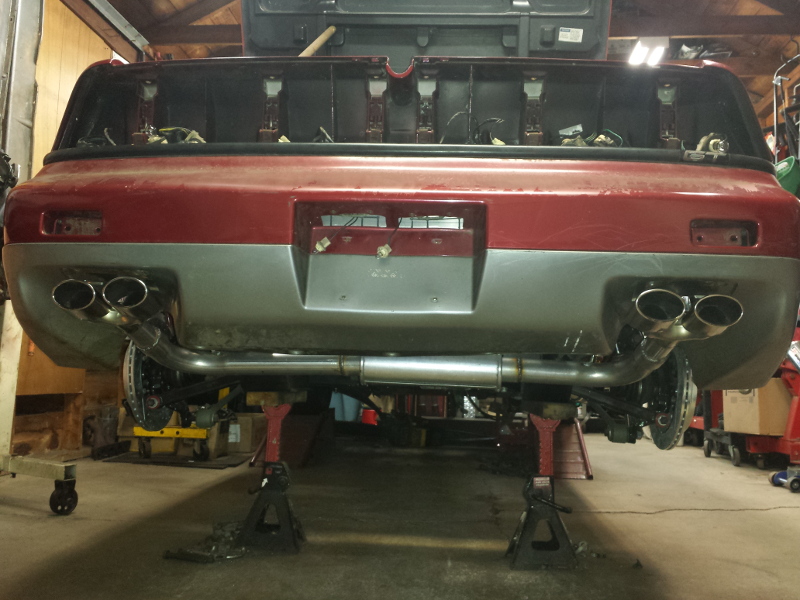
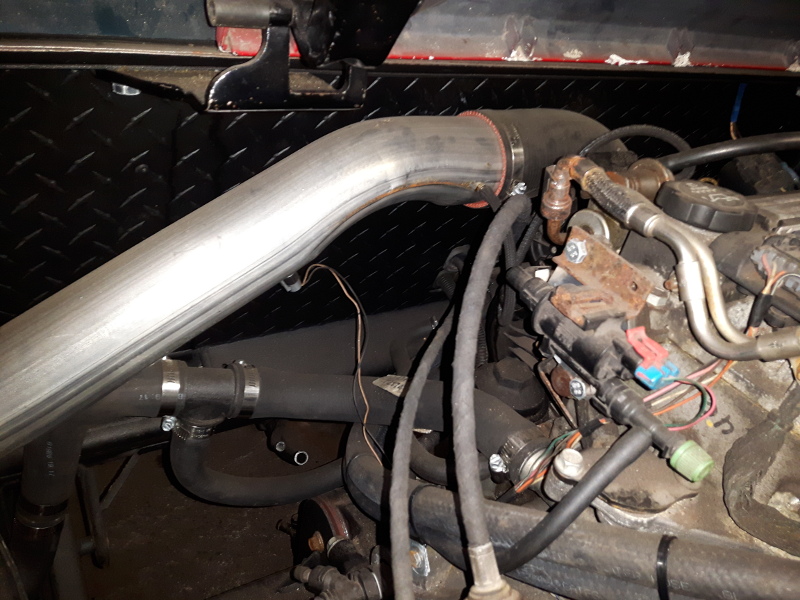
With all this room, I now had the ability to create a full exhaust system.
Here is it taking shape.
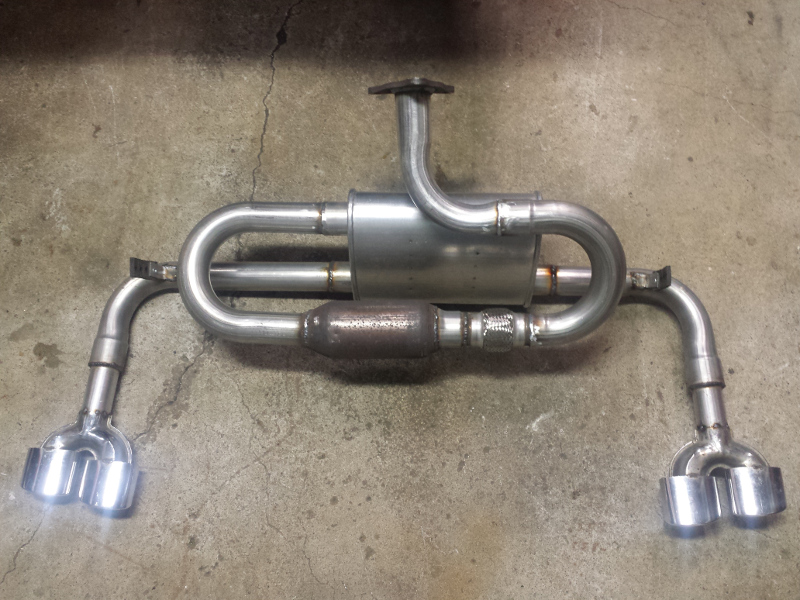
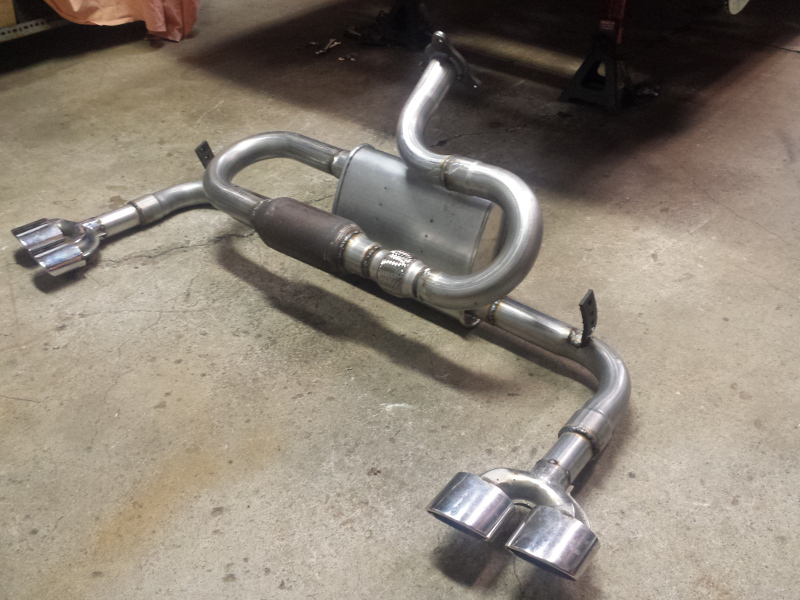
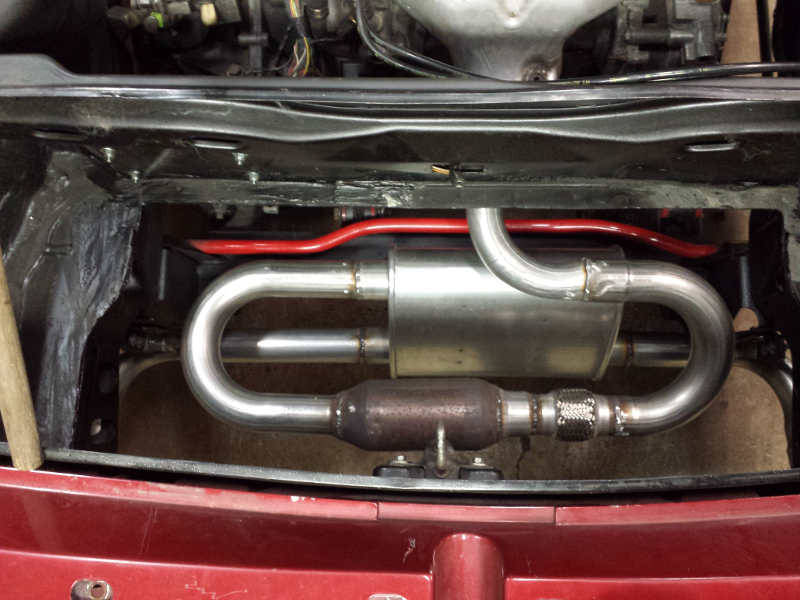

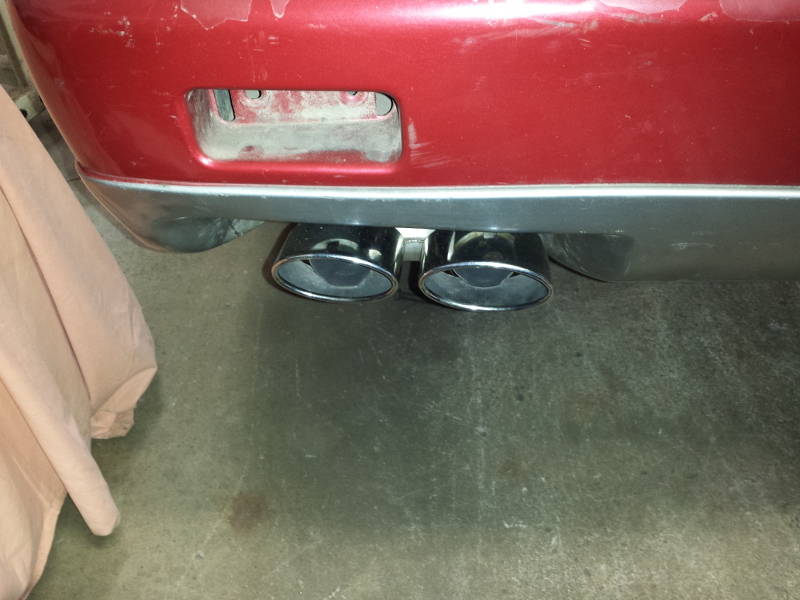
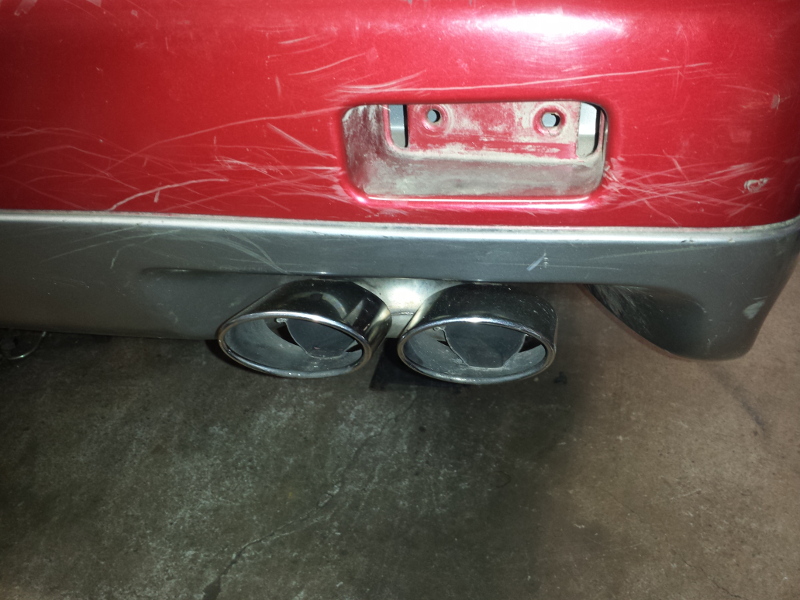
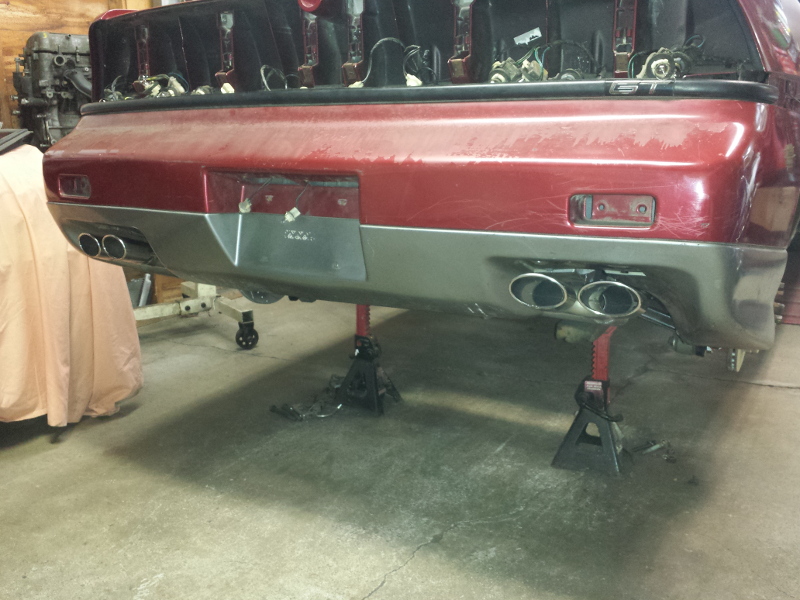
It fits well and I like the look. I removed some Cadillac STS exhaust tips and added them to my car.
They are the only chrome item on the car. I might paint them black after the car gets painted, we'll see.
An inner view.
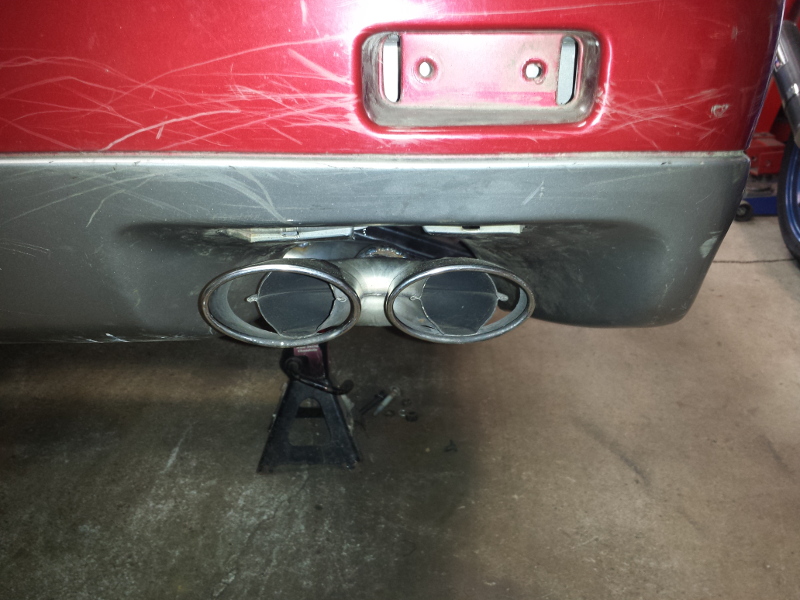
A worm's eye view of the exhaust.
|
|
|
|
Lunatic
|
NOV 19, 07:28 AM
|
|
Today, I spent some time working on electrical.
My power mirror switch backing plate was very loose and not making good contact. I cut one from a parts car and installed. Both power mirrors now work.
One more item checked off the "to do" list.
As you know, I've swapped in a 2.2 Ecotec into this car. Since I'm using the stock PCM and BCM, and not the Cavalier cluster, I needed to make the Equus aftermarket tachometer work with the Ecotec. Here's how I did it.
By looking at the 2003 Cavalier wiring schematic, a tachometer trigger signal is sent by the PCM through the serial data line and to the cluster where it's converted.
Since I'm not using the Cavalier cluster, I had to go about this another way.
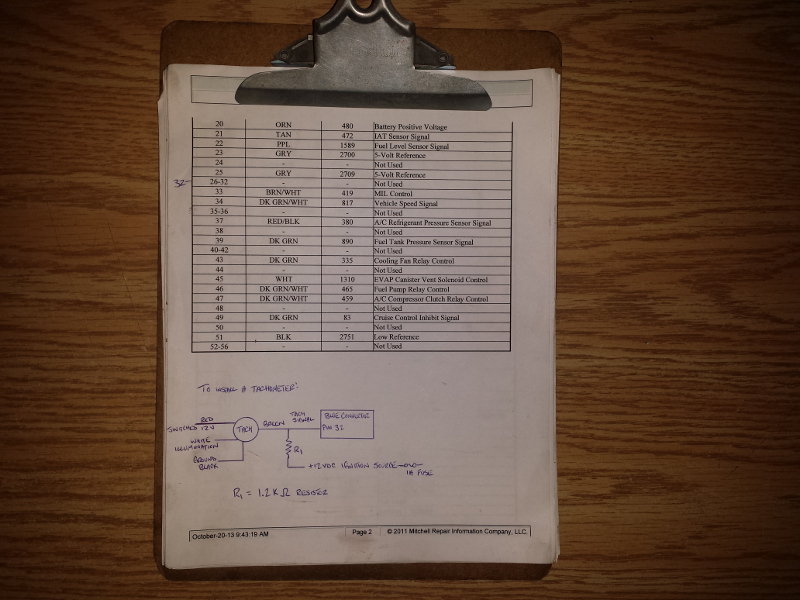
Looking at the PID value charts was useless as it merely states, "Not Used" on several pins.
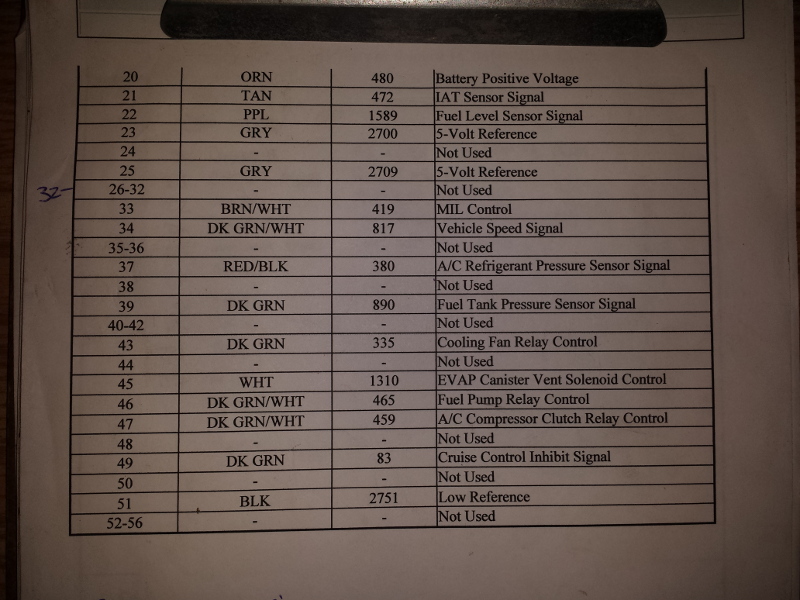
By using an oscilloscope, each pin labeled "not used" was checked.
Success was present when pin 32 on the blue connector showed an open collector output for a tachometer.
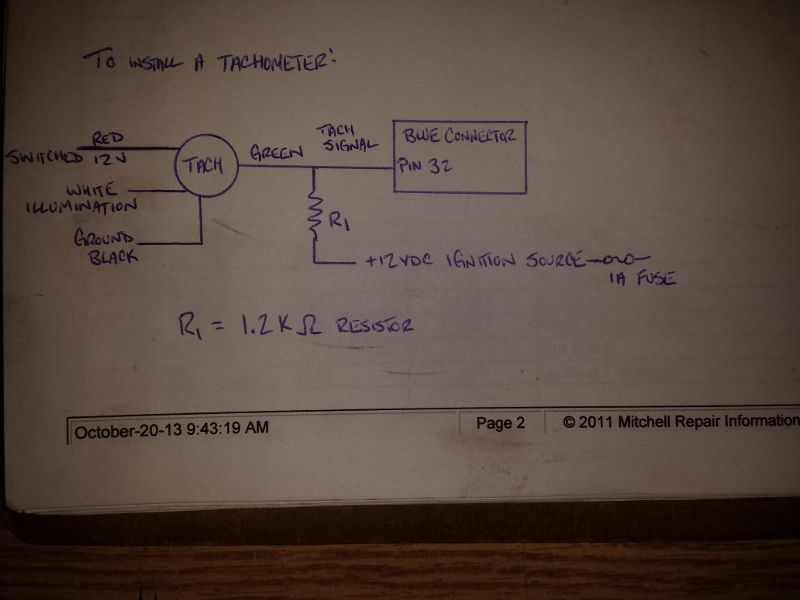
Since I had an aftermarket tach that doesn't have an internal "pull-up" resistor, I had to add one.
Note: I didn't have a 1K ohm (1000) resistor handy but I had some 1.2K (1200) ohm resistors in my collection.
The pull-up resistor pulls the open (collector) output up to +12V.
When the output transistor turns on, its collector terminal is connected to ground.
Hence the output is a square wave from near-ground to near +12V.
Here's the schematic that made it all work, simple really.
Note: My PCM part # is: 12576162
Since pin 32 was not used, there was no wire coming from the connector. I took another PCM harness pig tail and removed a white wire.

Remove the turquoise clip and unlock the connector.
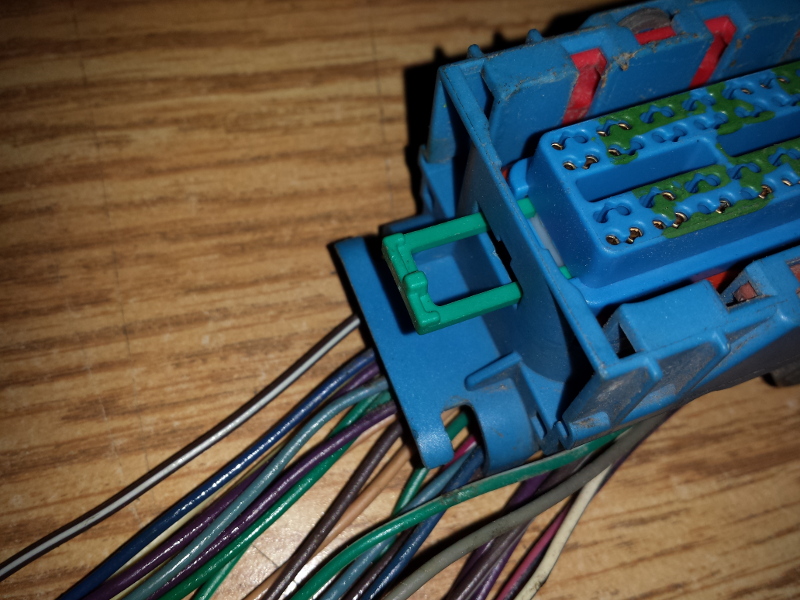
This leads to exposed terminals and wires. I took a white wire just because.
On the car, I had to undo the clip and disassemble the connector.
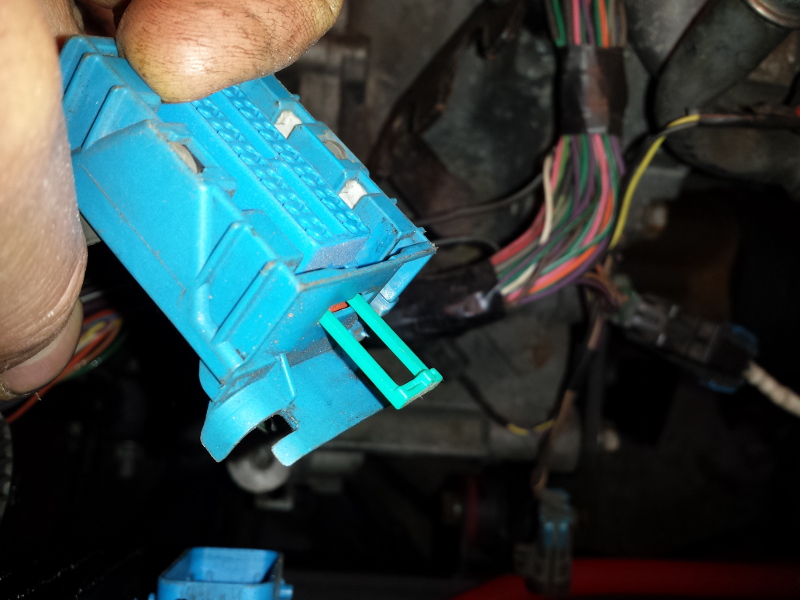
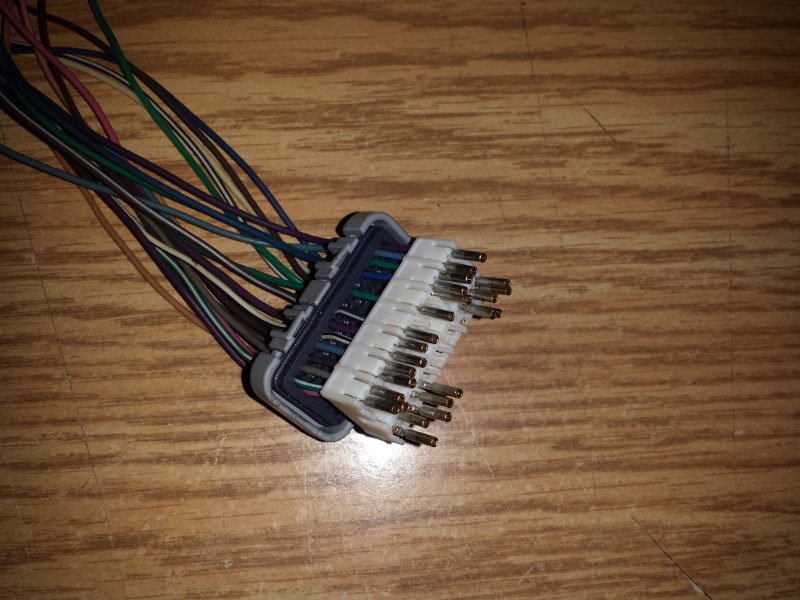
Since cavity 32 was unused, I had to drill a small hole in order to place the connector through.
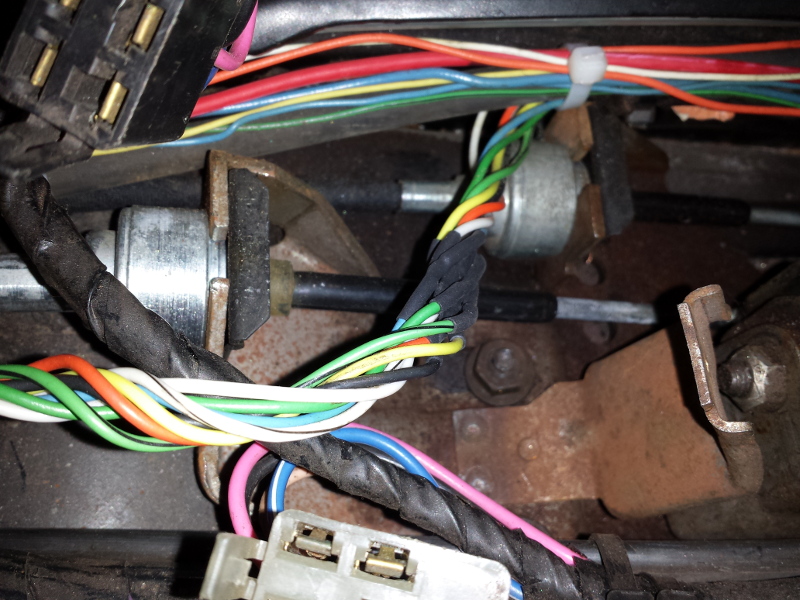
Here, you can clearly see the white wire protruding from cavity 32 on the blue connector.

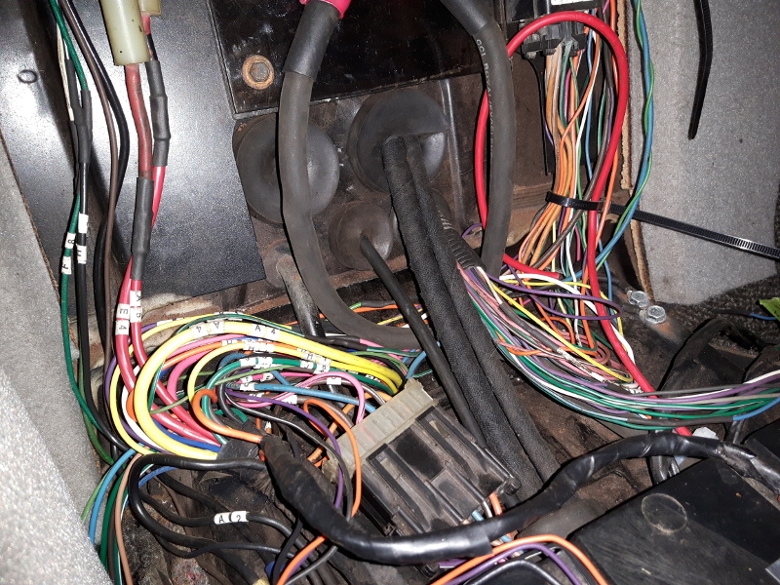
I extended this new white wire to the stock Fiero harness.
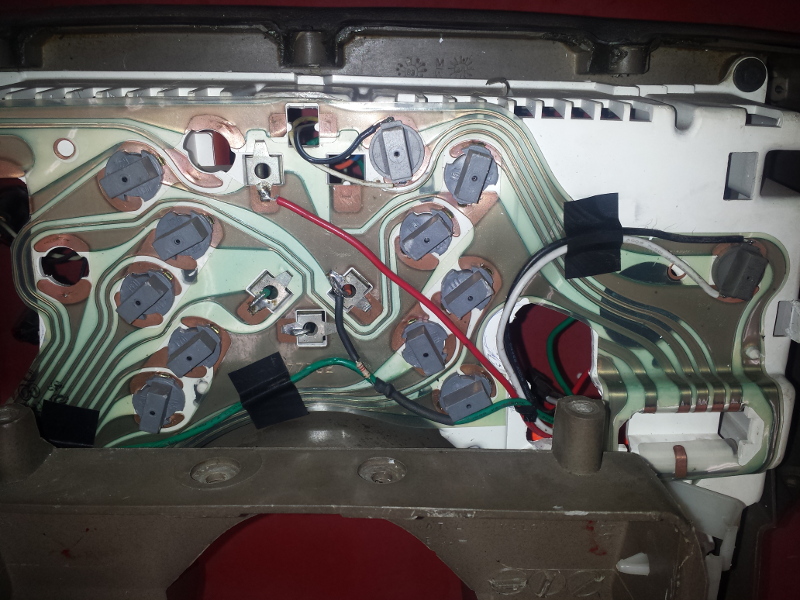
I then chose to add the pull-up resistor in the back of the instrument cluster.
In this location, I could tap into the two electrical points that I needed.
-The green wire is the tach signal wire.
-The resistor is then attached to the signal wire and the opposite end attaches to a keyed-on +12V.
A little video to show that it actually works.
[This message has been edited by Lunatic (edited 11-19-2017).]
|
|
|
|
Lunatic
|
FEB 04, 07:38 AM
|
|
|
|
|
wftb
|
FEB 04, 11:00 AM
|
|
Great work Shayne. I was looking at that GT in your picture at your scrapyard. Very surprised that no one has taken the fastback clip off of it and it looks like the whole body is in decent shape. Have a good one Steve
------------------
86 GT built 2.2 ecotec turbo
rear SLA suspension
QA1 coilovers on tube arms[This message has been edited by wftb (edited 02-04-2018).]
|
|
|
|
Rickady88GT
|
FEB 04, 02:31 PM
|
|
Very cool and inspirational stuff thanks for sharing it in such detail.
I love the CNC stuff.
Great job.
|
|
|
|
Lunatic
|
MAY 06, 08:03 AM
|
|
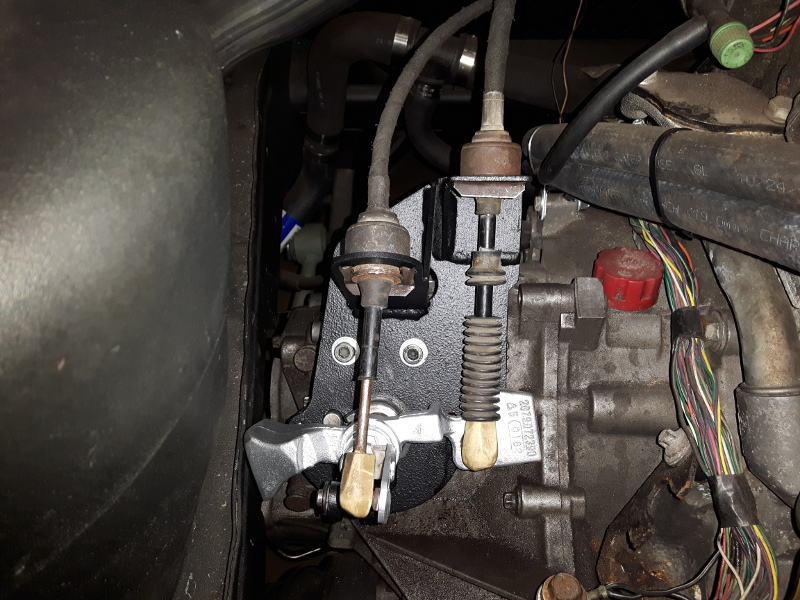
I now have a fully operational shifter. Woo hoo!
I wanted to use off-the-shelf parts for this modification. In this case, I'm referring to the stock '84 shift and select cables.
I'll let the pictures do the talking.
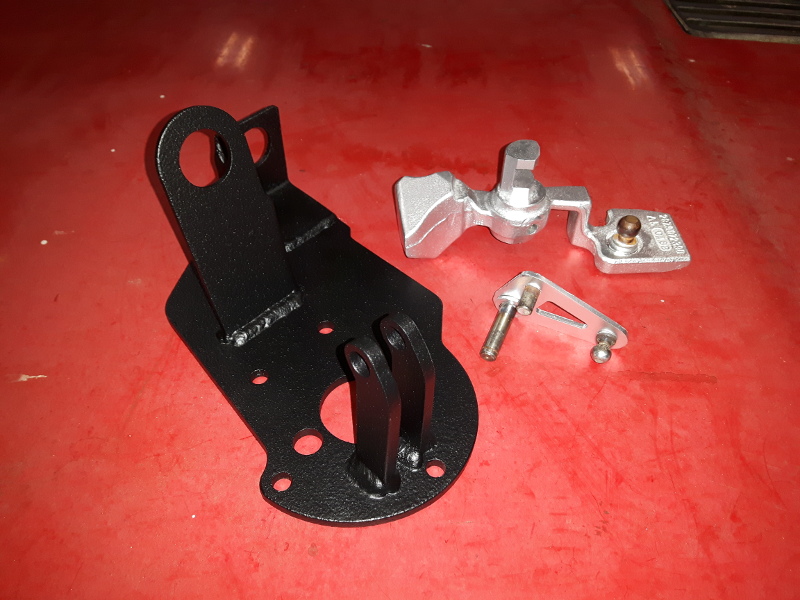
Here's my revised base plate.
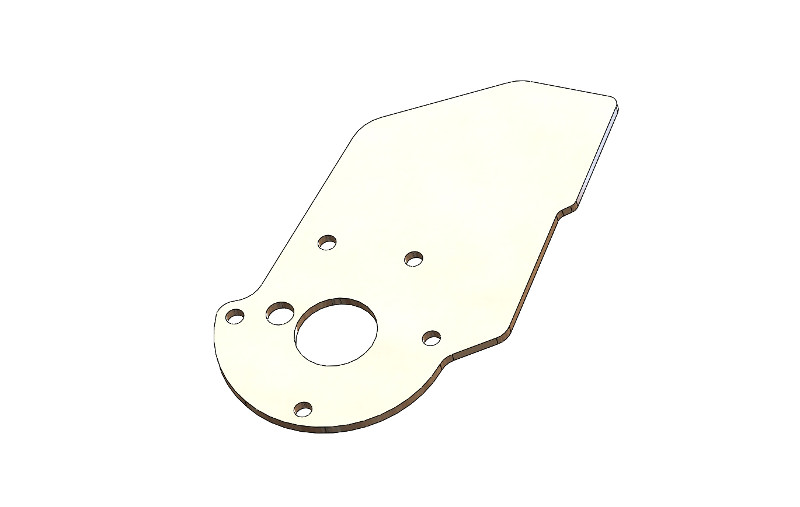
To which, I've welded on other components.
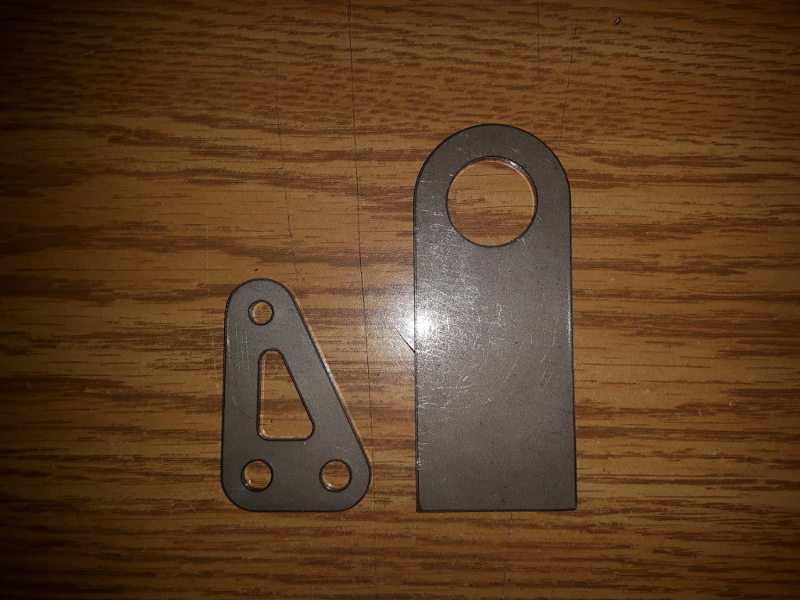
Here's the select cable bracket.
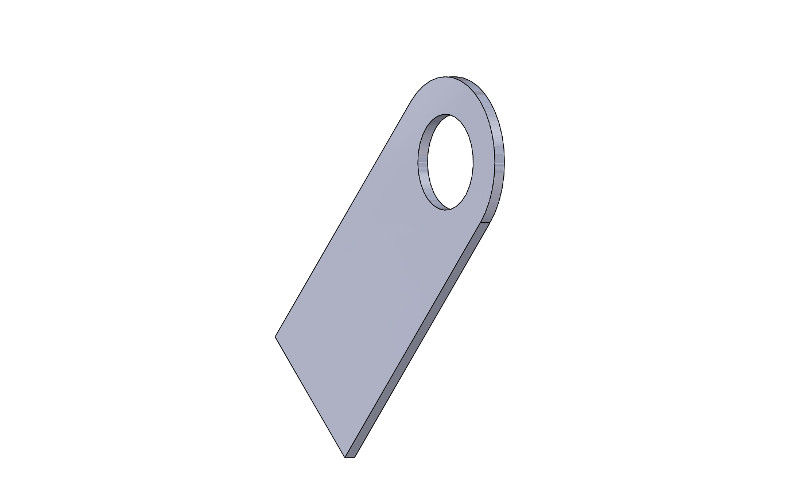
I also needed a select arm lever. Triangulation at its finest.

Some parts off the laser.
I had to utilize the pivot and ball studs from the original F23 assembly.
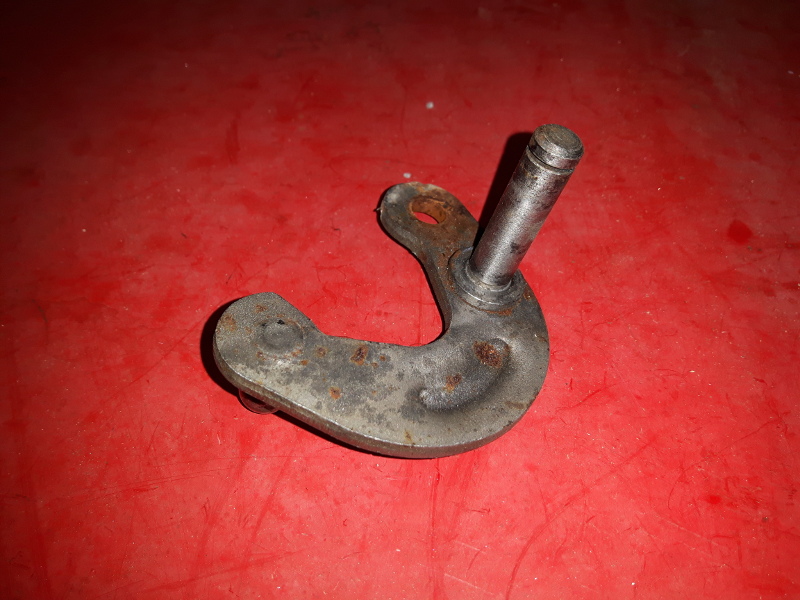
Not seen in the photo but the factory rubber isolator was removed and a bronze bushing was made on the lathe. This took up most of the slop in the shifter.
Here's the final product all painted and ready to install.
Here, the stock '84 shift and select cables were siamesed for a little extra slack.
This slack will be welcome when it comes time to remove the oil filter cartridge assembly on the Ecotec.
The result? Is a fully operational shifter.
|
|
|
|
svt4me
|
AUG 07, 09:45 PM
|
|
|
Unreal. Awesome work. Following.
|
|
|
|