|
| LQ1 swap build thread (25 years to late) (Page 1/9) |

|
fliphone
|
AUG 25, 08:01 PM
|
|
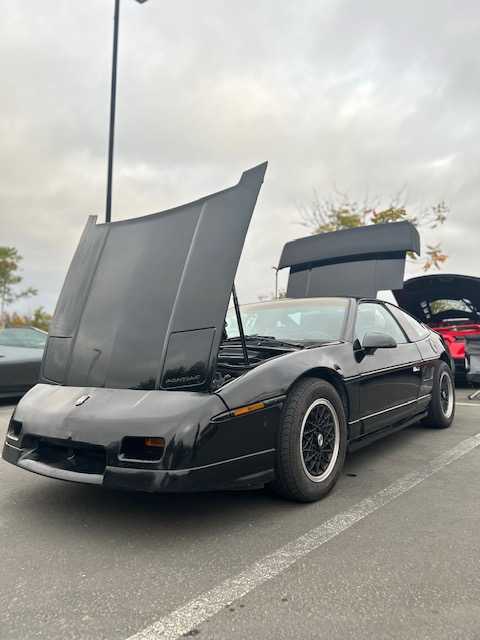
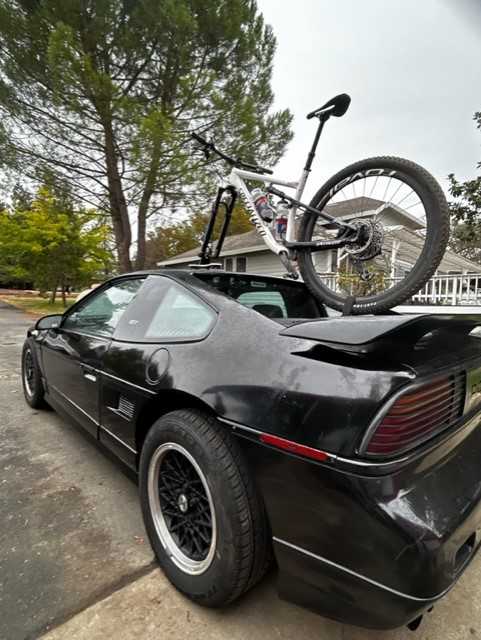
I decided it would be a fun little project to show off (and vent) about all the steps, mistakes, wins, and losses of my first engine swap. I've already made some decent headway on the swap, and have gaps of times where no vids/pictures were taken to show for it unfortunately. The victim I have chosen for this swap is my first Fiero. I had the car for about a year, and during that time have touched every corner of the car except the engine with this being the light at the end of the tunnel.


Going way back to my acquisition of a (hopefully) suitable engine for this swap. It was a ~2000 round trip to get a parts car, with a partially done swap along with a couple of other goodies for the swap. Including a 70 something mm hot side turbo 


Then the parts car and motor sat until spring time

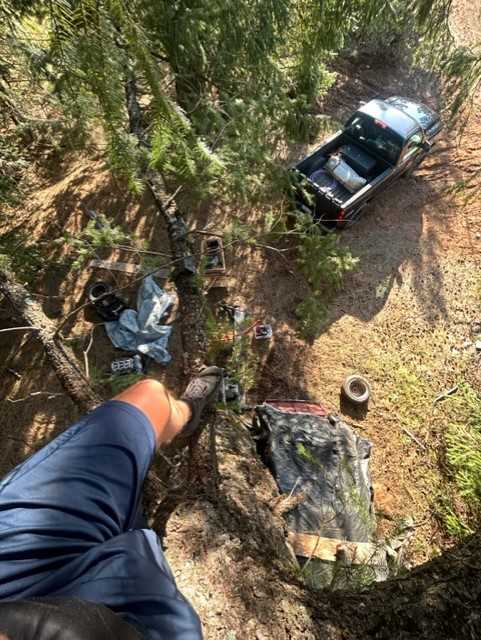
I wish I had more photos of me actually pulling the partially done swap, but I was exited and trying to finish before the sun went down. Using a hobo freight chain hoist, a couple different tree branches, and my truck with a tow strap; I was able to get the motor pulled in a little under an hour 

I bought a....home brew....powder coating set up and started cleansing everything up topside

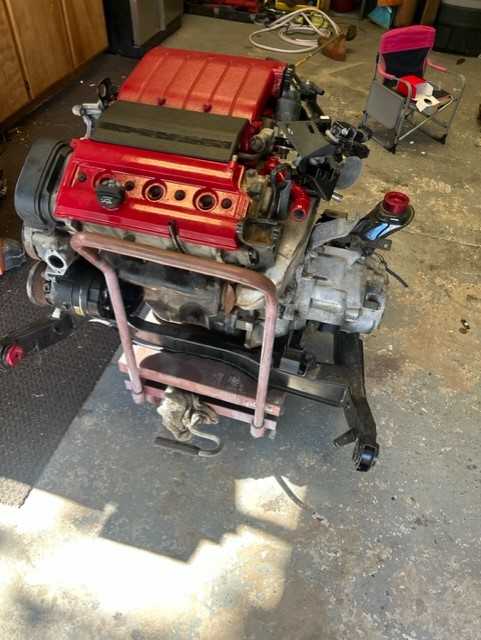
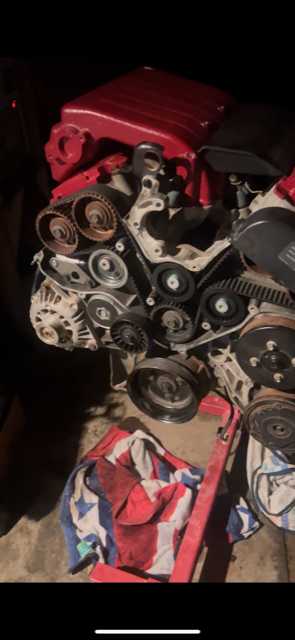
Got the engine onto a stand and started going to work, first of was timing belt/idlers. This went pretty smooth, it took my a minute to figure out how to reset the tensioner since NOS ones are made of unobtanium. But other than that it was a pretty strait forward process
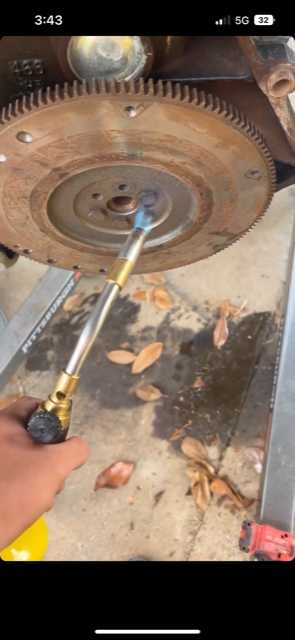
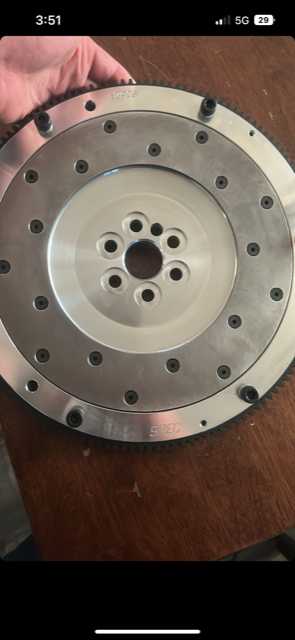
Next was pulling the old flywheel (with a broken stud in it) and putting on a shiny new Spec lightweight one
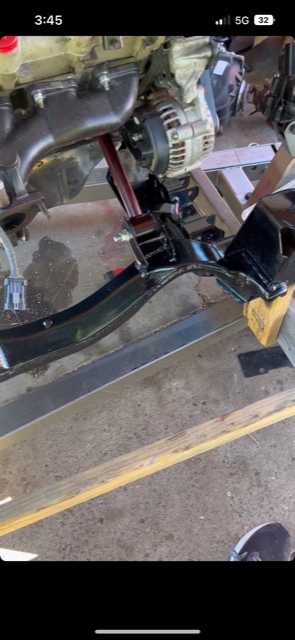
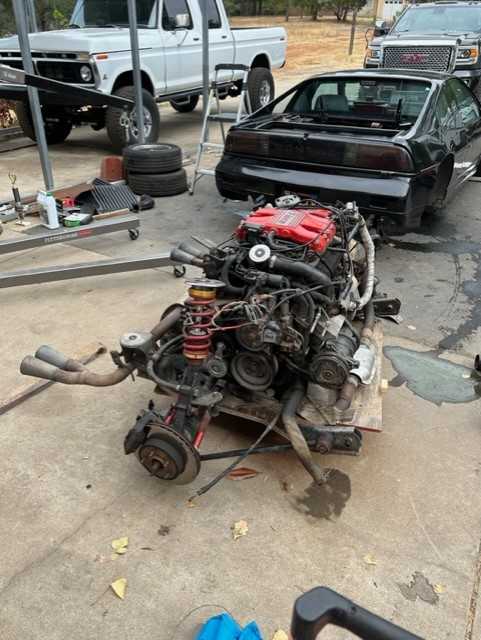
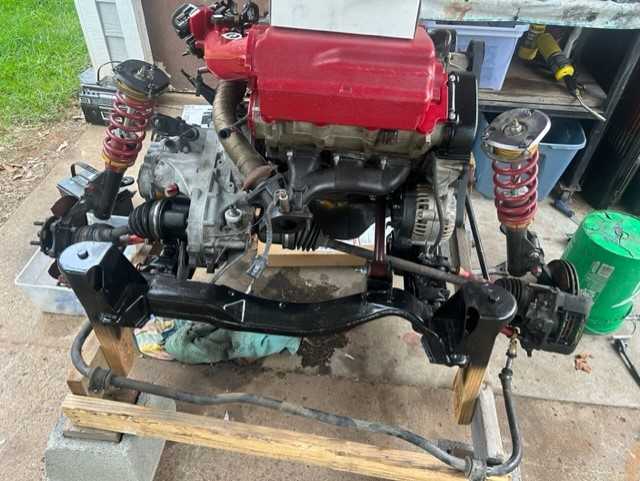
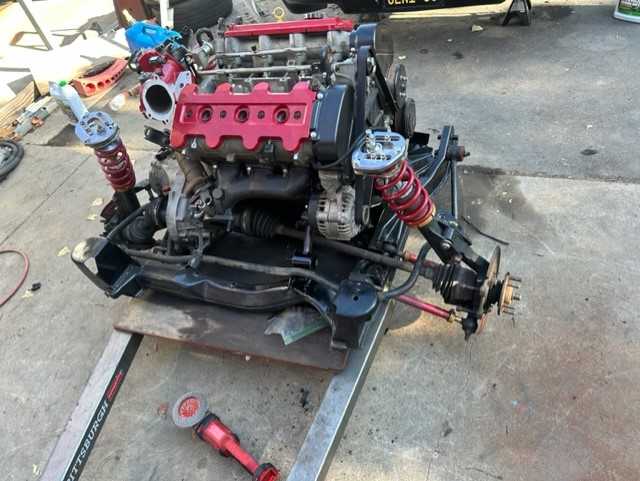
After that the engine got mated to a Getrag 282 and onto a 88 cradle that i will be working from.
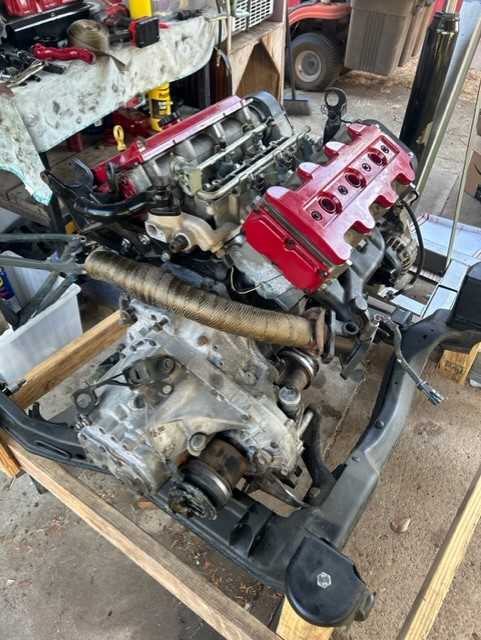
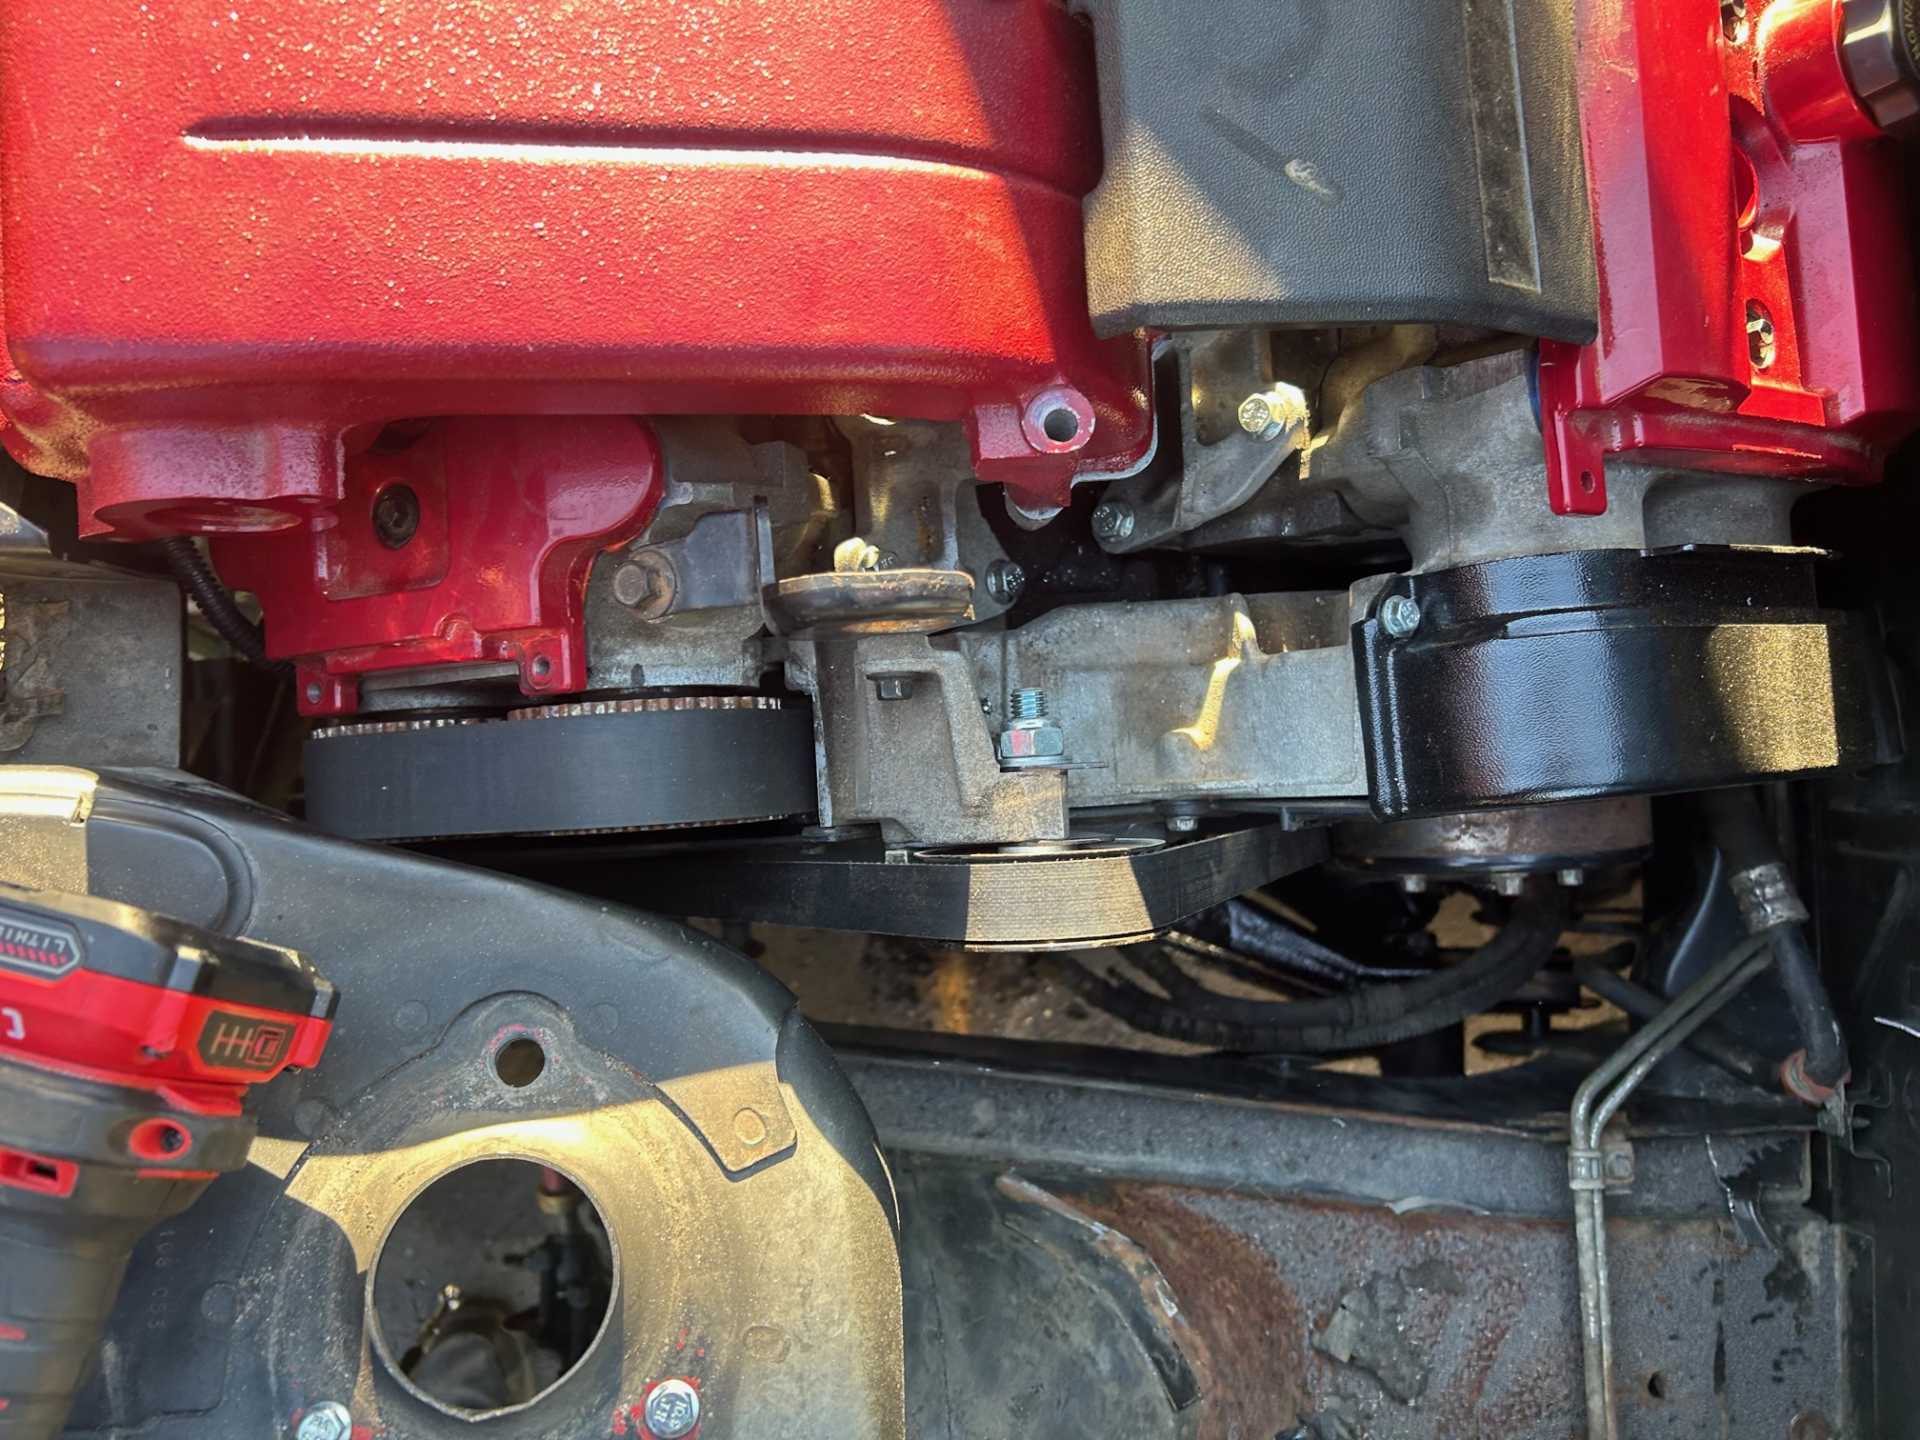
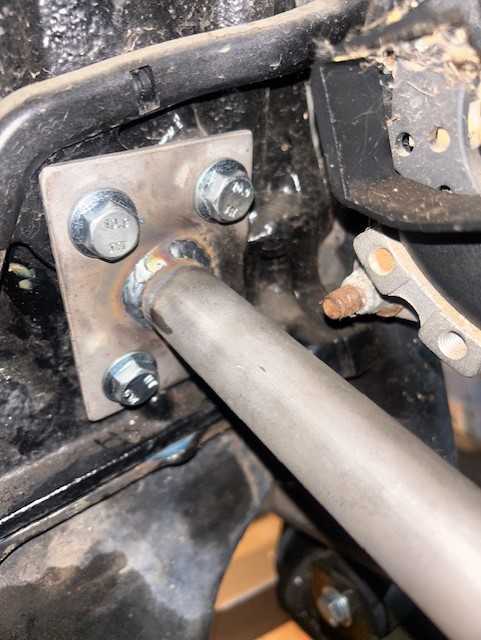
I couldn't find a universally agreed upon dog bone method, so i decided to use CC Riders/Cool Cat's method and made another mount on the cradle. Along with full poly mounts and a second smaller dog bone that I'm going to try and fab up once the engines in, I'm hoping that my mounts should be strong enough to support this motor and my canyon runner/track car intensions.


Along side that project, was getting the power steering pump delete in place. I'm unable to give the part number, BUT i can tell you how to easily get it. I just went into oriels', asked for a 6(?) rib pully that was 70 something mm big and boom. I got a metal idler that fit the bill for 20 something bucks. I reinforced the aluminum arm doodad with two little steel plates that i just mocked up and cut with a grinder. I hada buddy with a laith who made me a spacer to run a m14 bolt in the idler and i was off to the races.
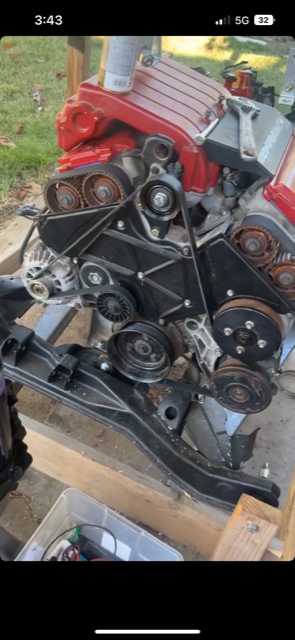
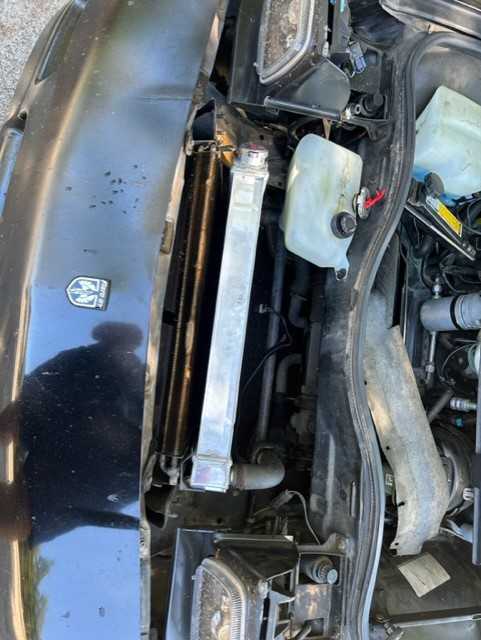
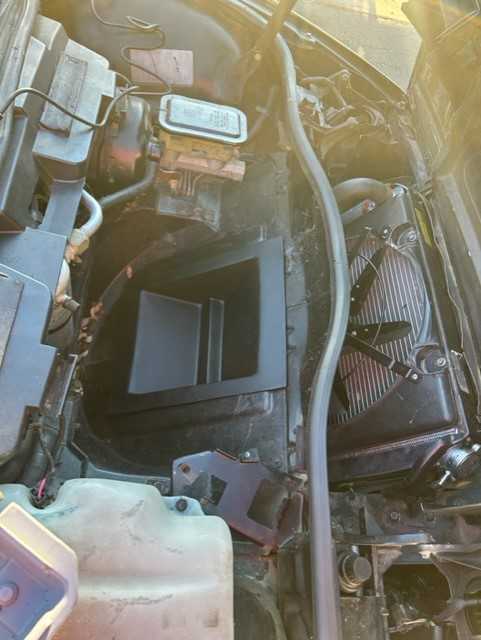
Tossed in a 3 core champion radiator for good measure, along with an upgraded cooling fan
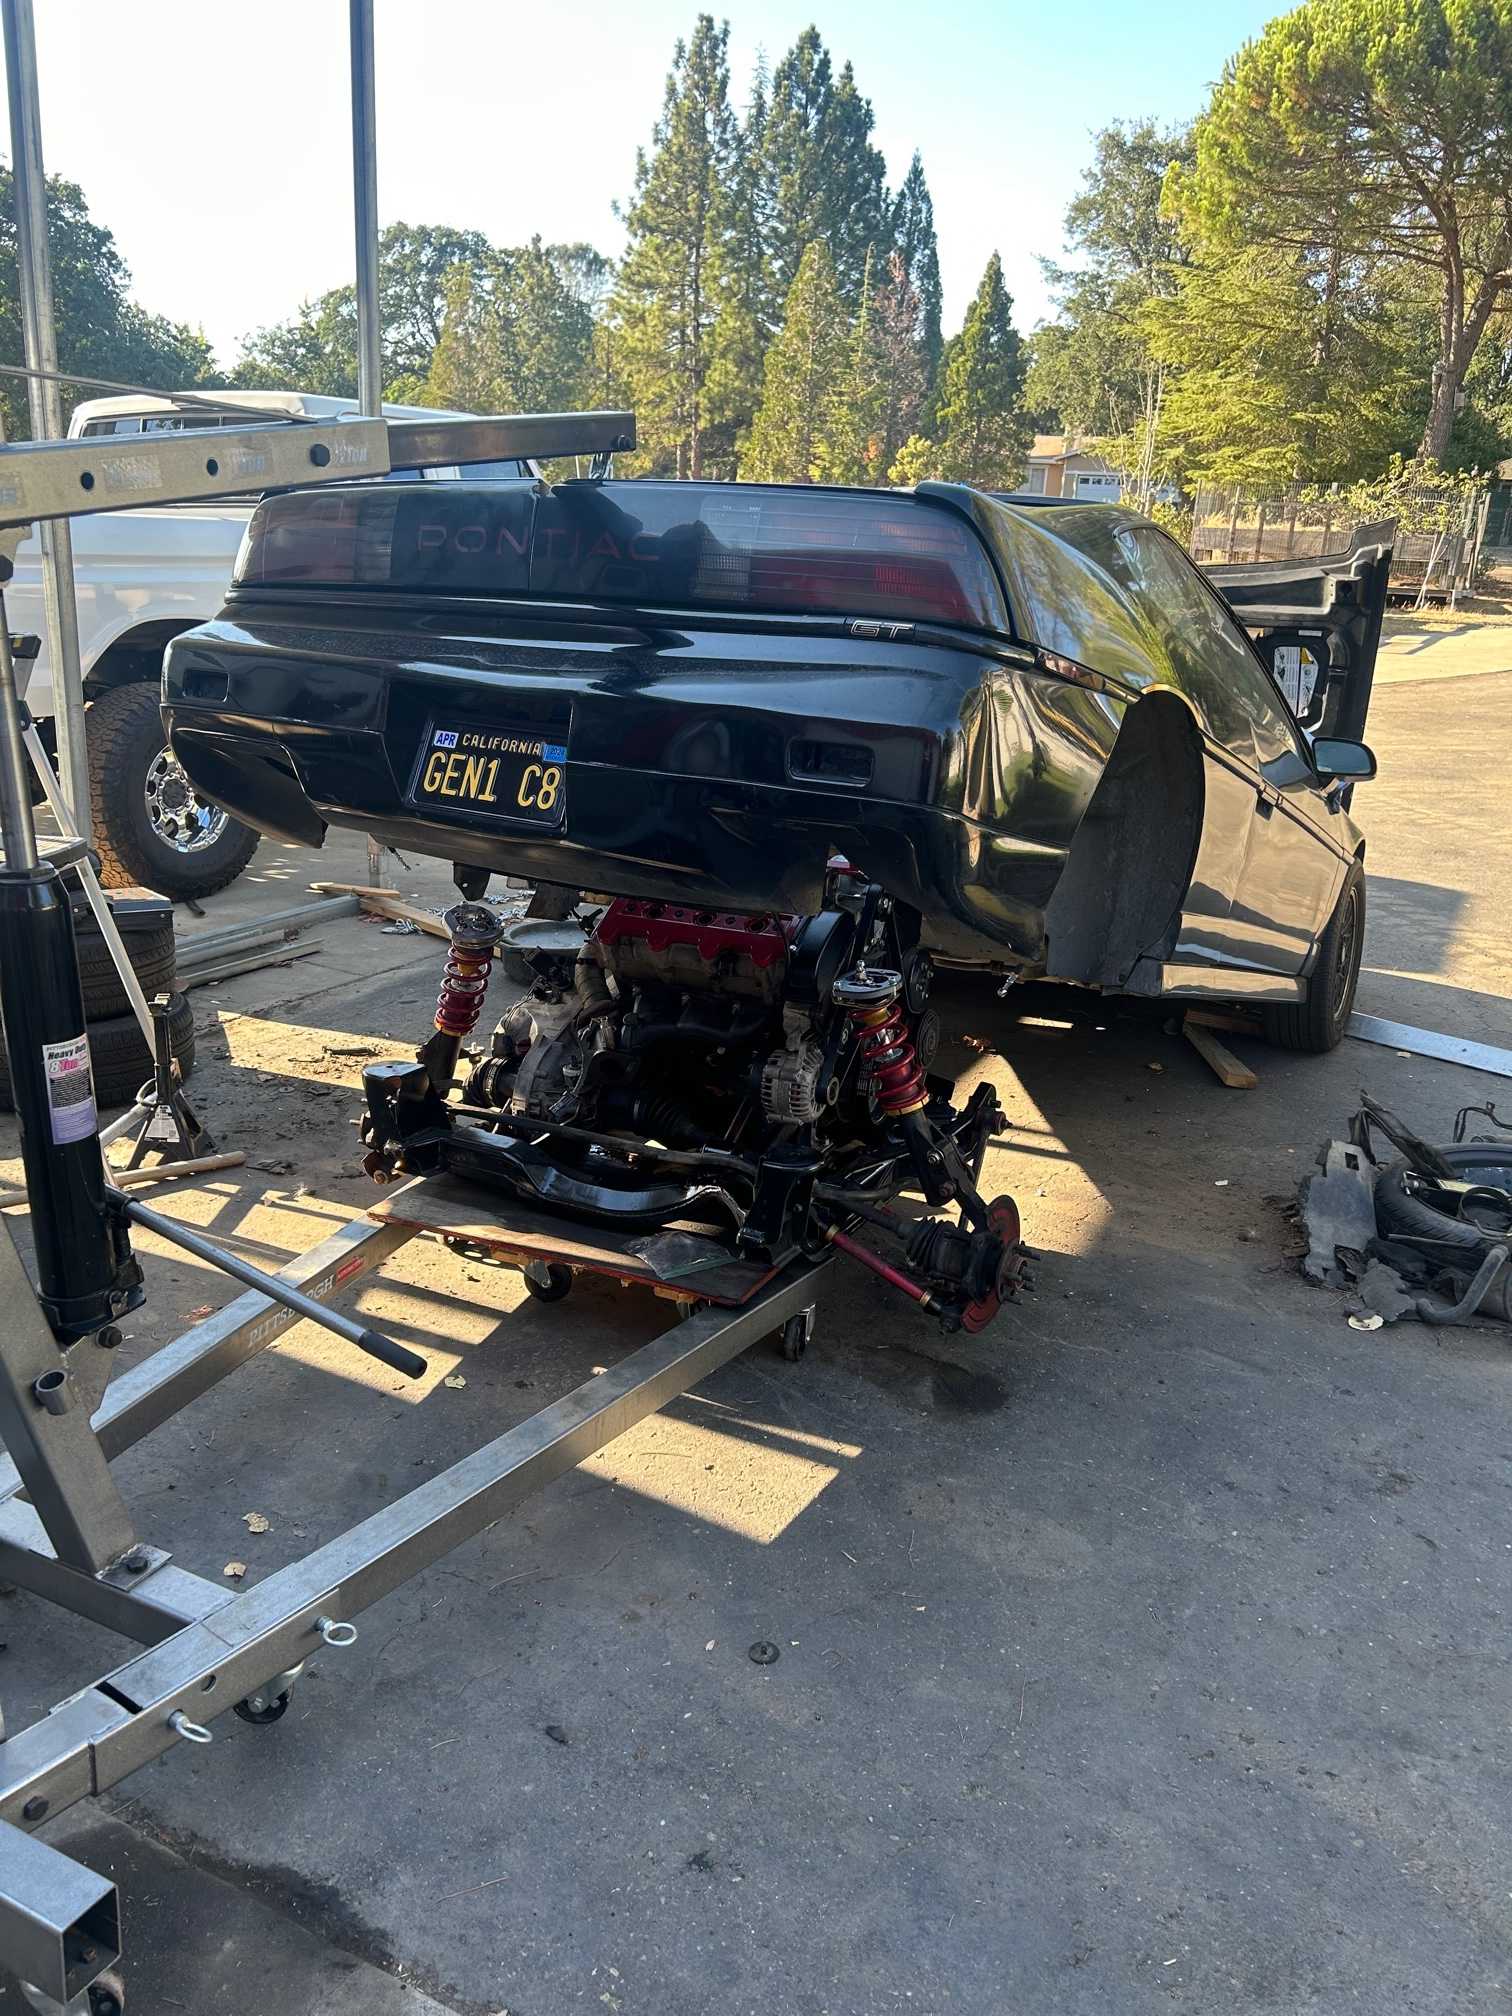
After one last last weekend with old 2.8, it was time for your boys first time pulling an engine. I spent Thursday and Friday night after work getting miscellanies odds and ends pulled, planned on getting it pulled Saturday but got a little tied up with another project (more on that later). So Sunday morning it was! About 2 and a half hours after work and another hour and a half on Sunday and she was out! I was fortunate to have a very smooth removal, especially for doing it solo. I didn't get the classic frame in the air engine on the ground pick, I again was to exited to snag a pick.

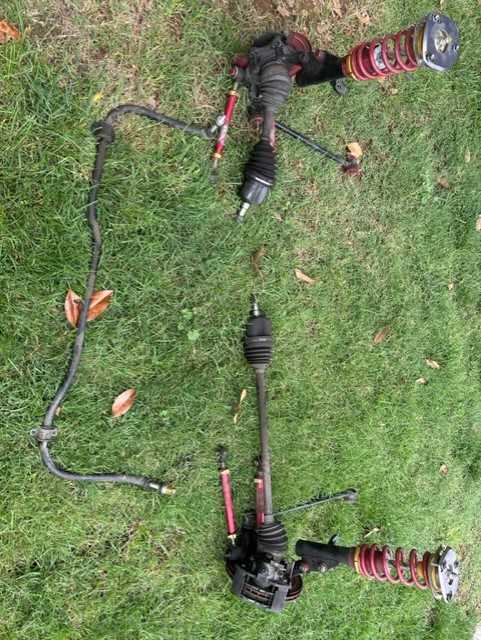
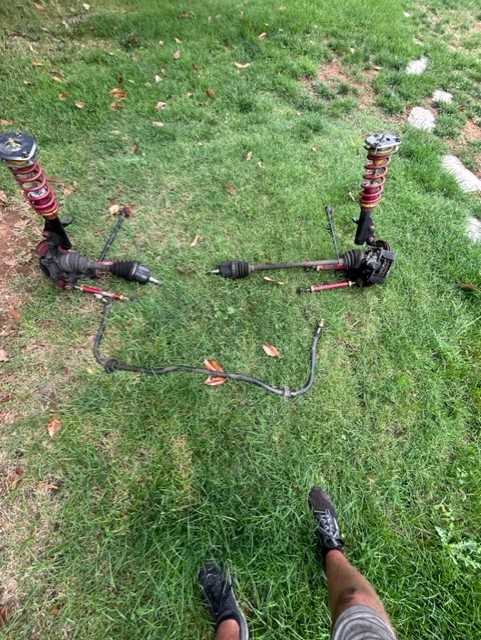
In my case I was reusing my cars suspension/axles. So a couple hours later and the rear suspension was in place, minus the sway bar (It couldn't fir on my 2x4 cradle stand)
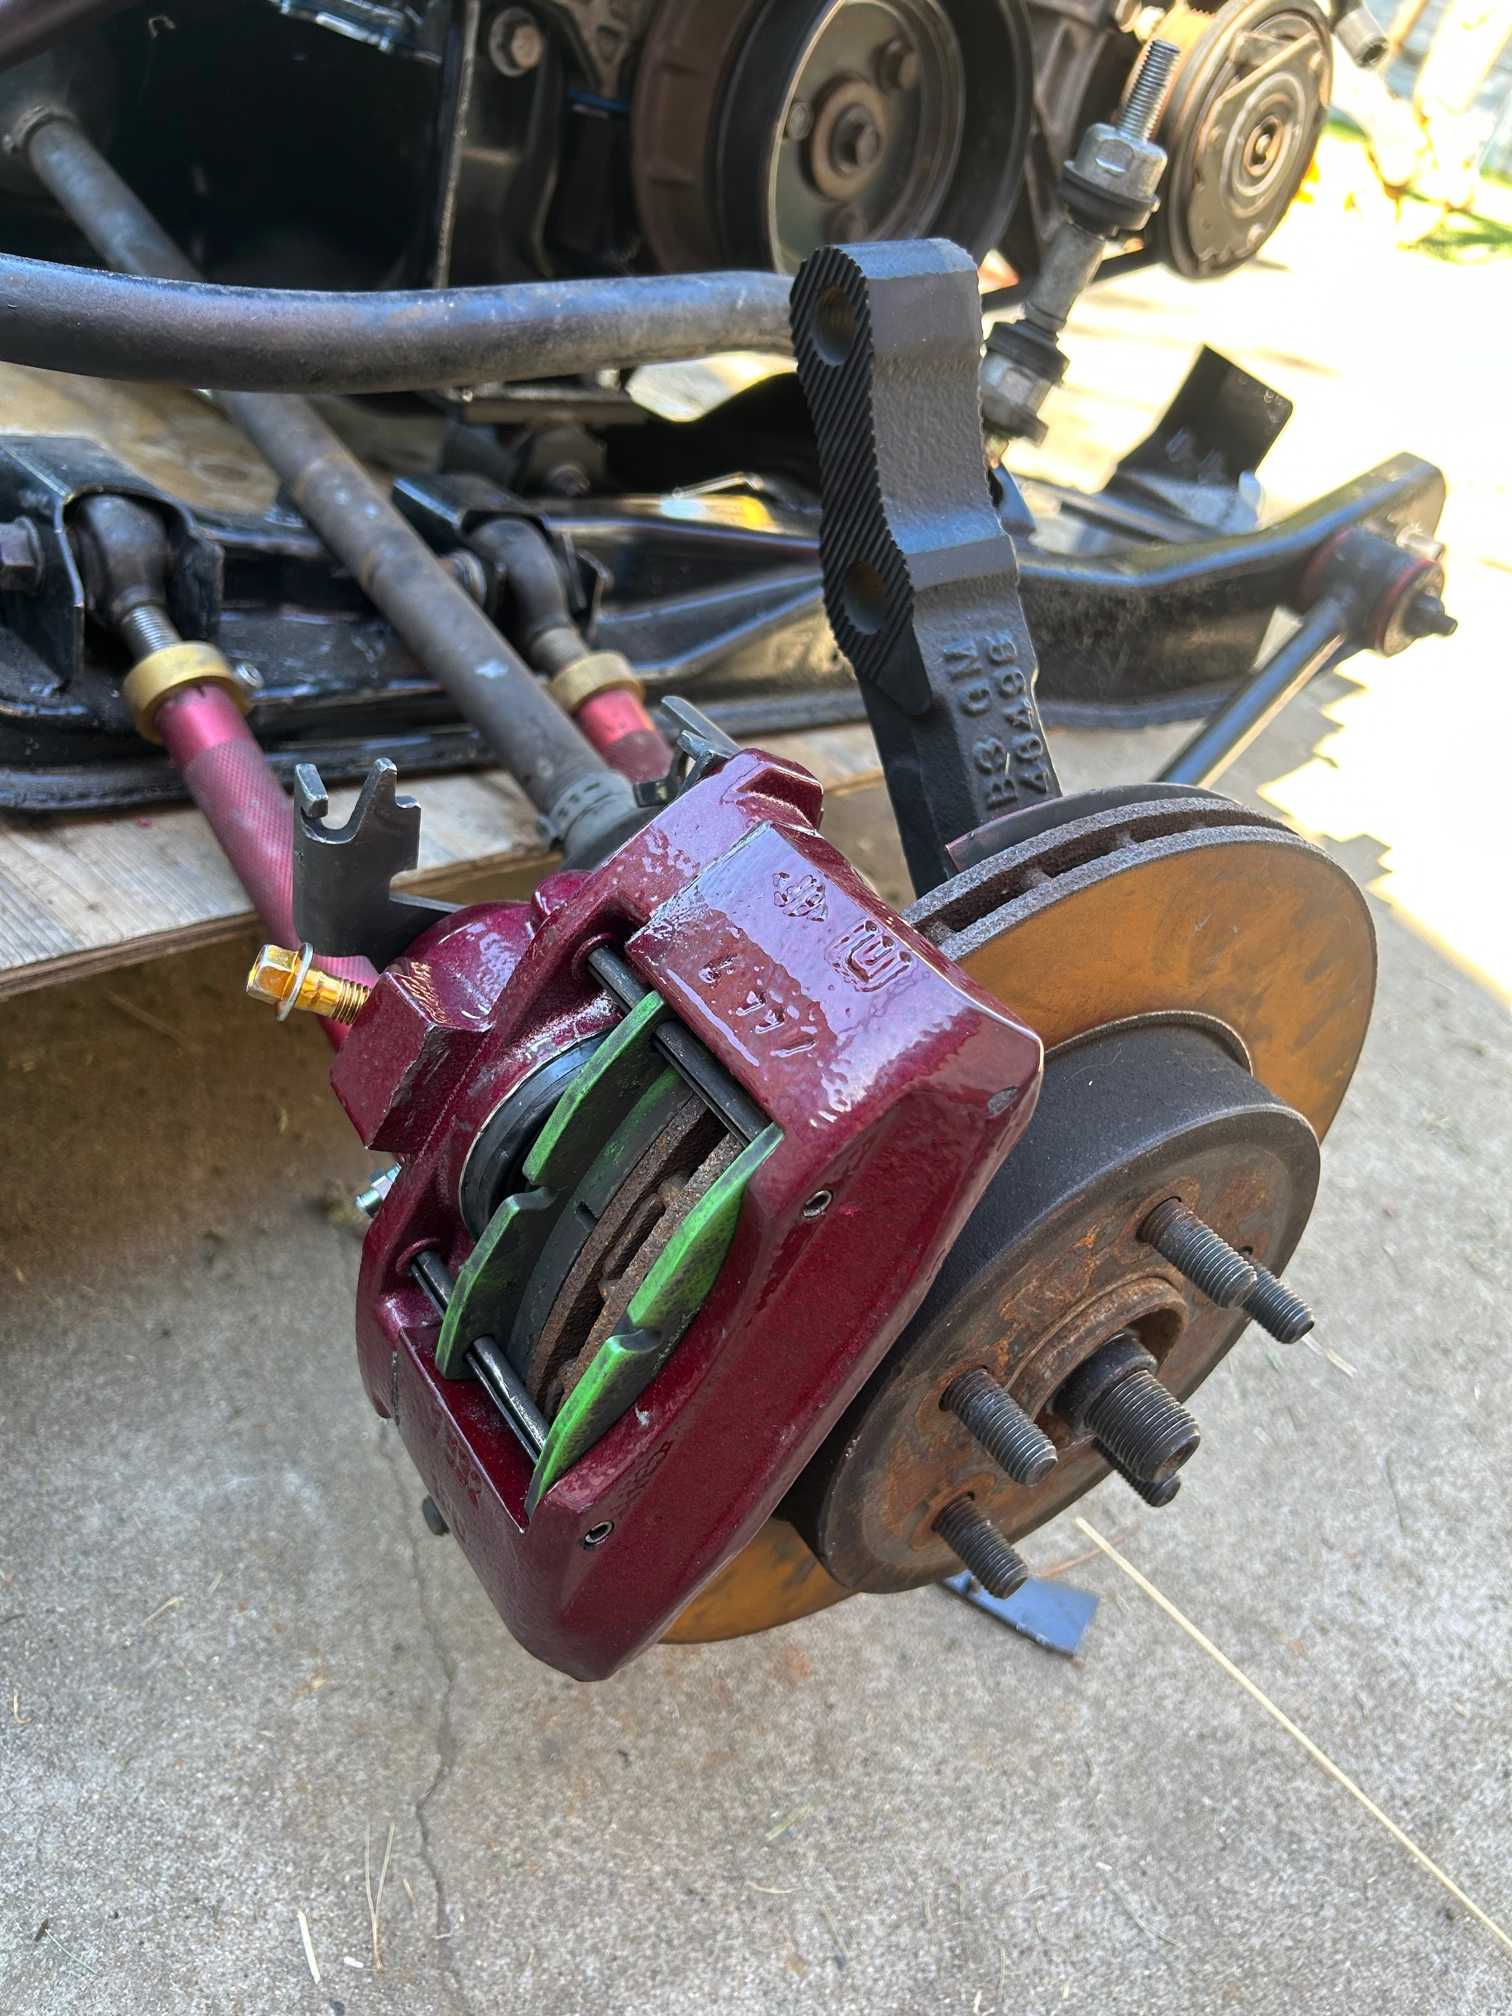
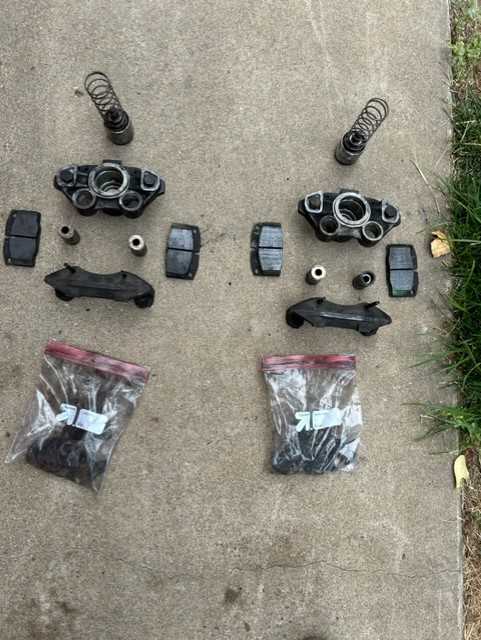
I got the brake calipers all pulled apert so i can powder coat them, going to try and get a little fancy with the powder for the first time! 
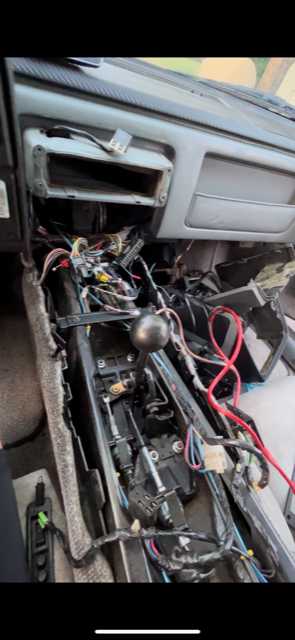
Then it was working on a now dead in the water car. Got an archie battery relocation kit, and just kinda started cutting (I've been a notorious cut first measure later kinda of guy  ) Got the rough shape all cut of for the box, to clean it up I'm just going to grab some thick double sided tape foam strip stuff and toss it in there unless something else comes to mind. ) Got the rough shape all cut of for the box, to clean it up I'm just going to grab some thick double sided tape foam strip stuff and toss it in there unless something else comes to mind.
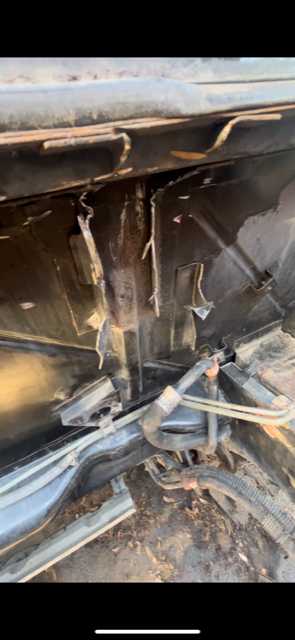
Last night I was able to finally get the passenger side hinge box off with a grinder, a dremal, and a hammer to get it all off. Tonight I will be cleaning up the fire wall, and starting work on the replacement hinge
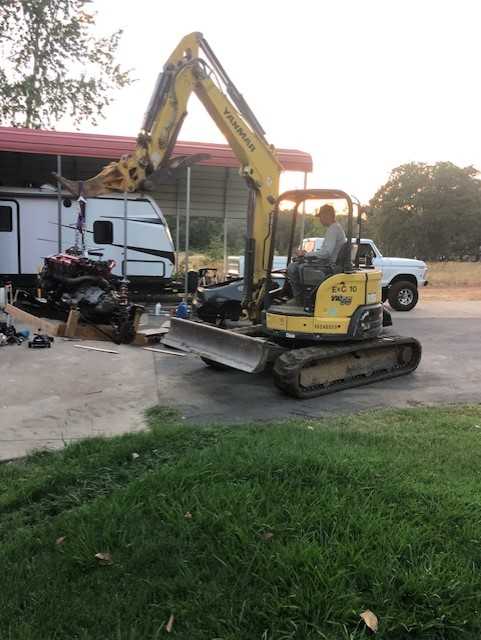
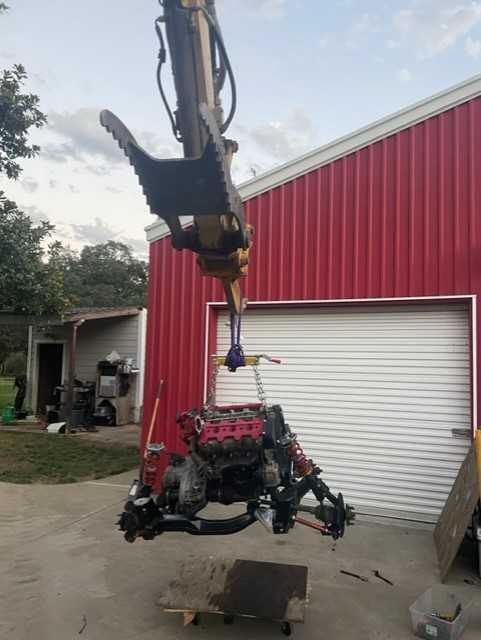
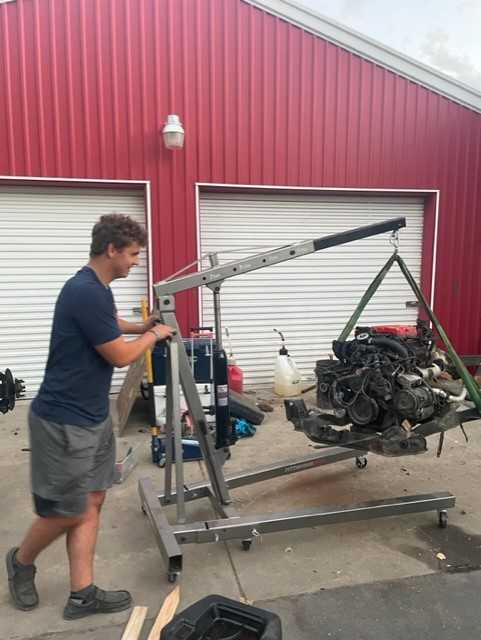
The other big thing I did last night was move the LQ1 cradle from its previous home over to the super high tech cart where I'll be able to move it around. That Saturday where i was originally going to pull the motor? It was helping rebuild our road, and I was able to pull a favor and use one of the excavators to move the LQ1 cradle over the grass to the car. Admittedly i don't even remember how i got the motor over to my shed in the first place, but I'm sure this was the easier move 


Here was my pile of "weight reductions" as of last night

That pretty much catches ya'll up to today, where this morning before work i was able to get the sway bar onto the LQ1 since its on the cart while the stock L44 got delegated to the permanent stand
The though of this swap being done definitely helps keep the mojo going, and I want to do everything I can to keep the Fiero spirit alive with us younger generations.
------------------
Zander Holmes
19 year old who's here about 20 years to late
Black 88GT - LQ1 swap on the way
|
|

|
Patrick
|
AUG 25, 08:13 PM
|
|
| quote | Originally posted by fliphone:
I want to do everything I can to keep the Fiero spirit alive with us younger generations.
|
|
When I was 19 years old (back in 1975), I was swapping engines in my '67 Chevelle SS396... so it's nice to see some car traditions continue.  Great post! Great post!
|
|
|
|
Raydar
|
AUG 25, 10:18 PM
|
|
I like it. A lot.
I've got an LQ1/F23 swap that I've been procrastinating on for a while, now.
But I've got to ask...
LQ1/Manual/Turbo? In California? Is it possible to be 20 miles from Sacramento and not have to deal with the smog refs?
|
|
|
|
fliphone
|
AUG 26, 01:40 AM
|
|
| quote | Originally posted by Raydar:
I like it. A lot.
I've got an LQ1/F23 swap that I've been procrastinating on for a while, now.
But I've got to ask...
LQ1/Manual/Turbo? In California? Is it possible to be 20 miles from Sacramento and not have to deal with the smog refs? |
|
Smog you say 
Luckily I have family in one of the few smog exempt counties in CA, allowing me to keep my CA plate along with never having to smog the car. As for the turbo, that isn't going to be happening for a few years. I need the fun money account to refill, I also have a career that i should be working towards as it is
------------------
Zander Holmes
19 year old who's here about 20 years to late
Black 88GT - LQ1 swap on the way
|
|
|
|
fliphone
|
AUG 26, 02:08 AM
|
|
|
|
|
fliphone
|
AUG 27, 01:15 AM
|
|
I wish i had a little more to show for a full Saturday, but progress is progress. I made a Pick-n-Pull run in the AM, and was able to acquire relays for my wiring harness along with an OEM battery relocation kit.
Every car with a N* motor that i saw today (which was 6 or 7) utilize a under the backseat battery location, meaning that they also have super long battery cables that can be used as a battery relocation kit. These are plenty long enough for a battery relocation in a fiero, and also cost my 5 dalla out the door and about 15 minutes to pull.

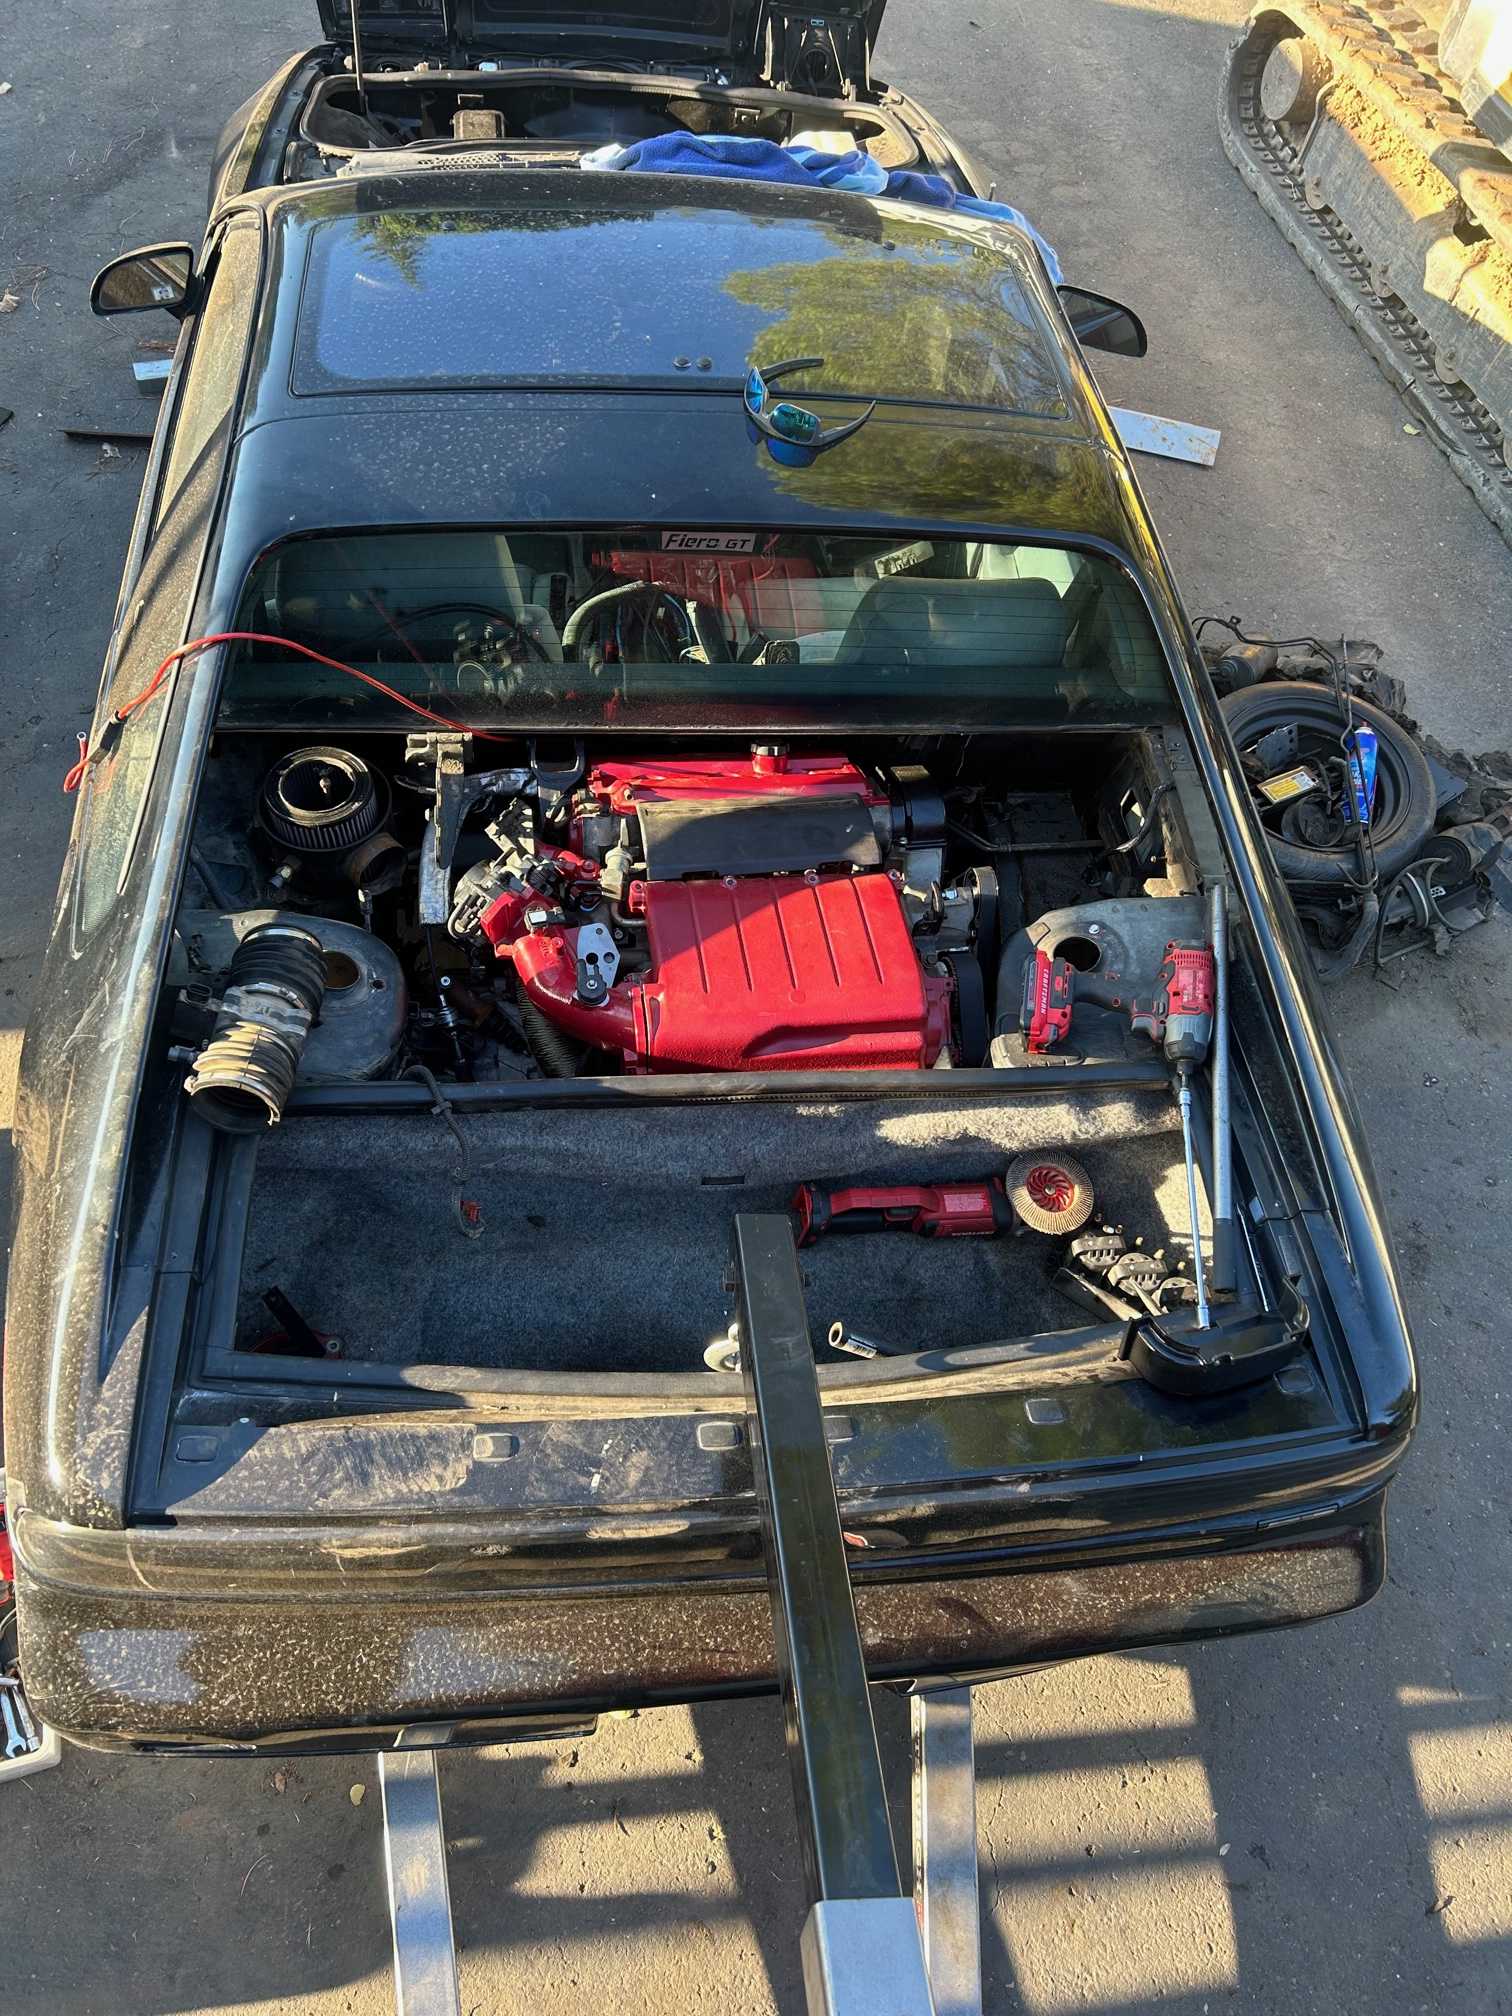
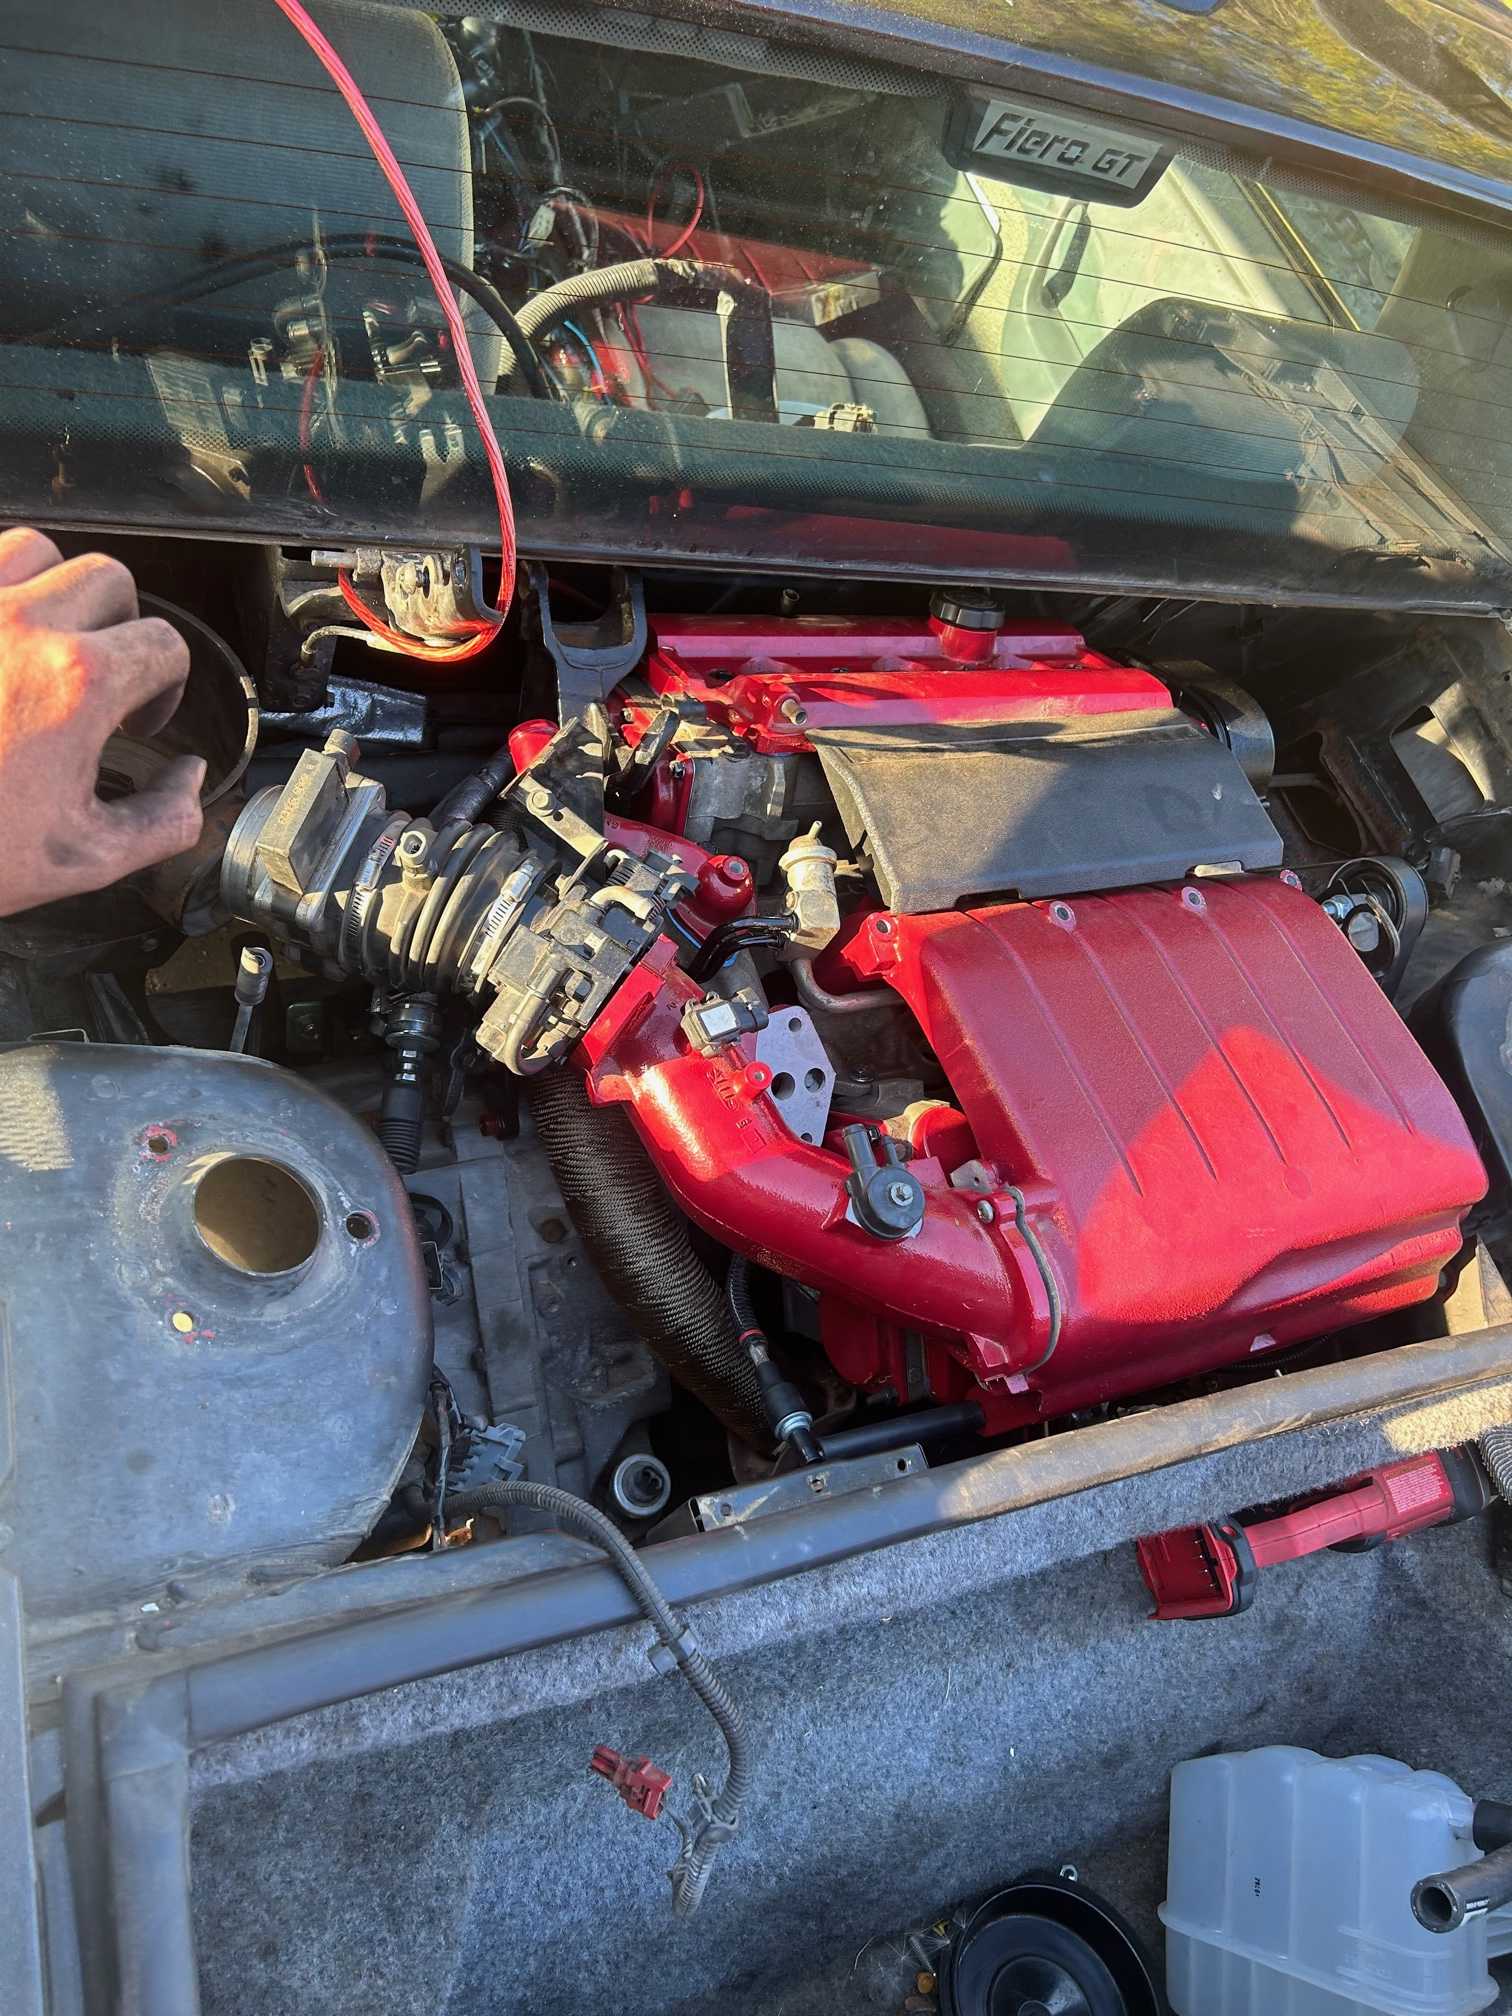
After that, it was all about putting the L44 oil pan onto the LQ1. I swapped the oil pans because the PO (very poorly) welded a return bung onto the stock LQ1 oil pan, so it would leak oil until it was at the bottom of their welds. They also put it right behind the passenger side TriPot, leaving zero room for any form of line to actually run into the fitting. I also moved the bell housing dust shield from the L44 onto the LQ1, along with a fresh coat of rattle can paint for everything i pulled off. I would hate to pull the oil pan with the motor in the car, as my approach was to pull the motor mount on the passenger side for clearance. A few hours later after watching paint dry, I started burning the night time oil to get everything back together.


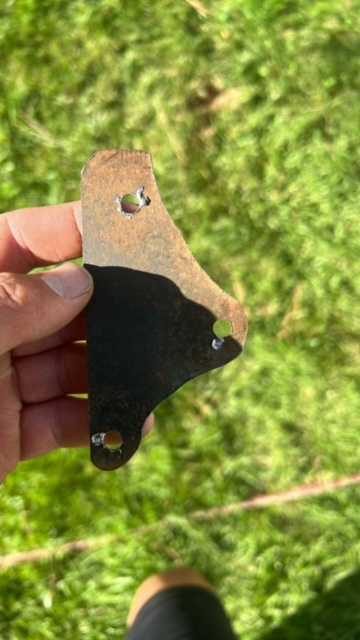
I did "trim" the sheet metal next to the factory fiero dogbone in between watching paint dry and napping today. I still need to clean it up a bit, but the rough shape is there. This should allow me to use the cam covers on both heads.

I really need to start on the passenger side decklid hinge, i keep plowing that one off Although most of this process i wouldn't change a thing, I really wish i could say I have enjoyed every minute I've put into this car. Unfortunately then i would be lying, and I'm really hoping Santa brings me a NOS F40 this year ------------------
Zander Holmes
19 year old who's here about 20 years to late
Black 88GT - LQ1 swap on the way
|
|

|
Patrick
|
AUG 27, 01:37 AM
|
|
| quote | Originally posted by fliphone:
Every car with a N* motor that i saw today (which was 6 or 7) utilize a under the backseat battery location, meaning that they also have super long battery cables that can be used as a battery relocation kit. These are plenty long enough for a battery relocation in a fiero, and also cost my 5 dalla out the door and about 15 minutes to pull.
|
|
They were $3.95 back in 2013.
| quote | Originally posted by Patrick Here:
There are GM vehicles with their batteries under the back seat. These battery cables are perfect. Even have the correct connections for side-post batteries.
The best part... $3.95 apiece at the auto wreckers.
Splurge and buy two. Run the negative cable right up to the engine block.
|
|
|
|
|
|
jelly2m8
|
AUG 27, 03:17 AM
|
|
Although the world has passed that engine by, Huge props for your install, the custom engine mounts, Keeping the AC, putting the Alternator in the correct place^^
Hope it runs good and strong for you!
|
|

|
richard in nc
|
AUG 27, 09:50 AM
|
|
|
that engine seems a little tight in there. [This message has been edited by richard in nc (edited 12-10-2023).]
|
|
|
|
fliphone
|
AUG 28, 11:48 AM
|
|
|
|
|