|
| LQ1 swap build thread (25 years to late) (Page 2/9) |

|
fliphone
|
AUG 28, 12:24 PM
|
|
| quote | Although the world has passed that engine by, Huge props for your install, the custom engine mounts, Keeping the AC, putting the Alternator in the correct place^^
Hope it runs good and strong for you! |
|
Thank you!
I do have an idea I would like to ping off you guys, possibly Ogre(?) regarding coolant routing. Would there be any issues if I route the coolant bypass through the heater core putting it on its "own" coolant loop and plugging off the factory coolant return? I see two issues that might be in my way, one being will that be a ticking time bomb of pressure in the heater core? And the other concern being once the thermostat opens up, will the heater core still have a sufficient amount of warm coolant flowing through it to keep the heater hot?------------------
Zander Holmes
19 year old who's here about 20 years to late
Black 88GT - LQ1 swap on the way
|
|
|
|
Raydar
|
AUG 28, 02:53 PM
|
|
| quote | Originally posted by fliphone:
...
Would there be any issues if I route the coolant bypass through the heater core putting it on its "own" coolant loop and plugging off the factory coolant return? I see two issues that might be in my way, one being will that be a ticking time bomb of pressure in the heater core? And the other concern being once the thermostat opens up, will the heater core still have a sufficient amount of warm coolant flowing through it to keep the heater hot?
|
|
I'm not sure I understand your question, or if I'm missing something. I suspect I'll find out when I get cracking, on mine.
But...
First... I'll mention that on the Fiero, the "hot" coolant leaves the thermostat housing, is piped to the left side coolant pipe, and to the top of the radiator. The "cooled" coolant comes out of the bottom of the radiator, to the right side coolant pipe, and back to the water pump, where it is pumped back into the hot engine. (This really confuses some people. I had this same conversation last week with a local. He thought it ran the opposite direction.)
The 2.8 also uses the heater core circuit for a bypass. The thermostat, and the regular coolant hose, are just above the outlet to the heater core. The heater core "feed" is the smaller of the two fittings on the firewall side of the housing. When the thermostat opens, the heater core and the radiator are effectively in parallel. There is plenty of hot coolant to go around.
The return from the heater core is connected to the small fitting on the rear of the passenger side coolant pipe, just in front of the rear wheel. From the very rear of that pipe is a hose that routes the "cooled" coolant back to the engine.
On the 86 and earlier cars, the heater return was piped all the way up to a fitting on the water pump. If you look at your 2.8 water pump, you will see the plug where that fitting would have gone, if your car had been an 85 or 86.
Hope that helps.[This message has been edited by Raydar (edited 08-28-2023).]
|
|
|
|
fliphone
|
AUG 28, 07:15 PM
|
|
This does, it sounds like the idea in my head was to run the coolant like the stock Fiero the whole time. That definitely opens some doors.
Also trying out a new sig, so it might be willy wompus ------------------
Black 88 GT, a 19 year old here about 20 years to late
-LQ1 Swap in progress-

|
|
|
|
ericjon262
|
AUG 29, 11:30 PM
|
|
|
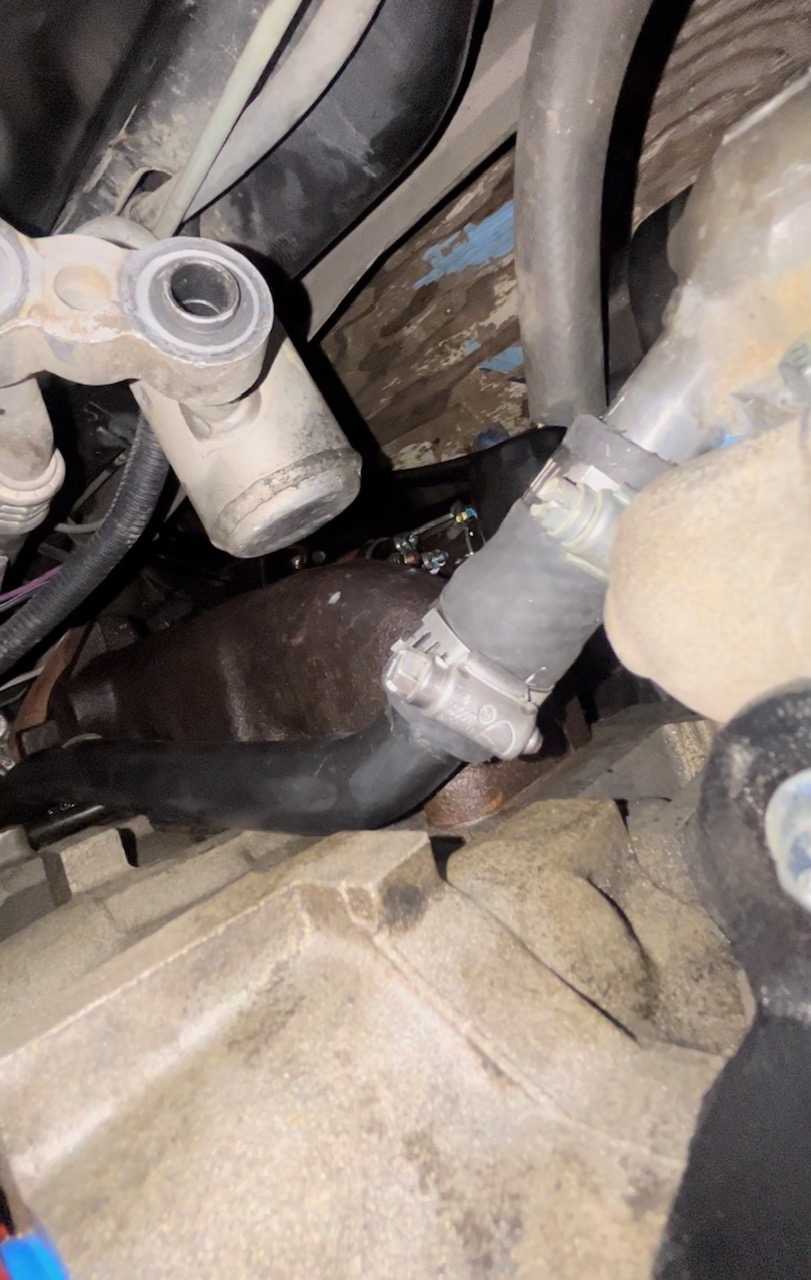
on my car, I plumbed the heater core return into the passenger side coolant tube, at the front of the car, and used the now unused heater line as an intercooler line. ------------------
"I am not what you so glibly call to be a civilized man. I have broken with society for reasons which I alone am able to appreciate. I am therefore not subject to it's stupid laws, and I ask you to never allude to them in my presence again."
I invited Lou Dias to trash me in my own thread, he refused. sorry. if he trashes your thread going after me. I tried.
|
|
|
|
fliphone
|
AUG 30, 12:40 AM
|
|
|
|
|
fliphone
|
AUG 31, 01:24 AM
|
|
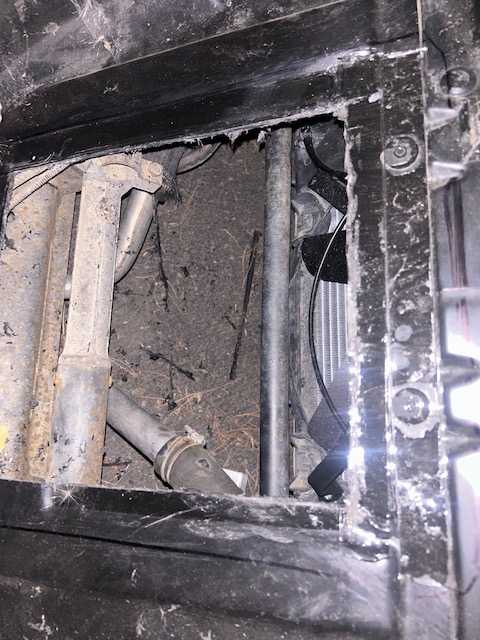
2 steps forward one step back, worked on the second engine test fit today to start sizing up coolant lines/Plug wires/vacuum lines and all that good stuff.
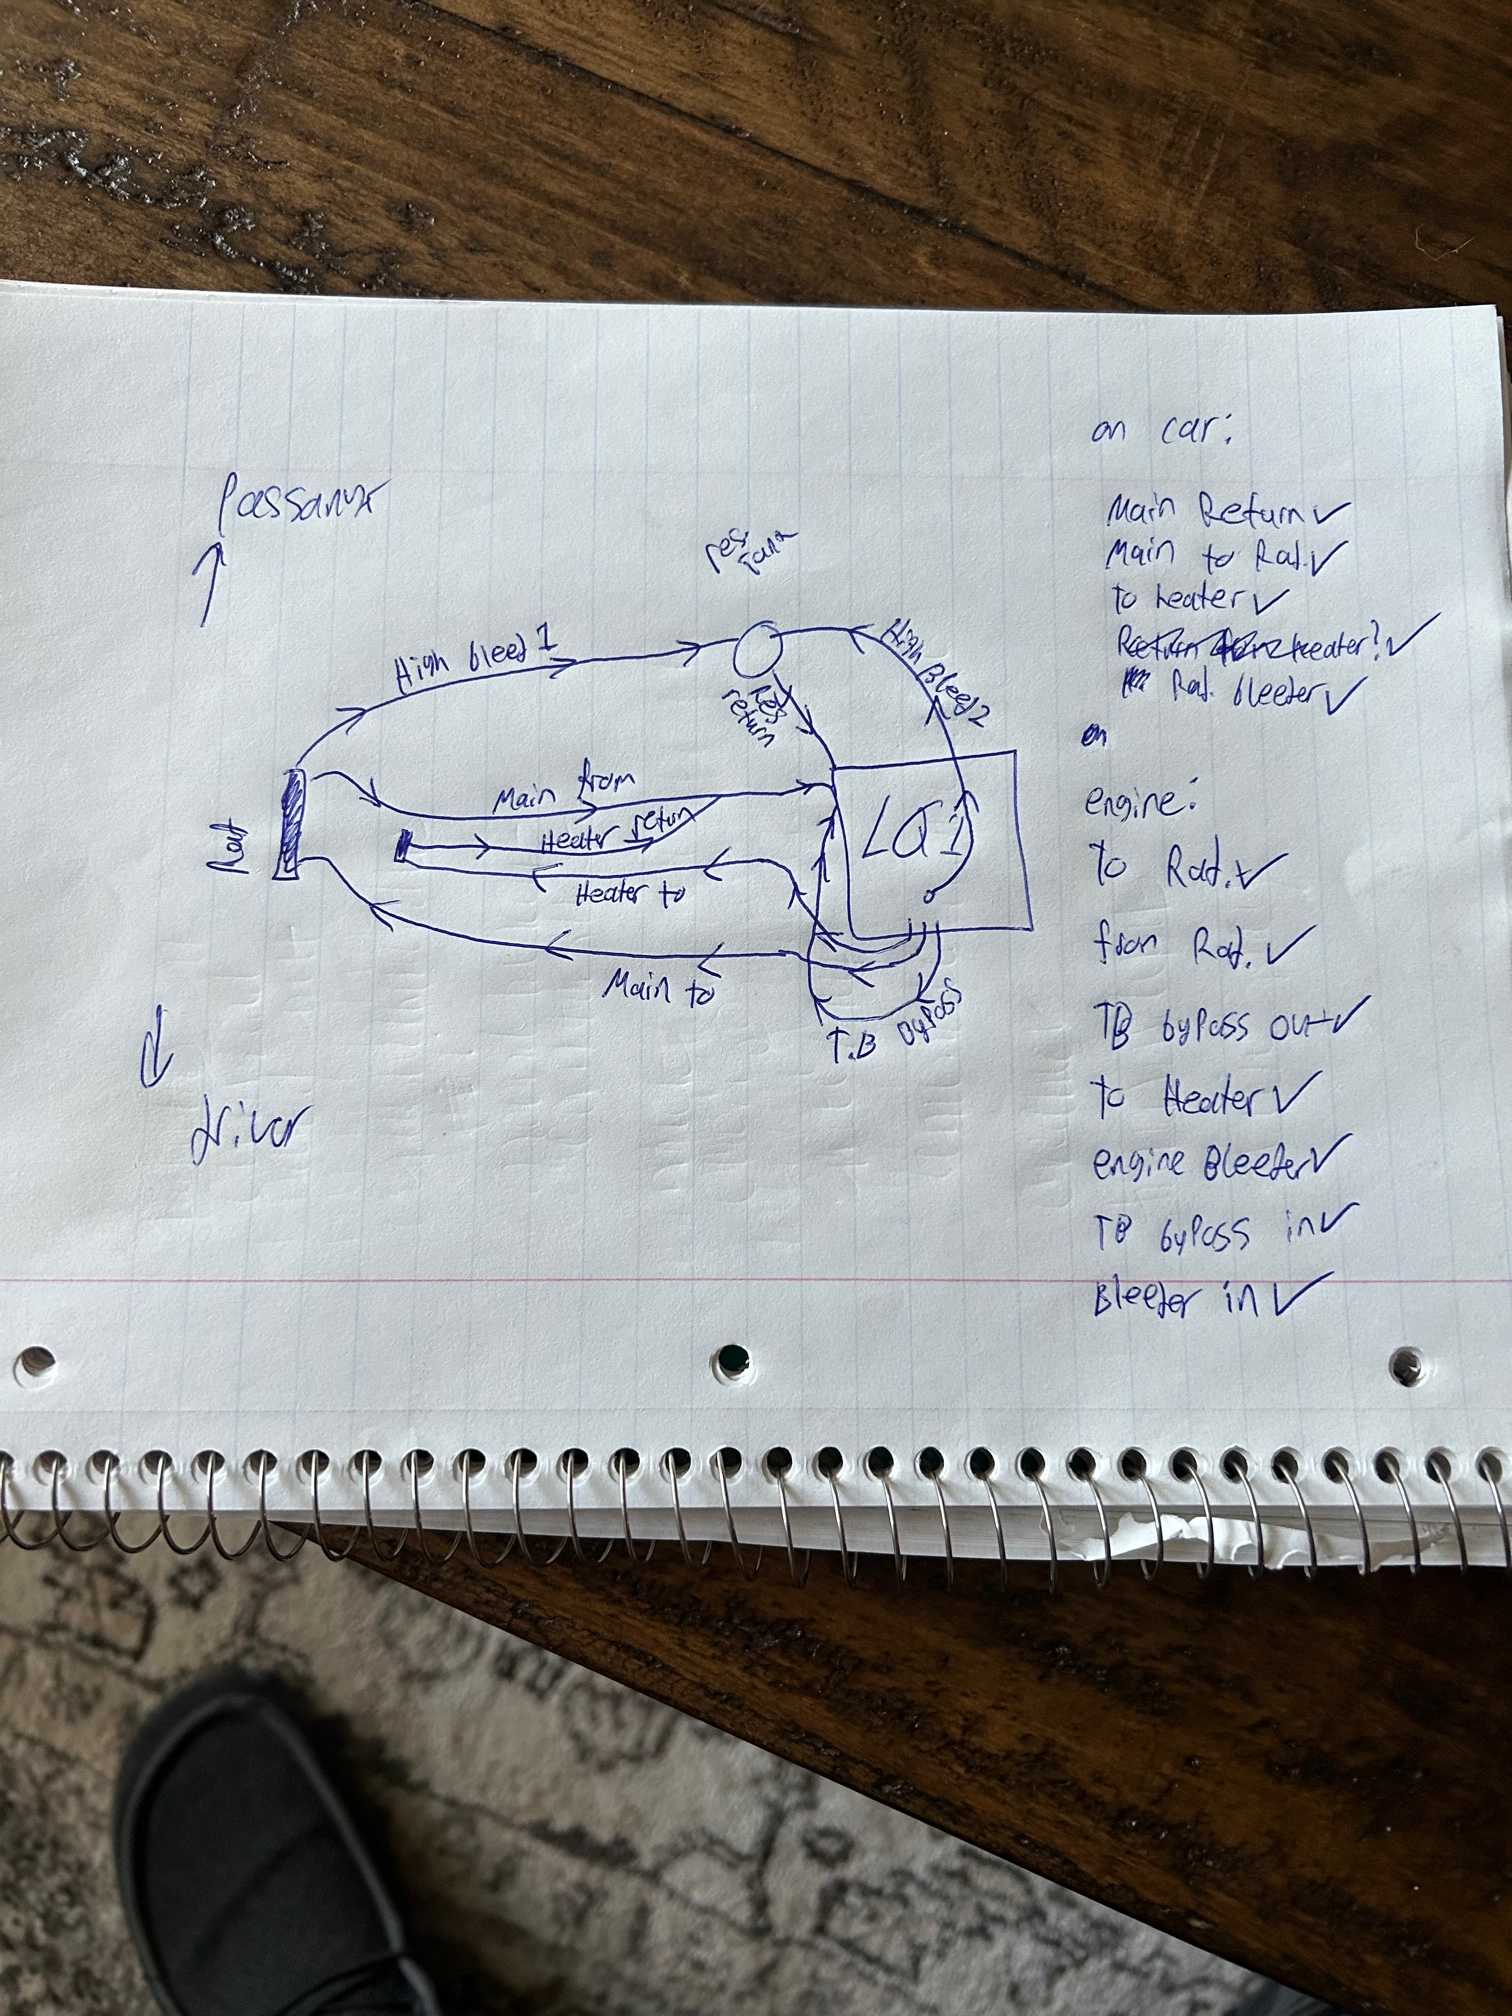
Let's start with the 2 steps forward. one big step is I believe I got the coolant routing all situated, on paper that is. I do have a couple of "universal" coolant hoses showing up so I'm going to start test fitting the 2 large lines running to the radiator and back.I got one cut and bent to length tonight for the line heading to the radiator, with the hose i think I'll be using for the return line showing up tomorrow. Below is my HD 4k Blueprints for how I plan to run coolant throughout the car, it is a mix of stock Fiero, Steven Snyder's self bleeding coolant setup, and a dazzle of the stock LQ1 for good measure.

The other positive thing I did was install the shift tower I've had made for this for like 3 months now, which at this point was only about a 15 minute detour but progress is progress.

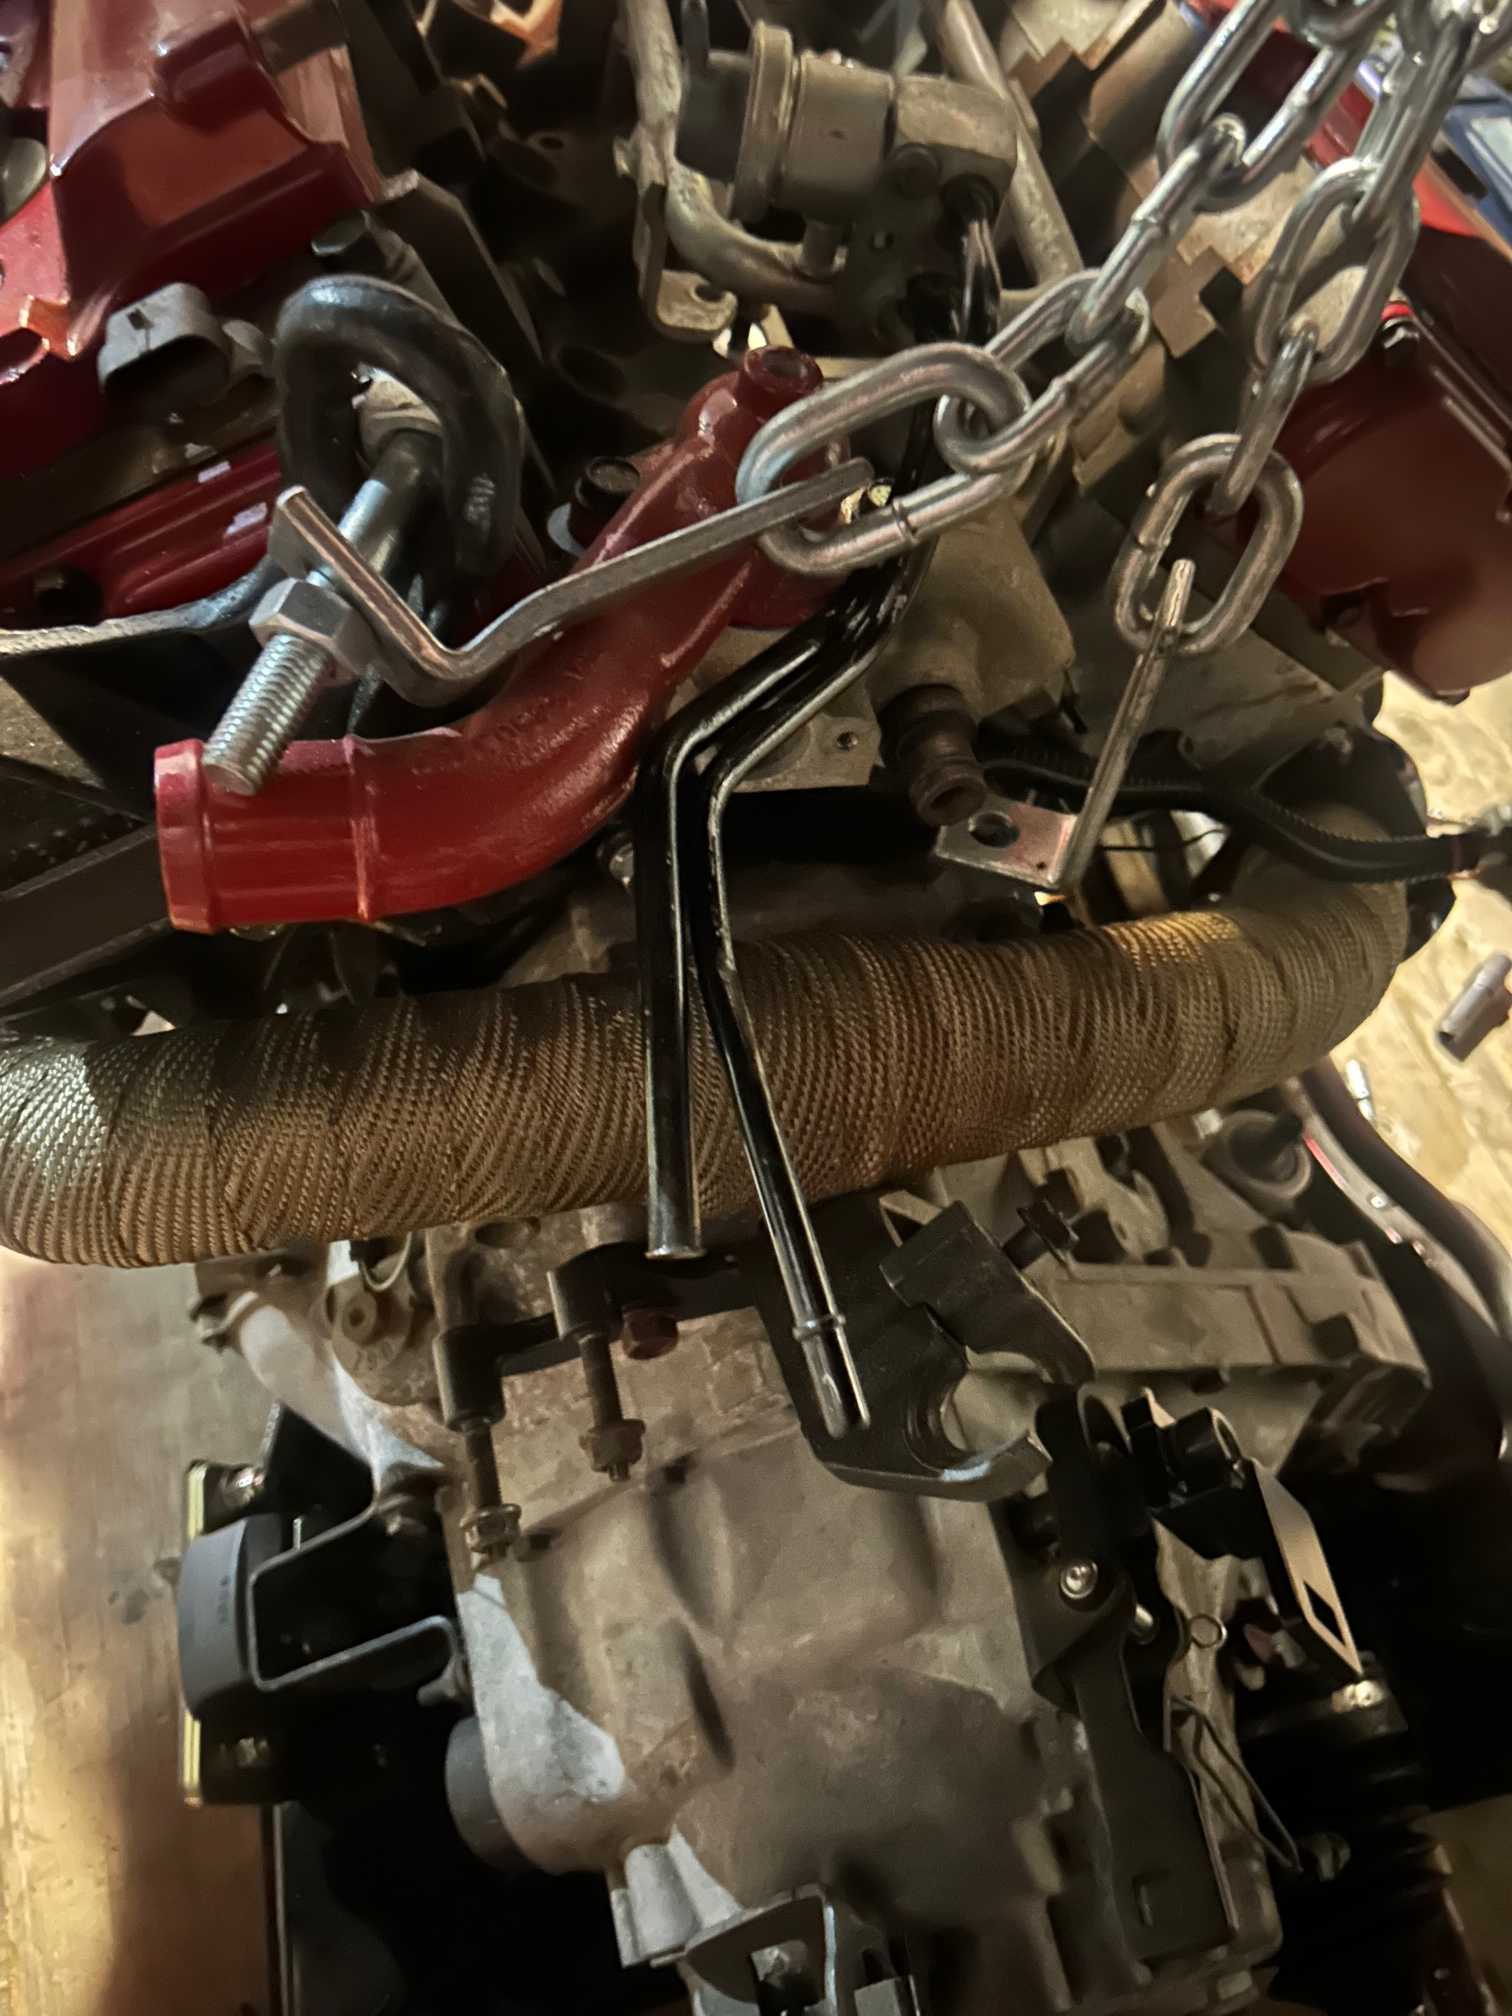
Although I do have my vacuum line diagram pretty much done, it's time for the step back . I got the front cradle bolts in place meaning the cradle is strait, and the engine is sitting in the engine bay crooked :banghead. So back out it comes. I believe i found the problem, and it involves slotting out the two motor mounts to make everything line up in the engine bay.

The goal tomorrow is to have the engine mounted for the final time (again). And really start working on getting at least the vacuum lines ran before the weekend. ------------------
Black 88 GT, a 19 year old here about 20 years to late
-LQ1 Swap in progress-
|
|
|
|
fliphone
|
SEP 01, 12:11 AM
|
|
|
|
|
Raydar
|
SEP 02, 11:55 AM
|
|
| quote | Originally posted by fliphone:
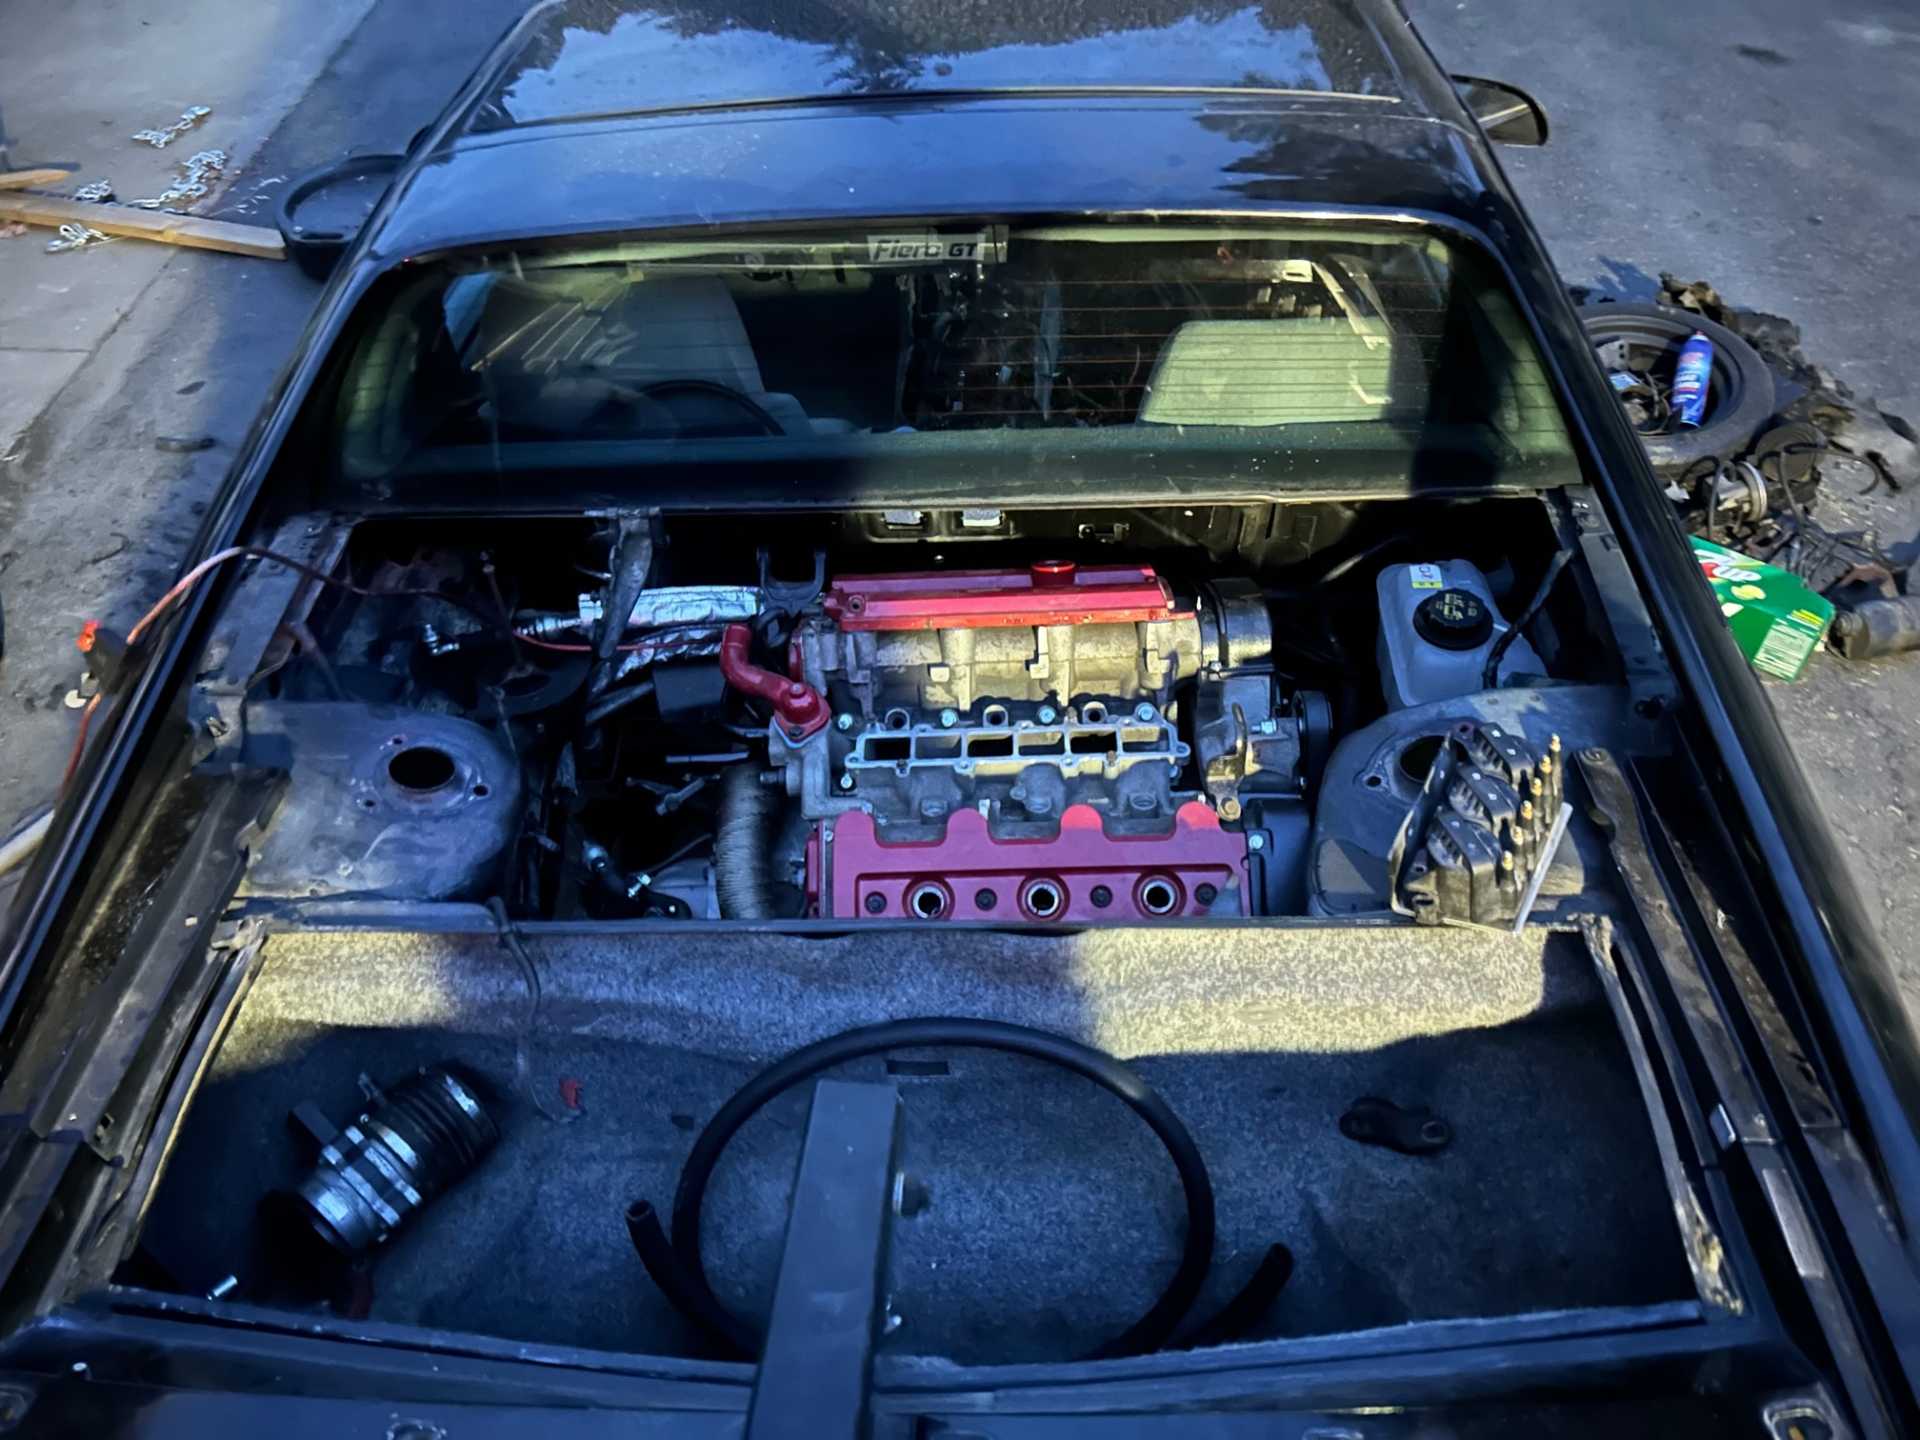
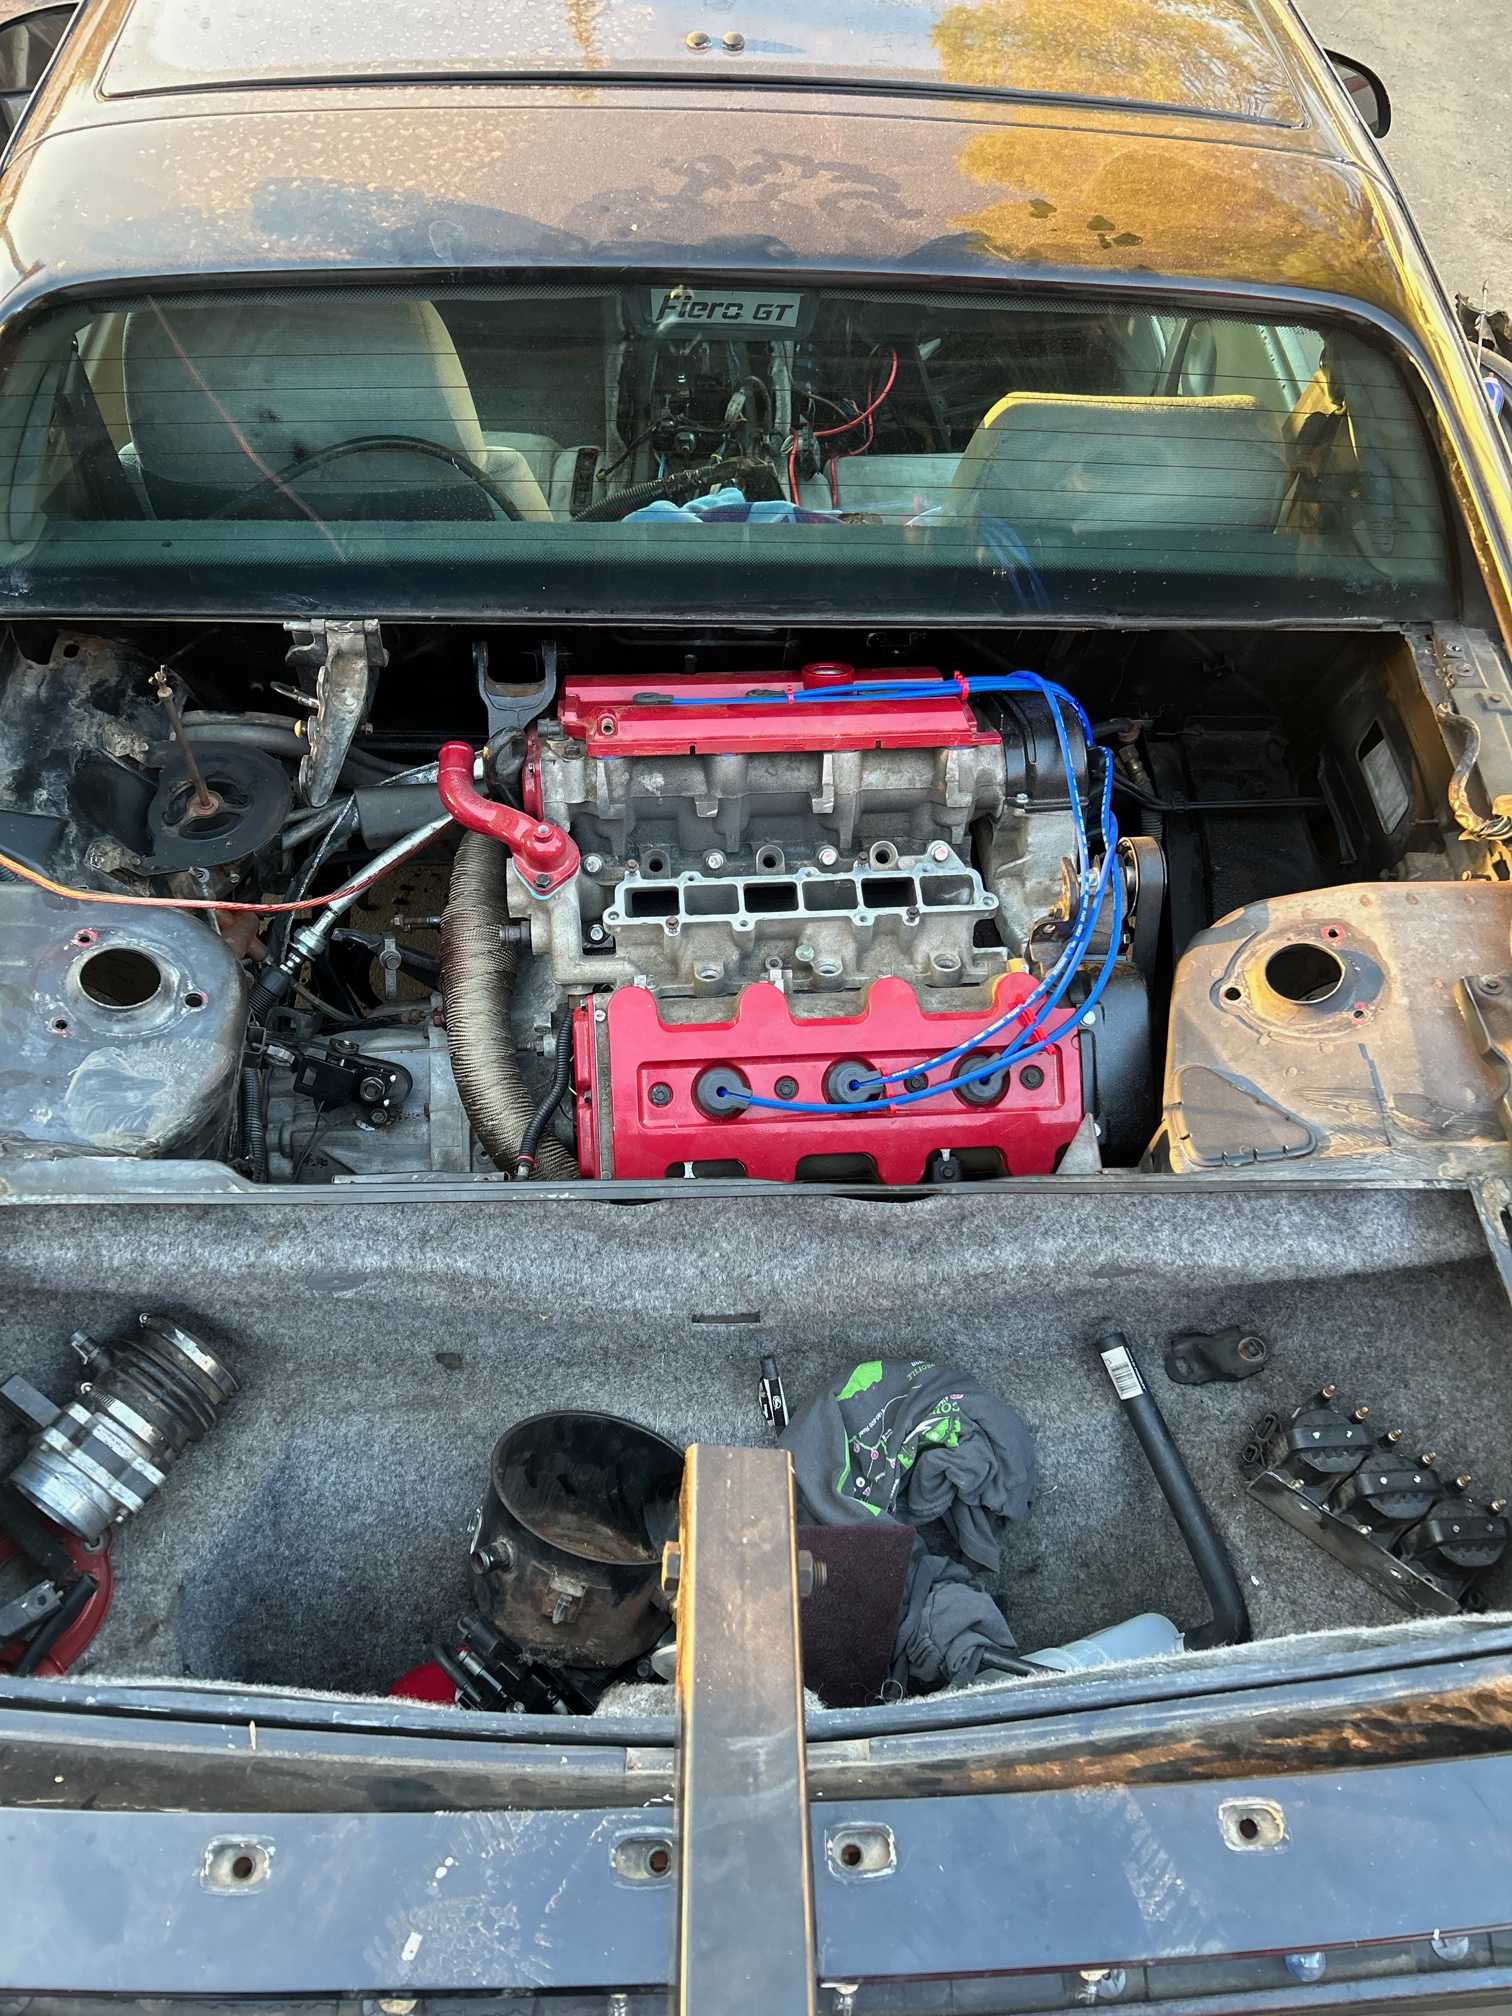
A little bit of a slow day today, but was able to get the engine almost completely squared up in the engine bay. Man is it a tight fit
...
|
|
Looks great! You work fast!
If it's posted earlier in your thread, I missed it. Did you have to cut the bottom off of your right side hinge box? I understand that's "a thing" with LQ1 swaps.[This message has been edited by Raydar (edited 09-02-2023).]
|
|
|
|
fliphone
|
SEP 02, 07:18 PM
|
|
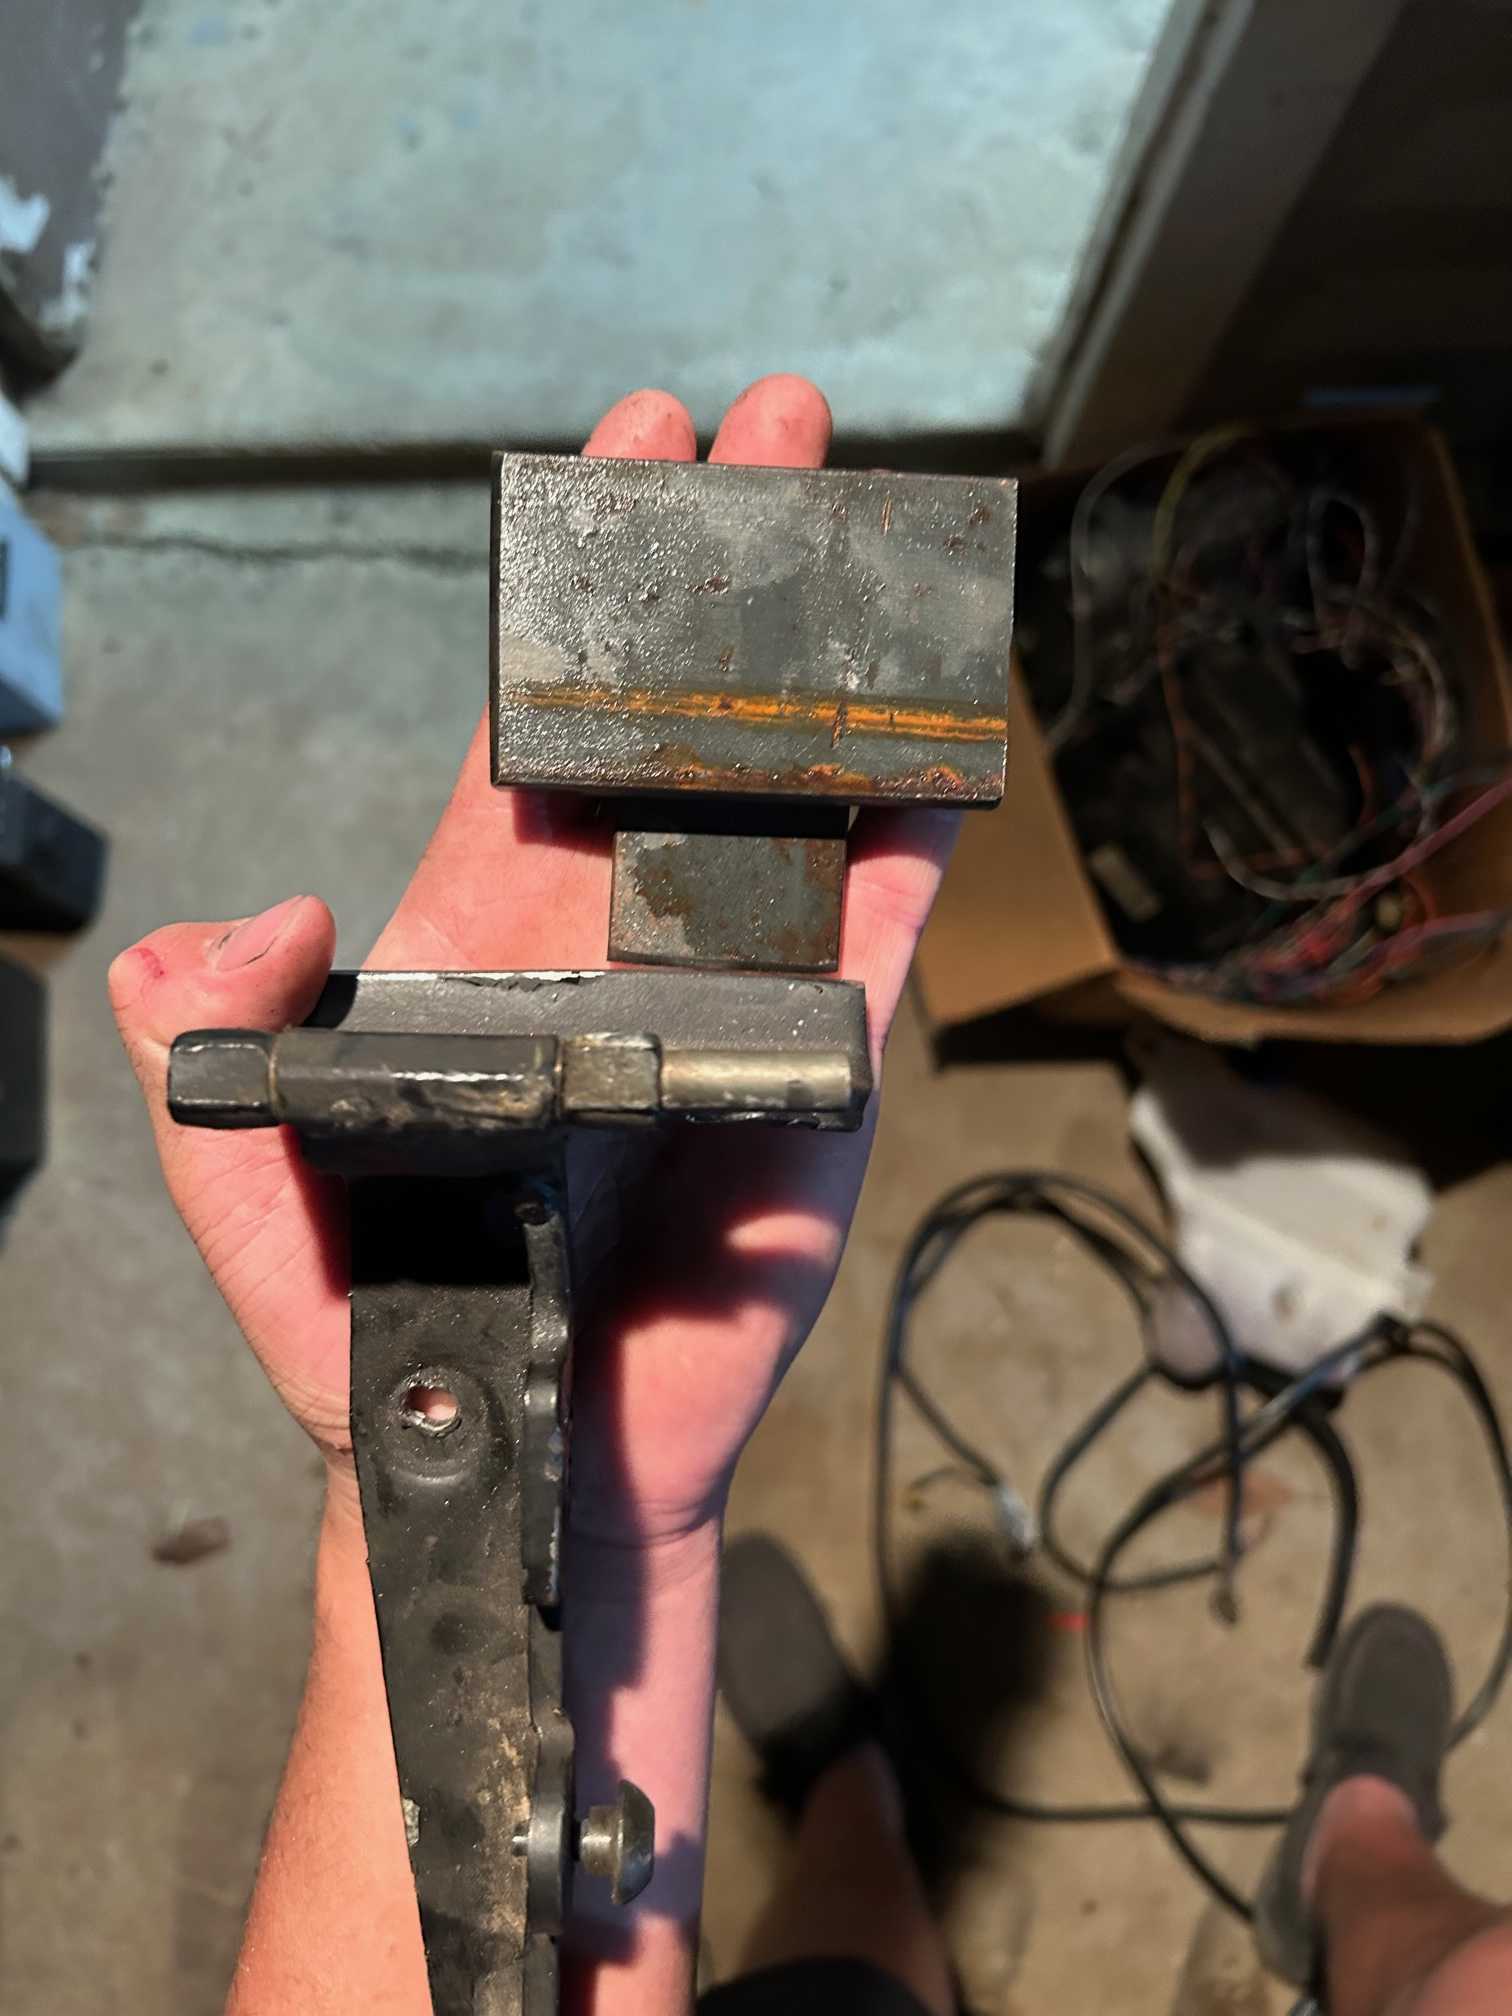
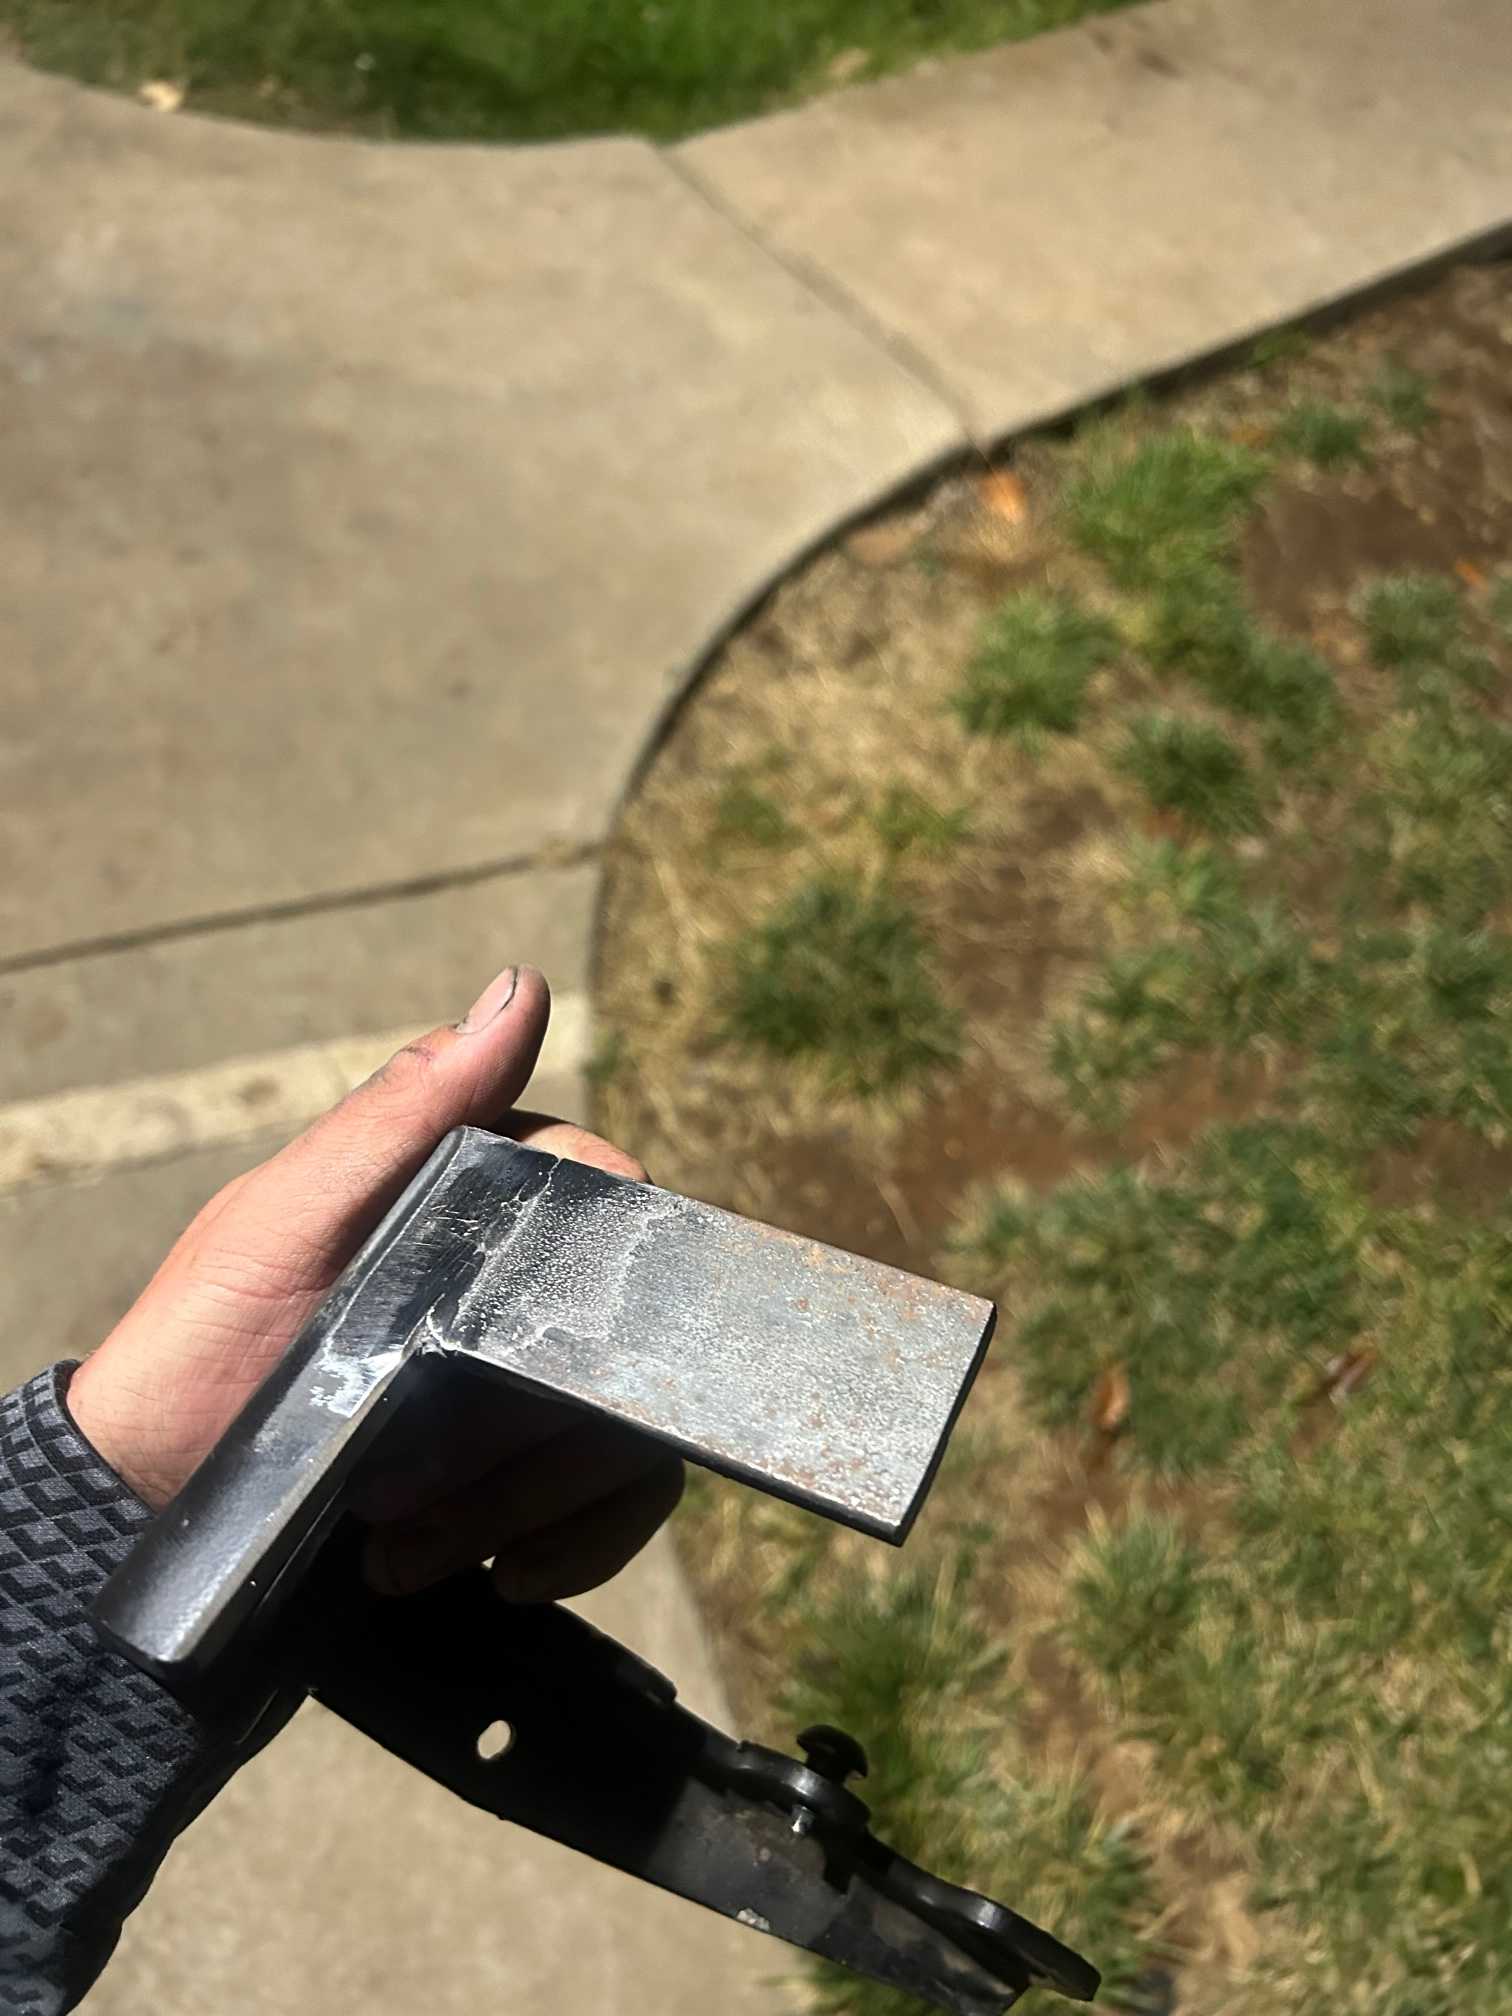
Yes, although I over estimated how much needs to be trimmed. I opted to cut out the whole hinge box and replace it with a getto version of Fiero Gurus Hidden hinges. I'm just going to weld the hinge onto the car after getting the deck lid fitment as good as possible. Below is my overly engineered (probably won't work) precisely cut (eyeballed) passenger hinge set up. Haven't welded it on yet as i haven't been in the mood and it's started raining.
Progress is starting to slow down as I am now waiting on the final parts of the build to arrive from various sources.I still have to sus out all my hose routing in the engine bay, but I've got pooly drawn routing on paper. Just gotta actually put it all together ------------------
Black 88 GT, a 19 year old here about 20 years to late
-LQ1 Swap in progress-
|
|
|
|
fliphone
|
SEP 02, 11:57 PM
|
|
Got bored right before the sun went down, and welded part of the hinge together. What I lack in laying gorgeous dimes, I hope to make up for it with the grinder (Kinda).

The only thing I don't have all the pieces of the puzzle for at the moment is fuel delivery. I can't figure out for the life of me what the stock rubber line connection(s) are. I plan for now just running rubber lines until I have the time, patience, and money to make the move to stainless lines. Does anyone know the thread pitch/fittings from these stock rubber lines?

|
|
|
|

 . Also, does anyone know how to go from AN lines to these hard lines?