
 
     |
| Bringing a 88 Fiero Back to Life with a LFX Swap (Page 14/15) |

|
Will
|
JAN 29, 03:10 AM
|
|
You have two high points in your system. The radiator is a high point. Air under the radiator cap when you install the cap has no way out. Air that later arrives in the radiator has no way out.
You could deal with this by running a hose from the overflow nipple all the way back to the tank in the engine bay.
It's easier (and safer due to the potential for damage to that small hose) to swap to a lower pressure cap on the radiator.
|
|
|
|
Rdy4takeoff
|
JAN 29, 01:52 PM
|
|
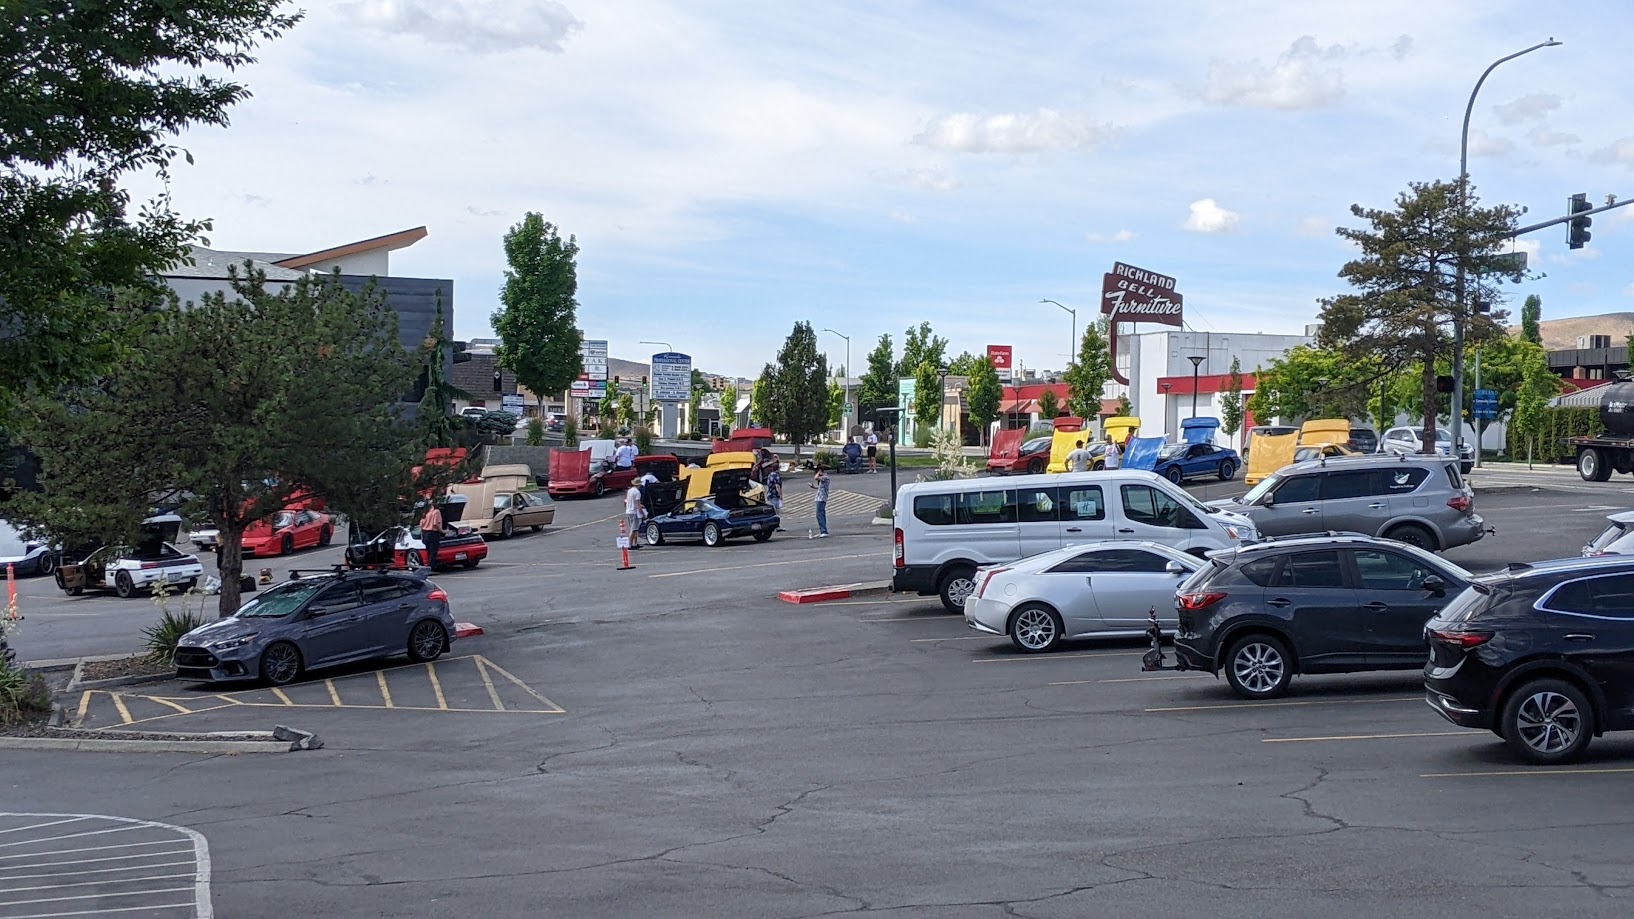 I was in Spokane on a work trip, and saw the Fiero's sitting out there. I walked over in my pilot uniform while waiting for a ride to the airport! Some sweet cars. I was in Spokane on a work trip, and saw the Fiero's sitting out there. I walked over in my pilot uniform while waiting for a ride to the airport! Some sweet cars.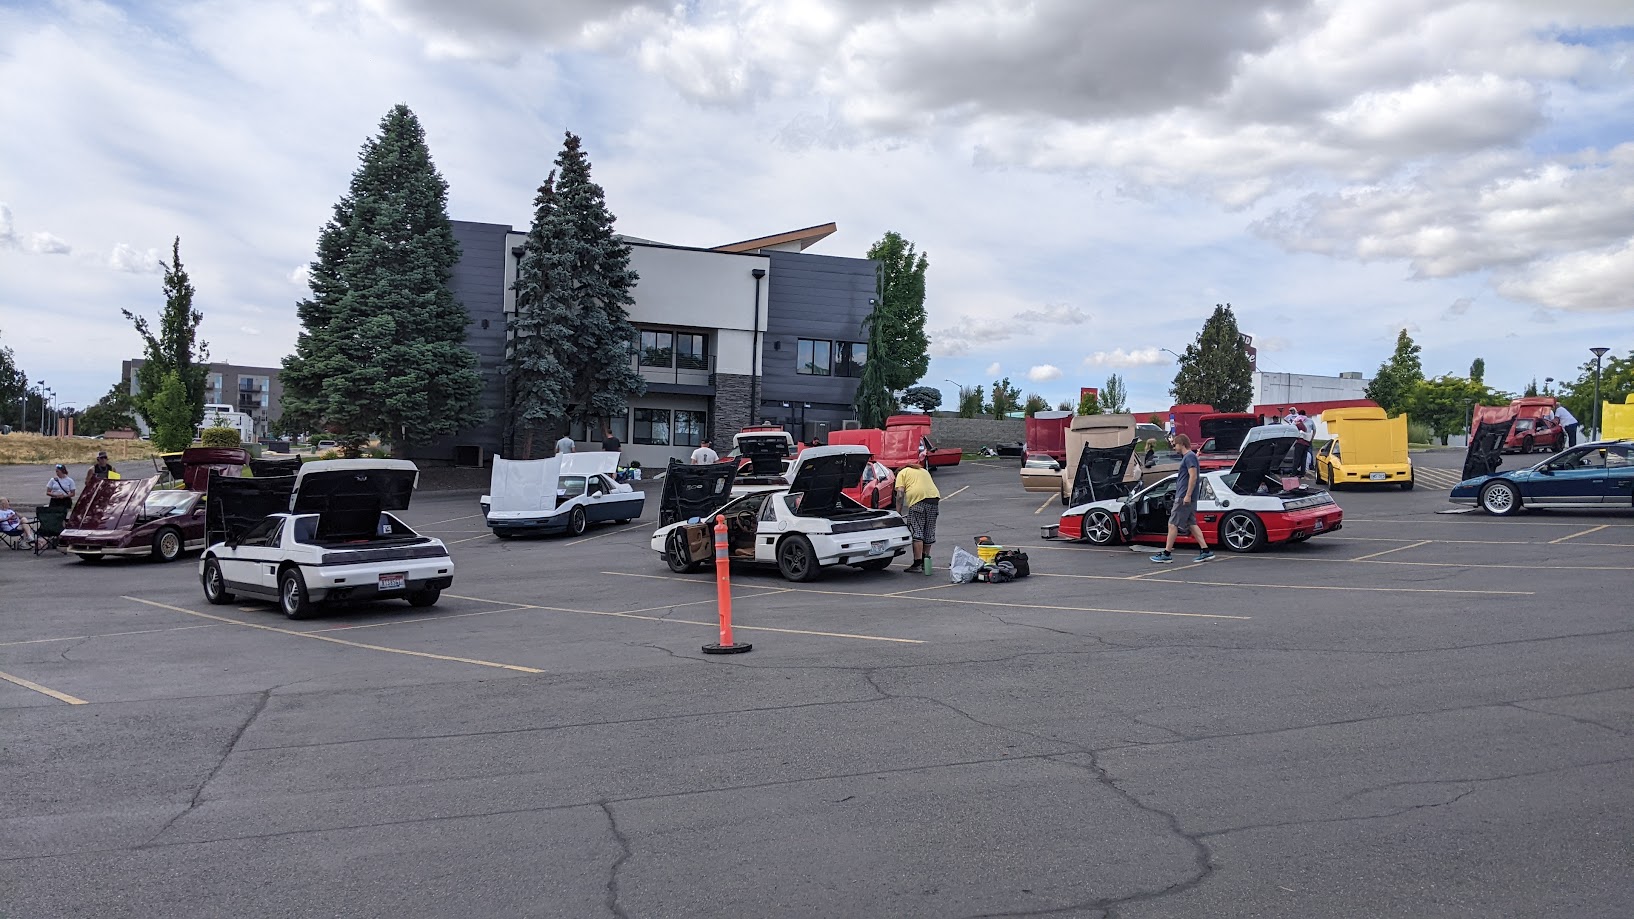
|
|
|
|
MikesFirstFiero
|
JAN 31, 02:09 AM
|
|
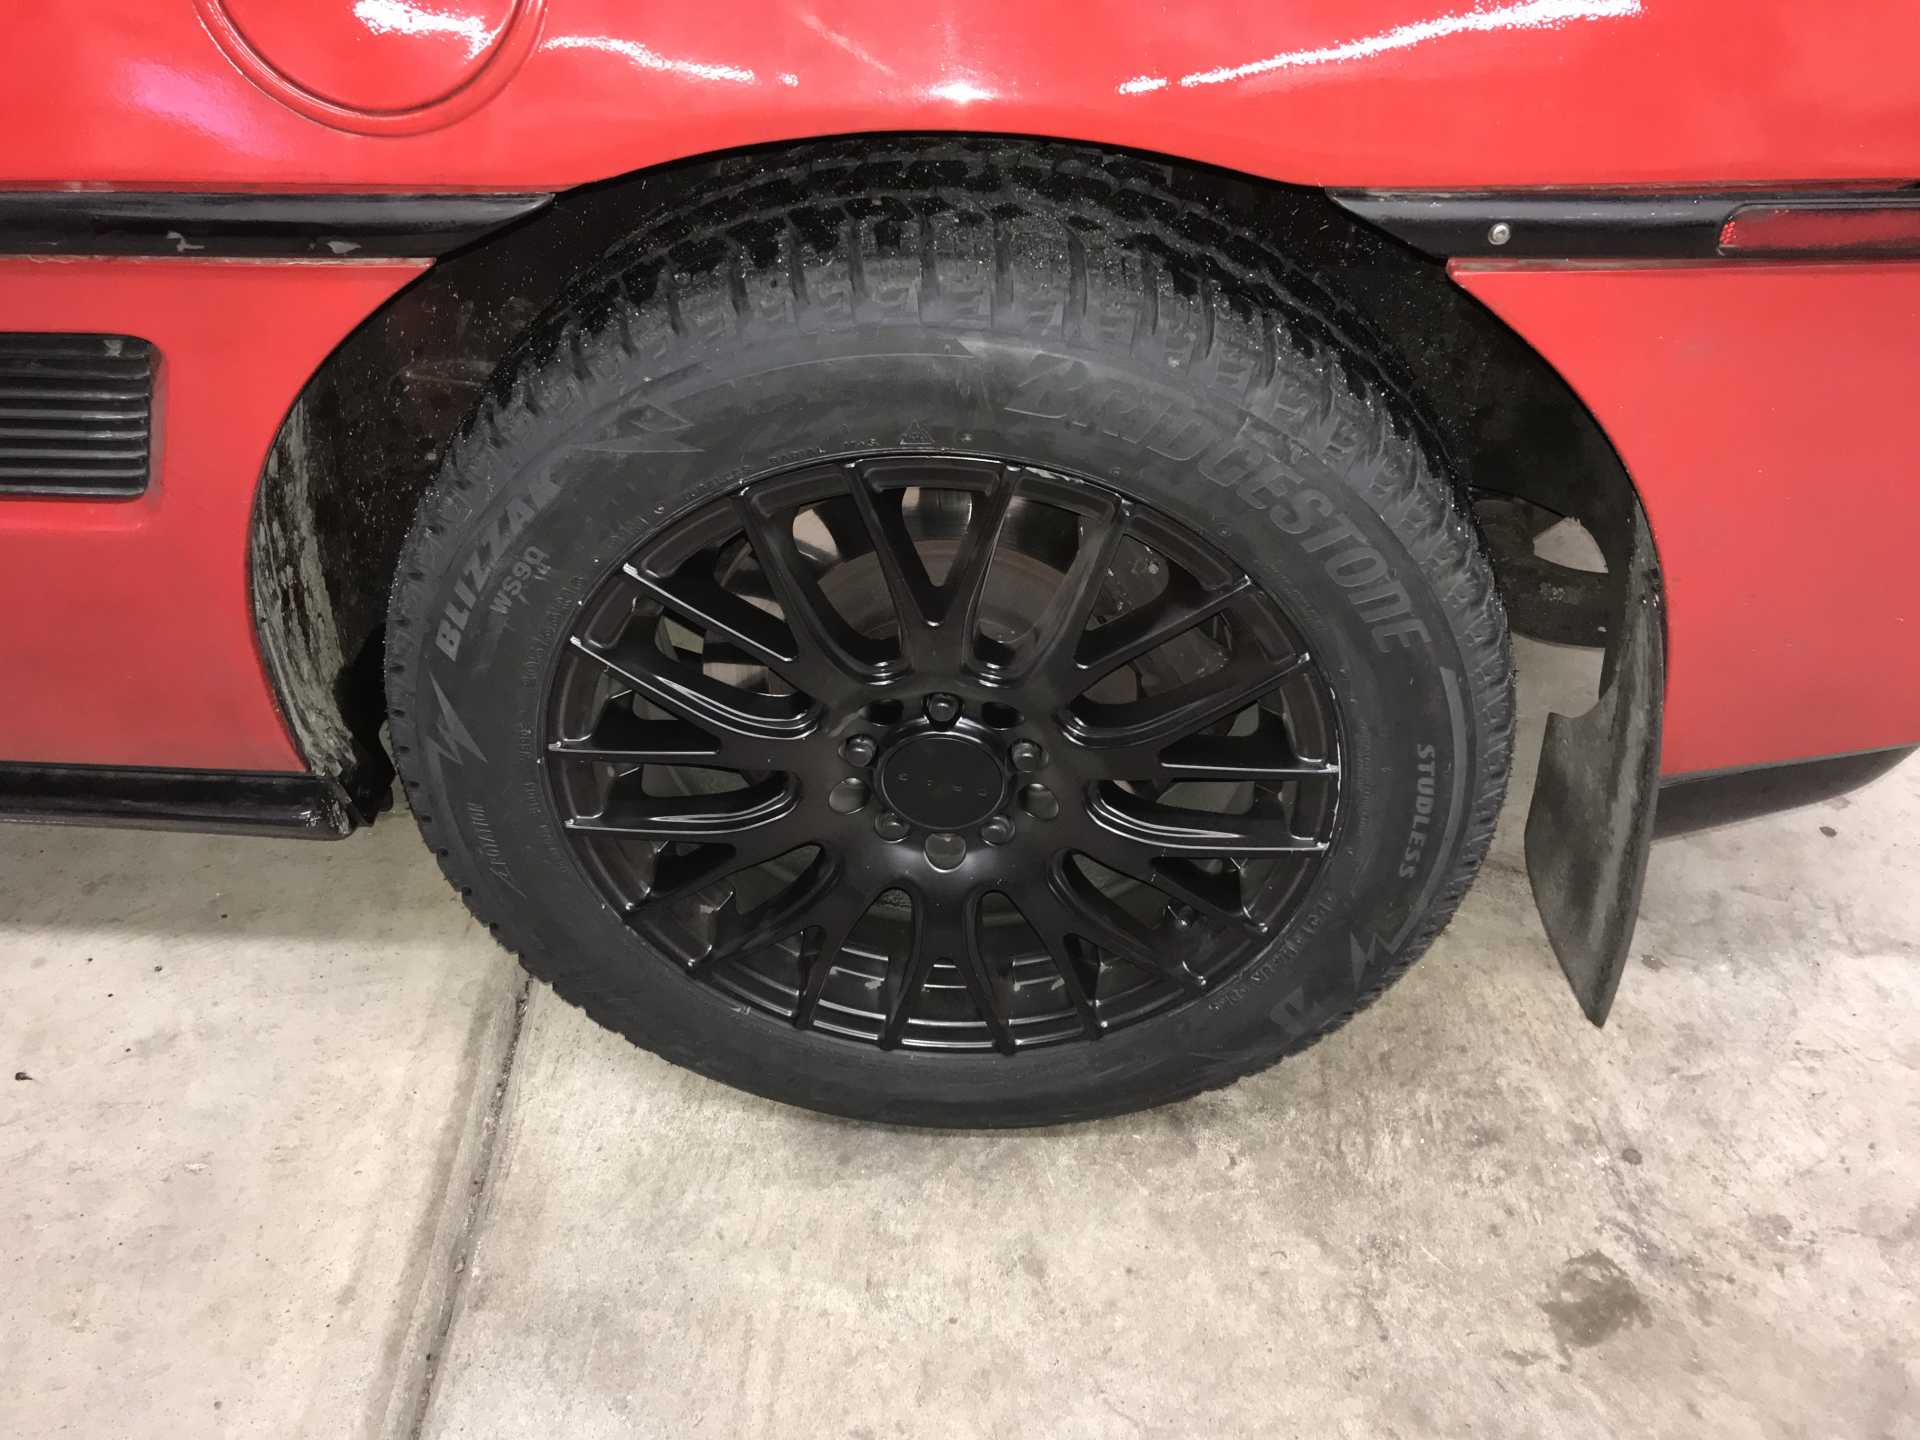
With that set of problems resolved for now It was getting into the beginning of snow season around here. Usually we get most of our snow in December with the first storm around Thanksgiving. I decided to call a halt to improvements and prepare the car for winter. The 16" wheels are swapped for a set of OEM 14" which means the brake calipers need their spacers removed and a set of OEM rotors installed. This would be the fourth year I did the swap. The problem was that when I tried to remove the spacer bolts (Flat head Allen Sockets) the bolt wouldn't budge and began to deform the socket. That meant new 16" winter wheels and tires since I need the car four days a week. I looked around and TireRack offered the best deal. A set of 205/55-16 Blizzak WS90s on wheels very similar to the summer ones including mounting, balancing and shipping for $1225 plus local tax.
Winter tires, Blizzaks work great for studless tires.
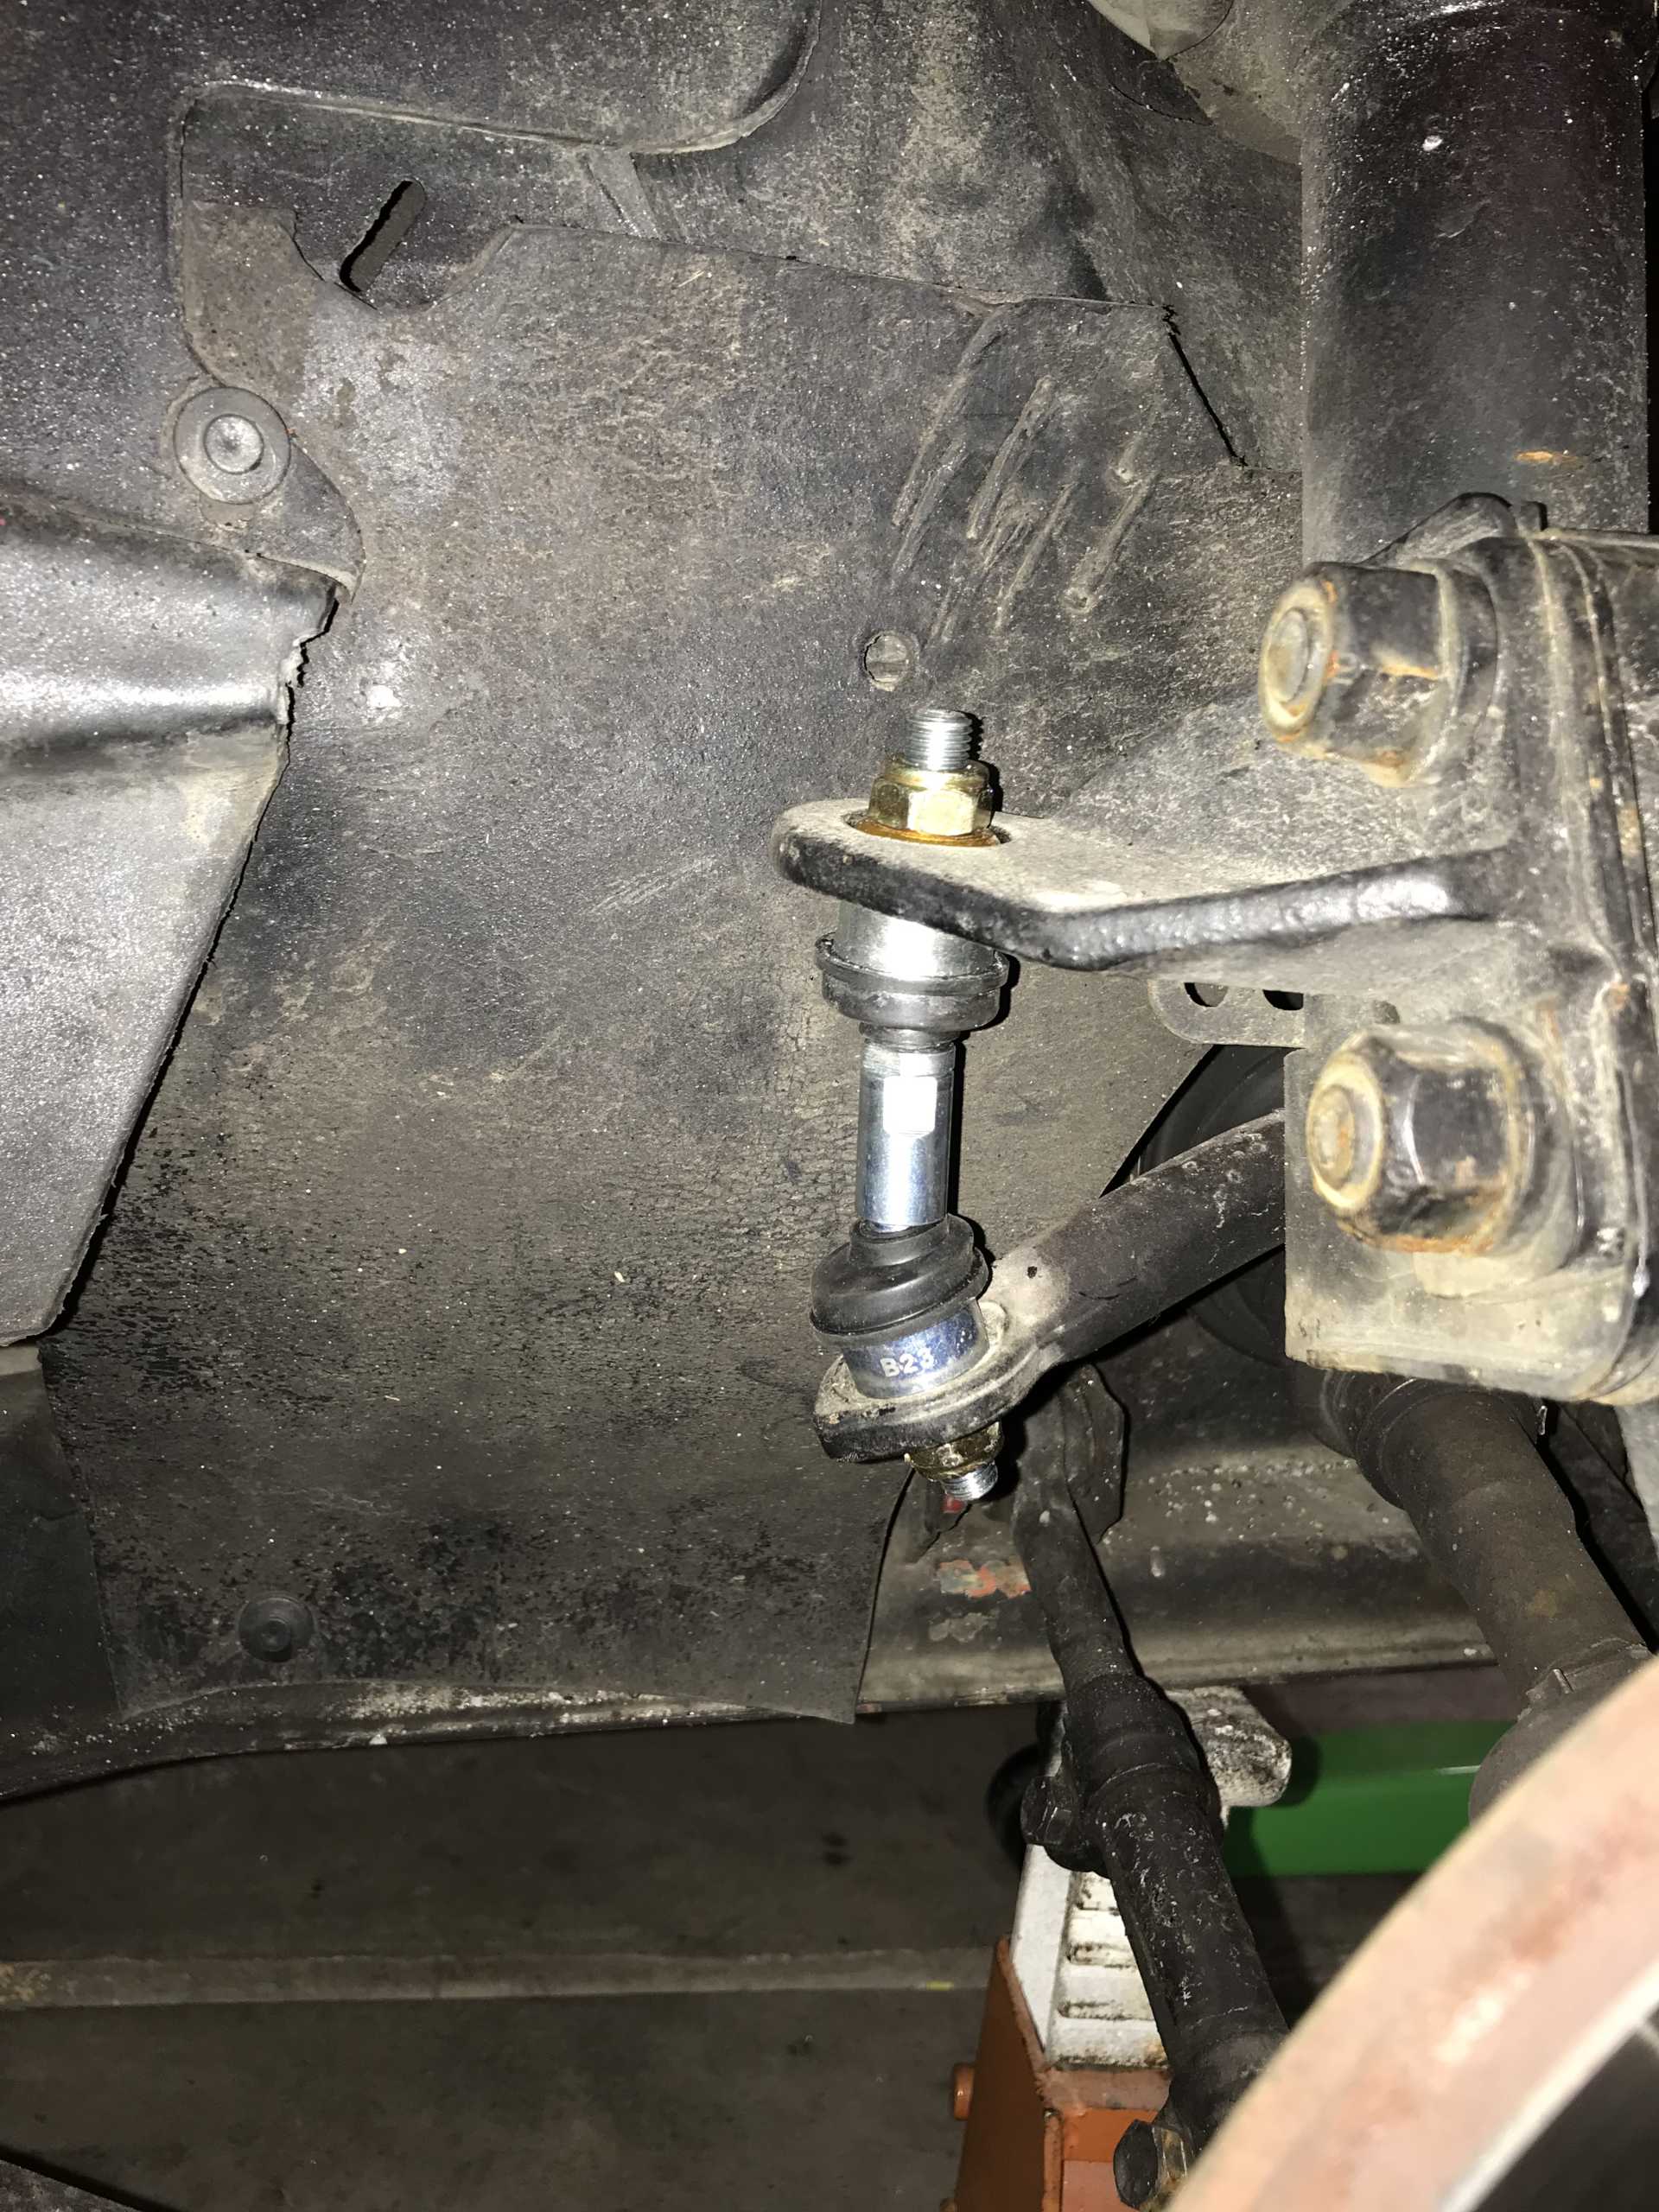
While waiting for them to arrive I had ordered a set of Rodney Dickmans ball-joint sway bar ends and got them mounted. No problems at all. I'll be sorry to see Rodney close up his shop.
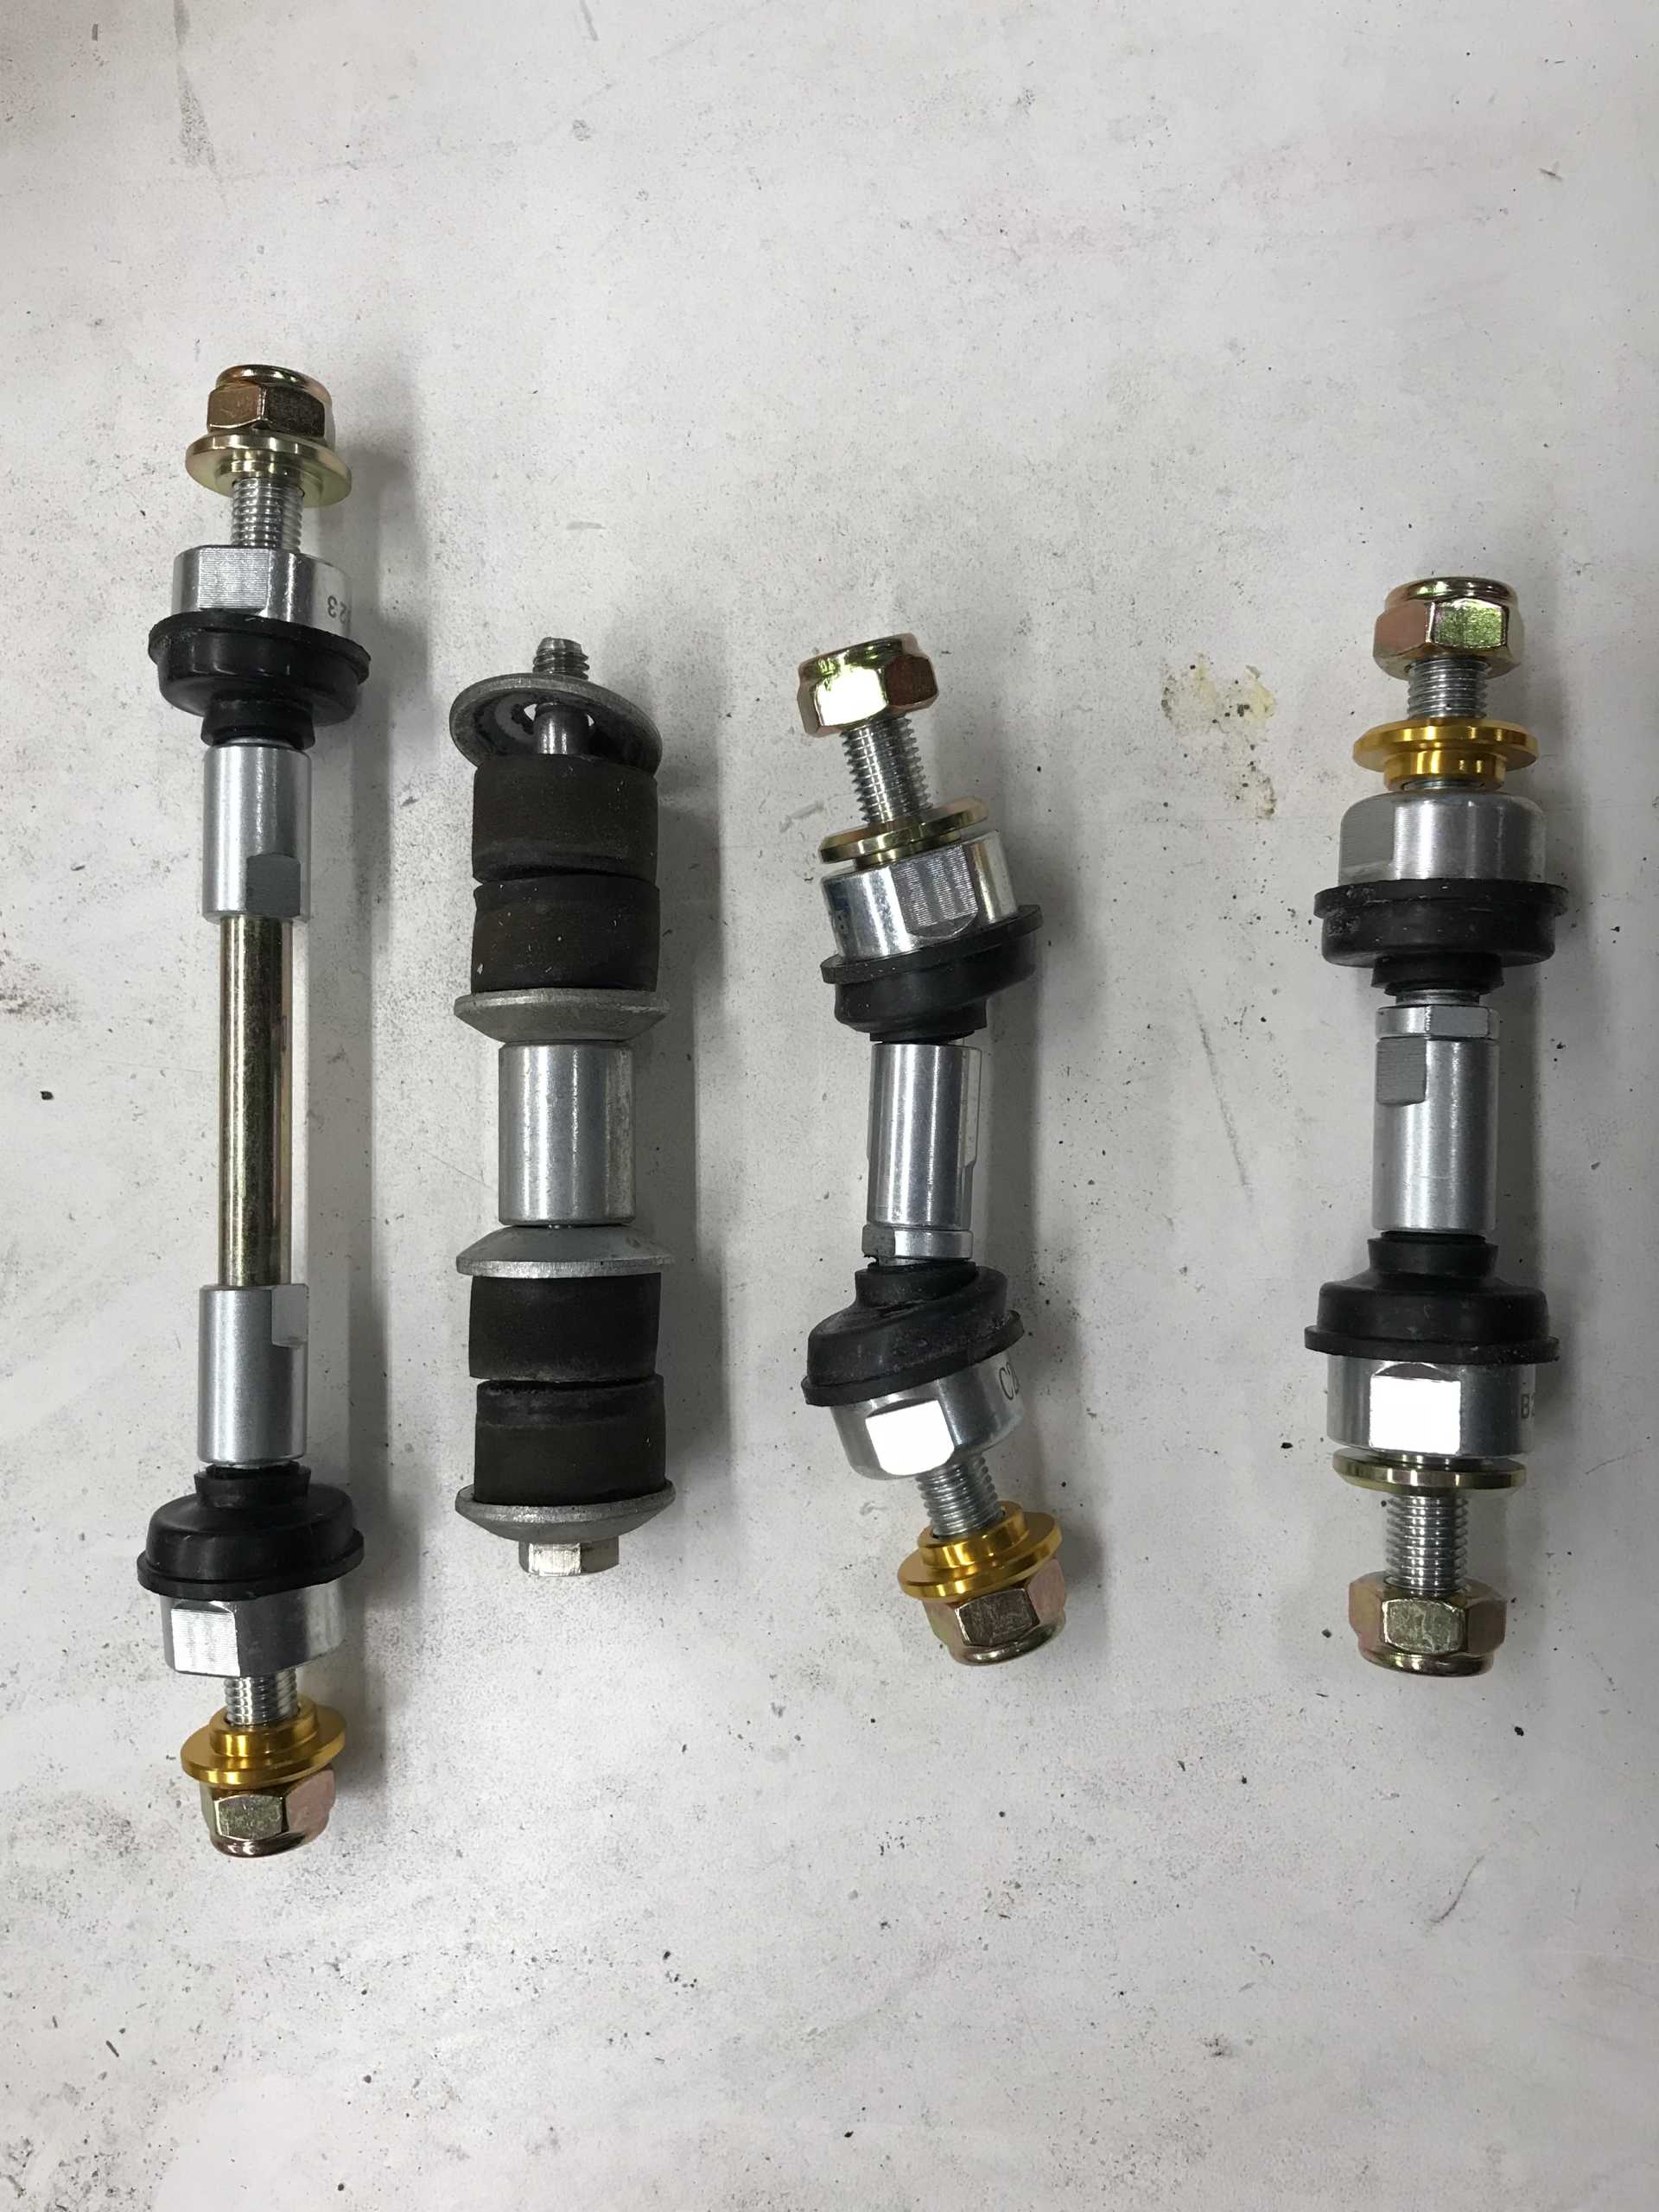
They popped in easily, I've never liked the bushing mount design since it's not aligned unless you are at the static height and the poly bushings break apart rather than just turn to mush like rubber ones do..
Yes that is coolant. I discovered a loose hose clamp and fixed it. Guess that's why engine compartments aren't painted green.
Then I noticed a small brake fluid leak from a rear caliper. Time to fix those with some spare seal kits. I'll JUST rebuid them again. But it gets worse due to my lack of reading the shop manual completely. The calipers were leaking from the inner seal in the piston. For other newbies the rear caliper has a normal caliper seal just like the fronts do. But the piston also has an inner piston and seal that is part of the E-brake, that was leaking. Dug into the shop manual and yup, there it was. And it may be irreplaceable. Problem is that rebuilt 88 rear calipers are very scarce I doubt they fix the inner seal. I've not seen an inner piston seal in any of the rear repair kits I bought. I think that the inner piston seal is never replaced for "rebuilt" calipers like from Cardone and others. I tried finding rear calipers from RockAuto and O'Reilly's (who buy them from Cardone it turns out), nothing.
I then bought a pair of 48mm pistons said to fit the front calipers to try in the rear. They turned out to be 0.1mm (.004") too big. Ok, how about using complete front calipers? I found one on the O'Reilly system and ordered it, that was a flop too. The caliper would work except it requires new brake hoses since the rear hoses are built to avoid the E-brake lever and are not long enough to fit the front caliper. I'll hang on to it just in case,
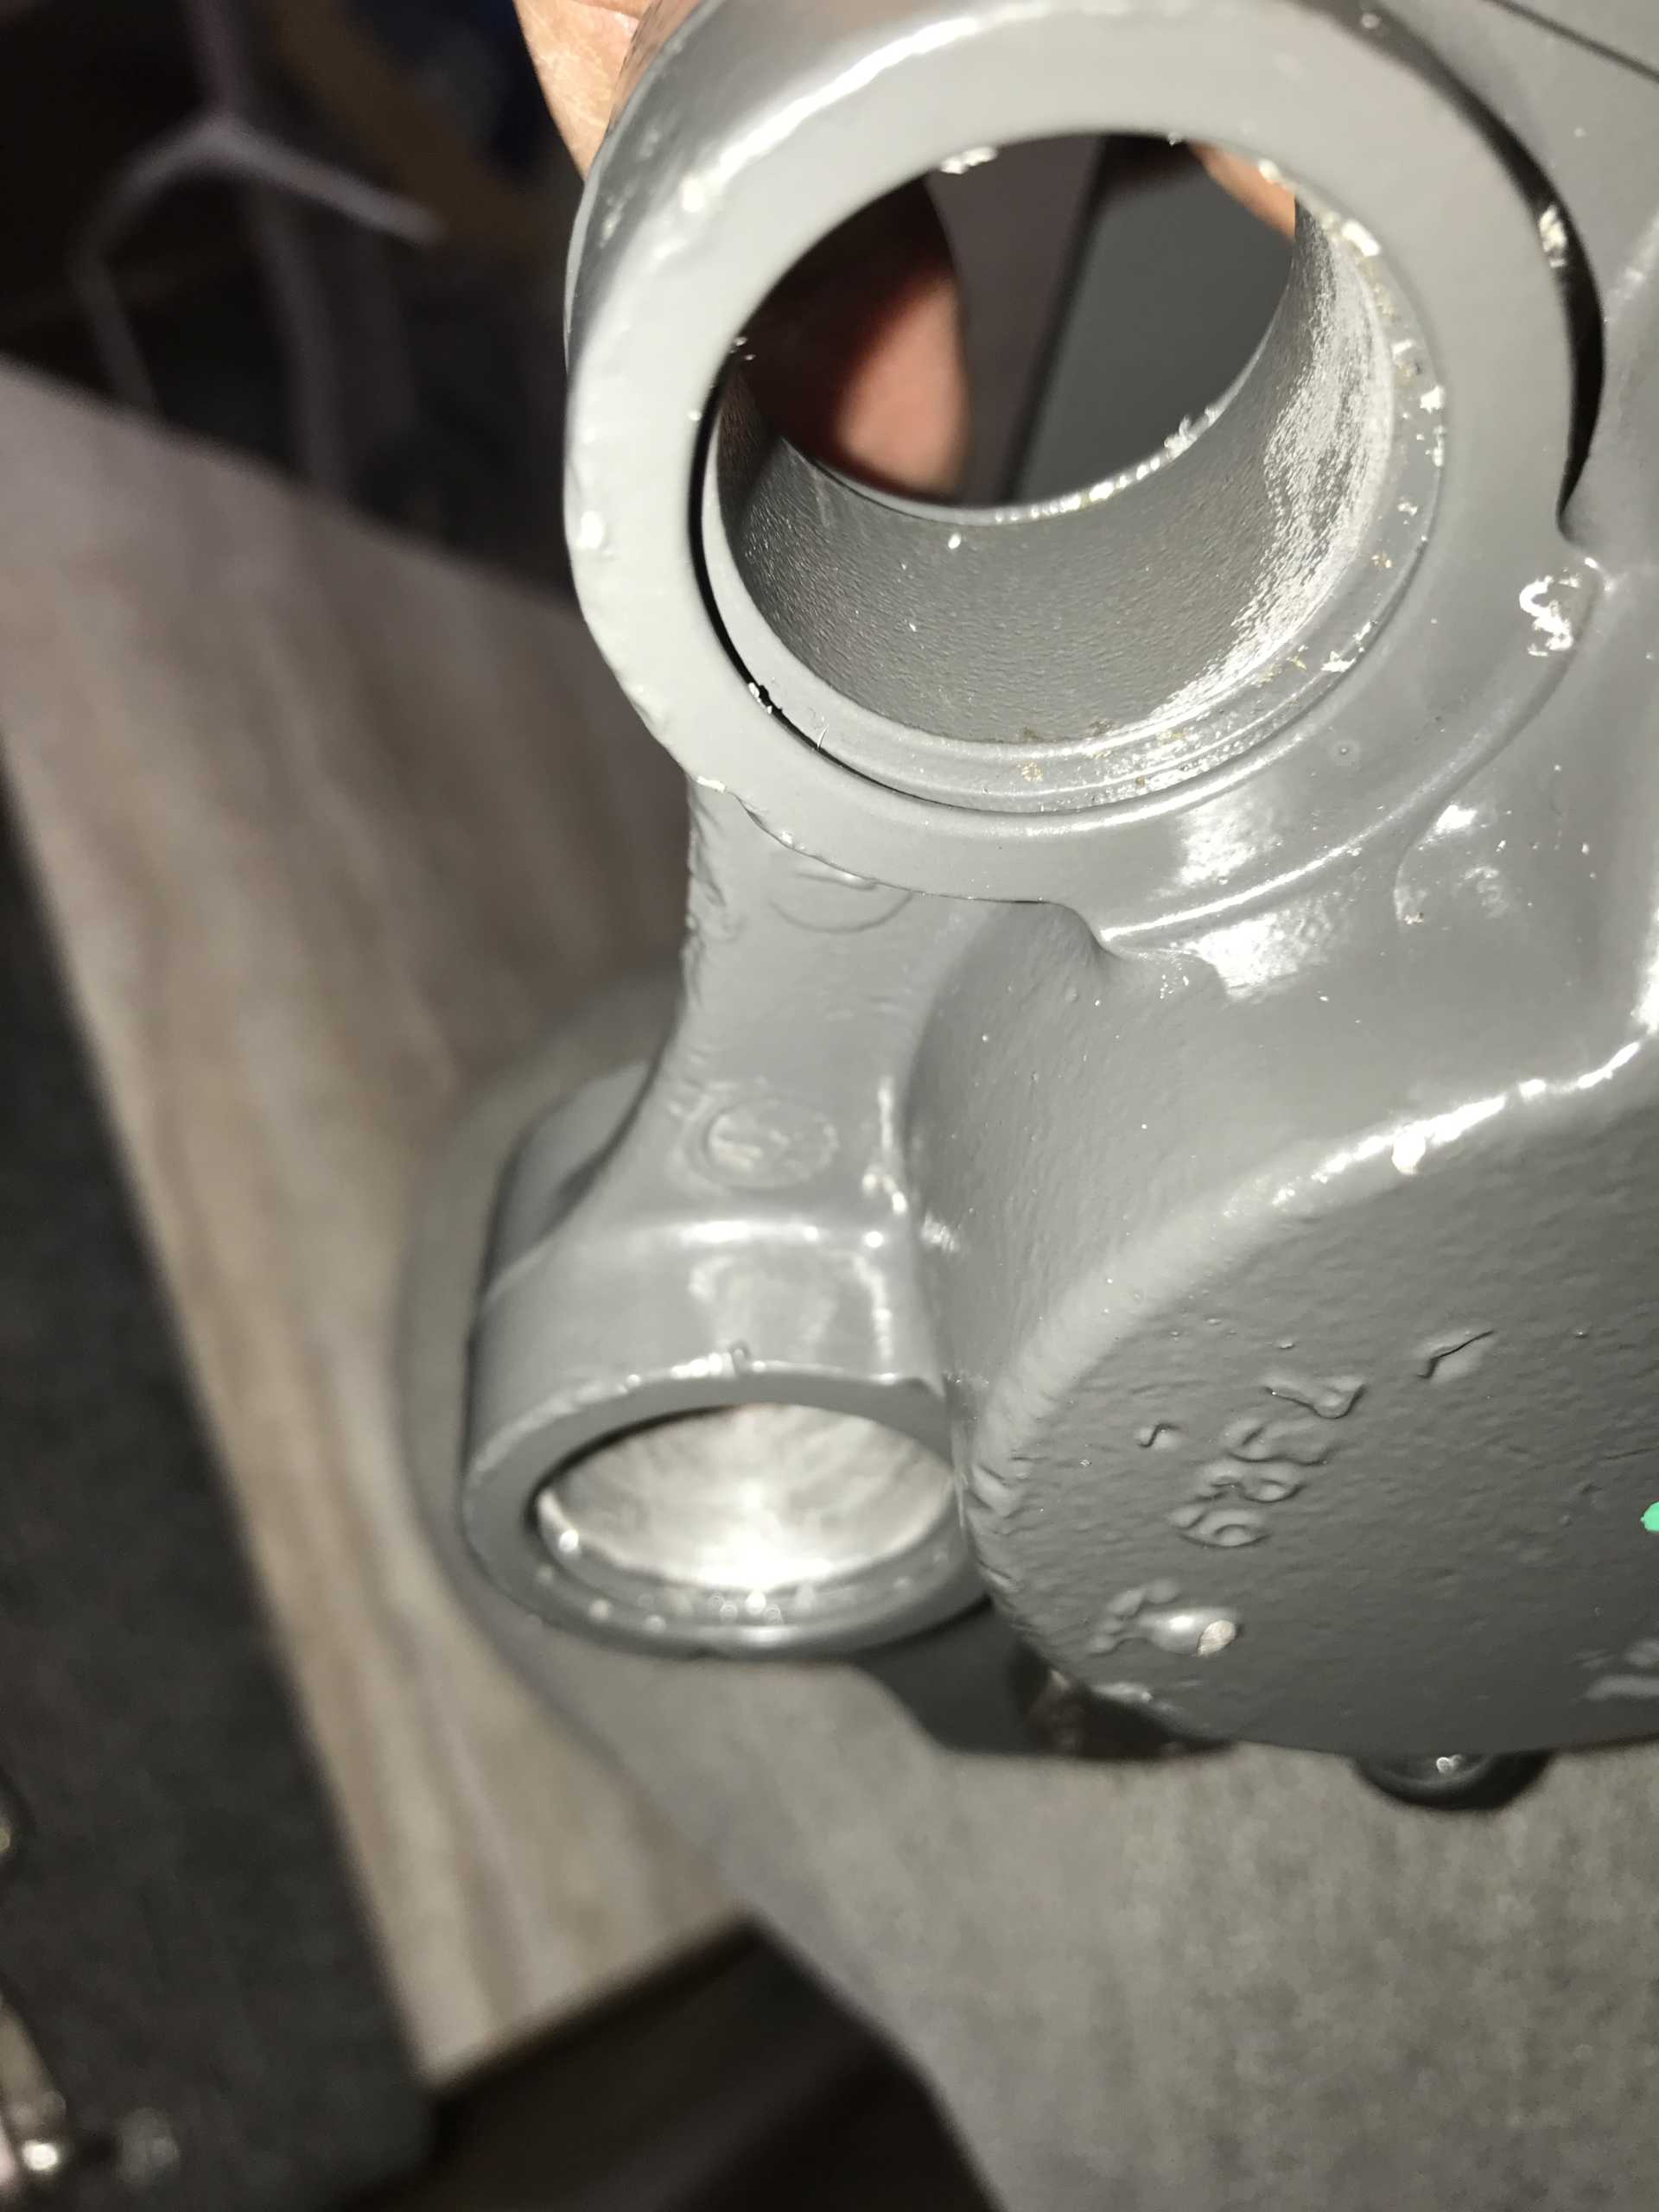
And the Cardone unit I purchased showed they know nothing about the rebuilding of a Fiero caliper properly. The sliding pin dust covers were not installed under the pins on the caliper end and were simply loose. Even worse the calipers were nicely painted - even on the slider bores. One pin was glued in place by the paint. If you buy any of this crap then expect to disassemble it and check out everything and fix their problems before you can use it. One thing I found that did work is the Centric repair kits do fit the calipers and work OK. My fronts have seals 4 years old now with no problems. The seals removed from the rears were still good too but I replaced them since I was already in there.
Paint on the slider pin bores. Top is painted from rebuilder, bottom I cleaned.
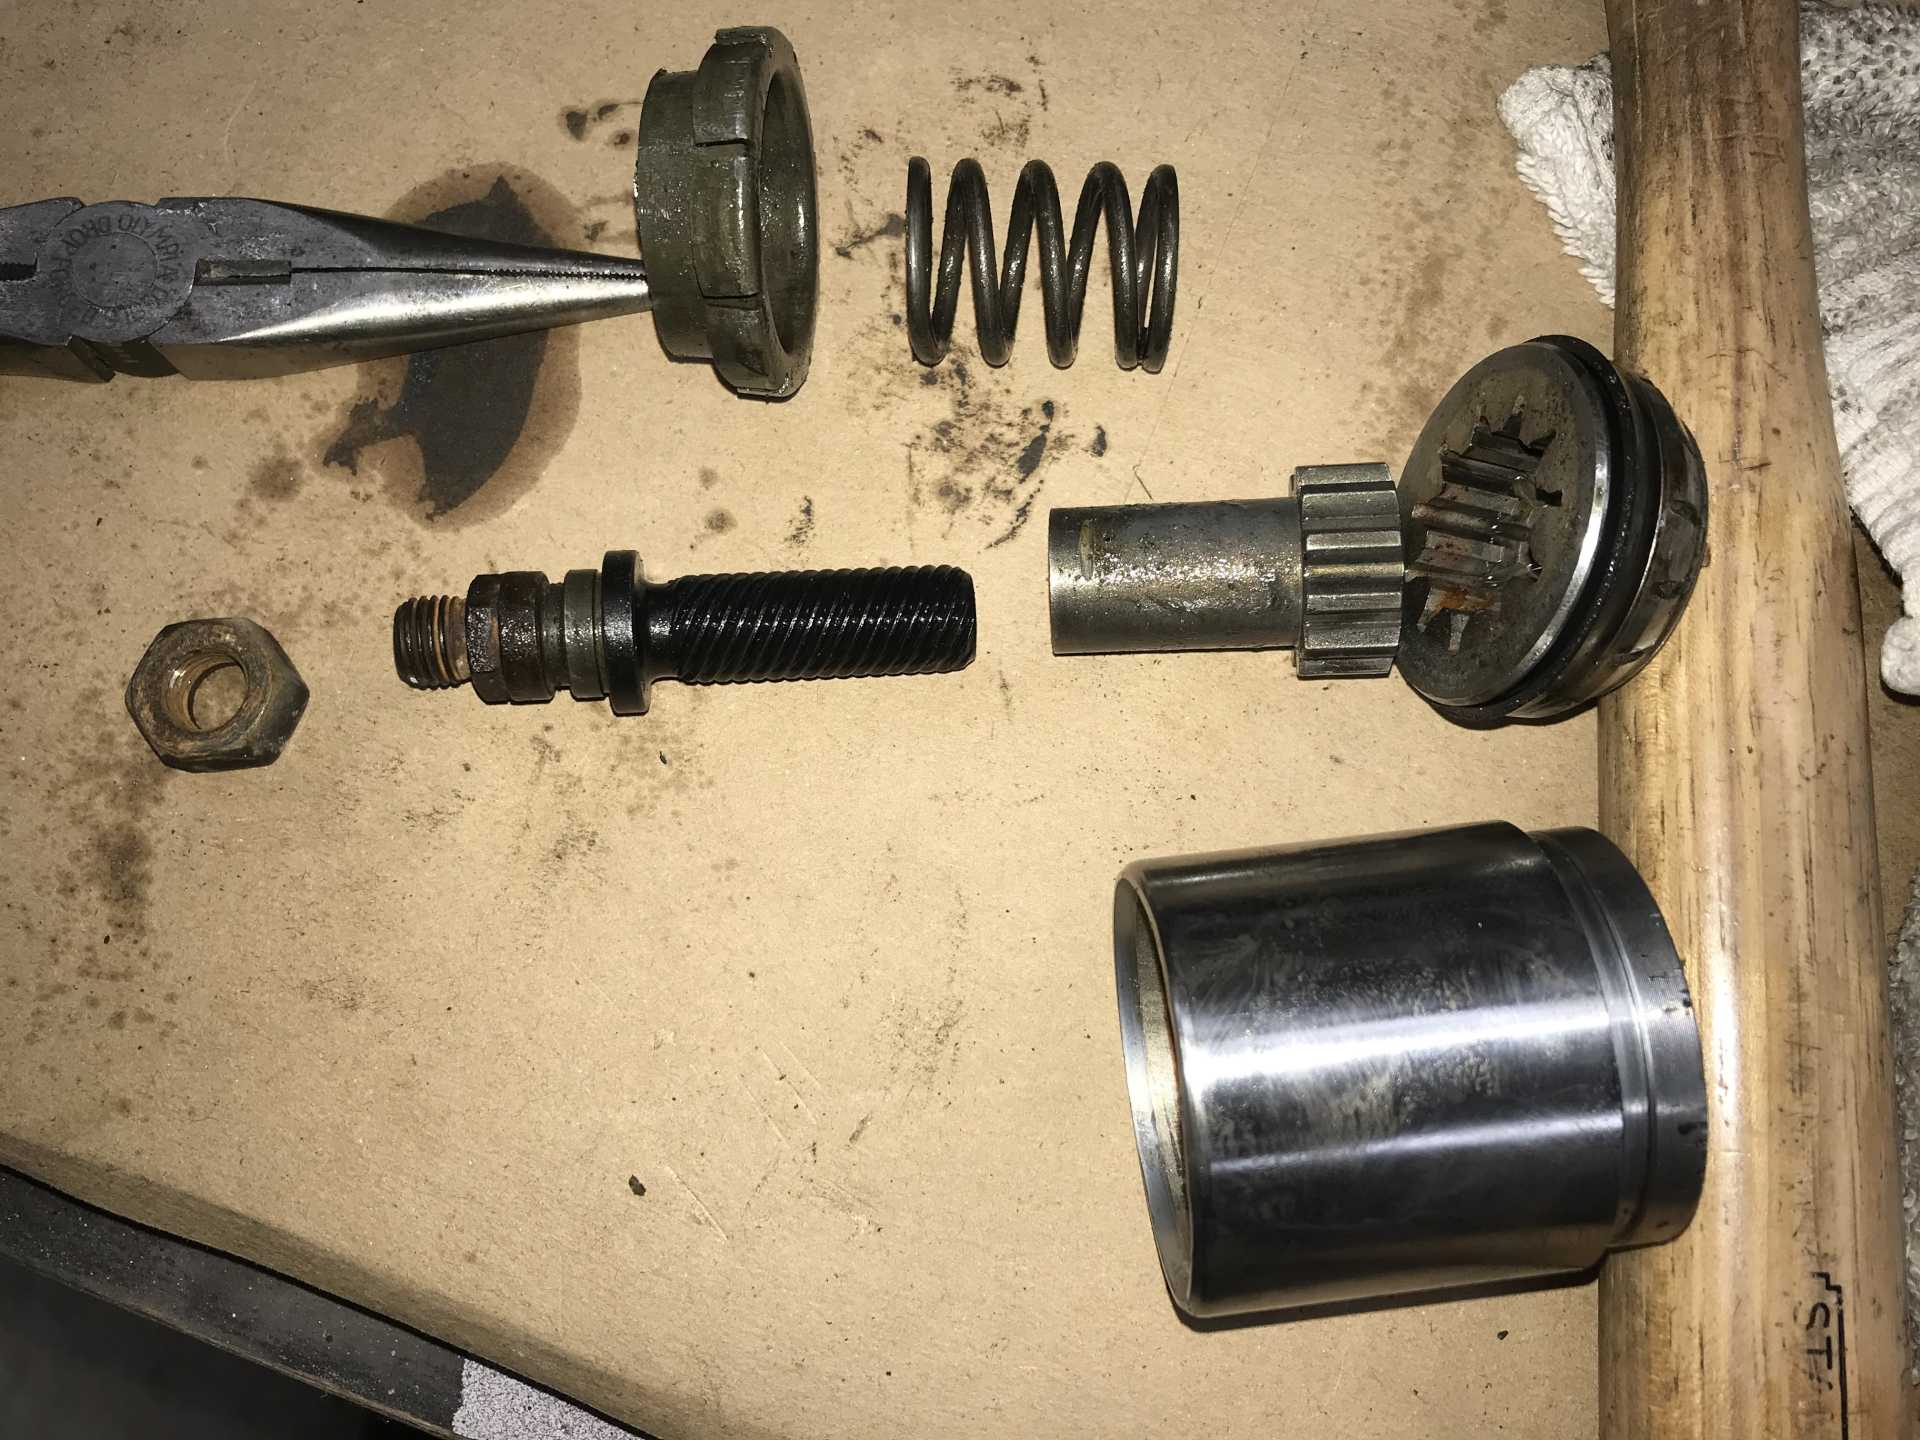
In the end I opened up the old rear pistons and removed the inner piston and it's retainer, cleaned it and welded the vent hole shut. Put it back in with new sealsbled the system and it now works better than ever before. Previously the brakes never had a really stiff engagement, now they are acceptable. I'm guessing the inners have been seeping for a long time. I don't have an E-brake on the car and rely on the transmission lock. It's not as good as a real E-brake but it keeps the car stationary when stopped like any other automatic. It looks like there will be a shortage of properly rebuilt rear 88 calipers in the future. I've got seal kits and a pair of unlooked-at old rear spares just in case the current ones fail. MaybeI'll look into Wilwood or something else in a fixed caliper.
All this stuff lives inside the rear piston. You can see the old inner seal is bad.
I did decide to deal with another problem of driving in winter - lighting. I'll pick up there next.[This message has been edited by MikesFirstFiero (edited 01-31-2024).]
|
|
|
|
MikesFirstFiero
|
JAN 31, 11:09 PM
|
|
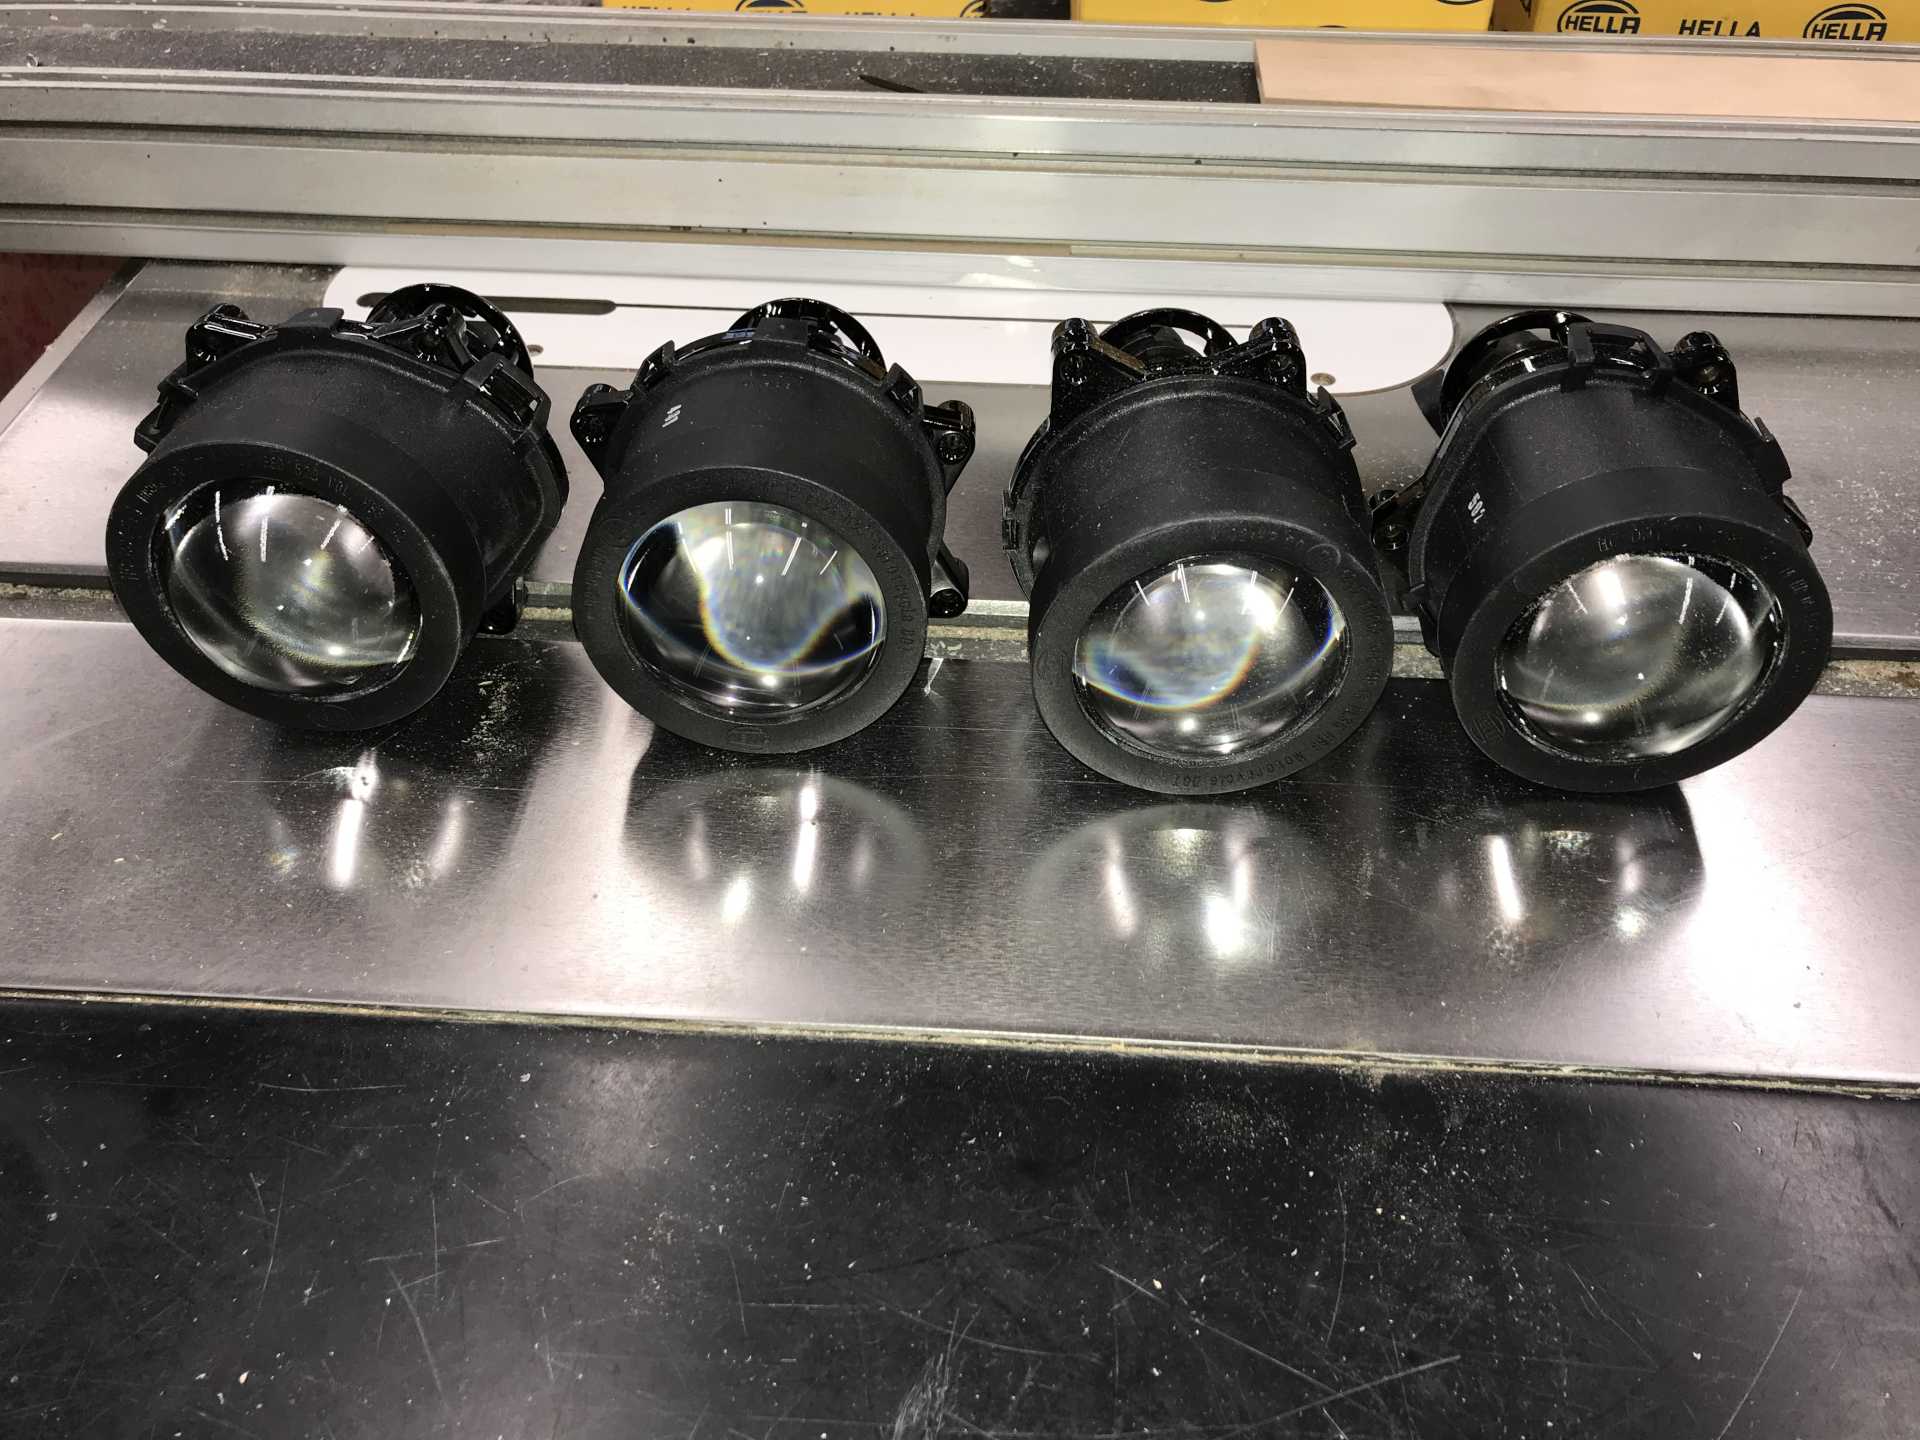
Around here it gets dark at 4PM at the second half of December and it can be cold too. This year our low has been -20F overnight for a few nights. I've got a good heater and the LFX warms up very quickly so the car isn't cold for too long. But the lighting with OEM 5 x 7 lamps is simply crap. I've seen several posts here on other solutions and some of them look appealing but costly. Then I found a sale on Amazon for Hella 90mm projectors. Low beams $35 and high beams $30 including 9005 bulbs. Deal.
$130 worth of lamp holders.
They sat around for a while until I needed them. I mean, how difficult can putting these Hellas in the original fixtures be with some mods. Answer: More difficult than I ever imagined.
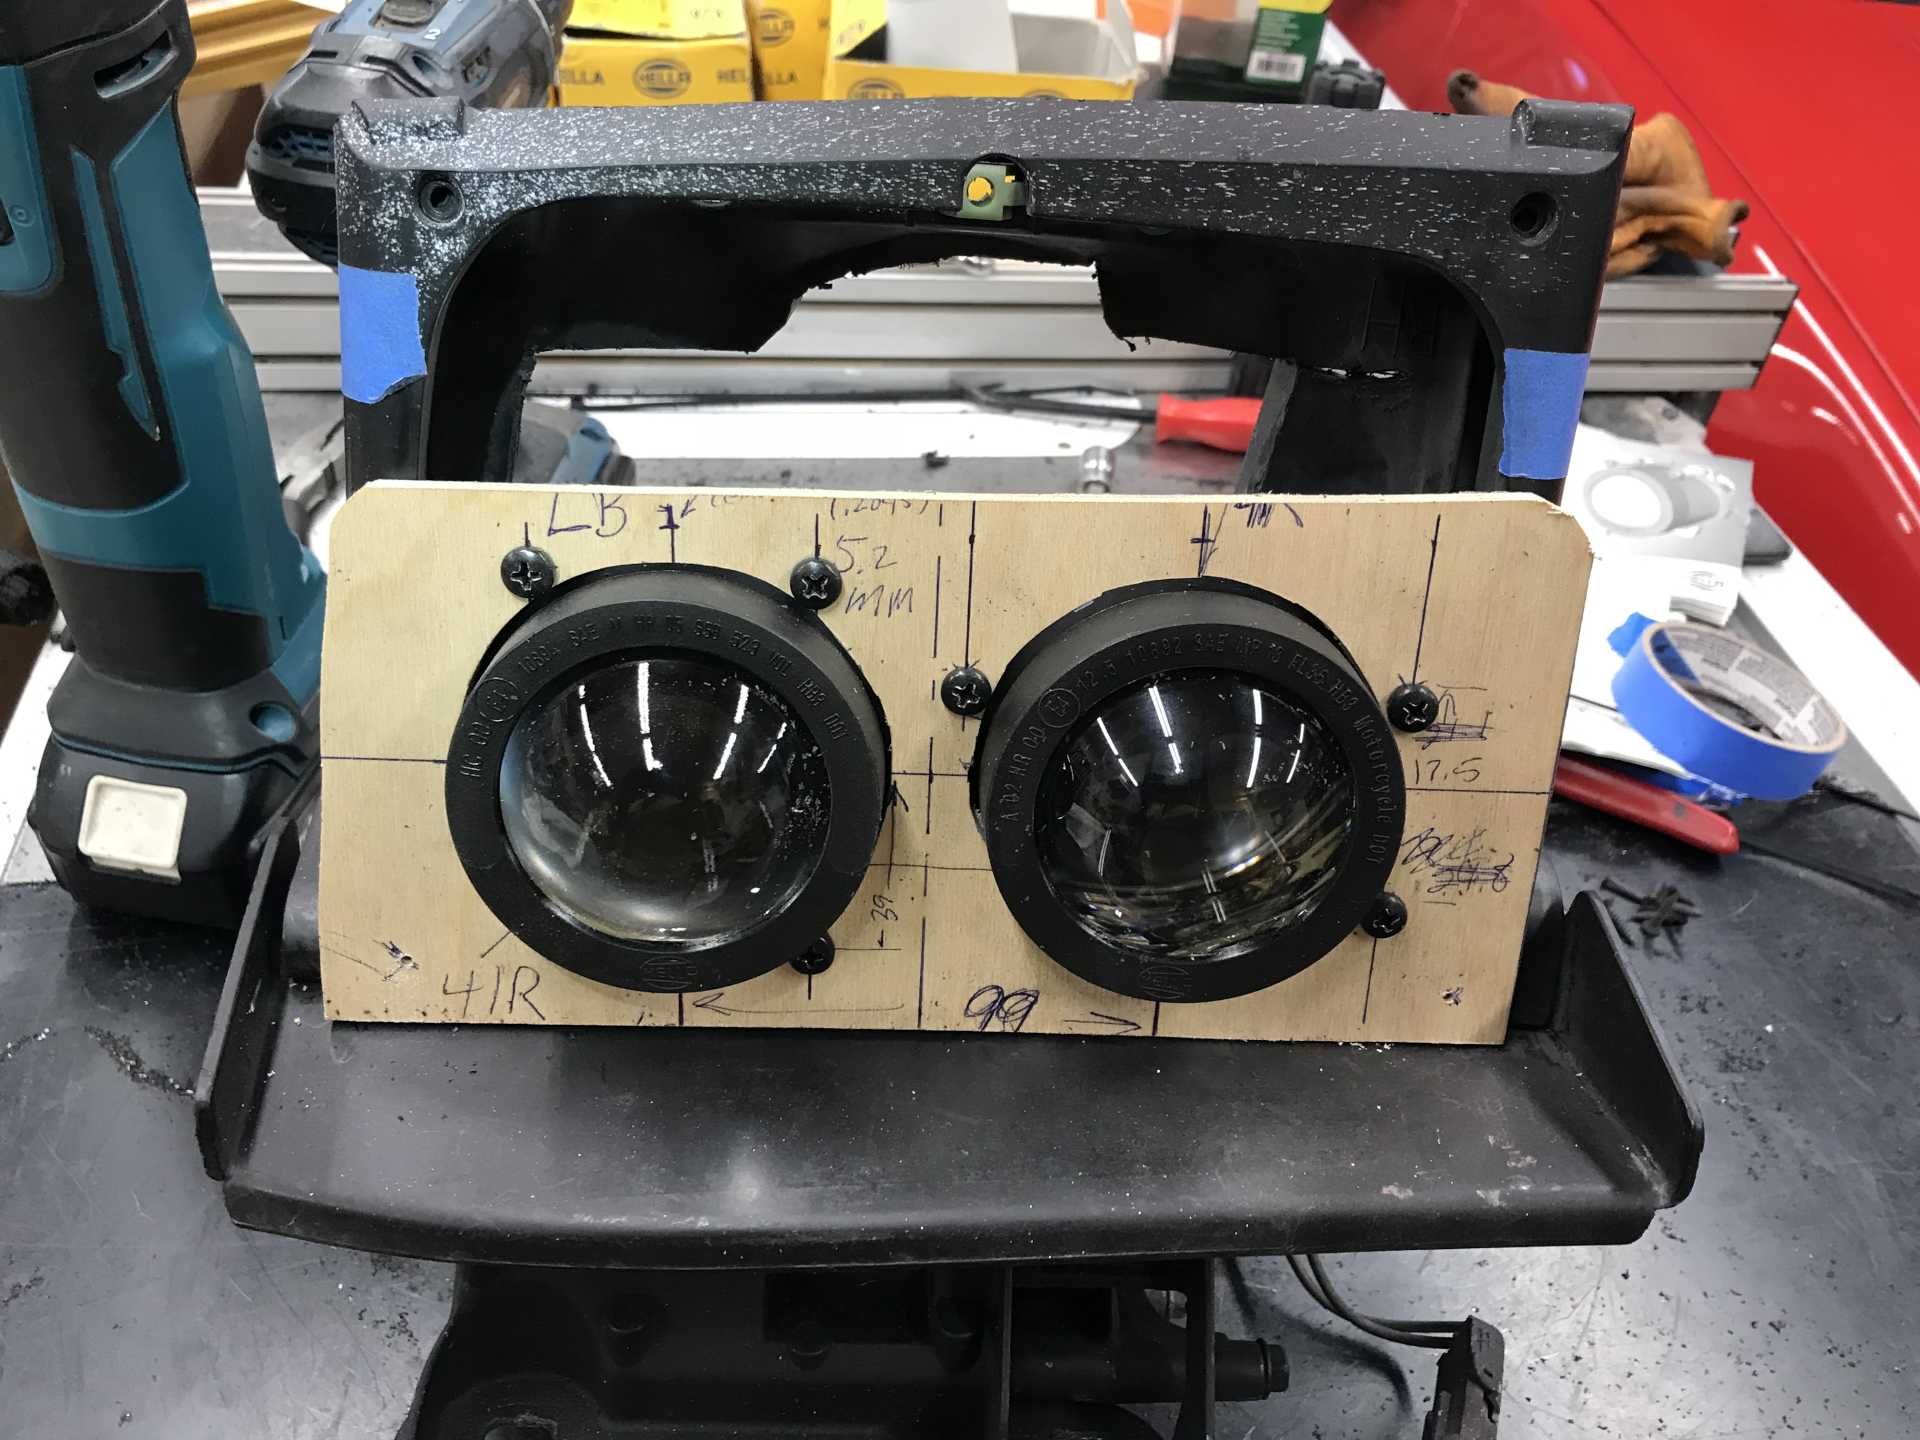
I did some basic measurements to see how tall the lamp mounting plate would need to be and how close they would need to be to each other. More answers: About 3/4" higher than the Hella mounting hole diameter (82mm) and as close together as possible. The height was not an issue but the width would prove to be important since the new lamp housings are much wider in the back than the originals and will take a lot of room.
Mounting template made from 1/4" plywood
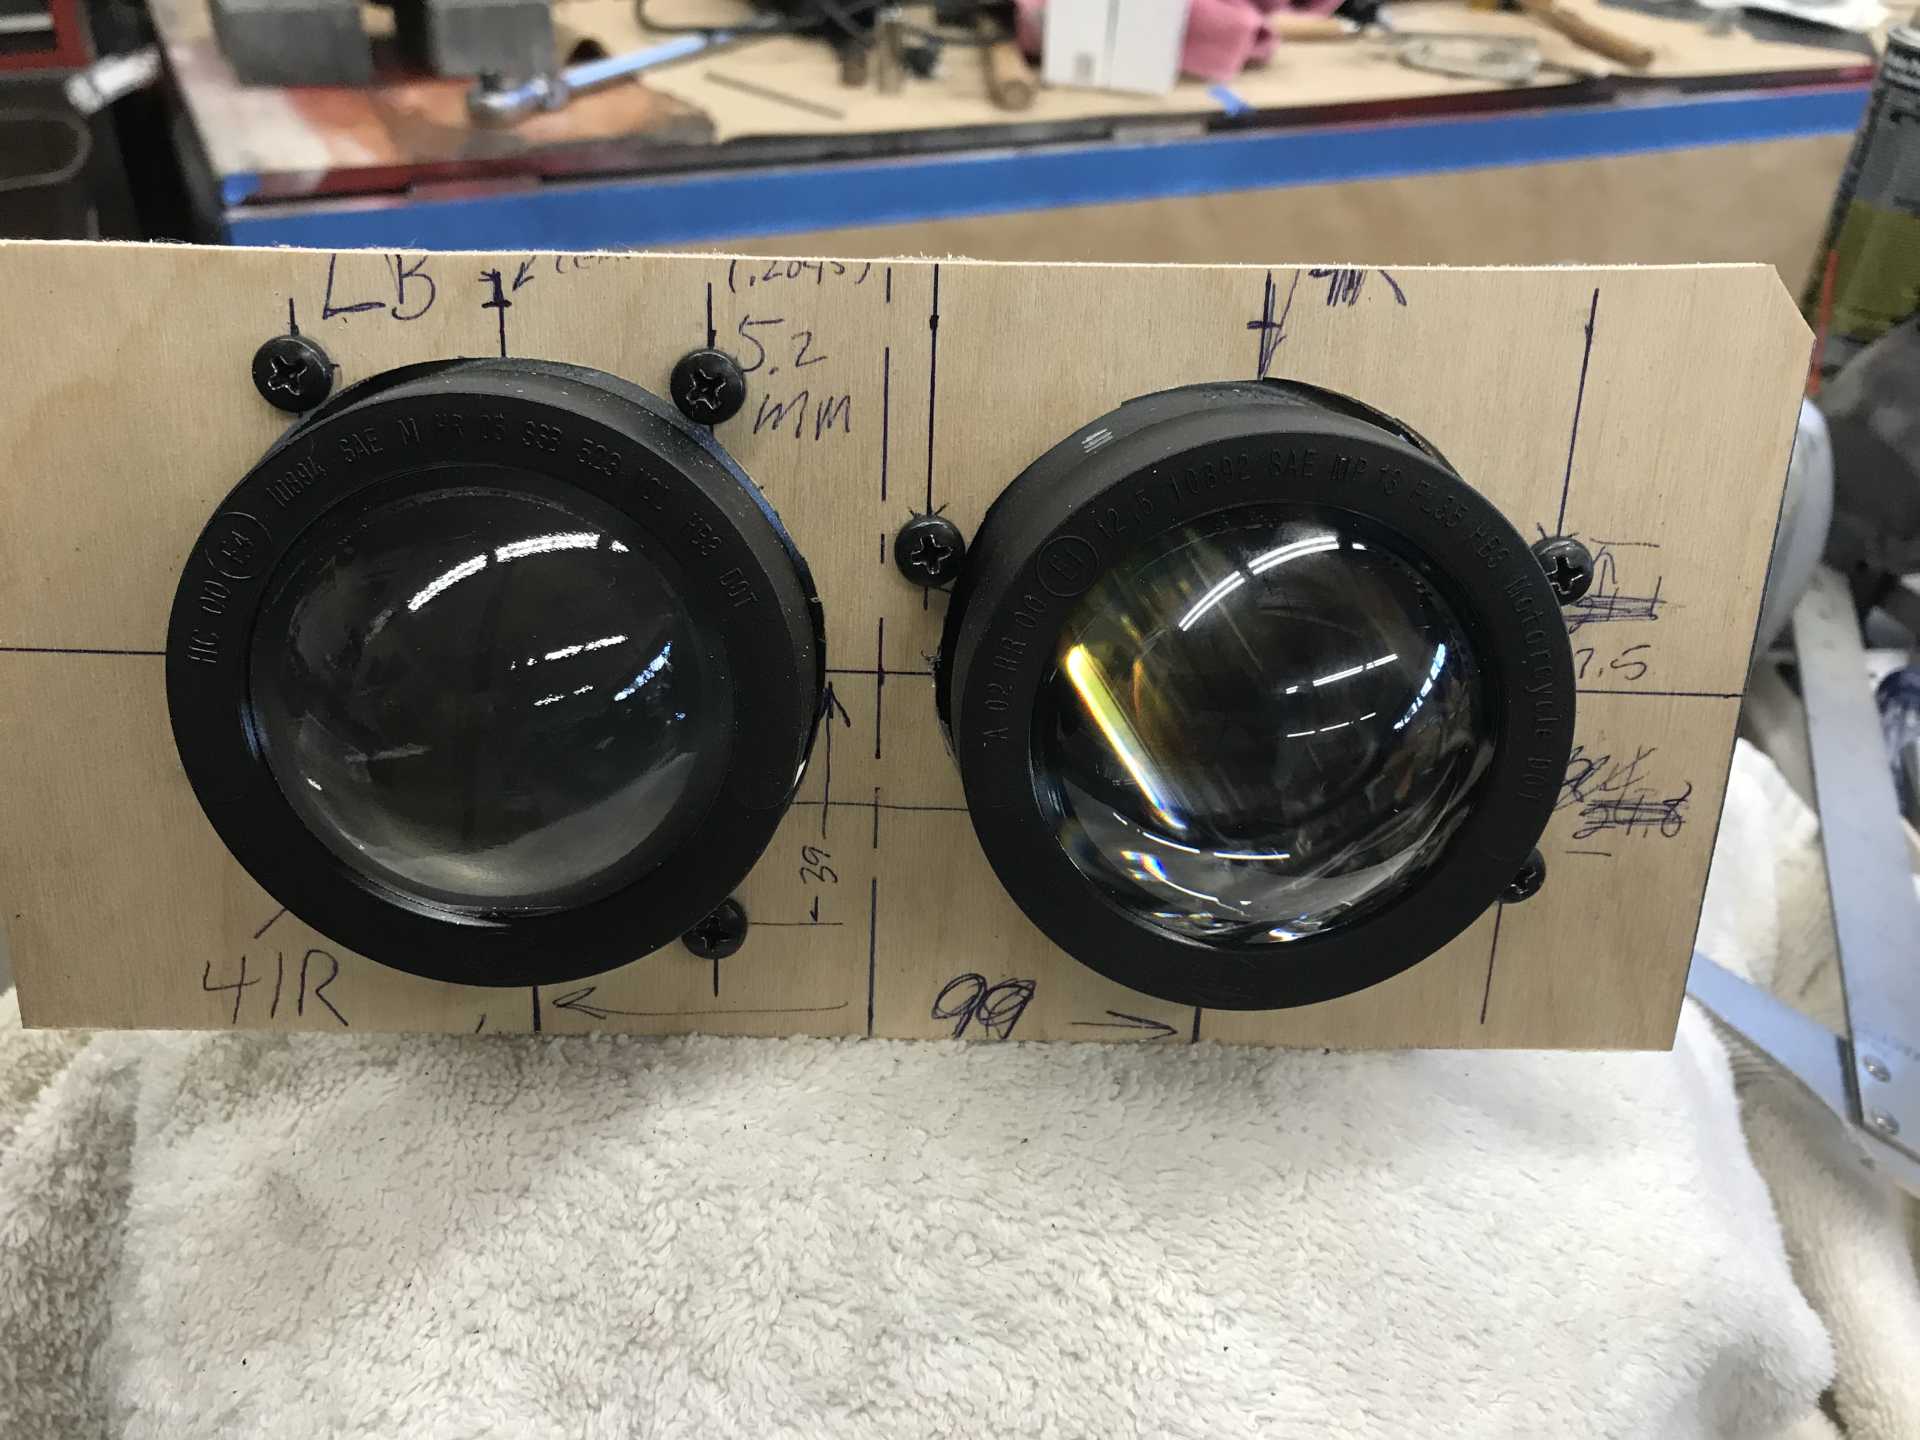
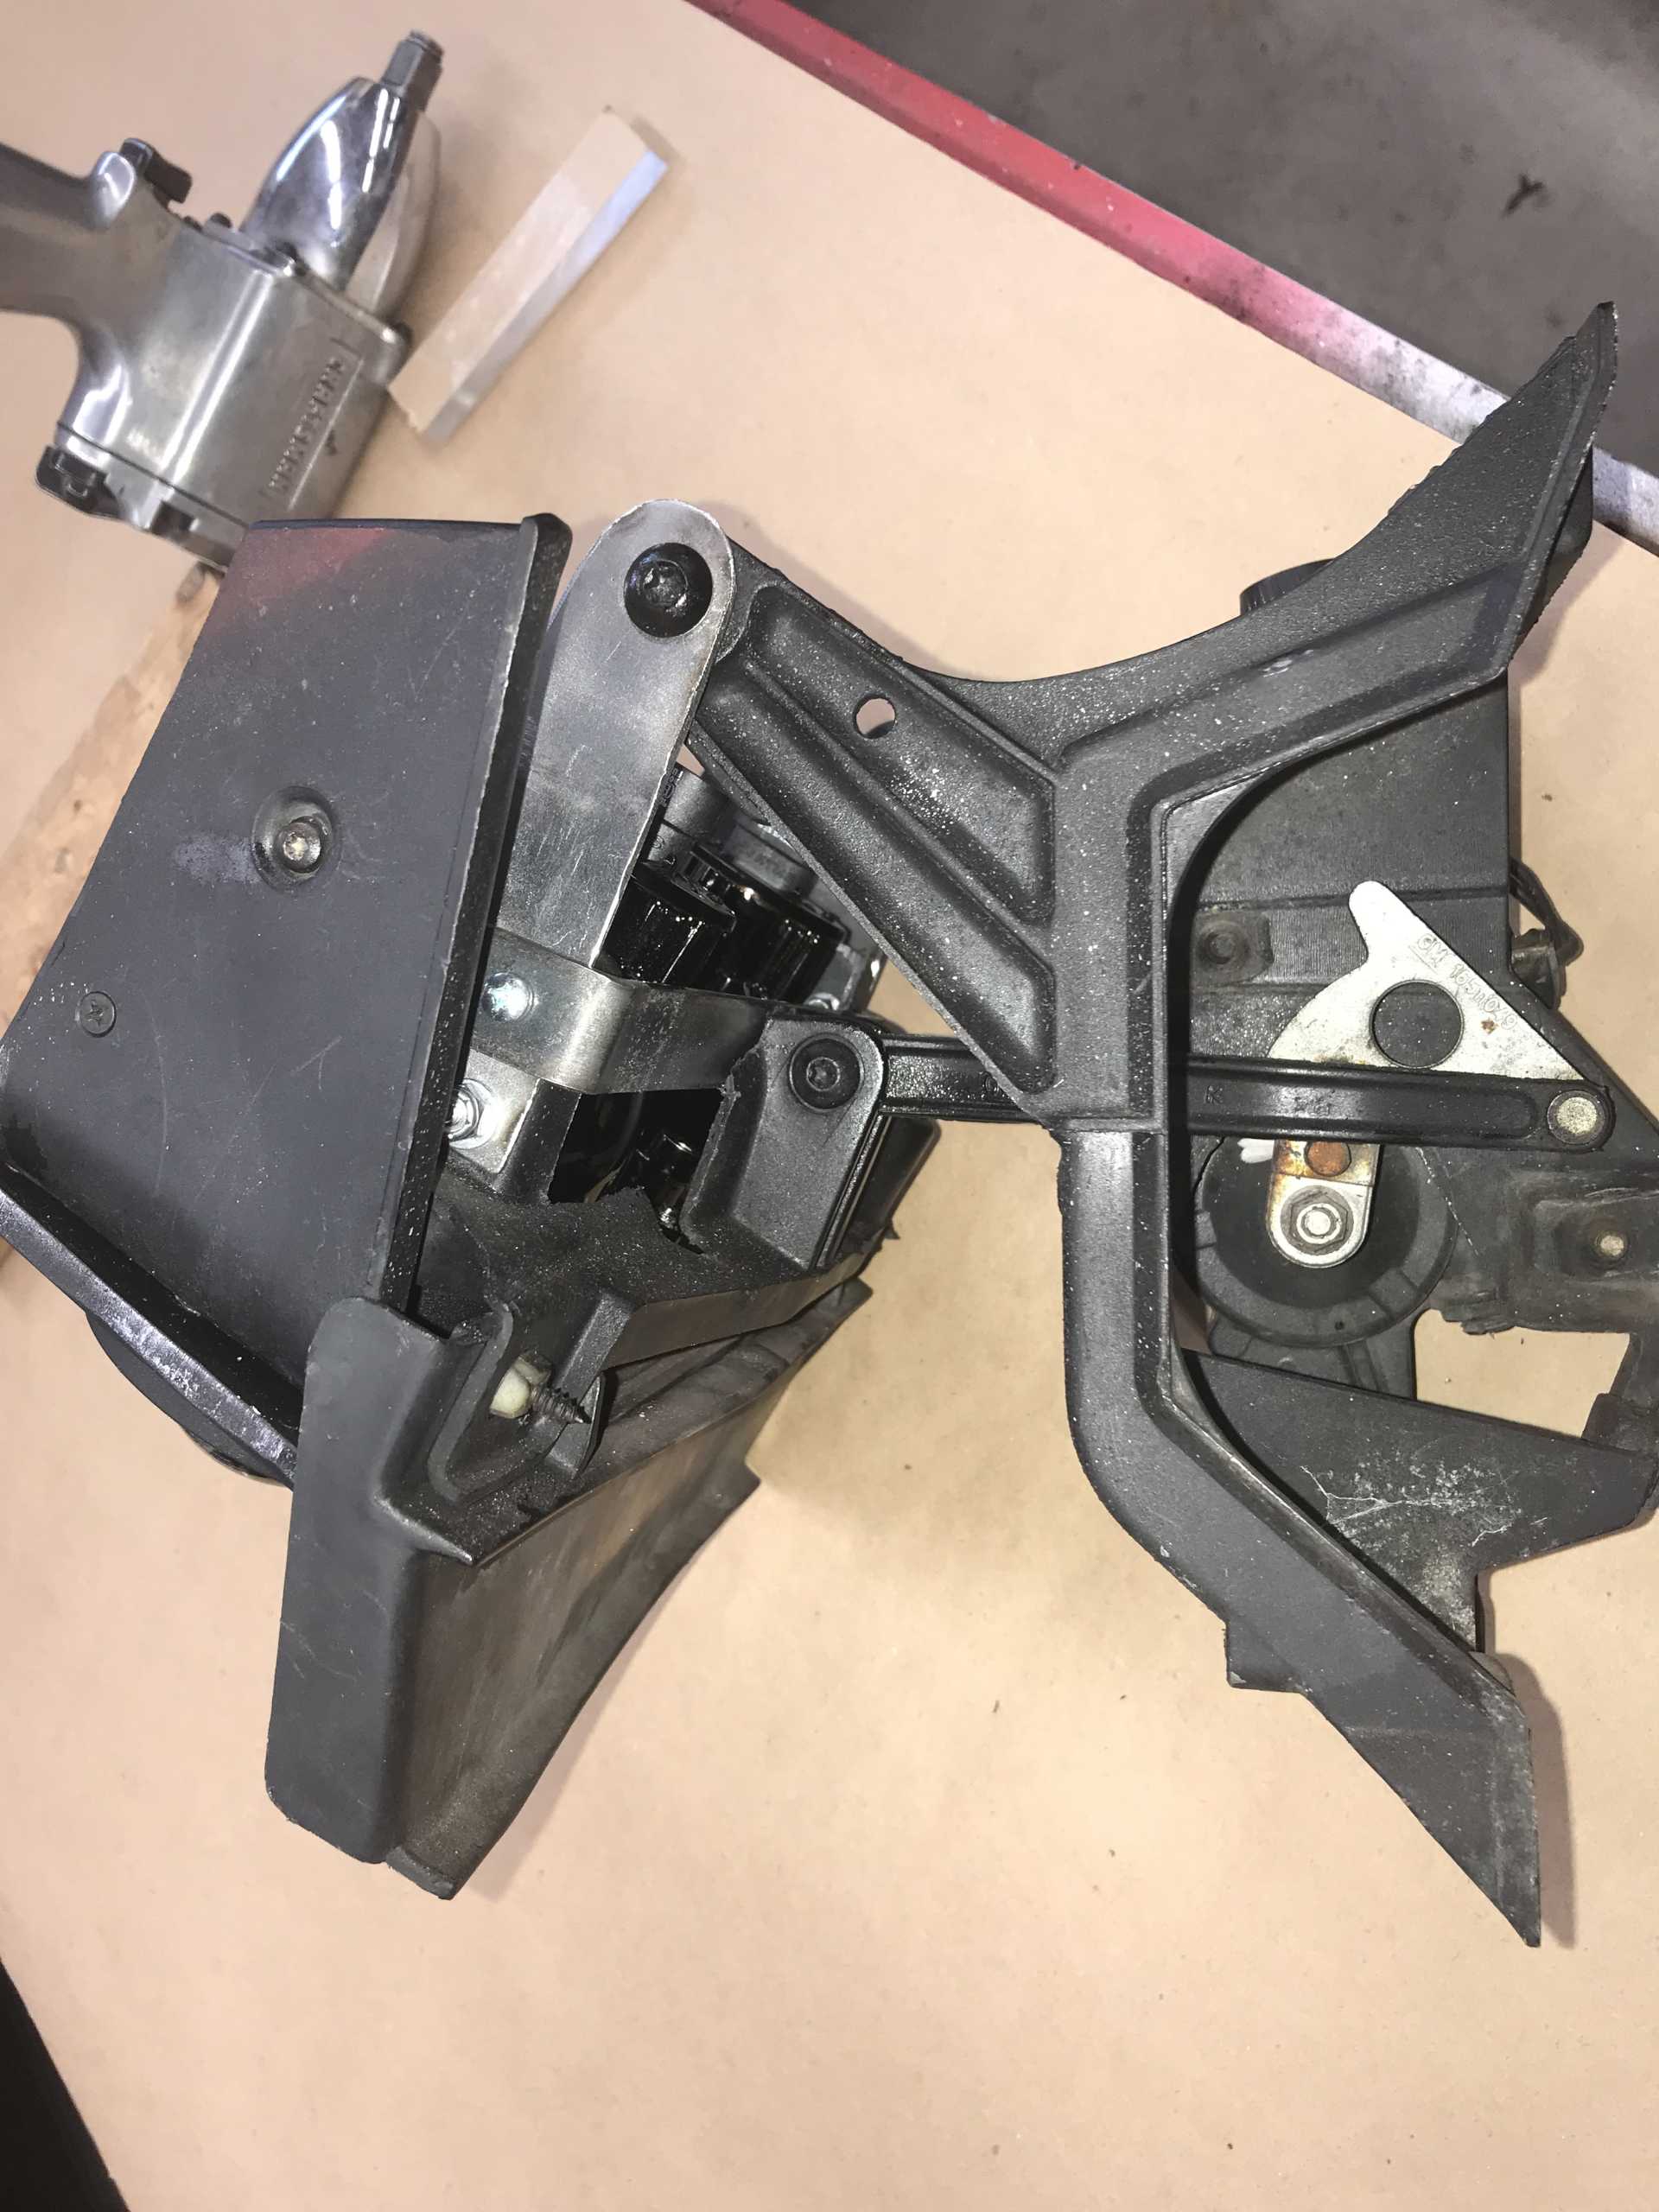
View from the top. These are very wide and mean most of the plastic needs to go away.
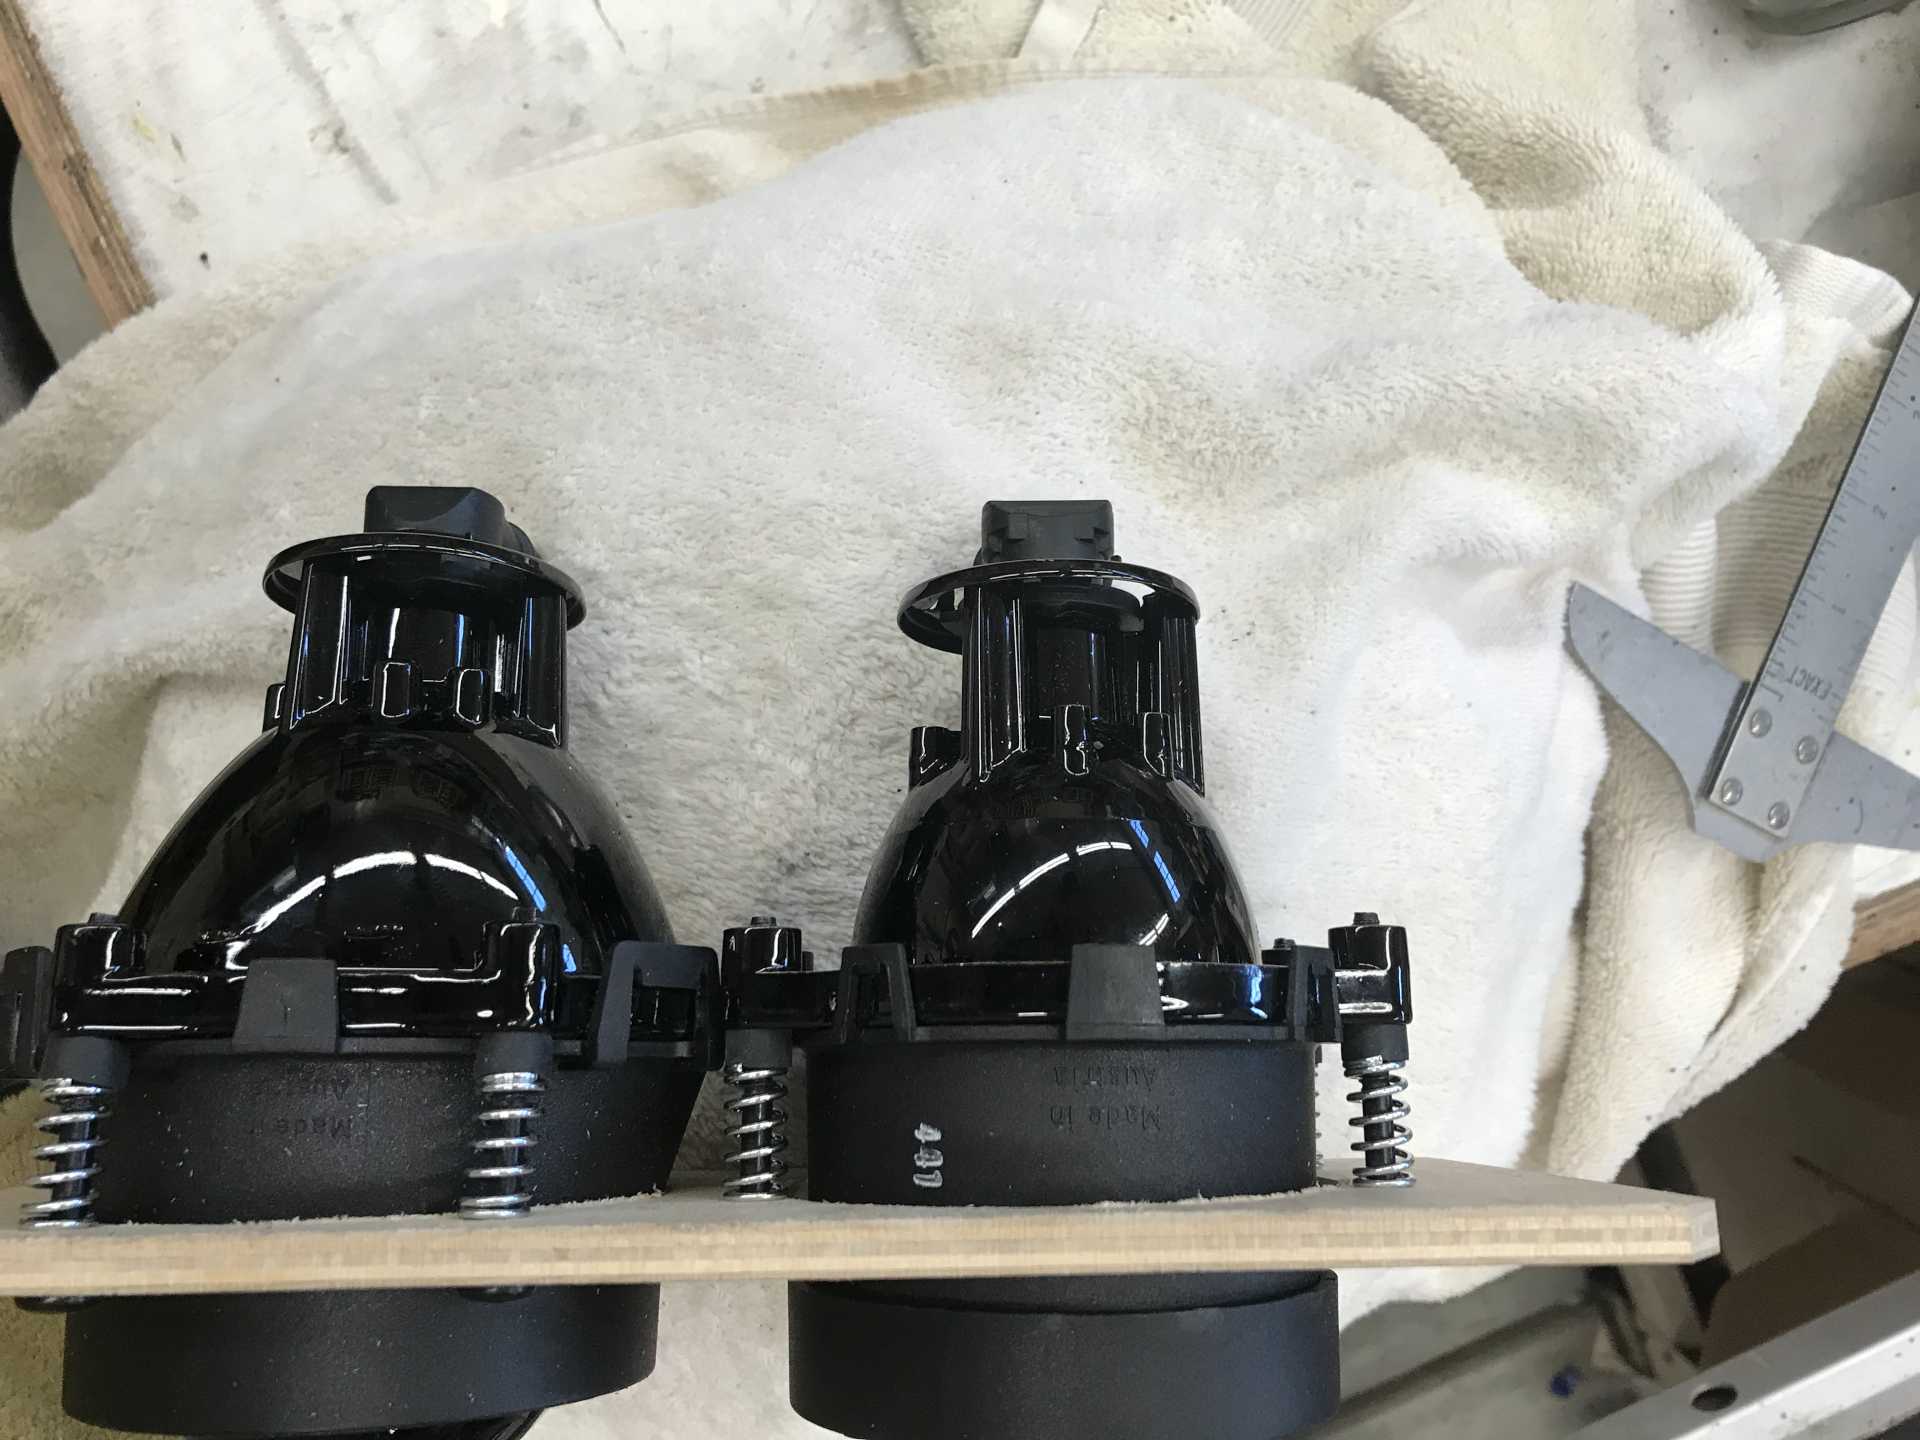
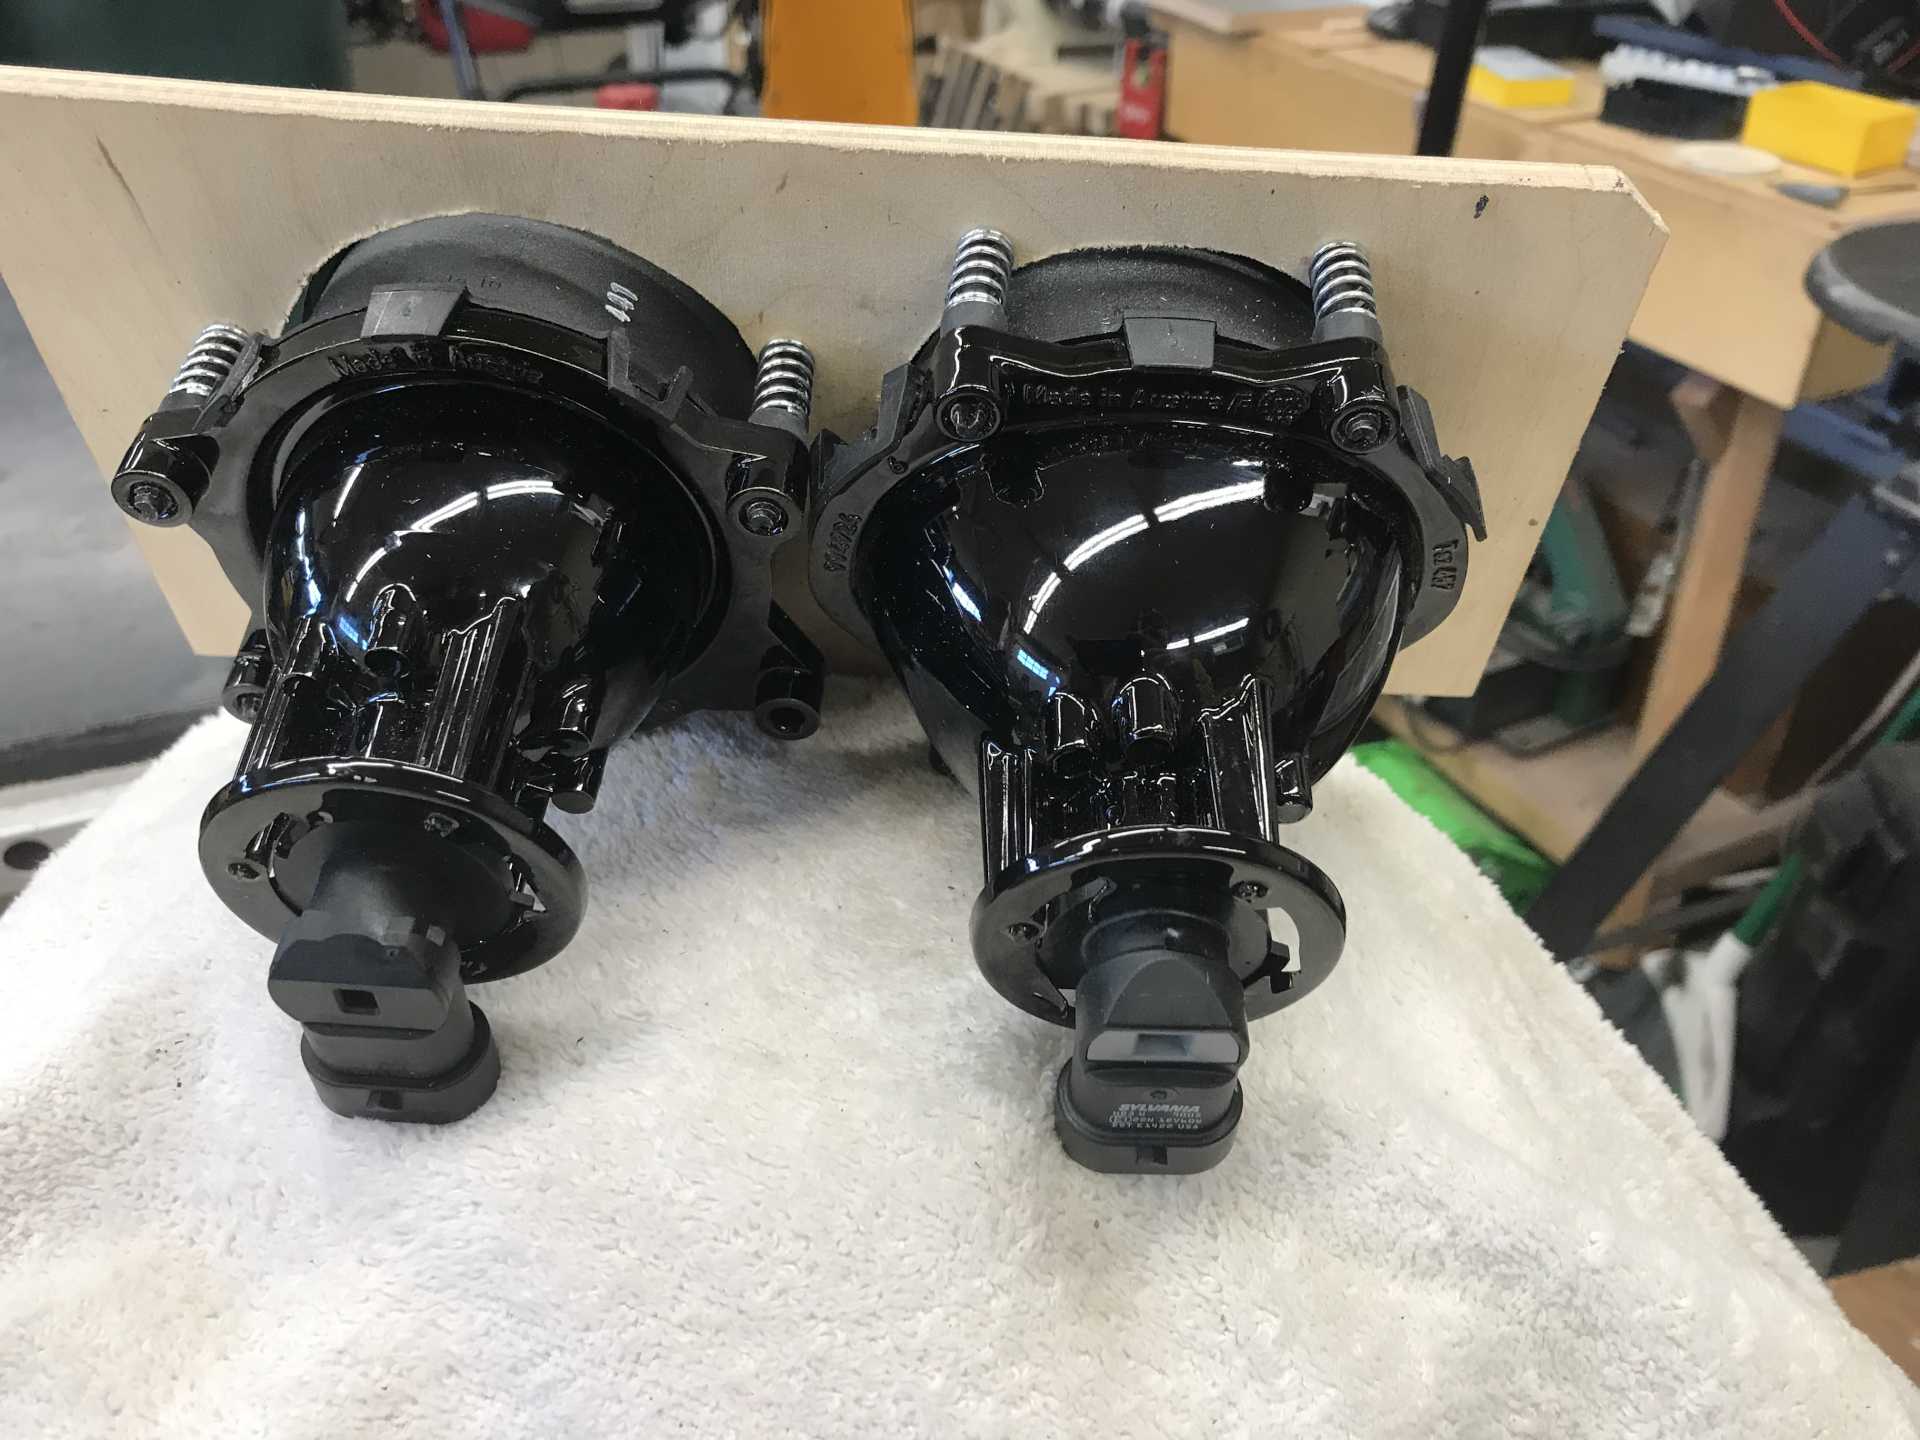
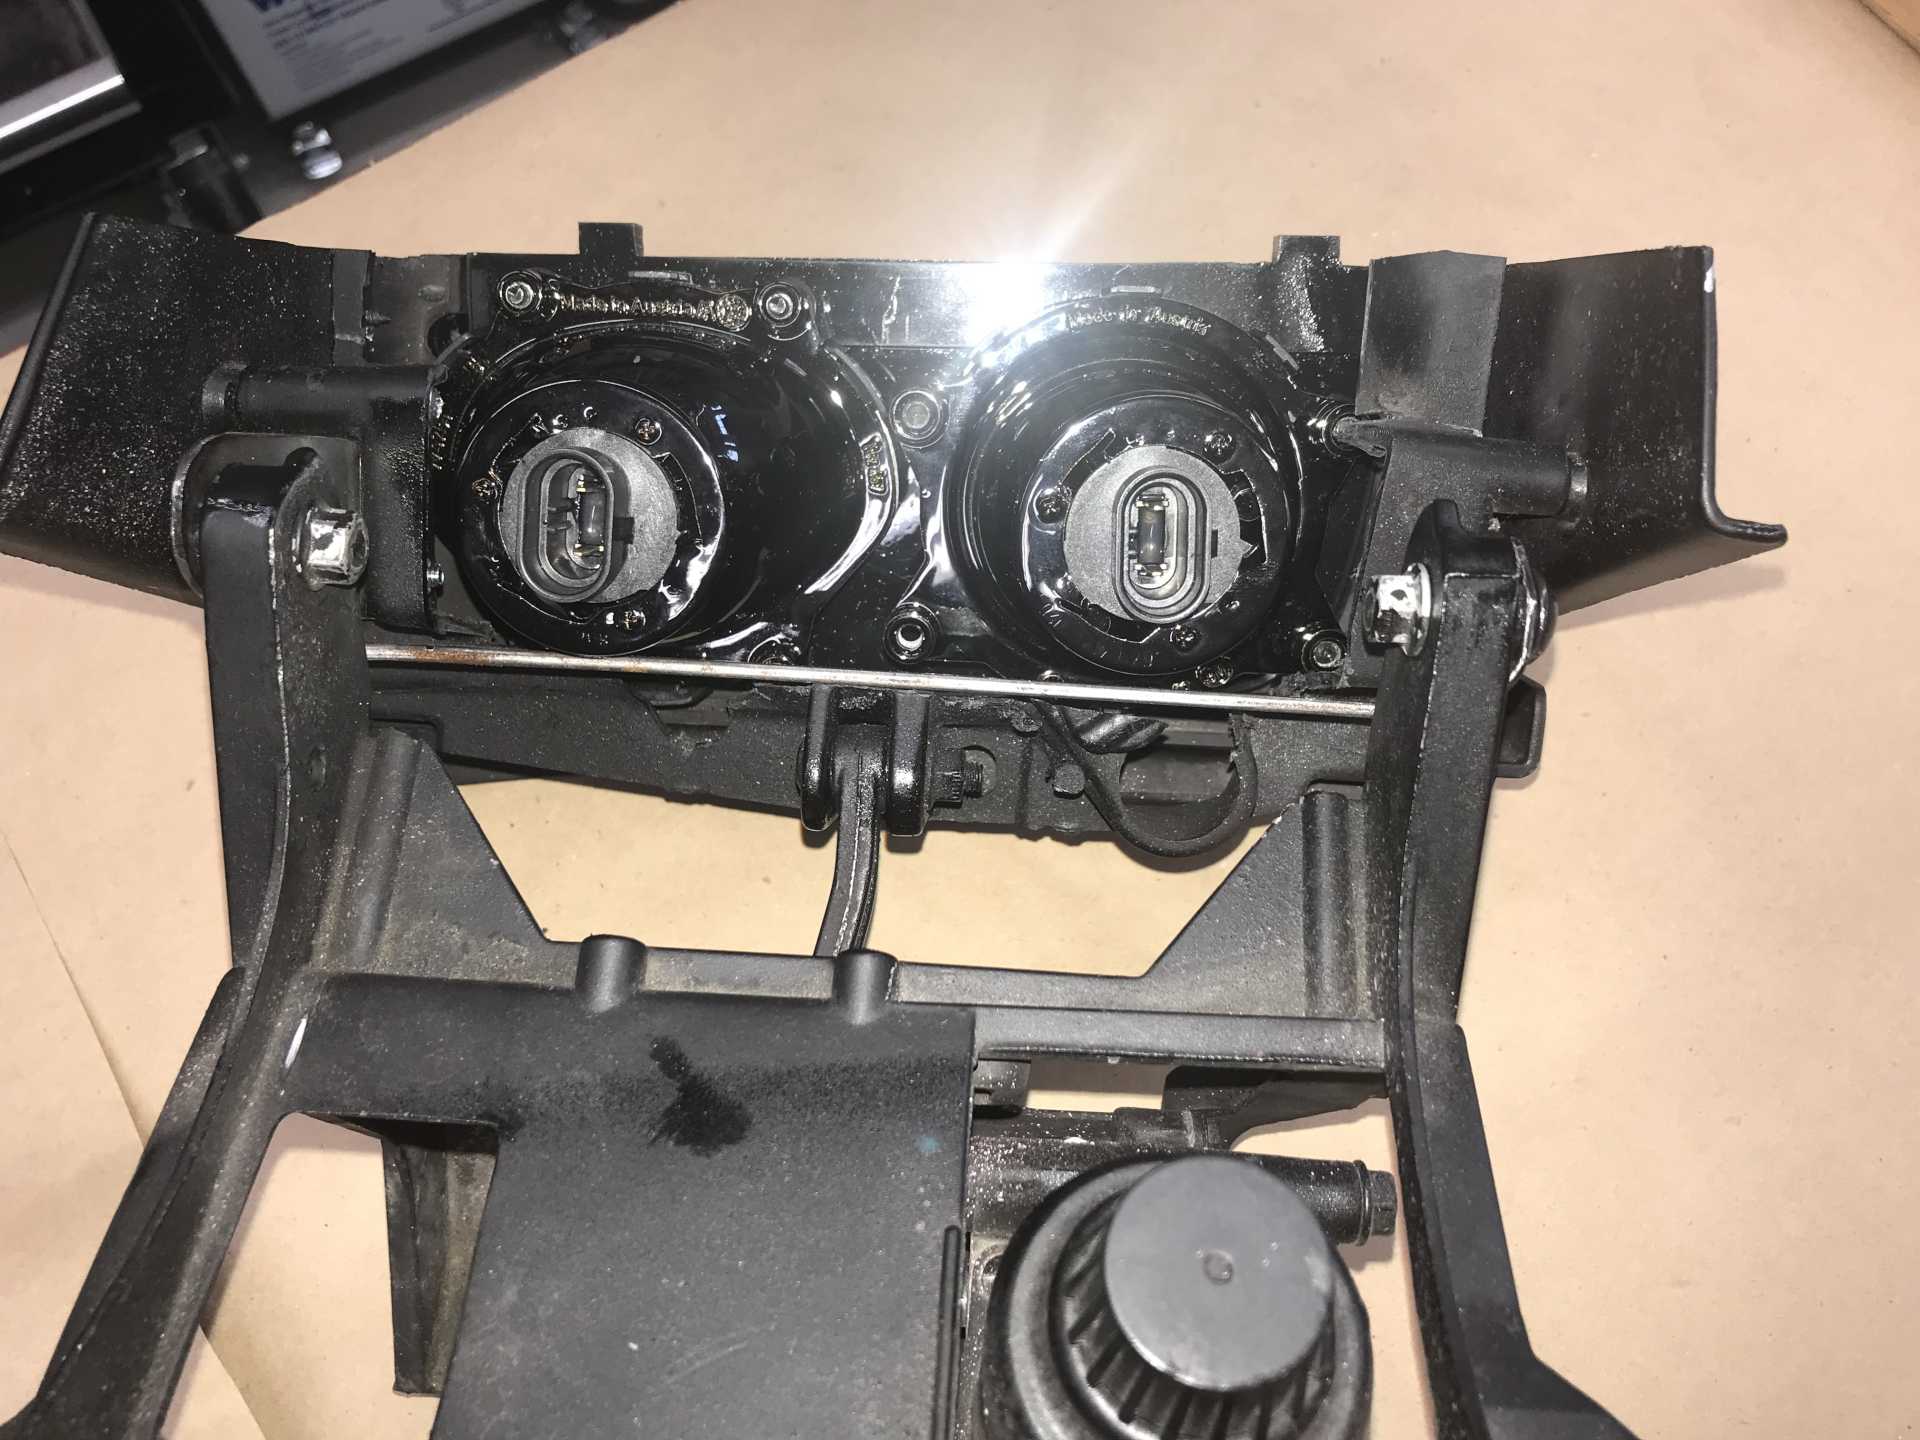
And from the rear. Those 9005 right angle lamps would become a problem really quickly.
It's going to be a lot shorter than before, even shorter than this photo. This is good since I hate the bug-eyes sticking up. Now the lids are barely visible over the hood
I popped off one assembly, stripped out all the old lamp parts and began cutting the plastic with a Makita vibrating tool. And the hole got bigger. And bigger. Until the structural integrity was mostly gone. It looked like a metal lower support would work, leaving the pushrod attachment in original plastic (it pressed on the metal bar I added (1/8 x 3/4"). to lift the lights The side panels and hinge point were replaced with sheet metal since the remaining plastic was not stiff enough after cutting them for lamp clearance. These metal side pieces were the mount for the added lower support bar. Lots of screws for rigidity were used, probable could have been fewer. Put the assembly back in the car and it sorta worked. The lamp cover squashed the whole thing down too far and flexed the metal support. No Go.
The initial support bar. Sounded like a good idea... but not rigid enough
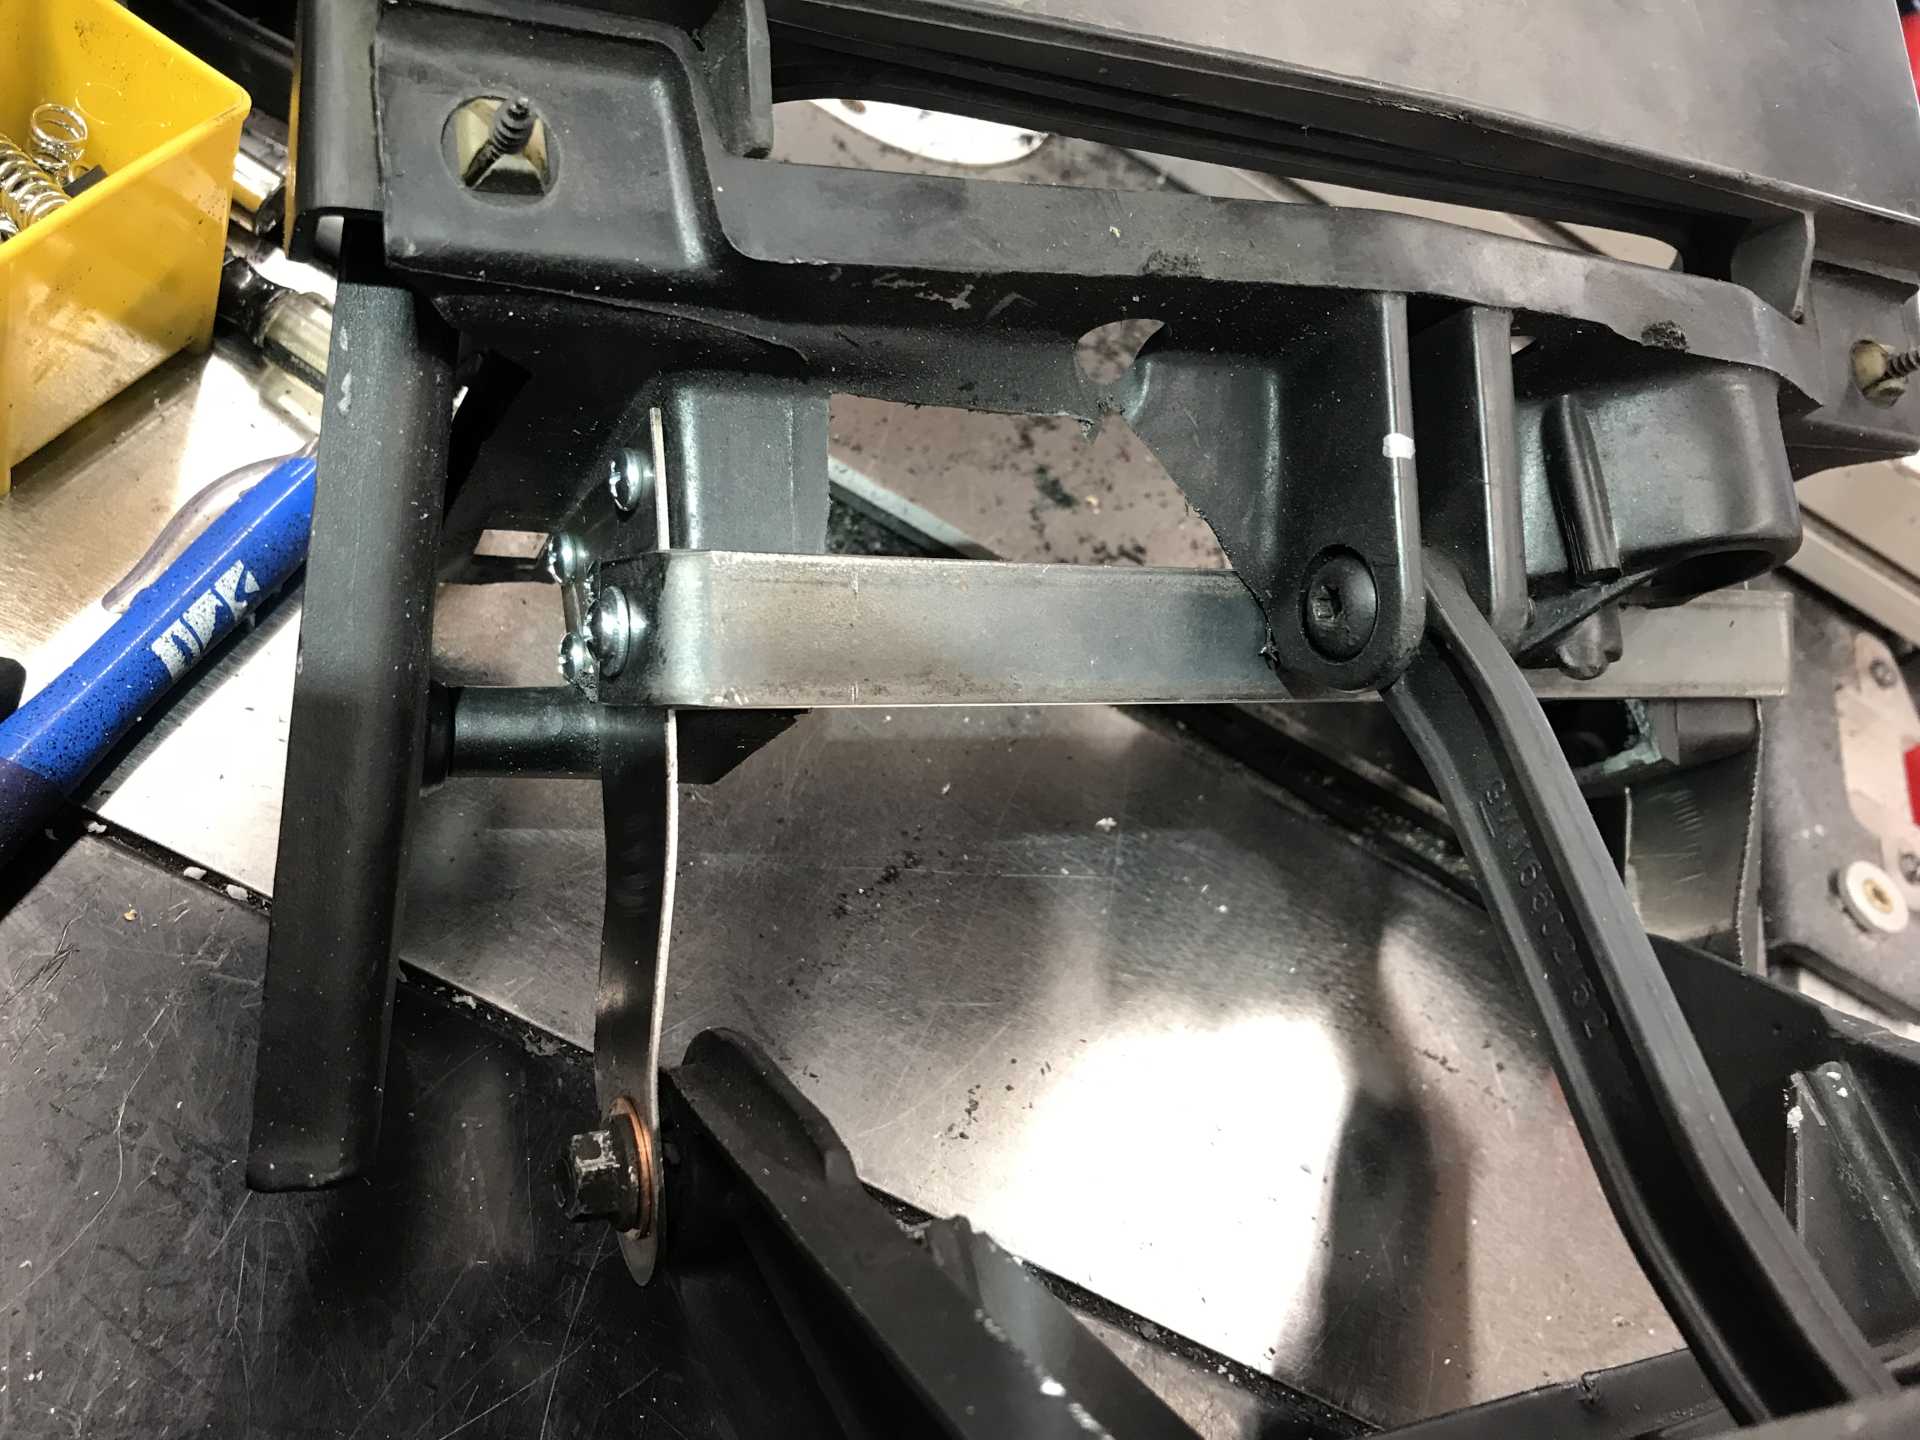
While the hinged side plates worked well, the support bar was inadequate. The lids do press down with a significant force so the new structure needs to be really stiff.
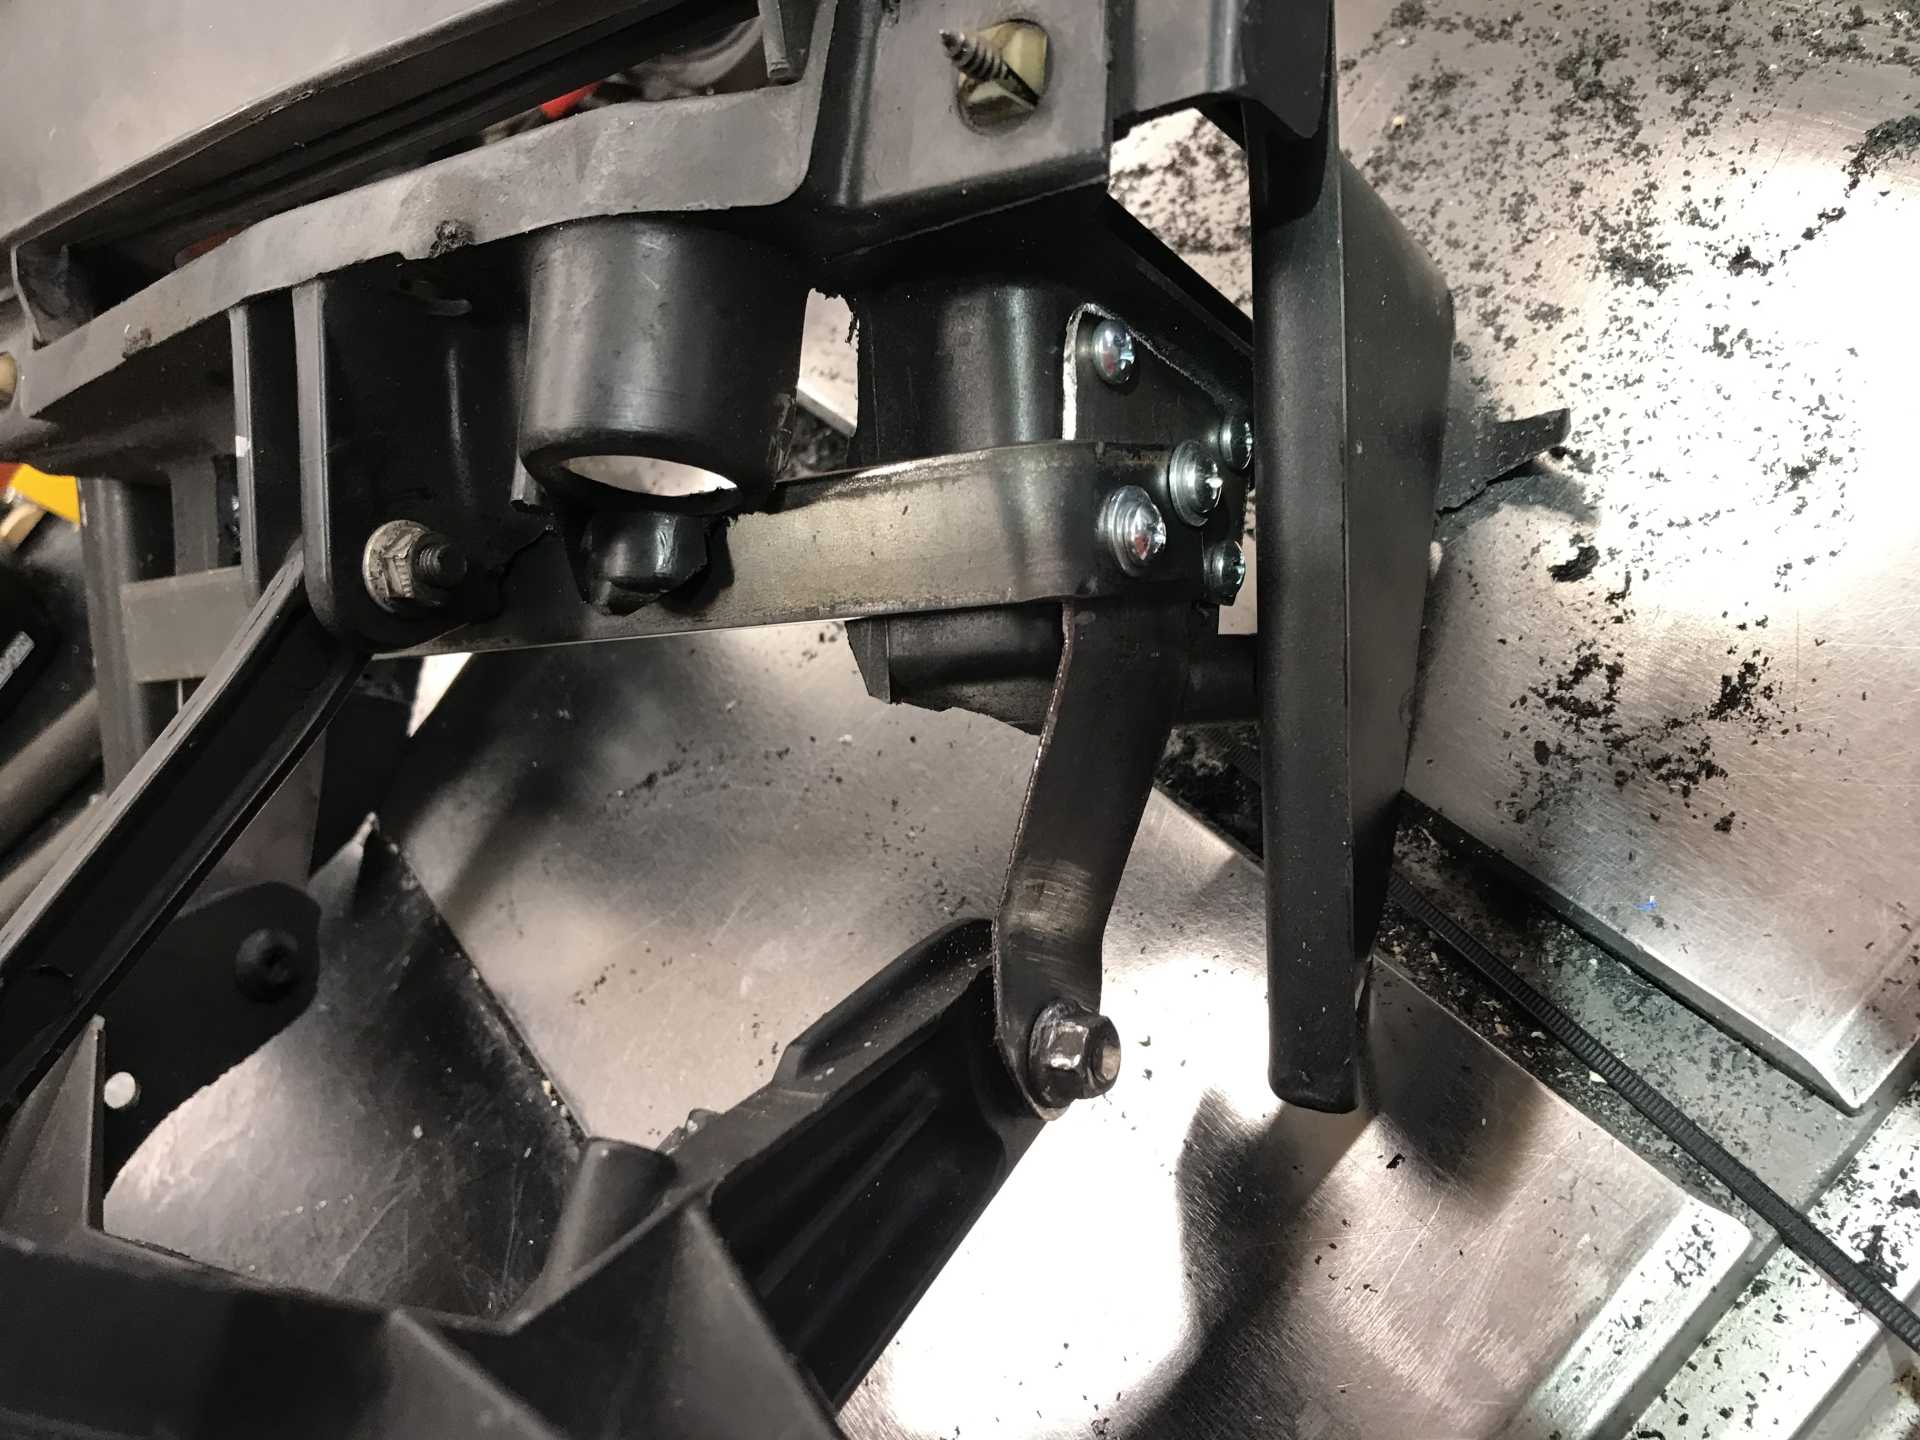
The problem is that the bar deforms too much and the plastic pushrod end moves too since it is not tied to the support bar.
Now the problem with 9005 lamps is clear. The right angle 9005 connector interferes with the support bar. There is a solution as you can see, I used the 9005XS lamp with a straight connector same lamp with a straight conector. End of problem. Also the high and low beam lamps are all 9005s. Normal US lamps require a different lamp with a forward shield for low beams. This Hella lamp uses a built-in metal shield to block the upward-direction light and not blind on-comers, no need for a different bulb. But as for driving the Fiero almost half of our cars locally are massive pickups and their lights are so high they might as well all be high beams.
Time to cut the real mounting plate from 1/4" polycarbonate. It was cut to the template height and later dropped by 1/4" as the extra height was not needed.
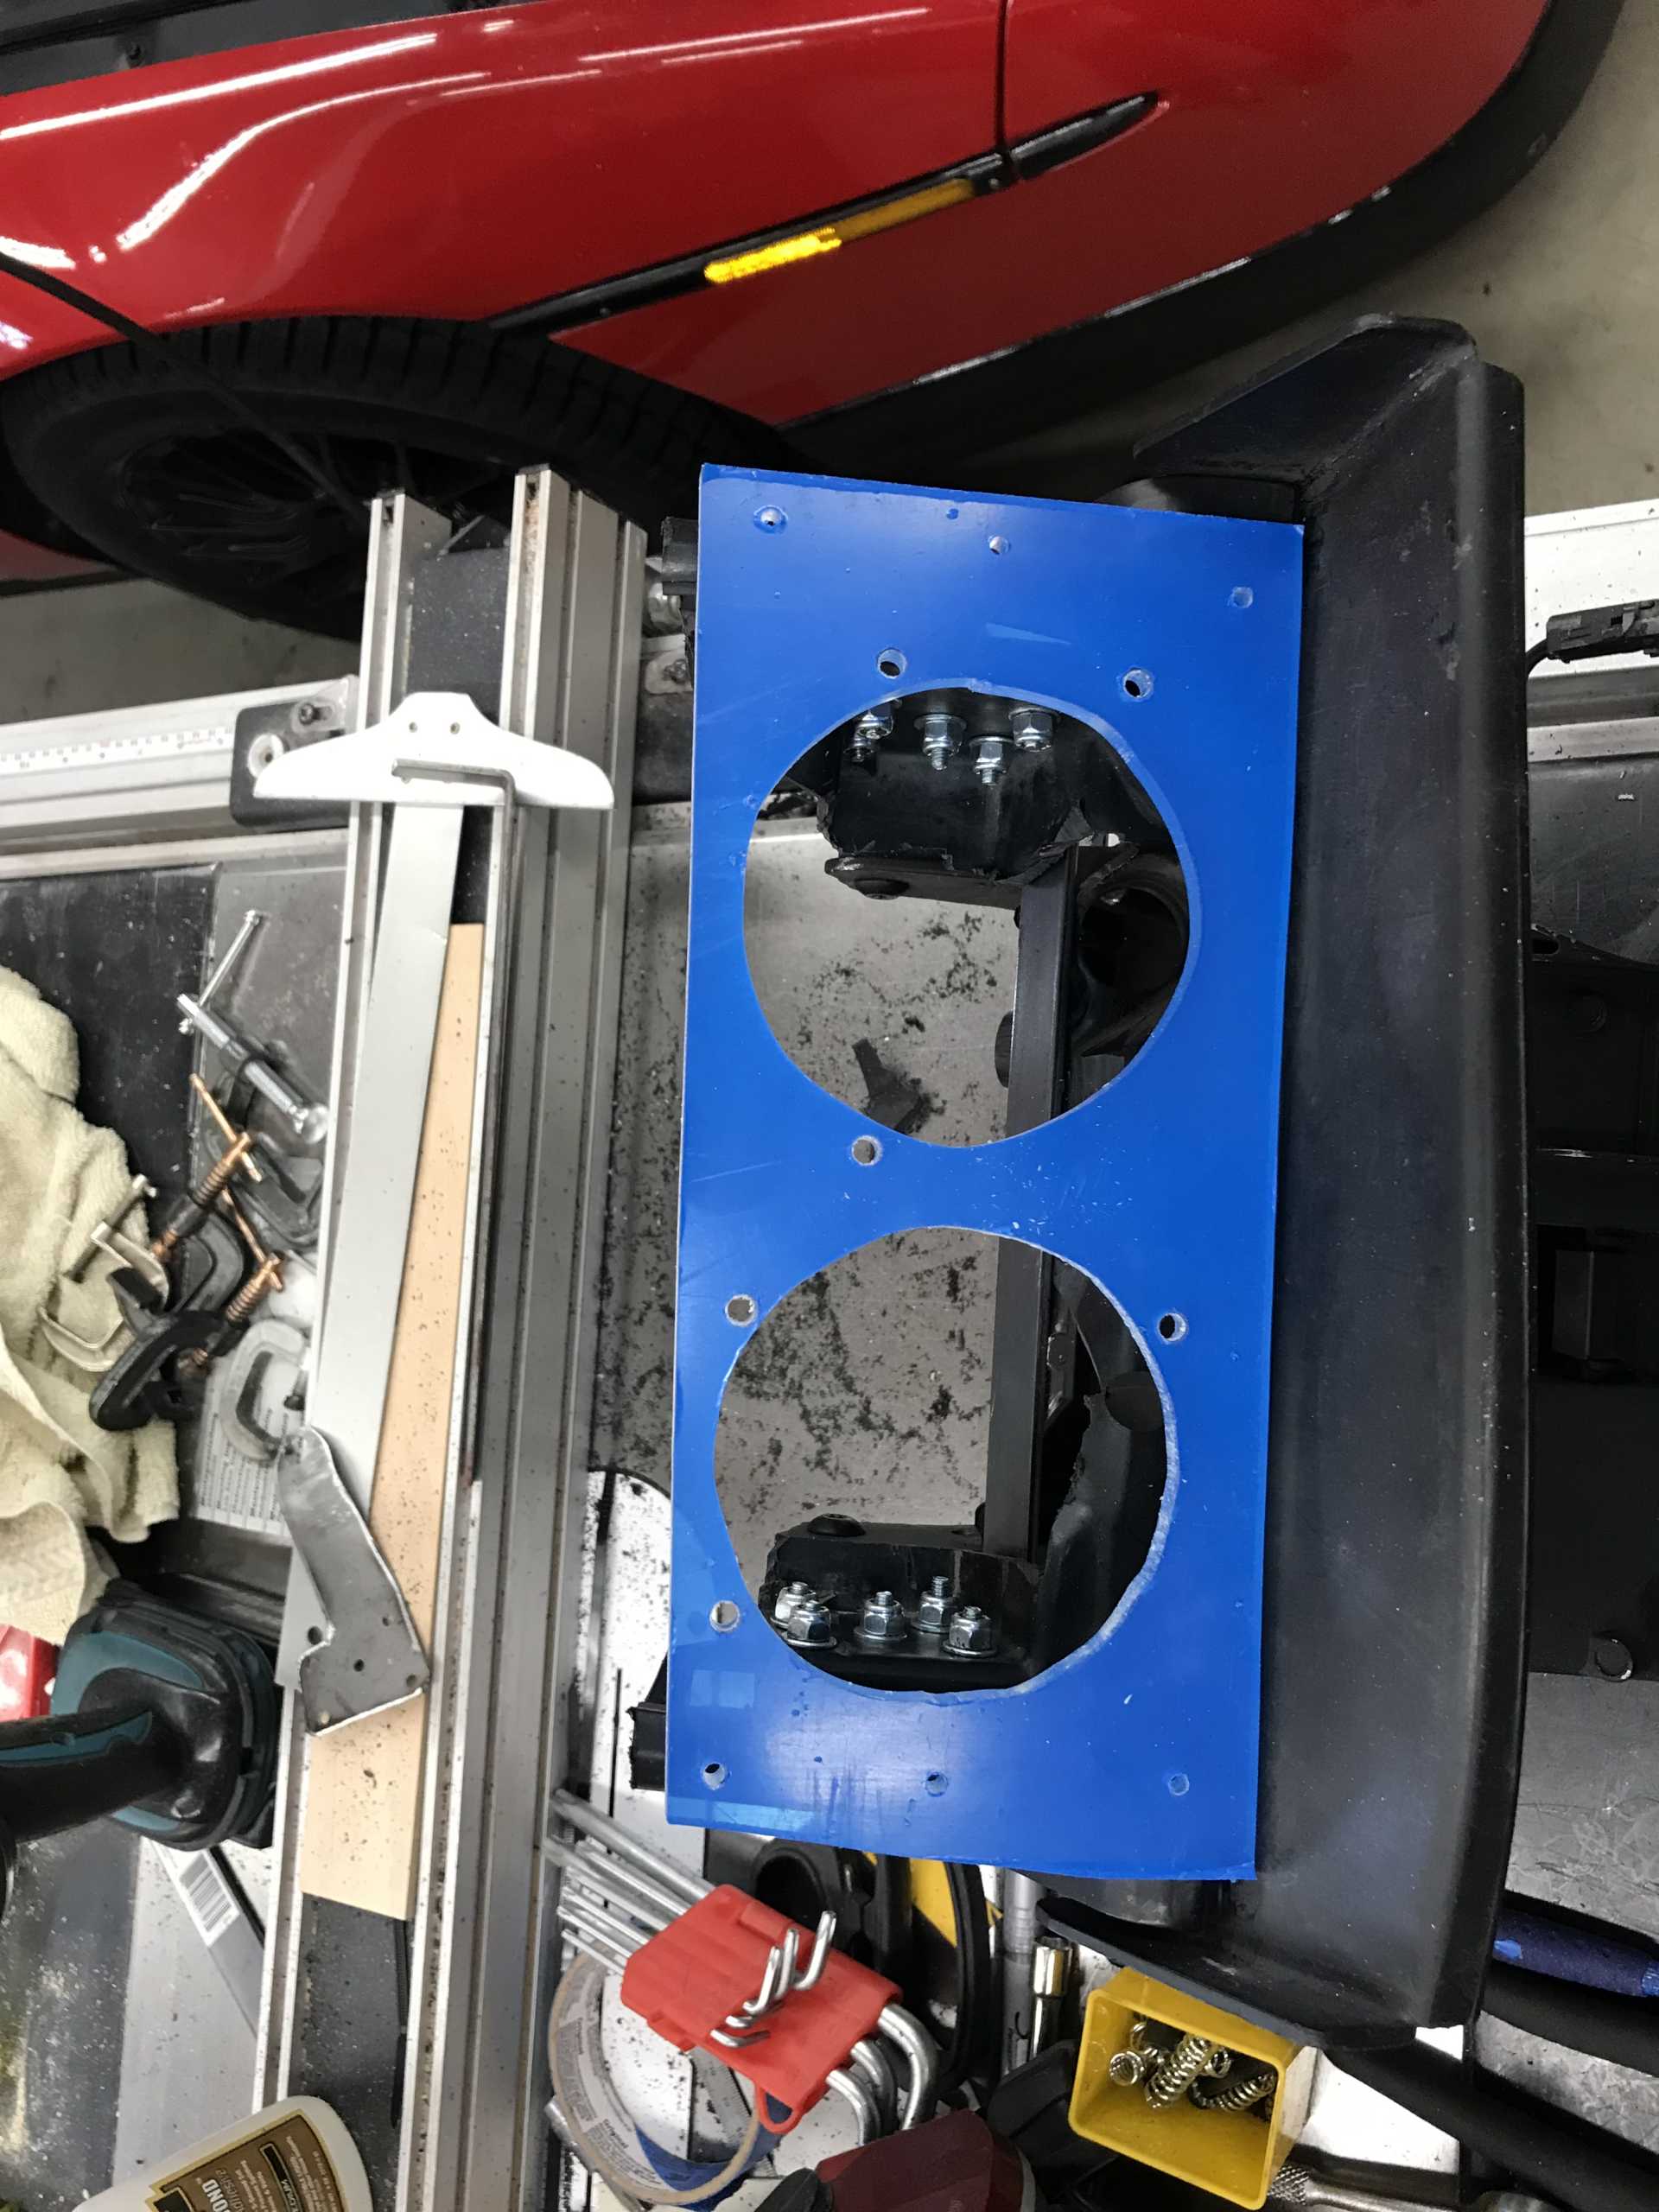
Acrylic panel painted black on the back side, with a doubler on the back for stiffness and to have points of contact with the lid.
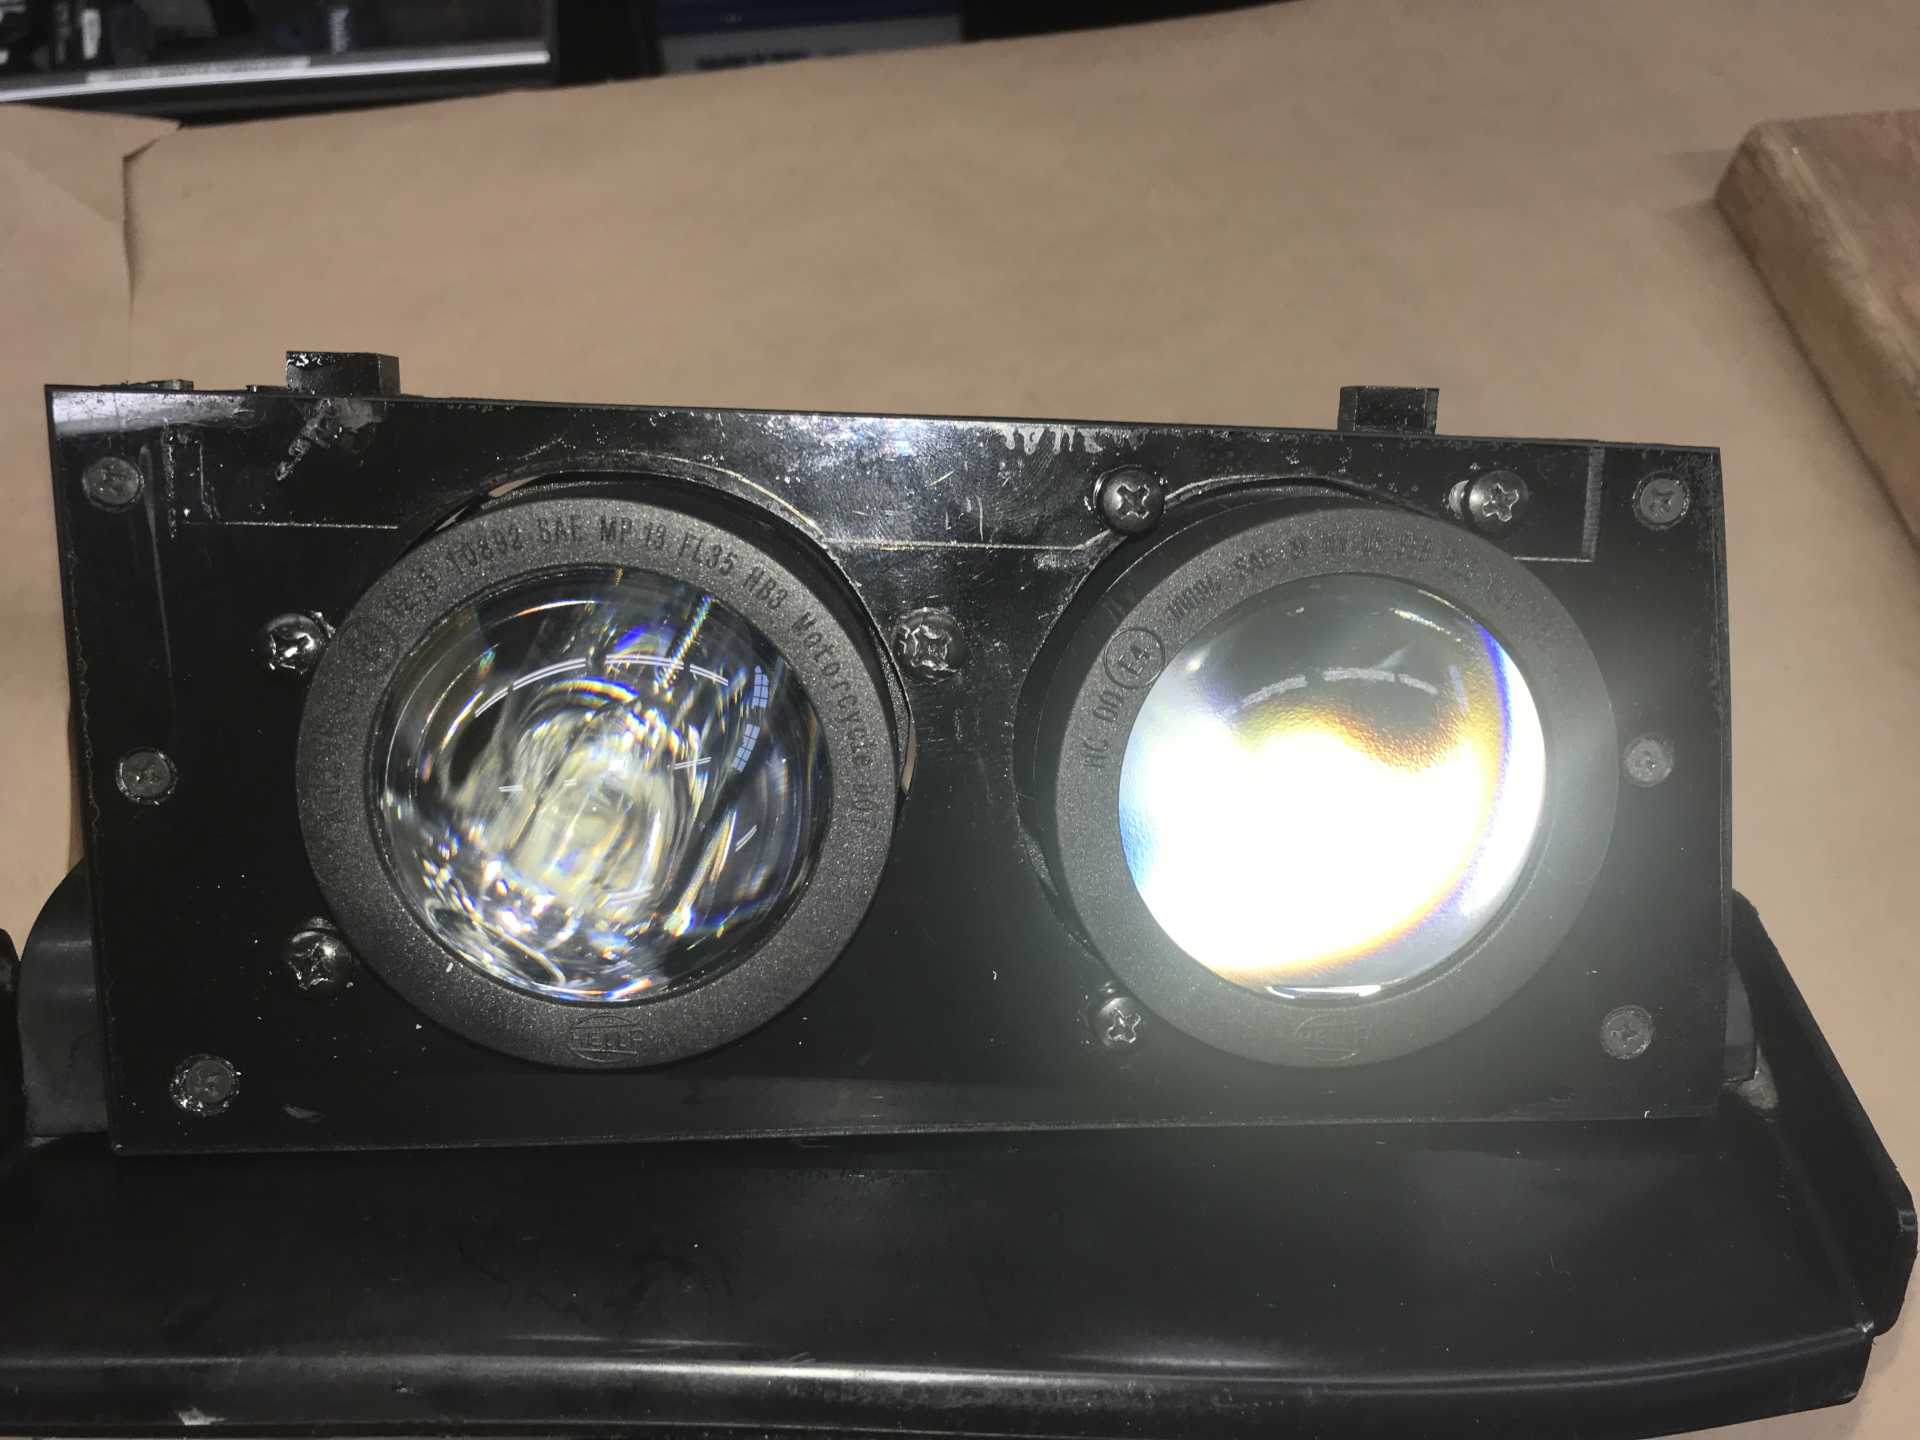
Euro-style sharp cutoff low beams. High beam lamp shows internal reflections of lamp.
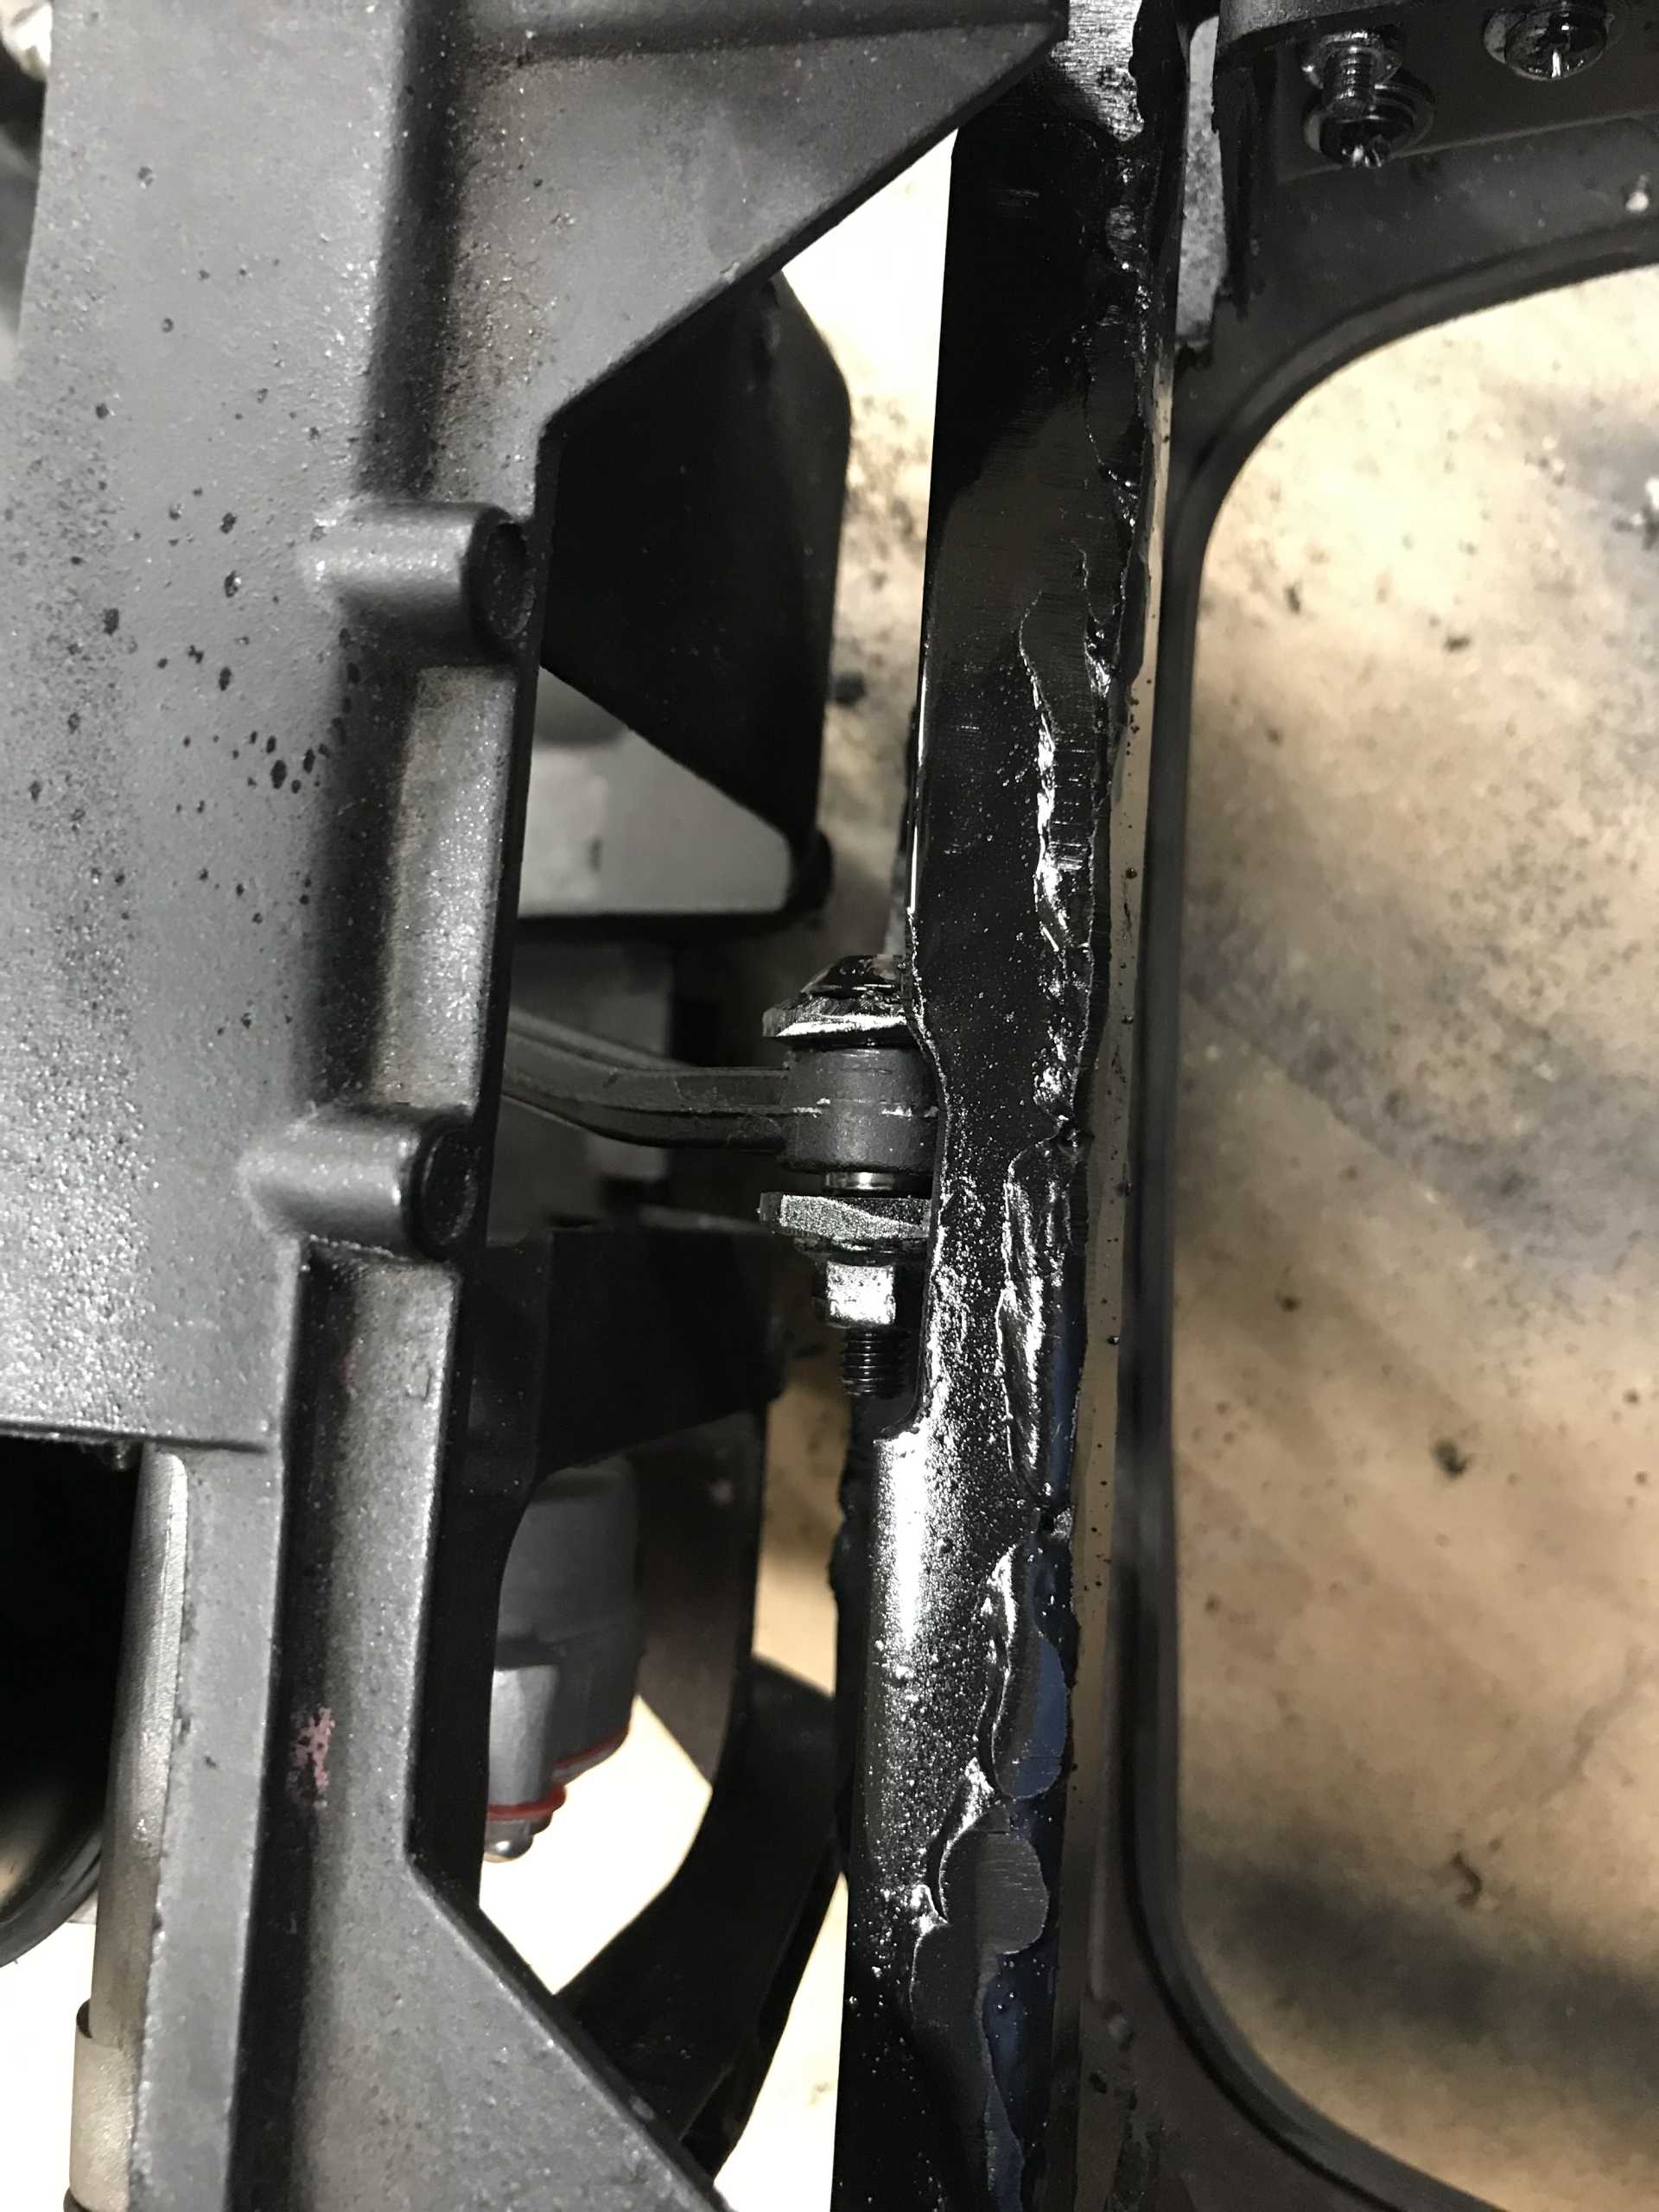
Two more mods were needed, the support bar had a flange added for stiffness to cure the bending and the plastic push rod mount was replaced with a metal one welded to the support bar. That finally worked and stiffened up the entire structure.
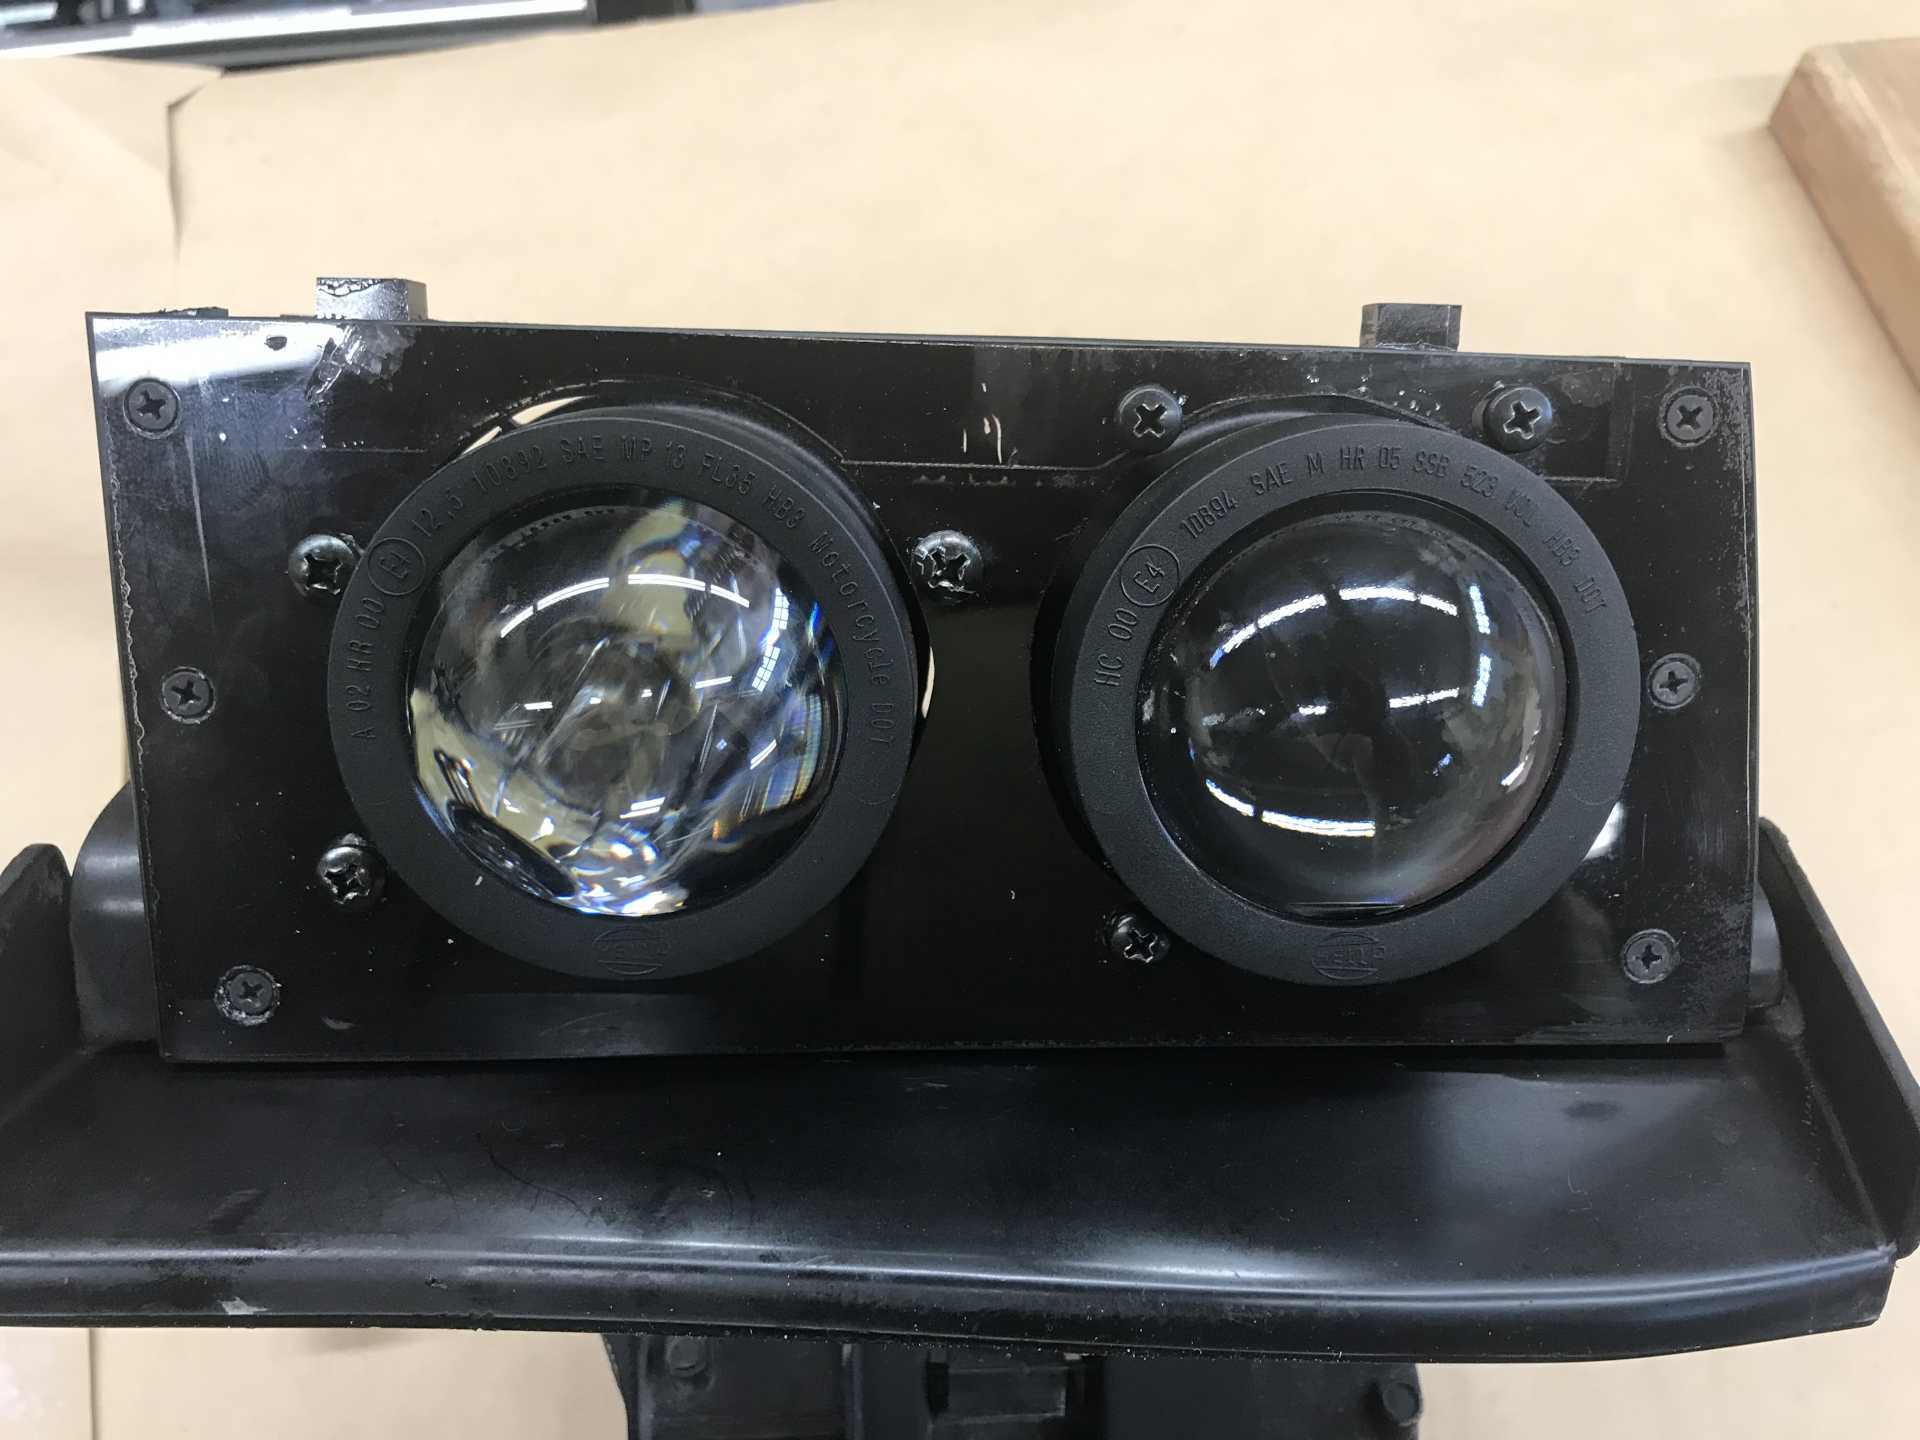
Finally as it is now after all the tweeking.
One more addition, new motor assemblies. Now available on Amazon for about $75 each. Exact fit, works as expected, no issues. One of mine began not lifting in the cold weather and I was going to rebuild them until I found these.
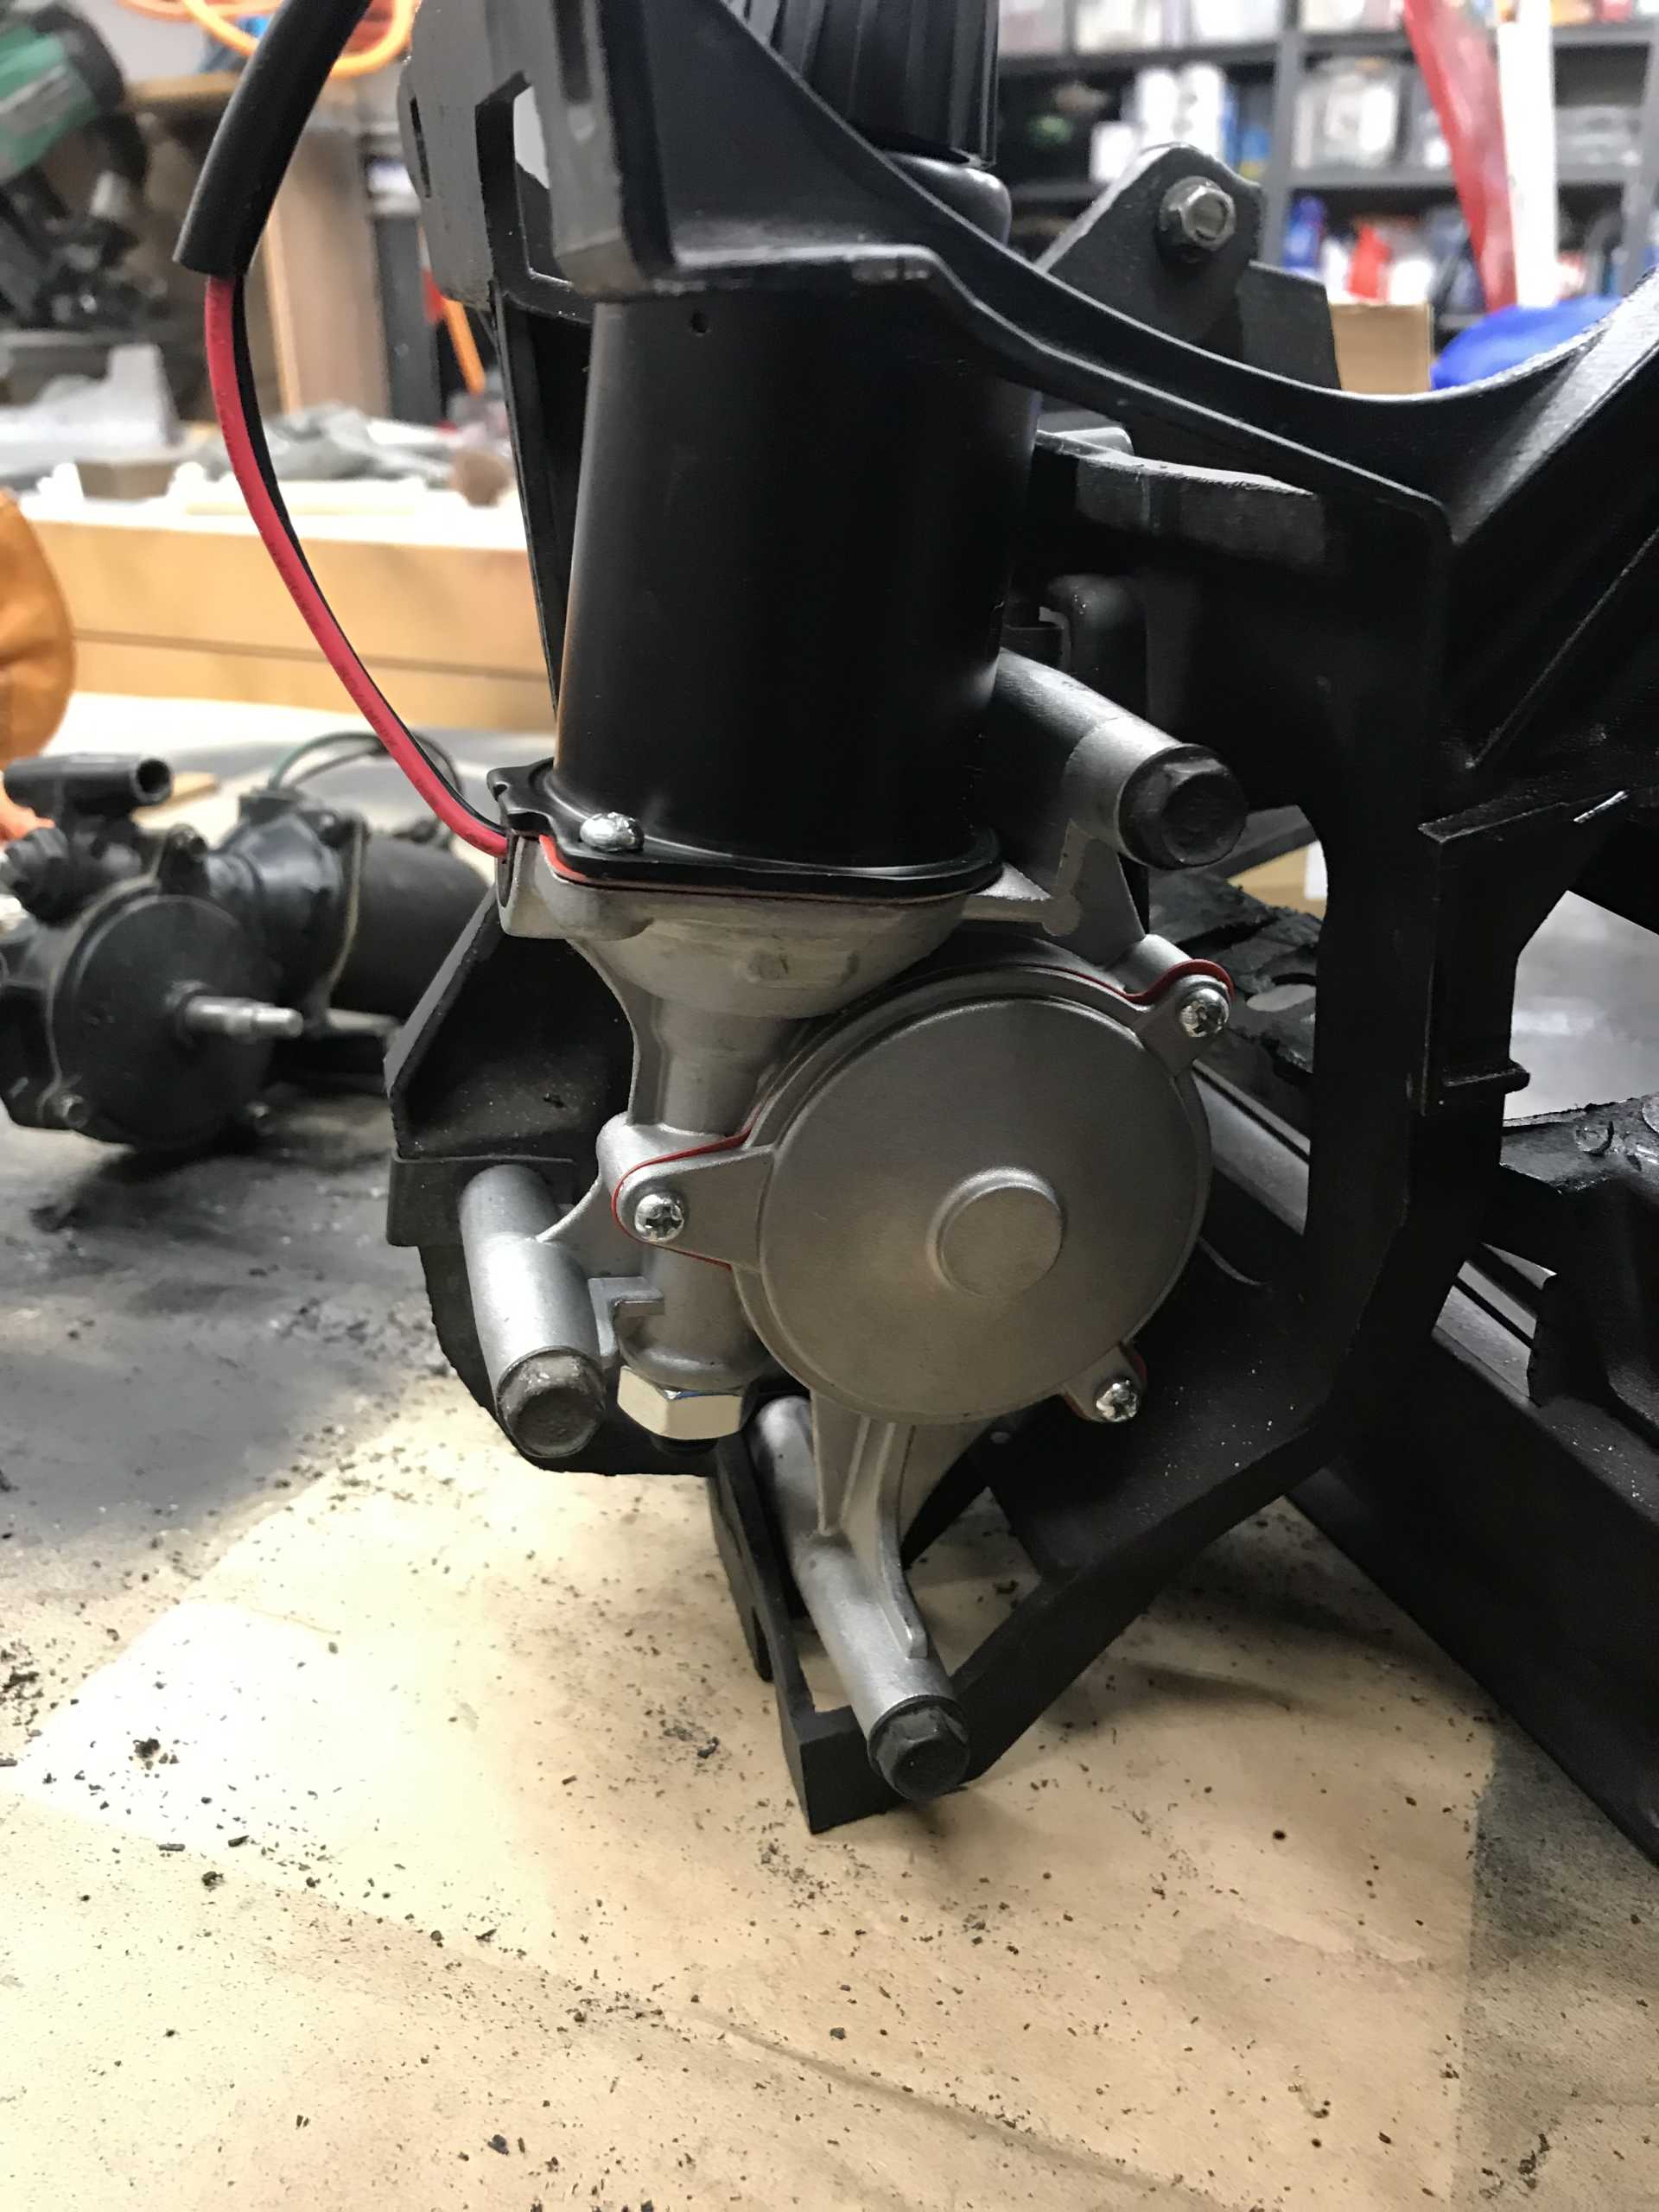
After the first Assembly was sorted out the second one took just a day to complete. Mounting in the car is a bit fussy to get the assemblies in the right spot for smooth operation. Marking the positions before removal is a good idea.
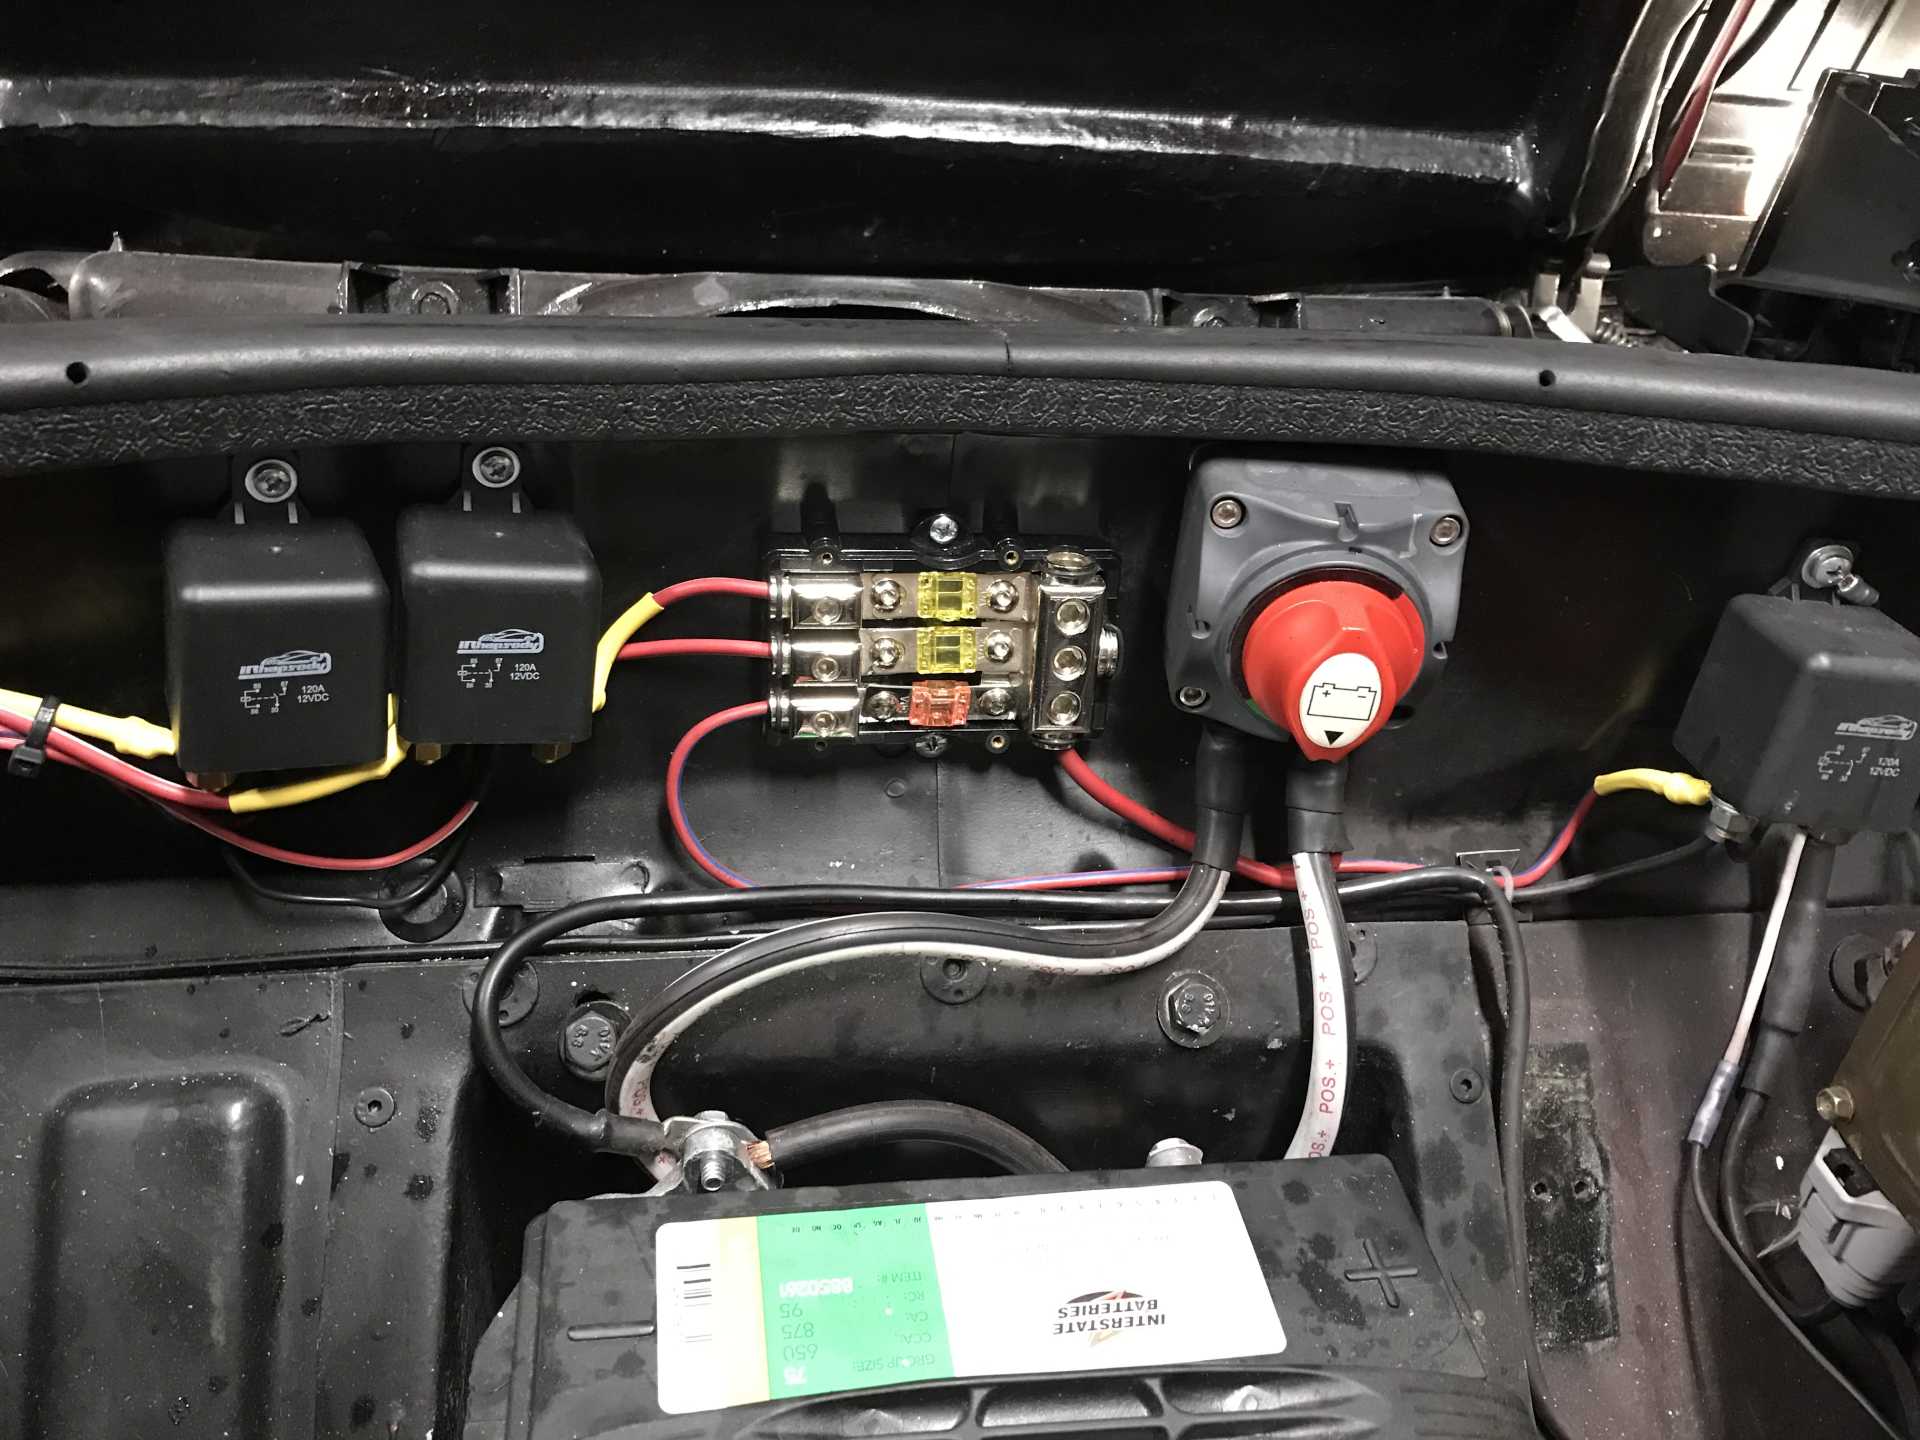
Wiring was done from the front-mounted battery through separate fuses for high and low then to separate relays in the front compartment and finally to the lamp connectors. The lamp switch operates only the coils of the two relays and carries less than an Ampere. The relay power circuits are all #12 wire to insure the lamps have the full system voltage available. Getting the lows to come on with the highs meant adding three diodes going to the relay coils. Two for circuit isolation and 1 to feed the low beam relay when the highs are on. The isolation was to keep the Impala BCM from becoming confused about why low beam power is present when the high beams are on. Not really sure it was needed but won't hurt.
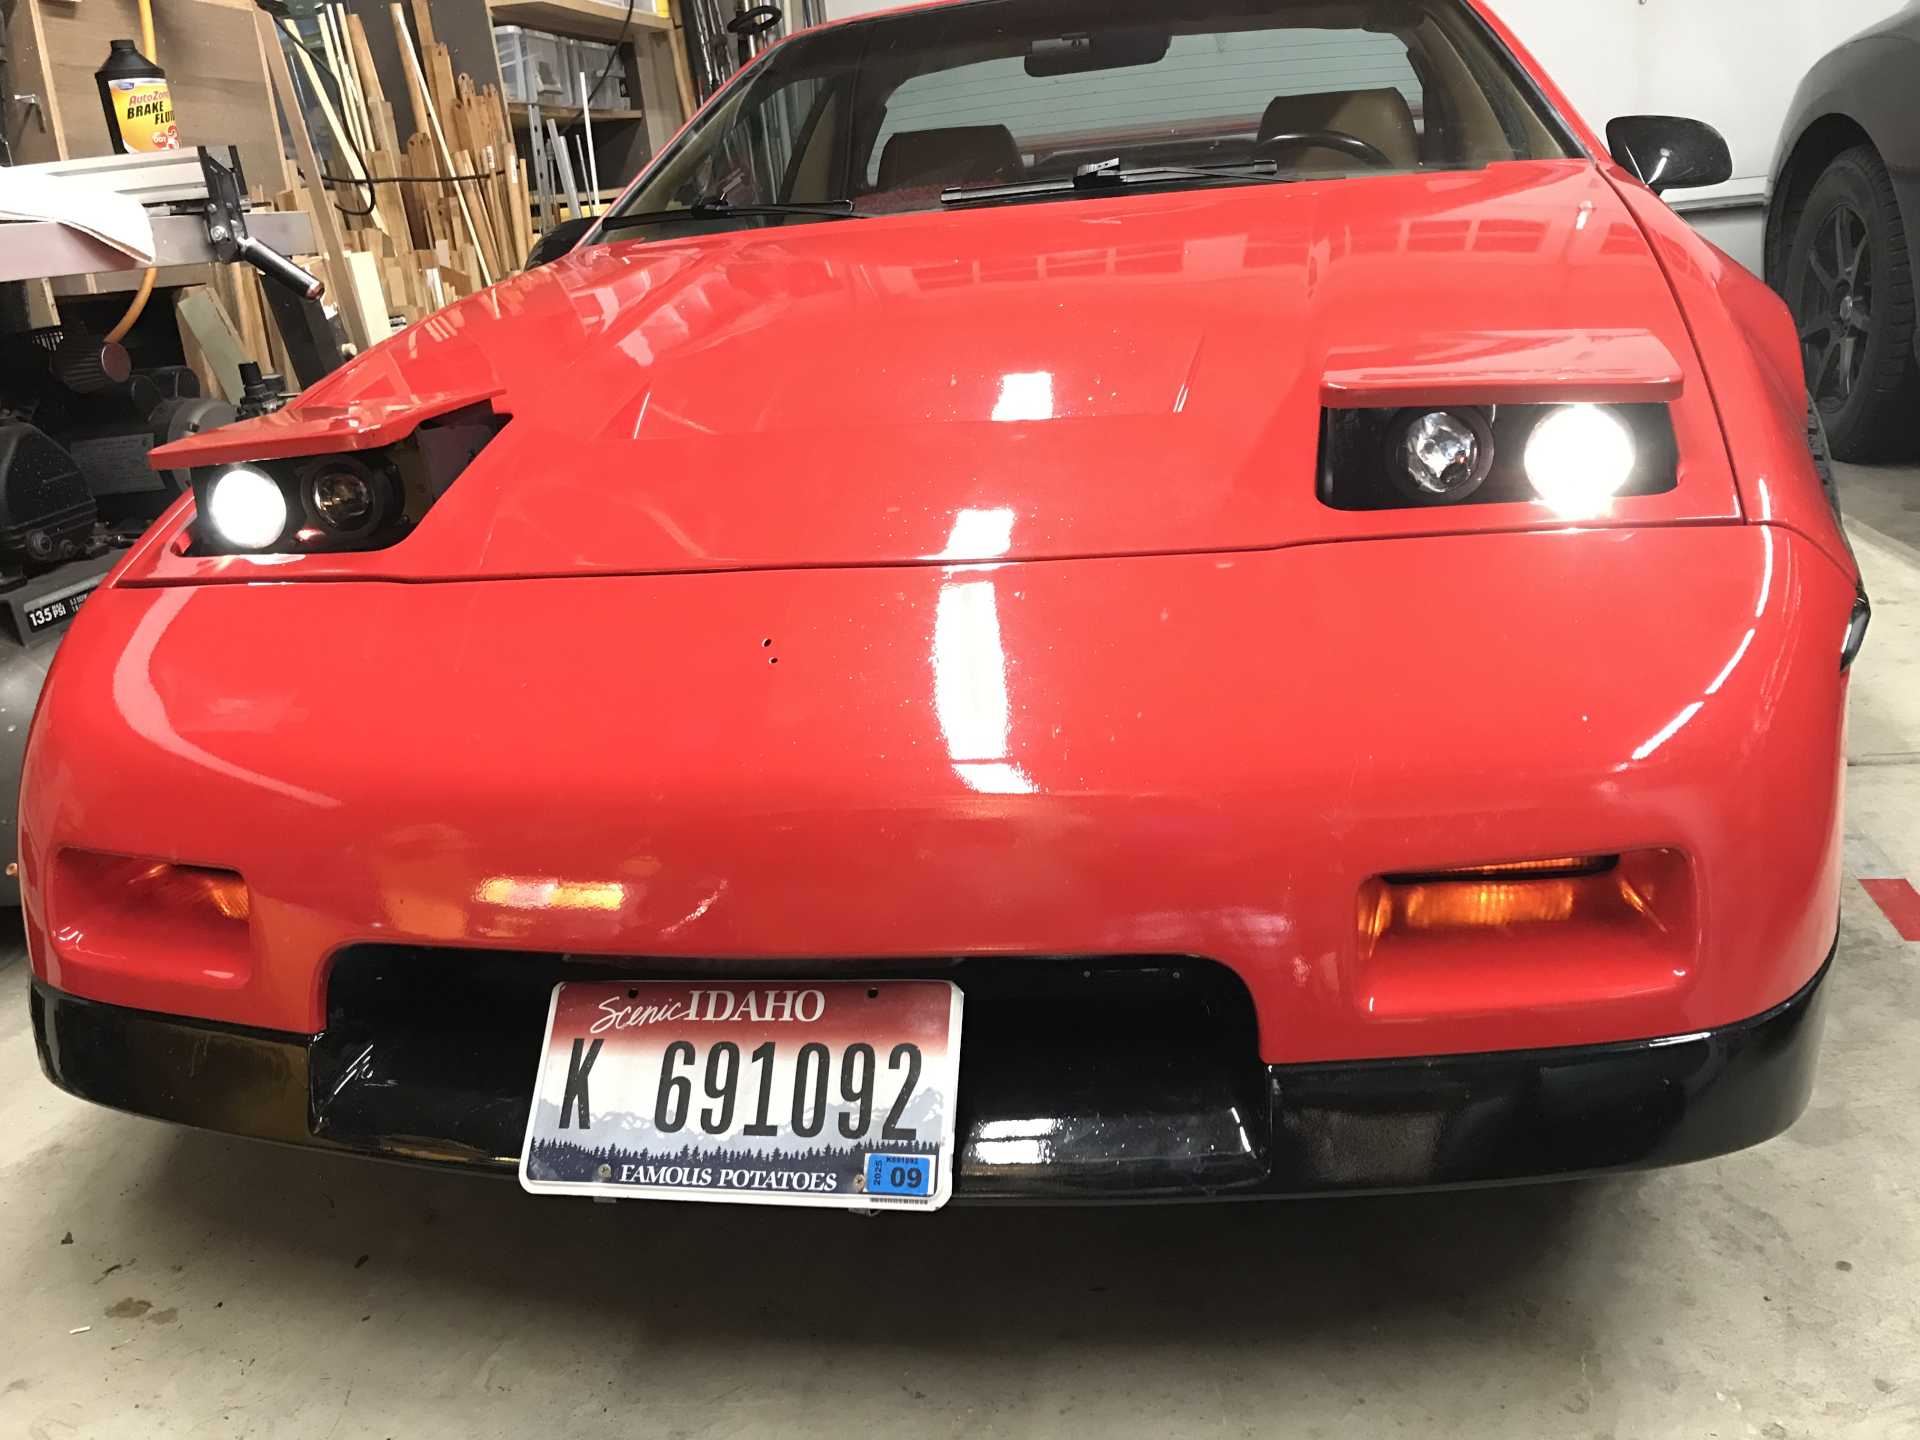
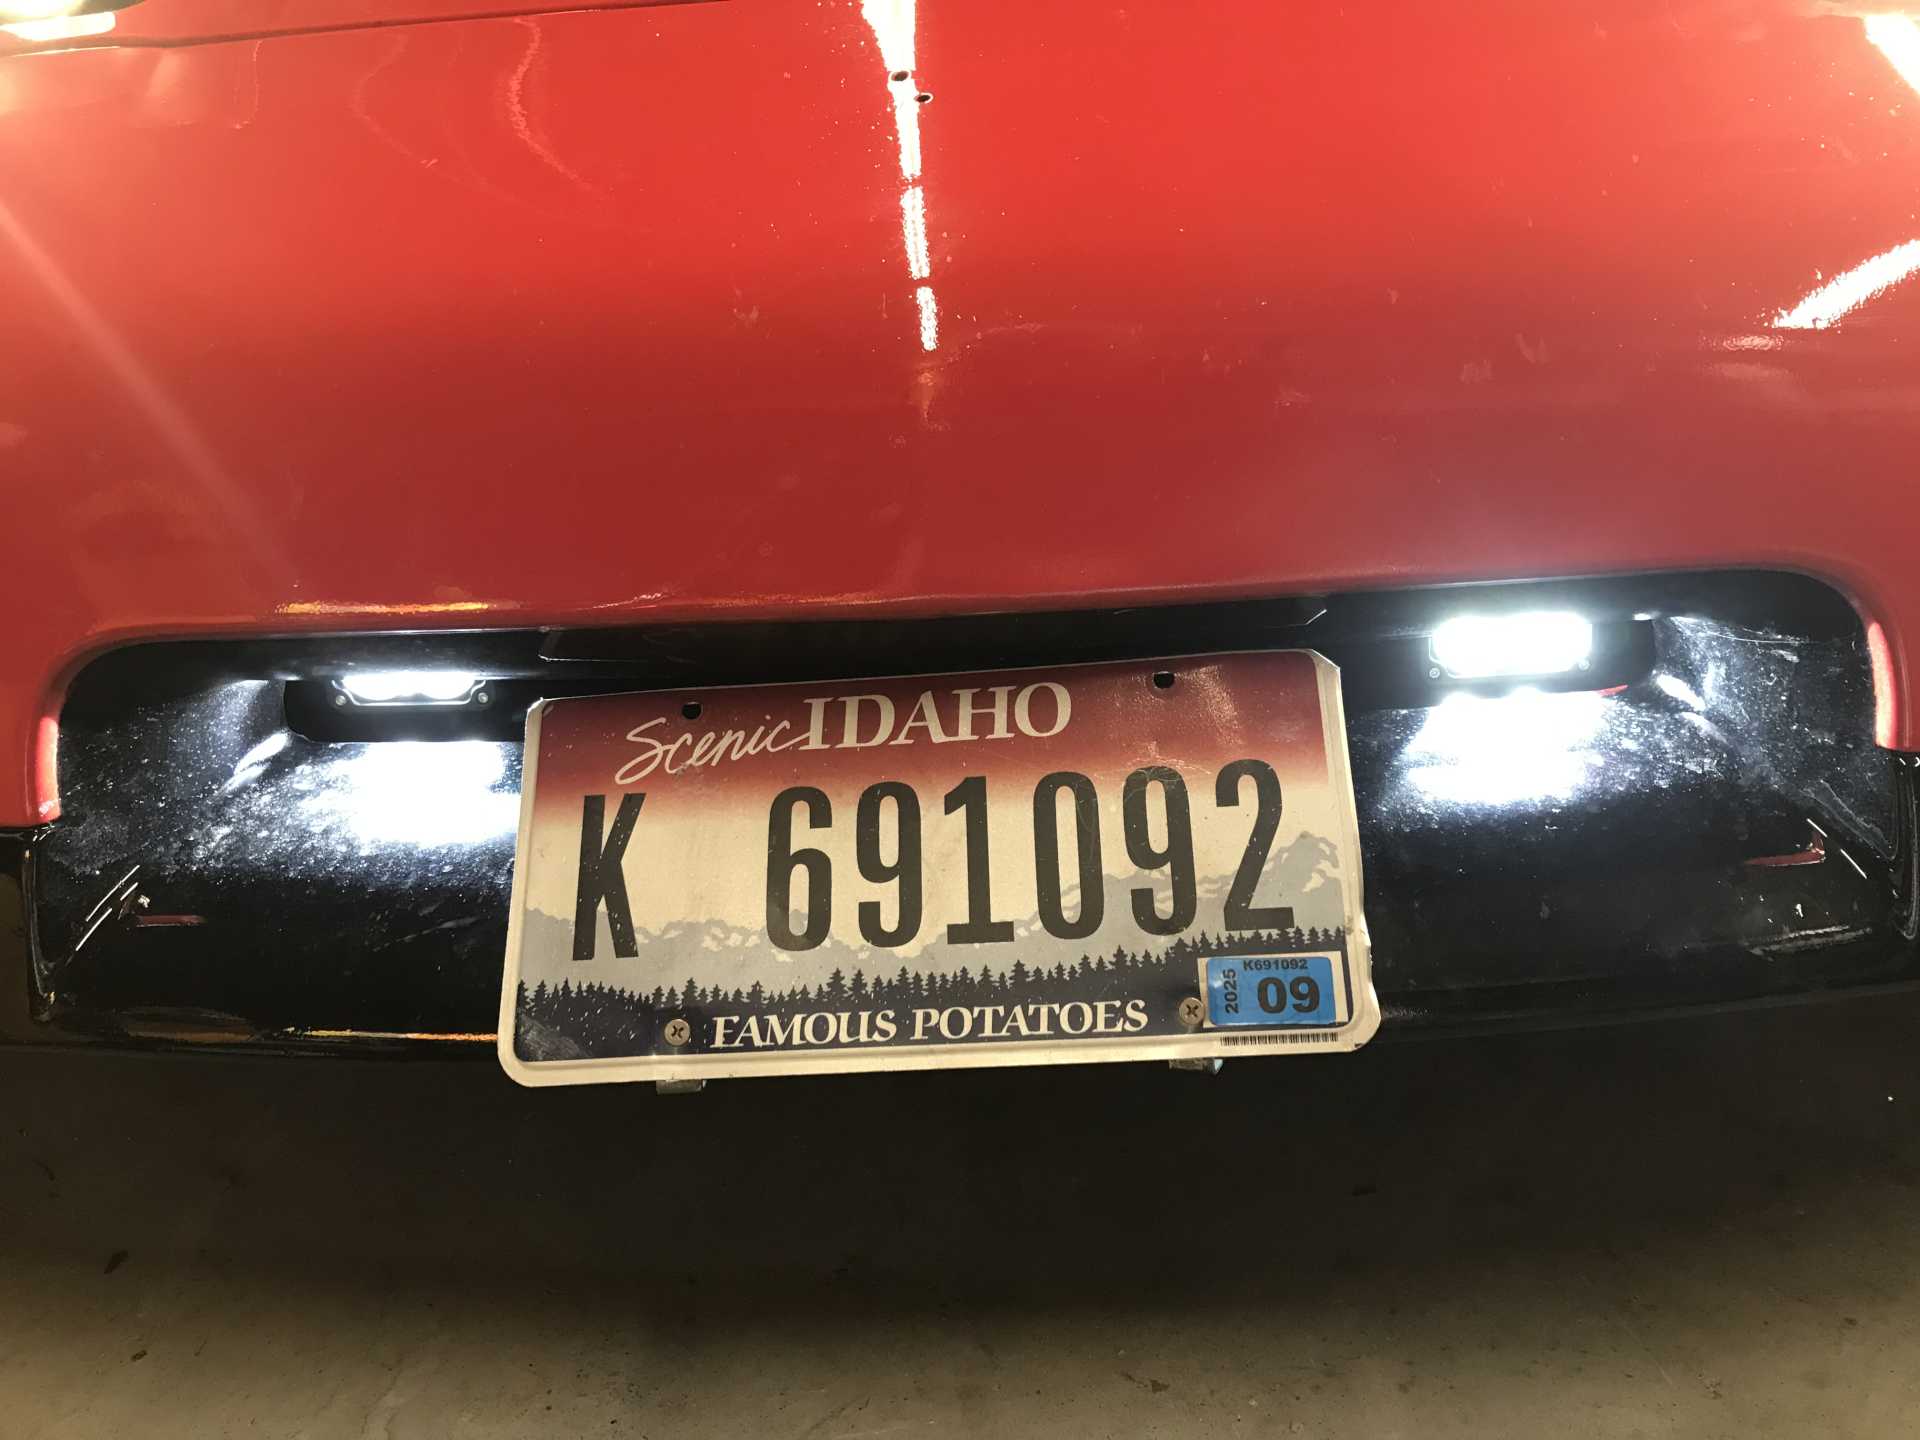
Time for some results, Low Beams
High beams with low also active and add-on LED lamps below
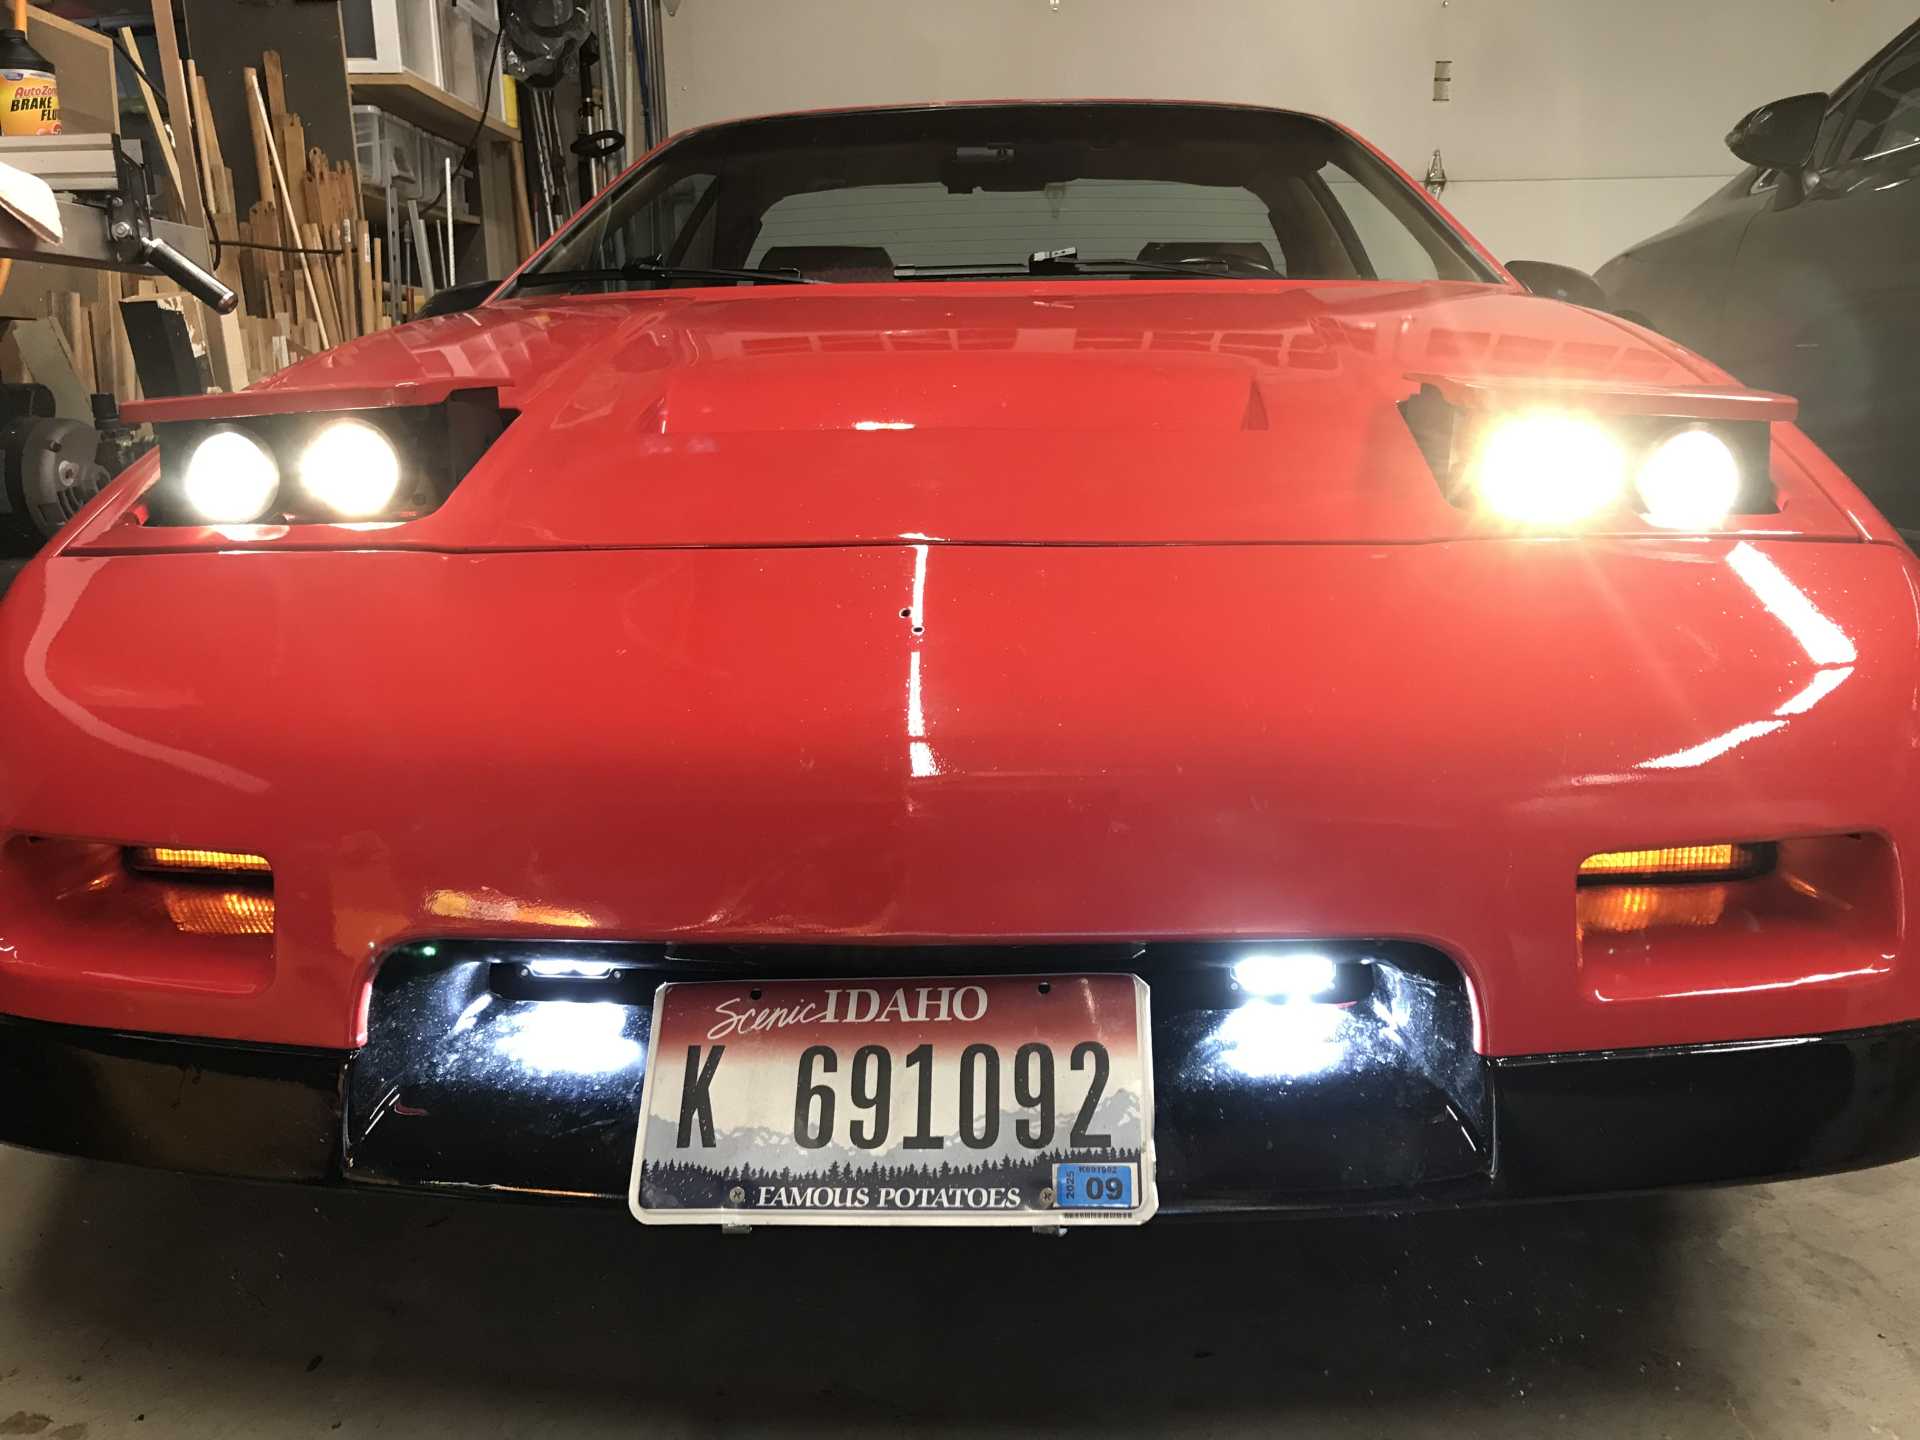
Added 20 W per fixture 3" x 1.8" LED lamps that operate with high beams. From Amazon for about $30 per pair using Cree LEDs, Cree makes really good LEDs, I used them oin my elevator work without problems. These are true spotlights with tight beams. They bolt onto the cross member behind fascia.
Final thoughts. I'm very pleased with the results, the new lamps are vastly superior to the old sealed beams. It took about 30+ hours to complete so it isn't a quick project. It appears there are no currently offered 90mm bucket products on the market. One of these days I might try MIG welding one up to make it look more presentable. It was a lot of trial and error to get everything to fit and operate correctly. The new motors are great. Finally I tried a pair of Sylvania 9005 LED lamps and was disappointed. The LED light dispersion from the LEDs does not match the 90mm high beam enclosure and the light is very irregular.
Coming soon(ish) Paddle Shifters!
But first there is a followup on the lamp covers below![This message has been edited by MikesFirstFiero (edited 03-27-2024).]
|
|
|
|
msweldon
|
FEB 07, 05:47 PM
|
|
|
Do you have a Fuel Pump Control Module (FPCM)? Not sure if they only come on manual LFXs/LF3/LF4
|
|
|
|
MikesFirstFiero
|
FEB 08, 01:20 AM
|
|
Yes, the FPCM is included in this car. It lives on the right side of the engine bay, just in front of the relocated coolant overflow tank. I really need it for the gas gauge on the Impala cluster to operate. It also provides the emission controls which are correctly installed. The FPCM can modulate the fuel pump pressure from the in-the-tank pump but I have disconnected that feature a while ago when trouble shooting my mis-fire problems. Fuel pressure is now a constant 55psi regulated by a Corvette fuel filter with internal pressure relief return line back to the tank. My OBD-II reader shows that the live puel pressure remains at 55PSI at all times.
The only changes to the engine system are no third cat converter downstream, Revised exhaust, larger throttle body, different air filter/induction system and tuning to make it run correctly with those changes. I wanted it to run well around town and on the road, be economical to run and be quick. 0-60 in low 5's is fast enough for my purposes and 35mpg at 70MPH cruise is also great. If I really wanted to go faster I think I'd go to an LS4 which can be modded much easier than this engine. The critical things in all this build for good engine performance are: All air into the engine is metered including crankcase ventilation; No hose bends or kinks to air flow before the MAF and having the engine/transmission controllers properly tuned.
|
|
|
|
msweldon
|
FEB 21, 04:58 PM
|
|
| quote | Originally posted by MikesFirstFiero:
Yes, the FPCM is included in this car. It lives on the right side of the engine bay, just in front of the relocated coolant overflow tank. I really need it for the gas gauge on the Impala cluster to operate. It also provides the emission controls which are correctly installed. The FPCM can modulate the fuel pump pressure from the in-the-tank pump but I have disconnected that feature a while ago when trouble shooting my mis-fire problems. Fuel pressure is now a constant 55psi regulated by a Corvette fuel filter with internal pressure relief return line back to the tank. My OBD-II reader shows that the live puel pressure remains at 55PSI at all times.
The only changes to the engine system are no third cat converter downstream, Revised exhaust, larger throttle body, different air filter/induction system and tuning to make it run correctly with those changes. I wanted it to run well around town and on the road, be economical to run and be quick. 0-60 in low 5's is fast enough for my purposes and 35mpg at 70MPH cruise is also great. If I really wanted to go faster I think I'd go to an LS4 which can be modded much easier than this engine. The critical things in all this build for good engine performance are: All air into the engine is metered including crankcase ventilation; No hose bends or kinks to air flow before the MAF and having the engine/transmission controllers properly tuned. |
|
I'm still trudging through an LF3/LF4 swap and finishing up exhaust currently but eyeballing the upcoming fueling hurdles (and intercooling in my case).
I assume you disassembled the bucketed fuel pump assembly and just attached the pump to the fiero pump assembly and utilizing the included pickup filter.
Good solution on the pressure relief valve back to the tank.. 
|
|
|
|
msweldon
|
FEB 22, 02:19 PM
|
|
Found an absolutely excellent site and article that covers the ins and outs of running a returnless PWM fuel pump setup when you don't have room to fit one of GM's self contained fuel modules, i.e. the fiero fuel tank
https://www.vaporworx.com/r...type-pwm-returnless/
|
|
|
|
MikesFirstFiero
|
FEB 28, 09:07 PM
|
|
The last word any good engineer ever wants to hear is "just". Look back a couple of pages and you can see the mounting od the pump was simple. But the intake of the impala fuel pump is different from a normal fuel pump. I had to keep a plastic fitting from the original Impala module to make it work. I did reuse the Impala intake screen. The Corvette filter/regulator has worked without issue. I've now got 10K miles on the conversion with no fuel issues. I did use the FPCM to modulate the pressure at first and then changed it to directly feed from 12V while fighting the misfire problems. Did not seem to make any difference with higher pressure at all times. I really kept the FPCM to have a functioning Impala gas gauge. And the emissions are intact too.
I've now discovered a small leak on the tank vent pipe to the filler neck. I'll be pulling the tank in the spring to braze this back in place, the old solder just gave way. I'll check the pump as well since I'm already in there.
We have had a very cold January with overnight temps of -10 to -20 F for a week. Working second shift at O'Reilly's means I cold start at 9:30PM. It has not ever failed to start. and those new headlights are great when it's dark outside with no street lights.
I checked out the VaporWorx site. I gives a good explaination for fuel systems for port & TB injection. The Impala system is direct injection with the 55PSI feeding the engine driven high pressure pump & injectors up to 2000PSI. There is no regulator on the high pressure side, it must be internal to the HP pump. The original Impala low pressure regulator was part of the complete fuel pump assembly along with the filter and level sensor. Meaning if anything fails or the filter is clogged you are looking at $300 to replace the in the tank unit. The high pressure pump has options from $300 up to $700. Ouch.[This message has been edited by MikesFirstFiero (edited 02-28-2024).]
|
|
|
|
msweldon
|
MAR 02, 10:21 AM
|
|
All good as your system is working really well now... I was pointing to the site that explains in one location regarding the elements of moving from a return system to a dead head or returnless. Specifically around having a check valve but also having a fuel over pressure system for when the lines heat soak. The fuel modules have an over pressure regulator and check vavle already in place.
The fuel modules also have a rather efficient way of sucking fuel from the tank by the use of venturi pumps powered by a controlled leak out of the pump utilized for low demand pump flow stability via pwm. The venturi obtained fuel fills up the bucket around the pump so the pump is always submerged, keeping it cool and improving pump efficiency due to temp but also more efficient pickup due to always being submerged. The venturi / bucket system can literally suck the tank dry.
You can get an OEM gen 6 camaro zl1/ss fuel module from rock auto for 120$. But yes, the hpfp's are steep. The Ats-v pump is 400$ at best price I could find...
Now the question for me is how to incorporate all these features into the fiero fuel tank.. Lol[This message has been edited by msweldon (edited 03-02-2024).]
|
|
|
|