|
| RCR's body mods... (Page 64/67) |

|
RCR
|
APR 25, 07:40 PM
|
|
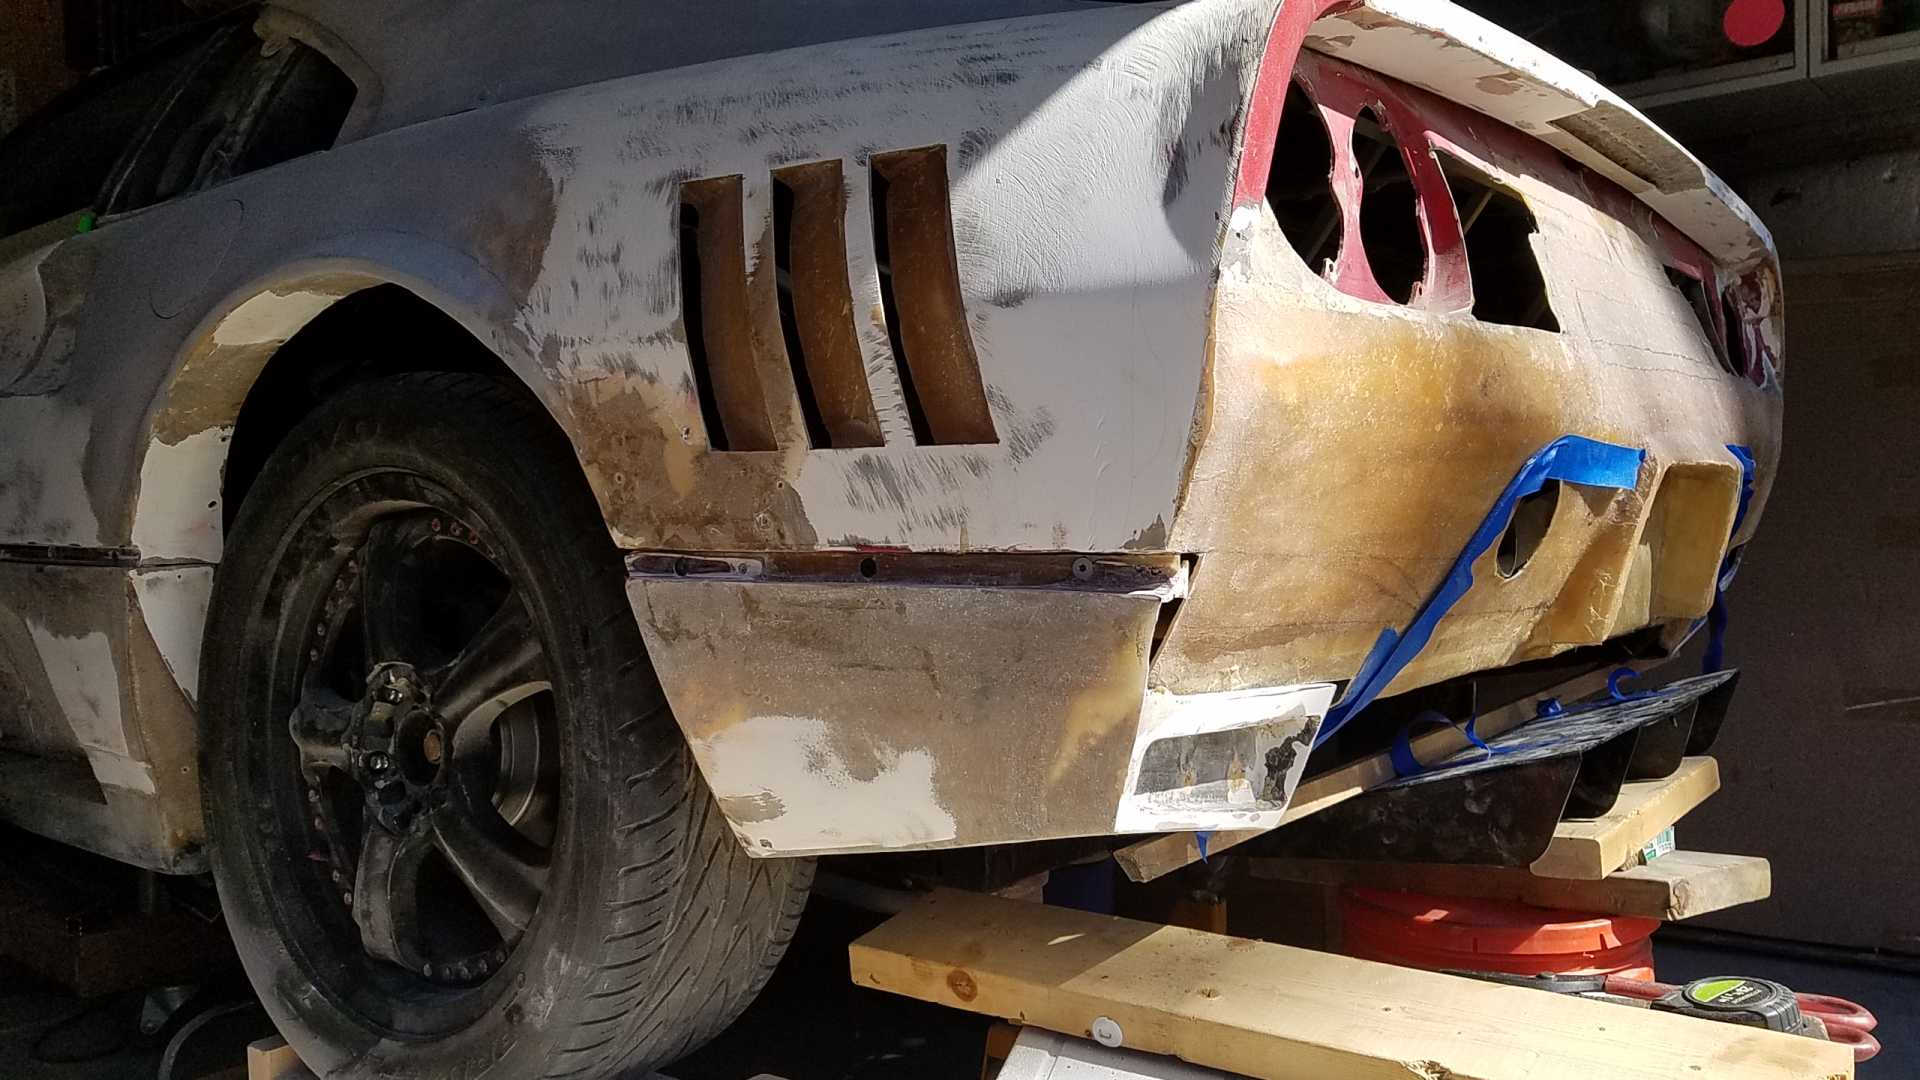
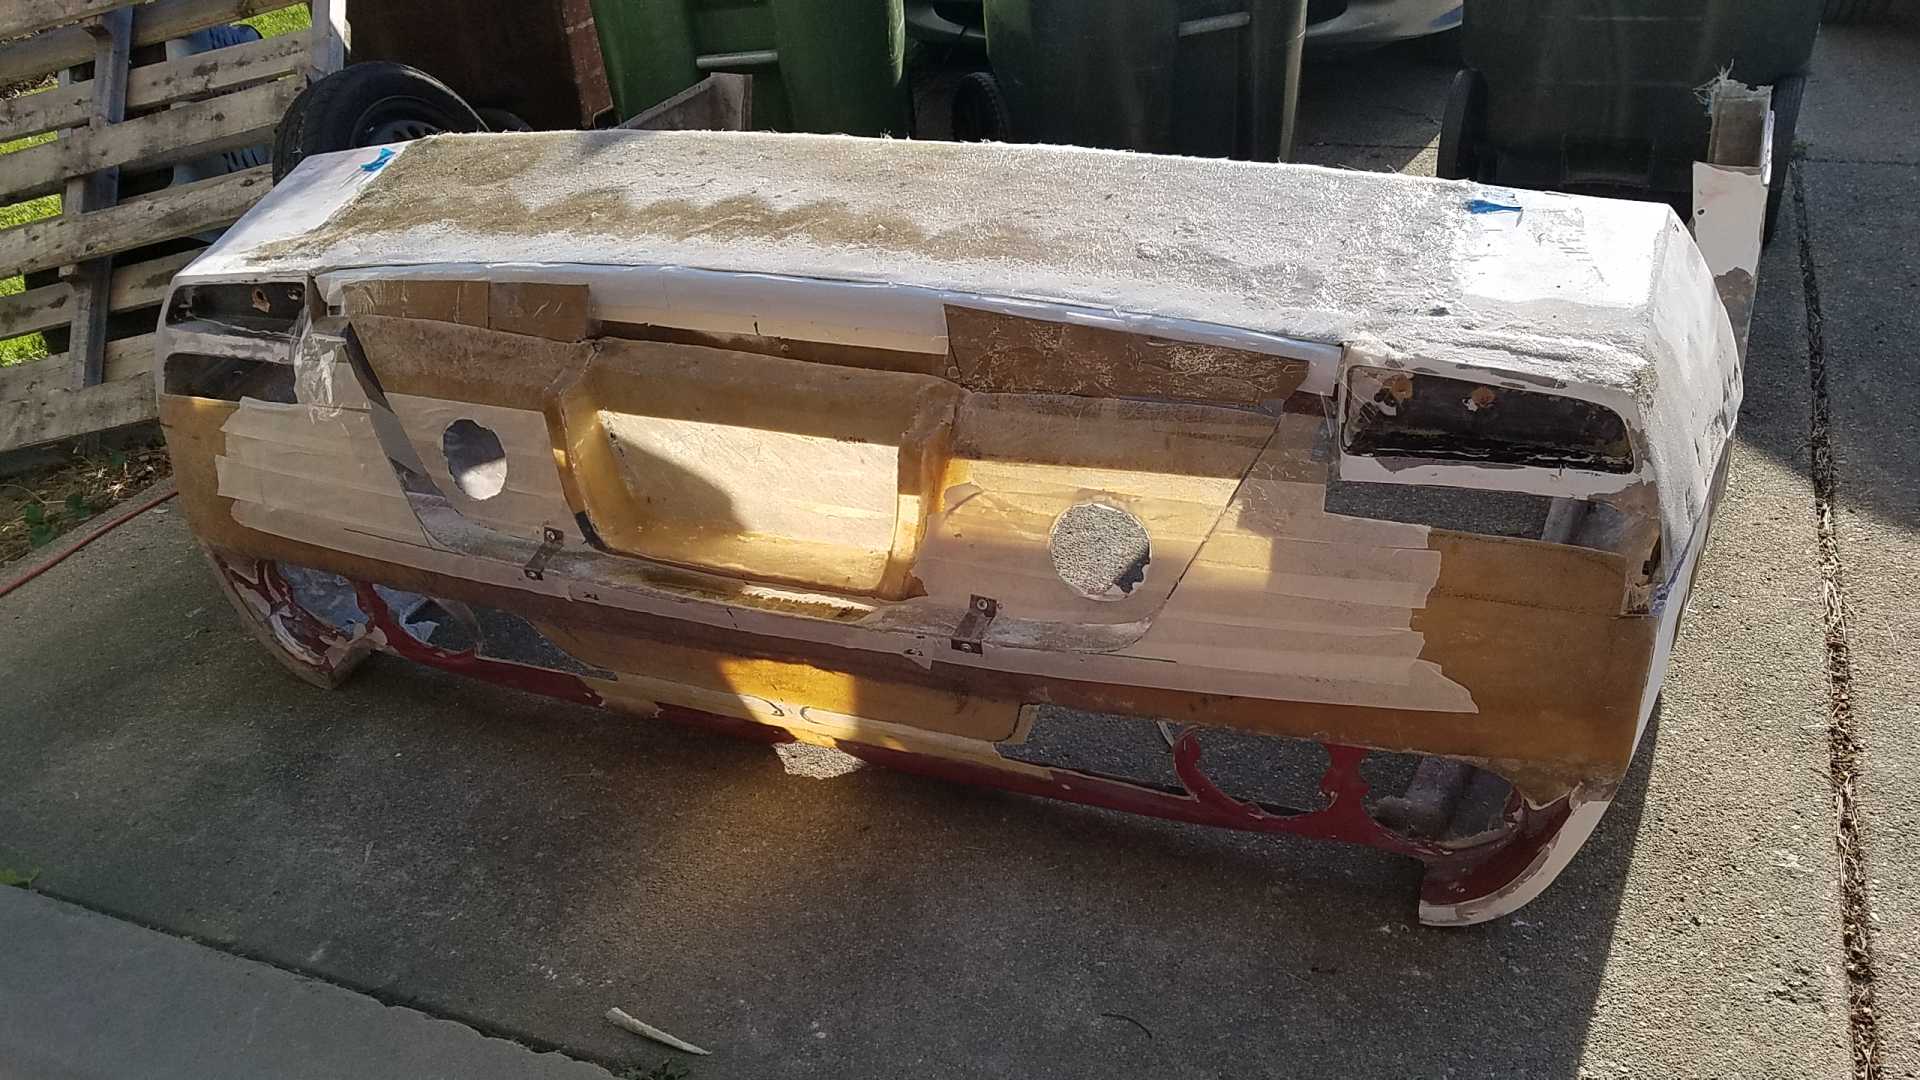
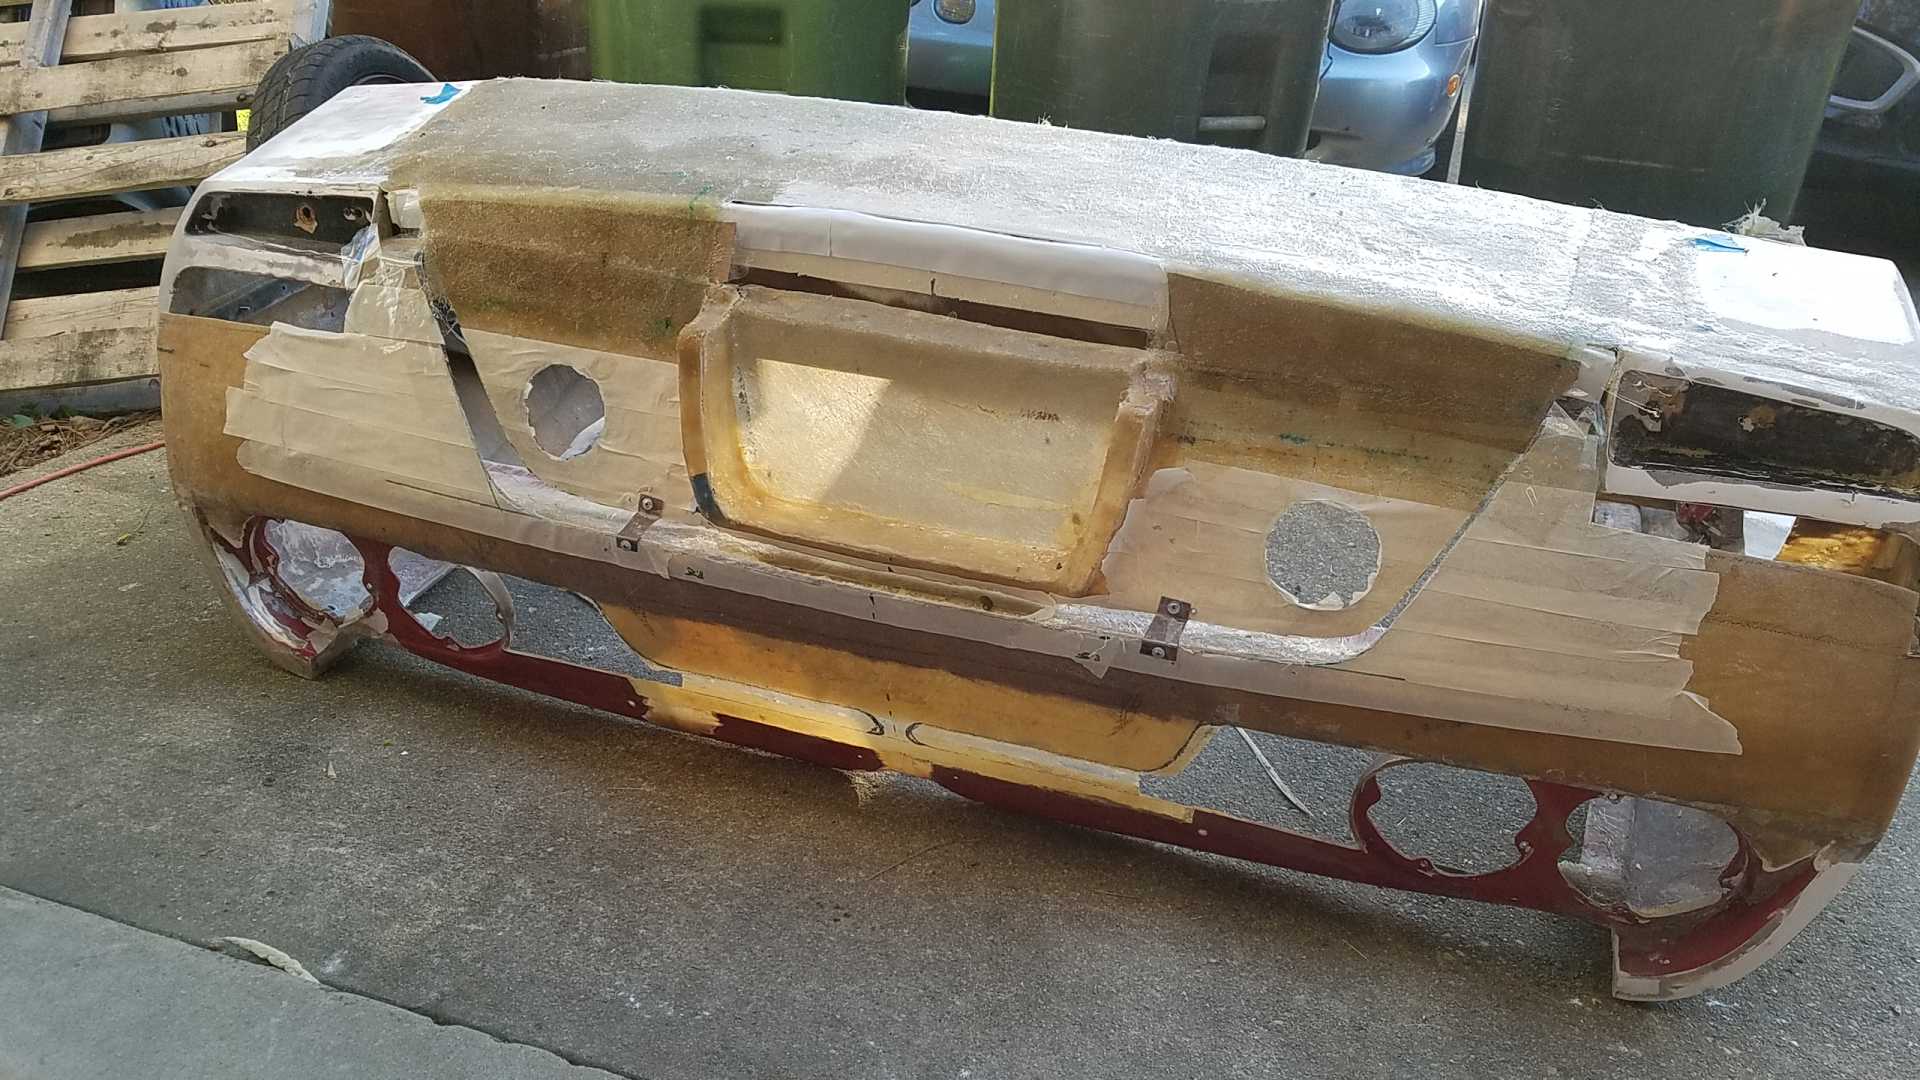
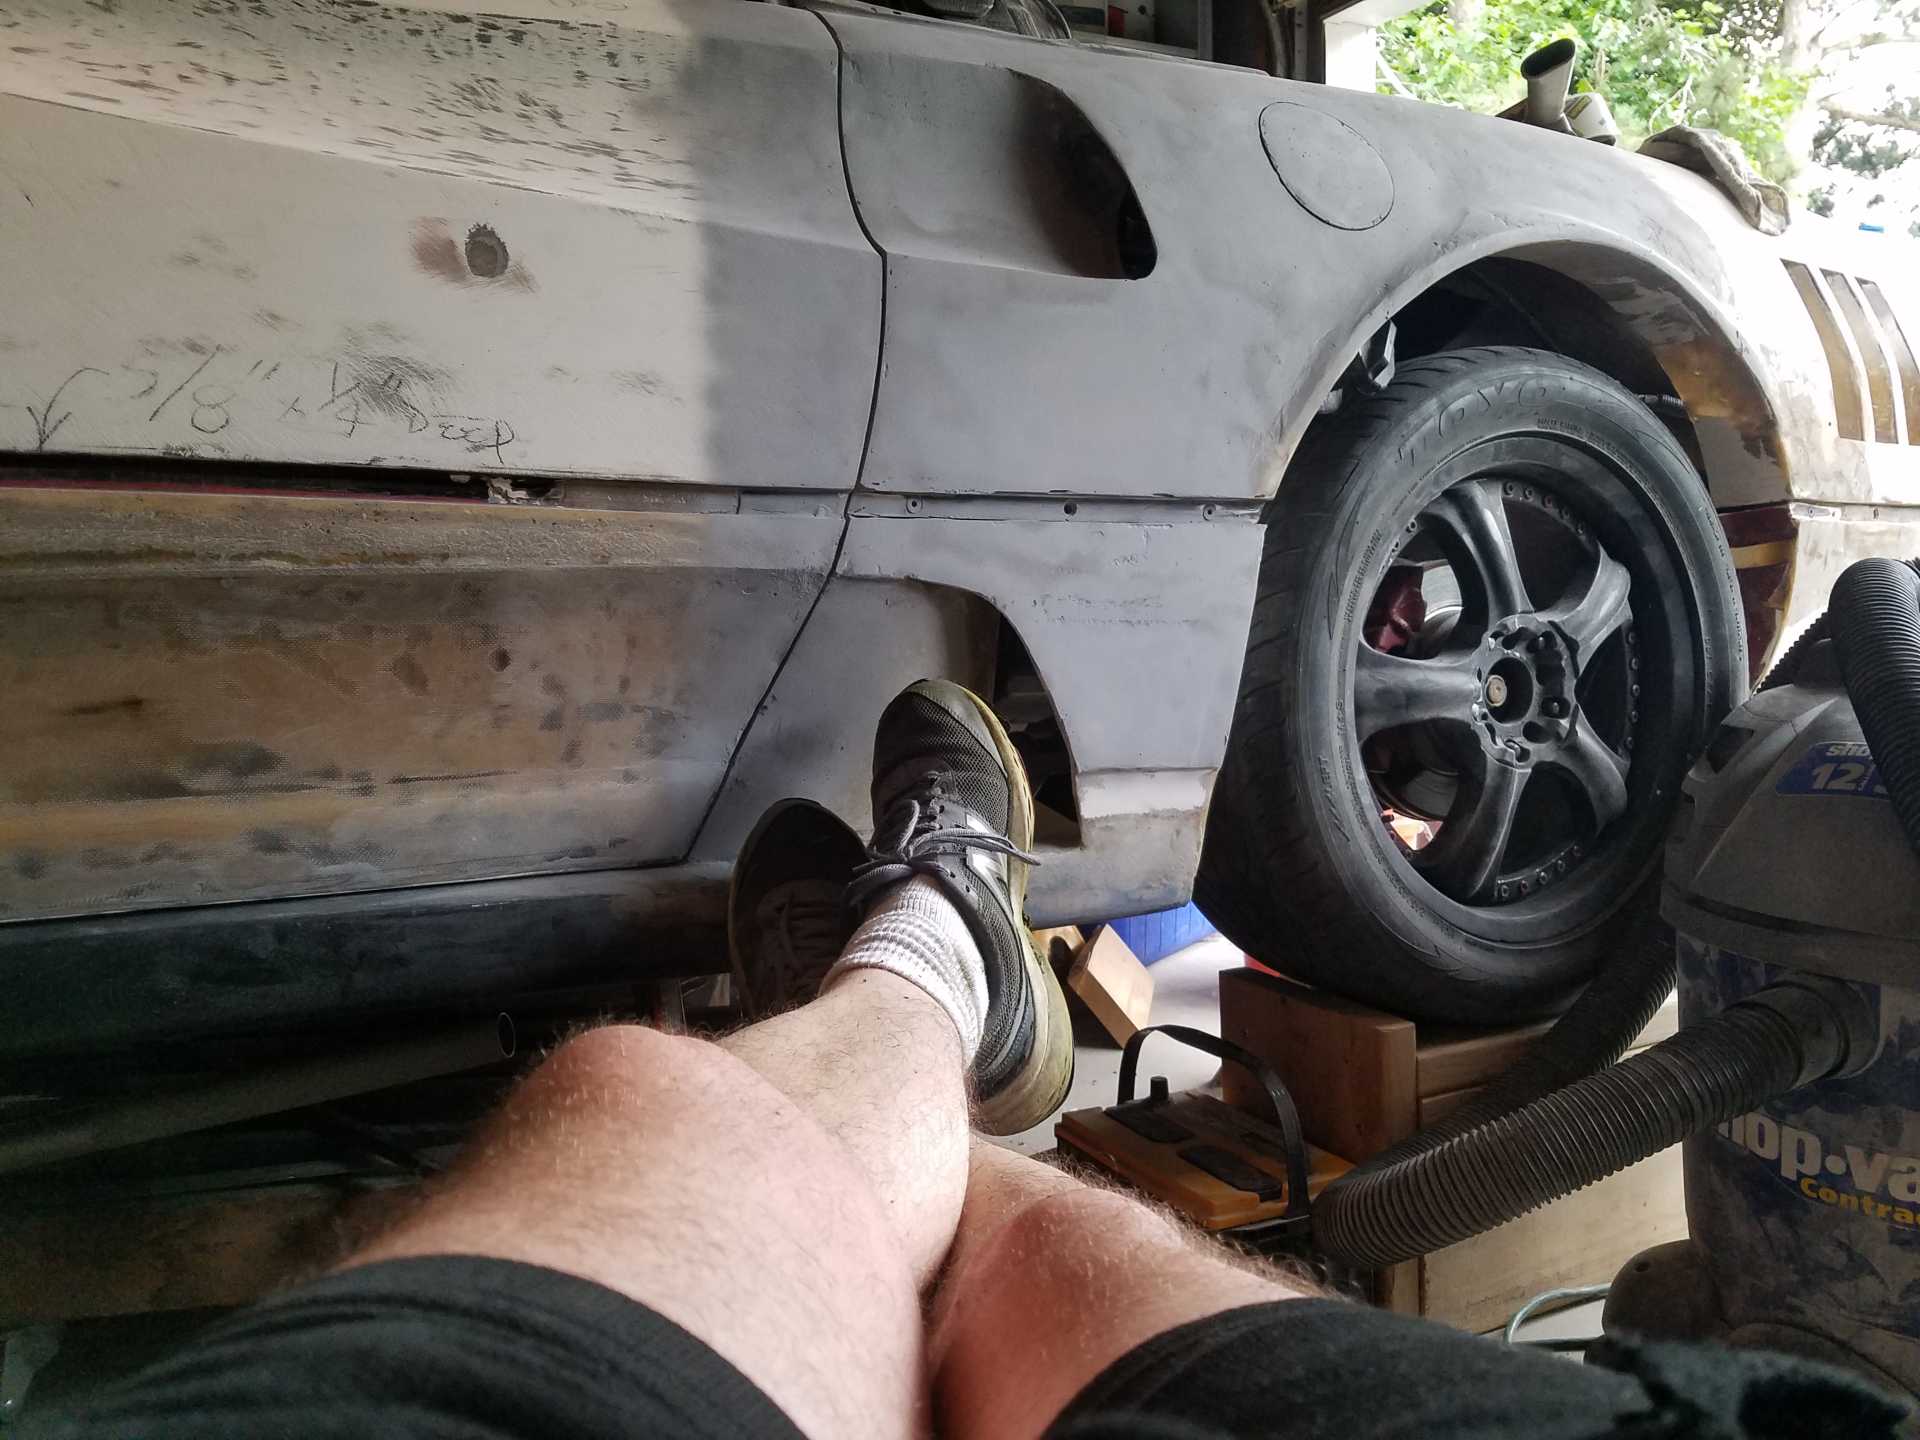
Been working on a few things. Lots to show...
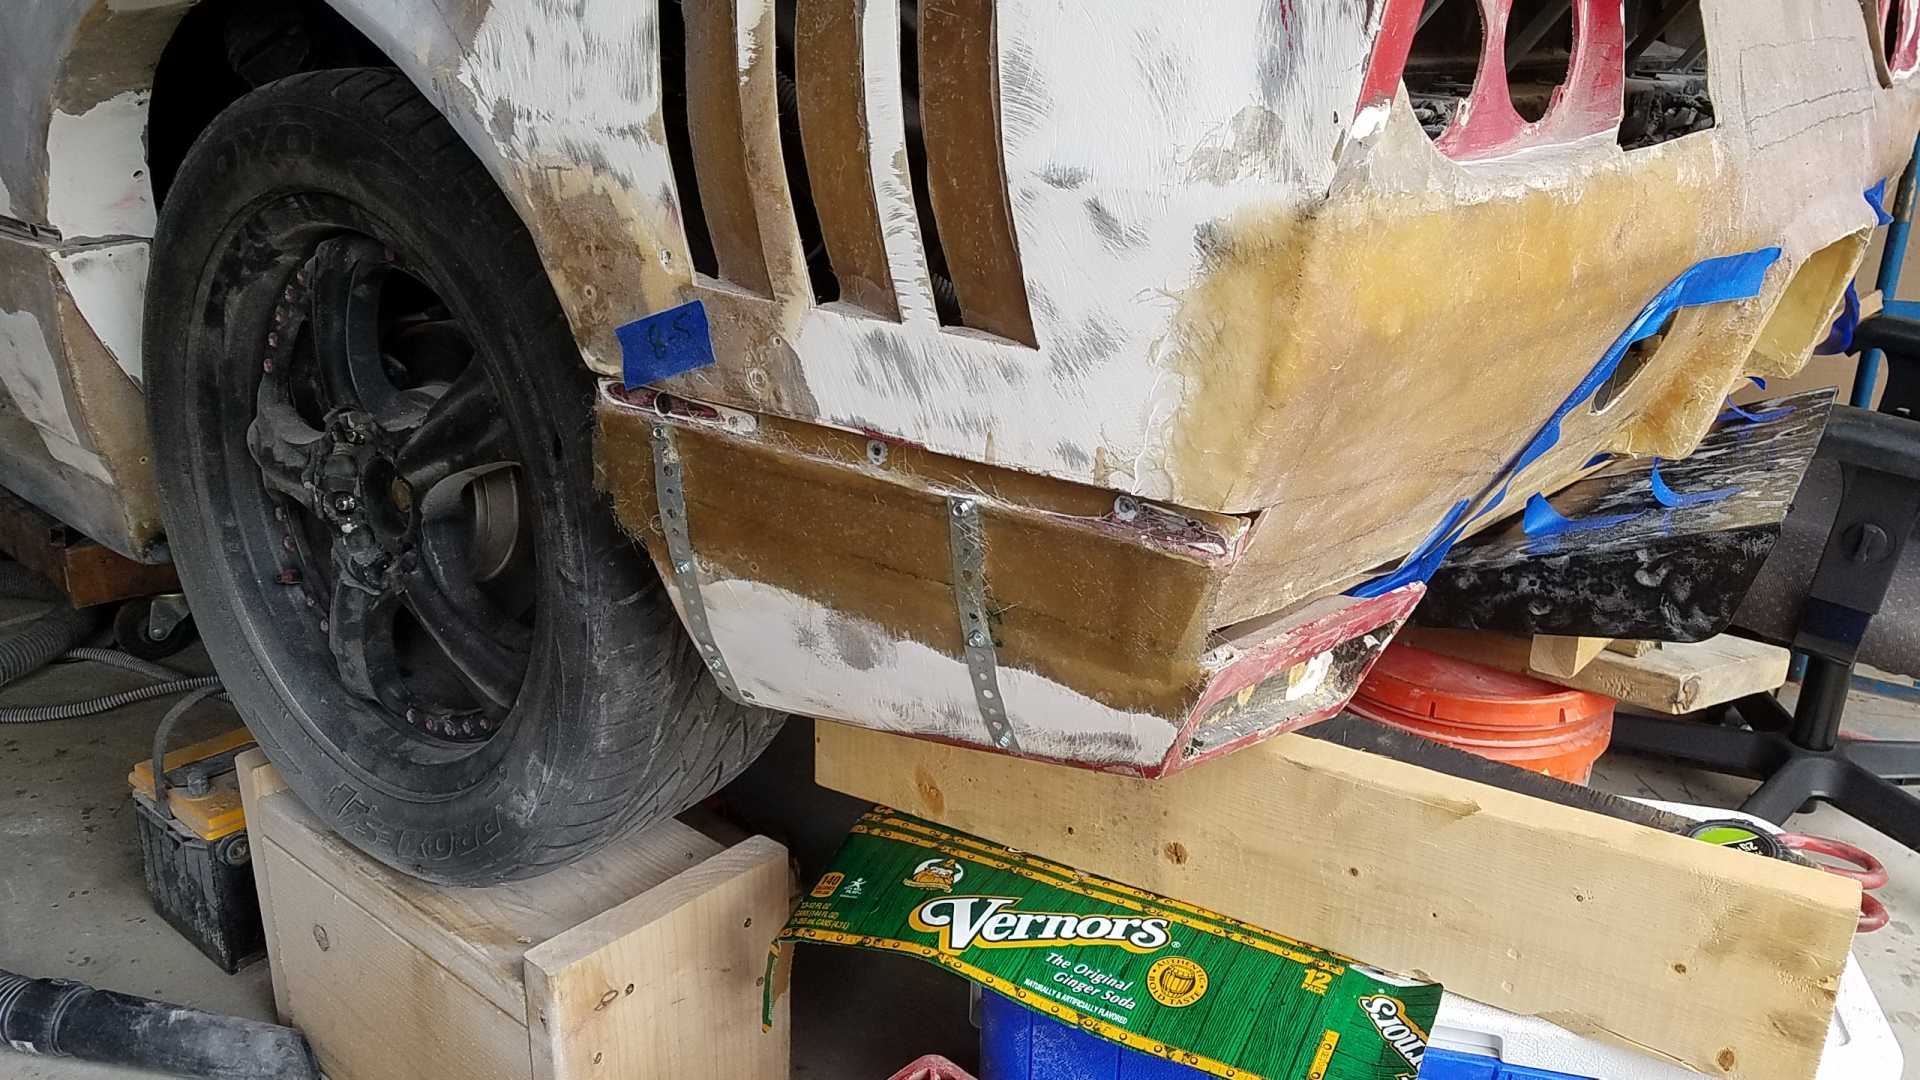
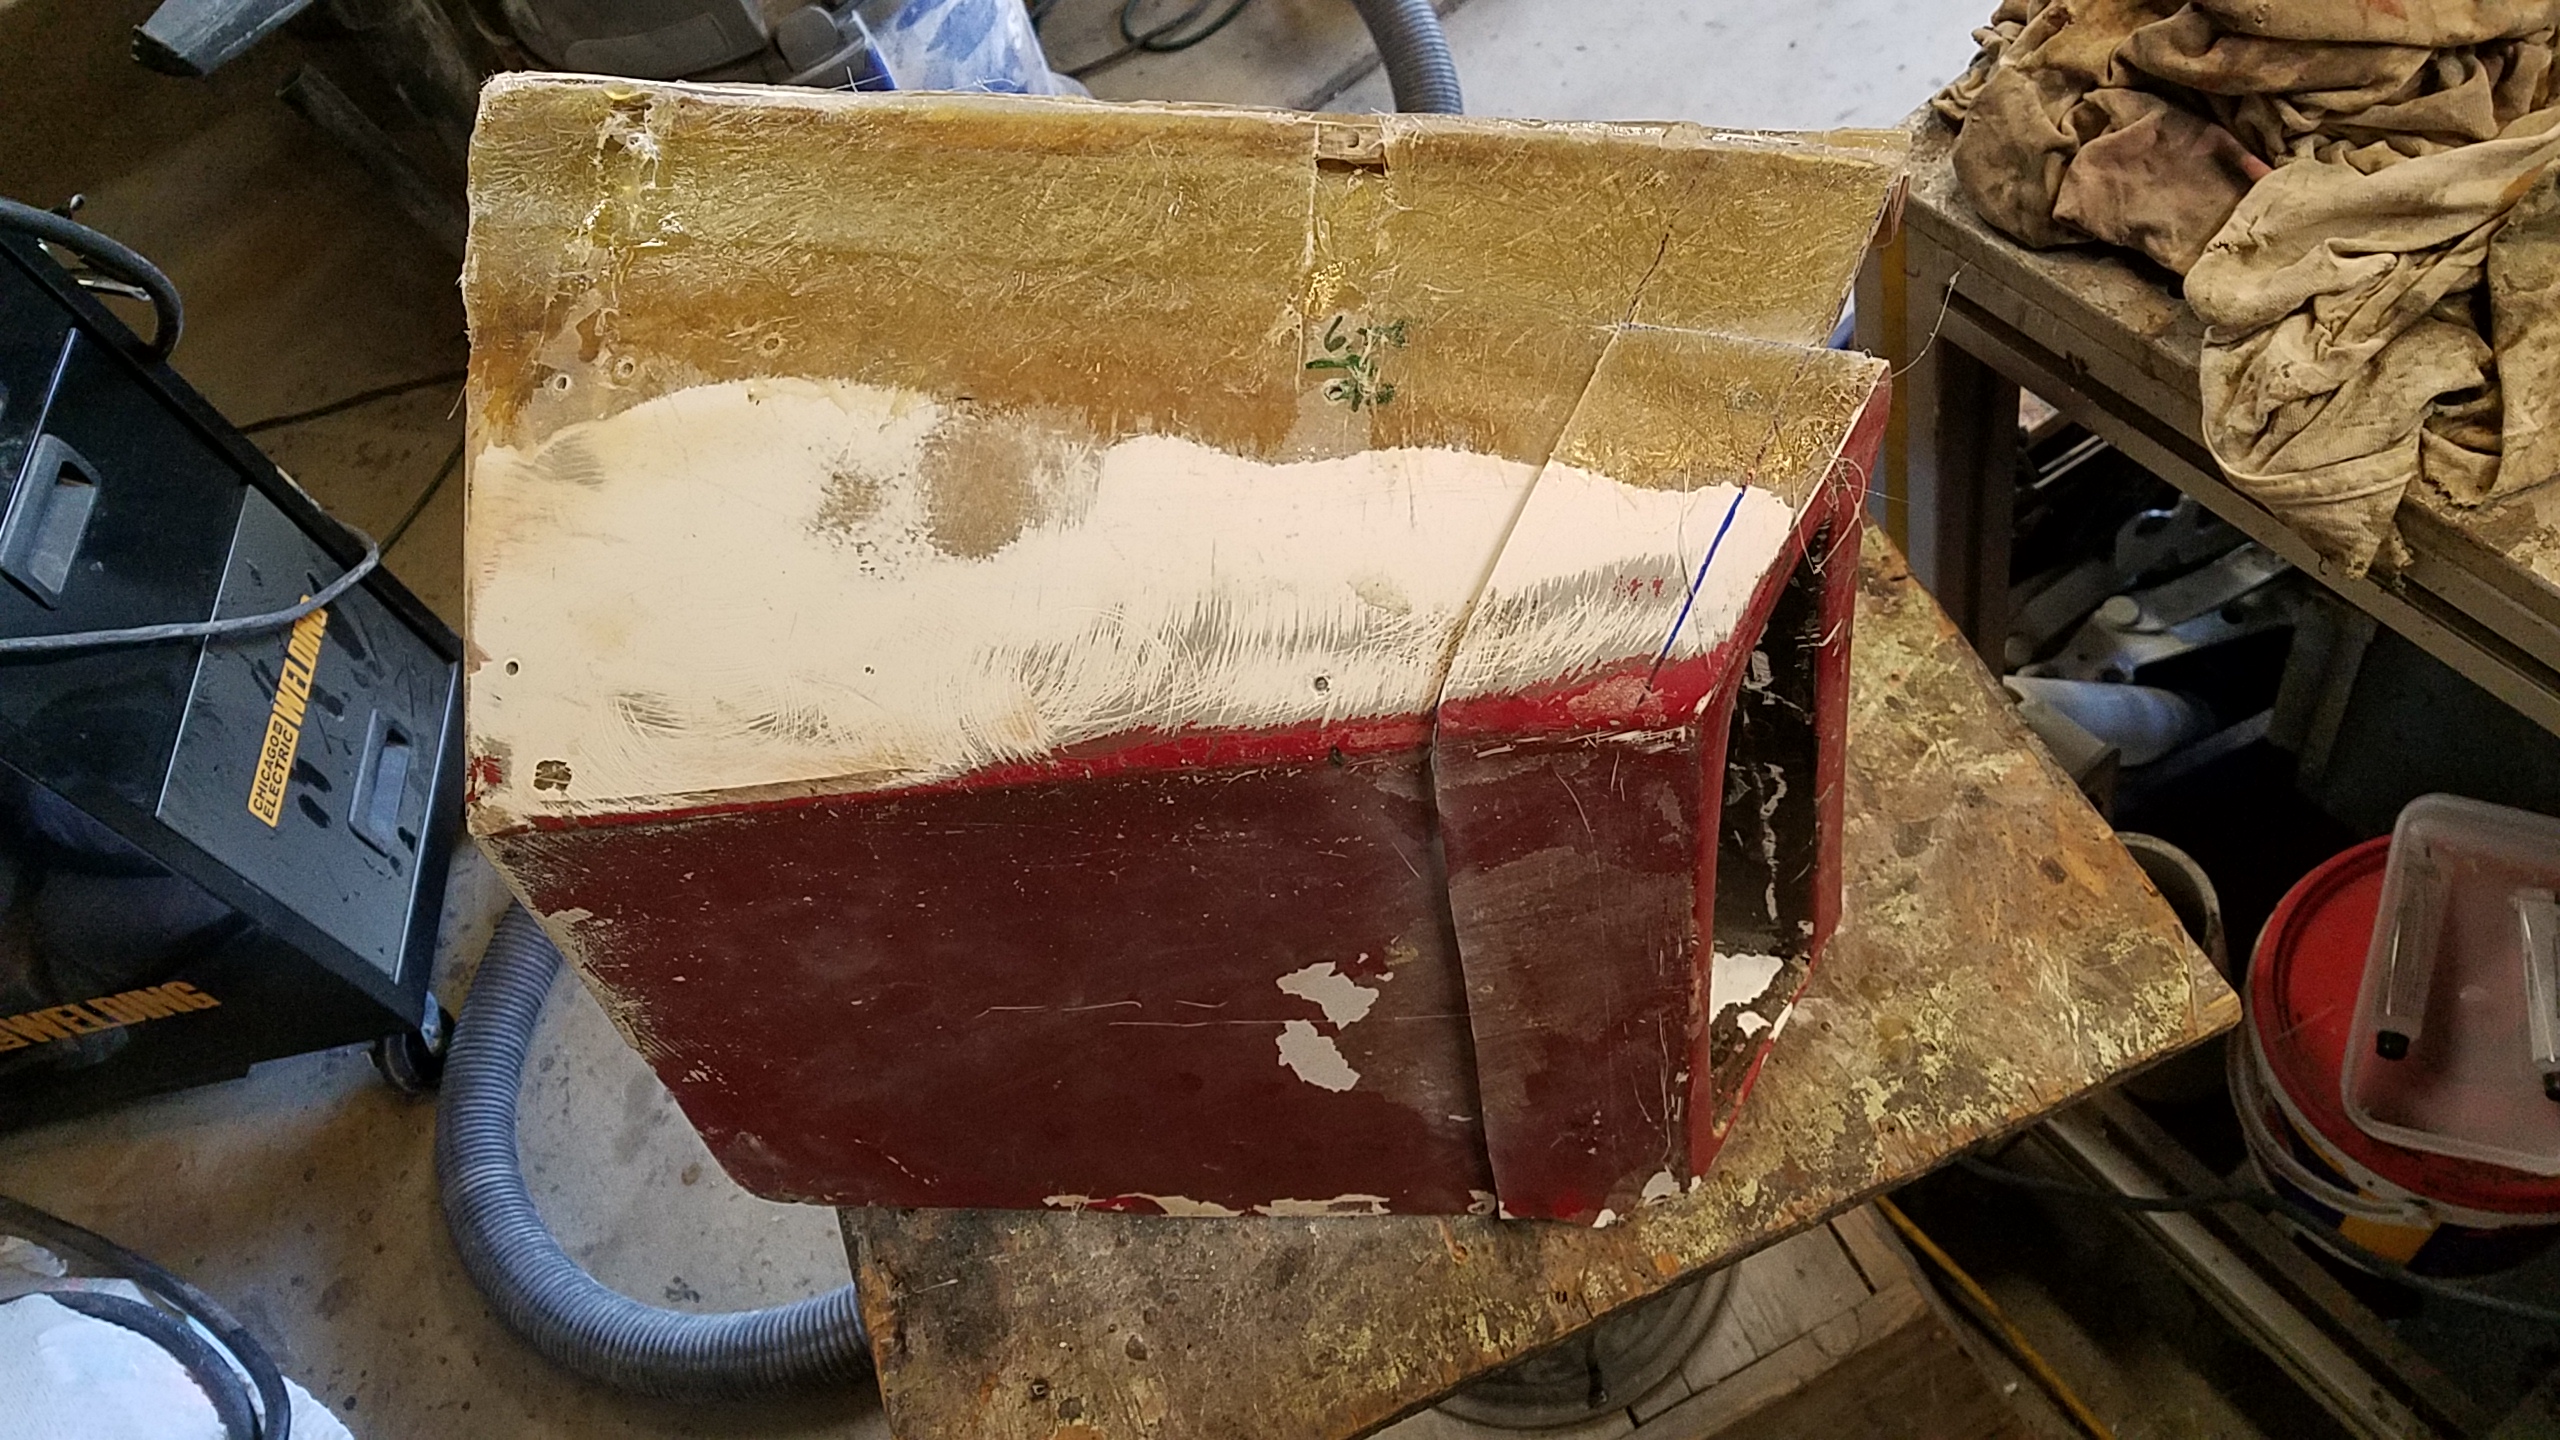
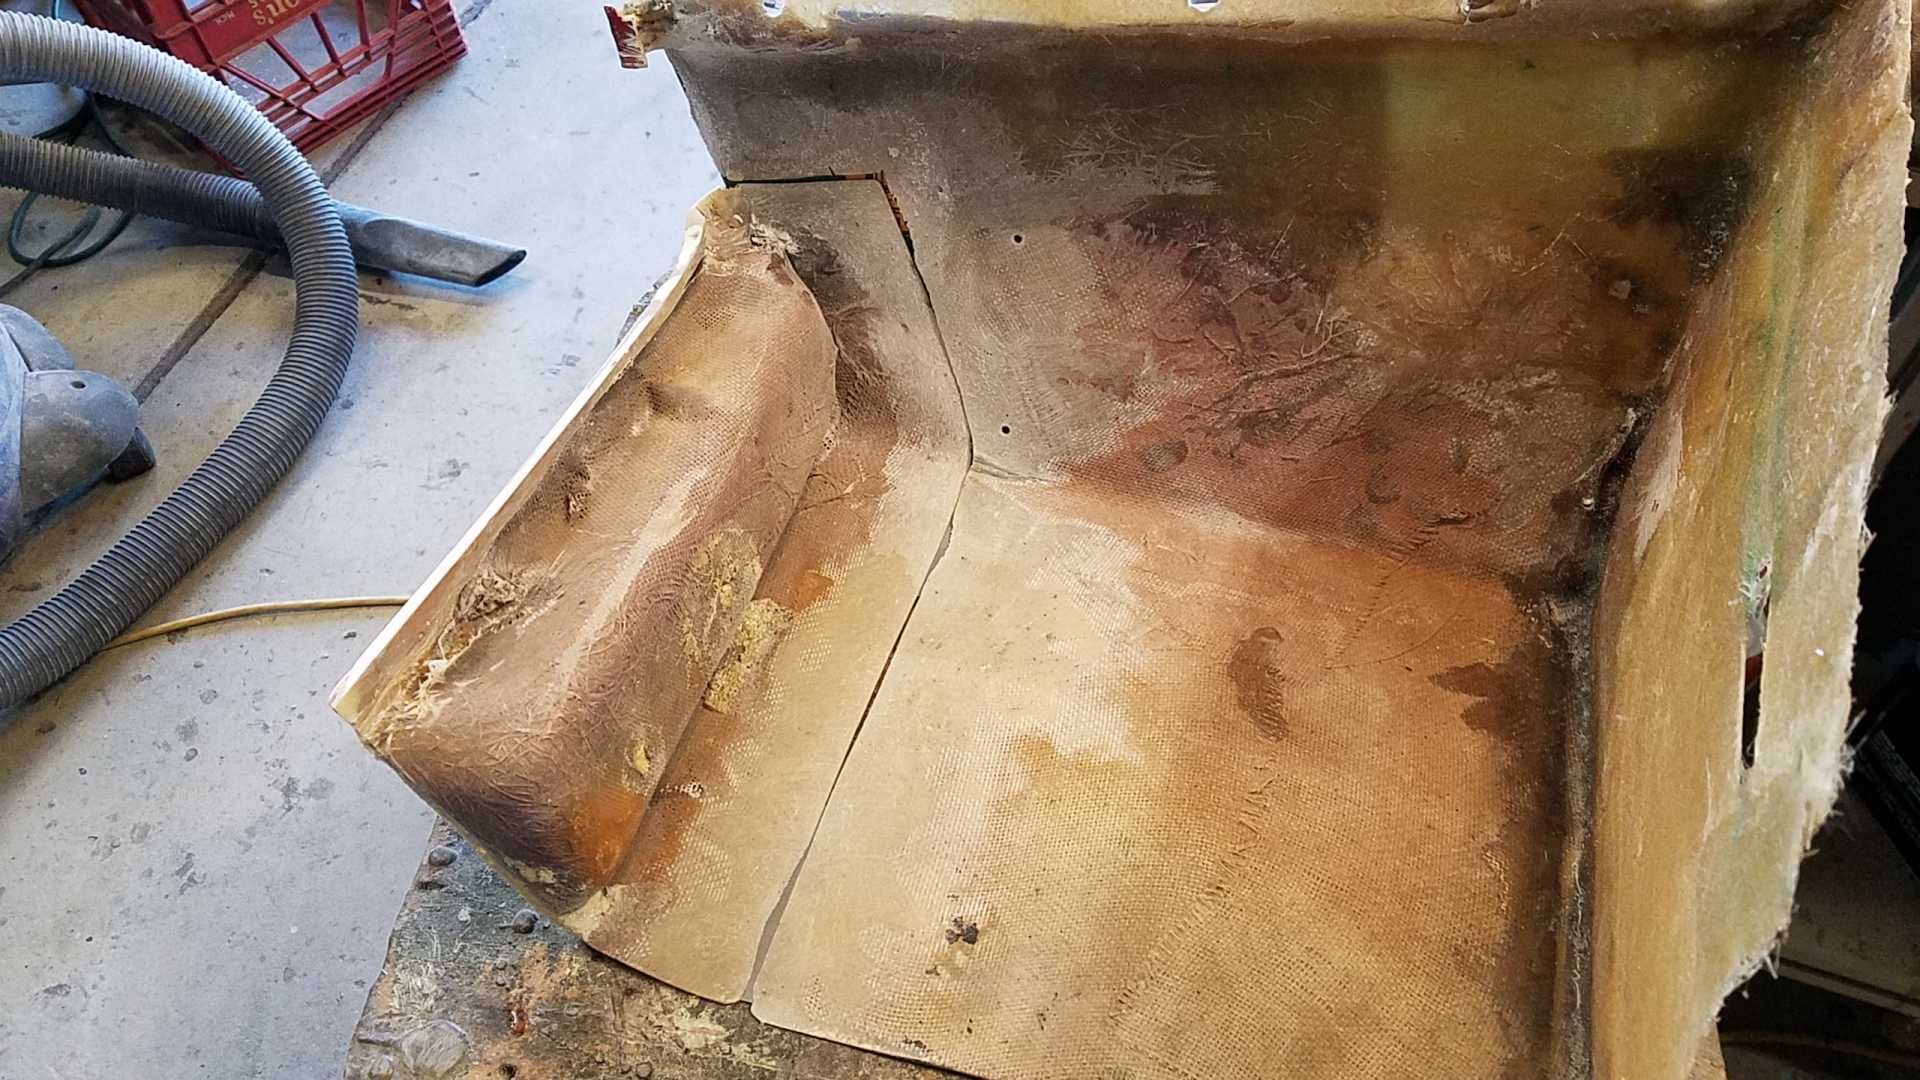
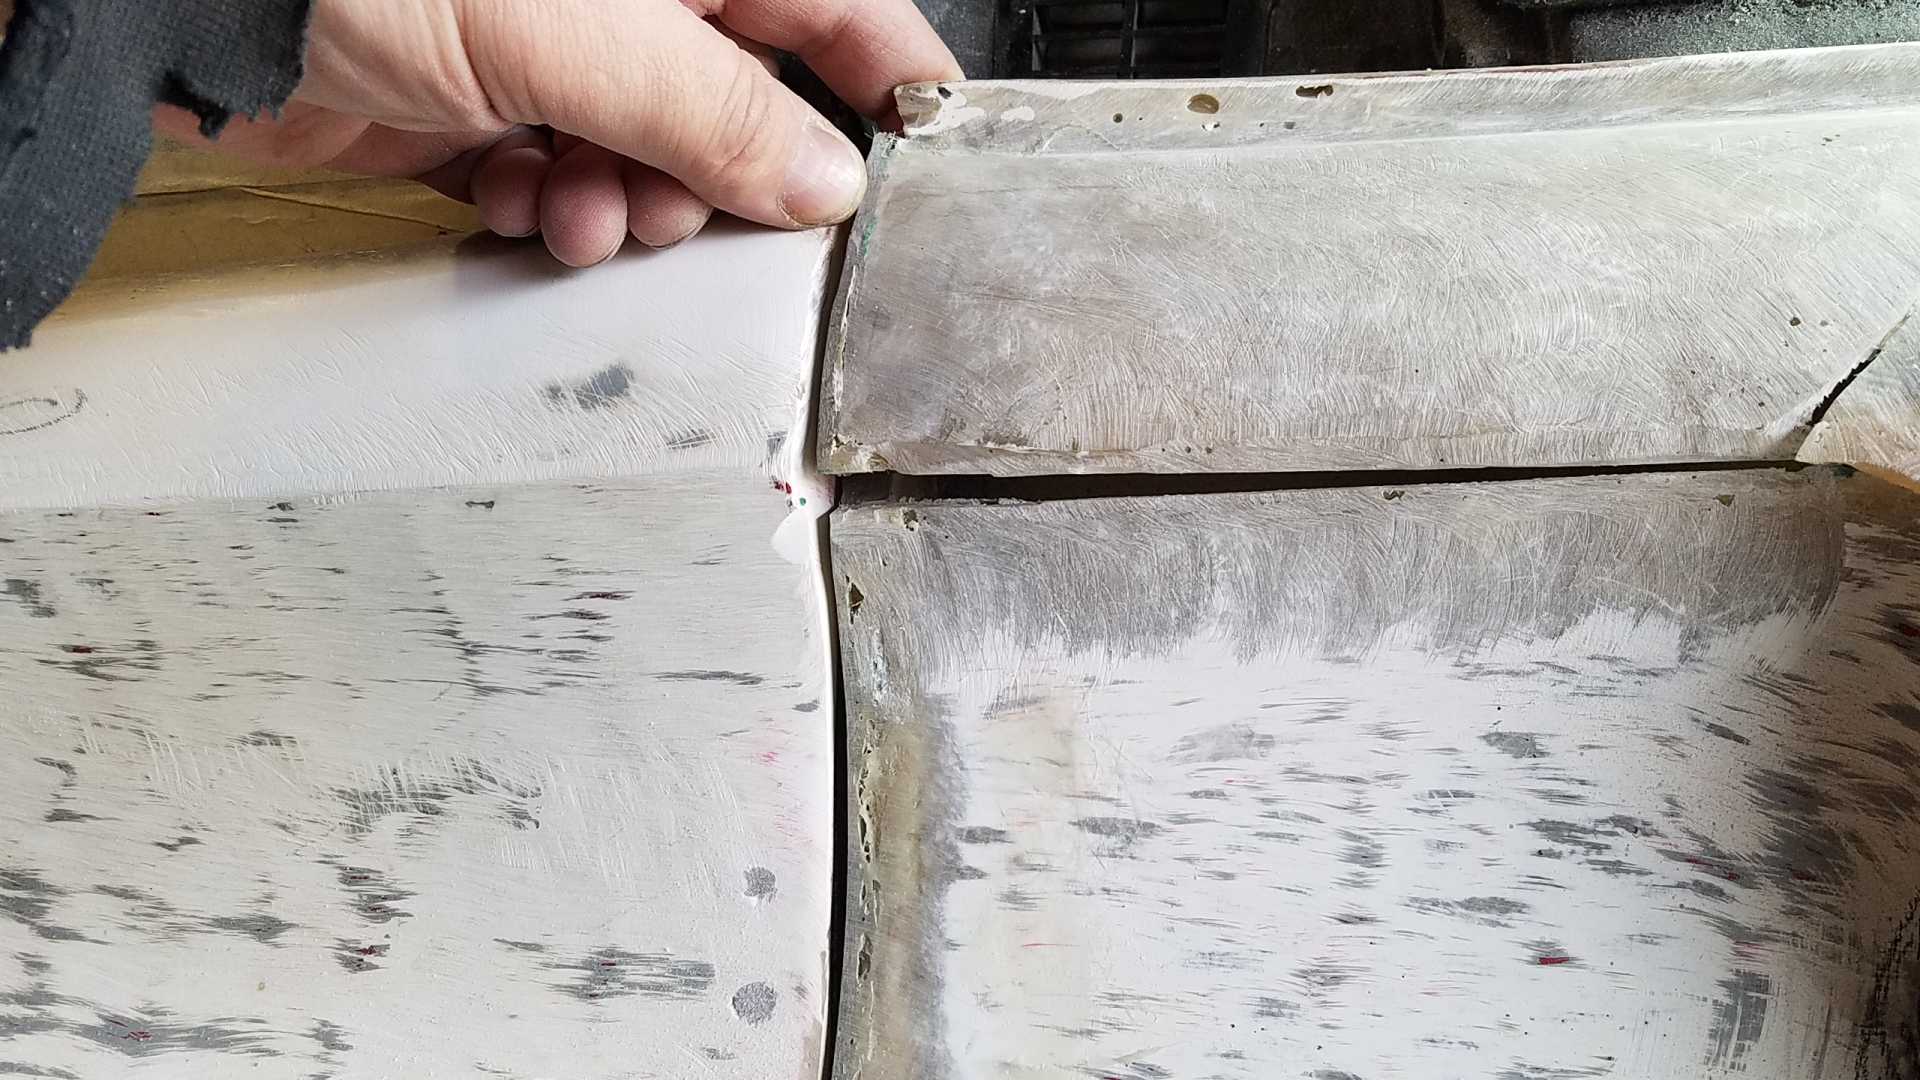
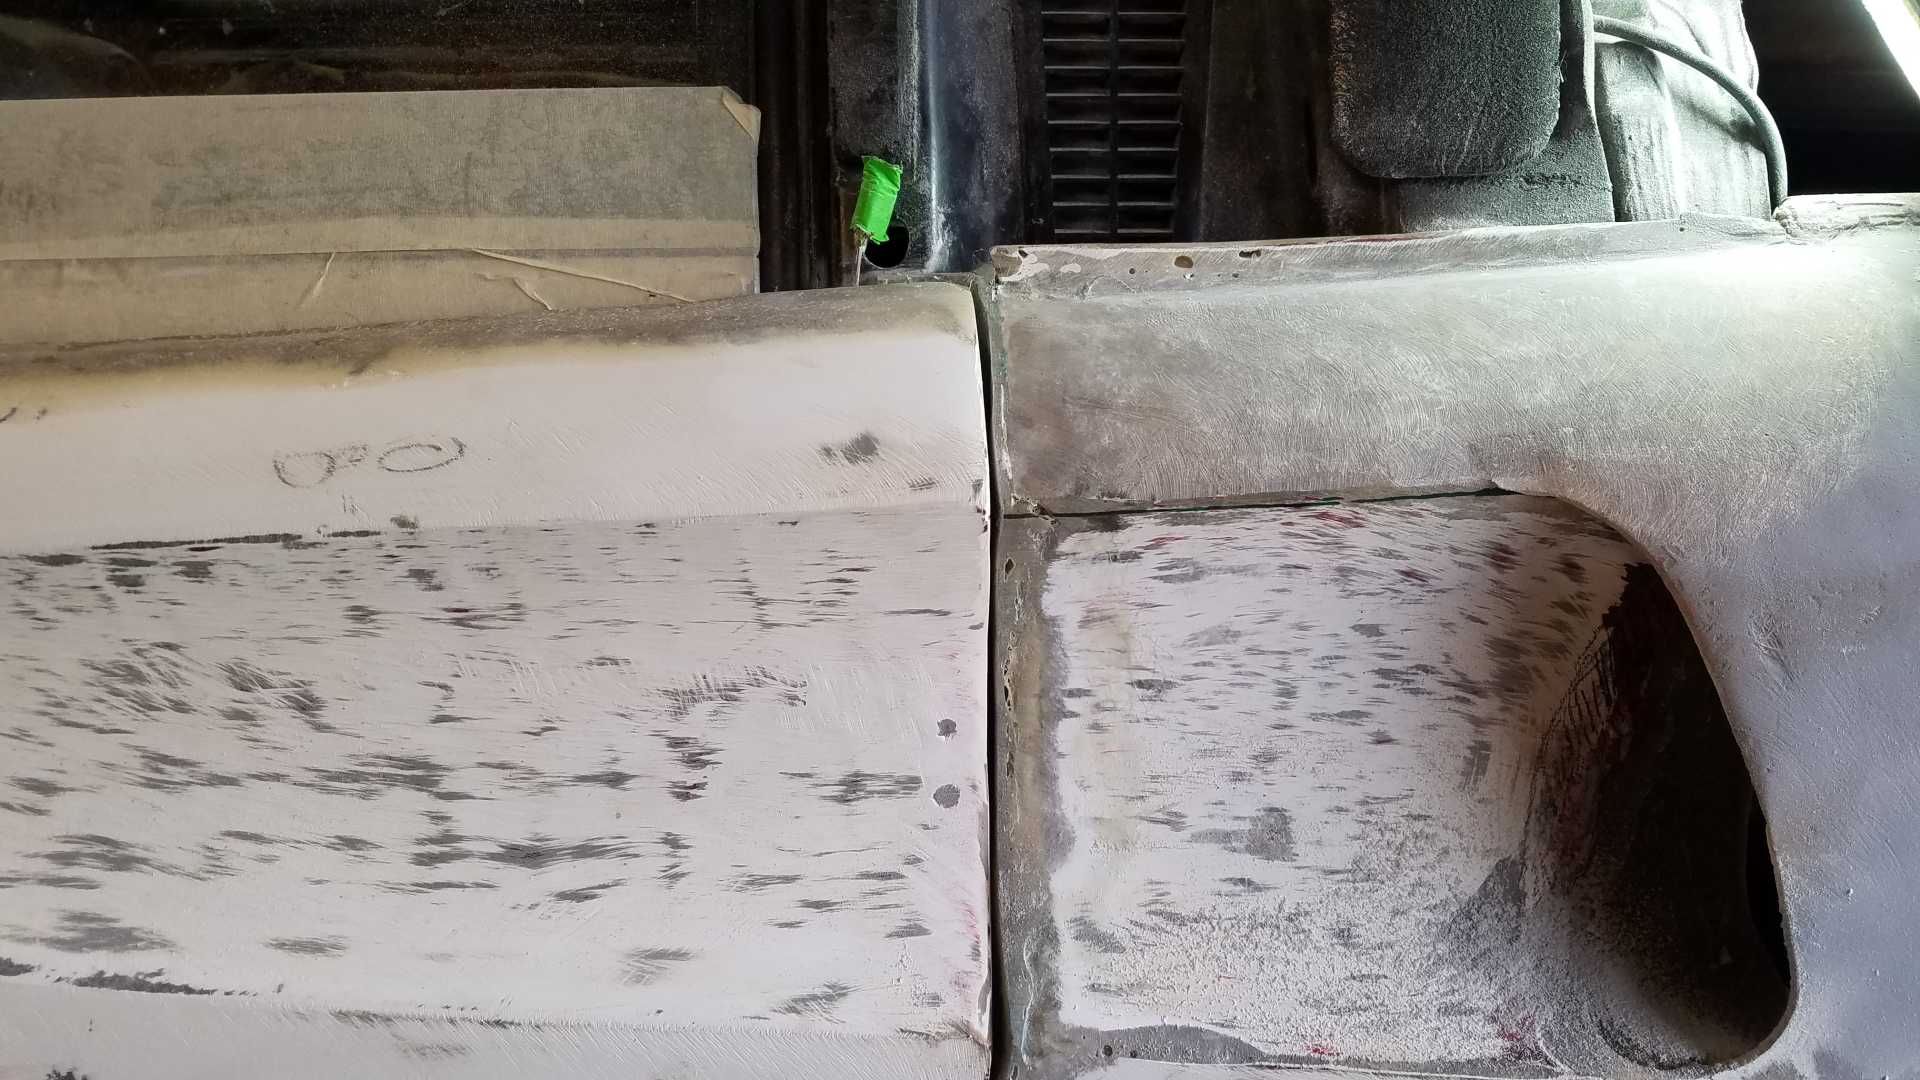
Last post I started working on the door gap. I found that when the rear qtr was in place, I ended up with a large space between the door and the qtr. Out came the Dremel...

And the glass... All back together.
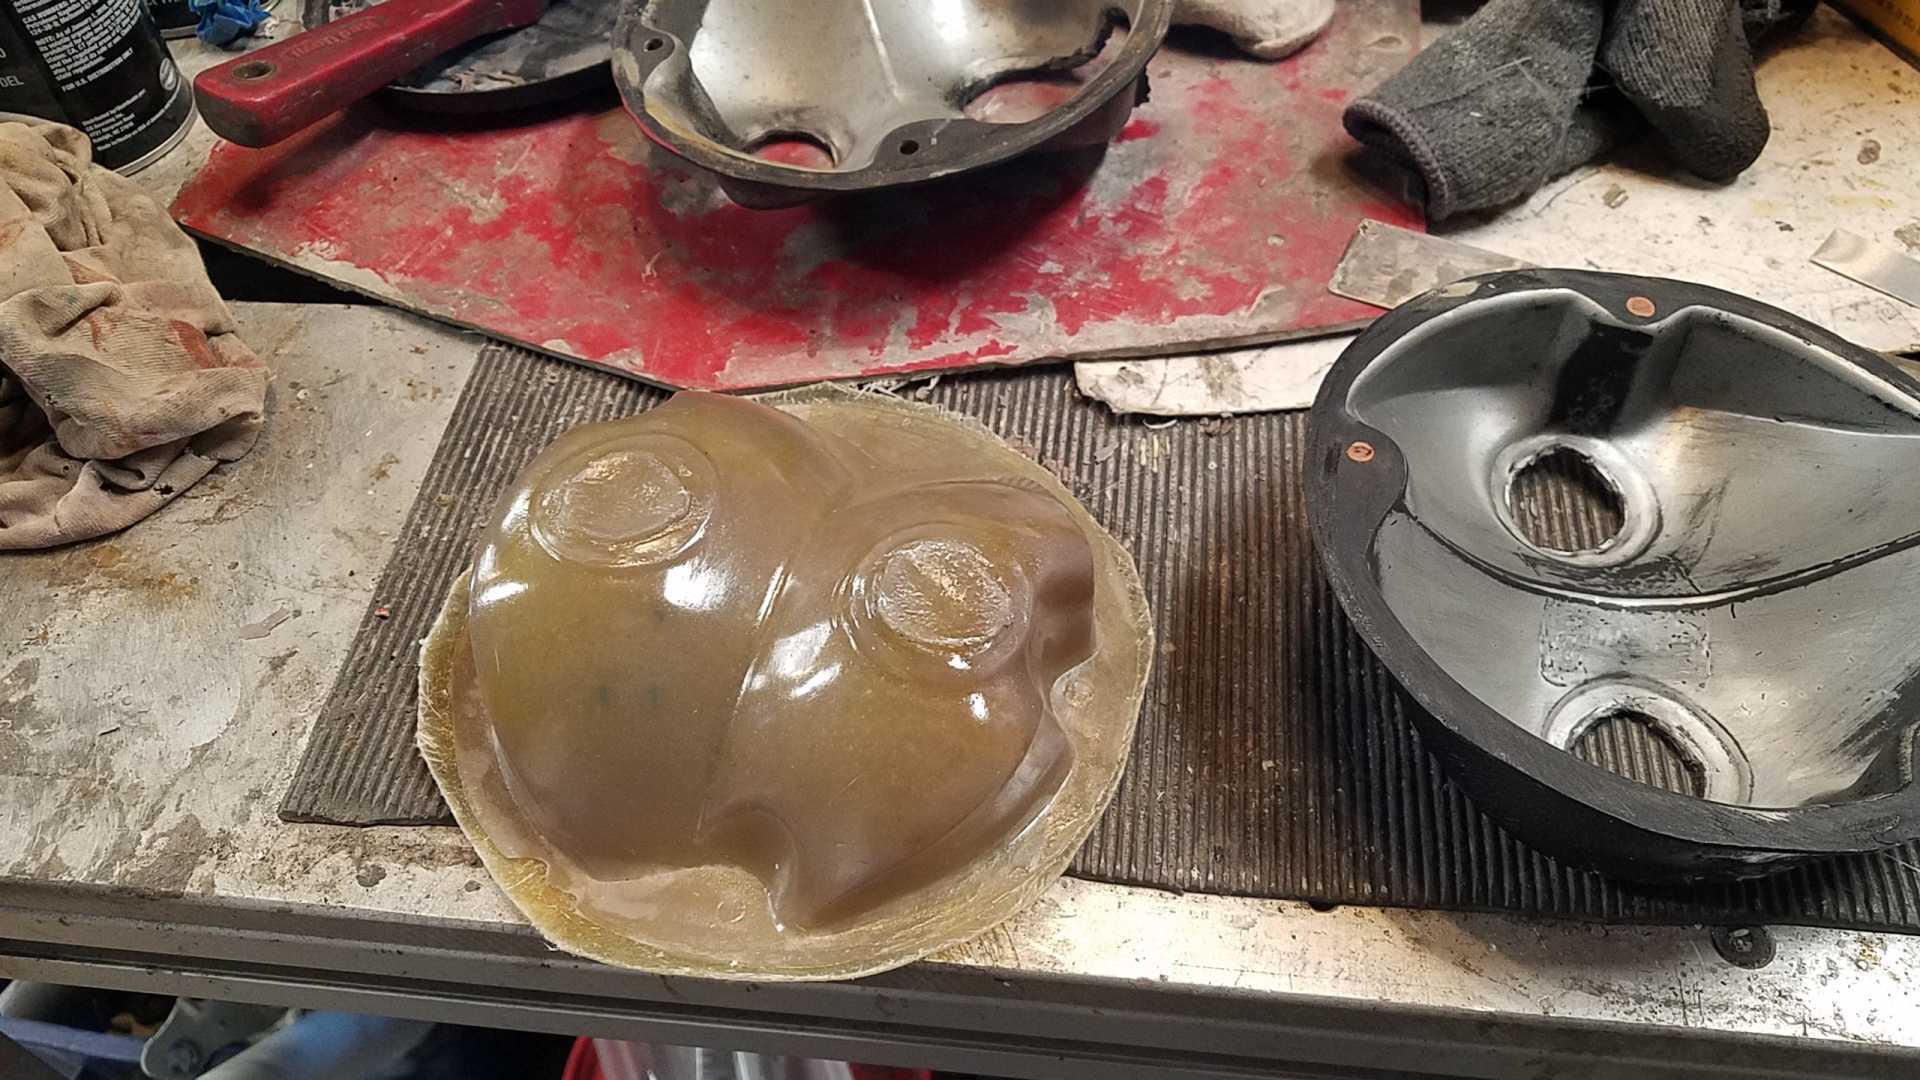
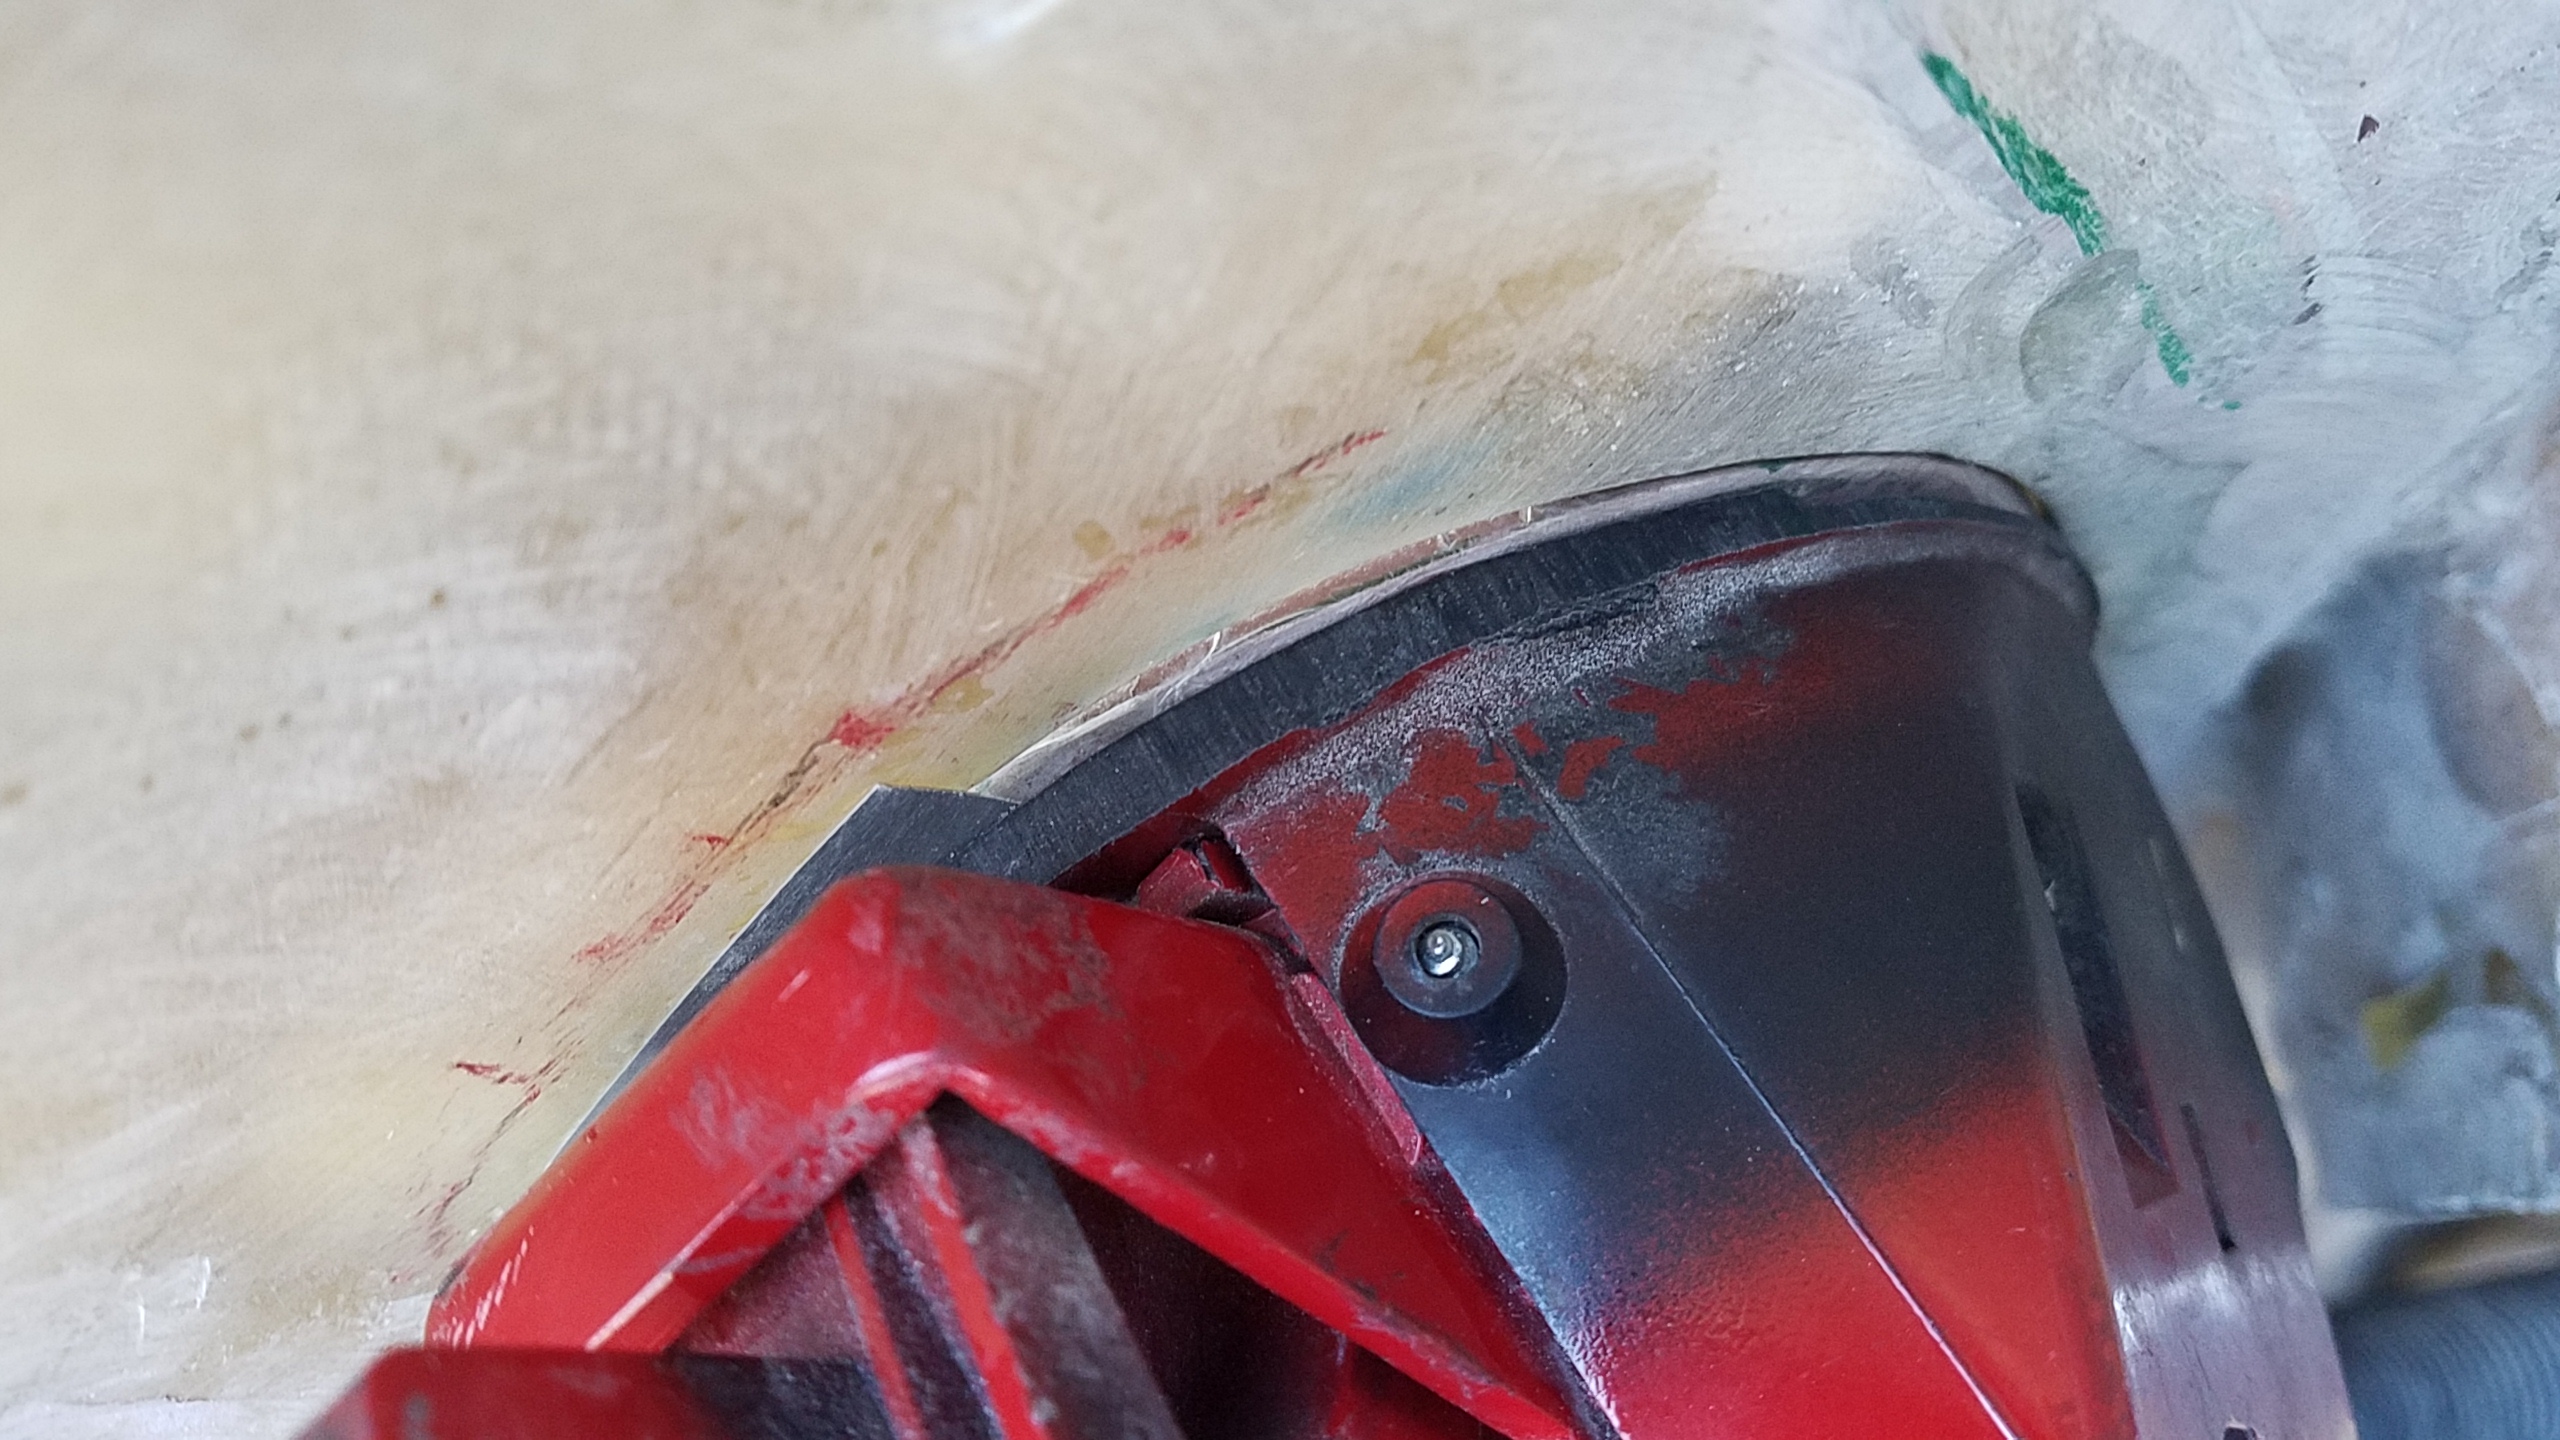
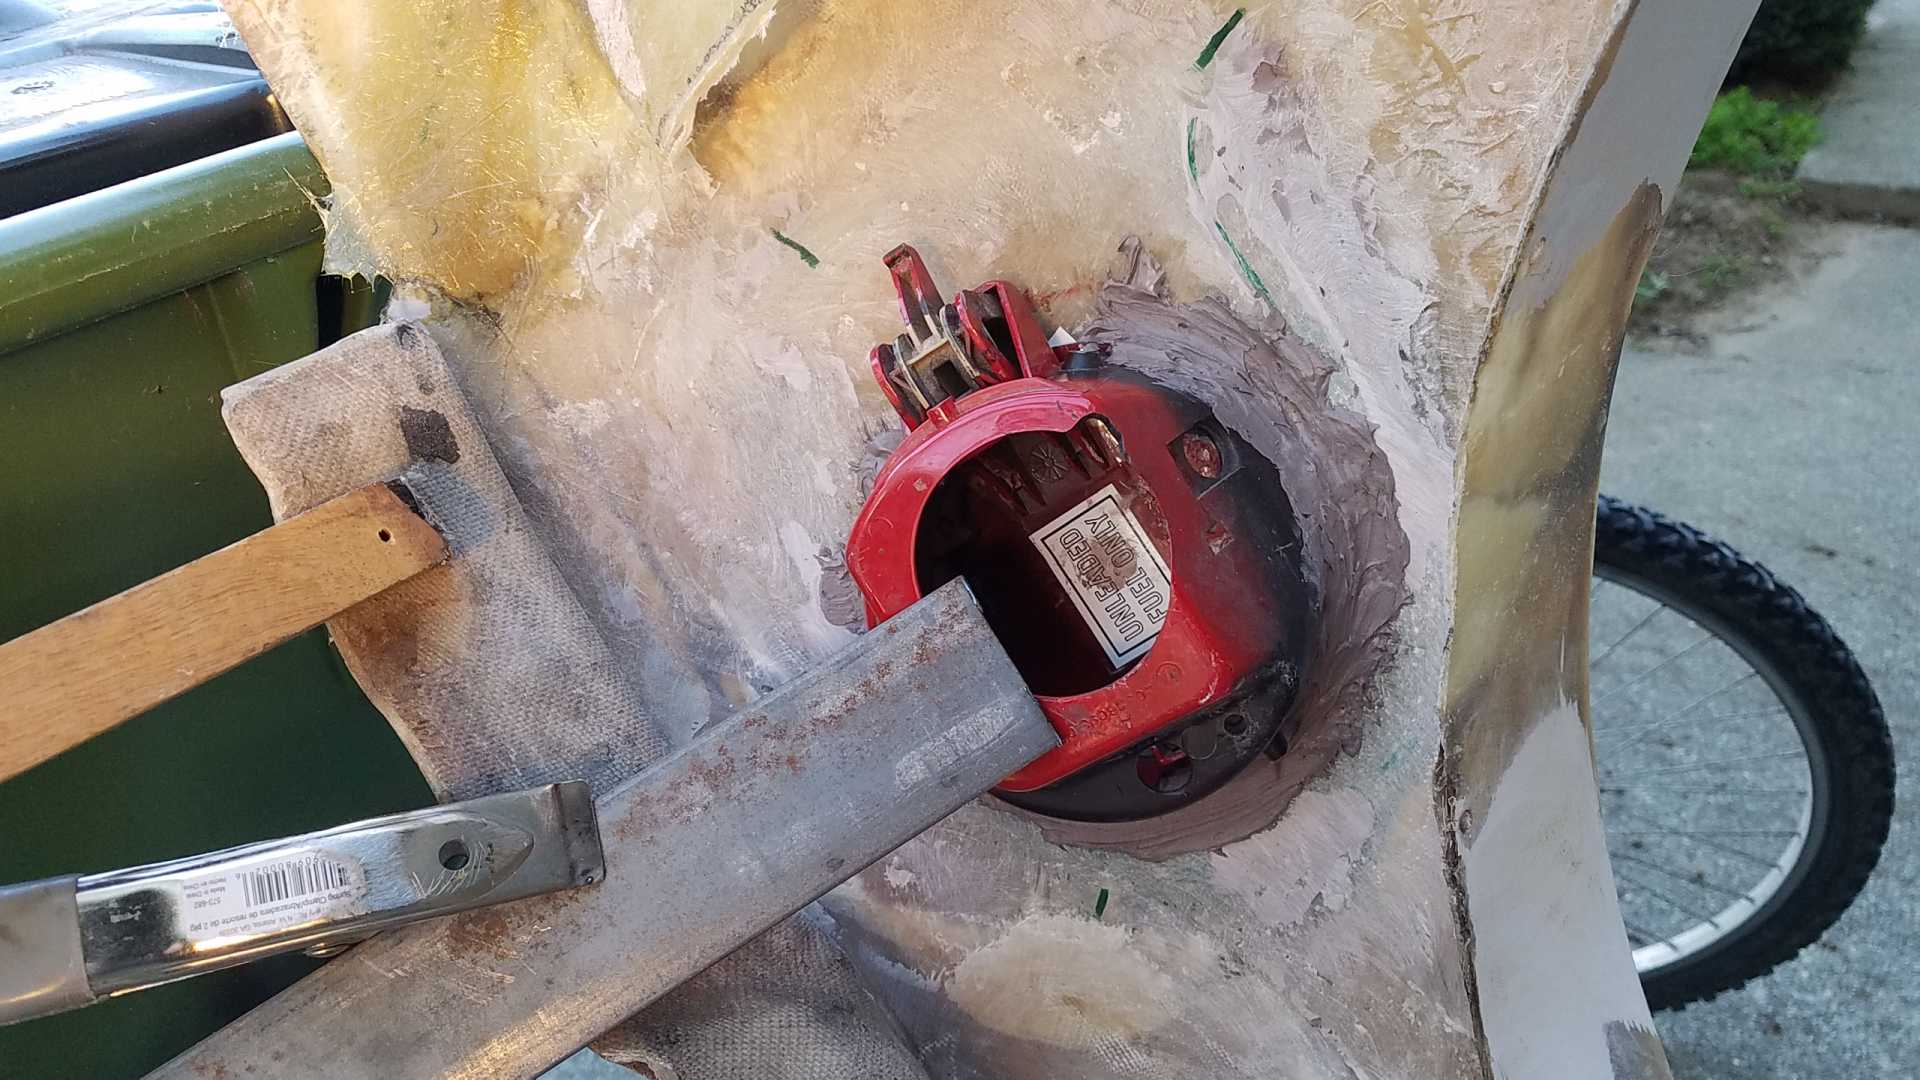
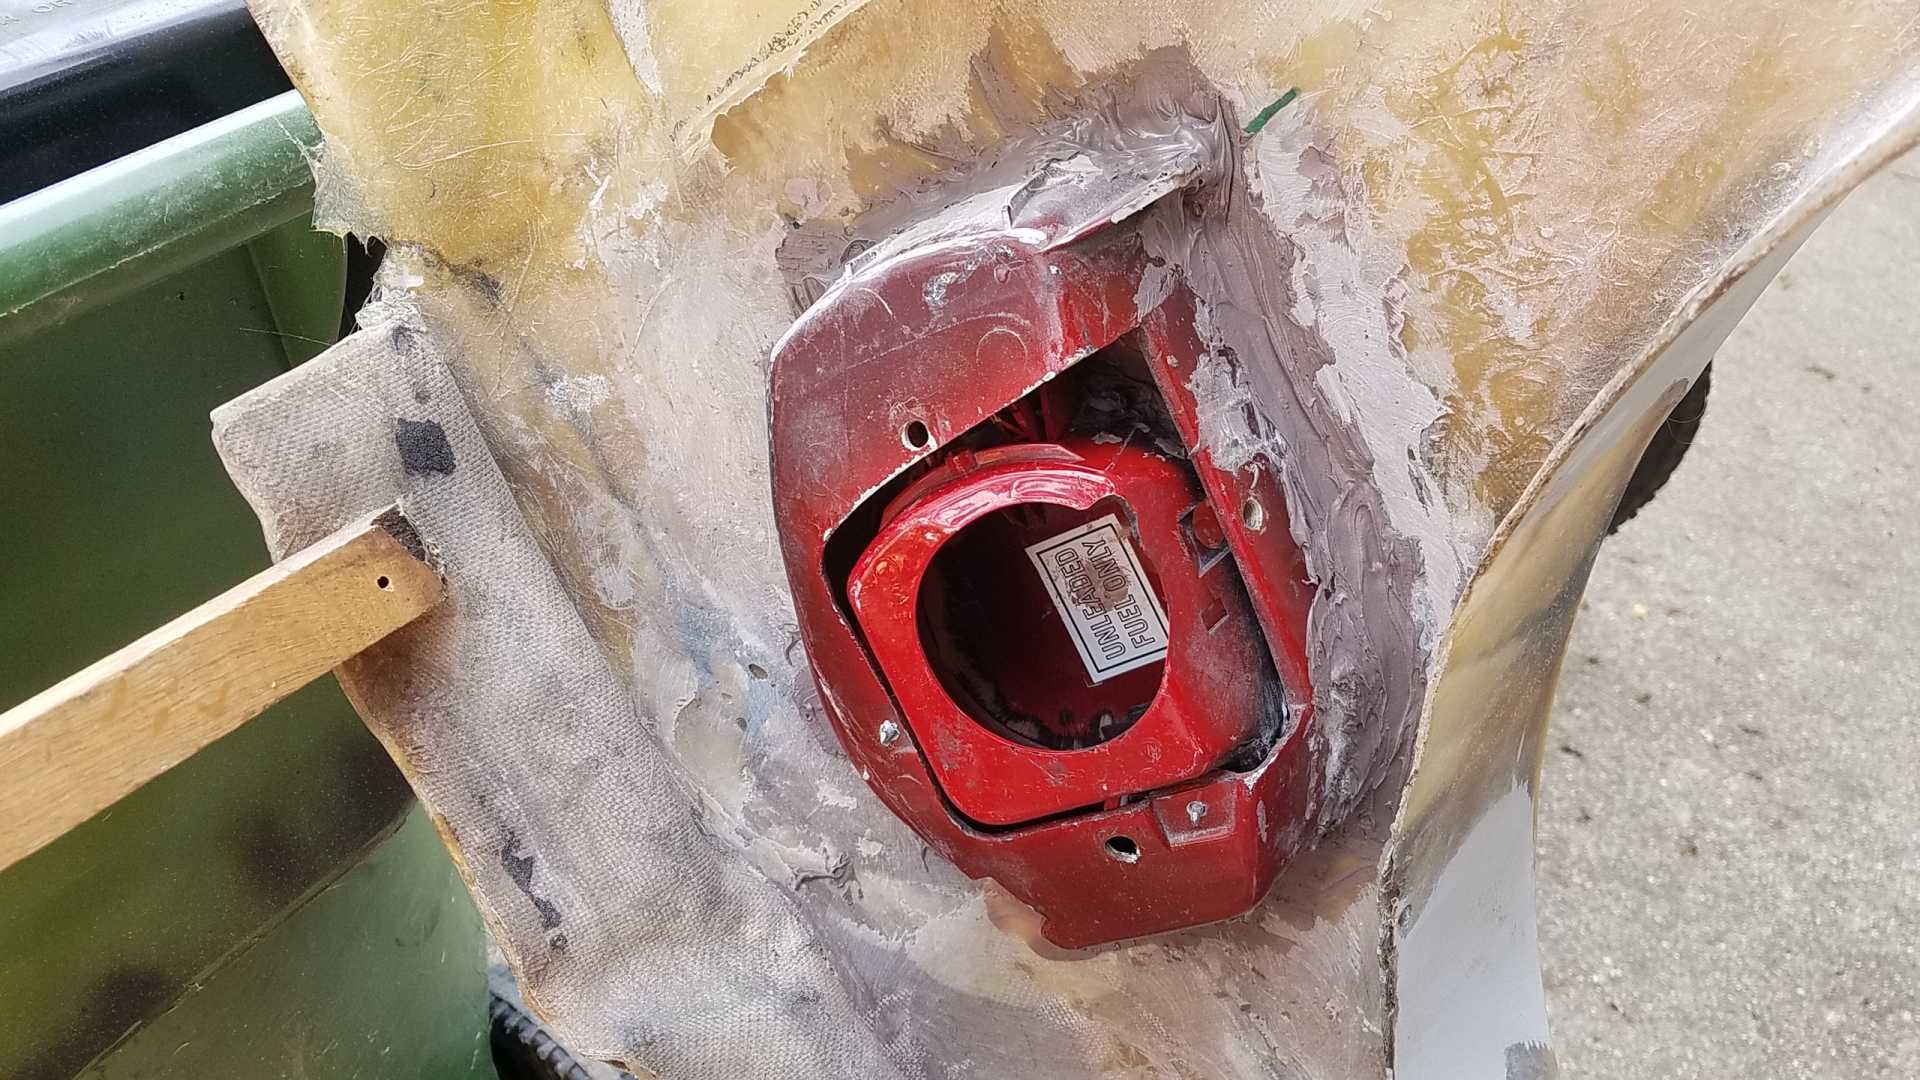
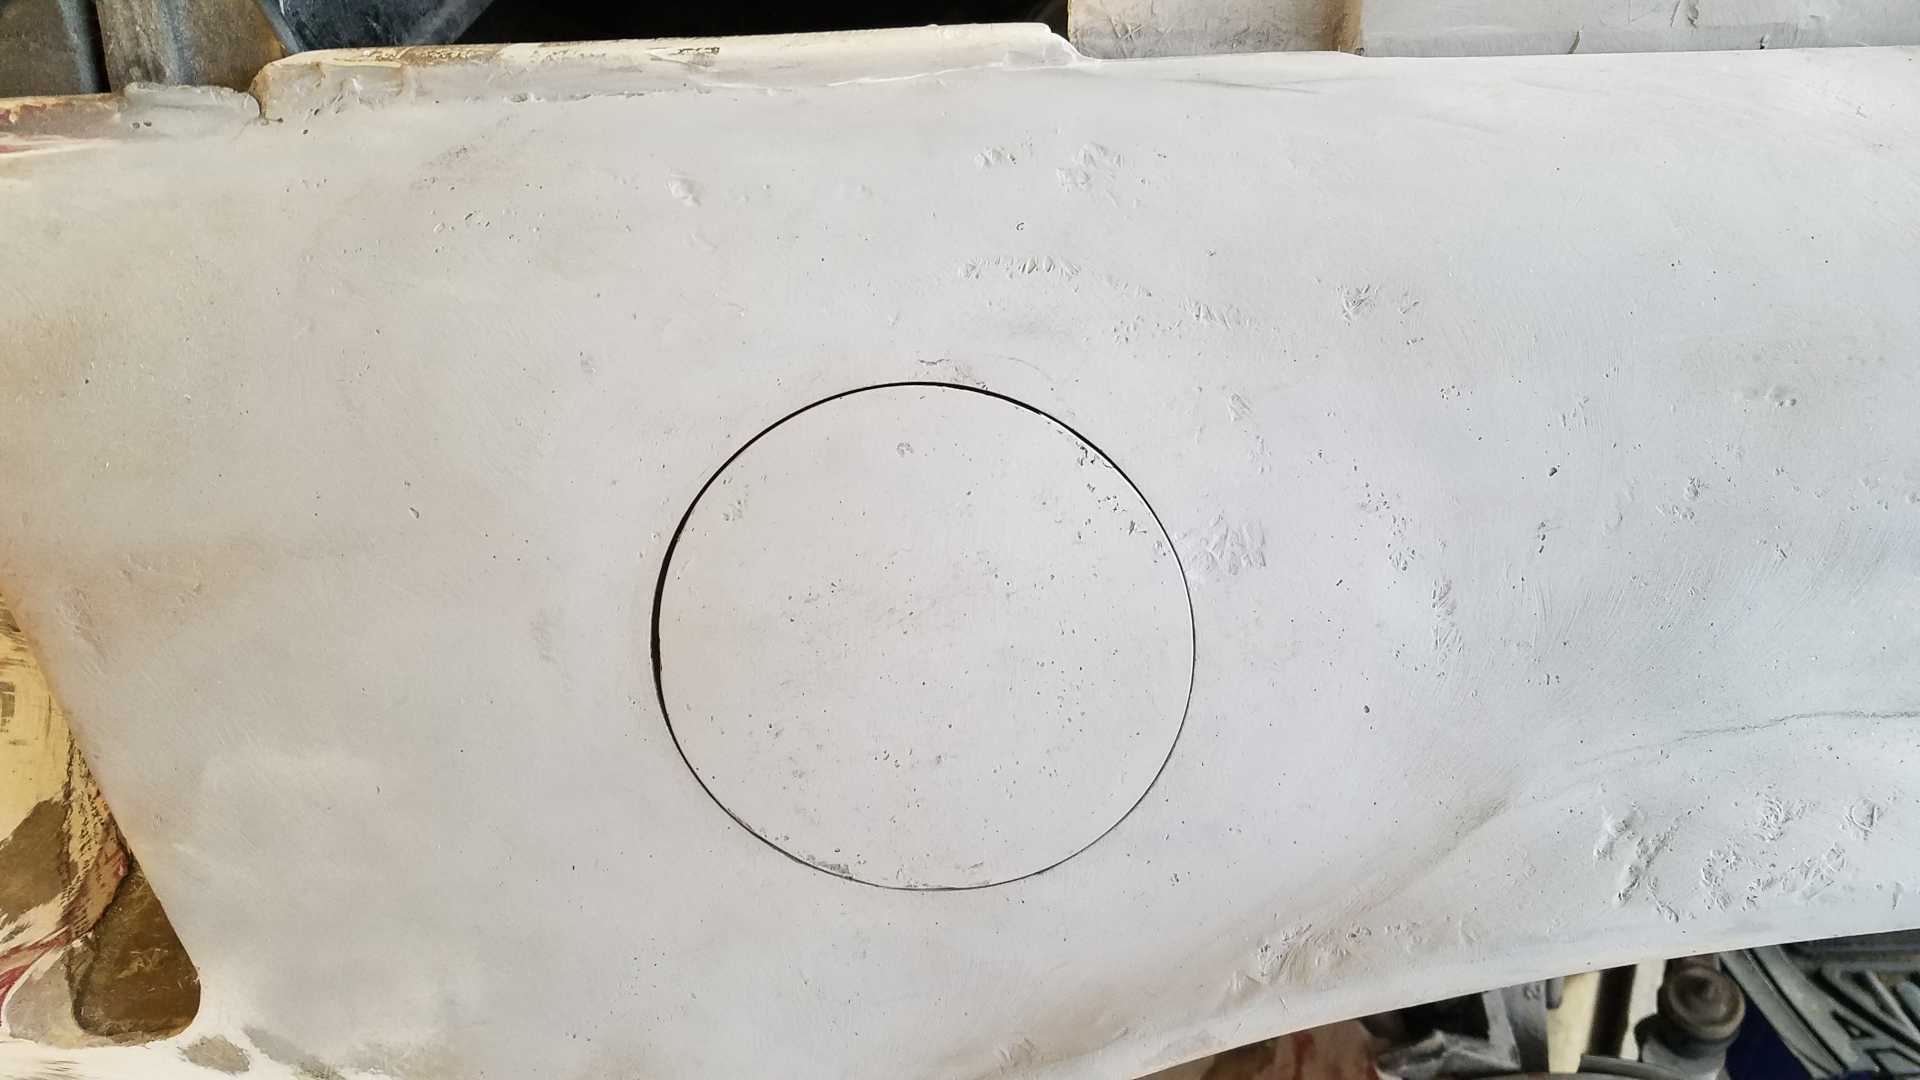
I also did some work on the gas door again. Although I was happy with the way it came together, I was unhappy that it installed like the Fiero parts, which resulted in a gap between the body and the inner filler piece.
So, out came the Dremel.
I basically ended cutting everything off and starting over. I ended up bonding the filler piece directly to the body. Took four attempts to get the door to line up properly.
Everything mounts from the inside, using all of the stock pieces. The trick was to drill some access holes to allow installing the bolts that hold the filler neck in.
more to come...
|
|
|
|
RCR
|
APR 25, 07:50 PM
|
|
|
|
|
RCR
|
APR 25, 08:01 PM
|
|
|
|
|
RCR
|
MAY 03, 07:55 PM
|
|
|
|
|
Trinten
|
MAY 03, 08:48 PM
|
|
I applaud your mock-up creativity.
That's even better than the guy (I think he was doing a V12 swap on his Fiero, hasn't updated it in a while), he was buying Great Stuff expanding foam by the case and would fill boxes/bags with the rough outside dimensions, then just shave/sand it down to form his mock-ups.
Your method is definitely cleaner. 
|
|
|
|
RCR
|
MAY 04, 06:58 AM
|
|
| quote | Originally posted by Trinten:
I applaud your mock-up creativity.
That's even better than the guy (I think he was doing a V12 swap on his Fiero, hasn't updated it in a while), he was buying Great Stuff expanding foam by the case and would fill boxes/bags with the rough outside dimensions, then just shave/sand it down to form his mock-ups.
Your method is definitely cleaner. |
|
Hey there Trinten,
I did enjoy Engineman's build. Very cool.
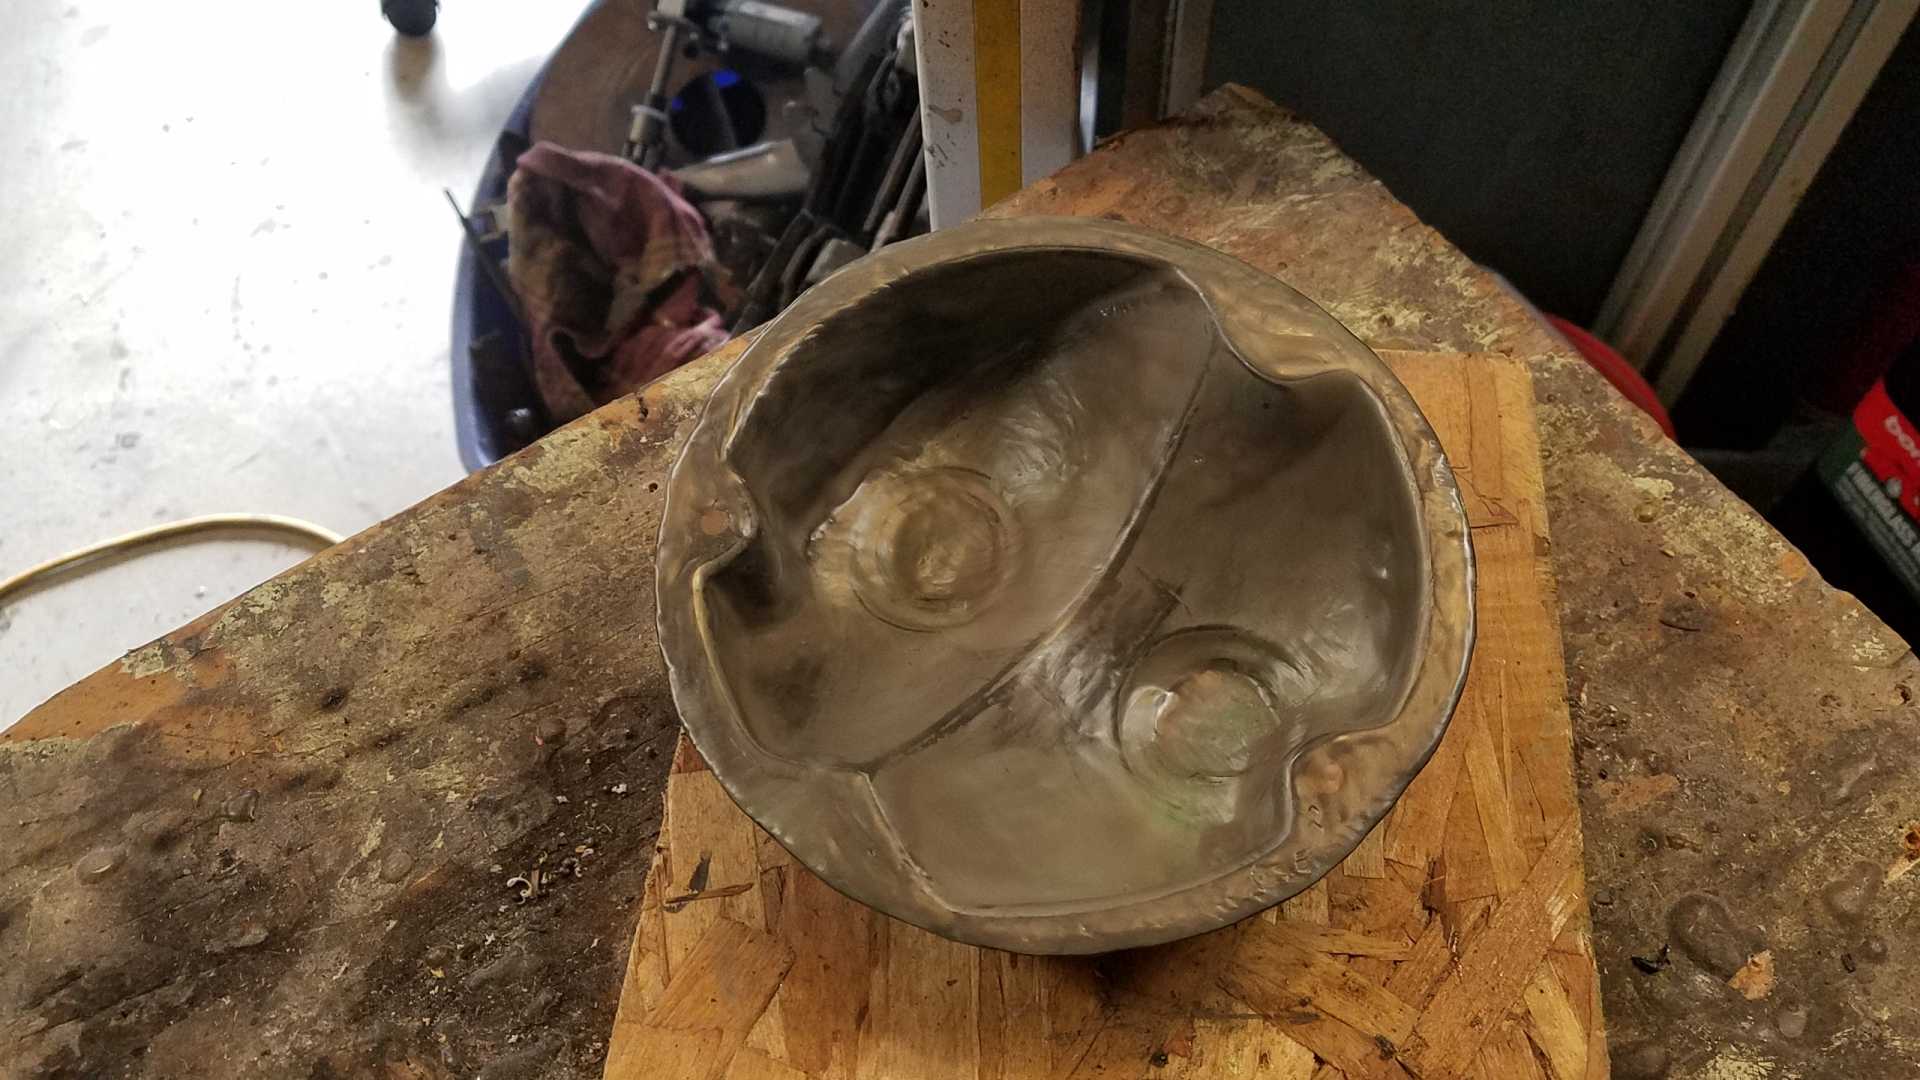
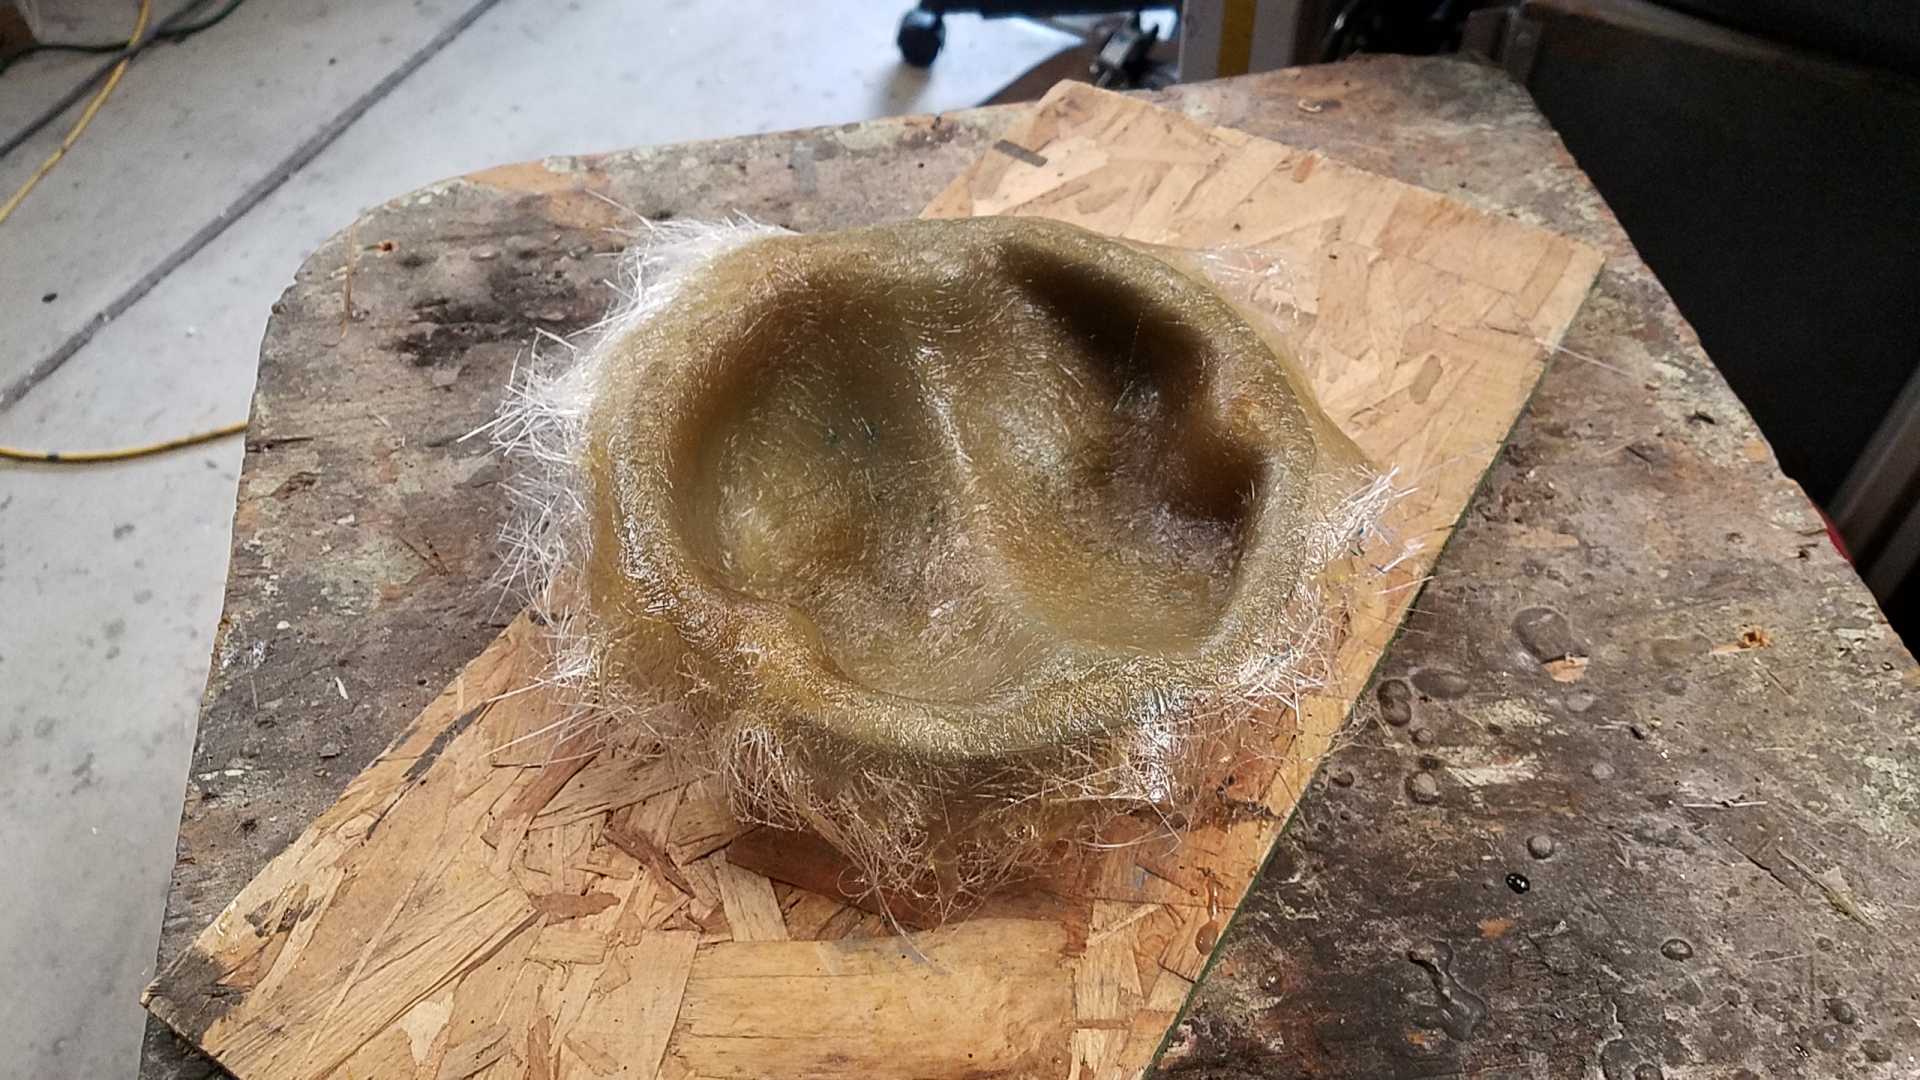
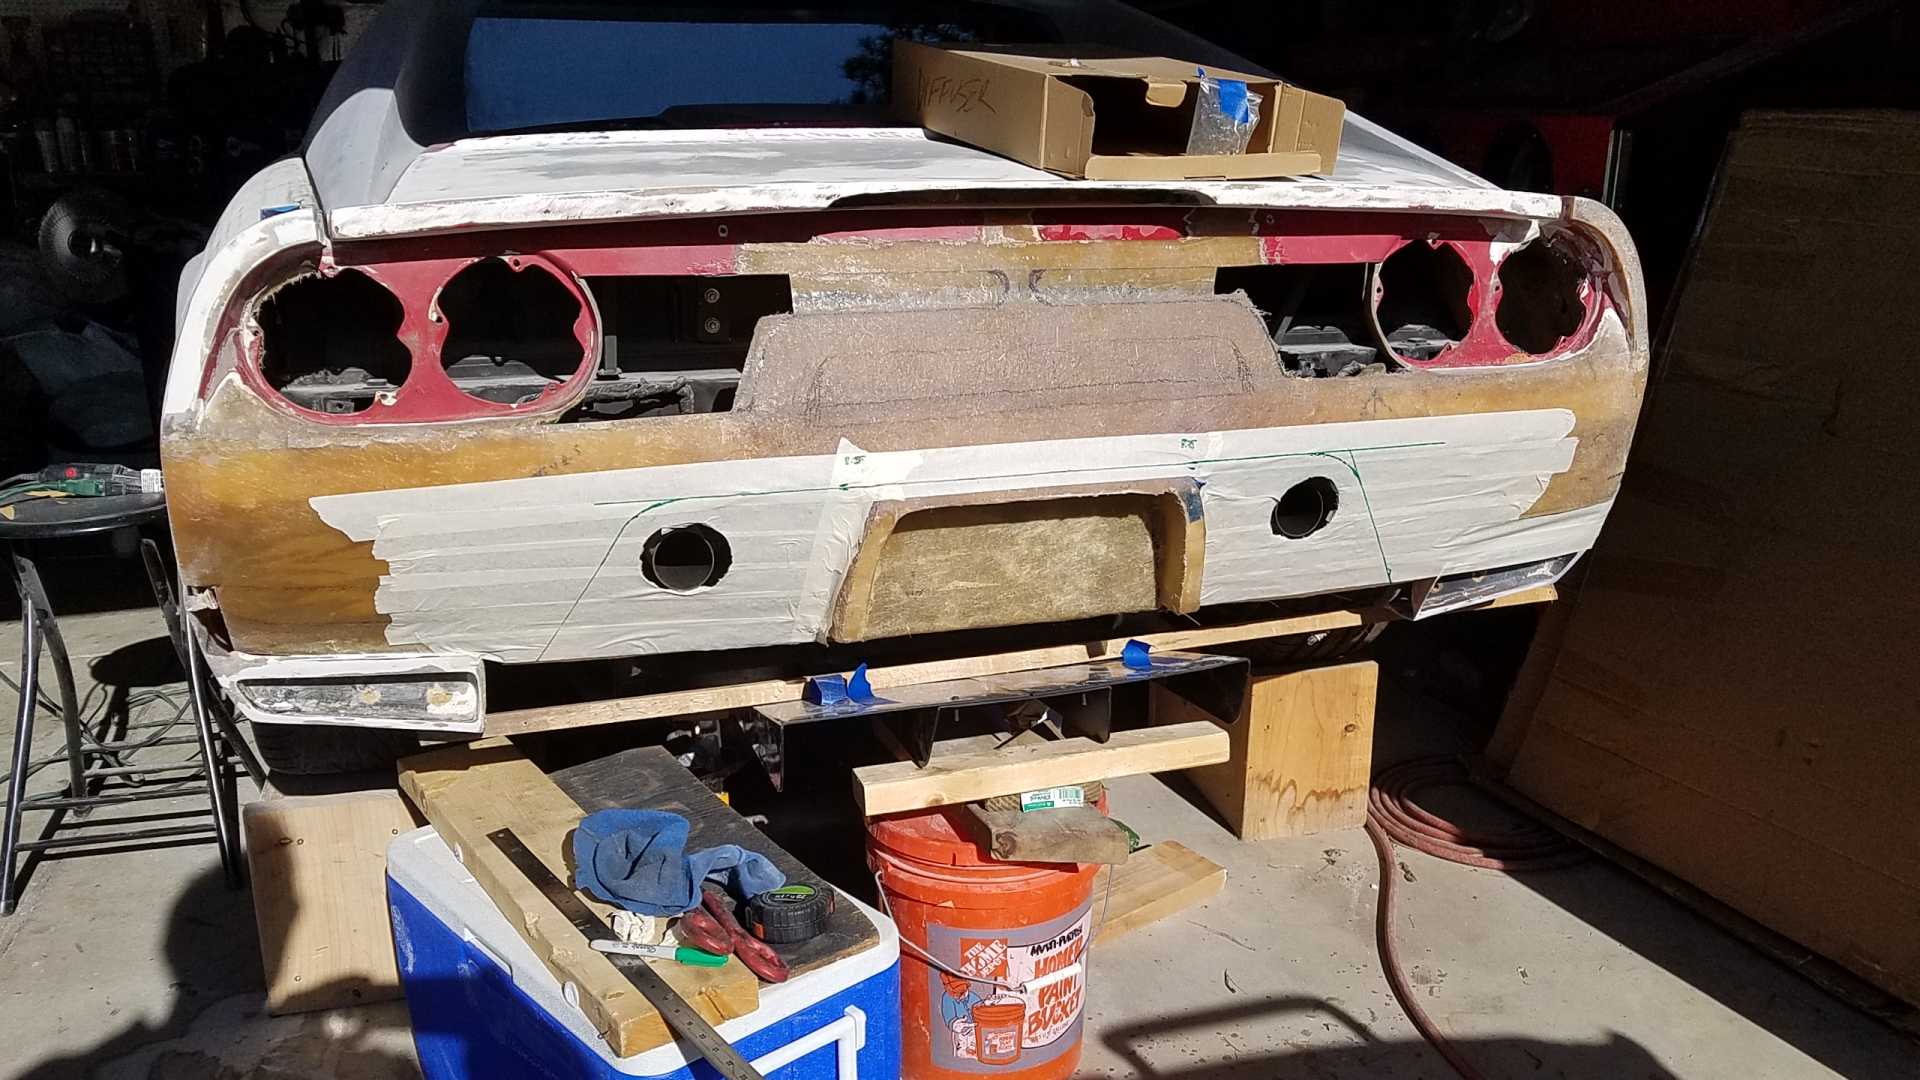
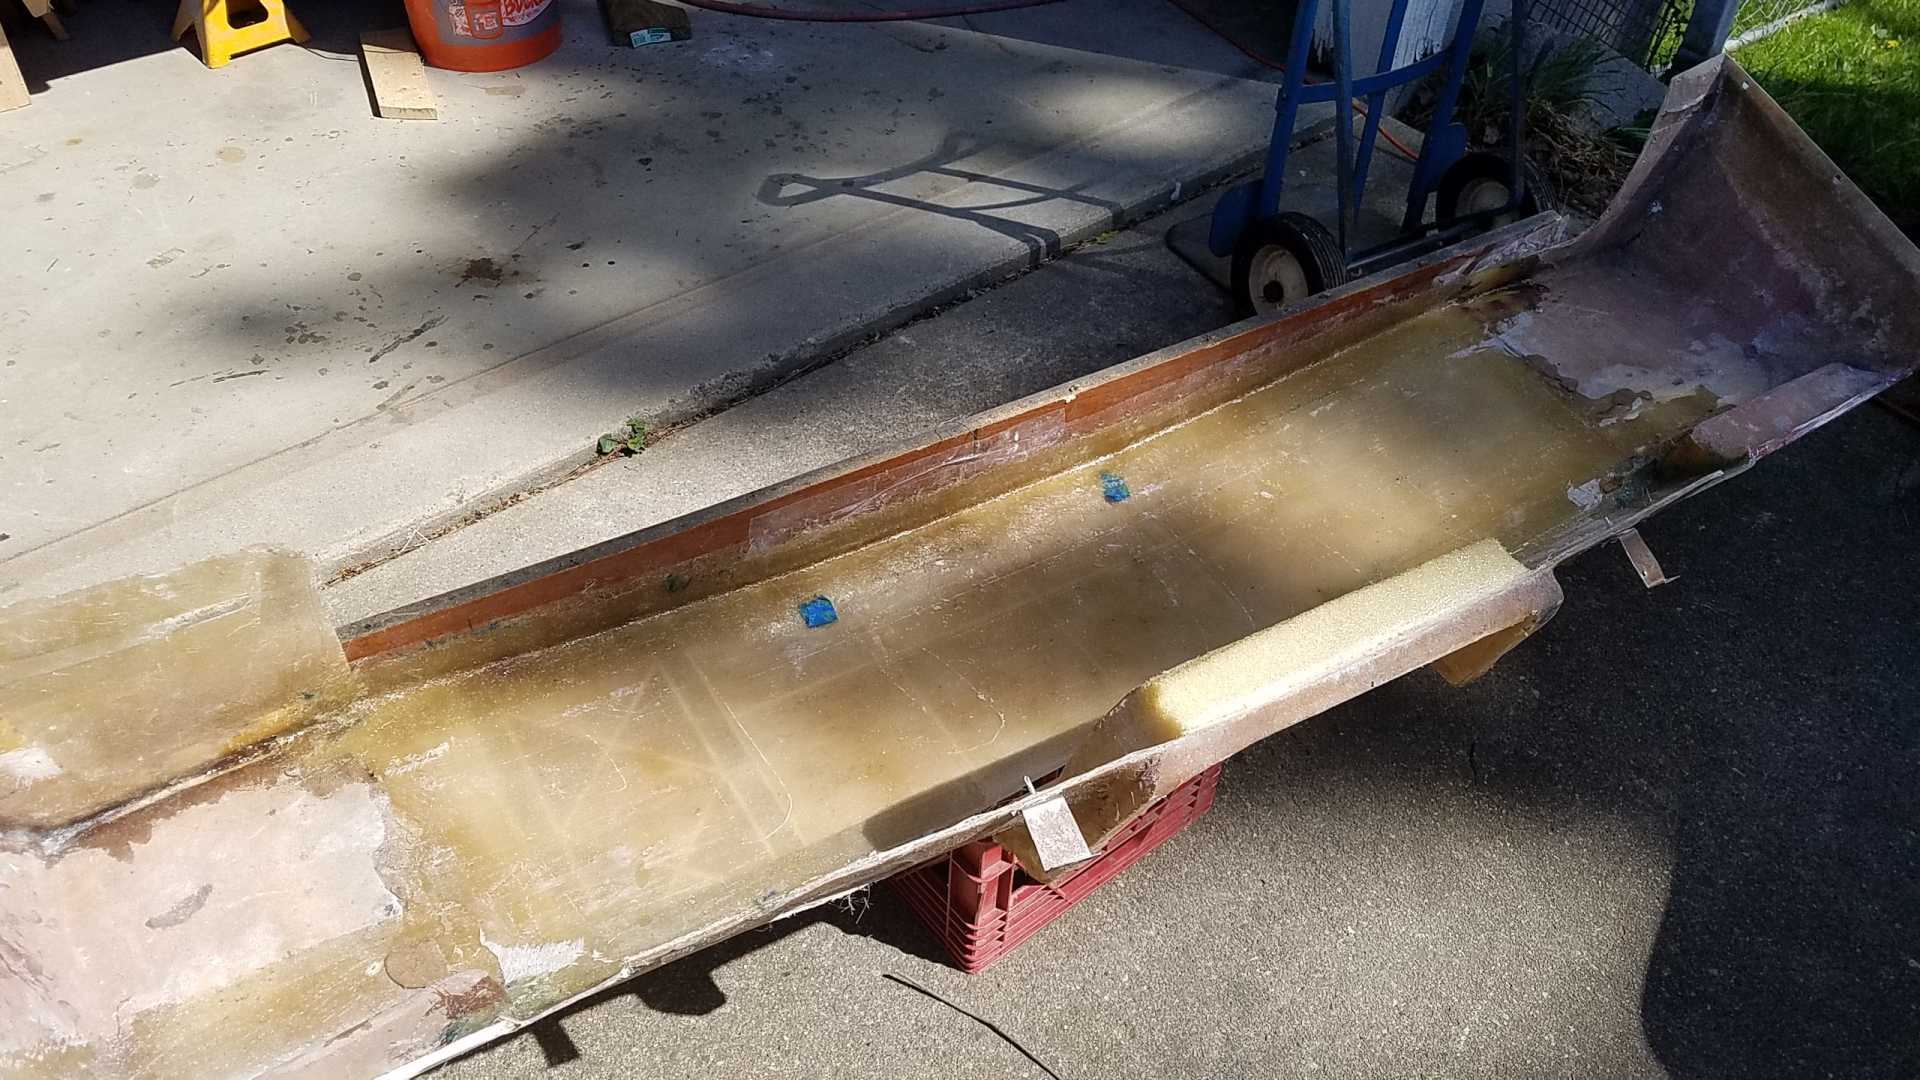
I've used about every material possible on this build. Can foam is probably my least favorite, but it does have it's place. The whole rear section was formed using two-part foam, originally. For this, I just needed something flat and would take a bend.
Thanx for stopping in. and btw, enjoying your build. I might try some of that one day.
Bob
|
|
|
|
RCR
|
JUN 27, 05:22 PM
|
|
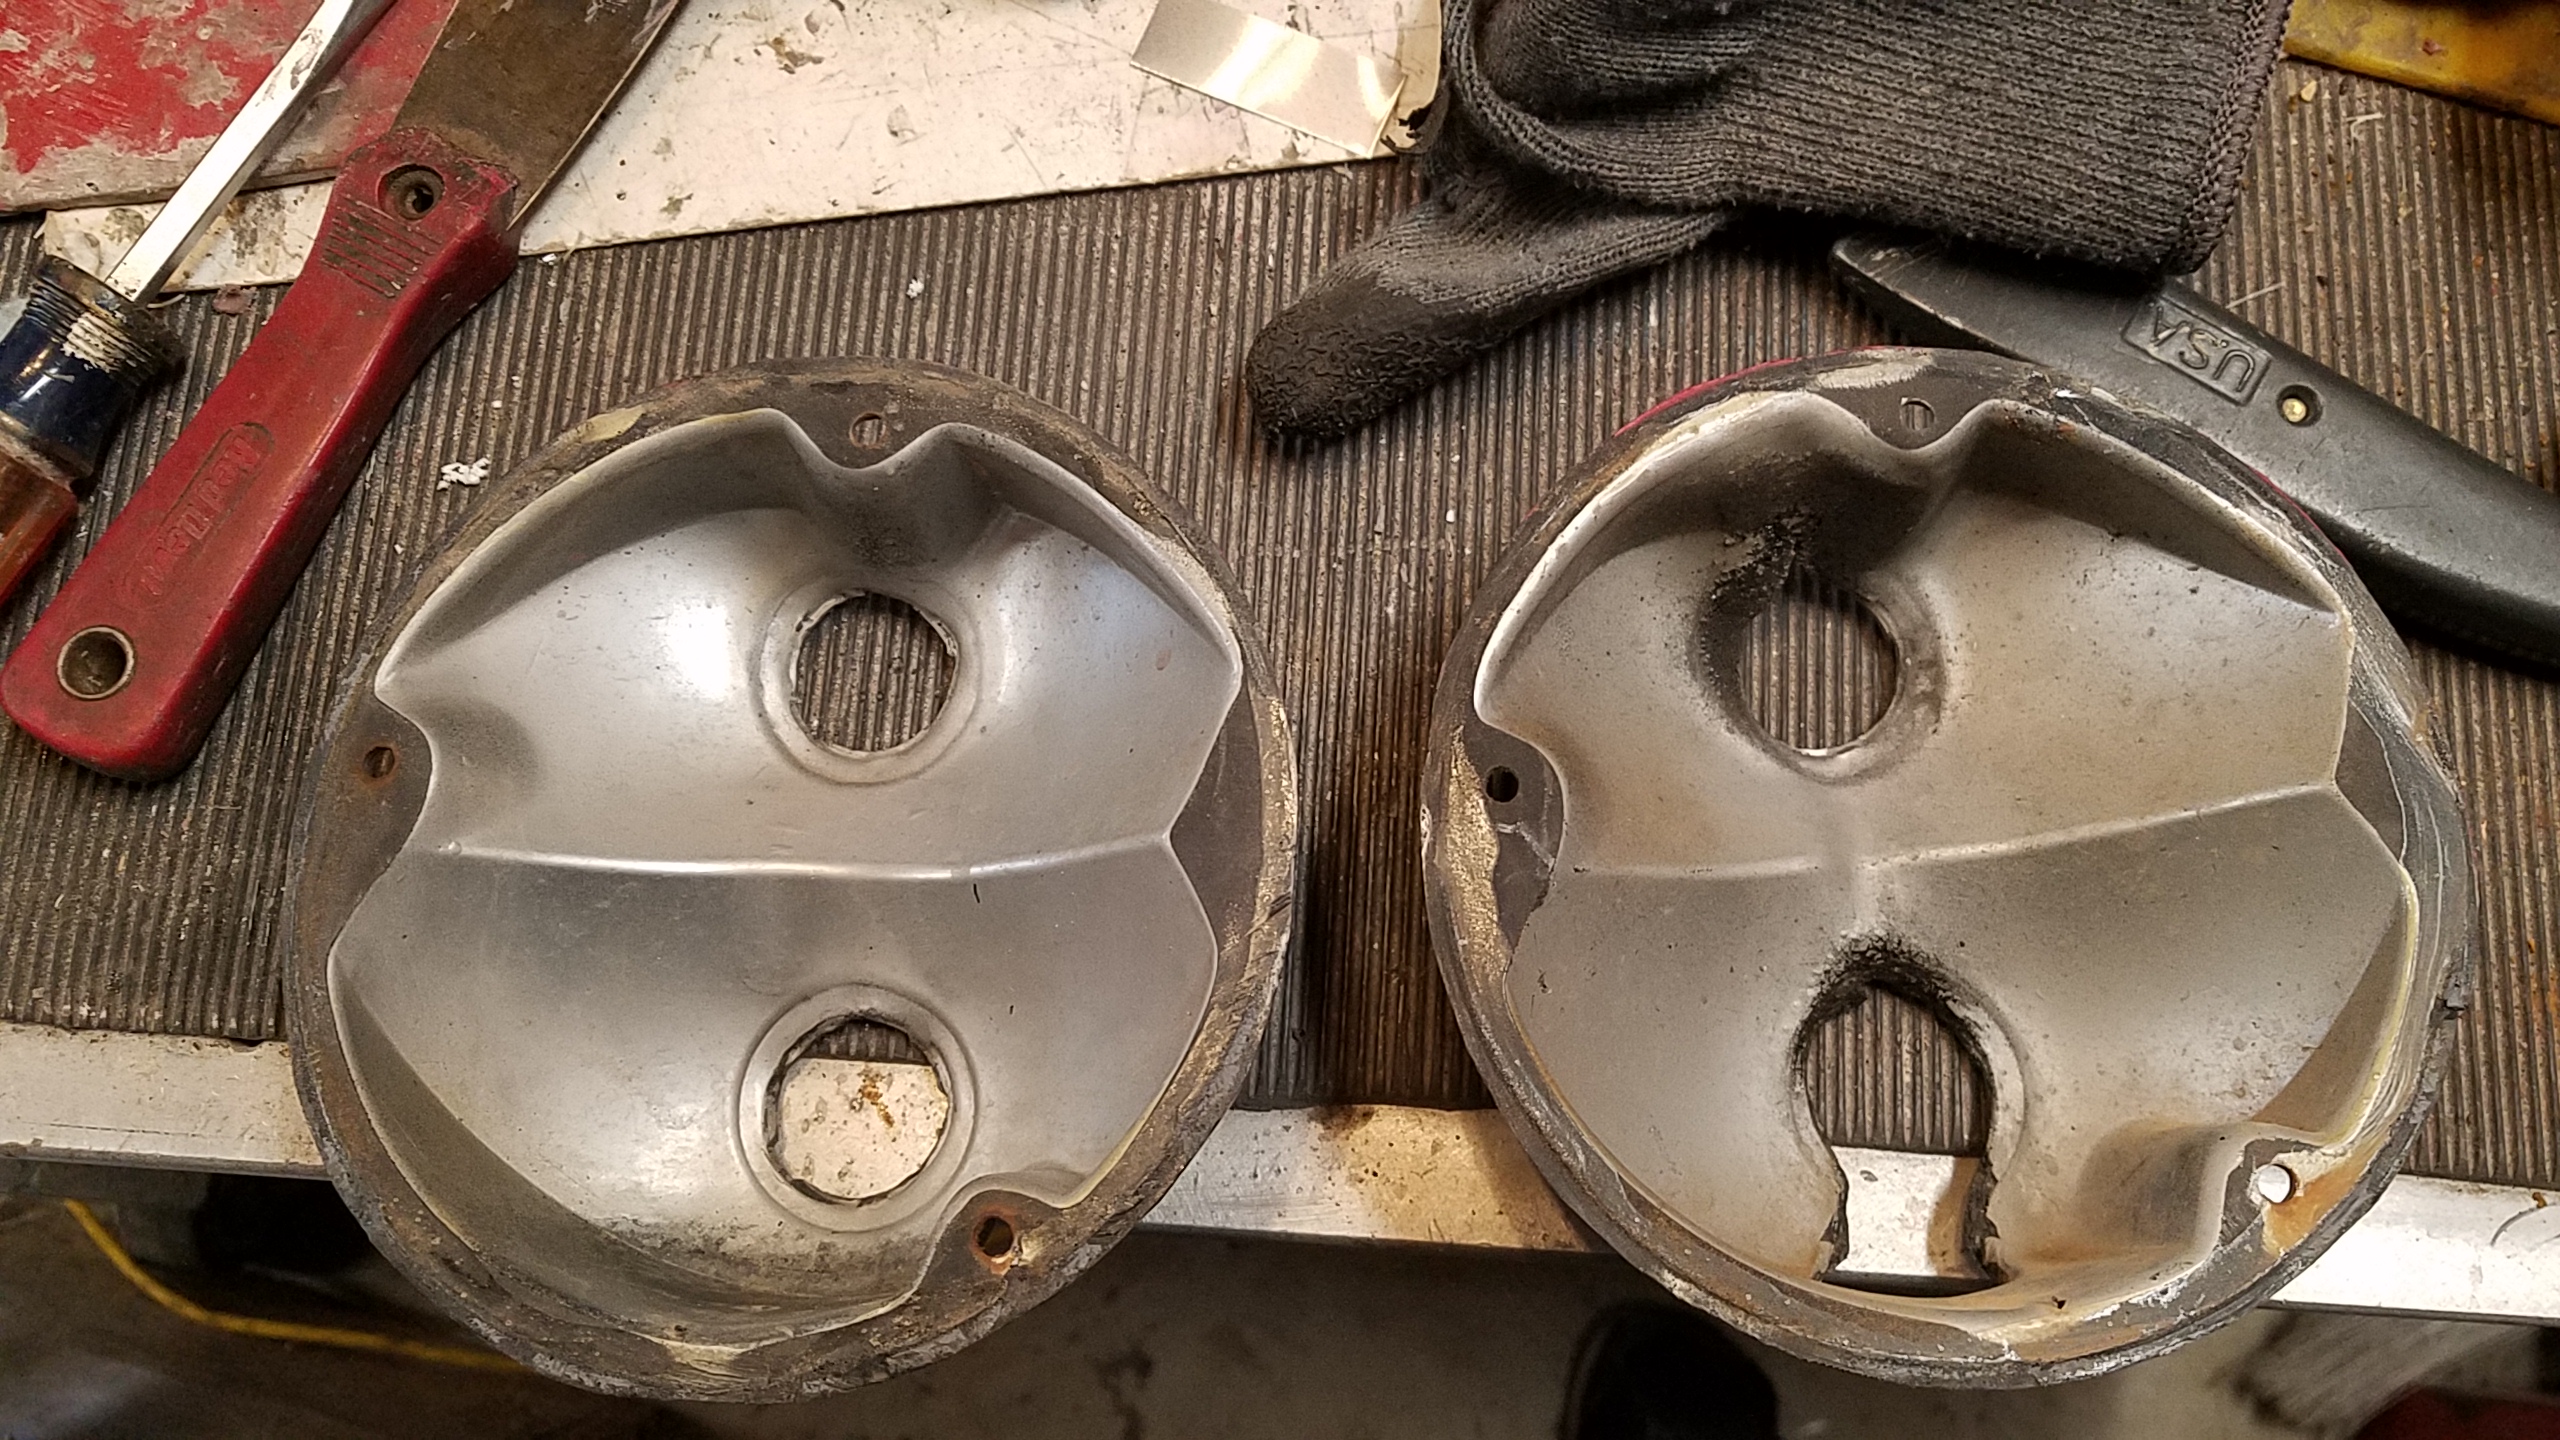
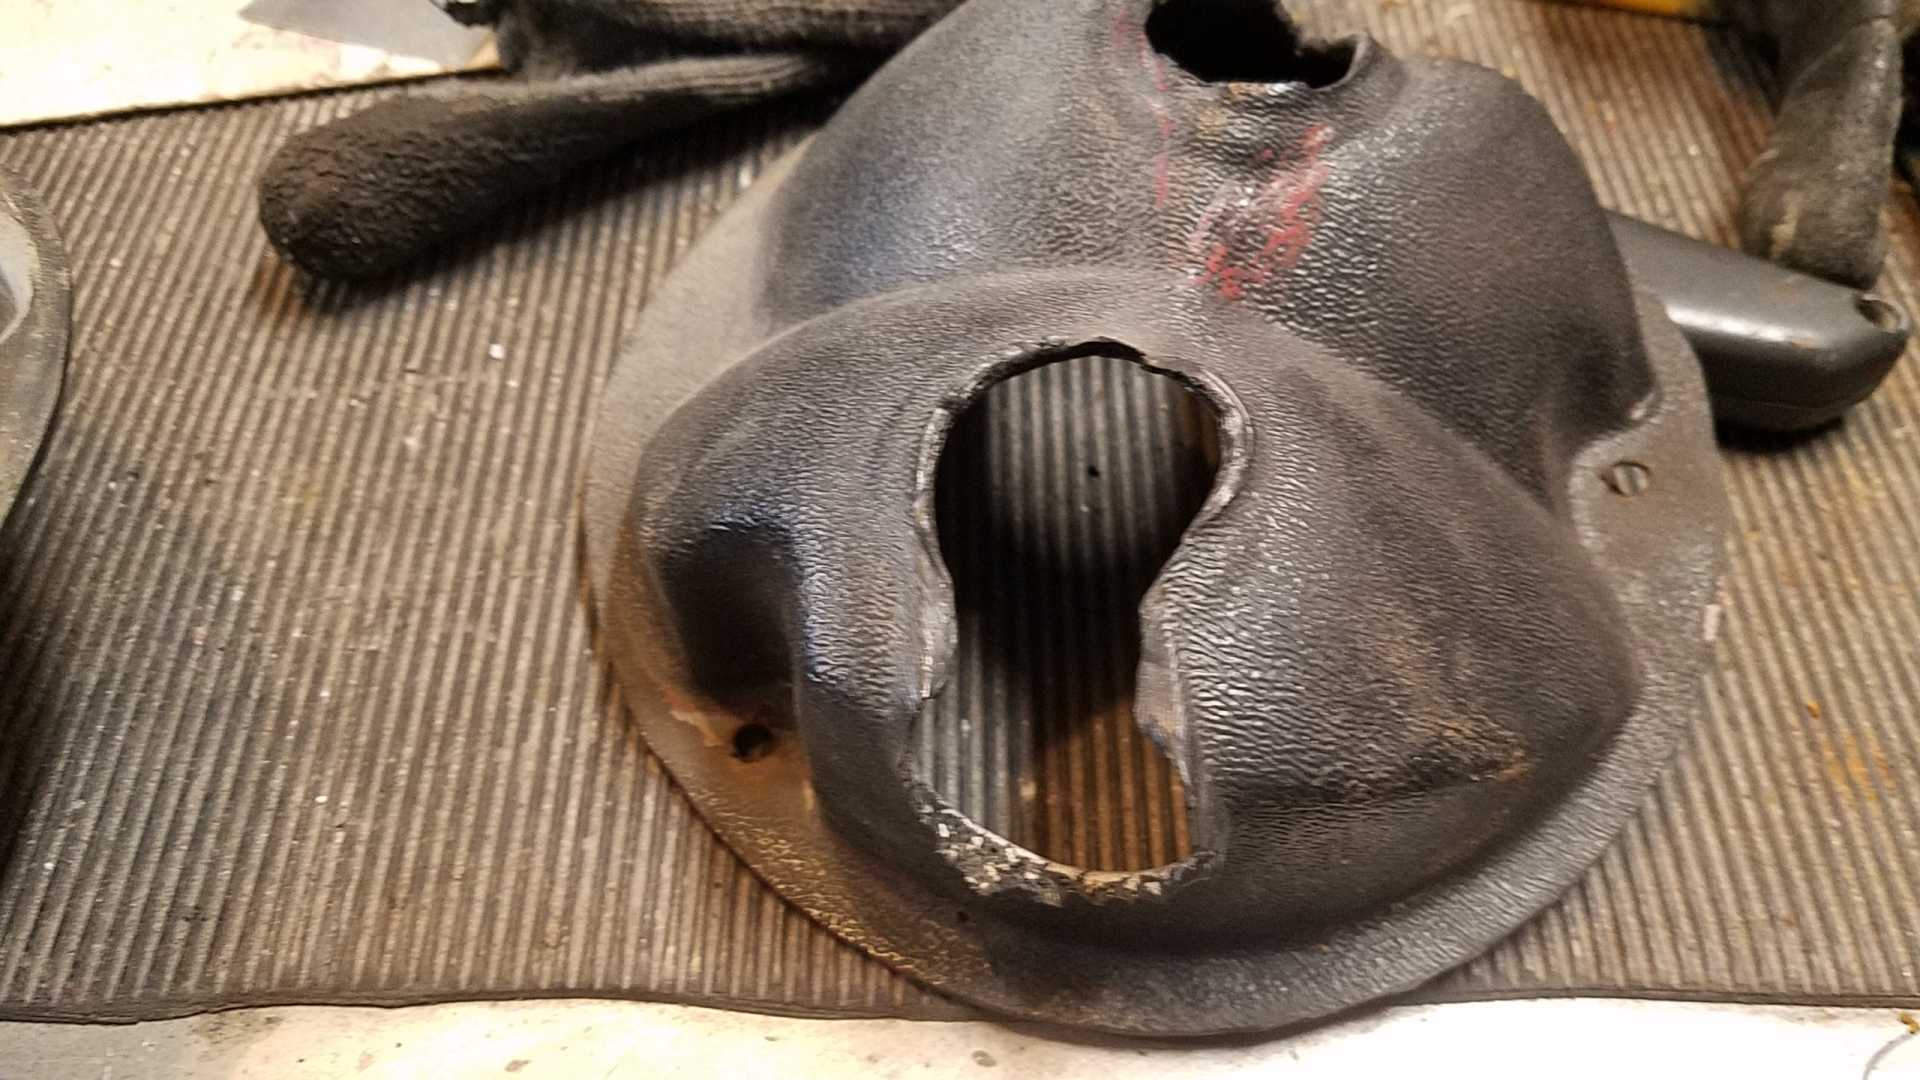
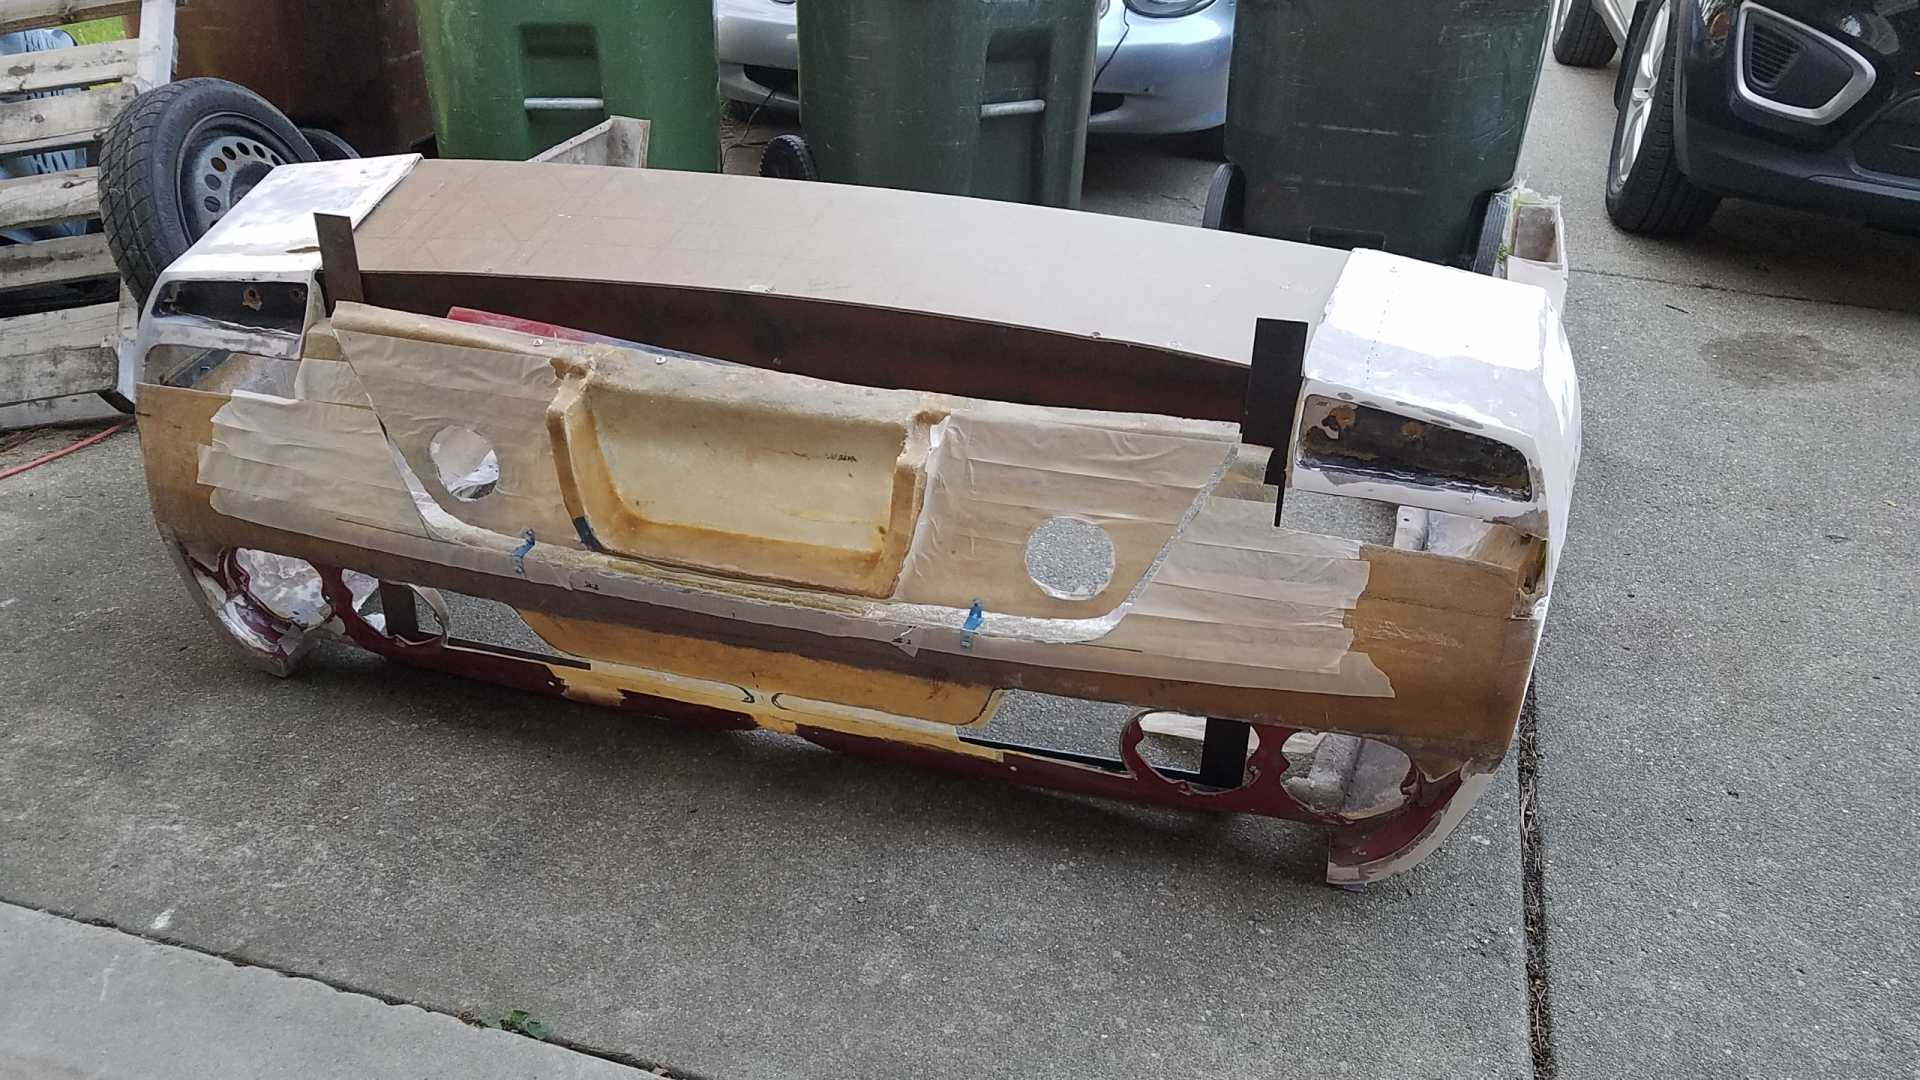
It's been too long. A lot of reshaping going on on the rear. I've also been working on a side project to redo the tail lights. I'll post up pics later once I up[load them. I just wanted to give a shout out to Bloozberry. He posted up a great how-to on rewiring the tail lights.
tail light rewiring
I have an 84, so it did require running a new line through the C500 to the brake switch. A bit of a pain, and it required an 86 Monte Carlo at the salvage yard to donate the body connector for parts, but it's done and it works.
I ordered some Deutch connectors to wire in the lights, eliminating the existing bulbs. The new lights will be all LED. More coming on those, too (not going to be Ogre approved  ). ).
I will also be doing a new reverse lamp and wiring in the third brake light.
Stay tuned (but off on vacation next week).
take care
Bob
 [This message has been edited by RCR (edited 06-27-2021).]
|
|
|
|
Neils88
|
JUN 27, 10:04 PM
|
|
|
It's been a while since I've checked your build, Bob. You continue to do amazing work! I've got some catching up to do now...
|
|
|
|
RCR
|
JUN 29, 06:43 PM
|
|
| quote | Originally posted by Neils88:
It's been a while since I've checked your build, Bob. You continue to do amazing work! I've got some catching up to do now... |
|
It's time consuming, but pretty simple compared to yours. Thanx for stopping by...
The connectors are in. I also took a pile of scrap wire from the trash bin at work to build harnesses. Making progress.
Bob[This message has been edited by RCR (edited 06-29-2021).]
|
|
|
|
Awalker W02
|
JUN 30, 03:01 PM
|
|
|
Awesome work [This message has been edited by Awalker W02 (edited 06-30-2021).]
|
|
|
|