I have less than 200 miles on my 3.4 swap and I used the exhaust manifold studs from Rodney Dickman. I installed the studs using the appropriate (E6 or E7?) socket torqued to the 25 ft lbs specified in the manual. Then put on the gaskets, manifolds, etc. applied antisieze to the threads before torquing down the nuts. I'm reading now about ultra high temp threadlocker. Is that my only hope? What am I doing wrong?
Well I used the value for the bolts, but the Saturn's (since that is the original application) call for like 8lbs for the studs and 16 for the nuts. Rodney said he had never heard of them backing out, and suggested I just tighten them up to 35 or 40 ft lbs.
I would also avoid overtightening the studs to facilitate future removal.
Do your manifolds sit flat on the heads? I don't know what could go wrong as such, so I'm grasping at straws.
I had a problem with cheap gaskets, but that was fixed when I used the Fel-Pros.
How is the ignition timing on this car? Is it OK? Too much retard would increase exhaust gas temperature, which would heat the manifolds more, making them move around.
I'm reading now about ultra high temp threadlocker. Is that my only hope?
That's what I would use. Keep in mind though that thread locker won't work properly unless all threads are clean and dry before application of the locker.
Out of curiosity, I google searched how tight to make the studs. You definitely do not want to tighten them to the same torque value as a comparable sized bolt... the reason being that unlike a bolt, a stud is either bottomed out in the hole or has reached the end of the threads on the head side of the stud. Over-tightening a stud therefore can cause issues. Good article Here.
That is a very informative article! Looks like when the bolts come in I'll need to address some potential issues. On the upside found in my notes that I only "snugged" the studs. I couldn't finger tighten them because they were too tight in the threads, which looks like may be by design, though I don't know if they bottomed out or were shouldered. It looks like the nuts were taken to the higher side of the FSM torque value at 27 ft lbs. All the others are tight as can be, odd that those 3 decided to boogie.
Originally posted by Modesto: It looks like the nuts were taken to the higher side of the FSM torque value at 27 ft lbs. All the others are tight as can be, odd that those 3 decided to boogie.
If the Rodney Dickman nuts are prevaling-torque, then the FSM value (which applies to the stock bolts) is not applicable.
When turning a prevailing-torque nut, a large amount of the torque is used to combat the thread friction. Less torque is "left over" to actually clamp the joint together... usually it's a certain amount of clamping load that is sought after.
So the torque spec should be increased with a prevailing-torque nut.
Did the tightening "feel good" when you were doing it?
A fixed torque spec makes sense in the factory with repeatable parts, but in the context of automotive restoration, strictly following book torque values can lead you astray. We regularly see people here snapping off their brake caliper bleeders as they torque to the book spec.
With experience, it is possible to get things screwed together without a torque wrench, feeling for the torque rise indicative of the parts being clamped together, rather than the torque value itself. It's rare that I reach for a torque wrench while working on my Fiero.
Yeah they felt good, like enough clamping that I didn't have to worry about leaking and light enough to not worry at all about a rounded nut or stripped threads. The replacment studs came in today and I had a sickening discovery...
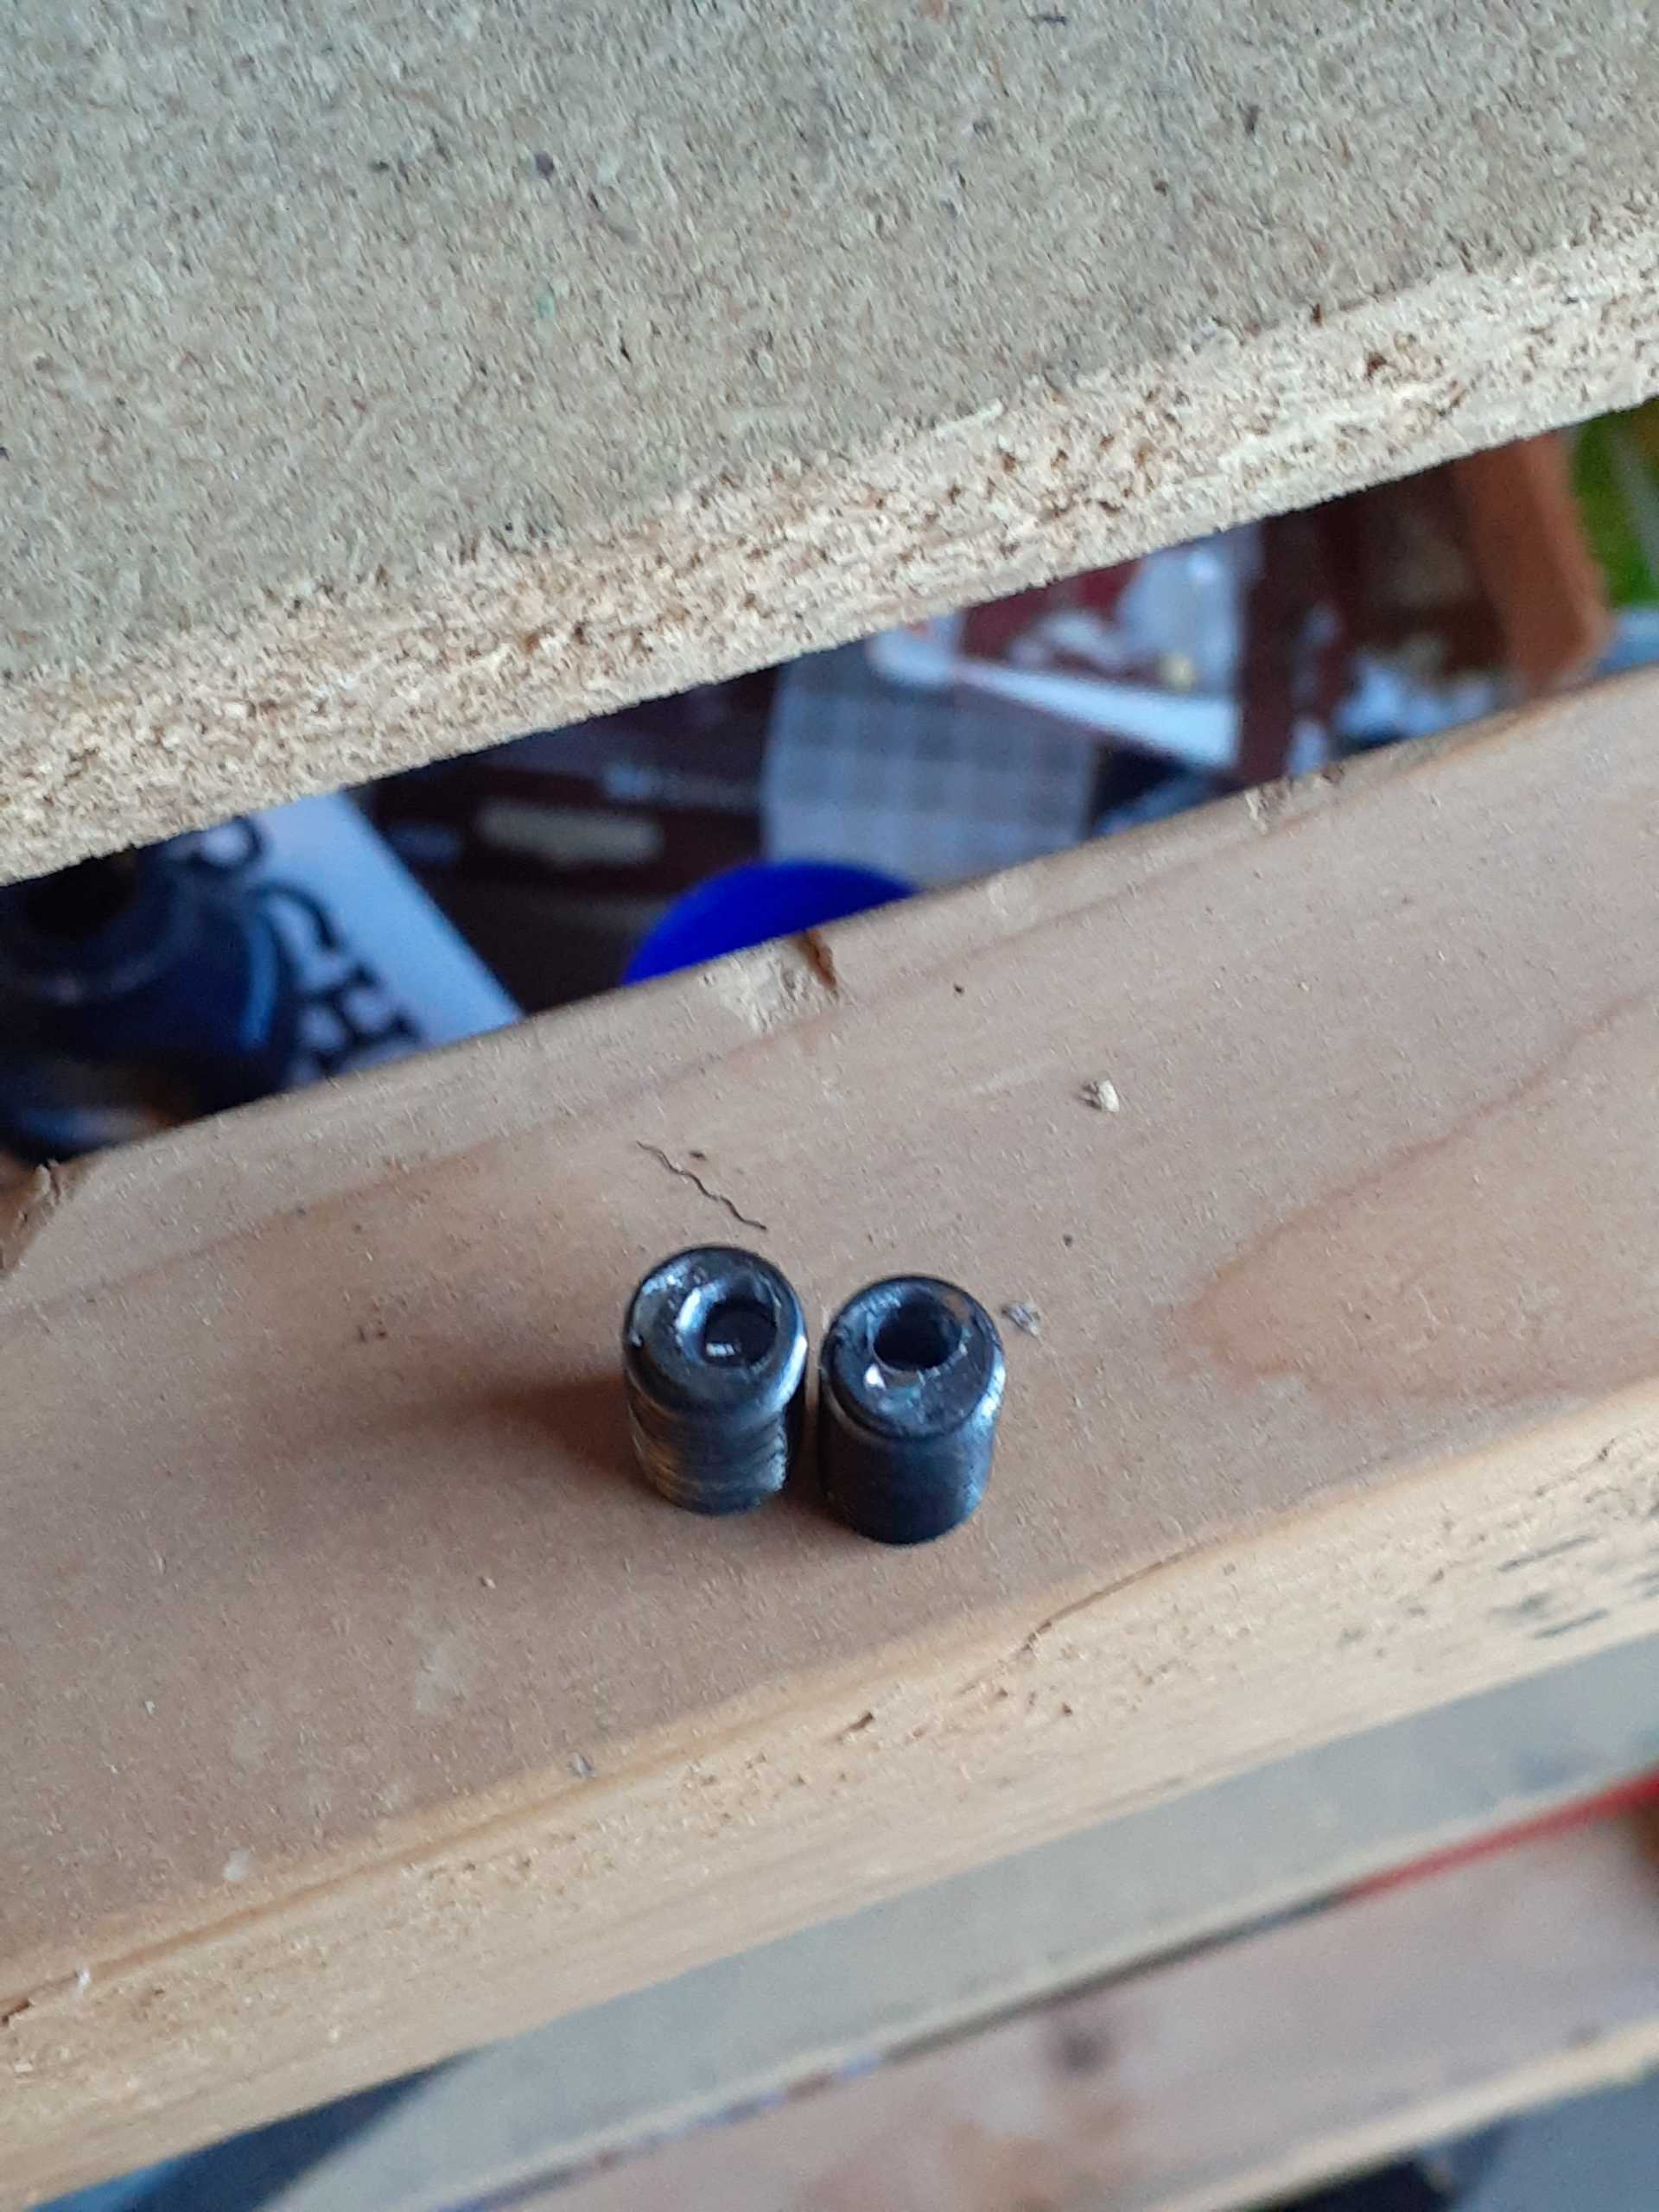
It turns out the studs had snapped off just below the surface of the head, not backed out. I called Rodney and he said he hasn't ever installed them but had them made in one batch, so if he gets any more calls about this he isn't going to sell them (but I'm the first one). He did say since it was a prevailing torque nut he would expect the studs to bottom out, which is what Saturn seems to imply by stating a torque value? So now I have to removed the broken studs on cylinder 5 (no biggie) and the broken stud from the top of cylinder 2 (any suggestions?).
Luckily the other studs seemed to back out pretty easily, but man its tight.
Edit: From the link Patrick posted "If you torque a stud into a blind hole, you lose that benefit, and concentrate stresses at the first thread in the hole." ARP's says to make sure the stud is bottomed out (at least on head studs) but the fact they broke where they did seems to suggest the stress was concentrated at the first thread.
[This message has been edited by Modesto (edited 06-25-2020).]
It turns out the studs had snapped off just below the surface of the head, not backed out. So now I have to removed the broken studs on cylinder 5 (no biggie) and the broken stud from the top of cylinder 2 (any suggestions?)... man its tight.
#2 is definitely a problem, especially if the car has A/C. I went through absolute hell a few years ago removing broken exhaust manifold bolts on the front bank of the 2.8 in my '86 GT. You'll need to tip the cradle down for access. If you're extremely lucky, a left-handed drill bit (spins in reverse) will back the broken stud out. My suggestion though (after what I went through posted Here), is to weld a nut on the end of the broken stud... and then "simply" unscrew it.
Man, that looks like a ton of fun. I think I have a really good chance of the left hand drill bit backing them out based on how easily the others came out. They aren't corroded at all and my holes/threads were spotless. I'll have to look around to see how tight of a right angle drill I can find, I think if I remove the deck lid I might have juuuuuust enough room to work.
After the 3 broken studs are removed I will loosten the remaining nuts, back out the studs a turn or two, and tighten the nuts back down. That should equalize the load to all of the threads and keep this from happening again.
I have the drill in position for the rear one but wanted to make sure I was in the right state of mind before I drilled it. They came out with very little effort.
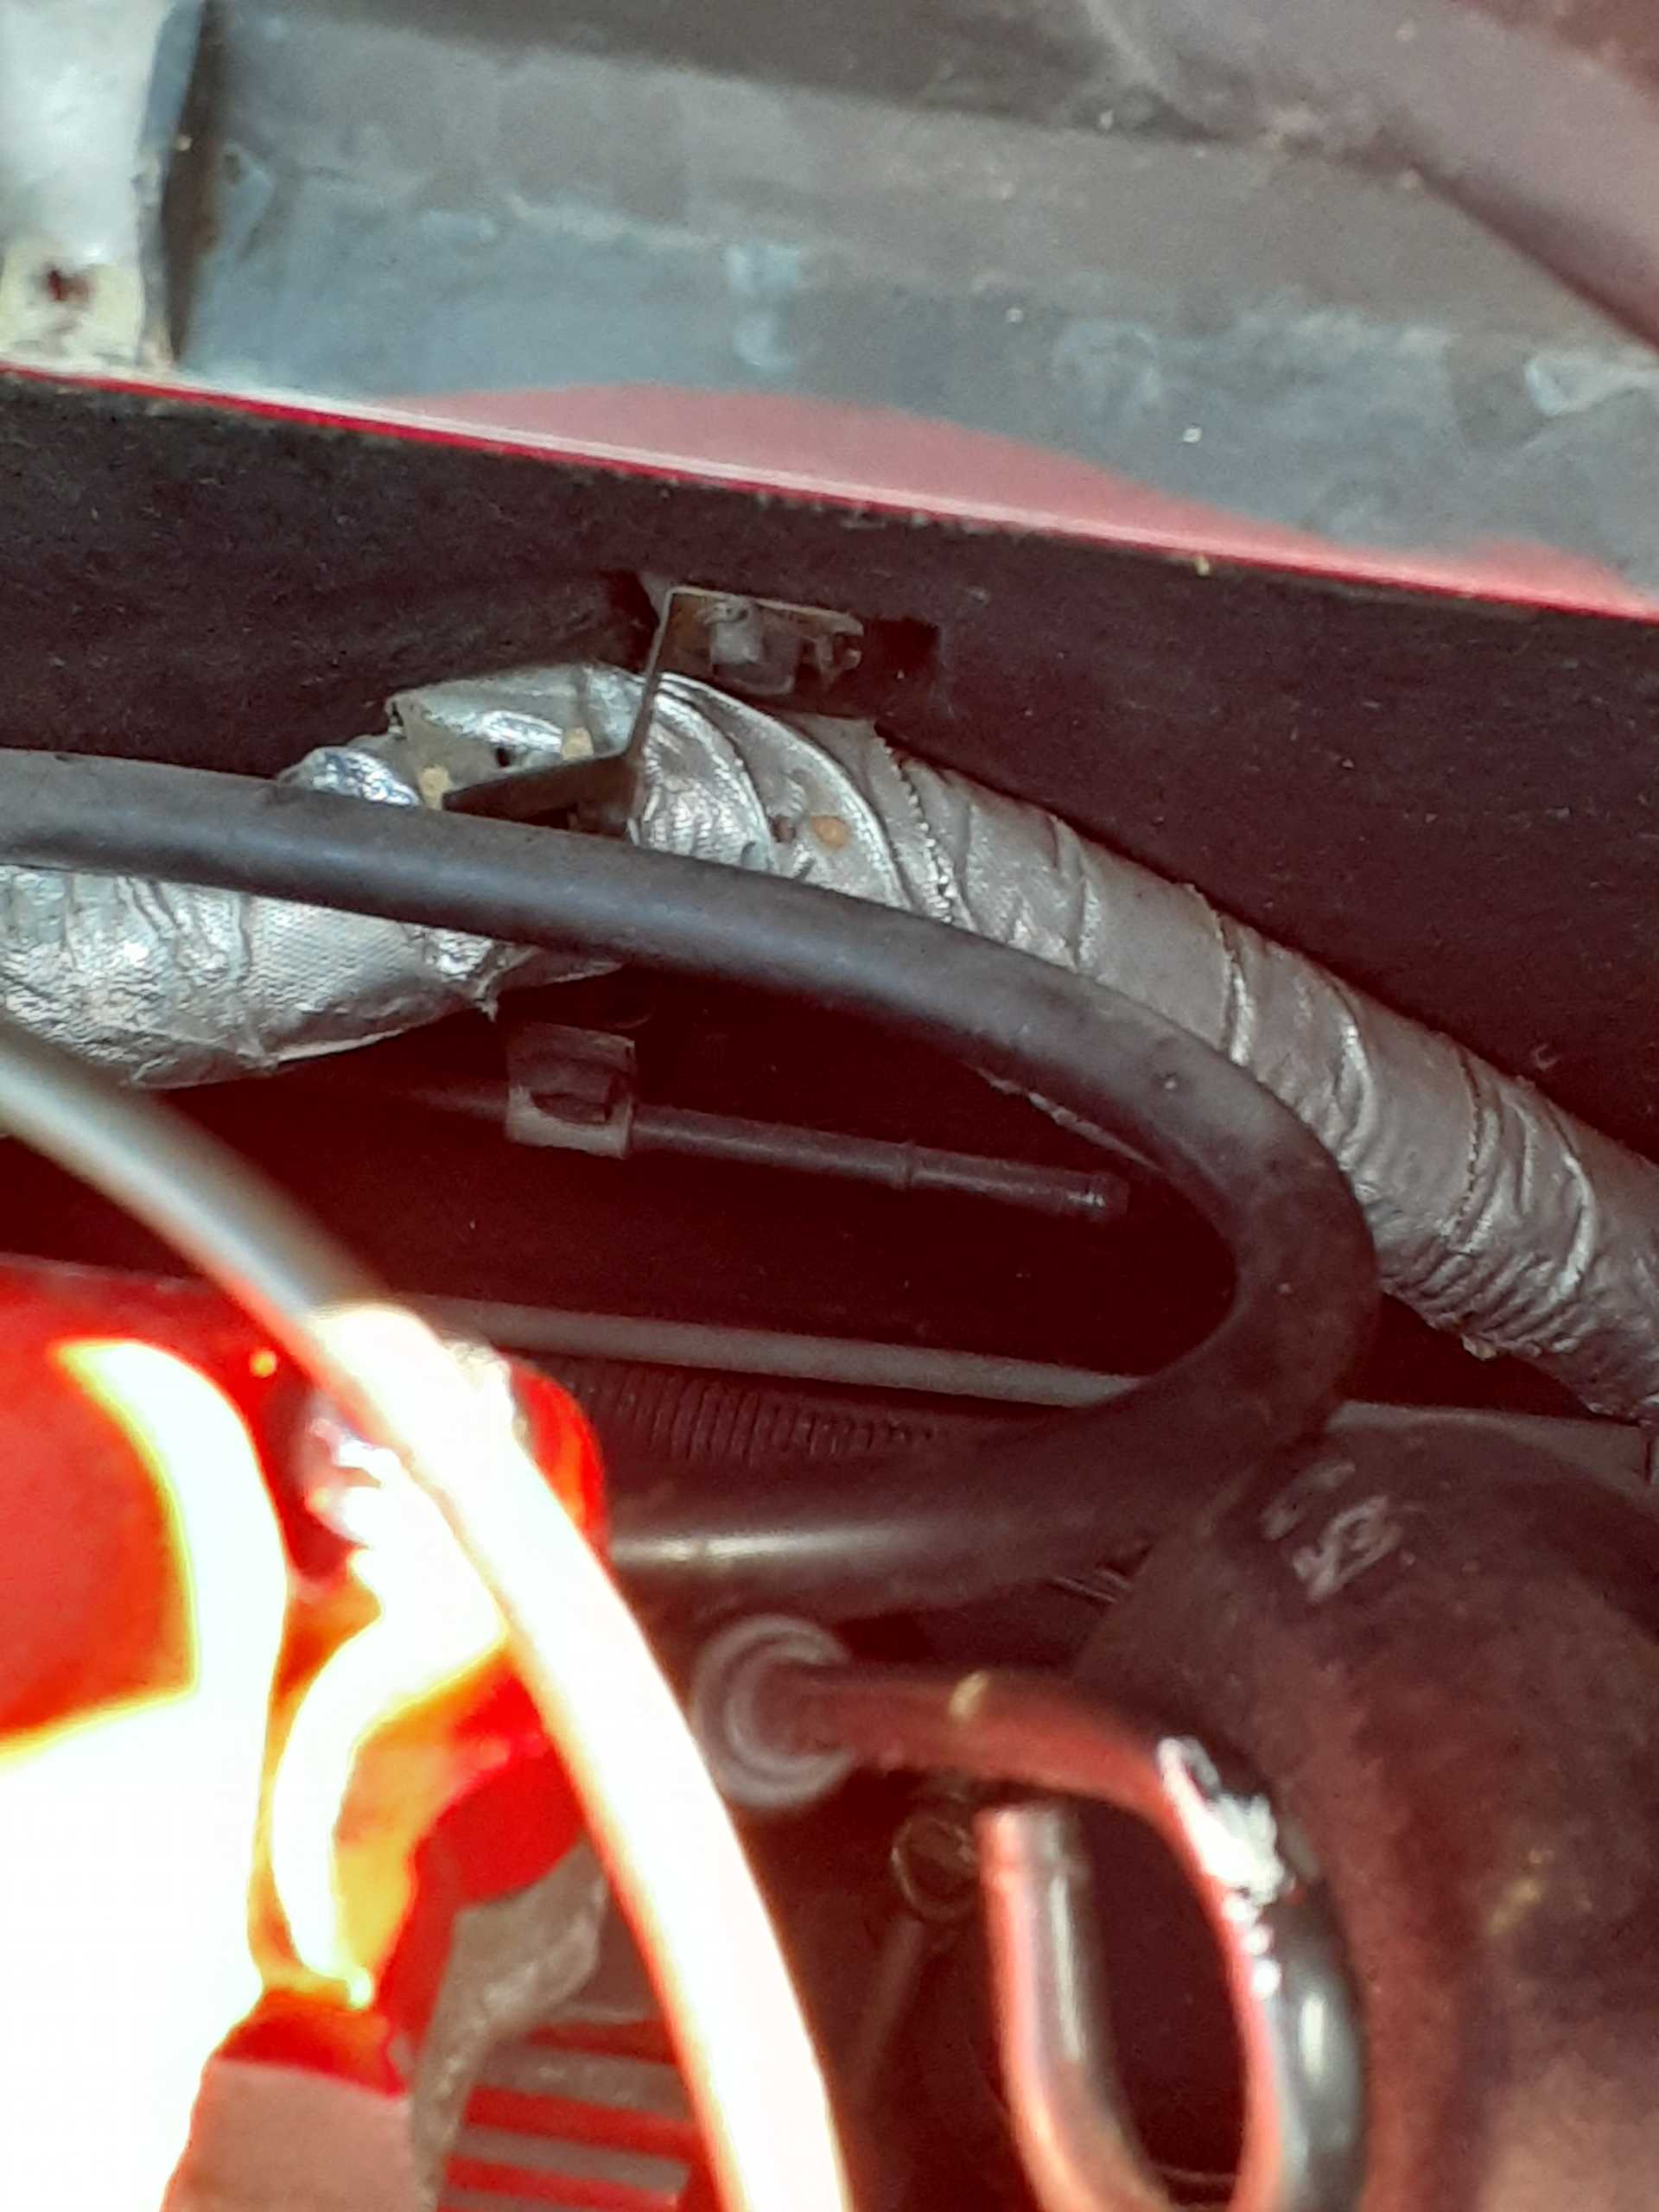
Also, anyone know what vac line is suppose to connect to the line against the firewall in the center of the pic? You can see the dipstick to the bottom right.
Unless I missed something, the large one referenced in that thread is not the the one I'm talking about. This looks like it uses a vac line about 1/4" in diameter and from what I could tell bent down maybe to the fuel tank area.