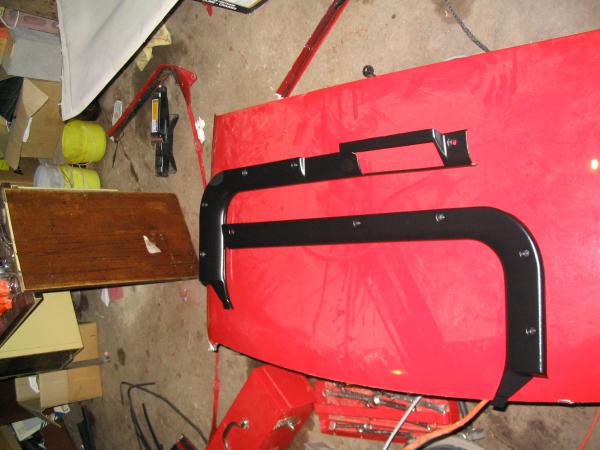
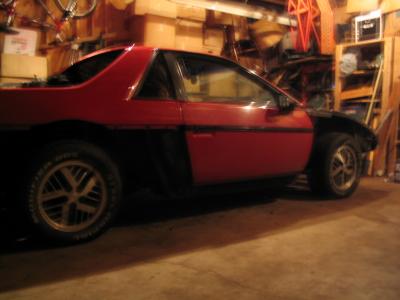
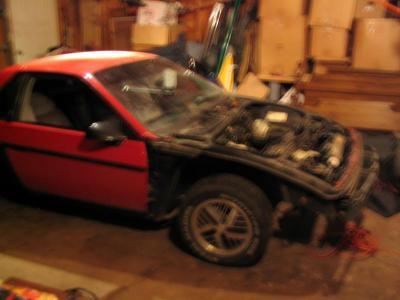
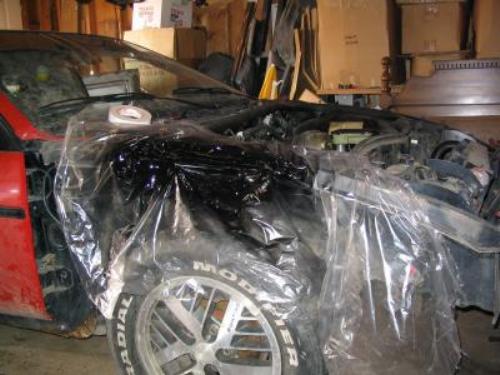
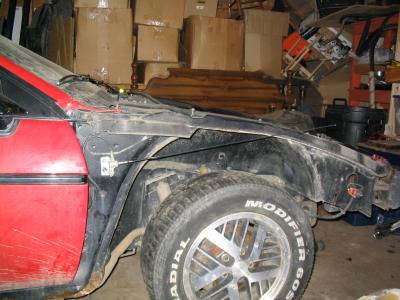
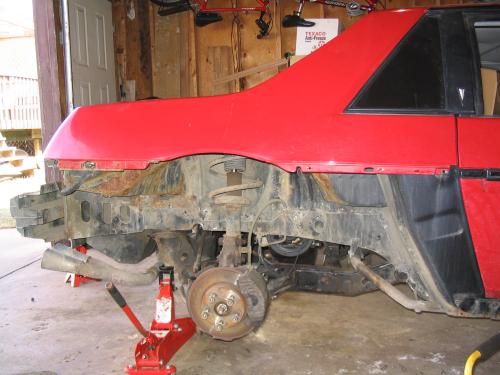
I finally got the chance to get my car in the garage and get back to work. I have a few tweaks left on the new engine(4.9) and I have started removing all the body pannels in preperation for paint. I just have the door pannels and sail pannels to take off yet. Here are some pictures of my progress.
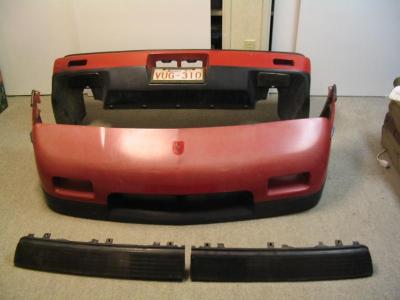
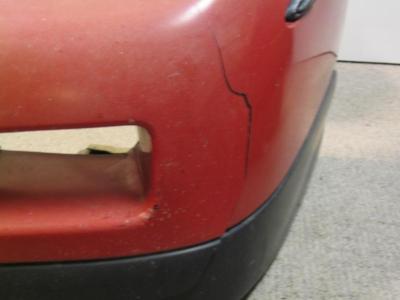
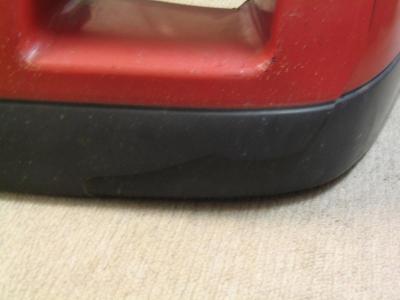
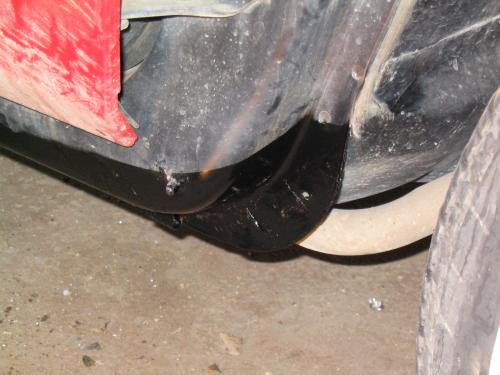
I brought my facia's inside so that I could repair the crack in the front and sand them down where its warm Speaking of sanding, what would you suggest I sand down the pannels with? Start low and work my way up? 80-150-300???
IP: Logged
01:14 AM
SplineZ Member
Posts: 952 From: Edmonton, Alberta, Canada Registered: Nov 2002
I brought my facia's inside so that I could repair the crack in the front and sand them down where its warm Speaking of sanding, what would you suggest I sand down the pannels with? Start low and work my way up? 80-150-300???
Good grief.. I wouldn't start with 80 grit... That's waay too rough... I wouldn't use anything less than 150 on any kind of bodywork... Get an orbital sander, it'll make the work go faster.
How'd the car run over winter? did you ever get that engine mount?
James Z
Thanks, I parked it over the winter and bought a Jeep to drive. I did get the engine mount, cost me an arm and a leg just to get alittle welding done on the cradle but it was worth it. Feels very solid now and does not move around. Now just trying to get my temperature sensor working and the drivebelt all lined up.
quote
Good grief.. I wouldn't start with 80 grit... That's waay too rough... I wouldn't use anything less than 150 on any kind of bodywork... Get an orbital sander, it'll make the work go faster.
Glad I asked, whats an orbital sander? Is it a power sander? Should I worry about warping my pannels?
IP: Logged
01:28 AM
crzyone Member
Posts: 3571 From: Alberta, Canada Registered: Dec 2000
orbital sander uses round sanding discs and vibrates in 360 degres. The paper is allowed to freely spin as well, works much better than a regular power sander.
orbital sander uses round sanding discs and vibrates in 360 degres. The paper is allowed to freely spin as well, works much better than a regular power sander.
Thanks, I'll check that out tomorrow at the local tool store.
IP: Logged
01:43 AM
88-DOHC Member
Posts: 442 From: San Jose, CA, USA Registered: Dec 2001
I have been using 150 grit to take off the paint on the facia I am redoing. Using 150 with an orbital sander works well, but if you have to take off alot of the paint be prepared for your garage/shop to get paint dust everywhere. If you just need to rough up the paint to prep it for new paint, 150 is way too course. Use 360 or 400 grit for that. For mine I had to pretty much remove all the paint due to spider cracks all over in the paint. Too bad I havn't found a urithane bumper paint stripper that works, so I have been forced to manually sand it.
[This message has been edited by 88-DOHC (edited 03-27-2004).]
I have been using 150 grit to take off the paint on the facia I am redoing. Using 150 with an orbital sander works well, but if you have to take off alot of the paint be prepared for your garage/shop to get paint dust everywhere. If you just need to rough up the paint to prep it for new paint, 150 is way too course. Use 360 or 400 grit for that. For mine I had to pretty much remove all the paint due to spider cracks all over in the paint. Too bad I havn't found a urithane bumper paint stripper that works, so I have been forced to manually sand it.
Thanks for the reply, I plan on sanding it right down. Taking all the paint off. I am switching from red to Black so I think it would be best. Not to mention my bumpers, similar to yours are covered with spider cracks.
IP: Logged
02:38 AM
Shadow_Wolf Member
Posts: 759 From: Sherwood Park, Alberta, Canada Registered: May 2003
Be careful with the stripper. I've had problems with bumper covers that have been chemically stripped where the paint seems to discolor in places. Make sure it's clean.
I use 180 grit on a dual action (D/A) orbital air sander with adjustable speed. It's way too easy to sand through everything right down to the plastic, so run it slow until you get the hang of it. Where you have your crack, you'll need to purchase a 2 part bumper cover repair material from a auto body supply store. Grind out the crack so the repair stuff has something to grip to, and add a little more to the back side for strength. You can then sand the filler to match the facia surface.
Mark
IP: Logged
07:30 PM
PFF
System Bot
Mar 28th, 2004
88-DOHC Member
Posts: 442 From: San Jose, CA, USA Registered: Dec 2001
In my case, I have had to sand right down to the plastic since the spider cracks originated from the plastic itself. Ideally I just wanted to chemically strip it, but I have tried 2 different types of flexable bumper stripper and neither did hardly anything. Certinaly wasn't faster then just sanding it off. Speaking of which I should probably go finish up the repair/filler work and get it ready to primer/seal it.
Well I got a small but important mod done today. First off I just want to thank Skitime for the idea.
I bought a sheet of aluminum from Rona and used my dremel tool to make a bracket for the antenna. I suggest this mod to anyone who wants to smooth out the lines of the car. Its very easy and only takes about 15-20 minutes.
And the End Result
IP: Logged
12:02 AM
SplineZ Member
Posts: 952 From: Edmonton, Alberta, Canada Registered: Nov 2002
Skis might work with the two antennas but mine does not work so hot with just one. I mounted it the same as posted above many many months ago. Reception is poor except for VERY close stations. its also very directional. I can get some ok stations if I am pointed straight at em. Before my car goes in for paint I am going to either decide if I even want the radio or I am going to get a lower profile antenna to use.
Do it at your own risk I guess. if you can call losing radio a risk. I dont care for it much. some may not have reception issues but I did. Or do what ski did and mount two of them. I am curious if that would work for me.
[This message has been edited by Mikes88GT (edited 04-05-2004).]
You can get a thin antena that can go along the top of your windsheild, a friend of mine has that on his oldass truck.. he said they were like 15 bux or something
James Z
IP: Logged
01:45 PM
befarrer Member
Posts: 1962 From: Westlock, Alberta, CANADA Registered: Aug 2002
Are you going to have your car ready for the Red Deer meet on May 16? You are kinda doing what I did over the winter, I had all the body panels off of the front of my car, fixed the rust, repainted the front space frame. Took the trunk out and rear fenderwells, cleaned the rust up, undercoated frame, and rusty spots in trunk.
If you will not be ready, I am pretty sure I will have an extra seat for anybody who wants to go.
befarrer, thanks for the offer but I do plan to be ready for that run. My deadline for this project is april 30th so its really gonna start moving here. I have ordered some parts from the states so I hope they arrive soon.
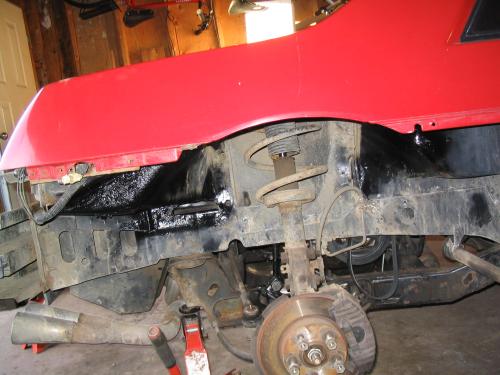
What type of paint are you using? When I repainted my front, I used primer on the spot where the rust was, then regular black paint for the rest of the front. On the frame and every where else, I just used some Ashphalt undercoating, you cant see any of them areas, so I got something that should seal better.
I put the undercoating on the frame behind the rear wheel inner fender, side of the trunk where rust is common, the area where the rivets go for the rocker panel ( the part next to the coolant tube) on both sides, and my front crossmember. I also did my battery tray with this ashphalt because I had a leaky battery and it ate the paint away.
I'm just using a comman automotive rust paint. Por-15 is to hard to get here so I went with this stuff. I unmasked it and it looks great! I'll post pictures alittle later on today.
Today was a very productive day in the garage. First I want to start off with clearing up this antenna mistery. I tryed my radio today for fun to see what the reception would be like. It was better then it was before! I can now pick up a few extra channels.
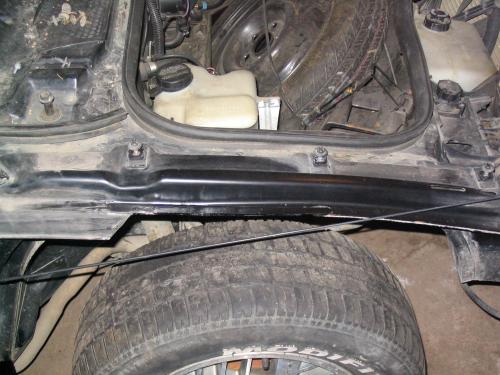
Here's some pics from yesderdays finished product of the rust removal and painting.
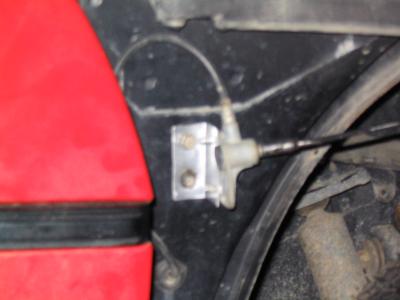
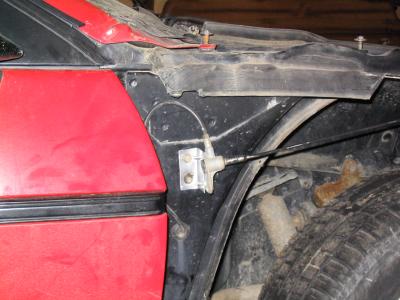
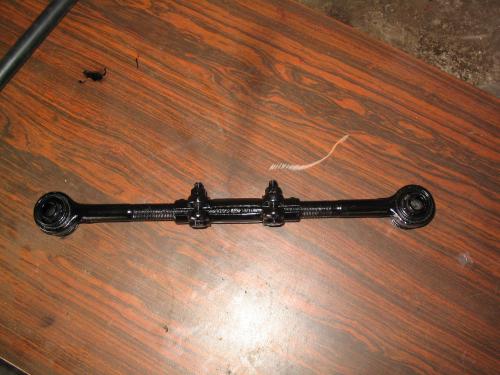
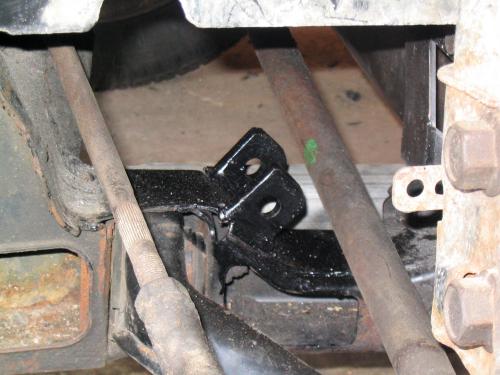
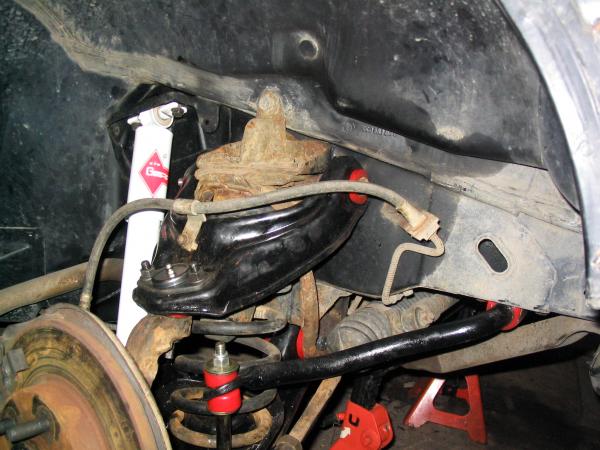
Here is alittle modification that must be done to control the engine's movement in the bay. I want to thank rockcrawl for the idea. I used the same idea but with differnet materials and this may help some people out if they have a spare 88 parts car sitting around.
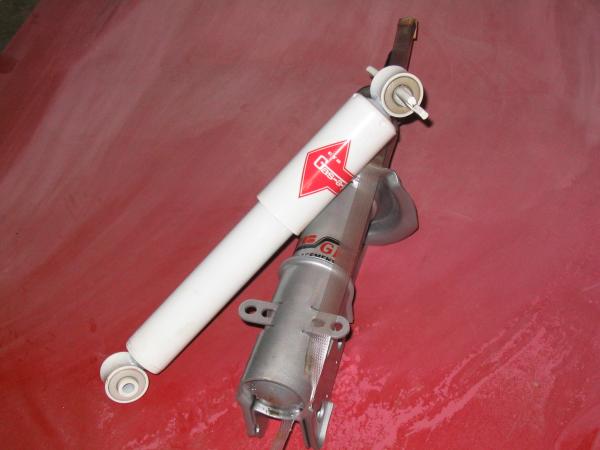
Aquired a 88 ajustable endlink(proper term?), take it apart and give it a few coats of paint.
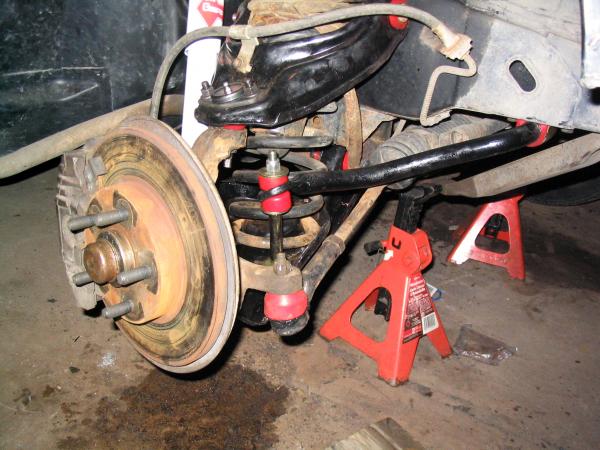
Next, get 2 peices of metal welded to your cradle. Have holes drilled in each one.
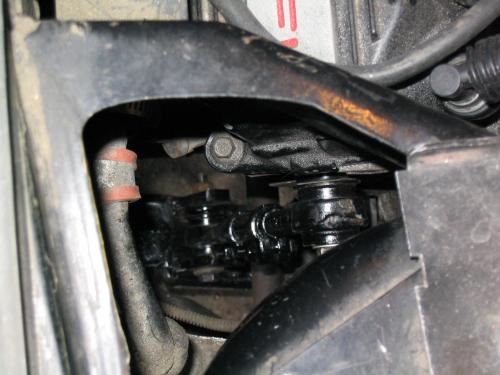
Then simply attatch the endlink to the cradle and to one of the three holes in the rear head.
IP: Logged
11:11 PM
May 7th, 2004
SplineZ Member
Posts: 952 From: Edmonton, Alberta, Canada Registered: Nov 2002
Thx onemohr fiero, I bought an orbital sander today and made good progres in sanding down my pannels. I'll try to get some pictures tomorrow, hopefully have her in the paint shop by monday.
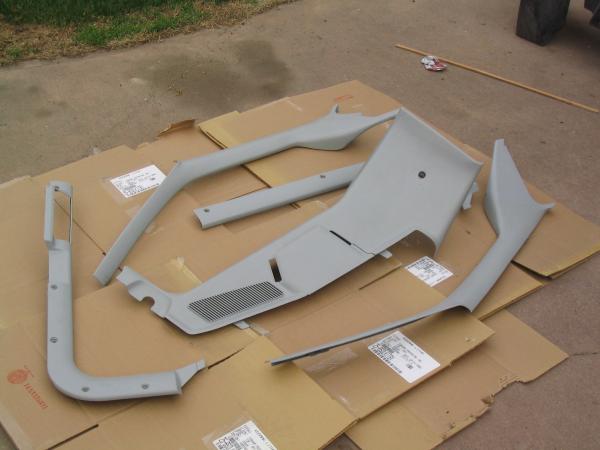
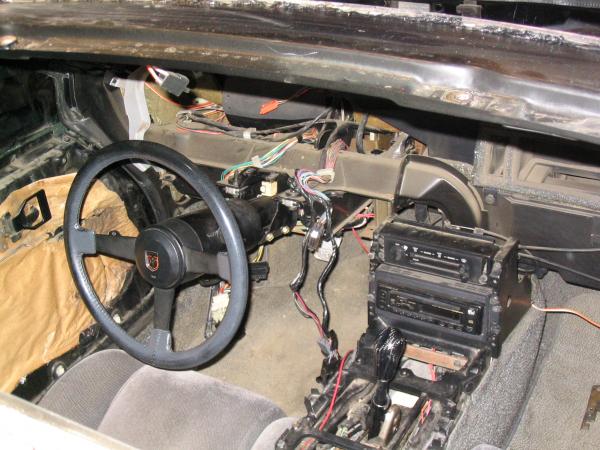
Things are moving along nicely now. I really want to unveil this car to my club at an upcoming show on the 12th of june so that is my deadline. Here's some pictures of my progress as its coming along.
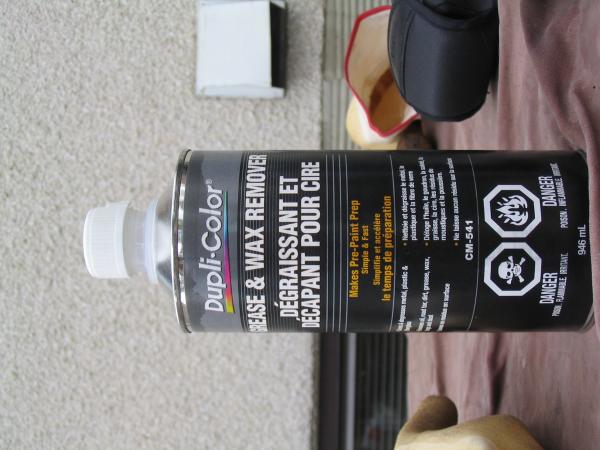
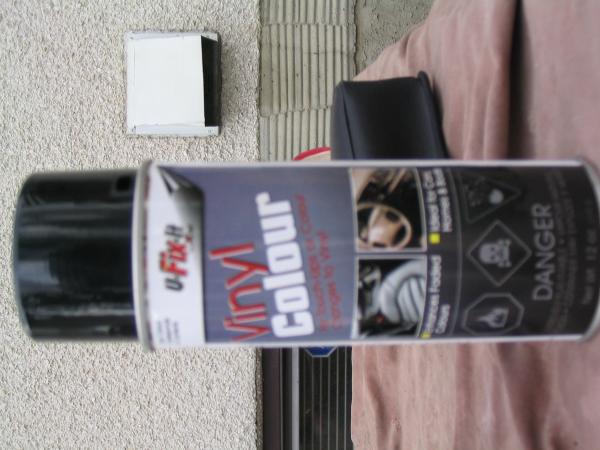
I've decided to change my interior color to black. Here is the cleaning and painting materials I used. The dry fast and look great. I first Clean intensively with soap and water, then used the silicone and wax remover. The paint has stuck very well. I am now letting the peices set completely.
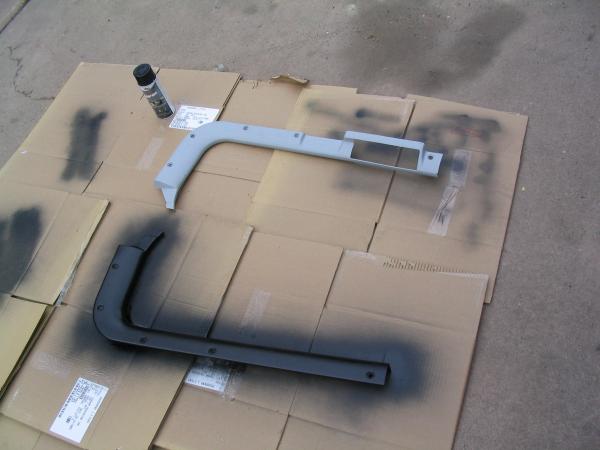
Here's some still wet photo's and comparison to the old color
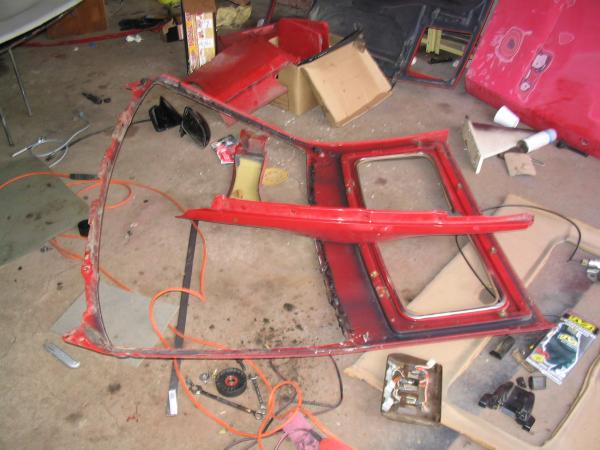
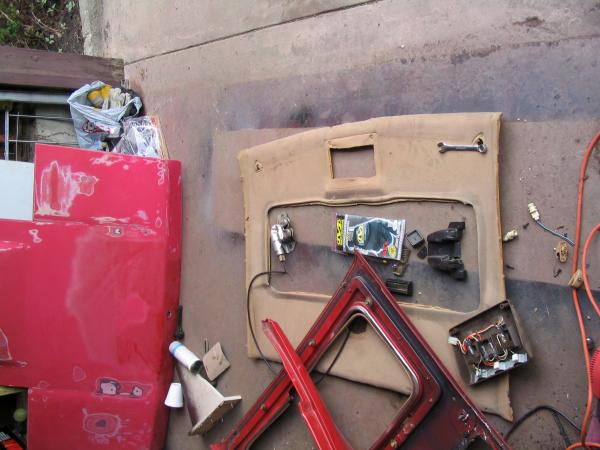
As I plan on painting my car black and worry'd about the hot summer(I don't have ac) I decided to put a sunroof in my car. I ordered new headliner material(charcoal) and it will be in on tuesday.
Off with the old
Here's a shot of the new roof skin and headliner that needs to be redone.
Couple Misc shots
IP: Logged
04:42 AM
crzyone Member
Posts: 3571 From: Alberta, Canada Registered: Dec 2000


 )
)