|
| Fiero Heater Core Replacement (Page 1/5) |

|
RWDPLZ
|
DEC 12, 12:48 AM
|
|
AC Equipped Fiero Heater Core Replacement
Heater core replacement can be a real pain in some cars, but on the Fiero, it's actually pretty easy, if it's not entirely obvious how to proceed at first. Anyone with a basic set of hand tools can pull this off.
Some signs you may need to replace the heater core include
-A wet spot on the passenger side floor mat or carpet
-A sudden sweet smell in the interior
-The heater no longer gets warm
-The windows fog up and it takes forever to clear
-Steam coming out of the vents
Which Heater Core Do I Have?
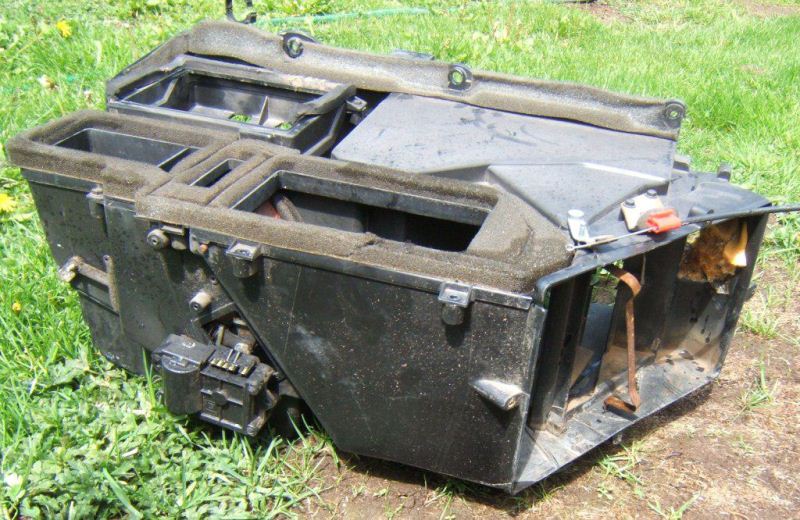
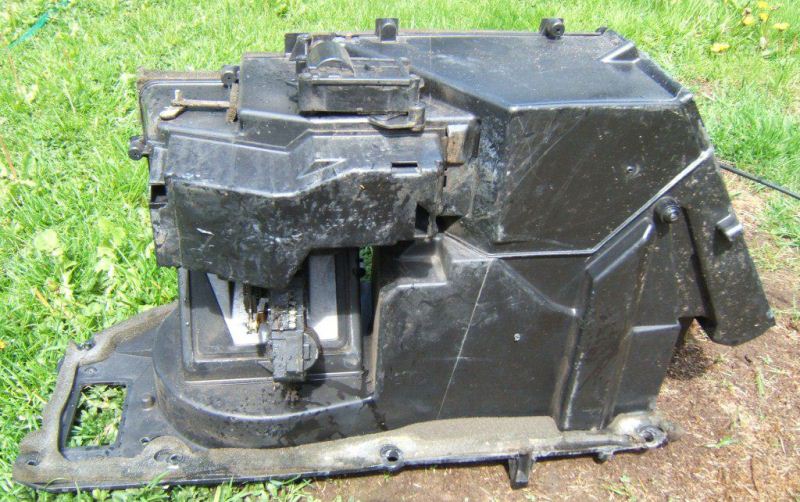
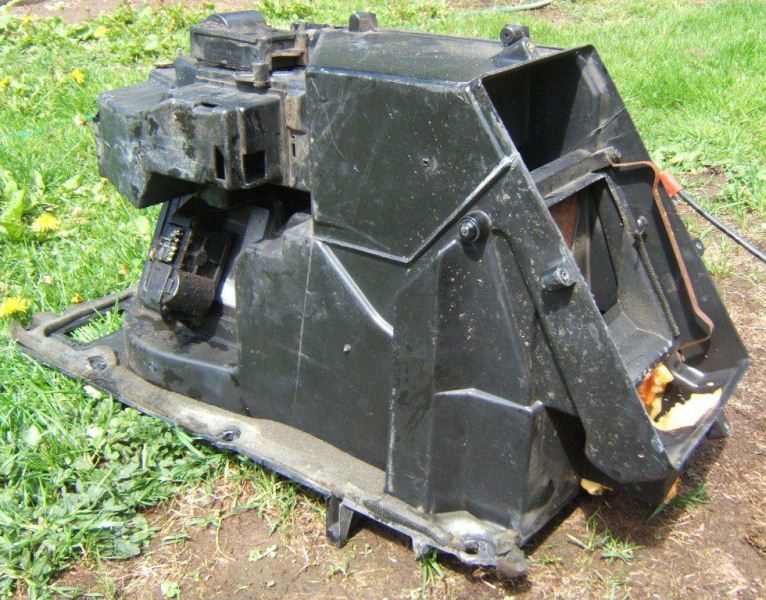
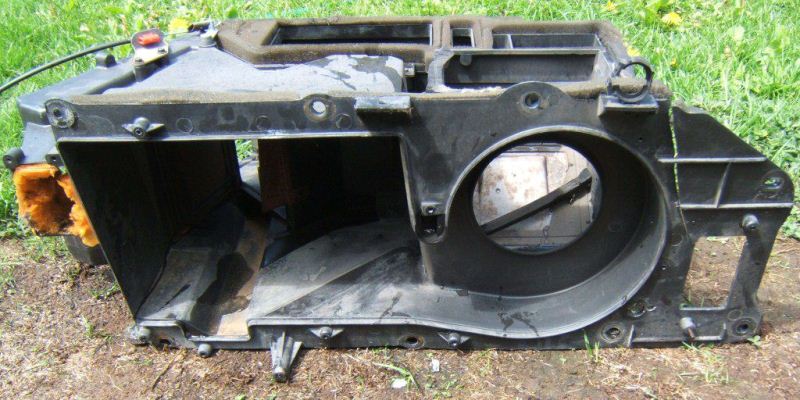
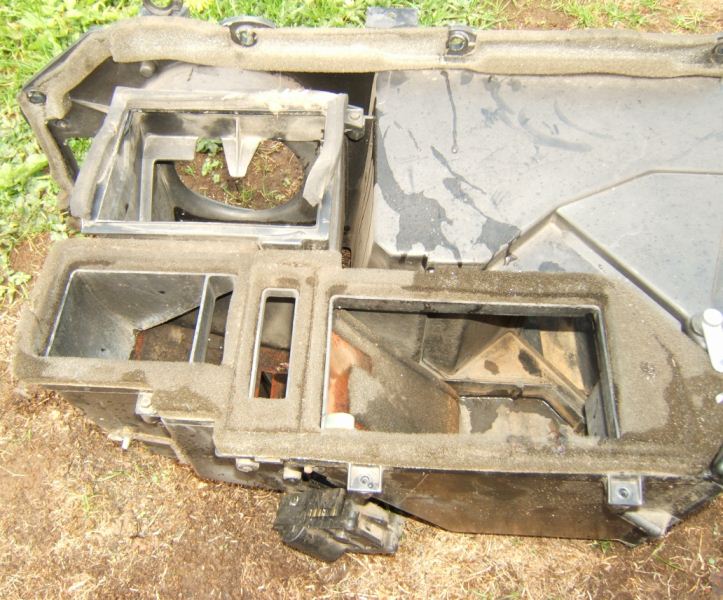
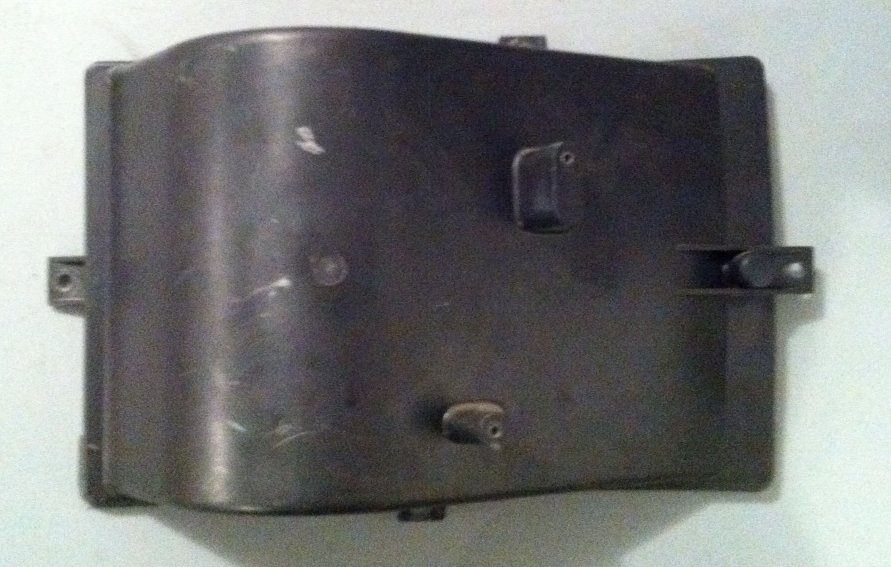
The Fiero would have come with one of two heater cores, depending on whether the car originally came with AC or not. Pictured below, non-AC heater core on the left, AC core on the right (pic originally posted by Patrick)

This writeup will cover the AC heater core replacement. Replacing the heater core in a non-AC car is actually simpler, since it's removed entirely from the front compartment.
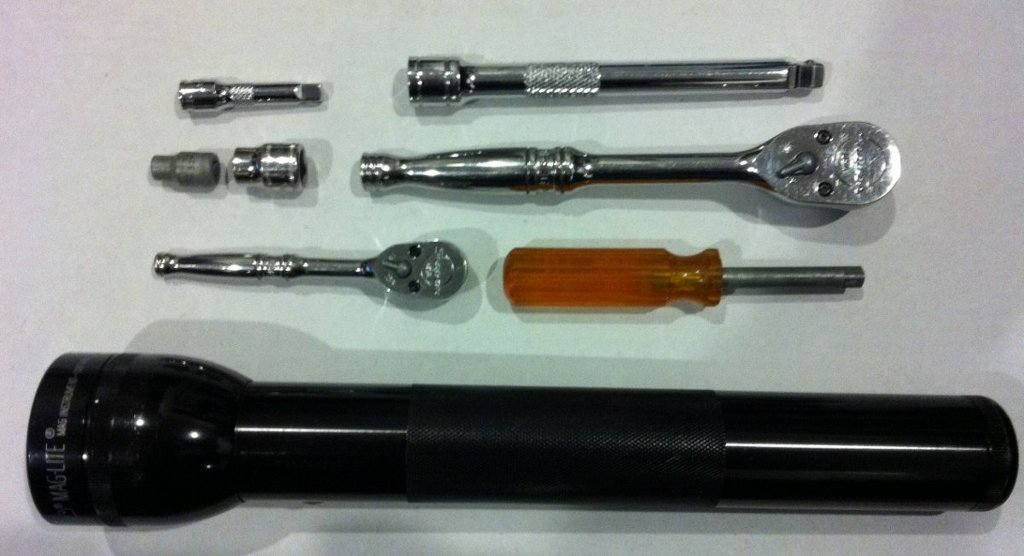
Tools
Tools required include but are not limited to
-Flashlight
-7mm 1/4 drive socket
-1/4 drive ratchet
-short 1/4 drive extension
-1/4 drive nut driver
-10mm 3/8 drive socket
-3/8 drive ratchet
-3/8 drive extension, 3-6" long
-Wide plastic spreader
-Various pliers
Hose Removal
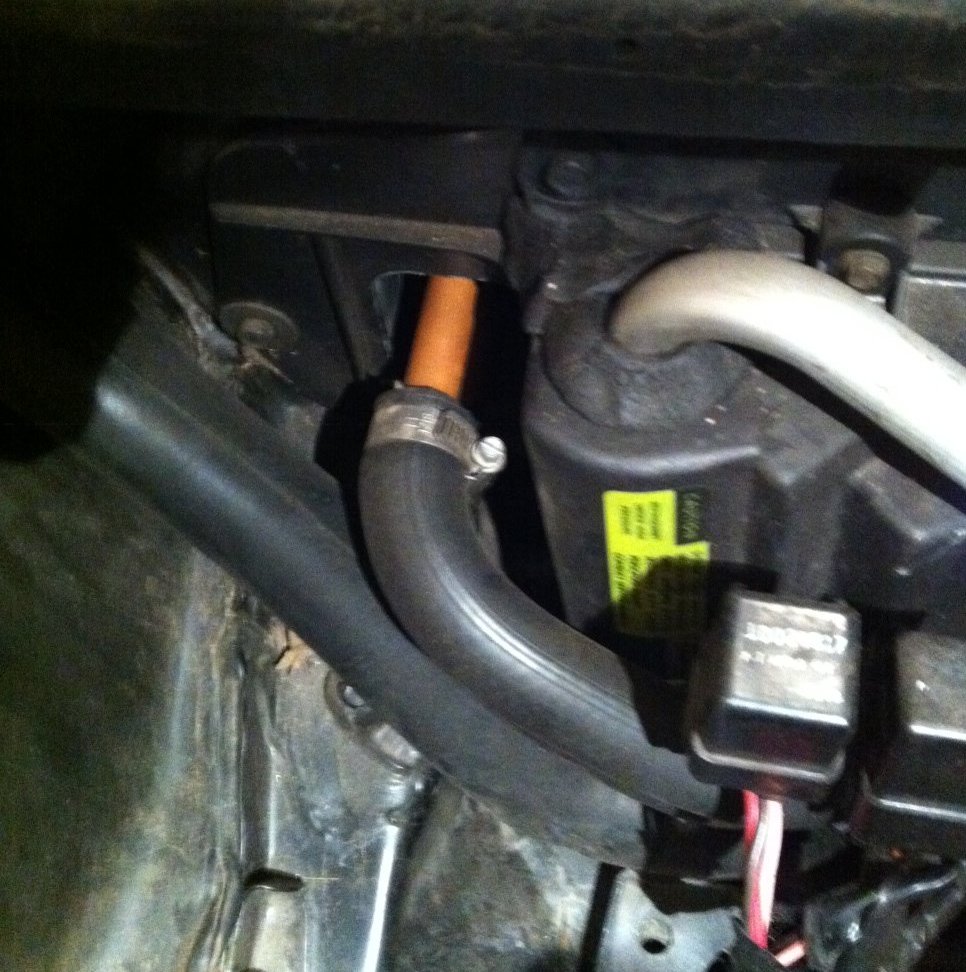
The most difficult part of the replacement is getting the hoses off the old core. As a last resort, you can cut the hoses off, but in order to replace the hoses, you would have to remove the front compartment tub. Usually there's enough slack in the hoses that you can cut off some of the hose, and use that to start working the hoses off. You can also crush the tubes inside the hose, and remove them that way. In order to prevent spillage, you can clamp off the hoses, or once disconnected, run them into each other using a scrap of smaller hose or a small pipe. There will still be some coolant left in the heater core, so remove it carefully once it's loose.
The washer fluid reservoir can be unbolted and moved aside without draining it, creating much more room to work. It's held in with two 10mm nuts, an extension makes them a little easier to reach.
Originally there was also a foam insert with a couple holes that goes around the tubes, and sealed the box from the front compartment. This can be reused, or you can make a new one out of insulating foam from the hardware store.
Interior Work
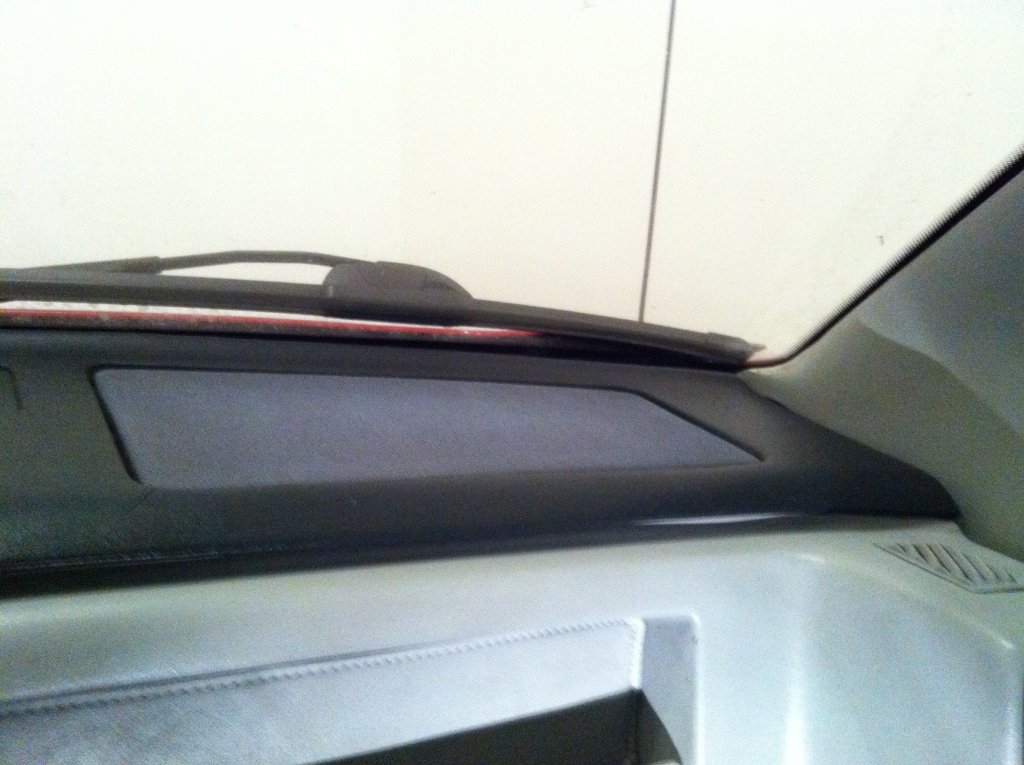
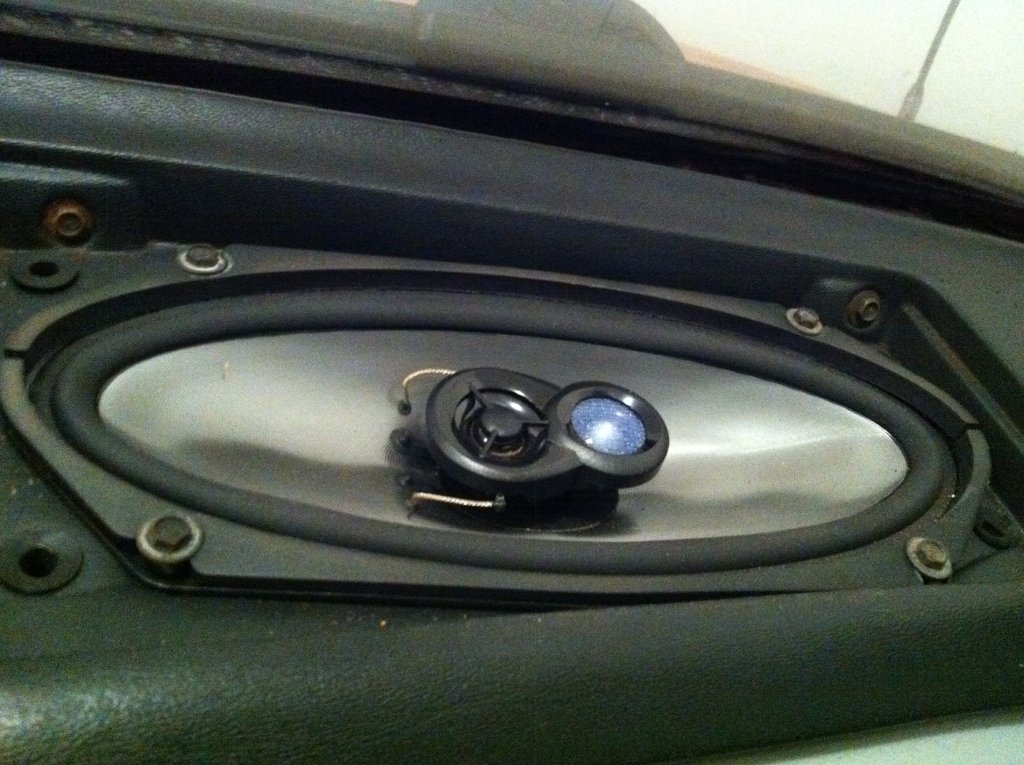
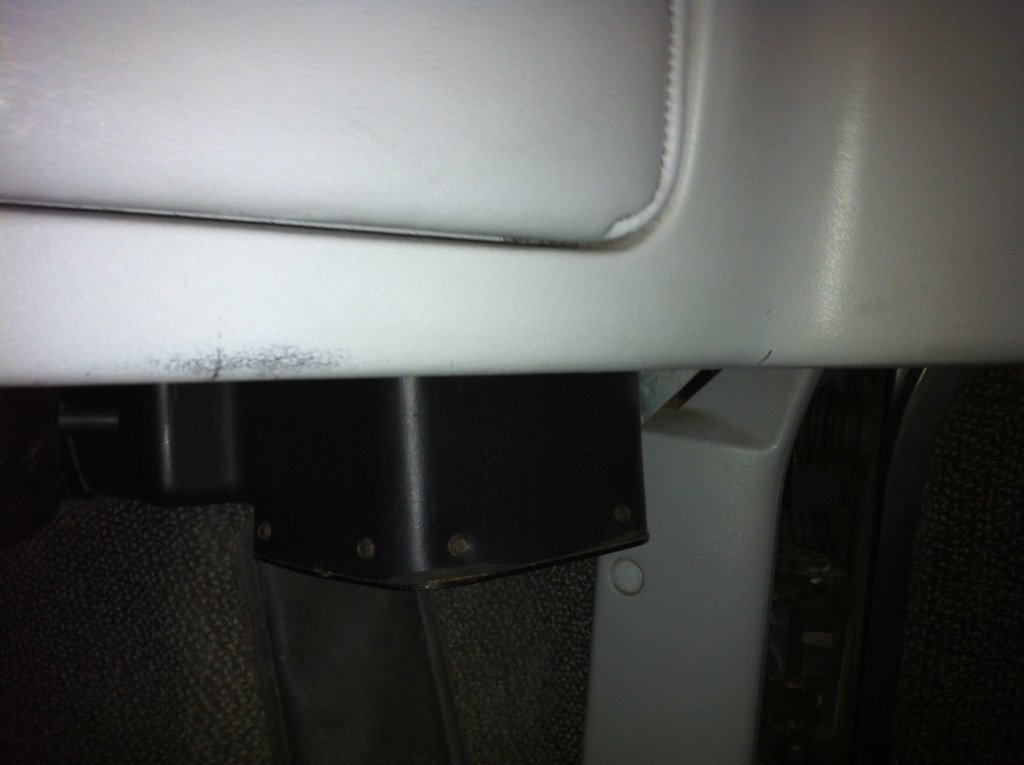
Most of the remaining work is done from inside the car, which is nice if you're doing this in February and it's 10 degrees outside. The first step is to remove the passenger speaker cover and speaker to gain access to one of the four screws that holds the heater core cover in place. Carefully, using a wide plastic spreader or similar, pry the speaker cover up and off, being careful not to apply too much pressure to the dashboard. This can result in cracking the dash, as pictured. Which was done on purpose so as to demonstrate what NOT to do. Yeah, that's it...
Next, remove the 4x10 speaker, held in with four 7mm screws. It then lifts out, and can be unplugged from the back.
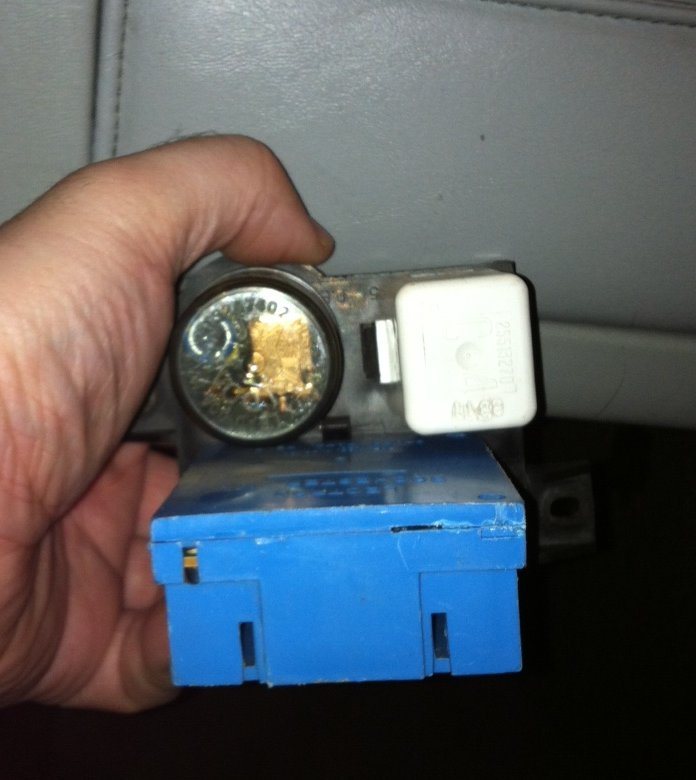
Remove the convenience center, which has the flasher unit, horn relay and sometimes the chime unit (aka the blue dingy thingy), held in with a couple 7mm screws.
Now under the dash, remove the subwoofer assembly if equipped, held in with two more screws by the interior light bulb, one where the convenience center was, and the same type of speaker connection as the front speaker
Now you should have access to the screws holding the heater core cover on, located on the sides, top, and bottom of the cover
Here's the hard-to-get-to top screw

And just for clarity, here is what the heater core cover looks like outside the car. The four tabs sticking out on each side of the cover are where each of the screws go in
This is the early 84-85 cover. In 86, they changed it to one with a bracket that allows the convenience center to be mounted facing the passenger's feet, instead of sticking out towards the passenger's door, thus allowing the subwoofer to be installed in the Performance Sound cars. The screws are in the same place on both covers.
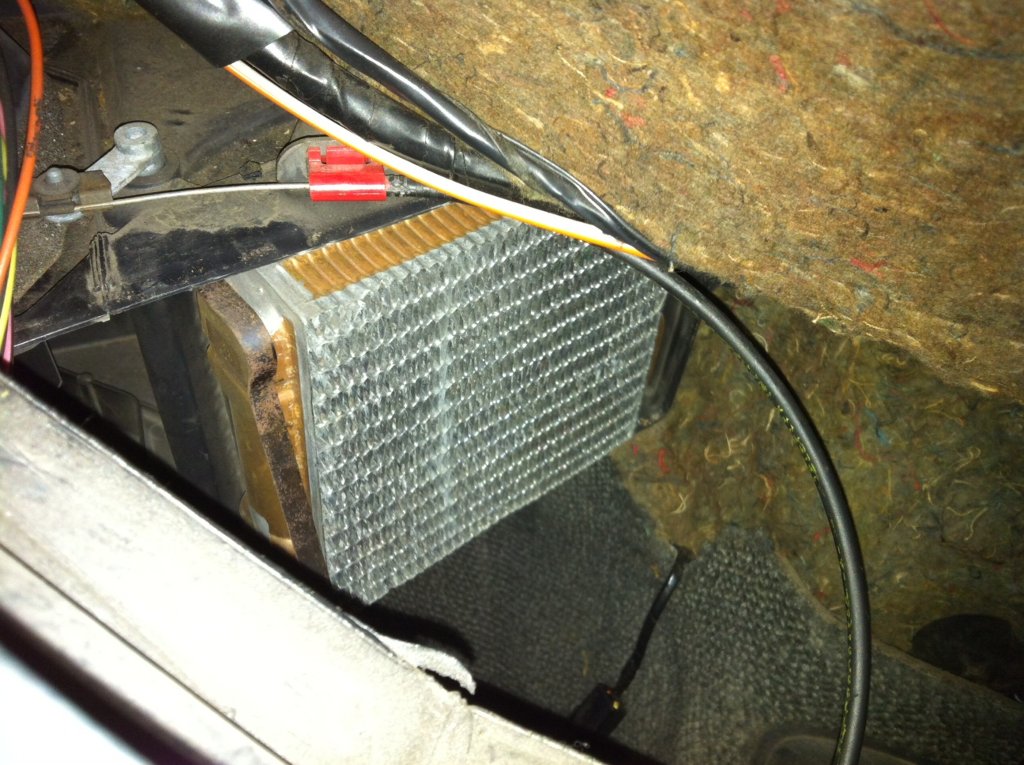
Before removing the cover, lay down some old towels or a bunch of paper towels to keep the coolant off your carpet. The only thing left holding the core in are two 7mm screws holding the bracket to the heater core. Here, you can see the entire face of the core, and the bosses where the four screws go in around the perimeter.
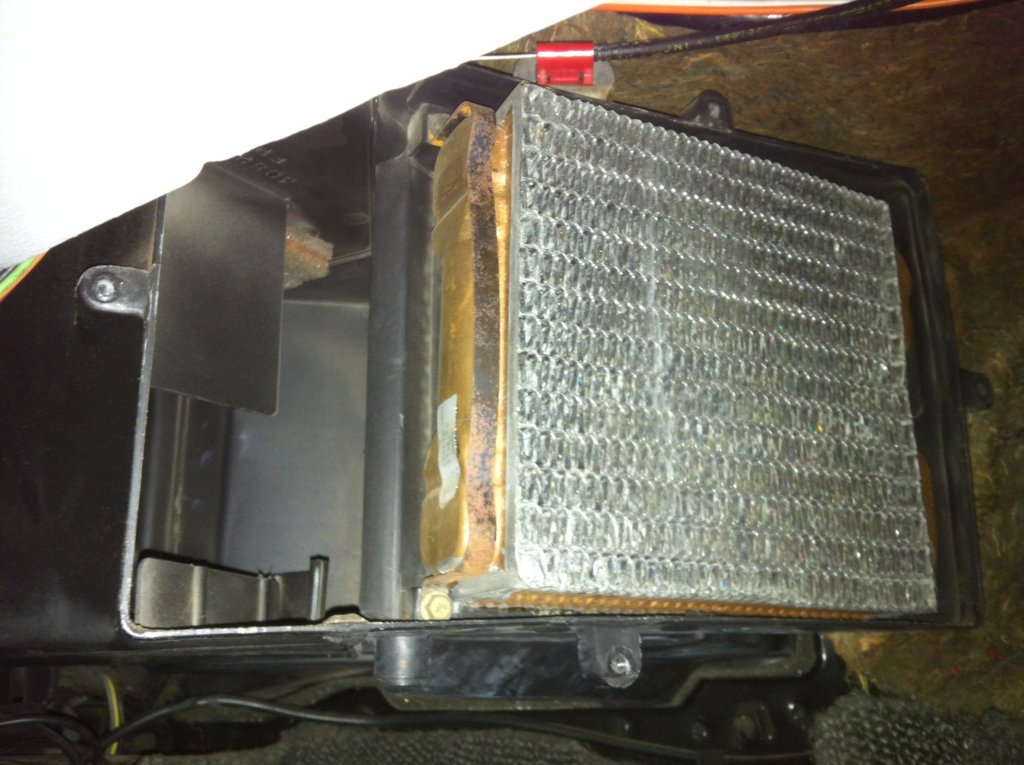
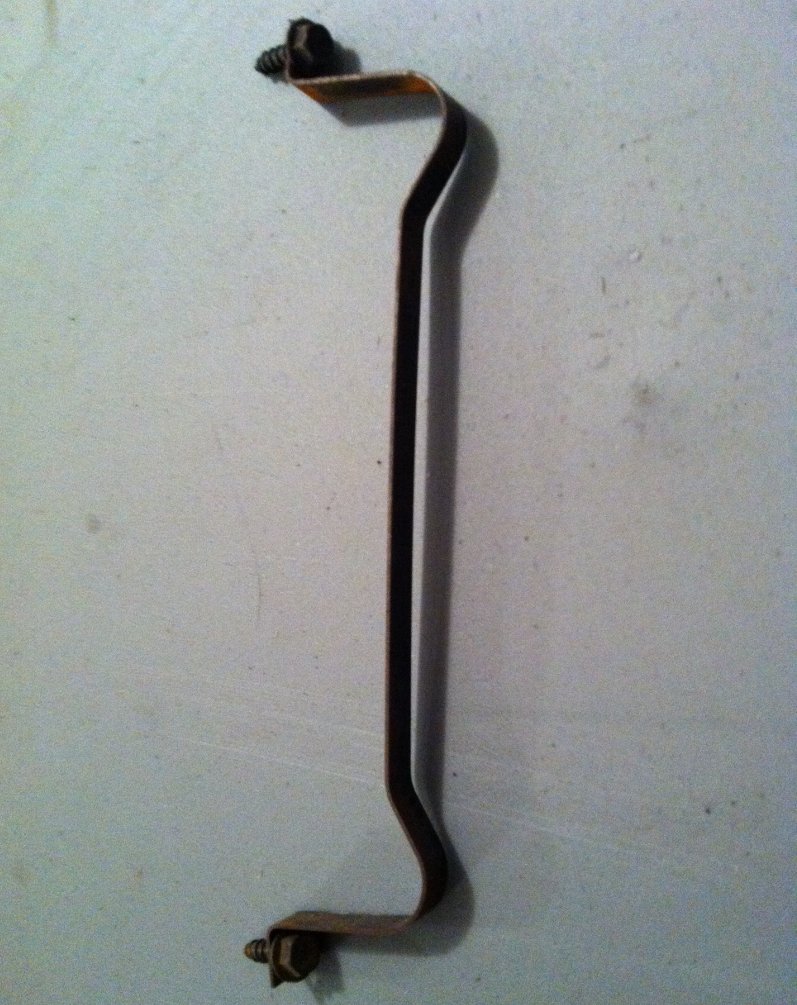
Two 7mm screws hold in a small bracket on the left side of the core. Once this is removed, the heater core comes right out. Be careful no to spill the remaining coolant inside the core on the carpet.
Here's what it looks like from the top through the speaker hole
Clean out any spilled coolant in the box, or the smell will persist. I like Tuff Stuff foaming cleaner and paper towels.
From this point, installation is the reverse of removal. Follow theogre's procedure to burp the cooling system to remove any air that was introduced as a result of opening it up.
http://home.comcast.net/~fierocave/coolfill.htm
Anyone please feel free to add more details, especially pictures of how to do it on a non-AC car.
|
|
|
|
Ang84Indy
|
DEC 12, 09:12 AM
|
|
|
Great write-up, and a "+" for your effort!
|
|
|
|
bulldog85043
|
DEC 12, 02:38 PM
|
|
|
Beautiful write up. One question: I get a dripping inside the car when I run the A/C. Is the drain located in this same box?
|
|
|
|
masospaghetti
|
DEC 12, 03:07 PM
|
|
|
The a/c drain line is in the evaporator housing, which is downstream of the heater core. You can see the drain tube from the front compartment. I can't remember if you can see it from inside or not.
|
|
|
|
RWDPLZ
|
DEC 12, 03:37 PM
|
|
|

|
Raydar
|
DEC 13, 12:32 PM
|
|
|
Very nice write-up! Thanks!
|
|
|
|
Old Lar
|
DEC 13, 12:55 PM
|
|
|
I wish there was some way this could be stored on PFF in a how to fix-it file. I have already done this repair on my 88 GT and 87 GT. I'm getting too old to remember how I did them and would need a refresher if I need to do it again.
|
|
|
|
1988 Formula
|
DEC 13, 01:12 PM
|
|
|
Thank you RWDPLZ, I was planning my first first heater core change in a couple of weeks and this info will really help!
|
|
|
|
Frizlefrak
|
DEC 26, 08:00 PM
|
|
Well, got slimy foggy windows and the stench of coolant in the car. Time to change my heater core. A huge thanks RWDPLZ for the write up. 
|
|
|
|
FieroG97J
|
DEC 26, 08:36 PM
|
|
|
Harbor freight has a tool you will need. It looks like an ice pick, but it has two right angle bends in it so the sharp point is pointing back at you when it is in your hand. (sorry mine is not available for picturing) Along with some lighter fluid (no flame) or some paint thinner, you need this tool to get the hoses off the nipples on the heater core. CAREFULLY insert the hook between the hose and the nipple from inside the front compartment and after applying copious quantities of solvent to the crack between the hose and the nipple, work the hook around the joint to loosen the hose.
|
|
|
|