Ferrari 288GTO build (Page 2/61)
RCR SEP 02, 07:21 AM
There's a few pics I haven't seen yet. Thanx for sharing, Wayne.

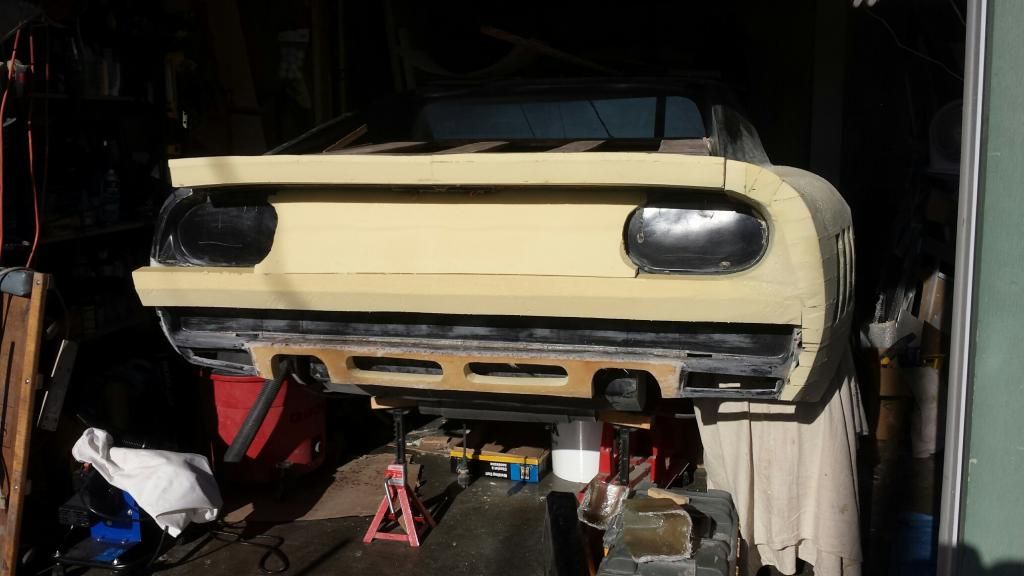
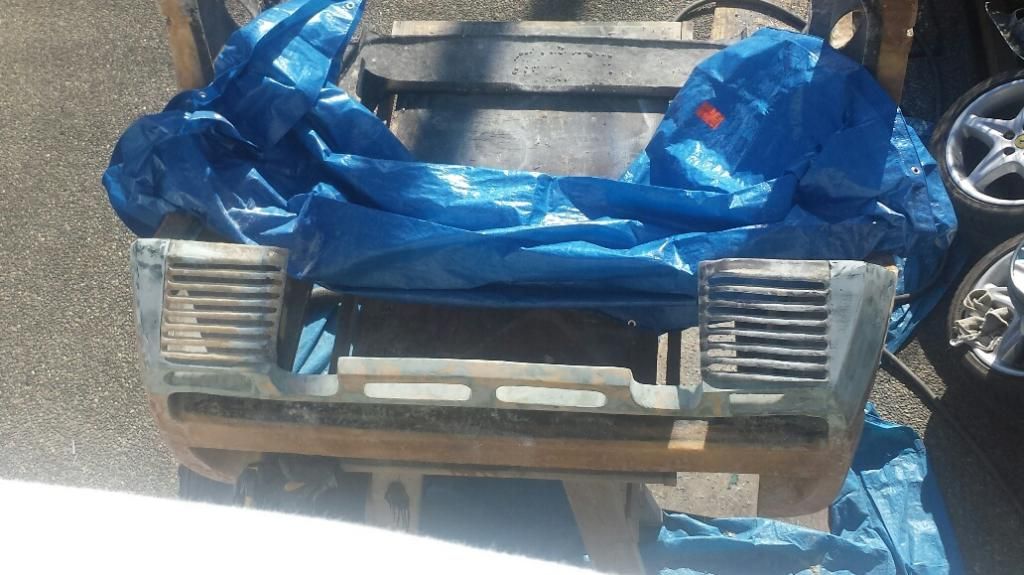
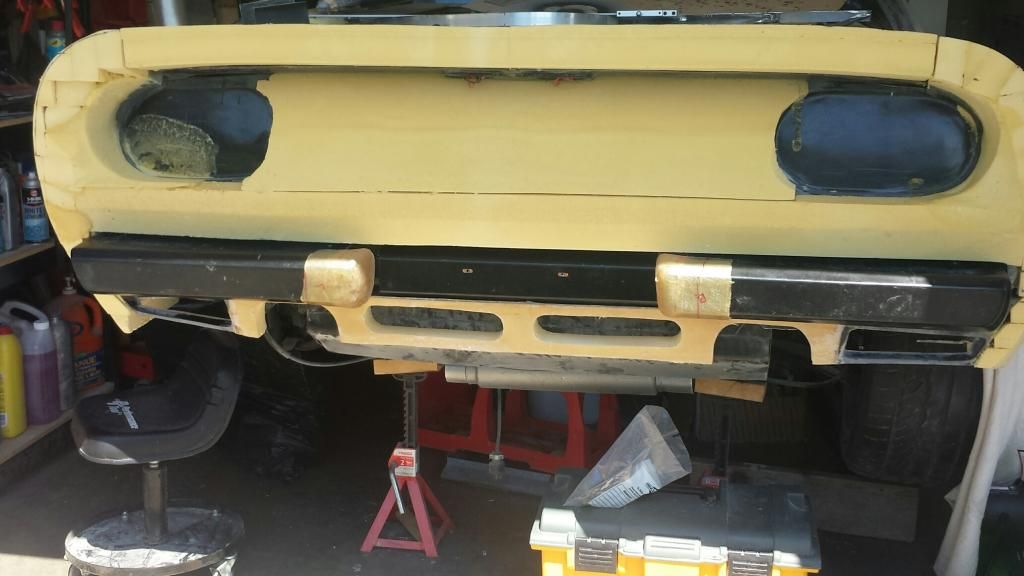
Paul, not speaking for Wayne, but that's the front bumper. I've removed it on mine for that very reason and will be replacing it with a bar/tube higher up under the nose.

Bob
dobie1 SEP 02, 11:55 AM
PaulJK
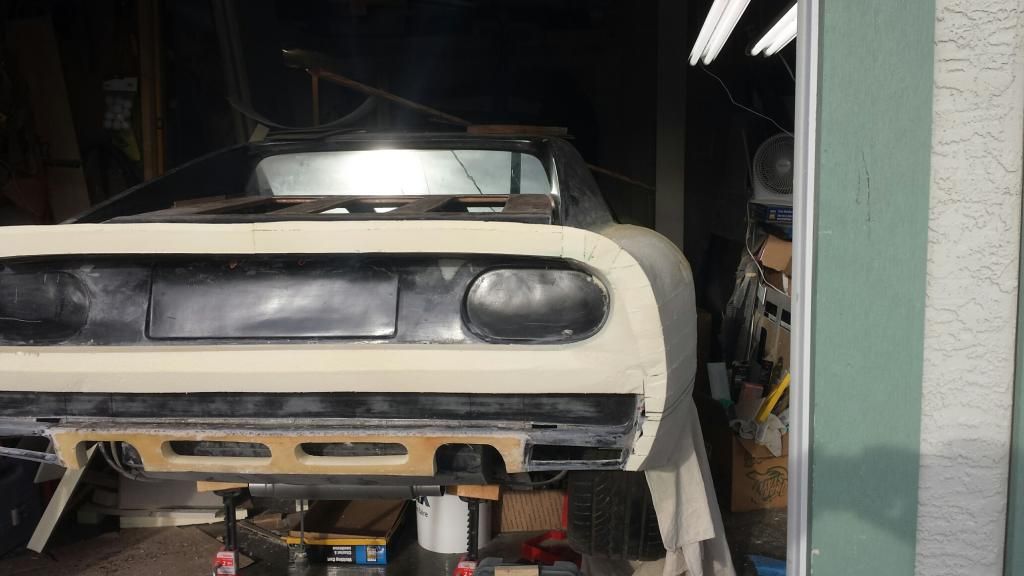
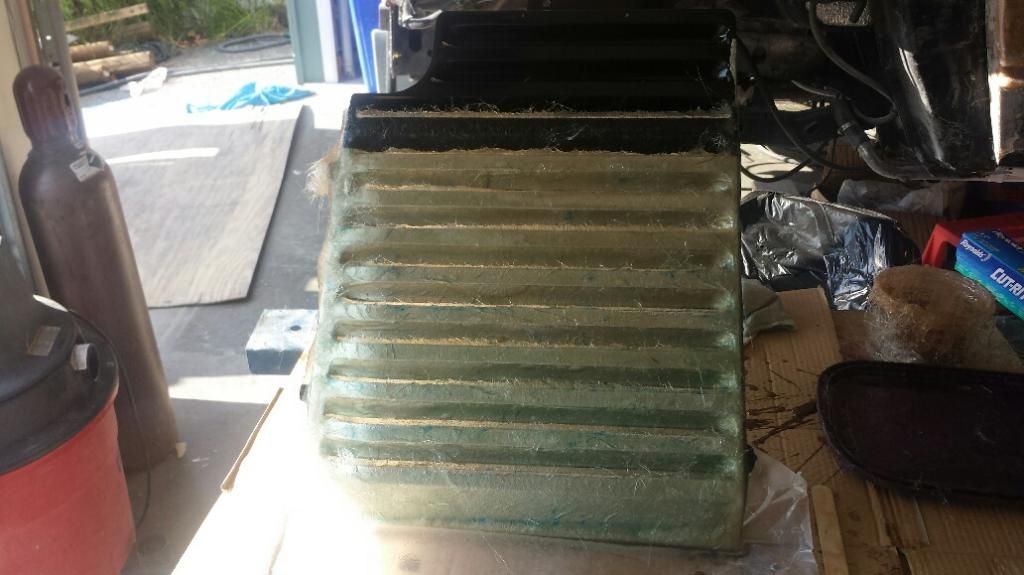
Thanks for looking ,actually the rad your looking at is the one for the inter cooler .But I will certainly be looking into what both you and Bob have done. I had thought that myself but As I eluded to I'm very limited in space in my garage so made the decision to work on the back clip first and then I plan on flipping the car around this winter and building out the front. I Plan on doing the mod that 355Fiero AKA Don has done on his making it more Ferrari like including the headlight conversion.
Hea Bob
Glad you like them!!
It looks like I still have a problem with posting my pics though, I'm put the links in, the first one worked but not the rest??
Back to the drawing board.
I hope to finish off the last of the fiberglass tie in today if the rain holds off.
Wayne

[This message has been edited by dobie1 (edited 09-17-2014).]

RCR SEP 03, 06:55 AM
...edit: I take that back. It did not work. Hmmm???

Bob

PS, I'm doing the same thing. I'm working on the back due to limited space. Once I'm happy with it, I will spin the car around and finish the front and start the passenger side.

[This message has been edited by RCR (edited 09-03-2014).]

dobie1 SEP 03, 11:42 AM
I was getting close to what I thought was the final design when a contributor MacGyver from MM's I suggest that I feather your wide body transition into the doors as well. he thought the steep curves I had were not flowing into the door skins and would give the appearance of pasted on panels. So after so deliberation I took out the tools and started back to work taking out the white foam and replacing it with resin compatible board foam extending it into the door. At the same time I carved out some more styro and replaced with expanding foam.
Enjoy. Wayne


Then the decision came on the lower scoop shape and design


Then a few changes to the upper scoop and voila`

[This message has been edited by dobie1 (edited 09-03-2014).]

dobie1 SEP 03, 02:07 PM
Then it was time to do the back end of the car


But in order to complete the back end I had to build out the Drivers side of the car!! This time I was learning from the build on the left side and started at the belt line.


[This message has been edited by dobie1 (edited 09-03-2014).]

dobie1 SEP 03, 02:16 PM
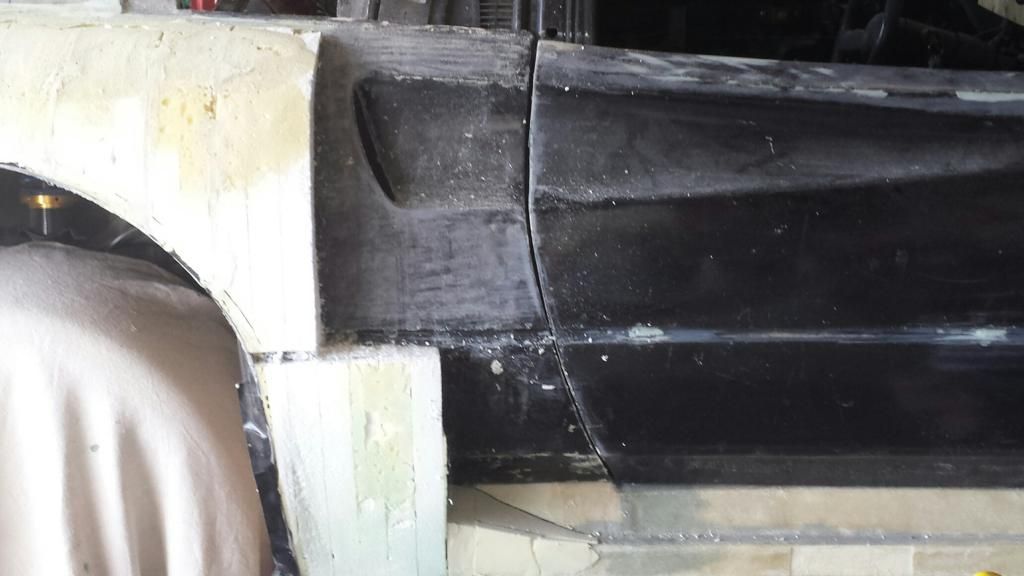
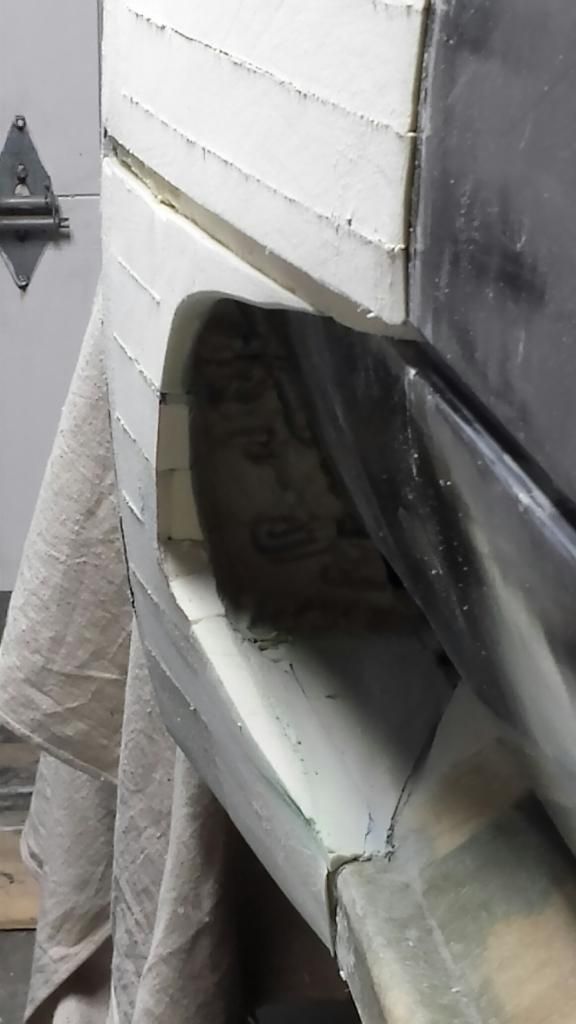
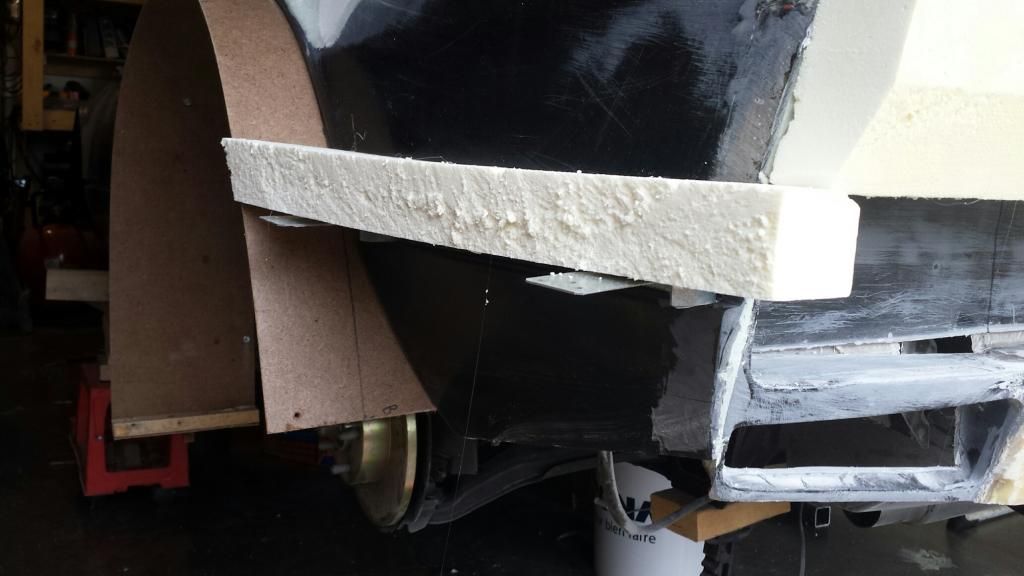
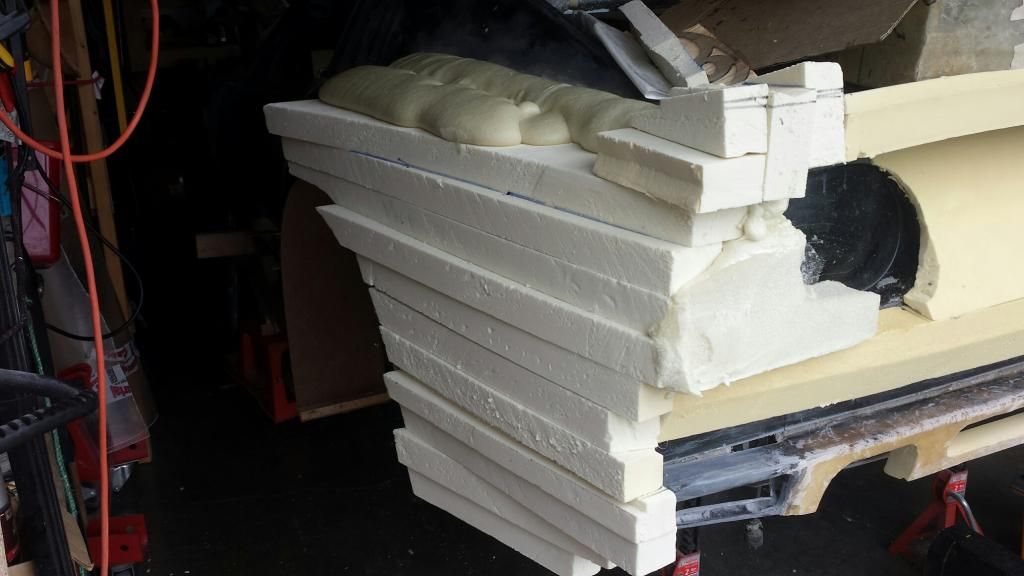
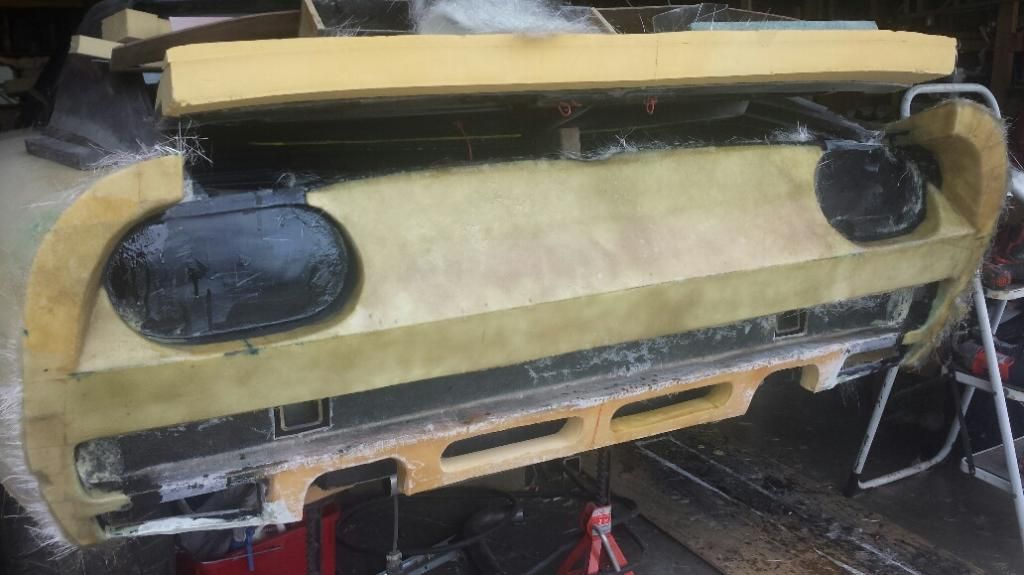
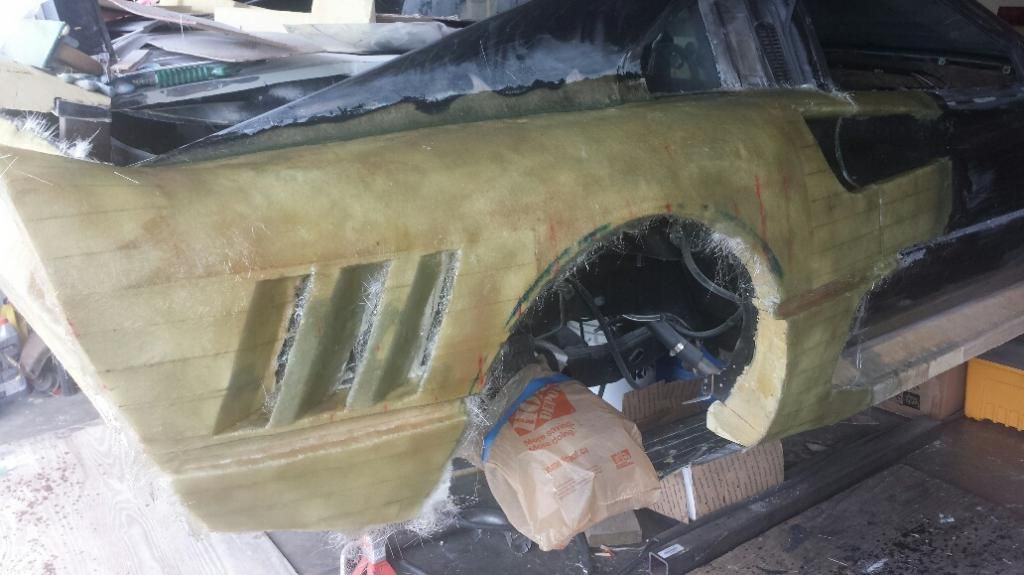
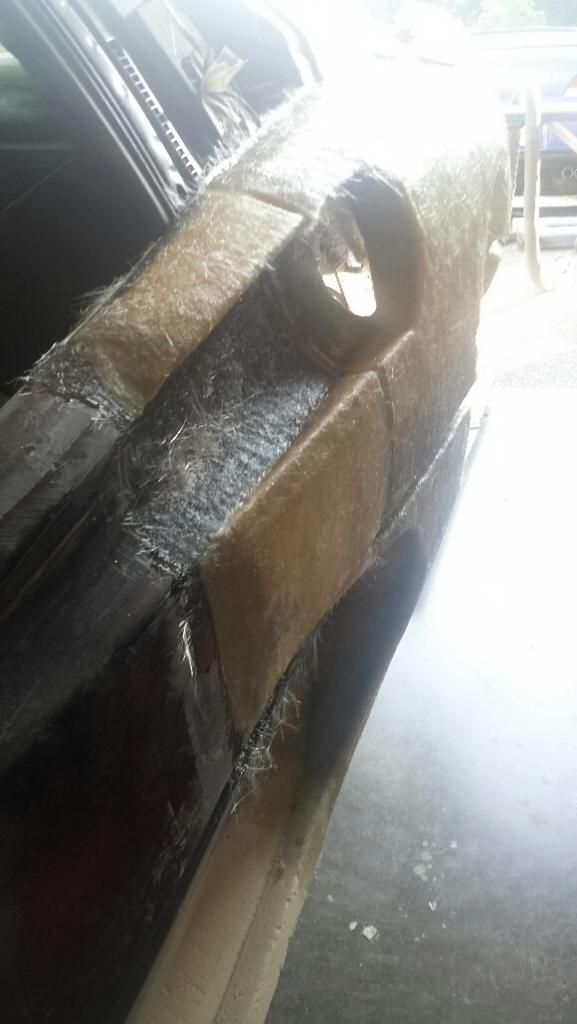
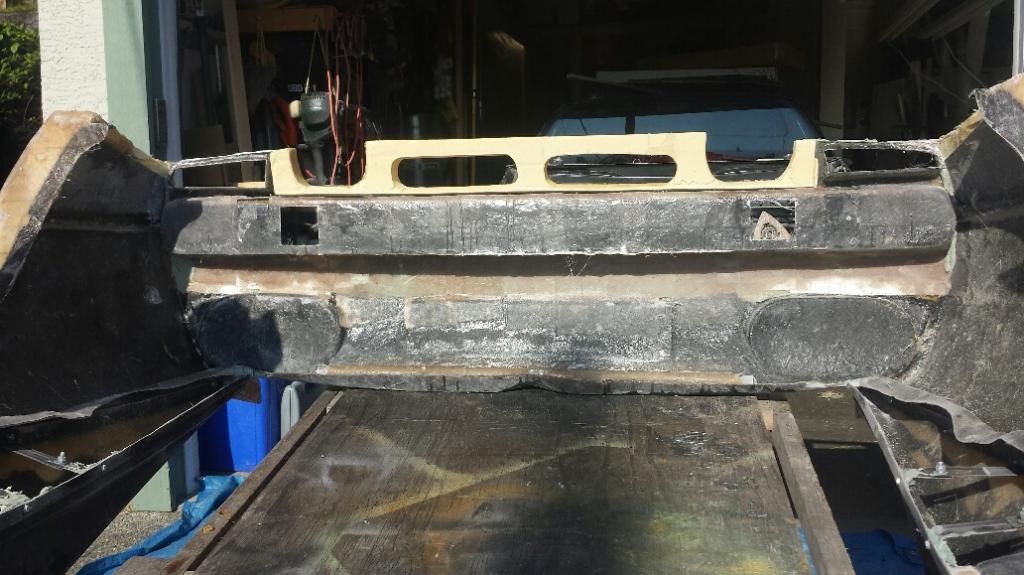
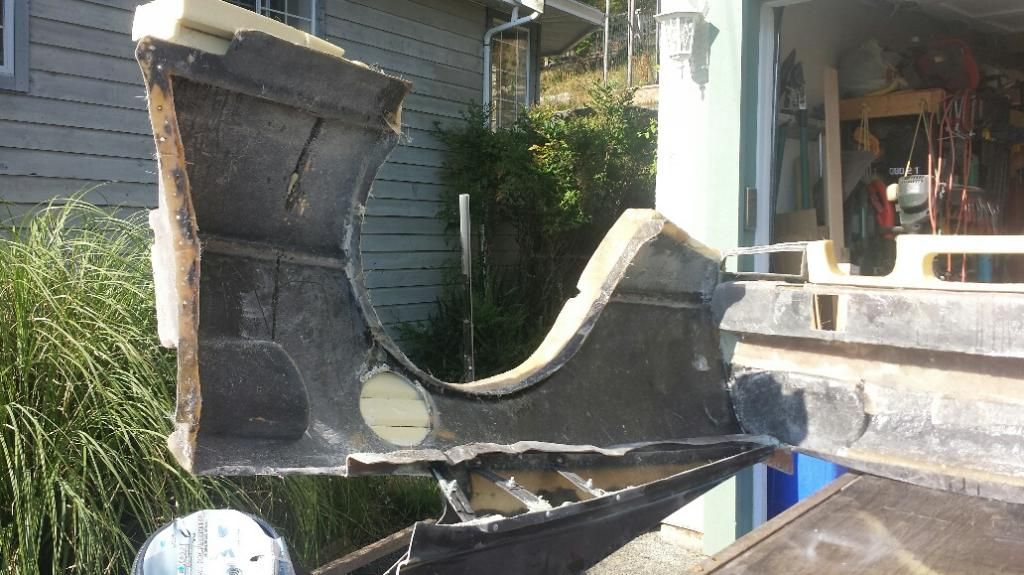
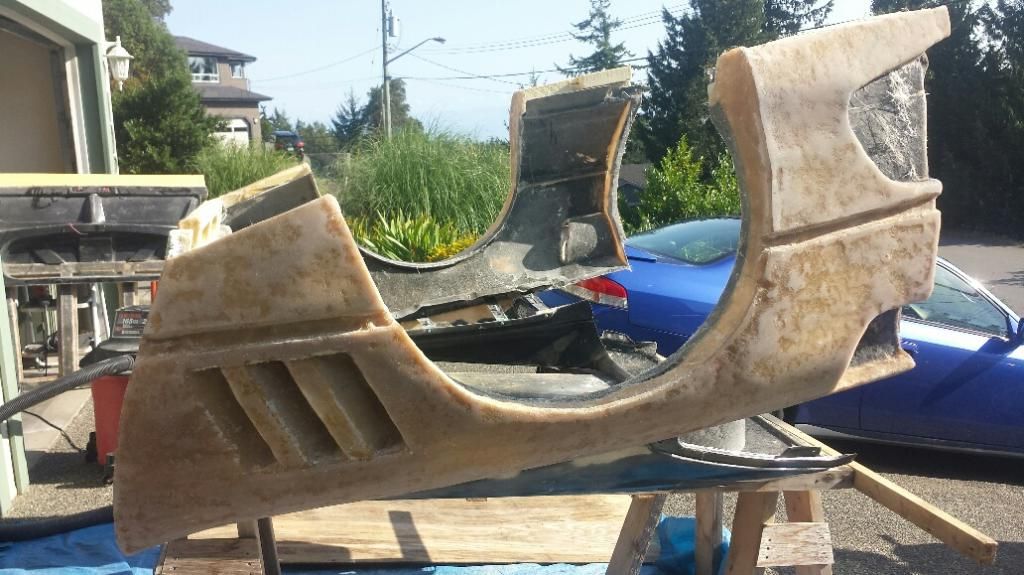
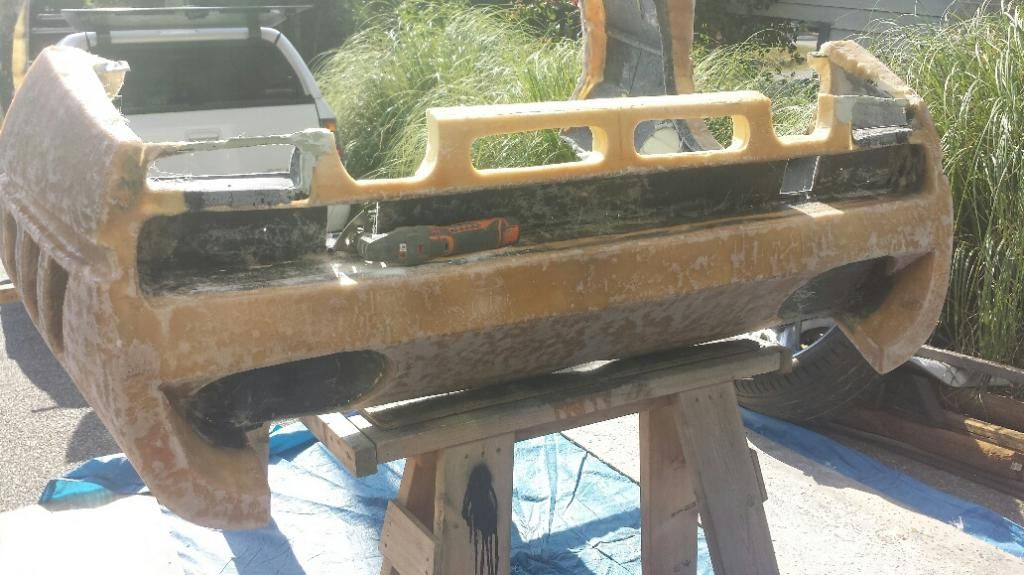
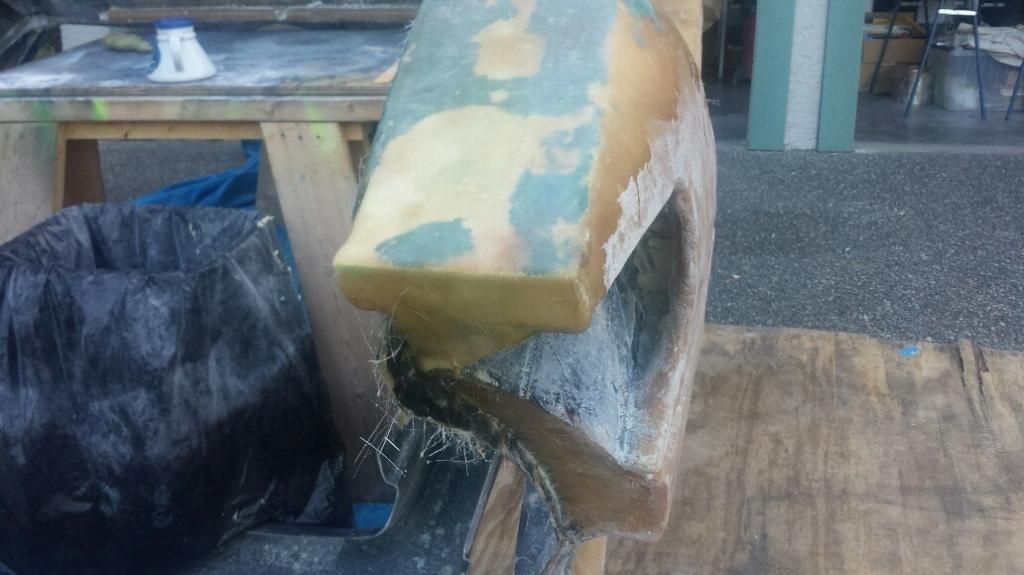
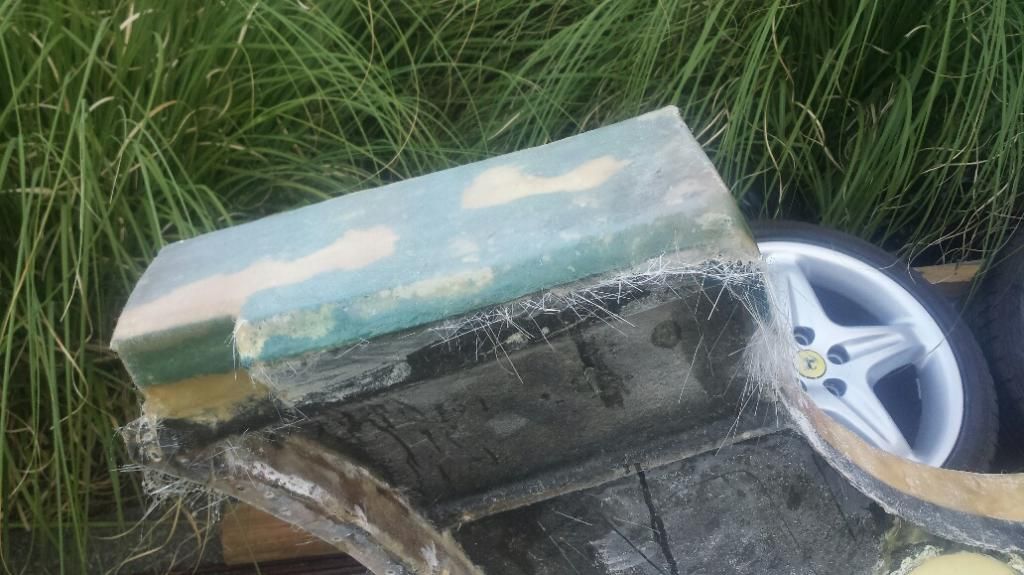
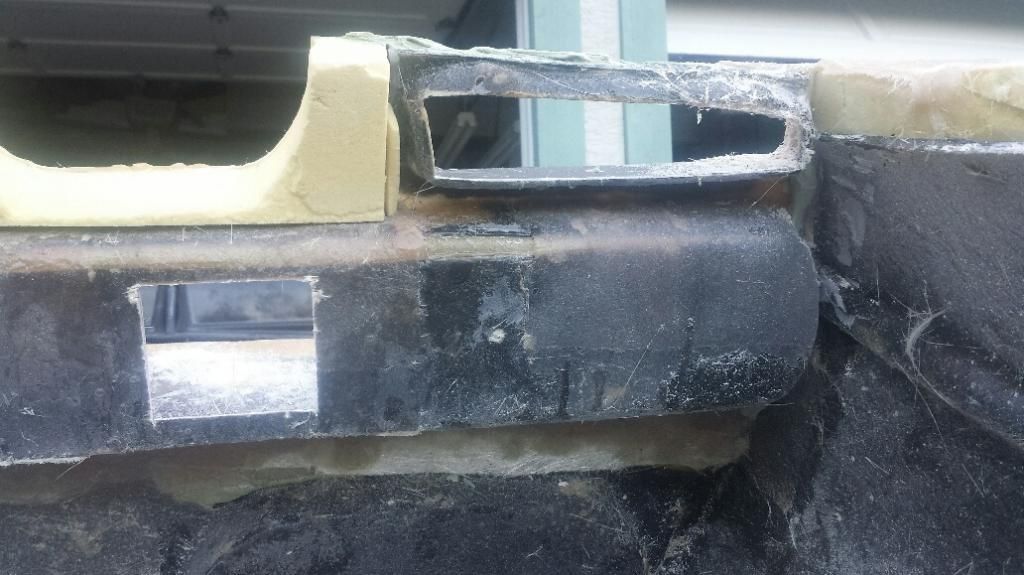
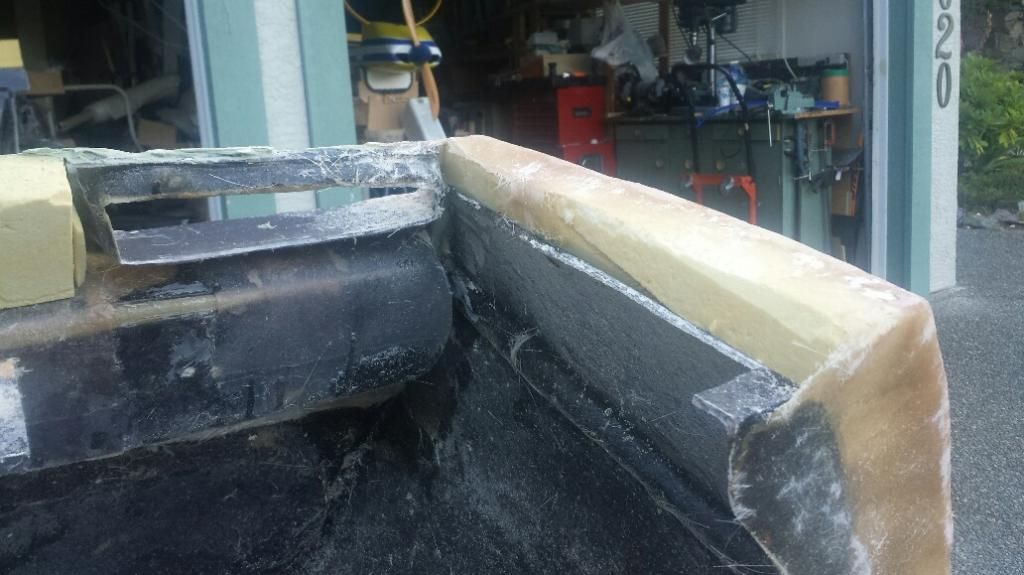
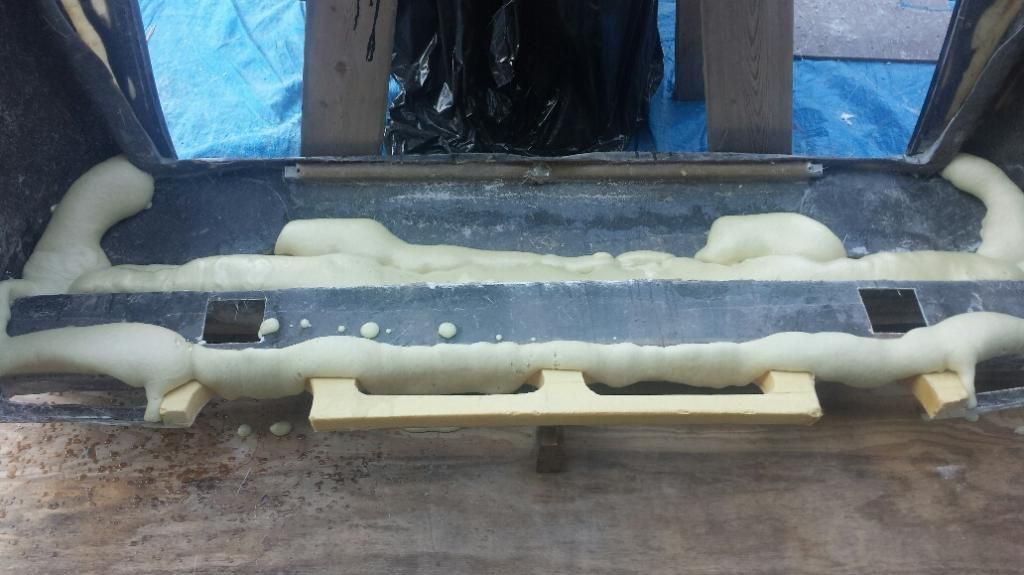
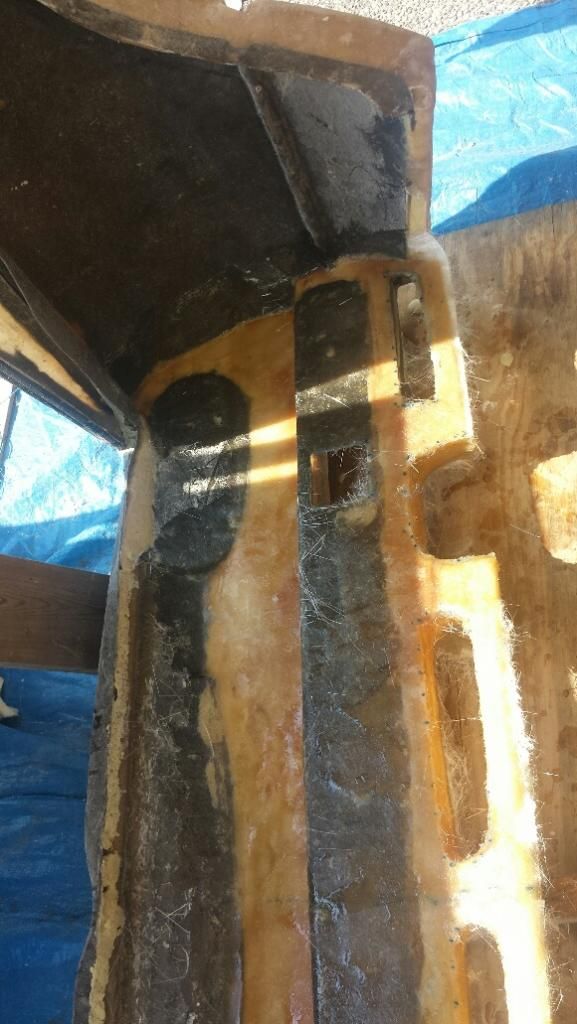
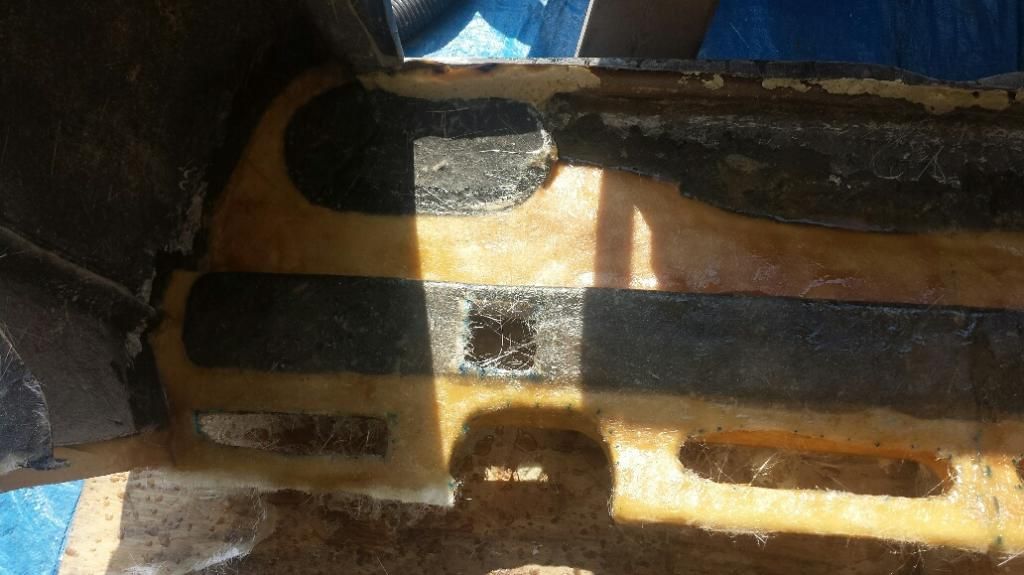
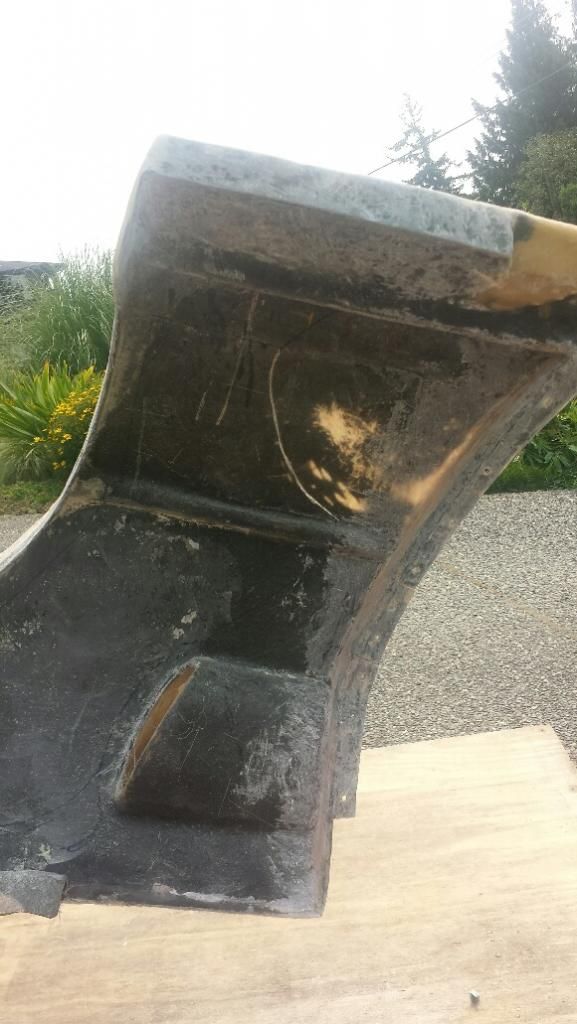
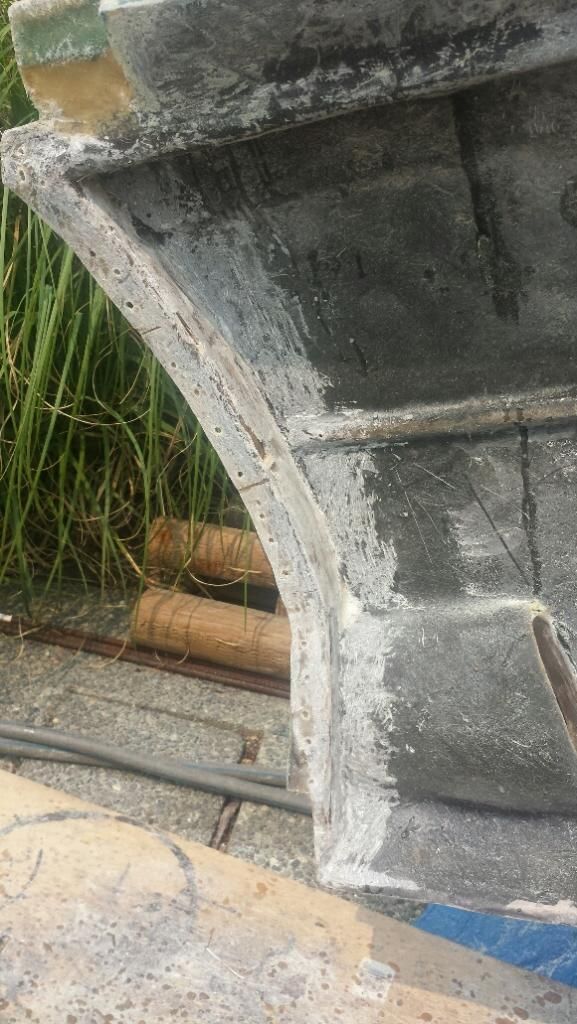
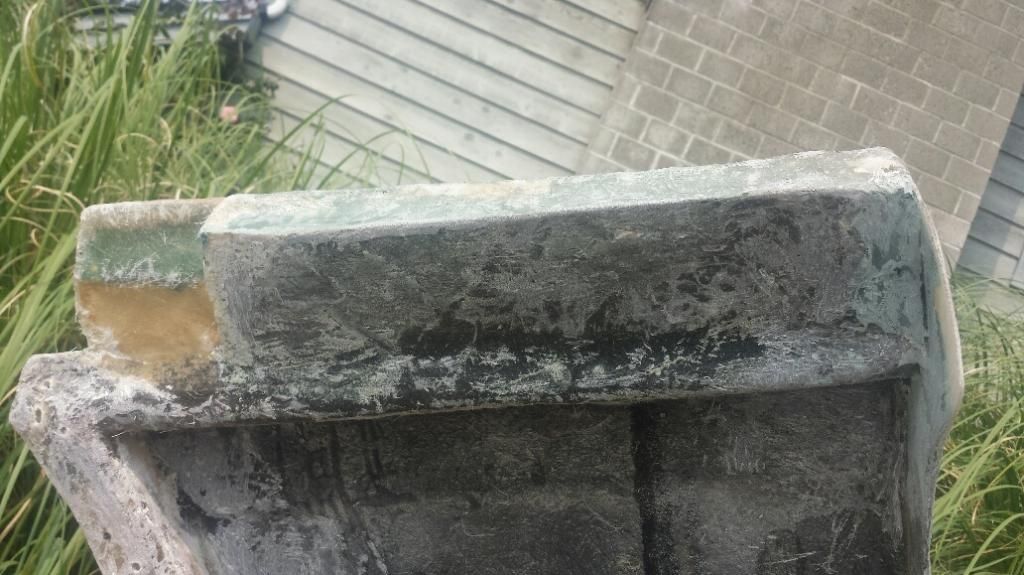
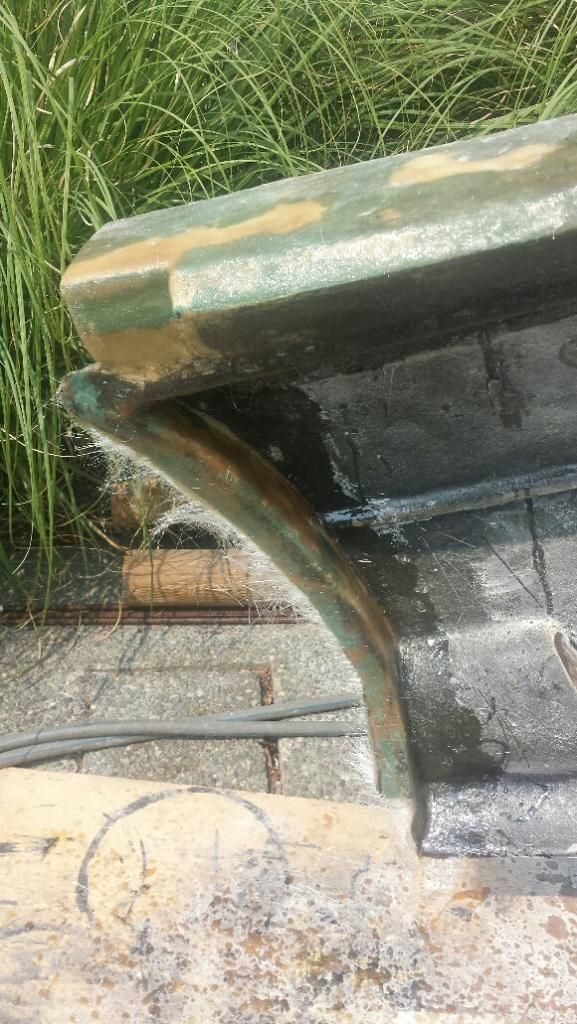
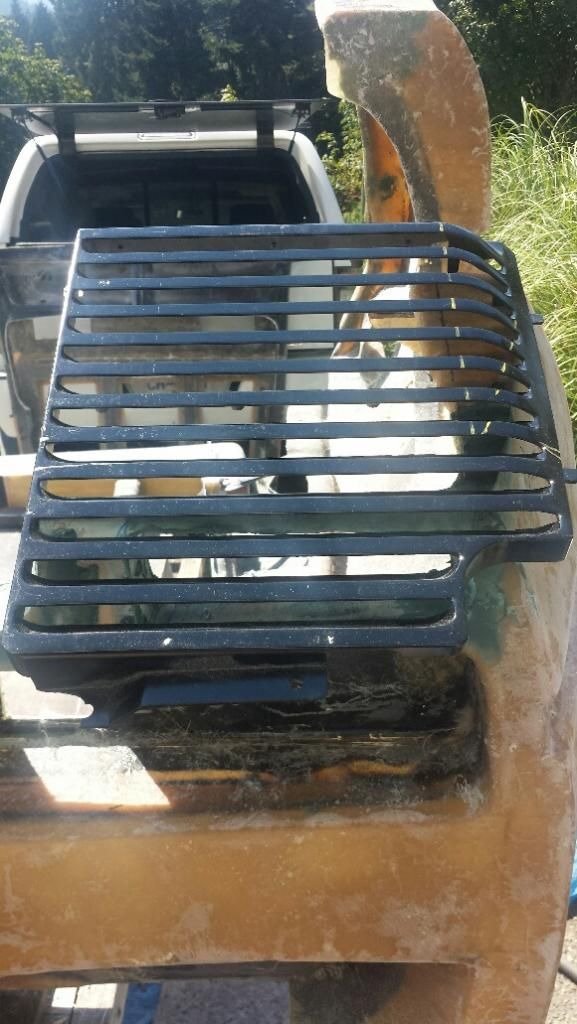
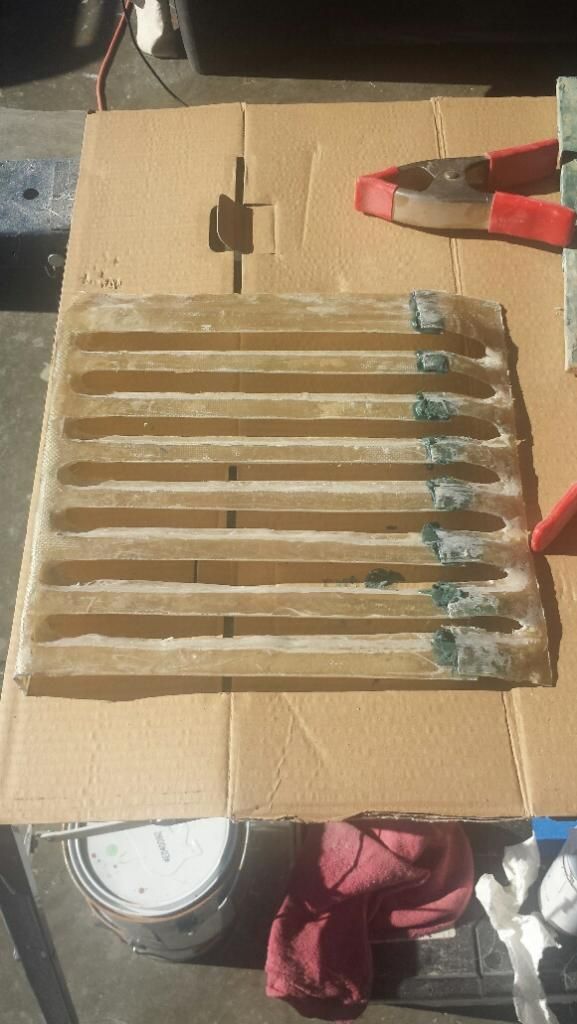
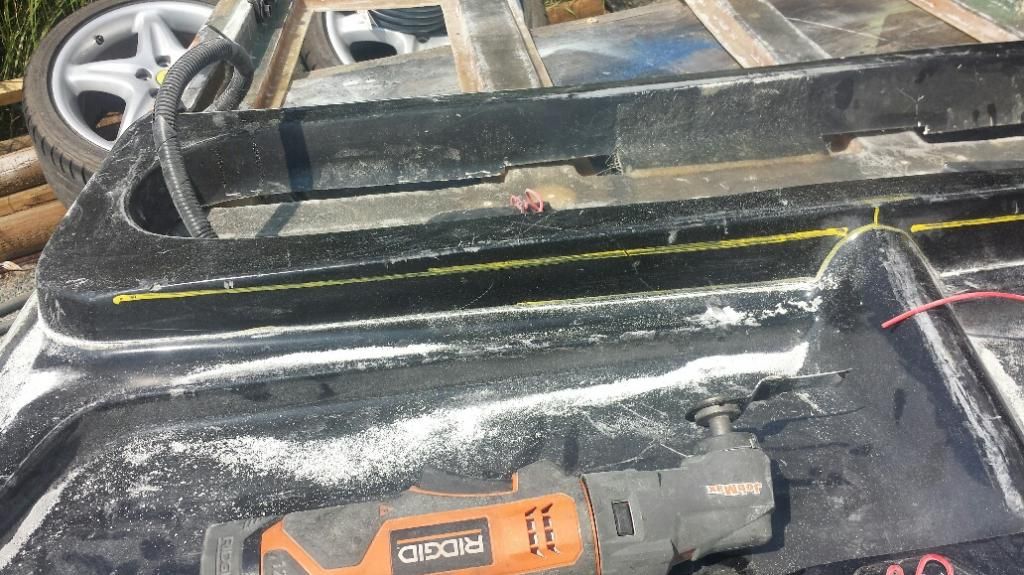
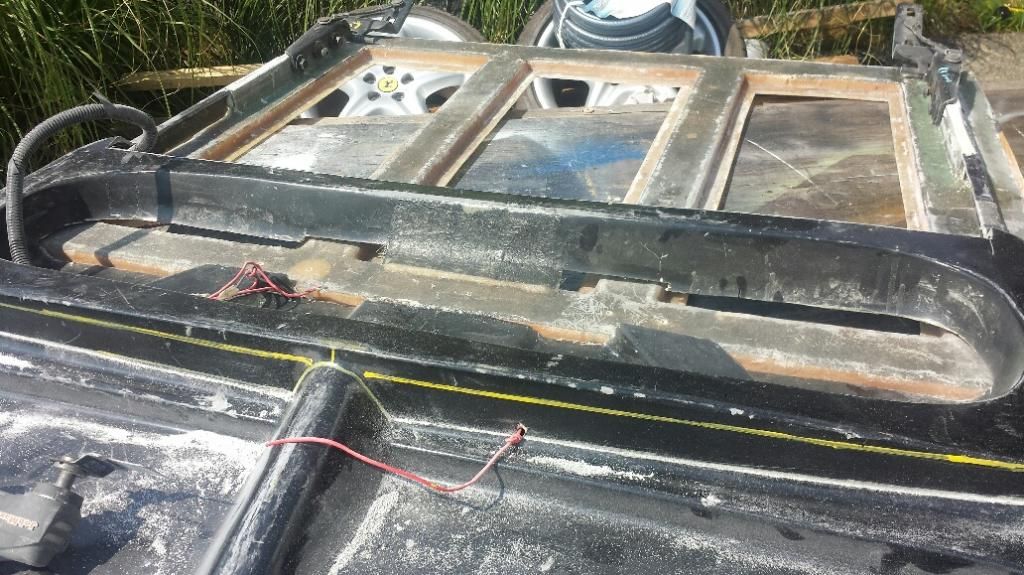
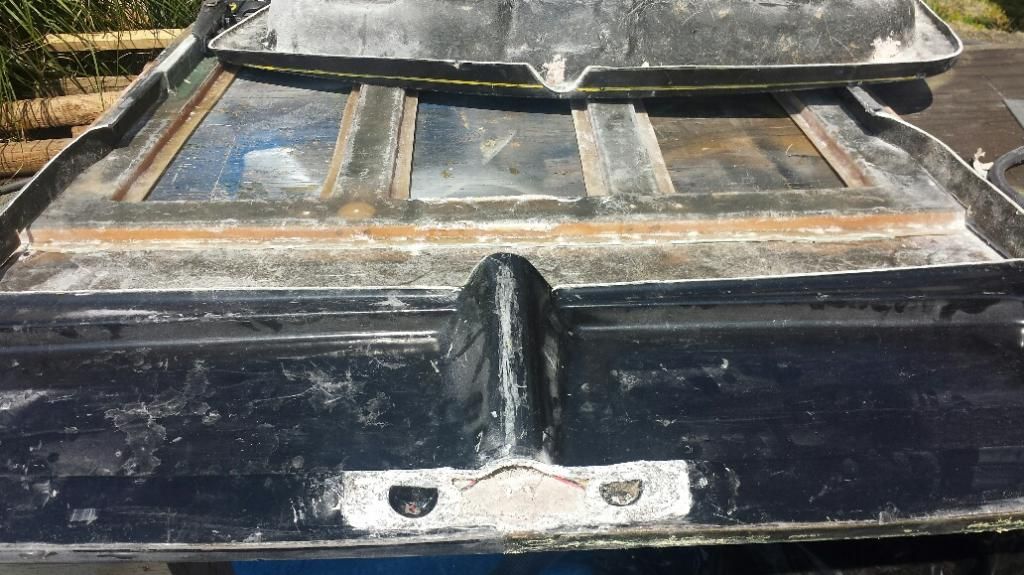
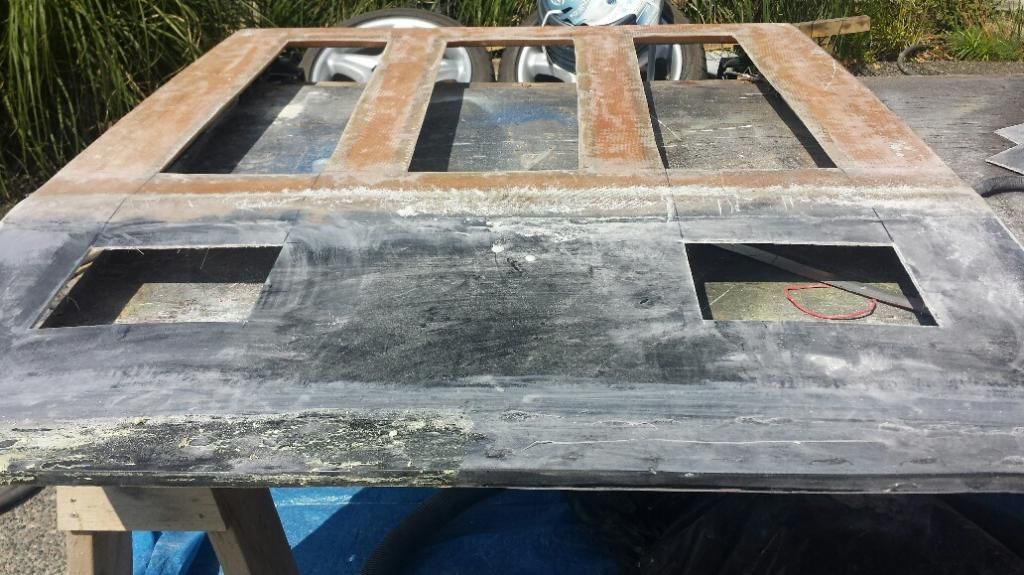
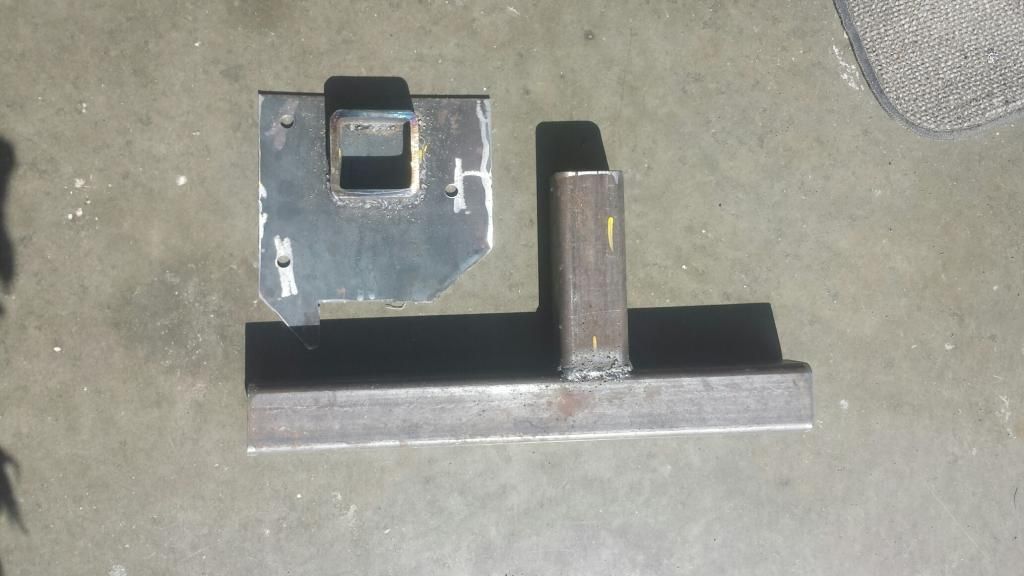
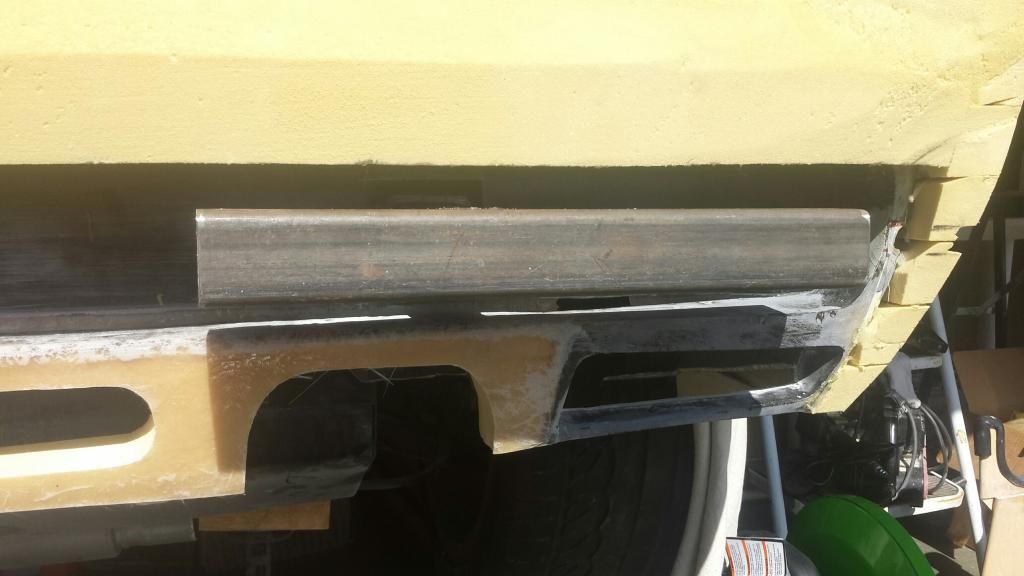
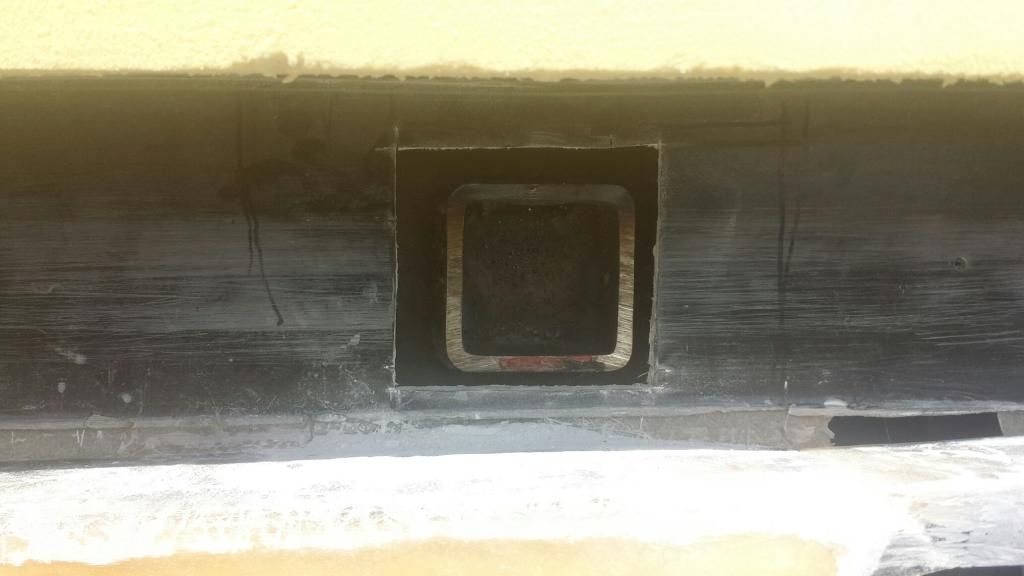
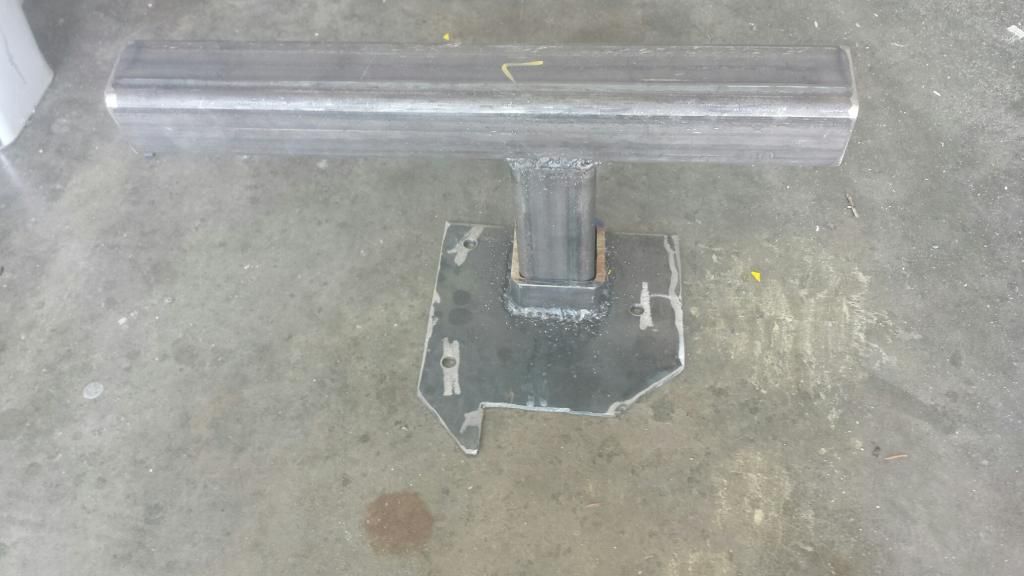
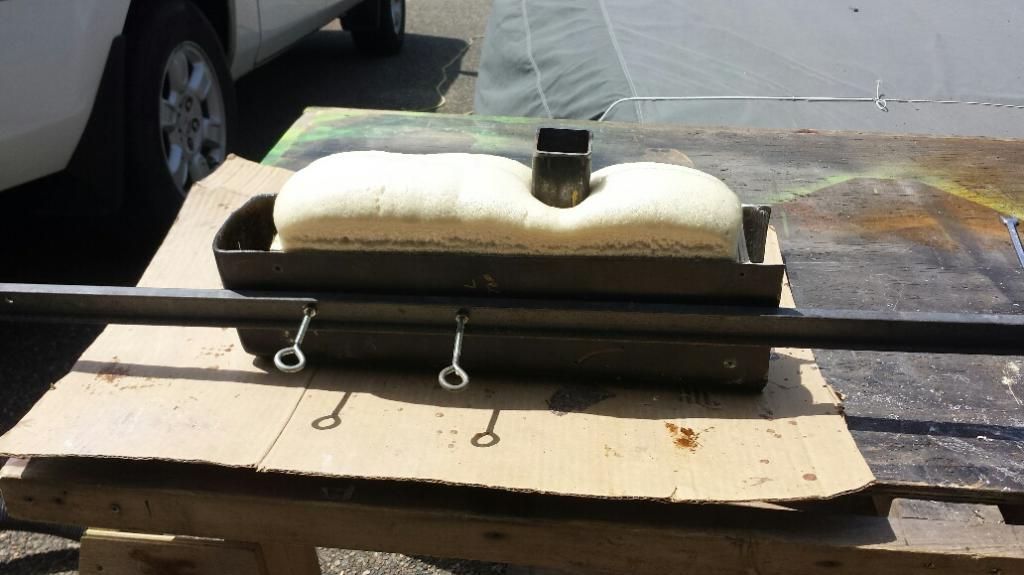
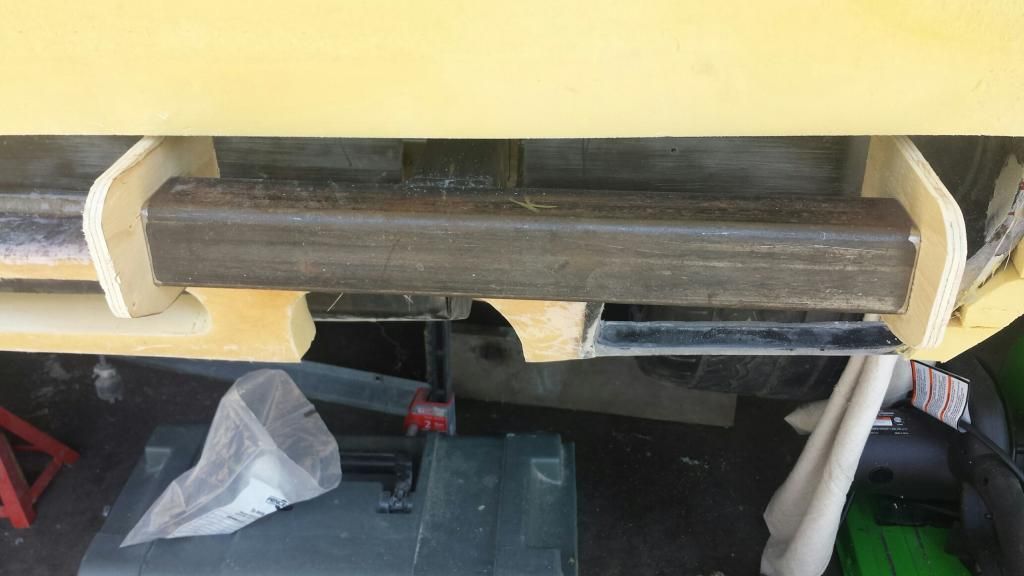
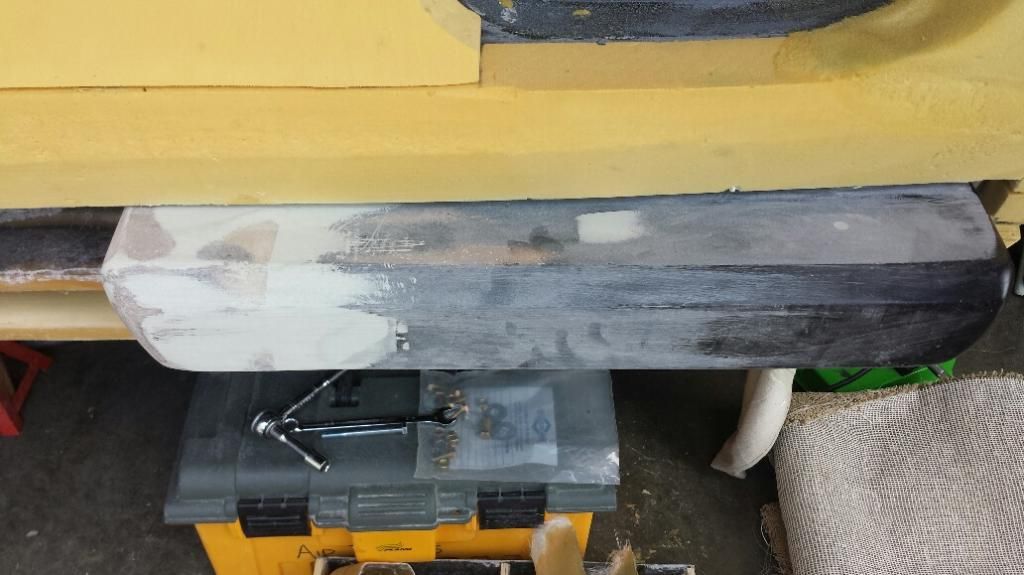
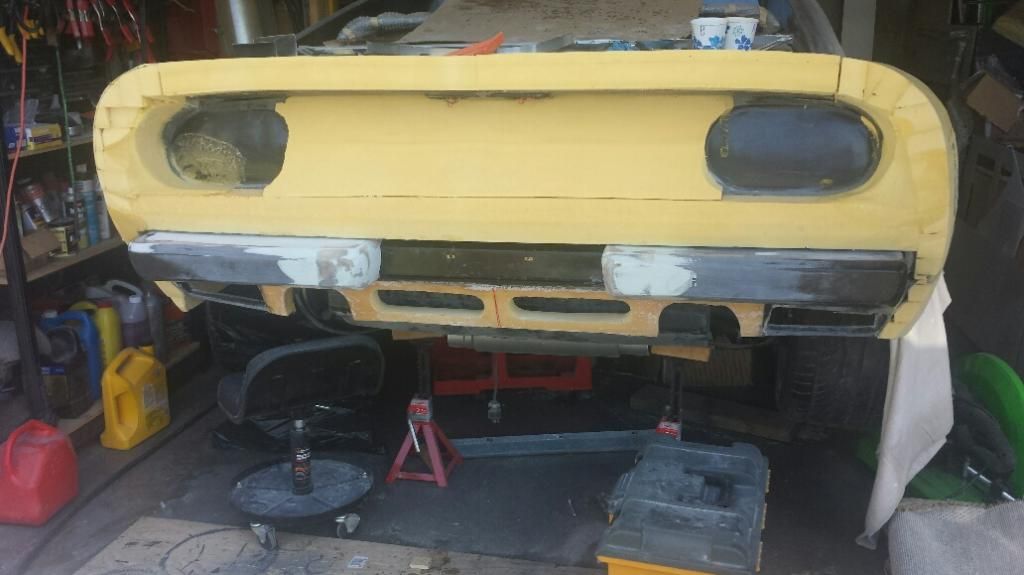
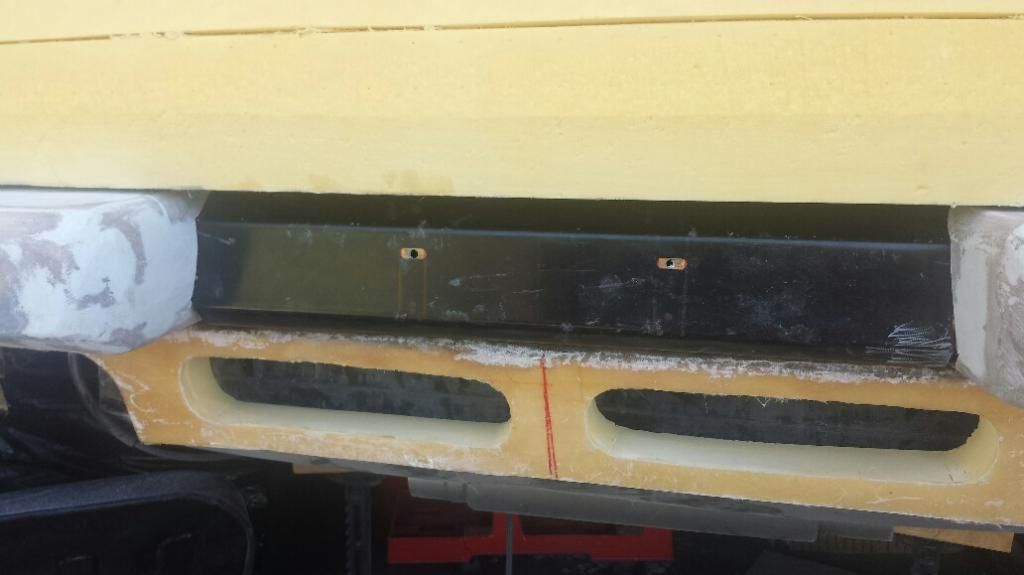
Then I needed to do the Rear bumpers up and they would have to be removable because the rear clip had to be removed for finishing (remove the old 308 panels and foam once I had glassed everything.


dobie1 SEP 03, 02:34 PM
Then the day arrived with the help of my mentor MR355 (Don) we started to glass the rear clip of the car. The plan was to do 4 layers of 1 1/2 OZ glass matt on the out side then remove the clip and cut out the old panels and remove the foam and then 2 more layers of glass to tie it all together.


Once that was all completed Yea!!! Don helped me to remove the rear clip so I could start to finish the rear clip


First I wanted to finish off the lower ducts


Then it was time to clean up the back end of the clip , I used expanding foam cleaned it up and then glassed the whole area. The plan is to paint it black to finish it off.


[This message has been edited by dobie1 (edited 09-03-2014).]

dobie1 SEP 03, 02:49 PM
I needed to clean up and re-enforce the door jam area


[This message has been edited by dobie1 (edited 09-03-2014).]

dobie1 SEP 04, 01:26 PM
The 288 has a additional fill vents on the underside of the rear valence one on each side,so the next step was to try to come up with something that would look and work properly.
I happened to have a couple spare Fiero engine compartment vents that I though I could perhaps use as a mold so I cleaned them all up sanded and painted them so I had a clean surface. The first one I just used a few layers of 1 1/2 oz mat with a layer of finishing glass on top, it worked ok but I thought it needed more strength. So the next one I built using a layer of carbon fiber sandwiched between layers of matt with a layer of finishing cloth over top that was the answer very ridged and strong. SO I had to add some carbon fiber to the first one to give it some rigidity.
Enjoy


[This message has been edited by dobie1 (edited 09-04-2014).]

dobie1 SEP 04, 01:45 PM
As I eluded to earlier I needed to modify the engine hood as it wasn't fitting correctly, first I needed to remove the licence plate lights holder as the 288's are mounted on the bumper sides.
Then I needed to cut the inside of the glass hood (the part that seals to the stock Fiero trunk) as it was touching without a rubber seal so I need to take at least a 1" off .
The 288 has additional vents where the turbo intakes are so taking the inside off allows me to work on the vents I have other priorities right now so this is still a work in progress.


[This message has been edited by dobie1 (edited 09-05-2014).]