|
| Aurora 4.0l / Izuzu 5 speed swap into 88 coupe (Page 2/102) |

|
Rickady88GT
|
APR 30, 04:18 PM
|
|
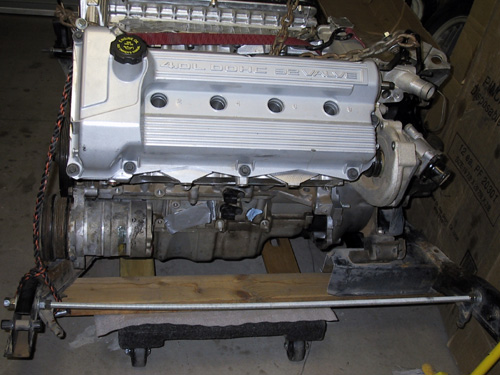
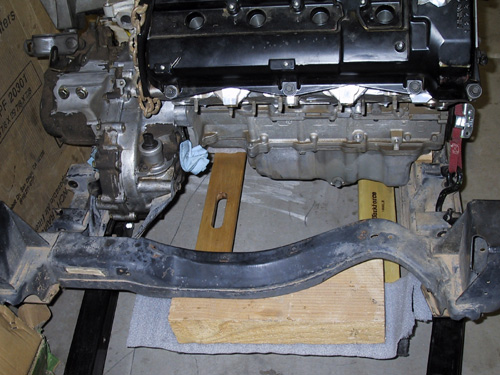
They are all exactly the same width and hight but the V6 has one row of cylnders cut off. So the S* is a little shorter in length.

this is a Corvette L98 a S* and the Stock 2.8 all side by side.
|
|
|
|
cptsnoopy
|
APR 30, 06:31 PM
|
|
|
maybe they could make a 4.6, short star? i tried squeezing this thing in the cradle with the tranny in the stock postion. it would not go because of the front engine mount support that is welded onto the cradle. it sure is a tight fit. Rickady88GT were you able to leave your trany on the stock mounts? or at least not move it to the left?
|
|
|
|
cptsnoopy
|
MAY 01, 06:01 AM
|
|
|
|
|
cptsnoopy
|
MAY 02, 03:55 AM
|
|
|
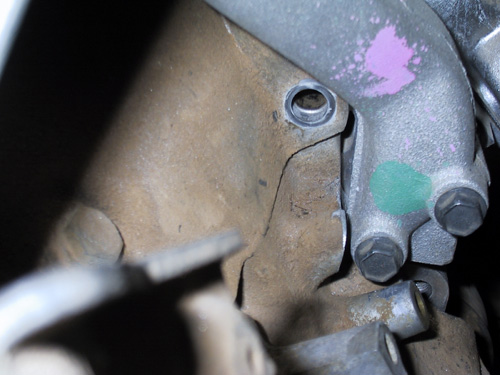
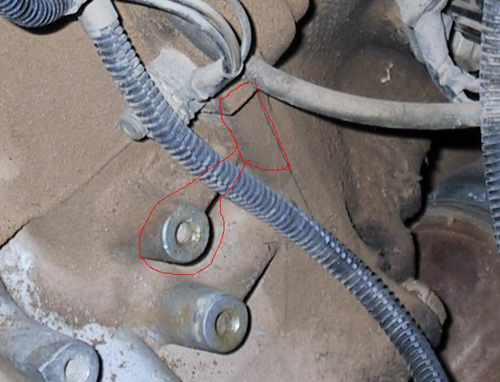
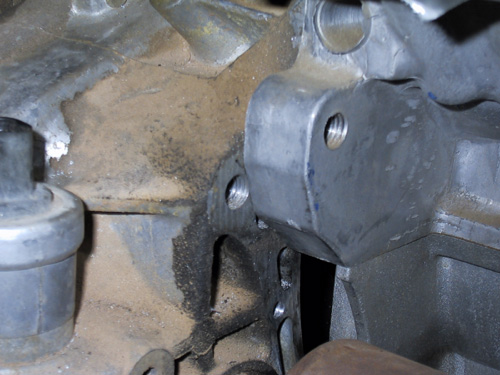
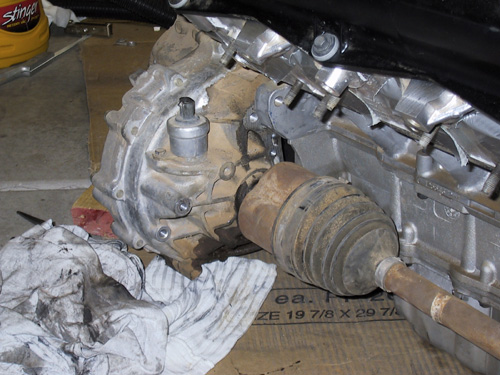
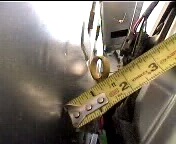
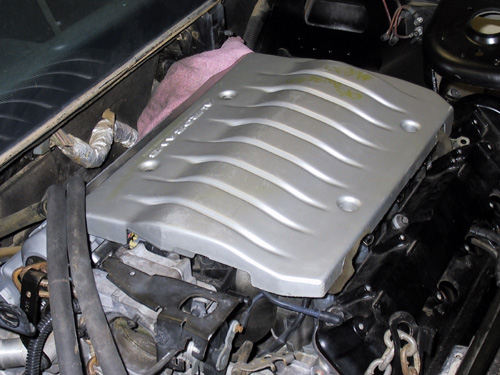
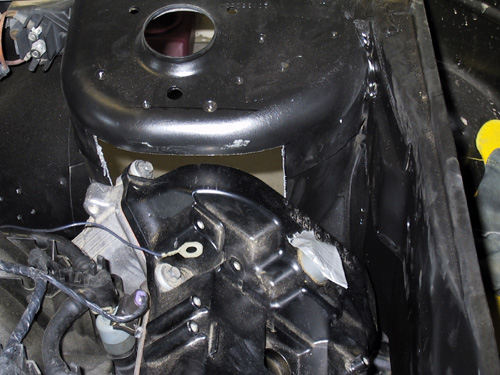
i put the engine on the cradle today with the trany in the stock mounts. the front of the engine was resting on a couple of small pieces of wood on the cradle. the front of the engine was about 3/4 to 1 inch higher than it will be when mounted. i slid the cradle under the car and started lowering. suprise! the usual laundry list of stuff to be done. passenger side decklid hinge support will need trimming. the decklid support spring will need to be removed. a gas strut added to the pass. side to hold the decklid up. the dogbone mount will have to go. some trimming may have to be done to the pass. side strut tower. in addition to the clutch arm needing to be changed to pivot further back and the slave mounted to match. I thought about moving the trany further left but the left axle is so short, i will try not to move it more than 3/8 to 1/2 inch. hopefully the tripots have that much play. if not then i wont move it left at all. the foward cradle crossmember will be cut out and a new crossmember welded in several inches forward of the old location. pretty much the same stuff everyone else has been doing looks like the way to go. got a question regarding the izuzu trany input shaft. it looks like the shaft is too short for a t/o bearing. is this true? there is only about 1/8 inch of material forward of the clutch splines. does the getrag use a t/o bearing? maybe the flywheel is thick enough to make up the space between the crank and the input shaft... i will look at the duke to see what they did there...
|
|
|
|
cptsnoopy
|
MAY 25, 06:38 PM
|
|
|
|
|
Rickady88GT
|
MAY 26, 11:56 AM
|
|
|
|
|
Will
|
MAY 26, 02:07 PM
|
|
|
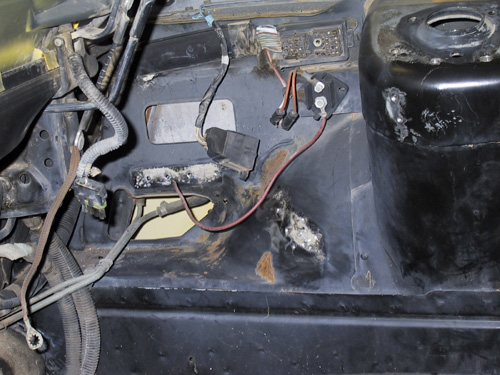
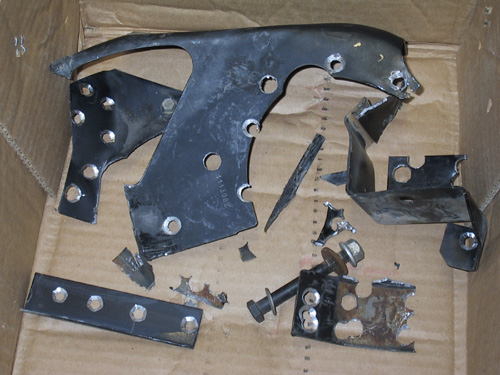
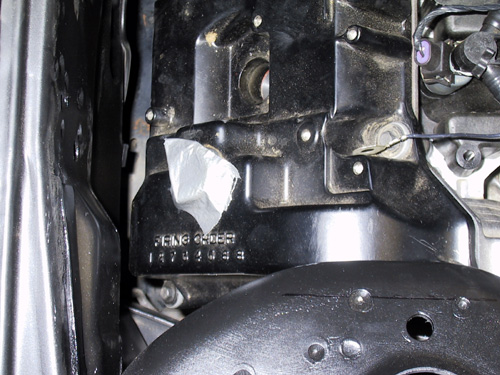
How much of the dogbone mount did you really have to remove? The normal mounting for the coil pack is on the black cam cover all the way toward the front of the engine (to the right as it sits in the engine bay). The coil pack comprises most of the interference between the Northstar and the dogbone mount. There is a SECOND set of coil pack mounts that let you move the coil pack toward the transmission (to the left as it sits in the engine bay) by 4 inches or more. Once that's done, it looks like minimal trimming of the dog bone mount would be necessary to clear the cam cover. I just discovered this fairly recently... ------------------
'87 Fiero GT: Low, Sleek, Fast, and Loud
'90 Pontiac 6000 SE AWD: None of the AboveLuck, Fate and Destiny are words used by those who lack the courage to define their own future
|
|
|
|
cptsnoopy
|
MAY 26, 11:39 PM
|
|
|
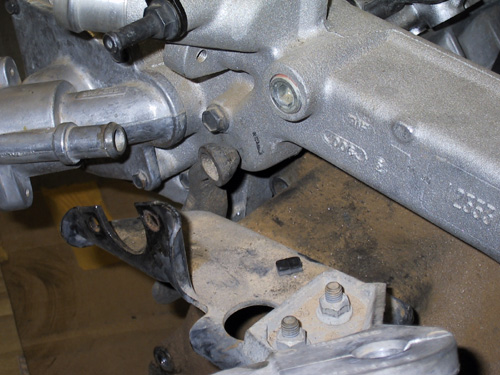
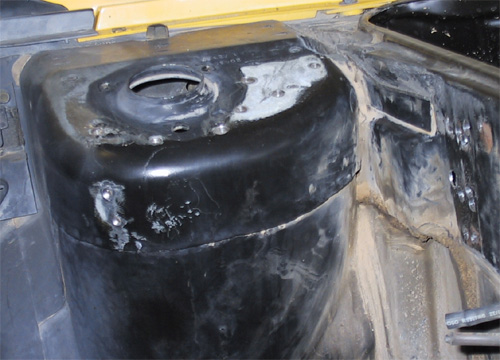
Rickady88GT and Will, thanks for the inputs. I used a 4 inch grinder on a small motorcycle trailer I put together last year. My wrists were sore for several weeks from the vibrations. kinda like tennis elbow. because of that i elected to go the more crude route of using the drill. I am hoping that it won't be too difficult to cover up the holes when it is time to finish the engine bay. I can't remember at the moment who posted a picture of their cradle with the forward crossmember cut out. but they left about 10 to 12 inches on the drivers side that still had the tranny mount in place. That person then welded their new crossmember all the way across from left to right and butted up to the forward edge of the remaining crossmember. It looked like it would hold up well. I am looking to do something along those lines, i think. Your original thought about not having the doner car is certainly holding true. I am waiting on the guy who sold me the intake manifold to let me know if he can supply the rest of the accessories that I need to fit the engine to the cradle. the big holdup now is needing an A/C compressor to see what clearance I will need for the front crossmember. i must have A/C out here as I am getting to old to survive the 4-55 A/C method any more. (2-55 in this car...) when i test fitted the engine/trans on the cradle and under the car, the cradle had the front motor mount cut out but the forward crossmember was still in place. this offset the engine slightly to the rear and about 1/2 to 3/4 inch toward the drivers side. so i am not too sure what kind of clearance i really have until i can cut and move the forward crossmember. this leads to Will's question. I am not sure exactly how much of the dogbone mount really needed to be removed but the portion that sits on the pass side strut tower was the first part that i ran into. i did not see a way in my mind to use the stock dogbone mount location so i removed the whole thing. once i get the cradle set up i will be able to see how it might work. i still need to pick up a coil pack along with alot of other goodies so i can see how they will fit. again, thanks for the good info. +'s sent
|
|
|
|
cptsnoopy
|
MAY 29, 04:14 AM
|
|
|
|
|
cptsnoopy
|
JUN 02, 11:42 PM
|
|
|
|