|
| ecotec swap (Page 86/98) |

|
wftb
|
JAN 01, 06:45 PM
|
|
|
|
|
wftb
|
JAN 03, 08:10 AM
|
|
|
|
|
mender
|
JAN 03, 10:02 PM
|
|
Making good progress!
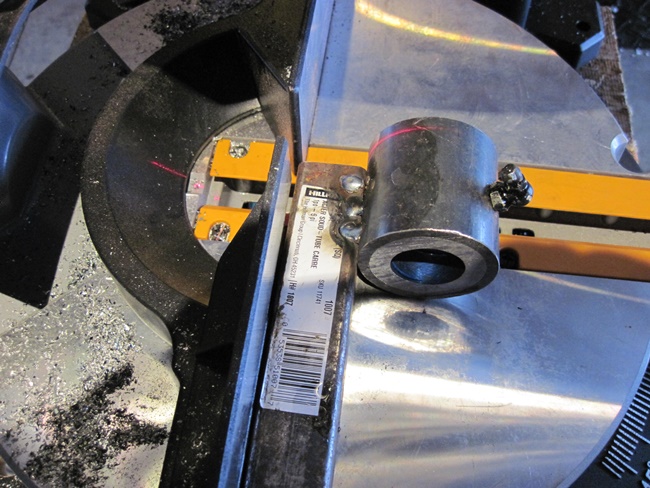
Good to know about the chop saw; I use a bandsaw for my stuff.
|
|
|
|
wftb
|
JAN 04, 09:16 AM
|
|
|
Thanks. I have always wanted a band saw but space is limited in my garage and now that I am retired I have to watch what I spend. But the upside is I get to spend all the time I want working on my hobbies.
|
|
|
|
wftb
|
JAN 17, 06:09 PM
|
|
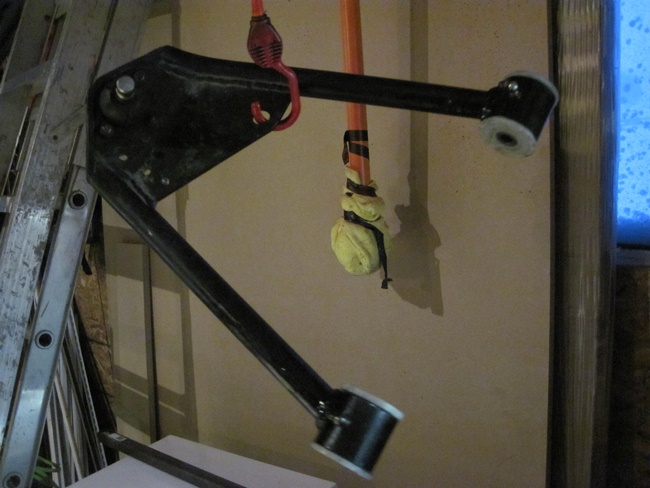
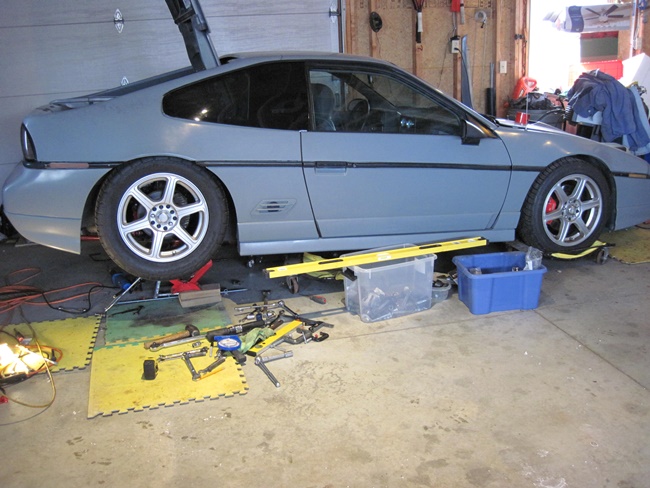
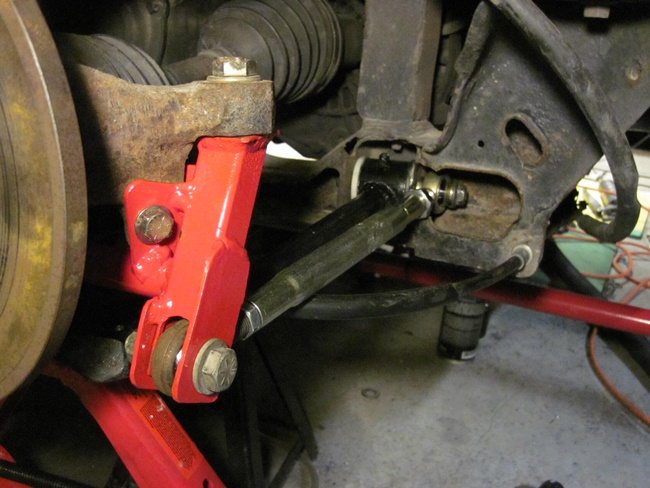
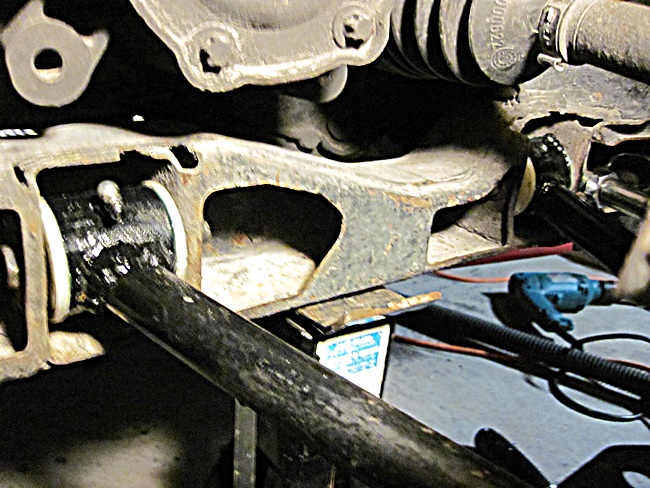
Today I spent 2 hours modifying the coilover upper spring perches. To get the coilovers off I have had to unbolt the knuckle from the ball joint adapter. This did not affect the alignment at all because the tolerances there are very tight. But it added time to the job so I ground away about 3/8" away from the bottom of the upper perches and cut a bit of metal away from the upper strut mount area that no longer does anything. A bit of trimming of the outside of the upper control arm mounts so they could drop down further and now the coilovers can go in and out by just taking out the mounting bolts. I did not take any pics of this because it really doesn't look any different than before.
So other than a spring alignment, that is all I am doing to the suspension this winter. Next up is getting rid of this mess:
I ran the charge pipe through the trunk area so that I could adjust the rear camber on the passenger side without taking the wheel off. I have hated the look of it ever since. So I am going to route it the way I had it a while ago. This will mean relocating the turbo heat exchanger back in to the engine bay. Currently it sits where the cat converter originally was. I like that location but not all the extra piping that goes with it. The other thing that is going to happen in this area is some stainless steel hard piping and Tee fittings to clean up the ugly and prone to failure hoses and plastic fittings that are there now. The intake and air filter are getting a reroute too but I have not decided how I am going to do that yet.
|
|
|
|
wftb
|
JAN 23, 04:57 PM
|
|
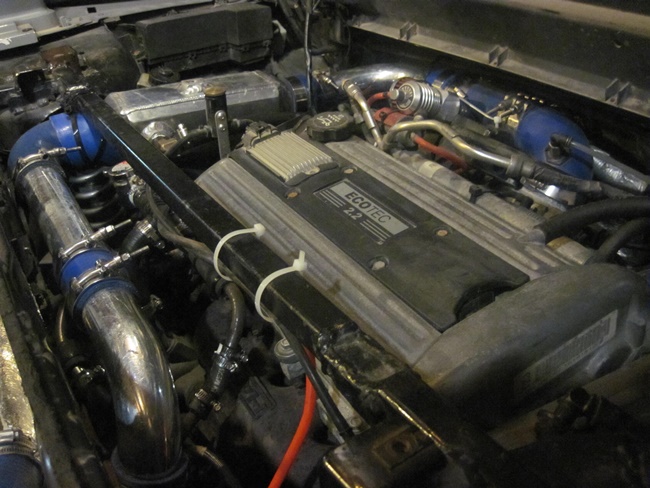
I have completed the first part of my engine bay update. I was hoping to do a lot more hard piping than I did but I decided running stainless all the way to the OEM alluminum heater lines was going to be really awkward and be a lot heavier than heater hose. I got rid of all the domestic water plastic fittings and replaced them where needed with Gates plastic fittings that are designed for automotive use.Making up a couple of short metal lines got the plastic fittings away from the heat of the turbo manifold. I may change out the stainless steel one for a mild steel line like the other one in the picture because it is a lot easier to bend the mild steel without putting the kinks in the pipe that you will see in the pics. Once the charge pipe is in there it wont be seen any way so maybe not.
I think this will improve the flow of hot air off the turbo manifold and out the decklid scoop. Before the heater hoses and intake piping had that whole area mostly blocked. I also added a small rad cap style filler neck:
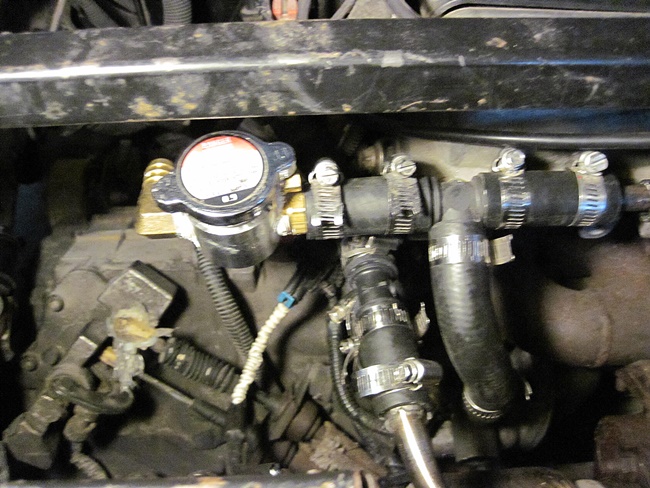
This item was left over from my air to water heat exchanger kit. It was not needed because i fill the system up with a coolant tank located in the front trunk. I also shortend the OEM heater pipes that ended part way up the passenger compartment bulkhead. So difficult to get in that area, now the fittings are out in the open just in front of the back of the gas tank. I used some Earls tools to put bumps in the new stubs. I haven't connected the new hoses to the stubs yet, going to have to wait till spring for that because i want to flush out the heater core and lines to get the filings out. Hope to get the intake completed tomorrow.
|
|
|
|
wftb
|
JAN 25, 06:26 PM
|
|
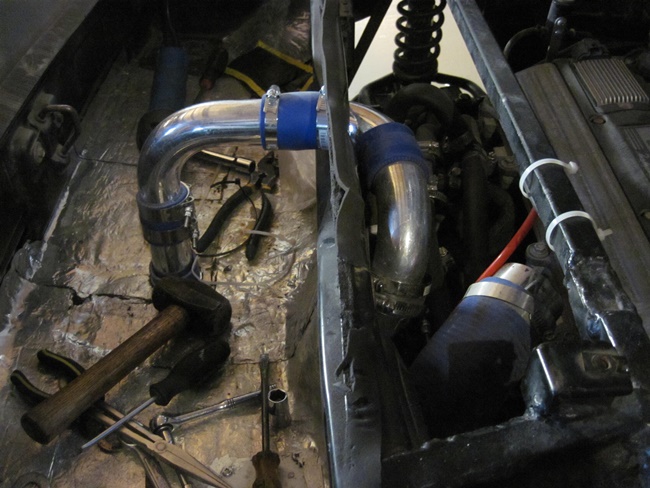
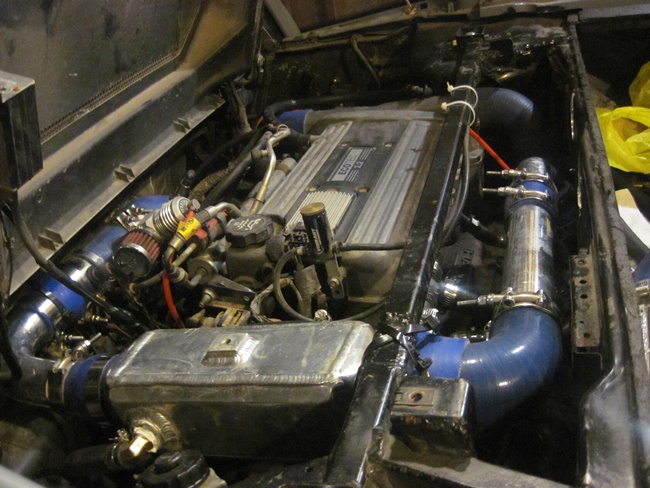
Over the years I have changed turbos, manifolds, heat exchangers plumbing and lots of other things. So I have a choice between these 2 HX's :
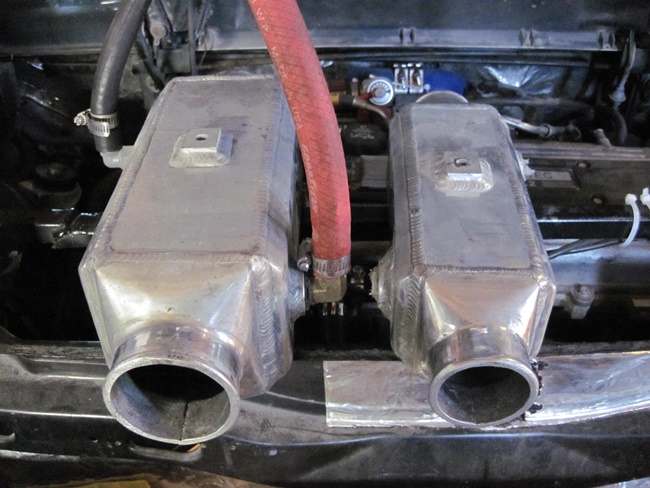
The big one will handle about 550HP and the smaller one about 350HP. Using the smaller one will save about 5 lbs of weight. So I am going to try the smaller one because I doubt if I will ever tune this engine to run at 350+ HP. I have had both on the car and they seemed to cool the charge about the same. Did a quick mock up of the charge piping:
Need to make a few brackets and use a shorter 90 coming out of the turbo to level the front tube. Should have It all done tomorrow.
|
|
|
|
wftb
|
JAN 27, 06:24 PM
|
|
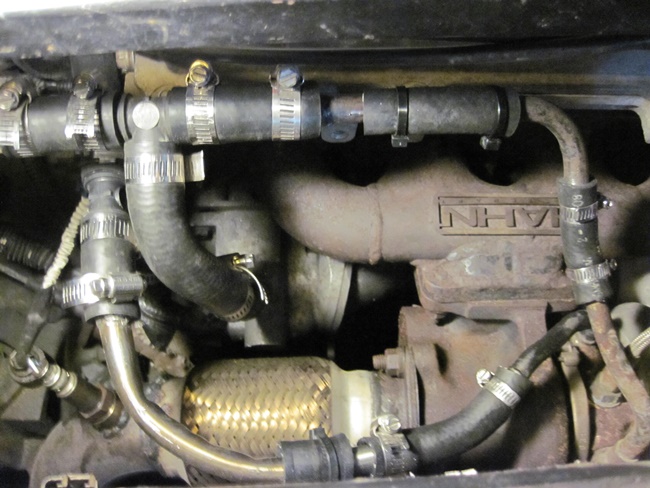
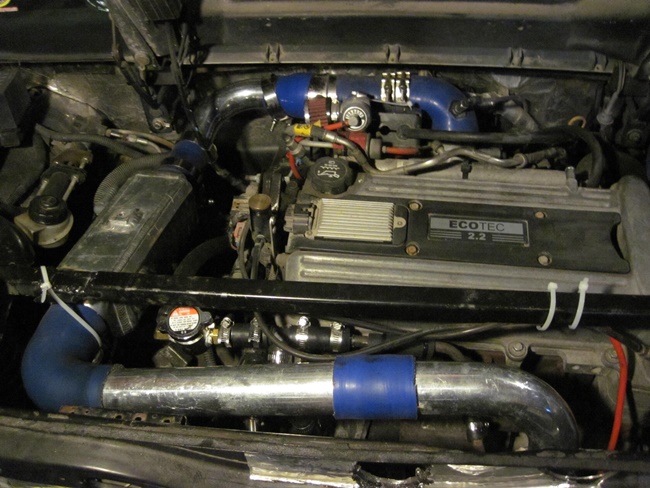
It was 7C out today so I managed to get the heater hard lines cleaned out and ran all the new hoses for the heater and for the heat exchanger .Got the charge piping all clamped together and I did not need to make any brackets. Two heavy duty tie wraps secure the HX to the strut brace and one tie wrap hangs the piping near the throttle body.
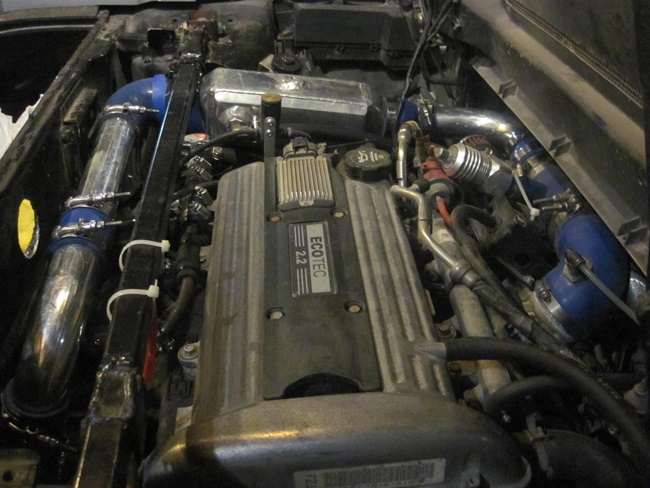
Fired it up to check for leaks and make sure the air was out of everything. No leaks that I can see and the filler cap worked great. As soon as the temp guage started to move, there was warm air coming out of the defroster. The intake is not clamped together yet because I want to get a new air filter. Maybe tomorrow.
|
|
|
|
Lunatic
|
JAN 28, 08:04 AM
|
|
|
That engine bay looks a lot cleaner then it used to. Great job Steve! [This message has been edited by Lunatic (edited 01-28-2018).]
|
|
|
|
La fiera
|
JAN 28, 11:01 AM
|
|
| quote | Originally posted by wftb:
It was 7C out today so I managed to get the heater hard lines cleaned out and ran all the new hoses for the heater and for the heat exchanger .Got the charge piping all clamped together and I did not need to make any brackets. Two heavy duty tie wraps secure the HX to the strut brace and one tie wrap hangs the piping near the throttle body.
Fired it up to check for leaks and make sure the air was out of everything. No leaks that I can see and the filler cap worked great. As soon as the temp guage started to move, there was warm air coming out of the defroster. The intake is not clamped together yet because I want to get a new air filter. Maybe tomorrow. |
|
I'm a fan of your work Steve! Keep Fieroing!!
|
|
|