|
| My 88 Formula Interior Redesign (Page 79/87) |

|
Sourmug
|
NOV 15, 02:59 PM
|
|
Woot, very cool. 
I'm glad the foam is working out for you.
Nolan
|
|
|
|
johnyrottin
|
NOV 15, 03:28 PM
|
|
|
So cool!!1 And great to meet you up at the Fiero Factory! Sofaking has a great new upgrade on the way which is oooohhhhhhhhhh clean!
|
|
|
|
grkboy707
|
NOV 16, 07:38 PM
|
|
Cool stuff! What did you make a poofy radio cover for? 
|
|
|
|
Sofa King
|
NOV 18, 10:54 AM
|
|
| quote | Originally posted by grkboy707:
Cool stuff! What did you make a poofy radio cover for? |
|
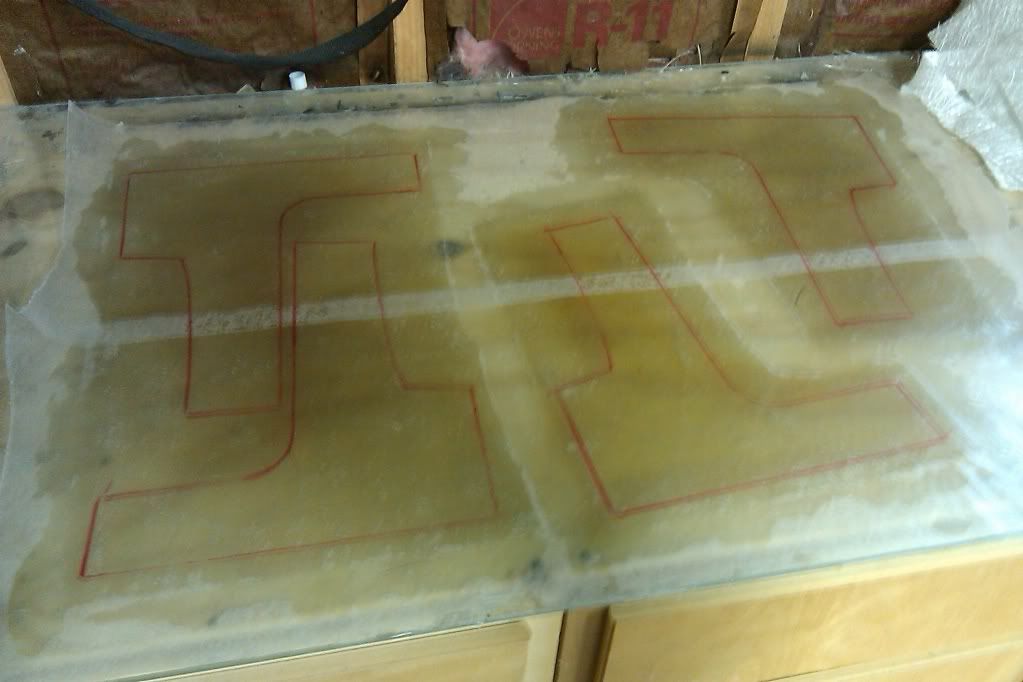
I made the "Poofy" radio cover to begin work on the 89 concept console. Plus I just wanted to play with the new expanding foam Nolan sent me!
However... I already have the beginnings of the 89 console in front of me.
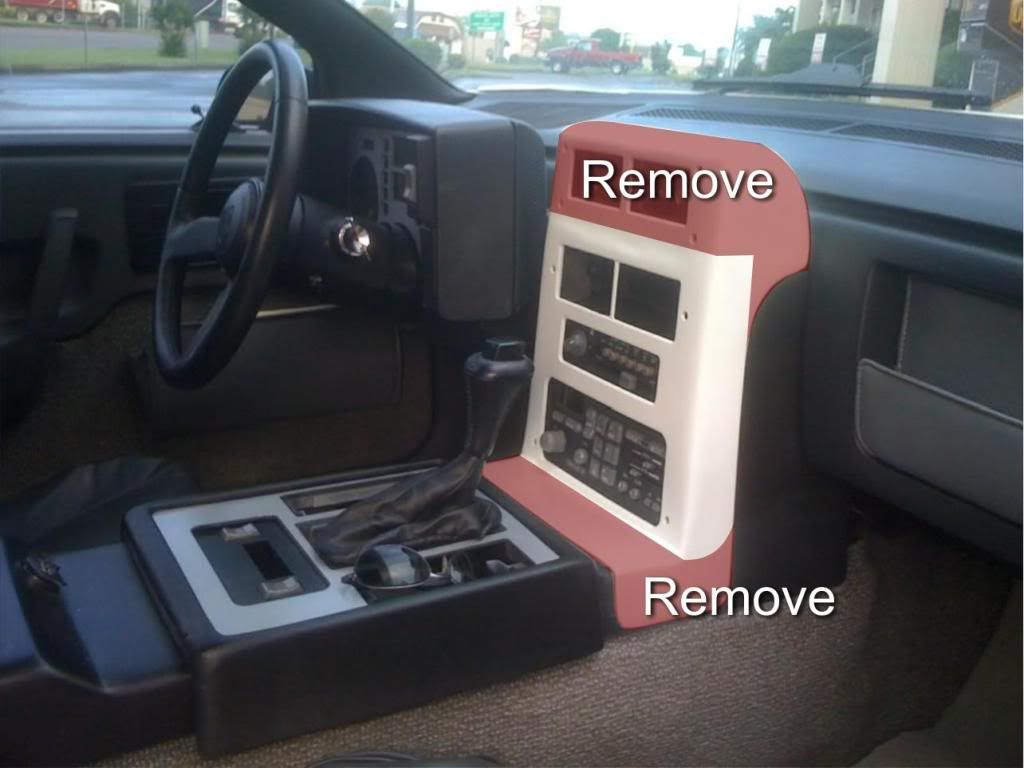
I'm going to remove the highlighted areas and hopefully, if all goes well, have a good match to the 89 concept. Lot's to do... so little friggin time!
|
|

|
Sofa King
|
NOV 22, 08:13 AM
|
|
|

|
Sourmug
|
NOV 22, 02:31 PM
|
|
It's coming along real nice. Great documentation!
Nolan
|
|
|
|
Sofa King
|
NOV 29, 10:02 AM
|
|
Hi All,
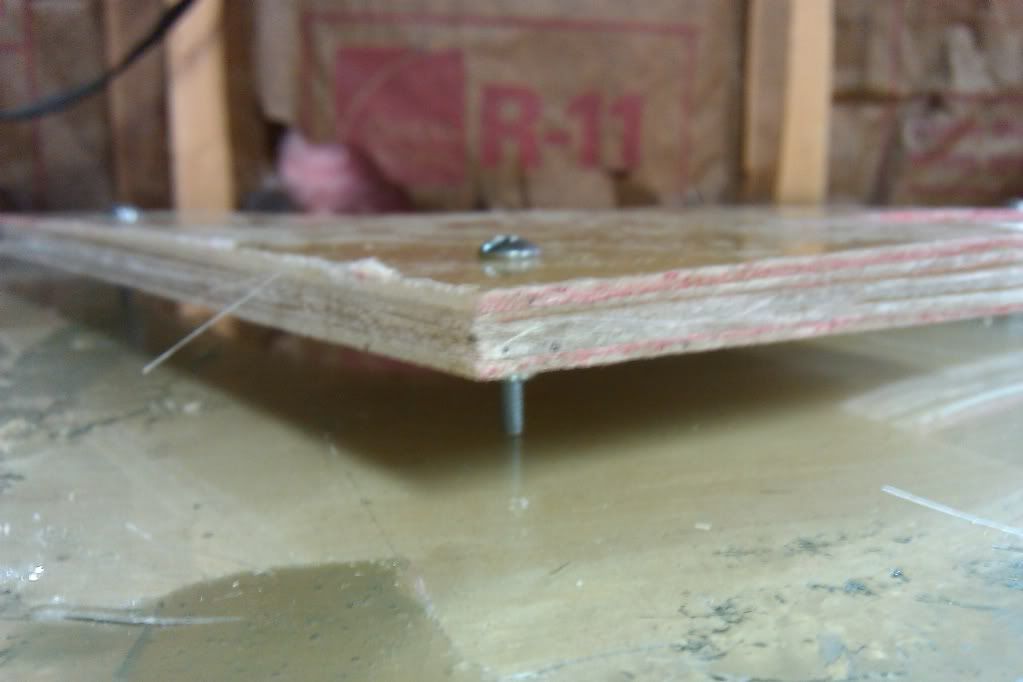
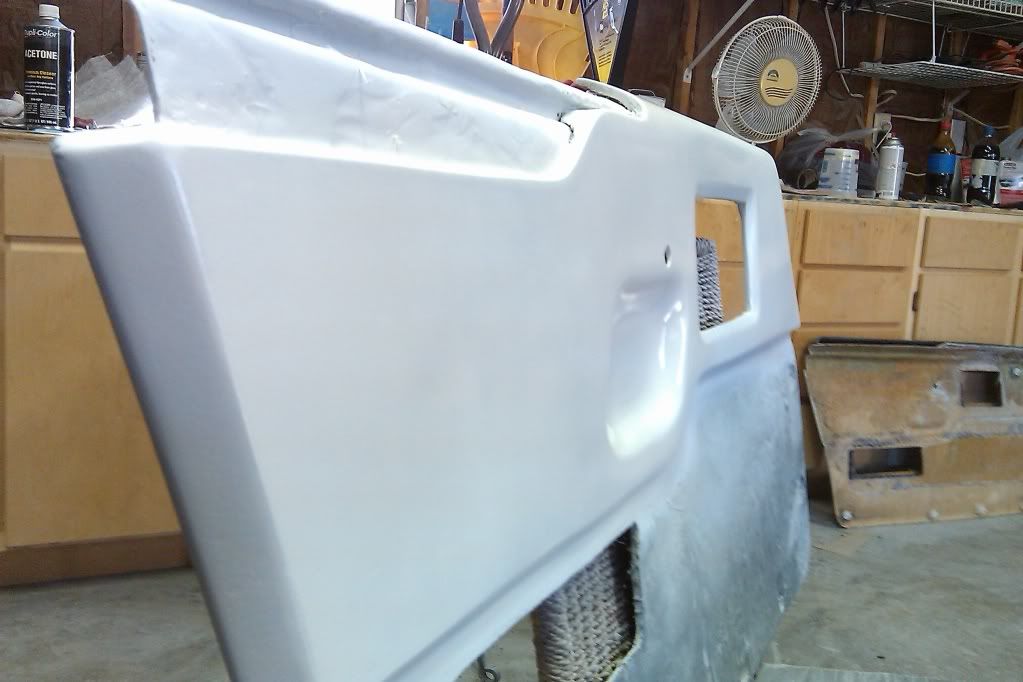
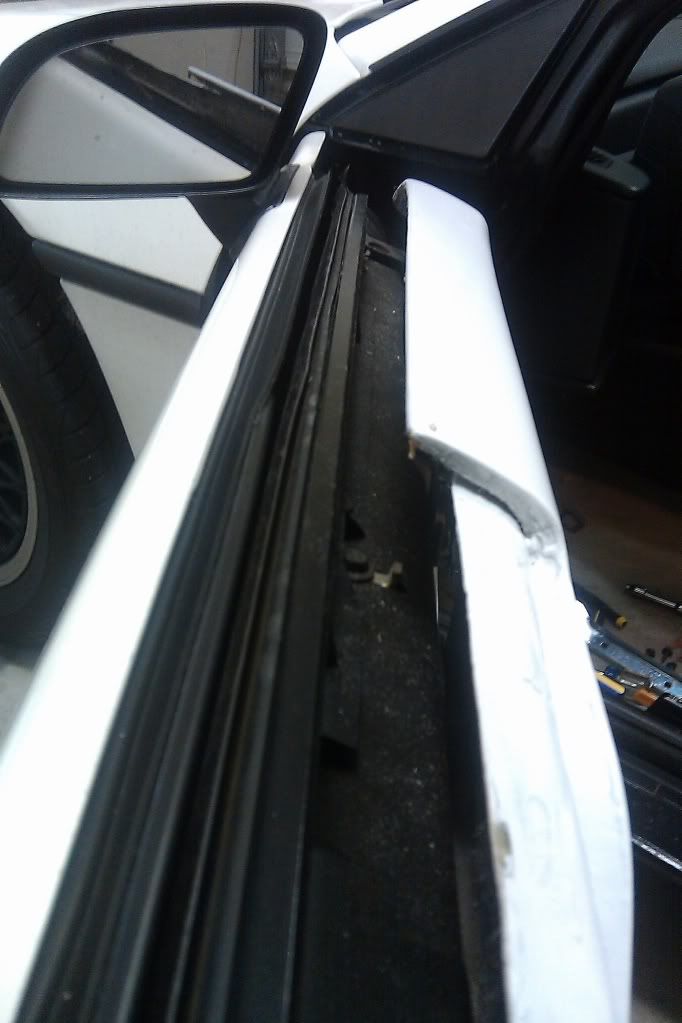
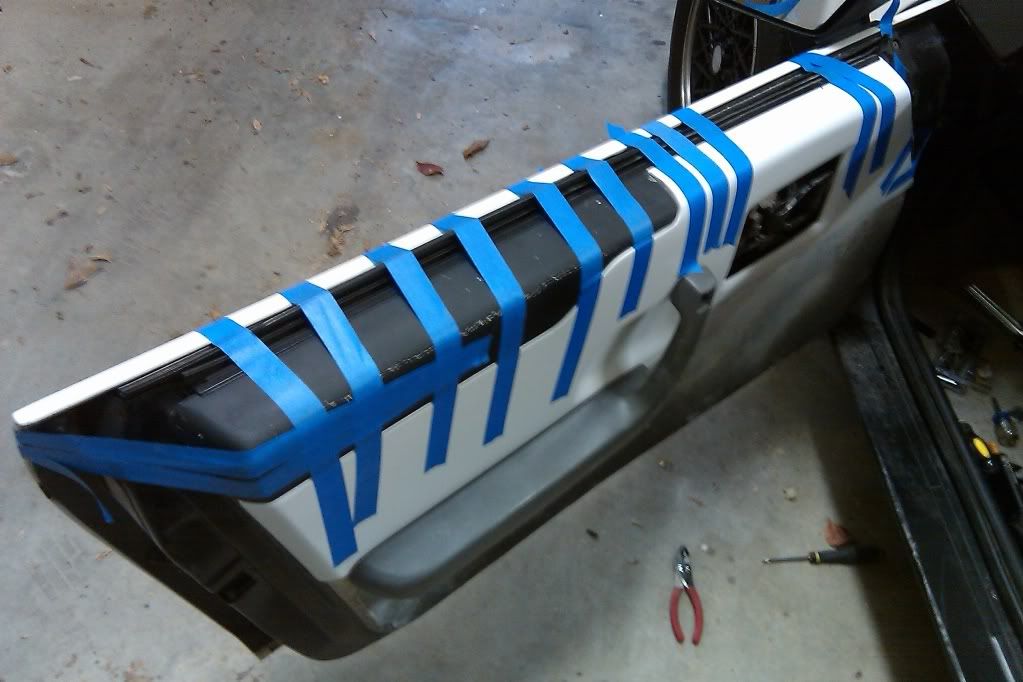
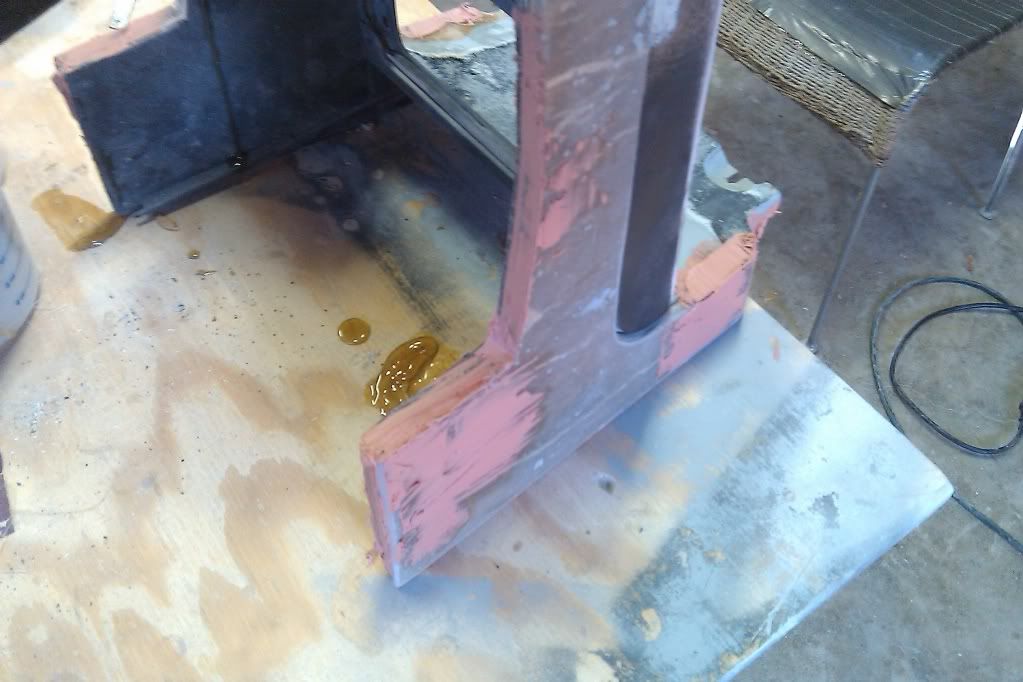
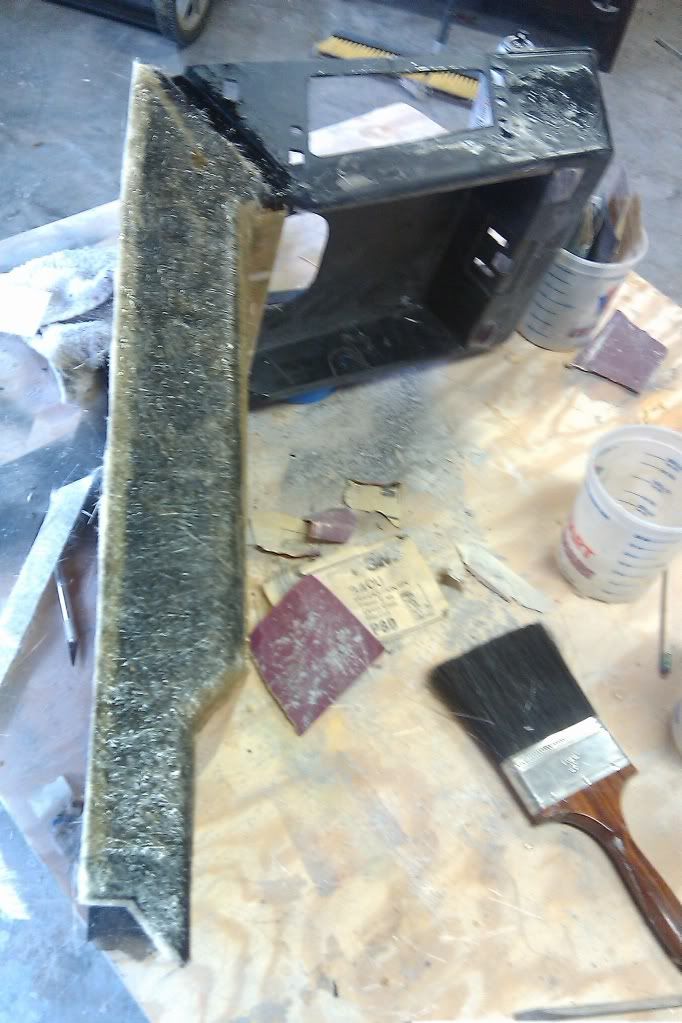
Well... I didn't get as far as would have liked. I ran into several little problems that just refused to go away - sanding, priming, holes, glass & pladtic cracking, etc... But the good news... the door panels are finished and ready for final coat of paint, clear coat, carpet & vinyl! There was more sanding than anything else over the last 4 days. Very frustrating...
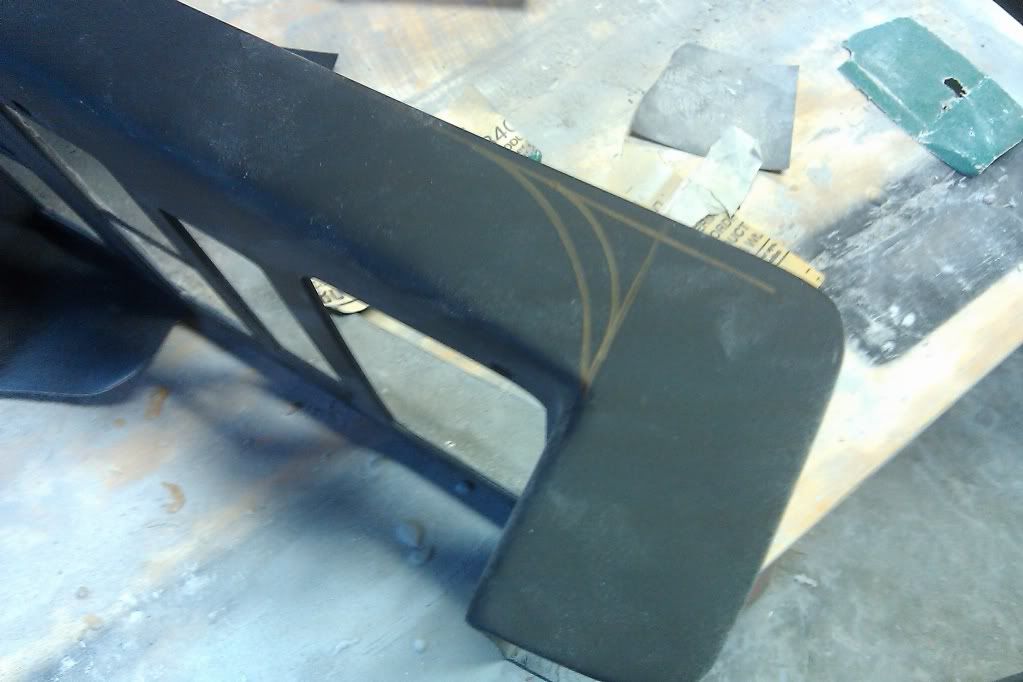
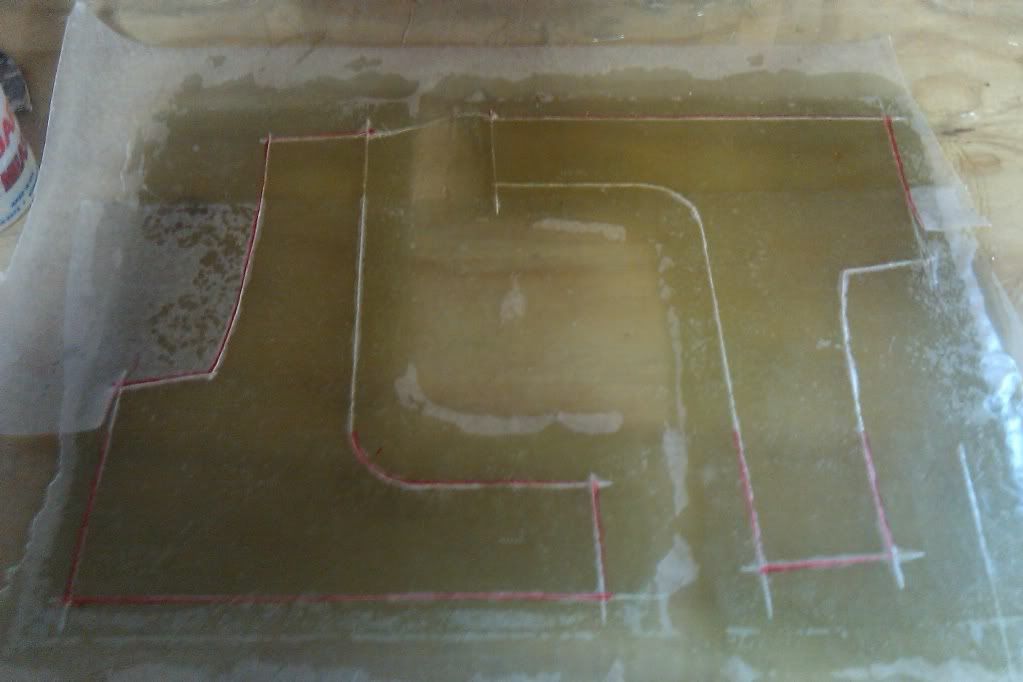
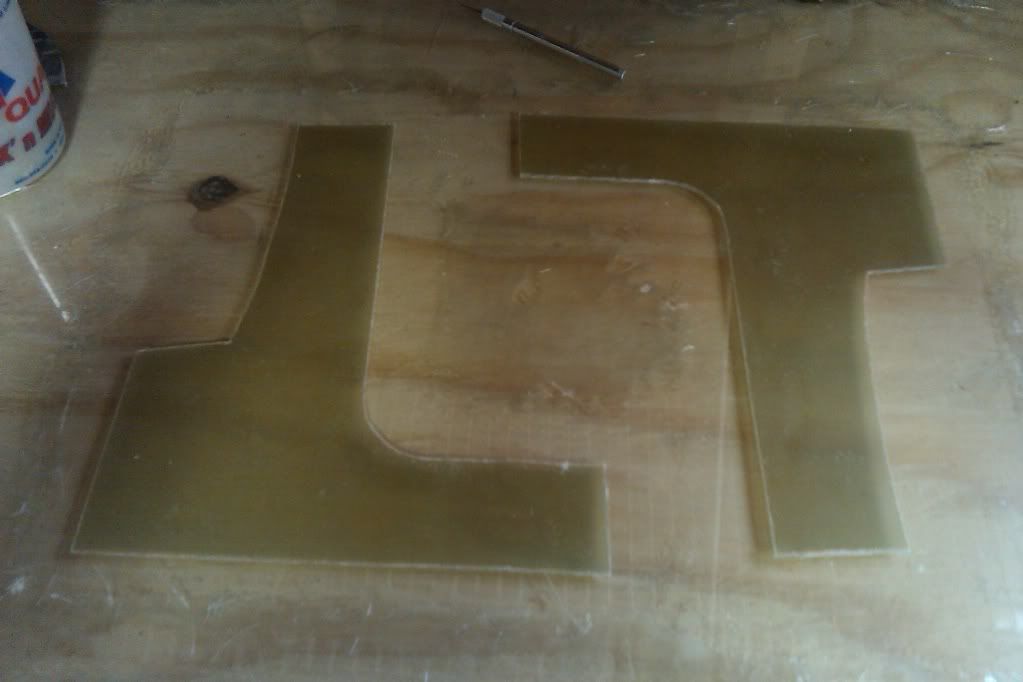
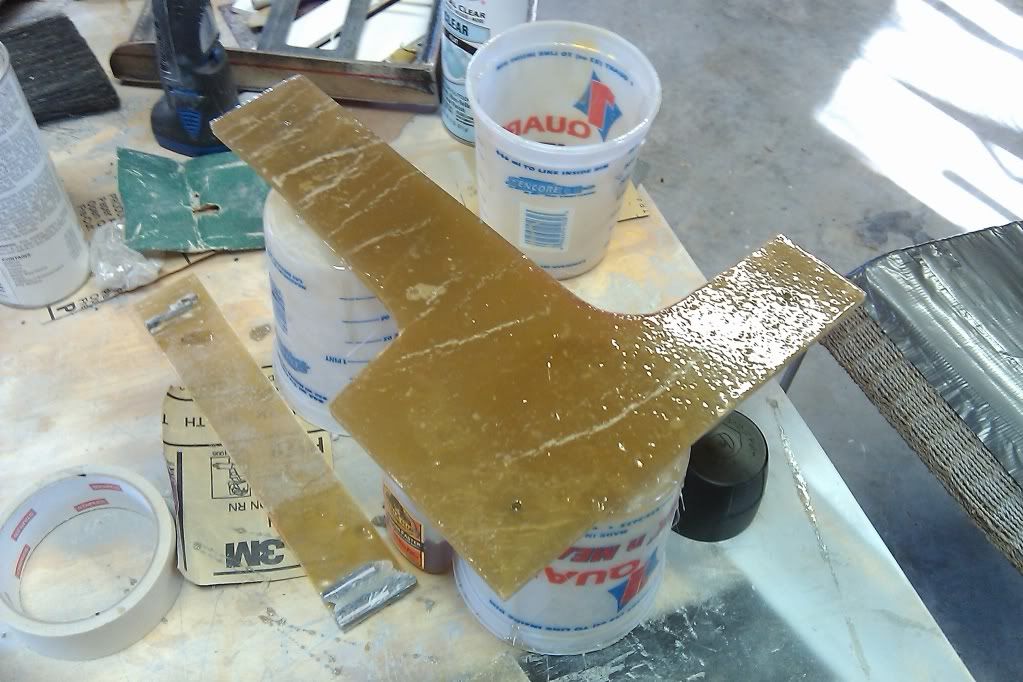
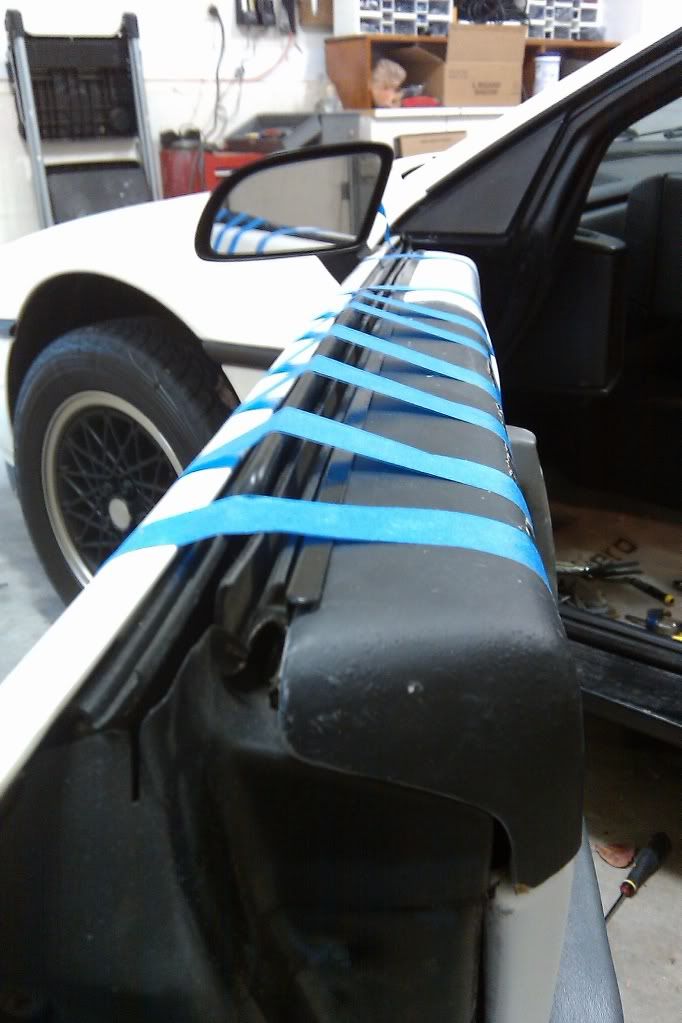
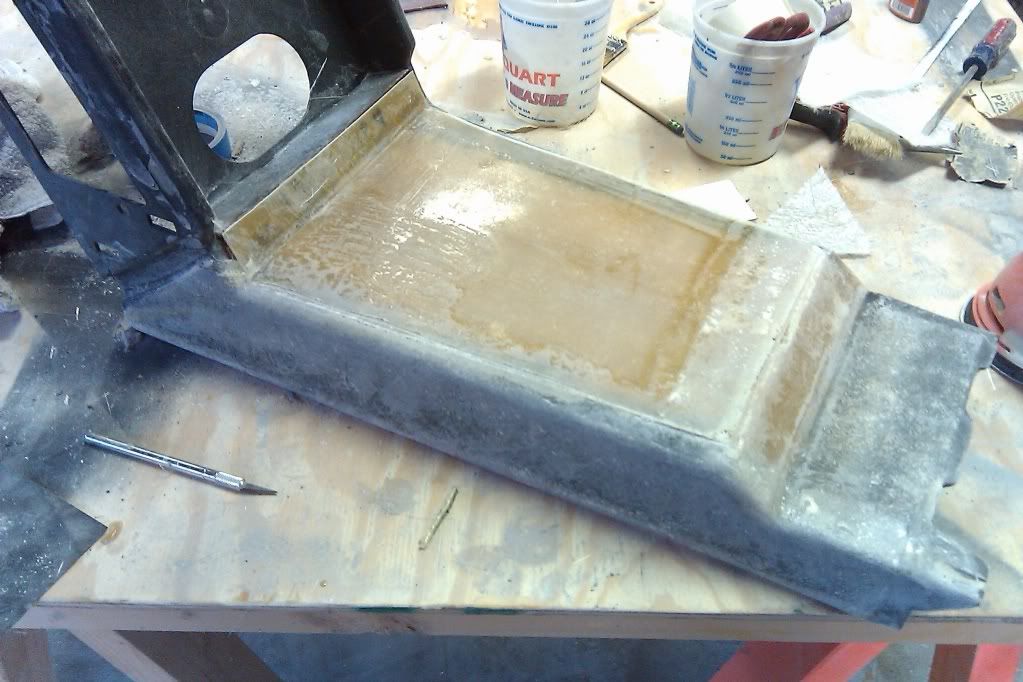
I had to add more resin to the tops to add height
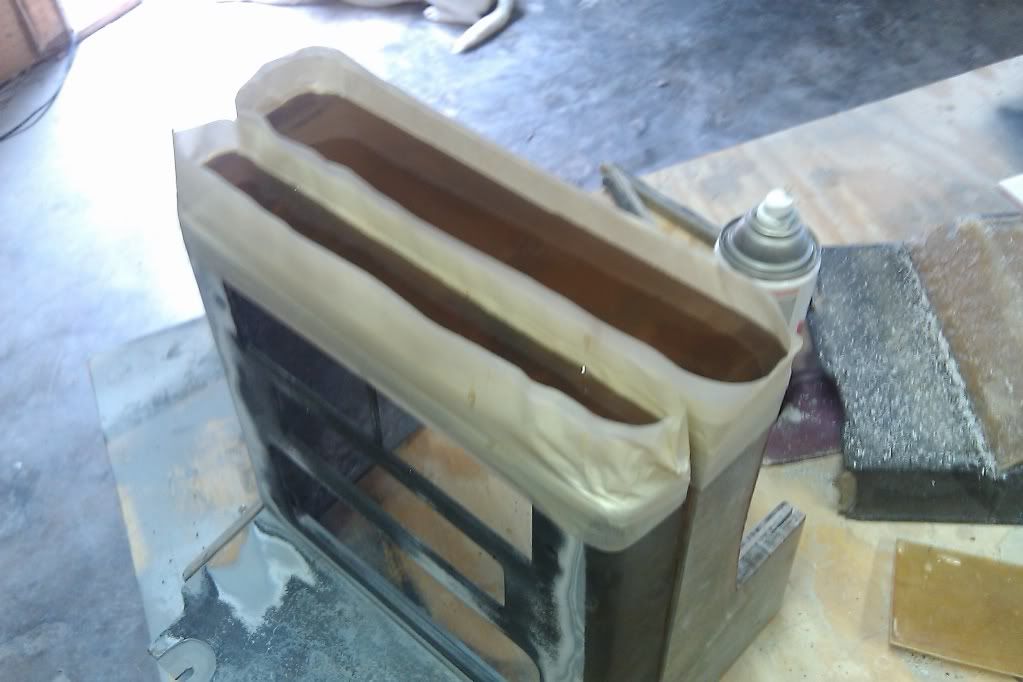

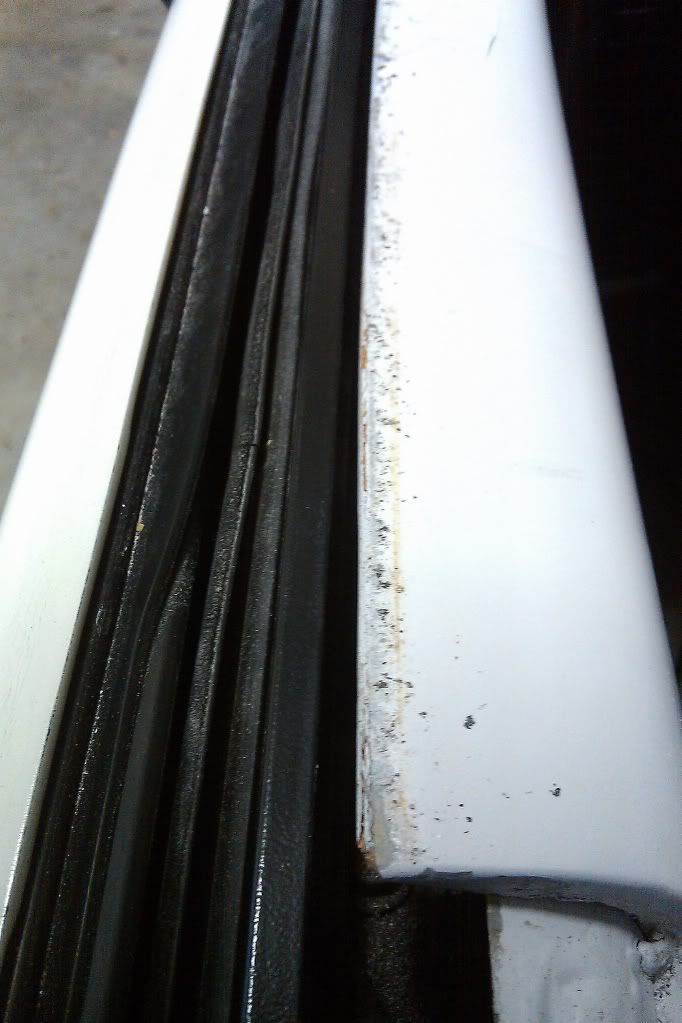
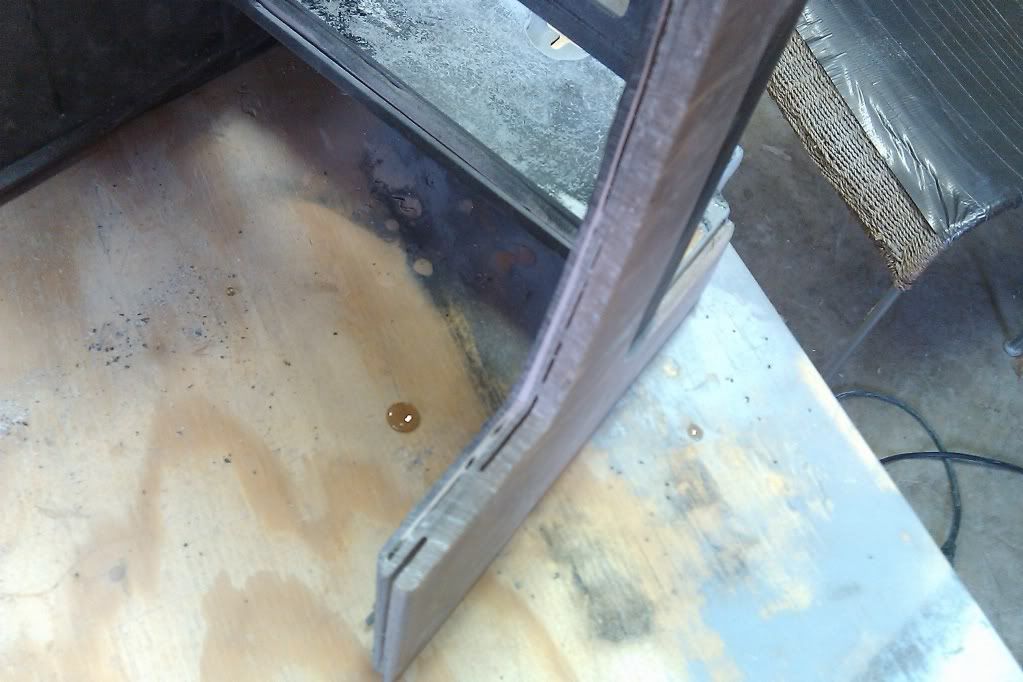
When the resin cured I removed the tape and began sanding. As you can see, the resin formed a natural lip - I liked it so much I decided to leave it
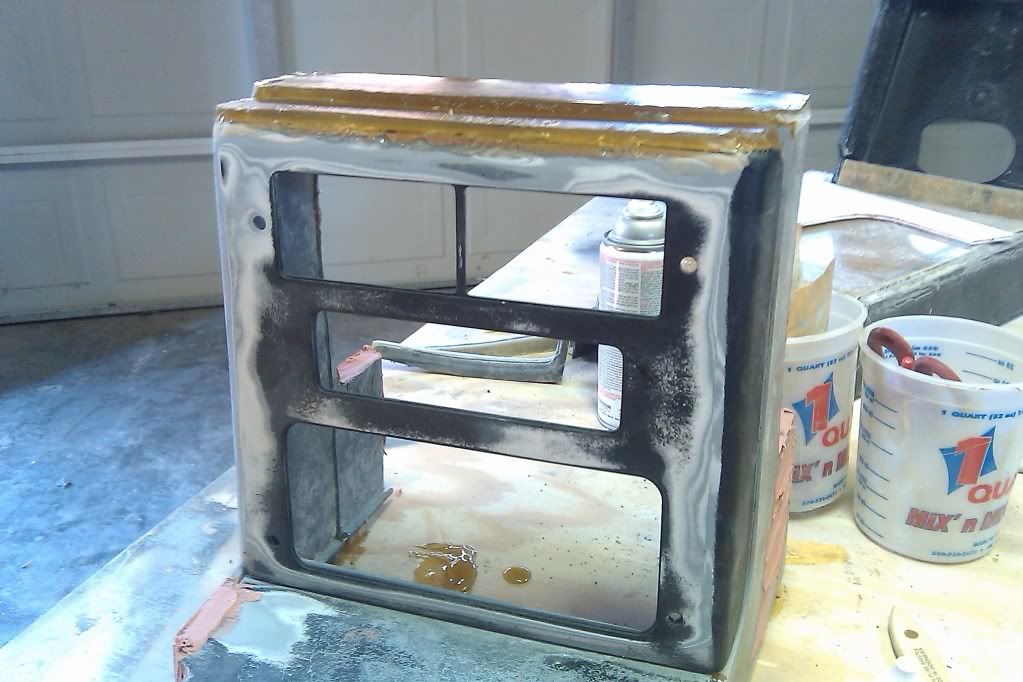
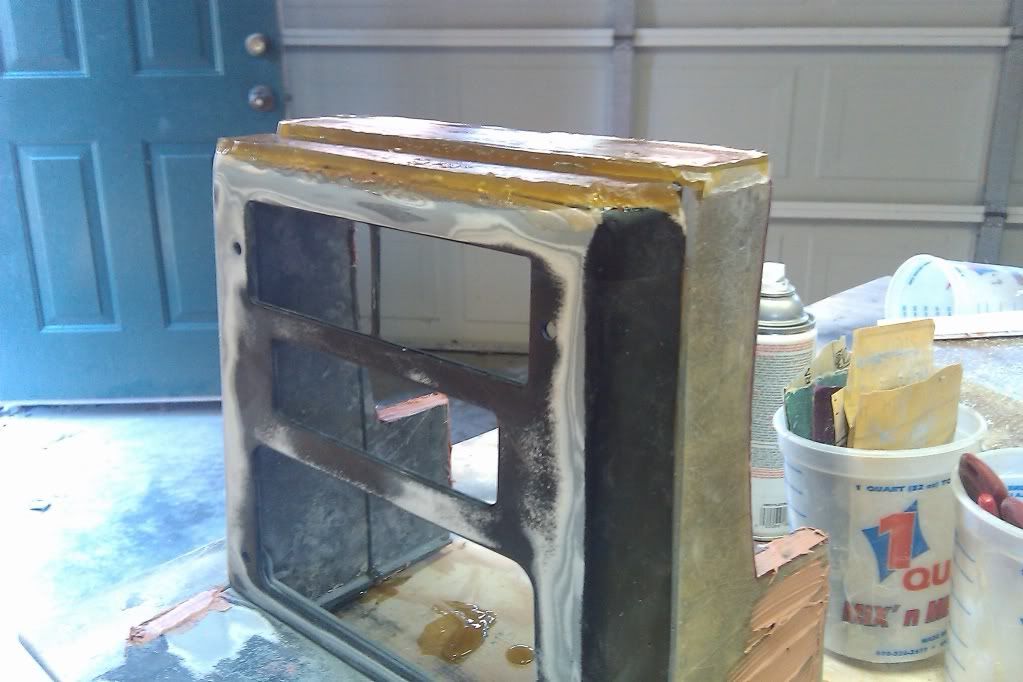
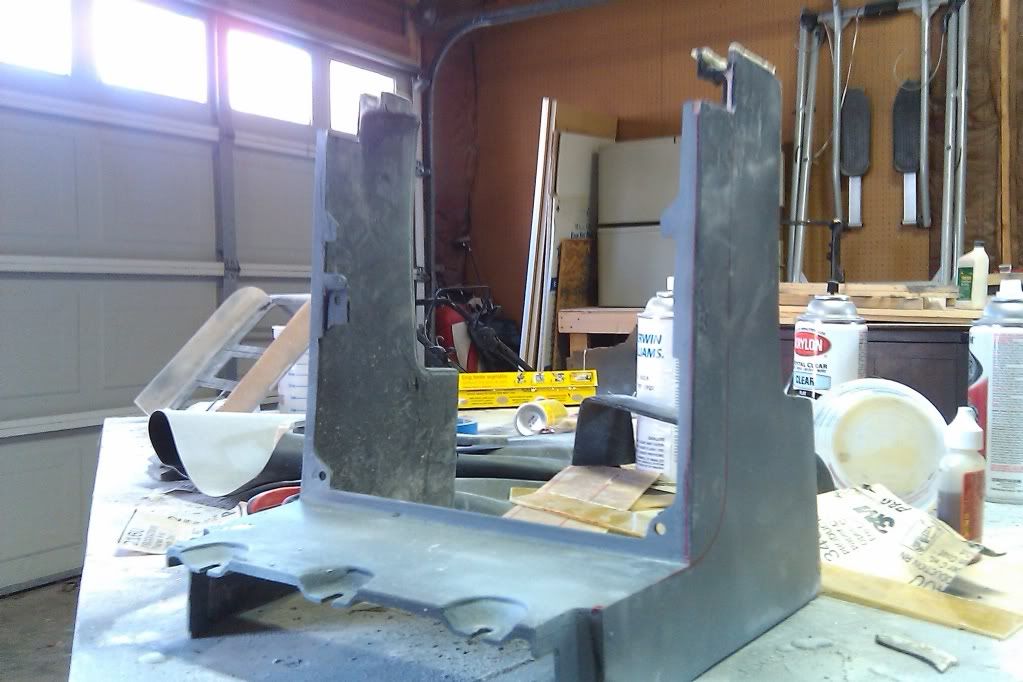
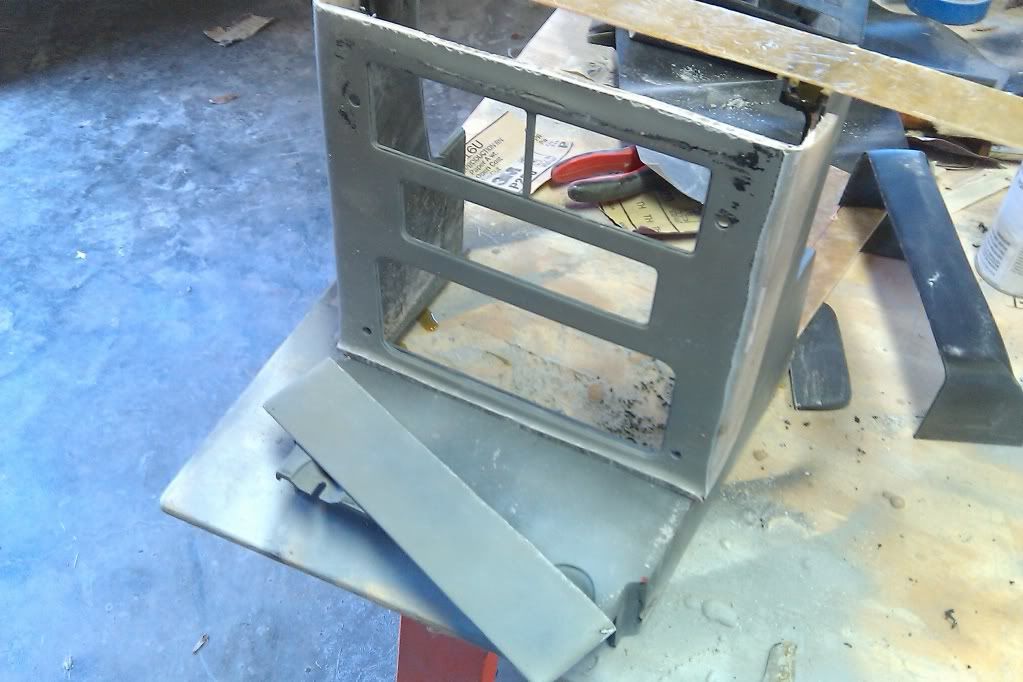
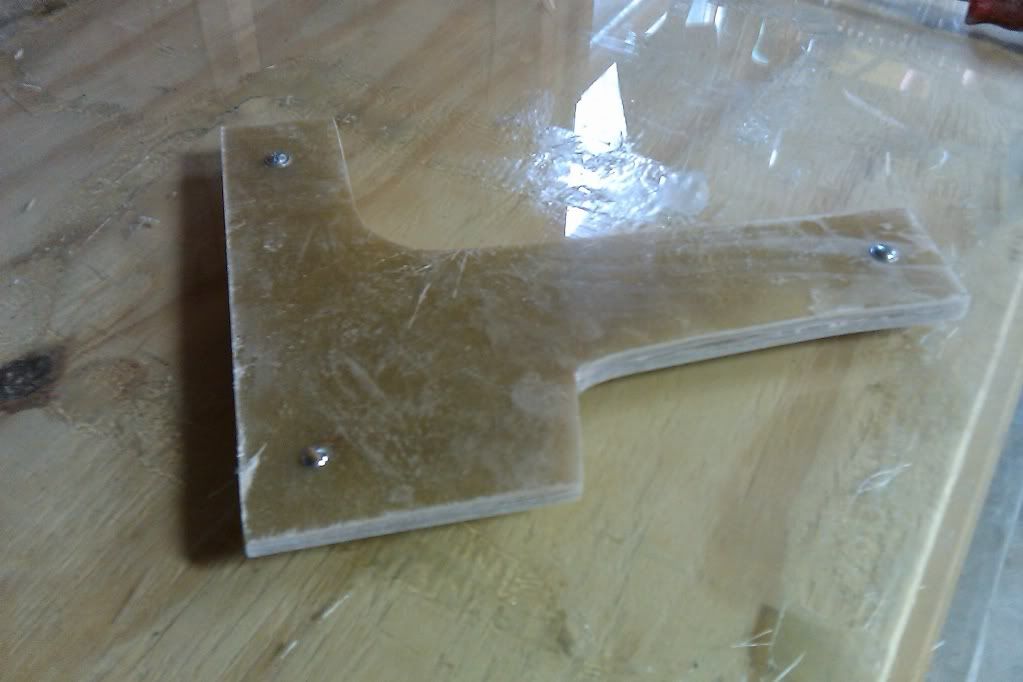
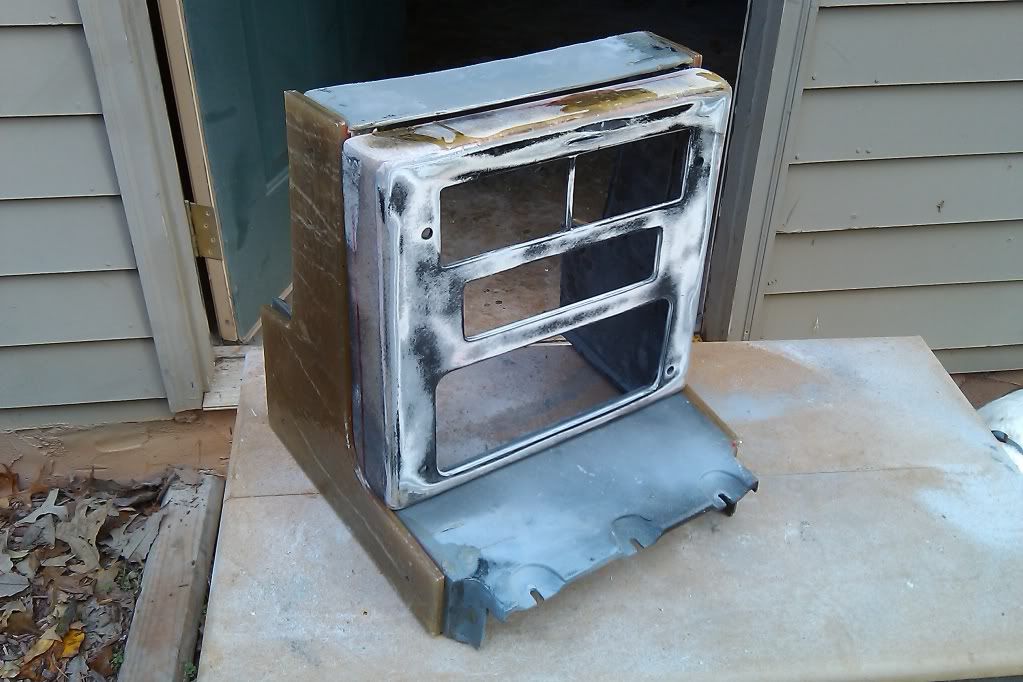
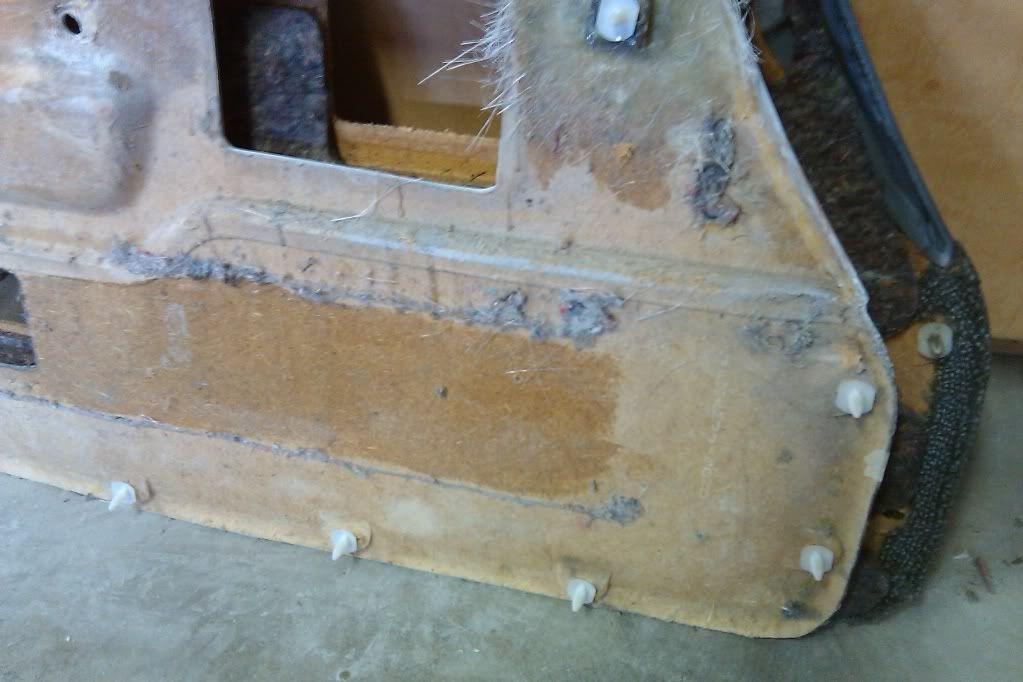
There was also a lot of work to do on the frame - holes and gaps to fill, sanding, etc

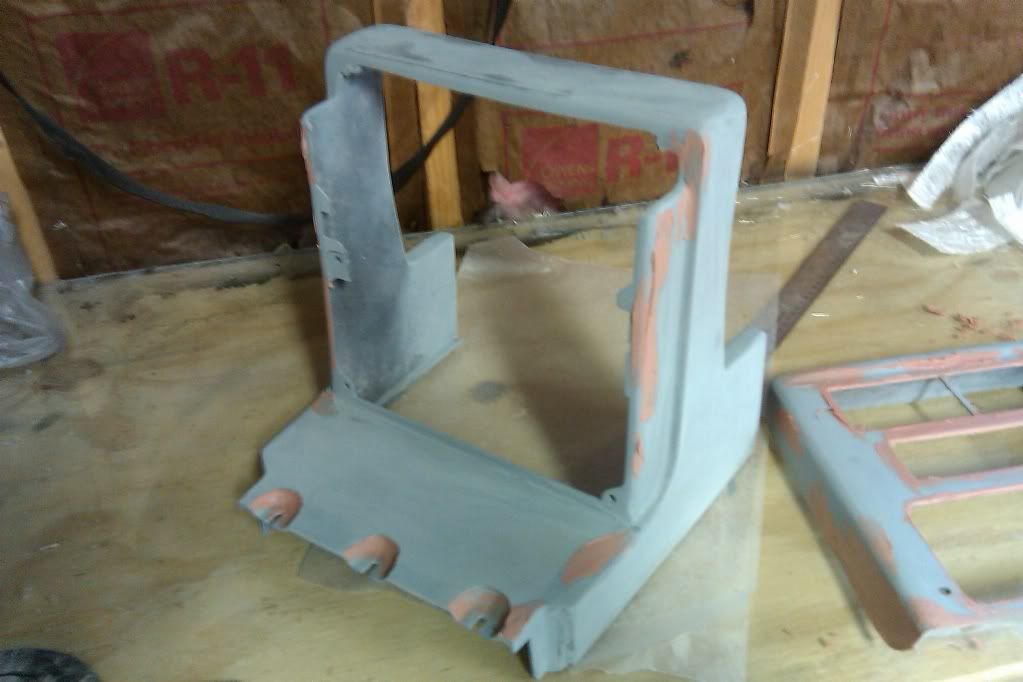
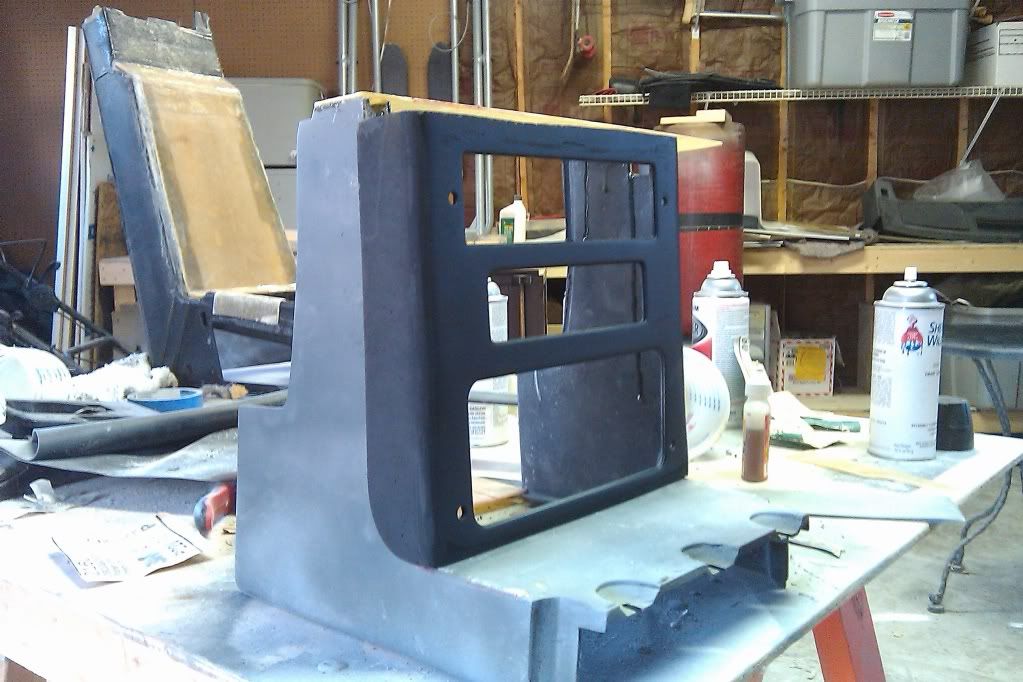
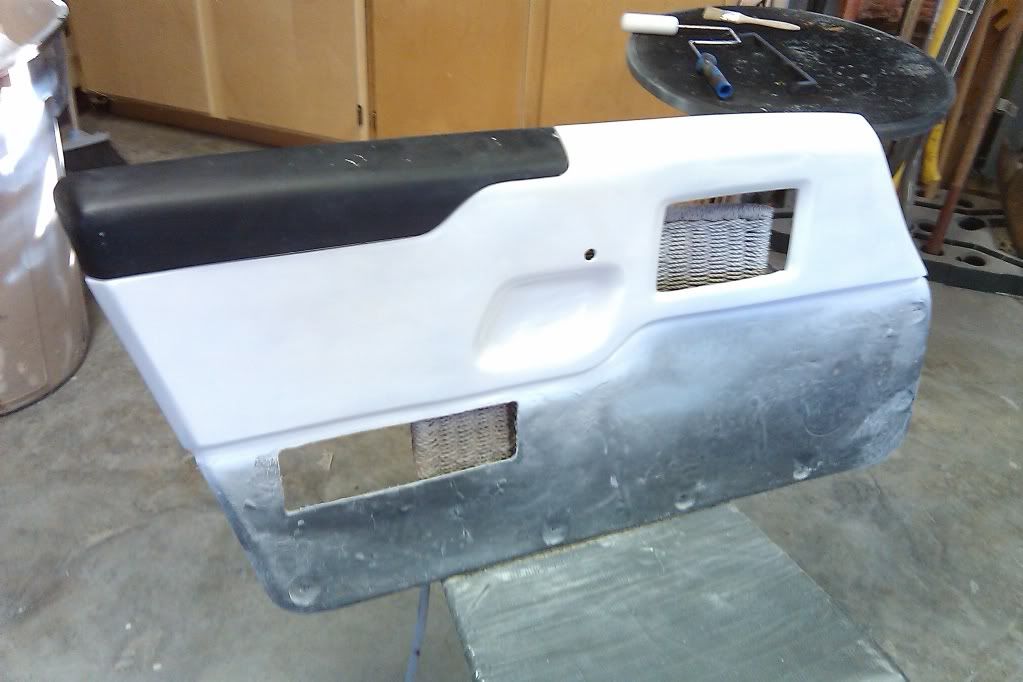
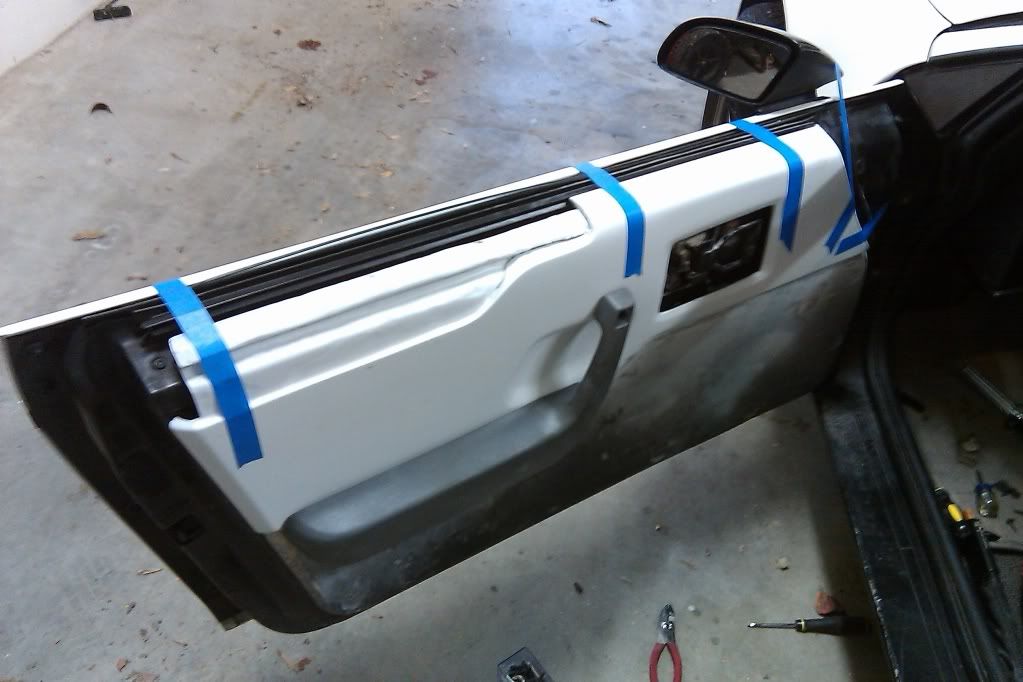
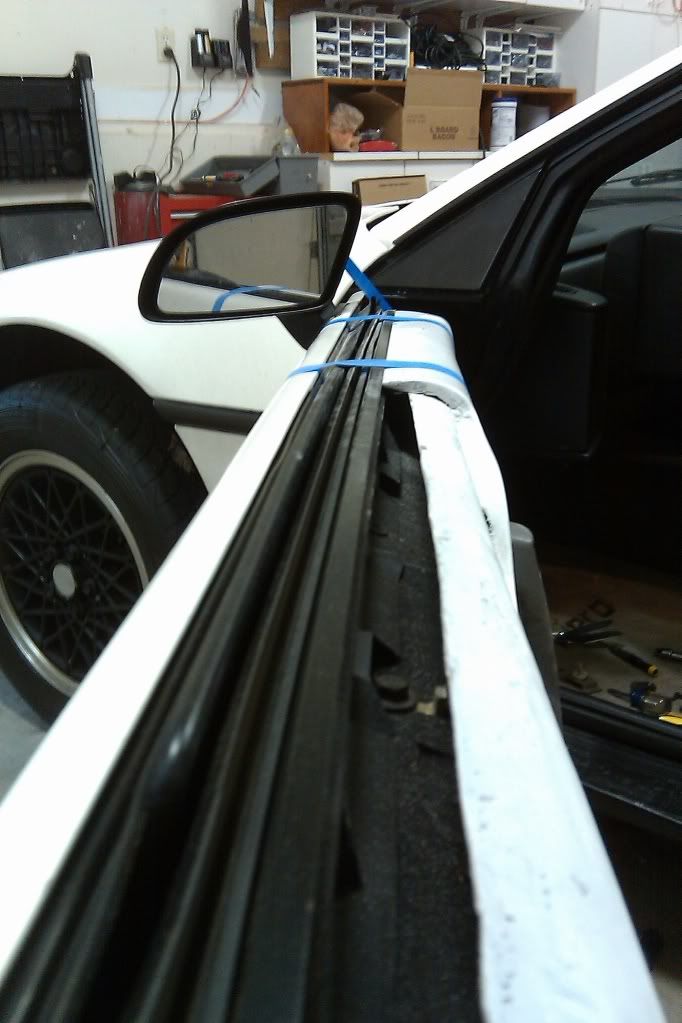
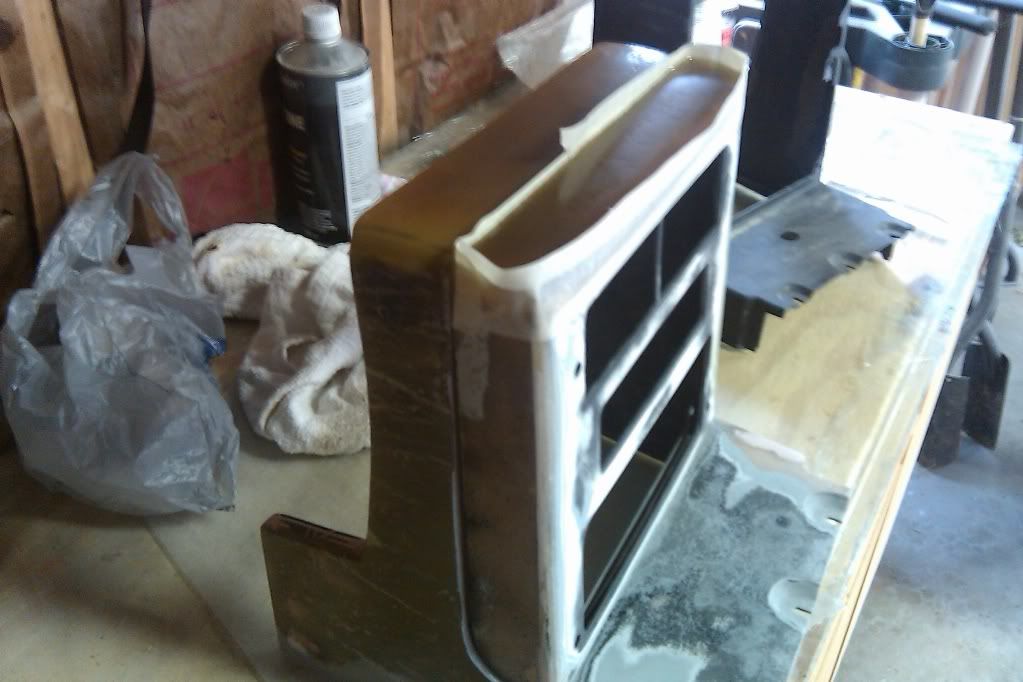
I also decided to roll the openings on the radio bezel - this is closer to the 89 Concept

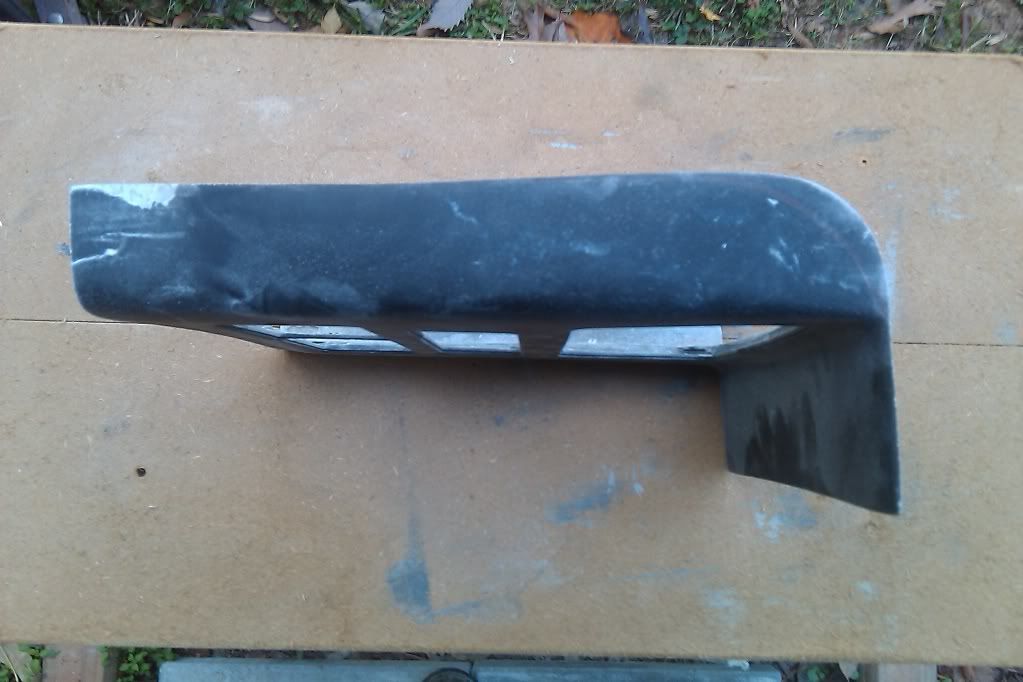
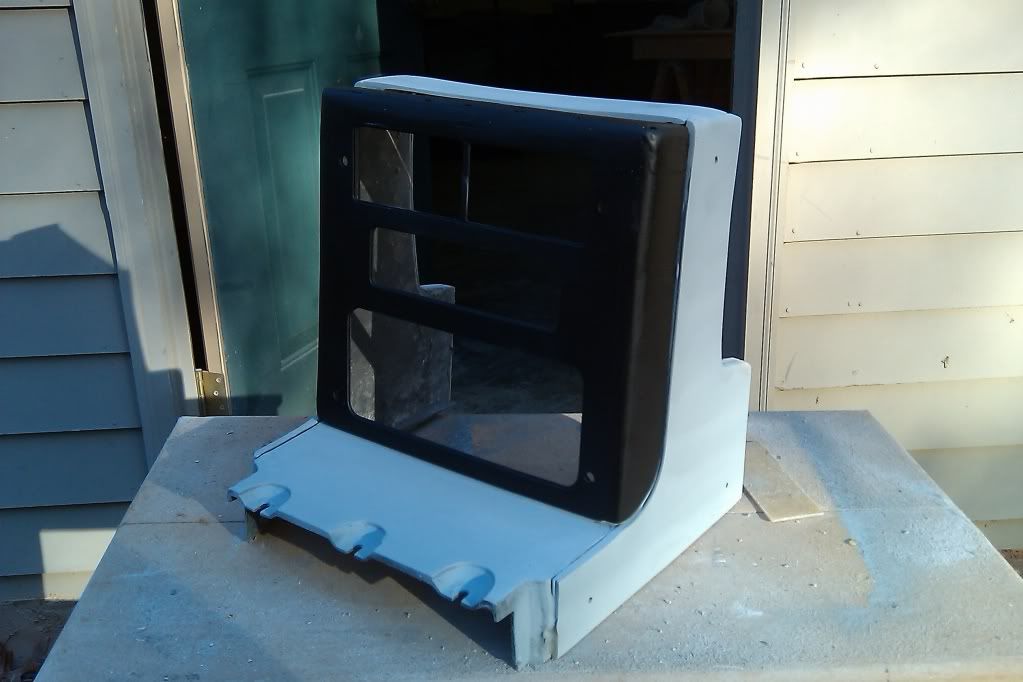
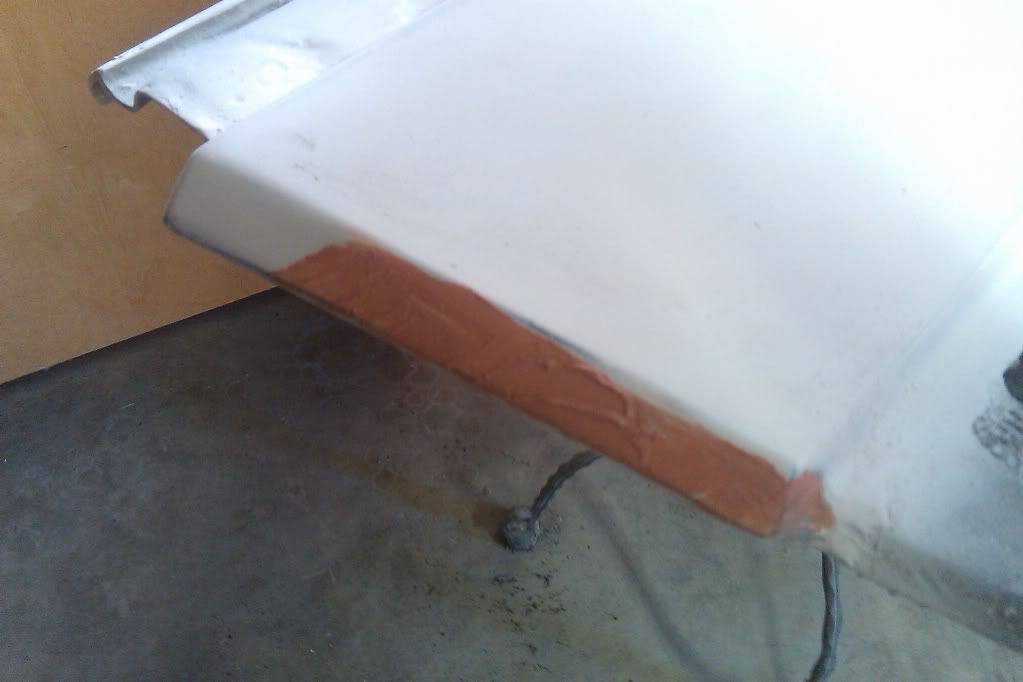
Finally... I got back to the armrest as well

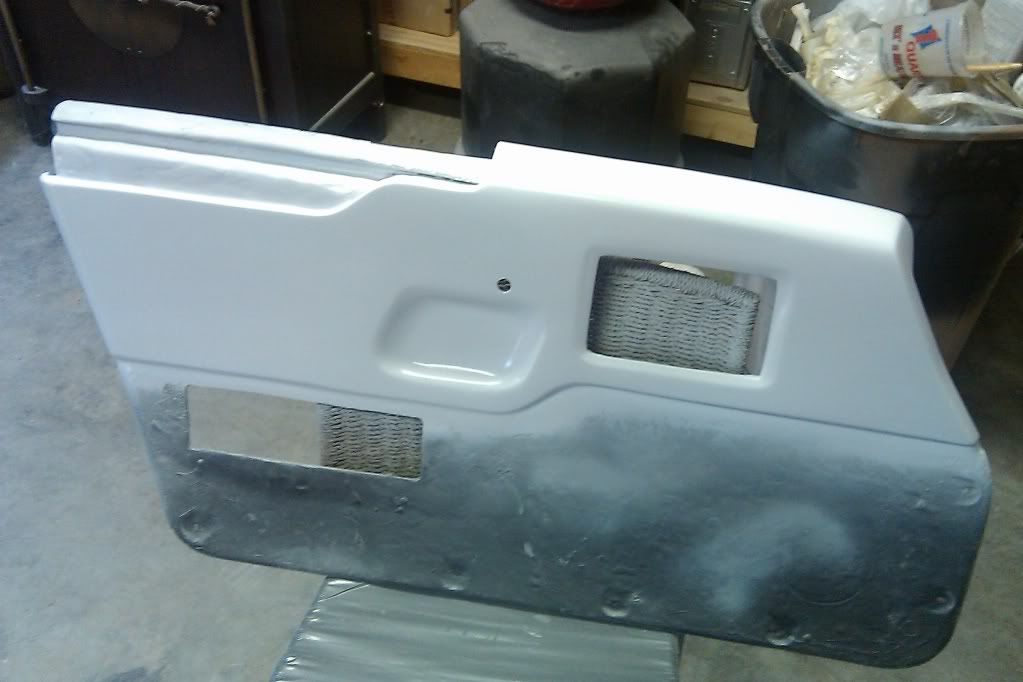
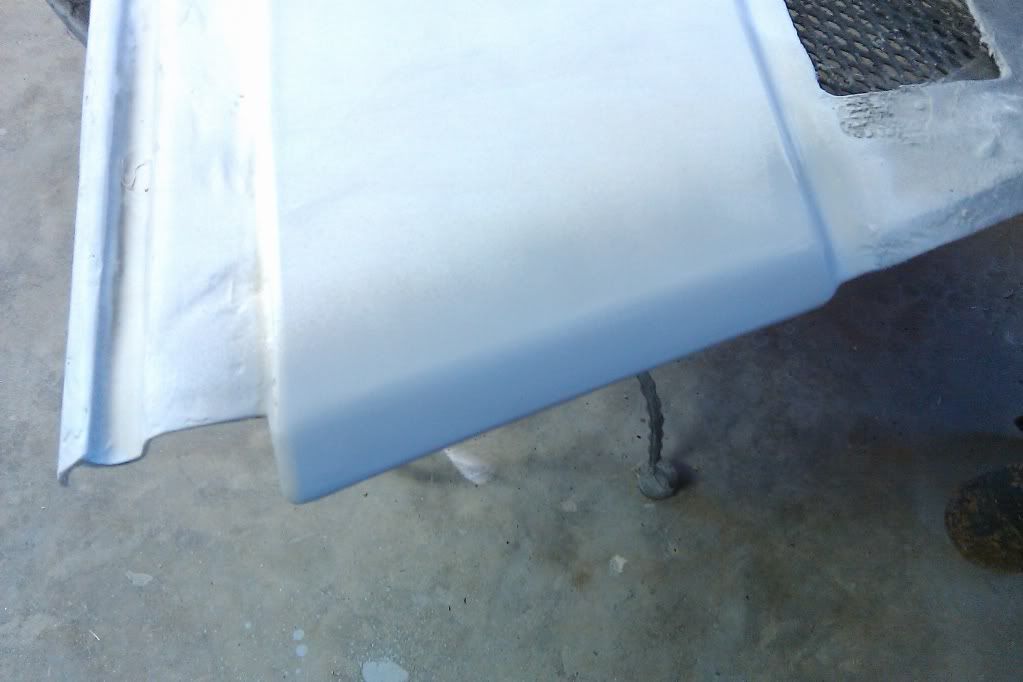
The finished door panel - waiting for paint
|
|

|
Sofa King
|
DEC 06, 08:18 AM
|
|
|
|
|
Sourmug
|
DEC 07, 12:34 AM
|
|
Oh ouch! I feel your pain.
That can really get your shorts in a knot. Don't let it get you down though, the panels will be great once you get them finished. I had things like that happen in my build, the only thing I could do was look at it as a learning opportunity.
Nolan
|
|

|
Sofa King
|
DEC 10, 01:25 PM
|
|
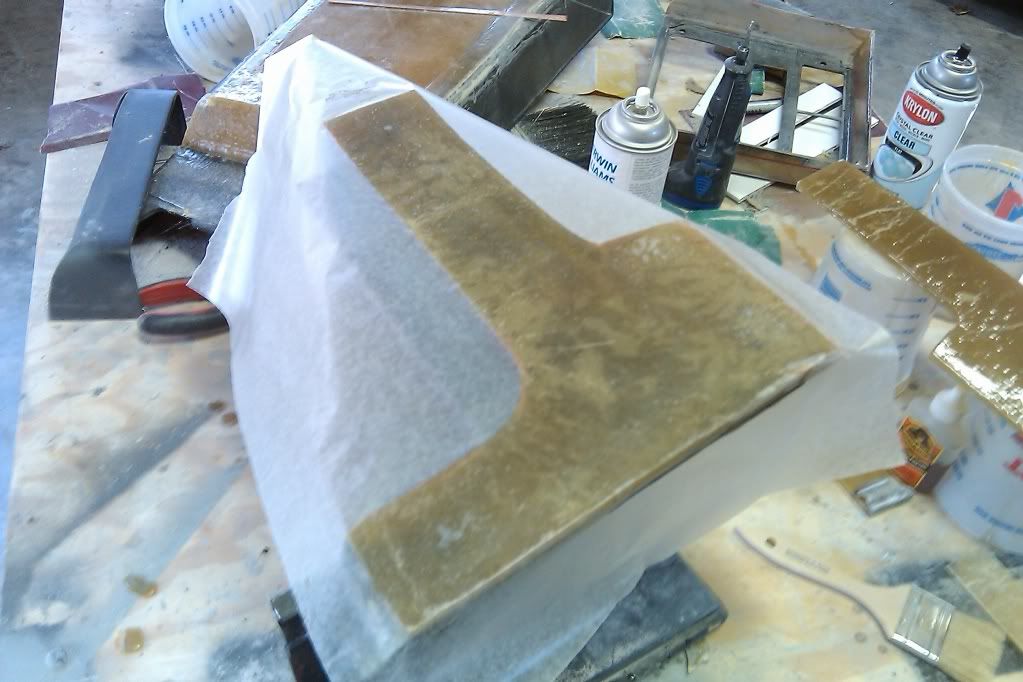
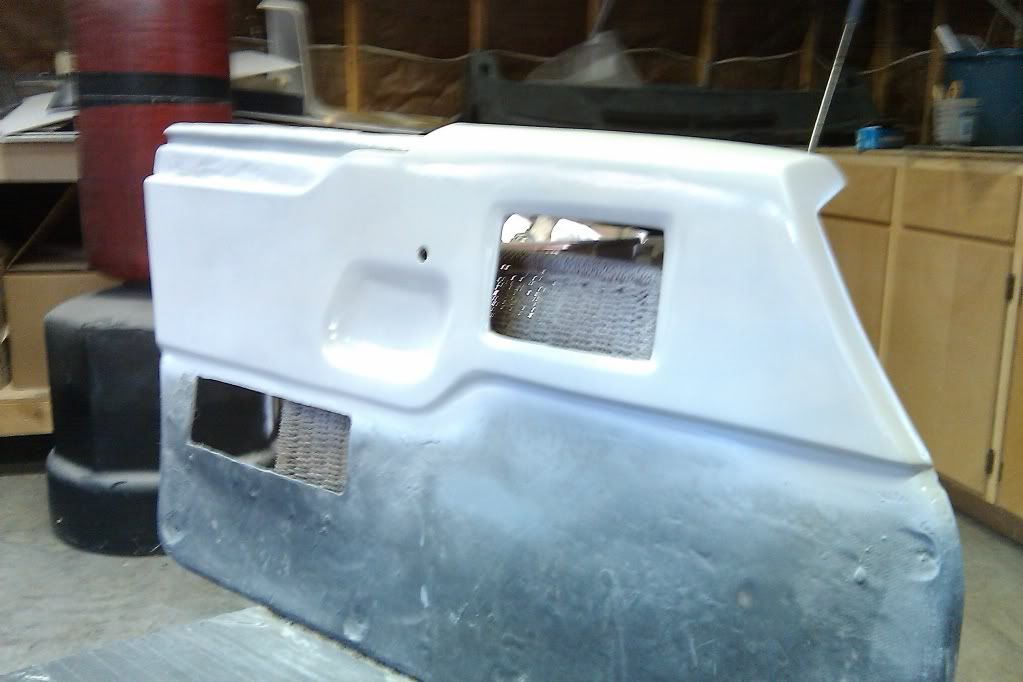
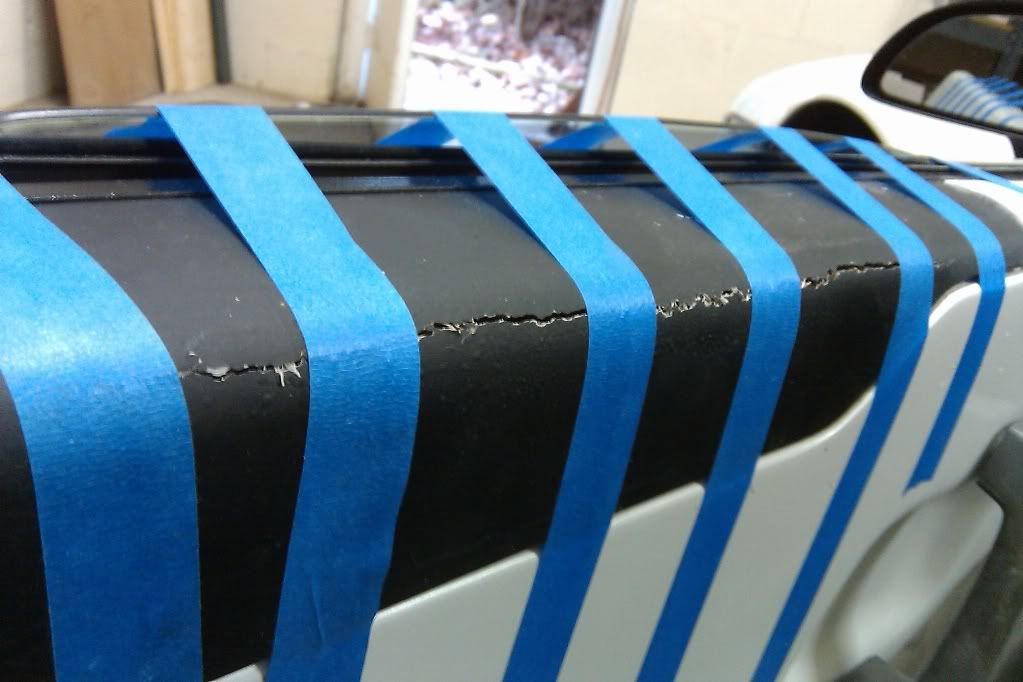
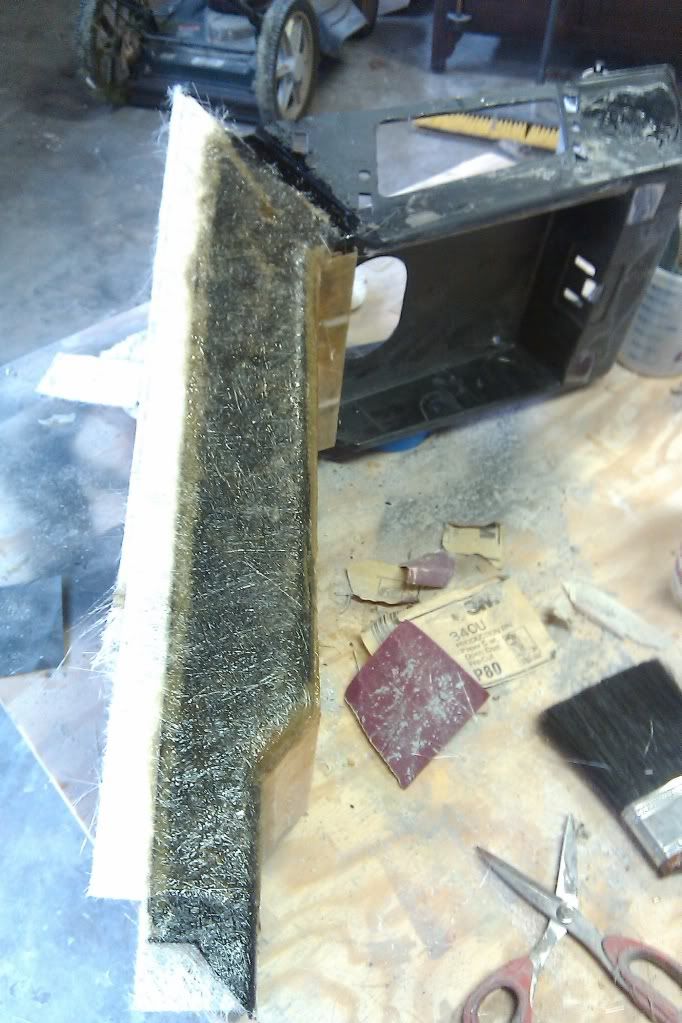
The pain was great... I found another "self inflicted" warping problem. It wasn't just the top that warped. The entire panel warped. The worst area is right where the top of the grab handle bolts to the door itself.
From this basic diagram you can see how the panel warped
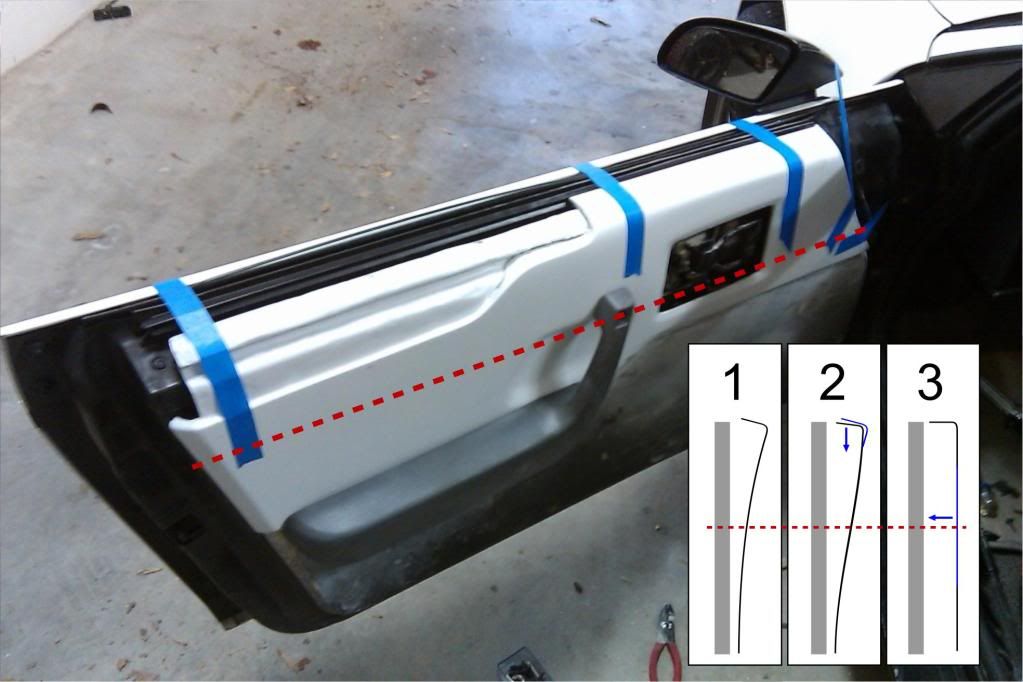
1) Shows how badly the panel warped - the red line represents where the top of the grab handle bolts to the door.
2) Shows how I had to push the top part down - as you can see, when I heated the fiberglass and manipulated the glass to fit into place, I created a bowing effect at the red line where the grab handle is mounted.
3) Shows the area (in blue) where I have to heat the panel and try to manipulate back into its original position.
UGH... It's not getting me down. Just a few steps back... I'll catch up. Mostly...
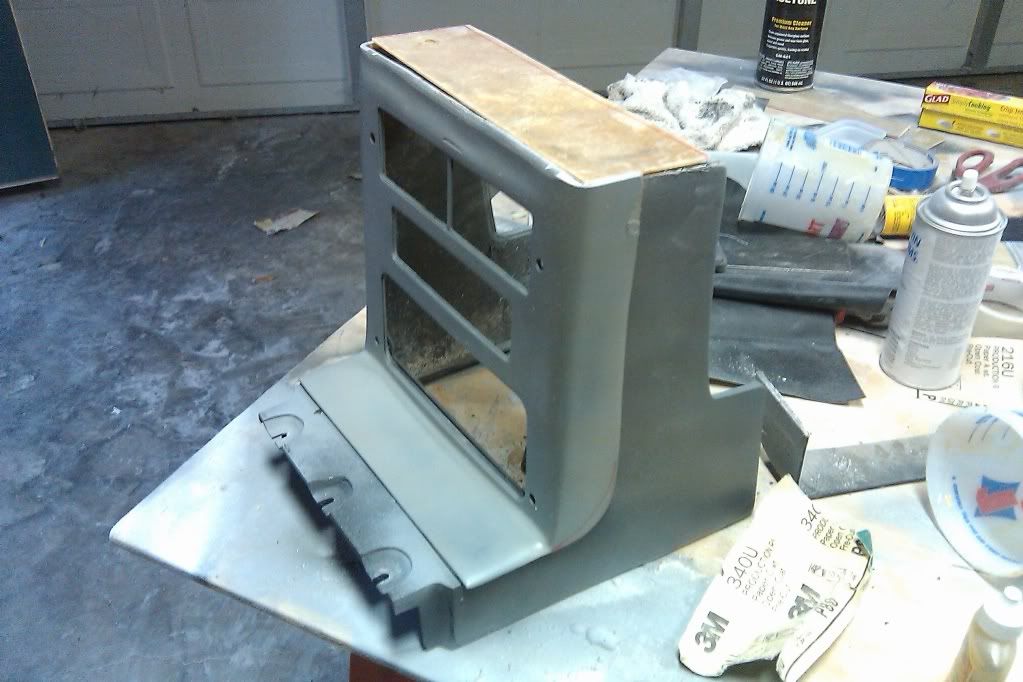
The good news, the new 89 Concept radio bezel is coming along and almost ready for its debute
|
|
|