 
     |
| ecotec swap (Page 76/98) |

|
Lunatic
|
JAN 08, 10:50 AM
|
|
|
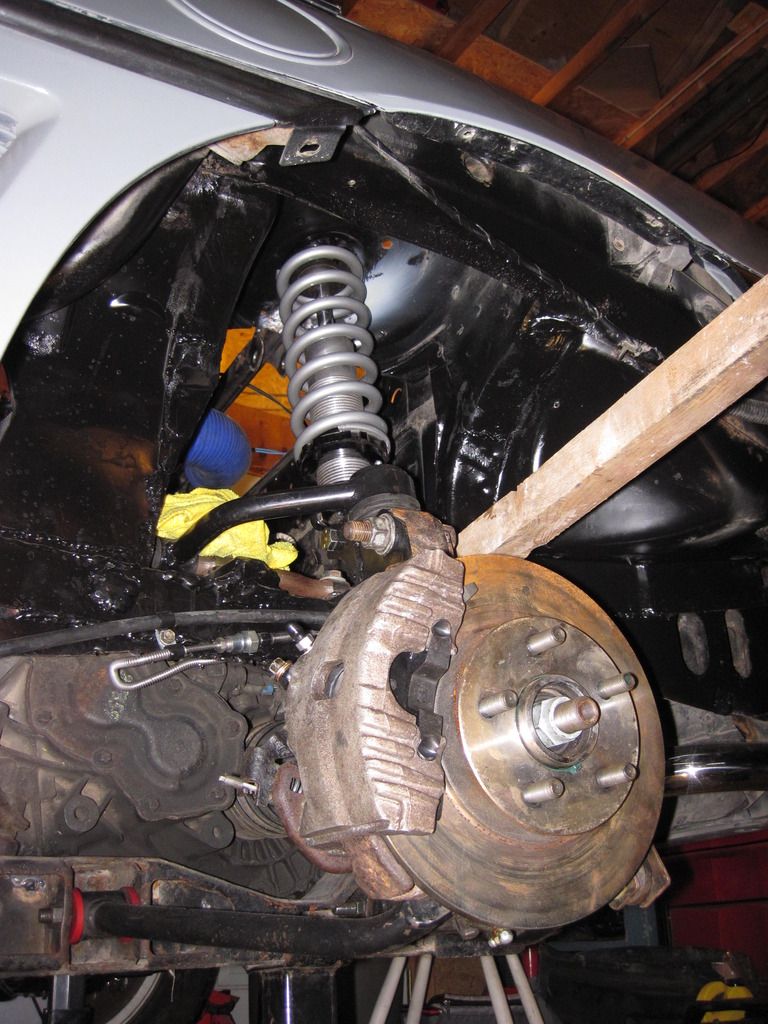
I understand that a shock absorber functions best when perpendicular to the the control arm. If there is no clearance issues, this is ideal. Was there a reason for mounting your shocks on such an angle relative to the upper control arm?
|
|
|
|
wftb
|
JAN 09, 09:14 AM
|
|
|
Funny , when you mentioned that , I thought , why did I do that? So I had to go take a look and then I remembered .Because of the high mounting point created by the strut stub and adapter , there just is not enough room to get it almost verticle .And there was length of travel issues to consider .The way it is mounted it is at an angle of 20 degrees , not really that bad especially with the coilovers I am using . I have figured out another way to mount the top of the shock to reduce the angle .That would be to make a set of extended top hats like the civic guys like to use .I don't know if there is enough room to do that yet . But I am going to have a serious look at that because it would also add some strength in that area and allow the box up of most of the hole I cut .Thanks for the reply Shayne , have a great weekend . [This message has been edited by wftb (edited 01-09-2016).]
|
|
|
|
wftb
|
JAN 09, 10:28 AM
|
|
So there is room to run the coilover straight up through the strut mounting hole .It will be simple to make a mount there. There are disadvantages : The shock will have to be mounted with the body down, increasing unsprung weight and putting the adjustment knobs out of reach(tire off to adjust) and total wheel travel will be less than 4 inches .
Kind of reminds me of the Whack-A-Mole arcade game:
I might make a mount in this position and use it for track days.The lower wheel travel wont be a factor on a track .I never have time to get to a track day now but next year I get to retire and I hope to do about 4 days a year .[This message has been edited by wftb (edited 01-09-2016).]
|
|
|
|
wftb
|
JAN 09, 04:26 PM
|
|
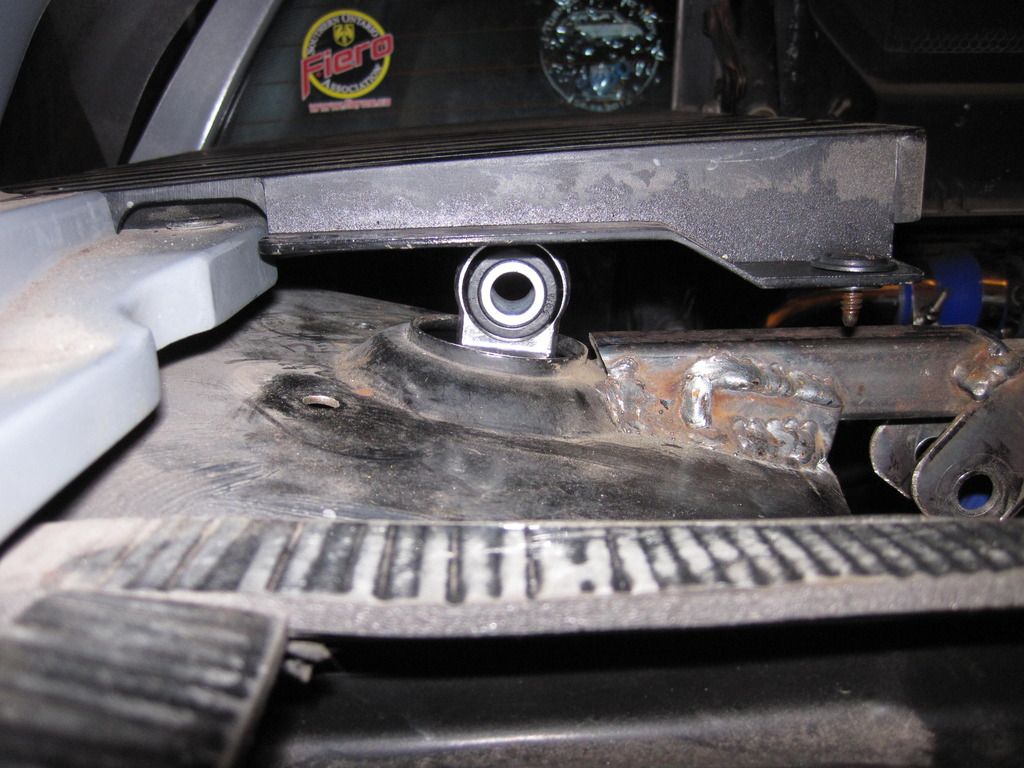
In order to see how solid my upper shock mounts were I took a 5 foot length of heavy wall 1" pipe and put it beside the shock mount and pried with the pipe hitting the wall of the trunk .Revealed that the strut hole could be seen moving up and down as I pried on the pipe .So I added this brace :

And it did not make a difference at all as far as I could tell .So I figured I needed something to come up from undrneath:
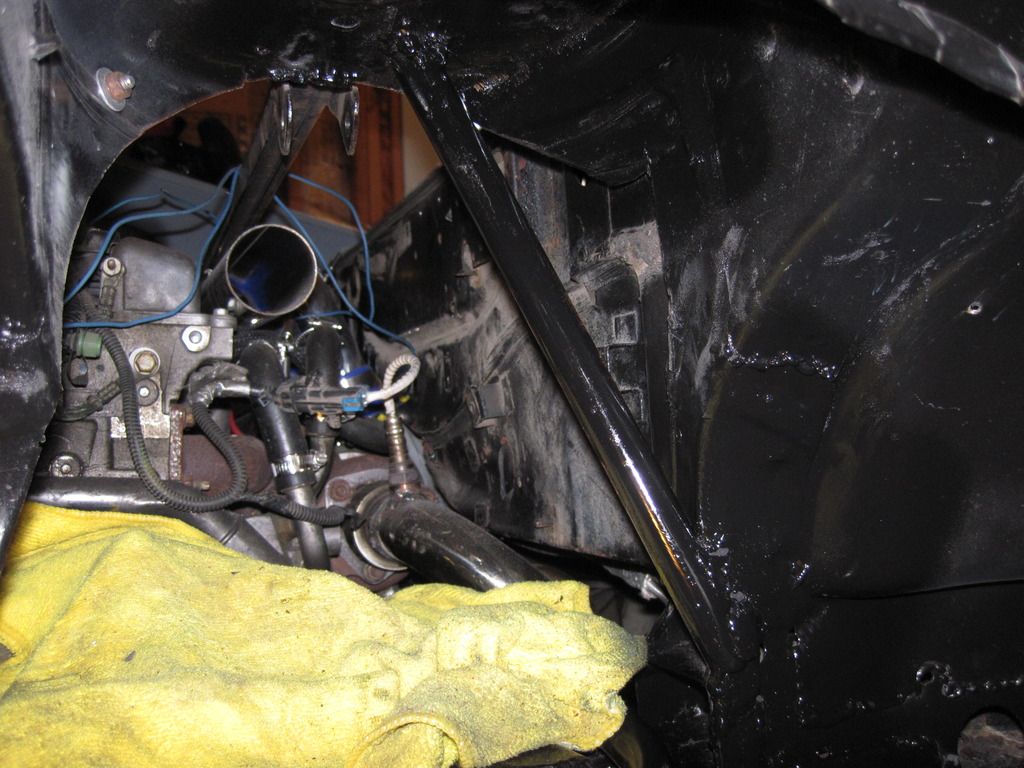
And that made a huge difference .Now there is 0 flex, I can bend the pipe and nothing moves now .On the other side , I am just adding the lower pipe because of the double layer of steel that I have stitch welded together makes it already fairly stiff .The upper weld looks worse than it is , got a bit of bubble gum going there but underneath it is real solid .Whenever I weld in to a covered space like that , I get flashed a lot and end up with the odd extra blob .I should have cleaned it up with the grinder but no one will see it anyway .[This message has been edited by wftb (edited 01-10-2016).]
|
|
|
|
wftb
|
JAN 10, 10:39 PM
|
|
|
I put the post in to the other side and gave it my pipe test and it still flexed .What happens is , without the small beam welded in above the post like I have on the drivers side , the strut tower will tip back and forth .So , I added a a small beam on the passenger side and now both sides are rock solid . The beam is nothing without the post and the post is nothing without the beam in this case . But I am very happy with the results . The coilover mount has to be stable for the shock to work properly . Tomorrow I will put the coilovers back in and then I am going to see about boxing in some of the strut tower and try to fit the inner fender wells .
|
|
|
|
wftb
|
JAN 14, 05:37 PM
|
|
|
|
|
wftb
|
JAN 18, 04:53 PM
|
|
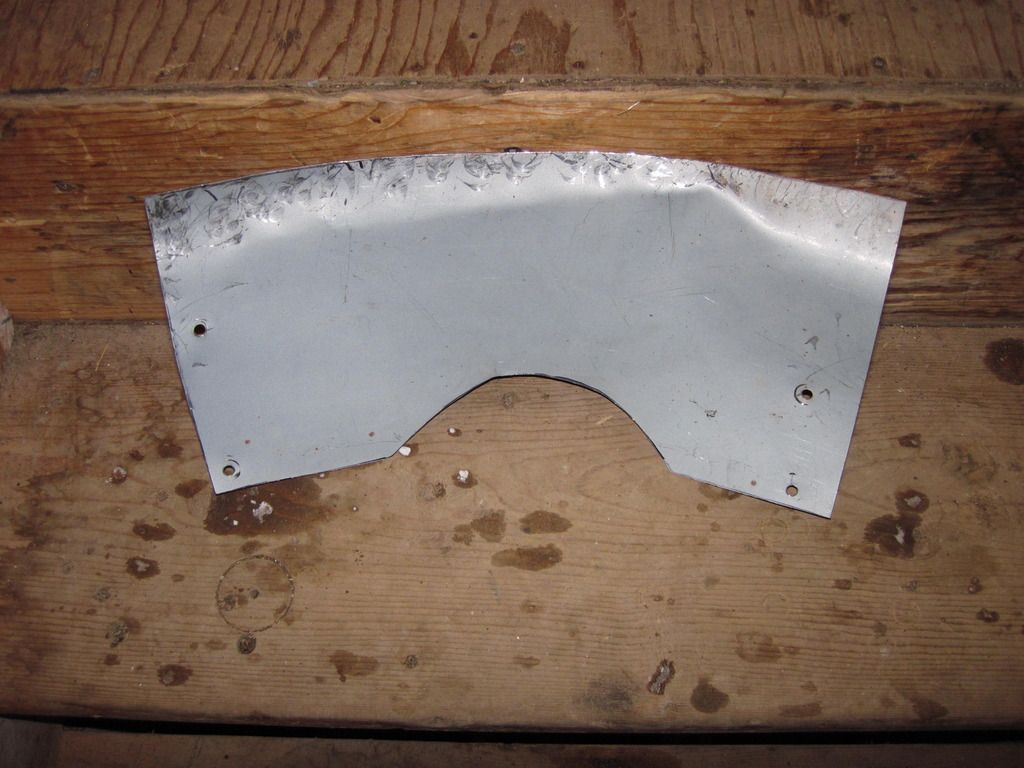
This is the strut tower filler for the other side .It started off as a flat rectangle .I did this one by holding it in place with screws while I hammered the shape out .The drivers side has similar curves but you cant see it in the pics .
|
|
|
|
wftb
|
JAN 19, 10:26 AM
|
|
Strut housing sheet metal painted and glued and screwed in place .I used the big screws cause they are easy and they pull really tight so the glue will bind better .I had a small hole in the trunk sheet metal so I glued and riveted a sheet metal patch there too .You can see a bit of it in the left hand side of the picture .
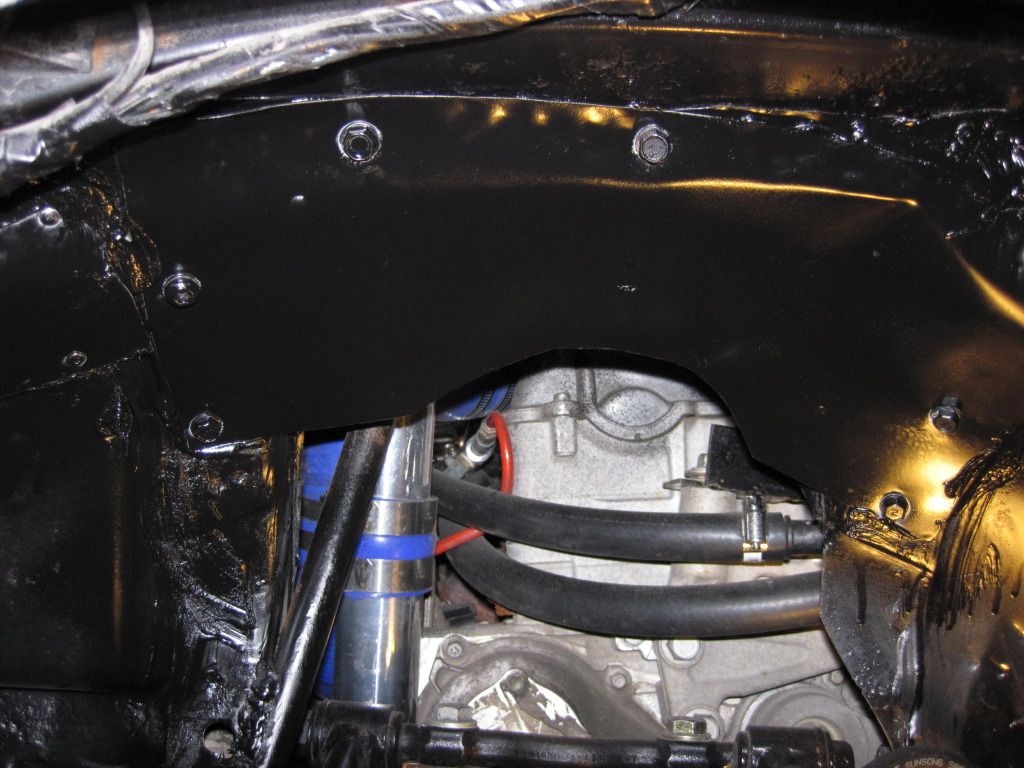 [This message has been edited by wftb (edited 01-19-2016).]
|
|
|
|
wftb
|
JAN 20, 05:54 PM
|
|
|
|
|
wftb
|
JAN 20, 10:42 PM
|
|
Have to work tomorrow and friday so cleaning up the mess will have to wait till Saturday

|
|
|


