So far so good Jake. I had an issue a few weeks ago - at the upper end of the RPM range, the belt "flipped" upside down but never came off - the belt was rubbing the timing tab and I could smell rubber burning. I think it flipped becuase it was not tight enough. I installed a new belt and made sure it was good and tight - I have been up to the upper end of the RPM range several times with the new belt and no issues. It does seem that the alternaotr makes more noise - Almost like where I have it mounted - on the front of the front motor mount - that it seems to "resonate" the regualr alternator noise through the mount - almost like a "ringing" noise. I can put my hand on the motor mount and dampen the noise some. I was just thinking that the aternator bearing was getting ready to fail? I have a replacement - maybe I'll swap it out before it fails and see what the noise does.
I almost think its where its at. My new alt is louder than the old one but I could hear both of them. If I pull the sense wire its quiet so I don't think its the bearing. Did you keep the stock heat shield in place? I wonder if it would help with noise. My bracket is working great, the turn buckle is perfect for tightening the belt. So far its not had any problems and its staying tight. I my try a new belt as this one was on when I was having harmonic balancer issues. I may have contaminated it.
katatak
MAY 14, 01:50 AM
quote
Originally posted by Jake_Dragon:
I almost think its where its at. My new alt is louder than the old one but I could hear both of them. If I pull the sense wire its quiet so I don't think its the bearing. Did you keep the stock heat shield in place? I wonder if it would help with noise. My bracket is working great, the turn buckle is perfect for tightening the belt. So far its not had any problems and its staying tight. I my try a new belt as this one was on when I was having harmonic balancer issues. I may have contaminated it.
Hey Jake-
I tried that this evening - pulled the excite wire and my alt noise went away - not the bearing but when it's charging, it produces some wierd harmonics through the front engine mount plate. I made an easy "slide" type tension bracket but I like your turn buckle idea and will be upgrading mine here soon. I do not have the heat shield in place as I have been tinkering with fuel lines and wiring in an attempt to get everything routed where it won't melt from the firewall header/collector. I think I have it all sorted now so it's time to install the heat shield.
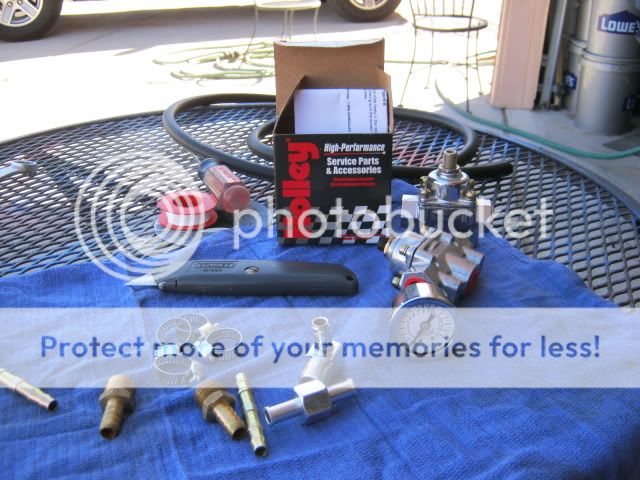
On another note, I got my new bypass regulator and fuel pressure gauge from Summit today and installed it this evening. While I was under the car digging out the retun line for the bypass regulator, I pulled out the line that originally went to the evap canister - I thought that it had a small breather/filter in the line but discovered that it was plugged solid. There was no vent for the tank and after a period of driving, the car would act like it ran out of fuel - more so at WOT in thrid and fourth. I think that the pump would pull a vac on the tank until it "equalized" and would not allow enough fuel through the pump. Once I got the line hooked up for the carb and the return, I took the car for a drive - man what a difference. First, I am able to dial in the correct fuel pressure to keep from pushing fuel pass the needle and seat and second, I am able to return fuel to the tank versus trying to hold it all back with the single regulator. The single was rated at 4 to 9 psi and without the return, I believe that the regulator simply could not hold the pressure back. With the single regulator, I could watch the old fuel pressure gauge and watch it slowly rise with the car sitting at an idle. At about 7.5 psi, I could see the fuel being pushed through the idle circuit and cause the motor to load up. Now with the bypass regulator and a much more accurate gauge, I have it dialed into about 6 psi and it stays there at all throttle positions. No more drip drip drip in the carb either. All I have to do now is install a filter on the vent line and I think the fuel problems will be sorted and finished.
I love it when I come home and I have a Summit box waiting for me!
Implements of destruction and all the players!
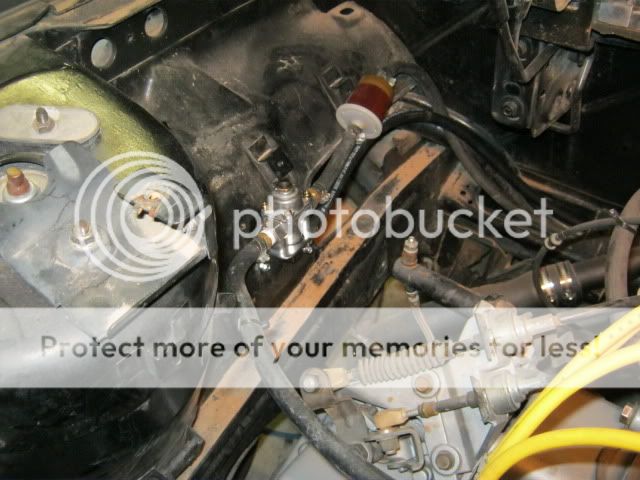
Installed - temporary - going to have some steel braided line made once I get the routing sorted out.
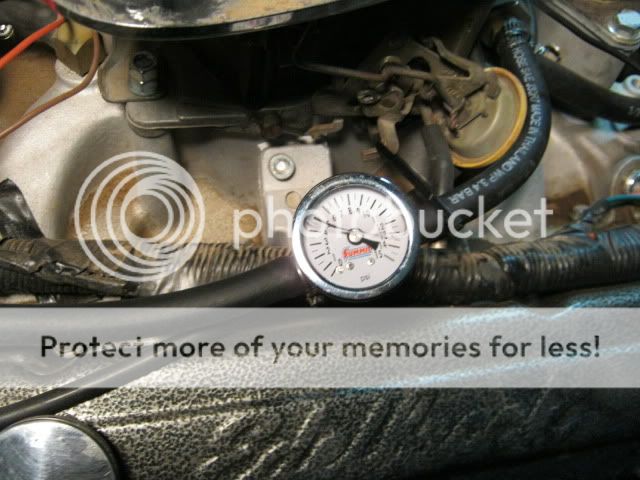
A steady 5 psi - after a couple drives, I bumped it up to 6 psi - seems a little smoother at cruise with a little more pressure.
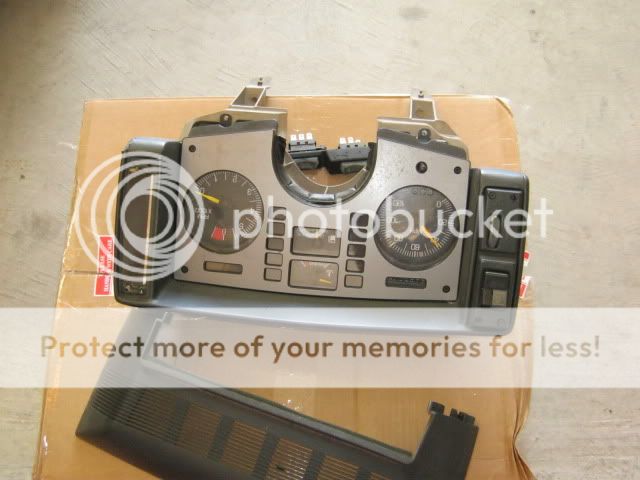
Tomorrow's project - 120mph Speedo!
More tomorrow!
Pat
[This message has been edited by katatak (edited 05-14-2011).]
Rick 88
MAY 14, 01:23 PM
You will need a 5-speed with that 120 speedo there buckaroo..........Hmmmm i wonder who has one close by............
katatak
MAY 14, 11:04 PM
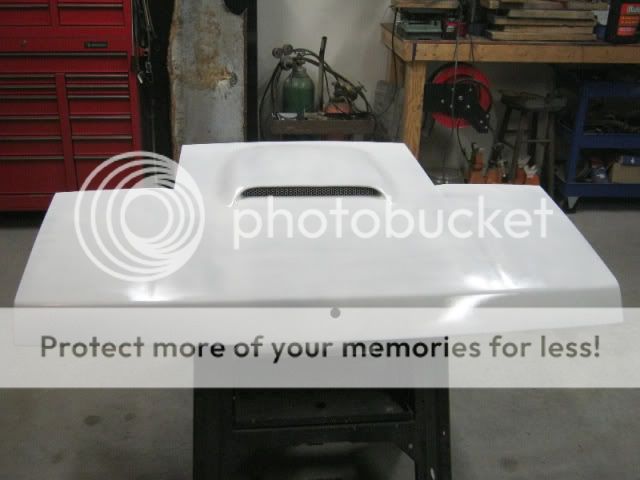
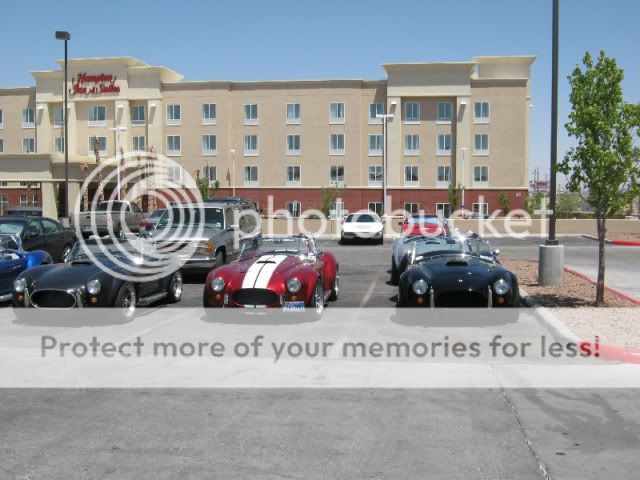
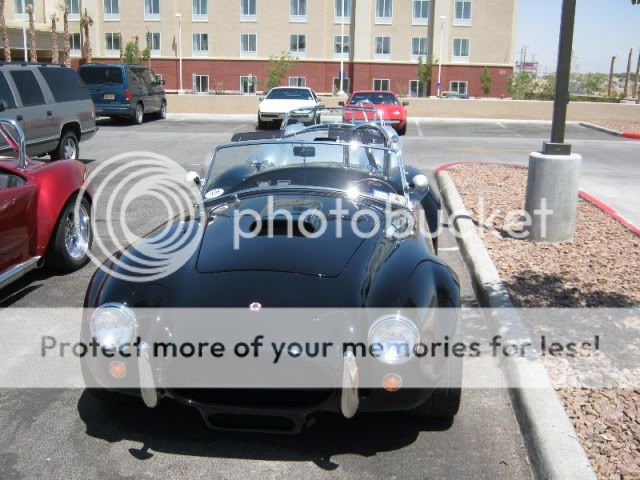
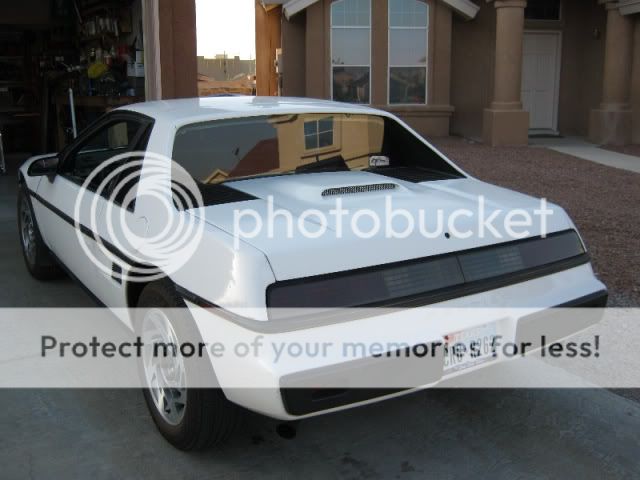
Got another project within the project done today. Got the declid with the scoop painted and installed. The paint did not turn out the way I wanted but it will do until I can get the whole car painted. After I finished the bypass regulator last night, I filled up the car and today I took it for it's longest drive yet. The car ran great. Went up over Trans Mountain to the West side. Never got over 180* pulling the long hill @ 65 - 70 mph. I met up with Rick and Jeff at Rudy's. When I pulled into the parking lot, there was a herd of Cobras. Took a few pics. Could not get any of them to trade me for my Fiero! I filled up the car about 1/2 Hour ago - I did not "rod" the car all day - put about 98 miles on it and the gauge showed 1/2 tank - took 5.4 gallons to fill it. A little better than 18 mpg - Yesterday, before I changed to the bypass regulator and opened up the vent line, I was getting 10!
First coat!
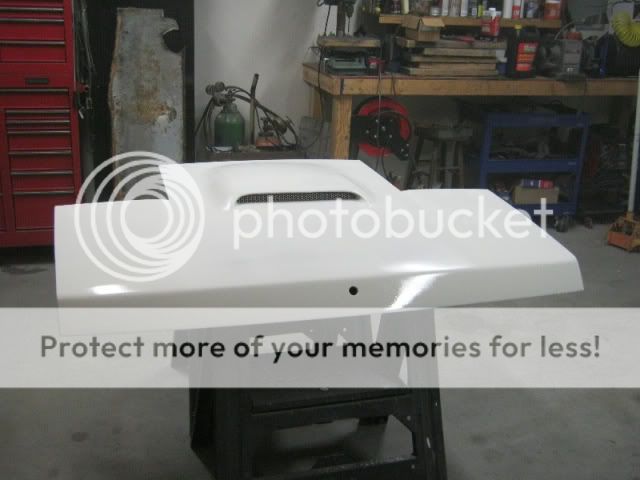
Last coat! I will need to either color sand and clear it to get the shine or just leave it till I paint the whole car.
A little Cobra Show! Note the lonely Fiero's forced to park in the back of the lot!
I really like this one - 406 stroker with over 500 rwhp! I think it would give my SBC Fiero a run for it's money.......lol
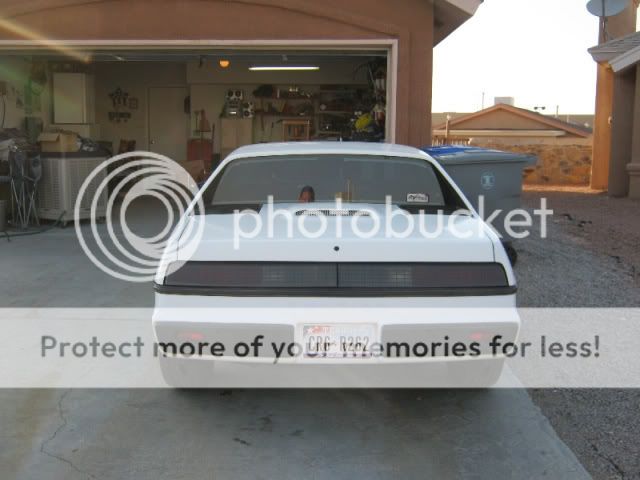
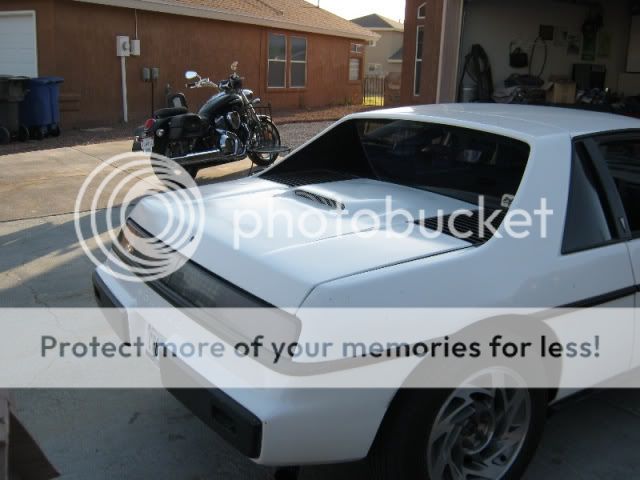
Now here's where the day went goofy on me. Jeff and I went back to my place to instll the deck lid. This morning, I went and bought a new lo pro intake cap and a CIA setup to install with my decklid. I was so excited. We puled the old declid then installed the CIA. Next we installed the new decklid and guess what - would not shut - the CIA cap was too tall? WTF. This new decklid has a scoop molded in - it has to be deeper right? Wrong. After a lot of hood adjustement, several trips to the parts houses and 3 different air cleaners, I ended up using the old Eldlelbrock foam POS and the deck lid still did not want to close - still hits the air cleaner. After a lot of eyeballing and meassuring, we discovered that the "scoop" that was molded into this deck lid is a little narrower than the original bump in the deck. So now I have less clearance for the air cleaner - looks like I'll have to fab up something custom! Anyway, we got the deck lid on and "temporarily" adjusted so that I can close it.
Maybe I'll get to that speedo tomorrow!
Pat
Jake_Dragon
MAY 15, 05:36 PM
I had to install a large scoop to fit mine. I have the large square cut out and covered by the Mopar scoop. Does your carb sit level? I have a level plate installed. Its not perfect but it does help. Going to have to get a new one made and get it perfect.
katatak
JUN 05, 10:32 PM
Long time - no post!
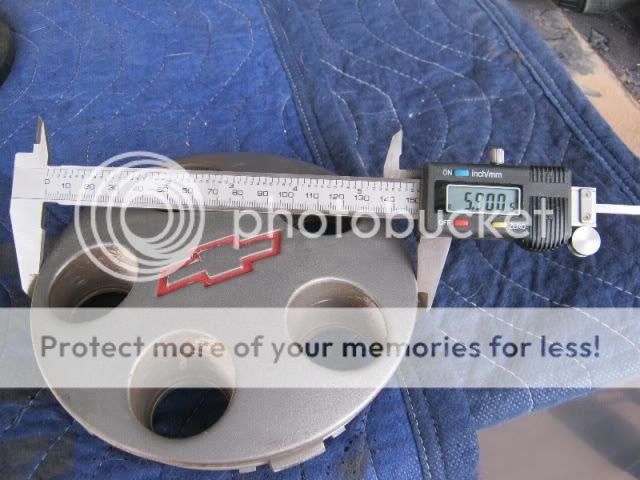
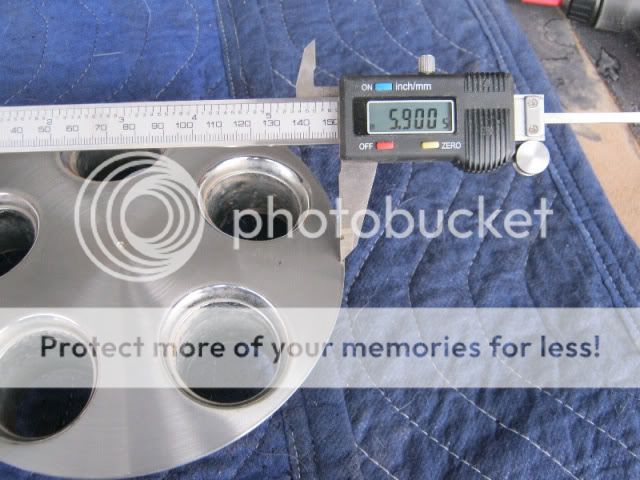
I have been searching the world for 3 1996/98 Baretta Z34 wheel center caps. I have not been able to locate even one. So I started looking for alternatives. Everything I found - that had a 5X100 bolt pattern - was too large of a diameter. The Baretta Caps are 5.900"
Friday, Jeff and I went to the Mega Pull looking for old Dodge/Plymouth parts as he is looking for an old Dodge/Plymouth for a project. I never walk through the Chrysler section. I ran across an 88 Dodge Daytona - Hmm.... 5X100 pattern, alloy 14" wheels - with center caps that looked close to the right size..... So I grabbed a tire iron and attempted to "pop" them off - first off, these caps are metal! Second, I could not pop them off? As I looked around the car, it only had 3 wheels with the caps so I kind of gave up - I did not have any tools anyway so we headed for the car. A few rows down, I found the 4th wheel laying in the sand. I flipped it over and found that the caps are held on by three machine screws from the back side. My plan was to come back over the weekend with some tools and grab this one for a trial fit.
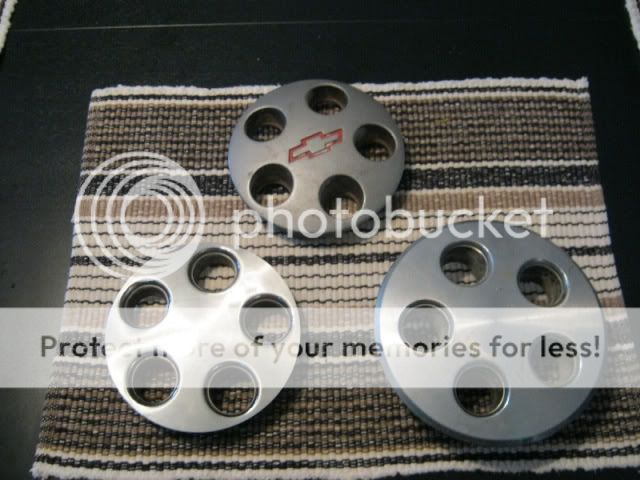
I picked up the single loose one this am and brought it back to the house - cost me 2.00 for the cap. Much to my dissapointment, it was 6.25" in diameter. Too big - crap! After thinking about it for awhile, I decided to go back and get the other 3 - just in case I could find a way to machine them down to fit the Baretta wheel.
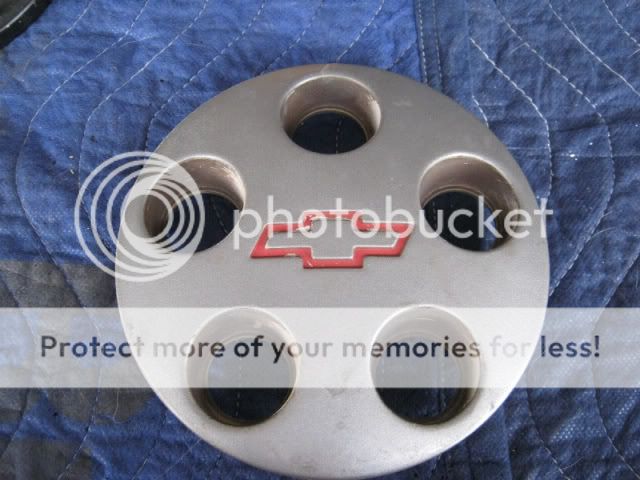
The stock 88 Daytona cap
The Baretta cap on top the Daytona cap - I need to remove about 3/8" off the Daytona cap
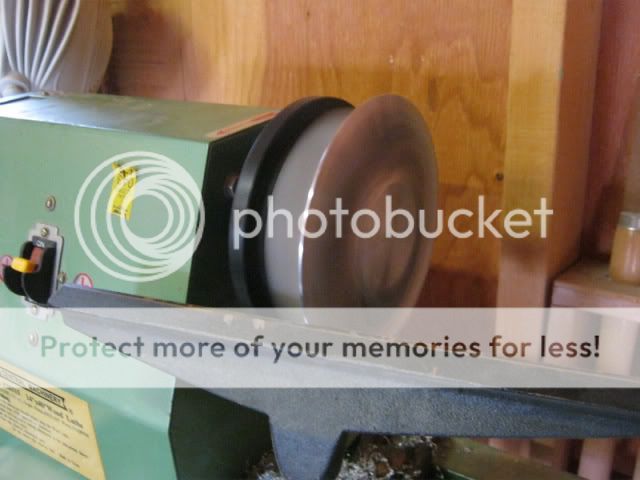
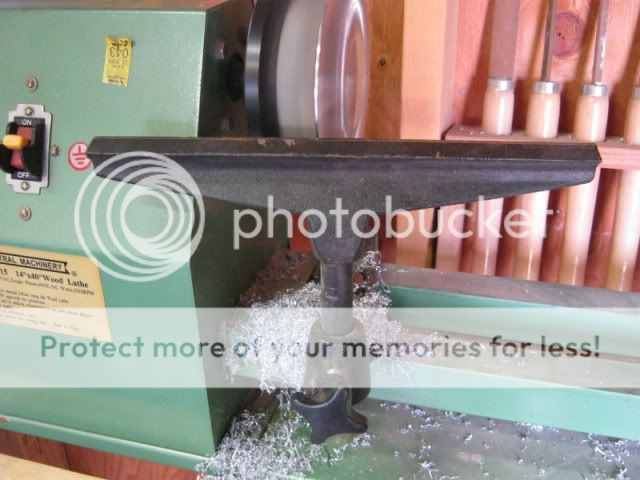
My dilema was how was I going to "machine" these down? I could take them to a machine shop and pay 25 or 30 bucks each....or I could find a way to do it myself. You now what they say - "necessity is the mother of invention". I do have one of those Harbor Frieght wood lathe's... Now don't laugh... I took the flat mount plate for the lathe and marked out the 3 mount holes to fit the Daytona Cap - then drilled the plate. Once the cap was bolted to the plate, I put it on the lathe and fired it up - all looked good and the cap was centered on the plate. My first thought was to use my 4" grinder and "grind" off the excess. This did not work too well. First off, the grinder was hard to keep from "bouncing" and second, the grinding disc filled with aluminum from the cap very fast. I needed a "machine" bit? After rummaging around the shed for an hour, I found my el cheapo set of wood carving tools that I bought with the wood lathe about 10 years ago. Would it work? Remember - don't laugh. I was able to use an angled blade and it shaved the cap down in about 15 minutes. I used a piece of emory cloth to smooth it out and polish it up - It worked perfect!
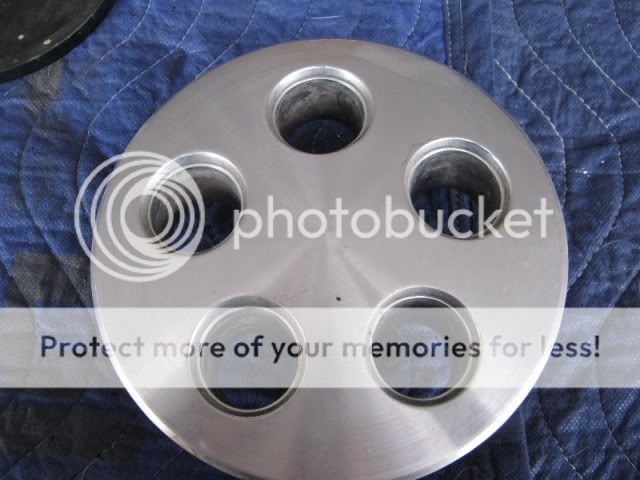
Turned down to the 5.900"
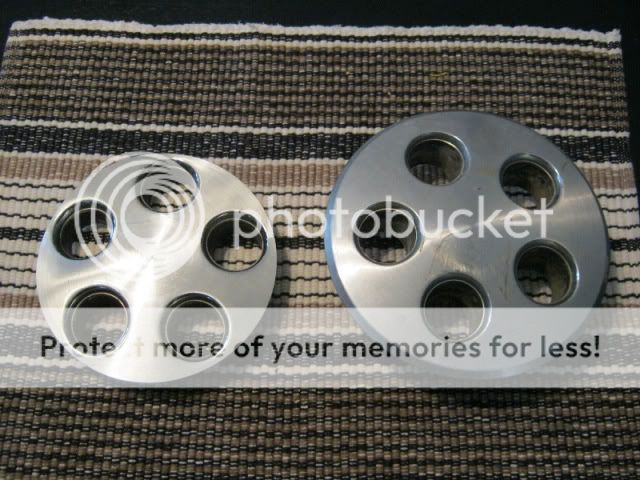
Daytona Origianl Cap on right - Turned down Daytona cap on left:
With the stock Baretta cap
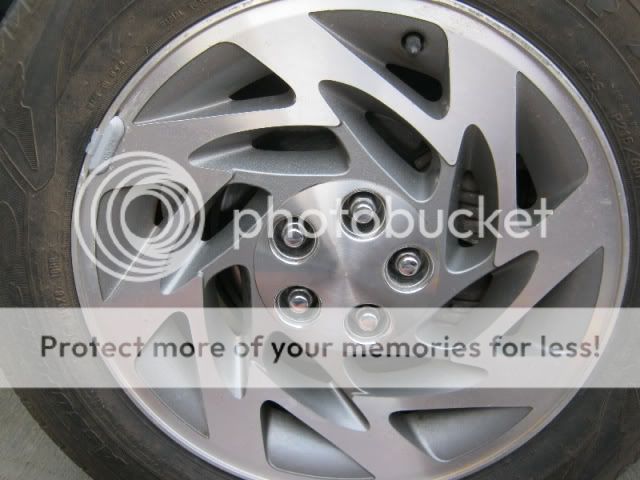
And on the wheel
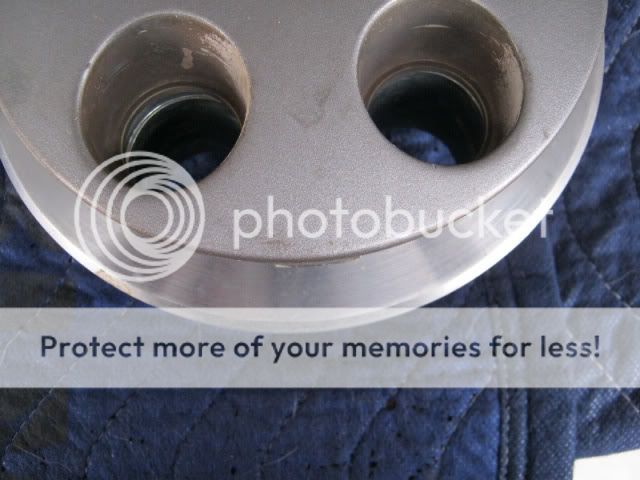
I also had to trim the 3 mount legs and each of the lug barrels to allow the cap to sit flush to the wheel. I still need to figure out how to mount them to the wheel. I can drill and bolt them to the wheel like they were mounted on the Daytona wheel - I was also thinking about some sort of bracket that would rivet to the 3 mount lugs and then be captured ny the lug nut or just try some Ultra Grey RTV and "glue" them in place? I'll figure it out tomorrow!
More Later!
Pat
Rick 88
JUN 06, 12:21 AM
Pat,
That cap looks better than the original one! I can't remember what the Daytona wheels looked like, but the cap looks great on the Beretta wheel. Good Job!!
Jake_Dragon
JUN 06, 05:12 AM
Good job on the wheels
quote
Originally posted by katatak:
My first thought was to use my 4" grinder and "grind" off the excess. This did not work too well. First off, the grinder was hard to keep from "bouncing" and second, the grinding disk filled with aluminum from the cap very fast.
Grinding on aluminum with a grinding wheel is very dangerous. Like you found it will fill up the disk and stop working but the danger happens when the metal expands in the wheel and fractures it, the wheel will fail and take you out with it. Most aluminum work can be done with a heavy duty sanding disk. In your case I think you chose the best option and used the lathe.
josef644
JUN 06, 10:32 PM
When will the other car be back from the paint shop? -Joe
katatak
JUN 06, 10:33 PM
quote
Originally posted by Jake_Dragon:
Good job on the wheels
Grinding on aluminum with a grinding wheel is very dangerous. Like you found it will fill up the disk and stop working but the danger happens when the metal expands in the wheel and fractures it, the wheel will fail and take you out with it. Most aluminum work can be done with a heavy duty sanding disk. In your case I think you chose the best option and used the lathe.
You are 100% correct on the grinding wheel coming apart. The first one I used was 1/4" thick and it just filled with aluminum. I switched to an 1/8" thick disc and it started coming apart right away. I found that the best thing was a 50 grit sanding disc. It did not fill up too bad with a,uminum and was flexible enough to "pop" out any a,uminum that ut did pick up. Once I got the outer - thicker - lip sanded off, I was able to use a tool steel angled tool. I just rested it on the tool rest and "eased it into the edge of the cap. If I did not press too hard, it just shaved off aluminum like butter! I had to be careful and not feed the tool too fast or it would create "low" spots. Once I got it to the diameter I wanted, I used some emory cloth to clean it up. Worked great - got the 2 front wheels done today.
I fabbed up a template for the 3 machine screws, transfered it to the wheel, marked the holes then drilled them. I retapped the mount bosses on the caps and used 1/4 - 20 X 1" stainless flat head - counter sunk screws with locktite to fasten them to the wheels. The mount bosses and the "cups" for the lugs were too tall - they did not allow the caps to sit flush with the wheel so I had to "machine" off the bosses and the cups. I used my bench belt sander - it worked as good as the lathe did. Over all it was pretty easy to do - just time consuming! I have about 25 bucks in cash in the caps, screws and 2 trips to the mega pull and when I am all done, I'll have about 10 hours of my time into them as well. Here's the funny part - after all the work I did last night, I got on the net to look for "mounting" options. I found 6 of the Baretta center caps on Ebay for 19.99 each. I like the Daytona caps better - they are sans emblems - they have a nice clean look to them. My only dilema now is trying to figure out which lug nuts to use. I like the look with the chrome lug nuts but I think that they will look good with the stock lug nuts and plastic caps.
I'll take some pics with the stock Fiero lugs tomorrow and post them up.