|
| Another Katatak Fiero Adventure! (Page 67/72) |

|
katatak
|
APR 10, 06:41 PM
|
|
|

|
Rick 88
|
APR 11, 07:01 PM
|
|
|
Pat, you should post a separate thread on this hood vent mod.
|
|
|
|
N3M3S1S
|
APR 12, 02:03 AM
|
|
|
Now *that* is damn cool! I love watching your threads, you're so efficient.
|
|
|
|
katatak
|
APR 17, 09:59 PM
|
|
|

|
Rick 88
|
APR 18, 07:31 PM
|
|
Pat,
Shoot some primer on that decklid and stick it on the coupe!
|
|
|
|
katatak
|
APR 19, 11:10 PM
|
|
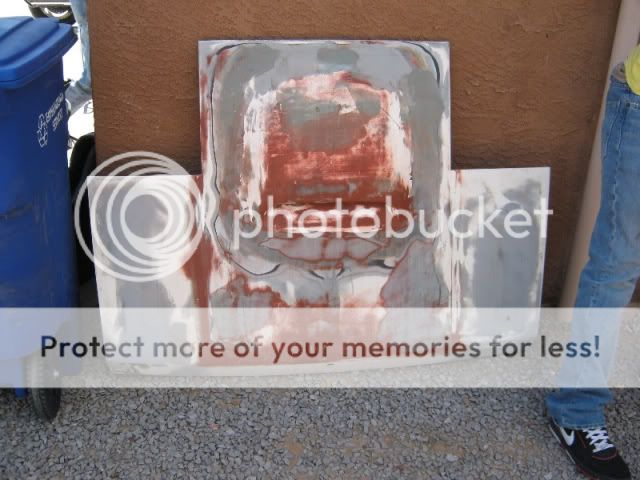
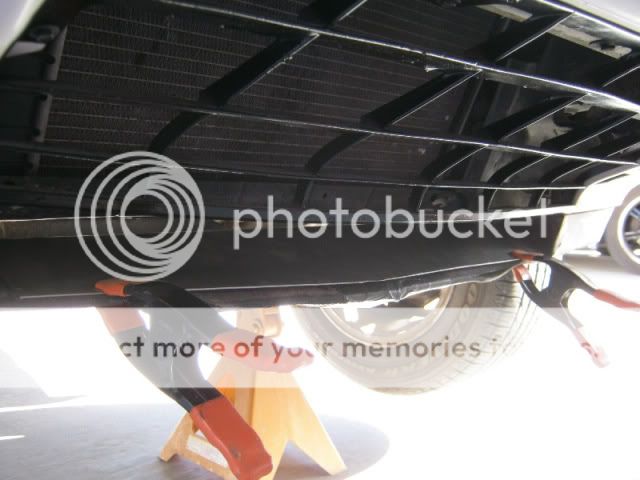
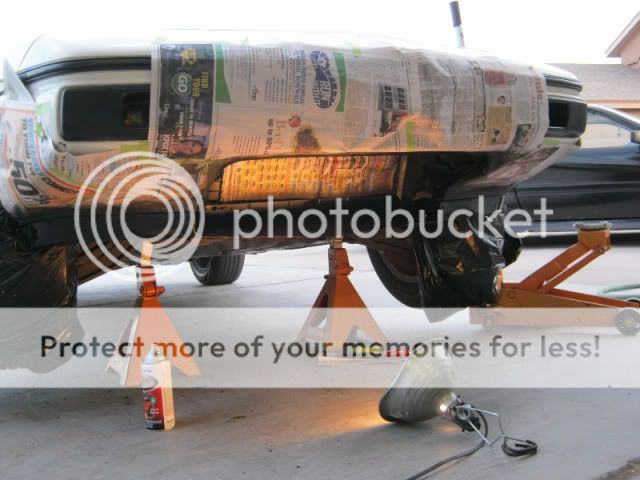
So I had a problem with the front spoiler - the FSM parts book says it's called a deflector! Anyway, the one on my car was pretty much destroyed - missing 95% of the lower center section - the part that actually deflected air into the rad. Yesterday, I wandered the yards and could only find one that was in slightly better shape than the one I had. I snagged it and dragged it home. After fighting with it for several hours, I finally got it mounted with the intention of doing some repairs to the rips and tears in the center section. The more I looked at it, the worse it looked. All that work to swap it out and it looked like doo doo!
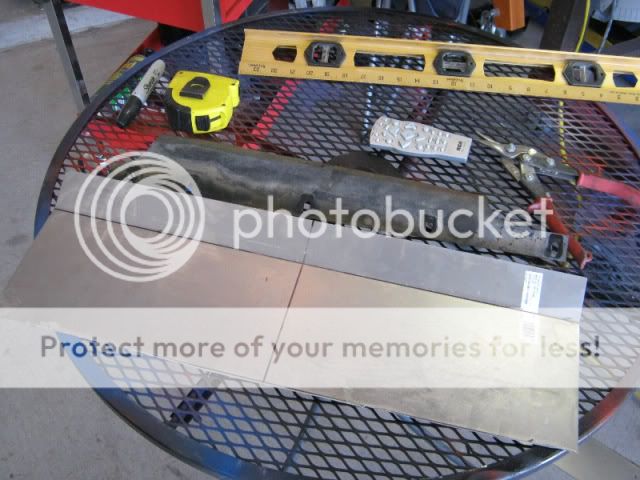
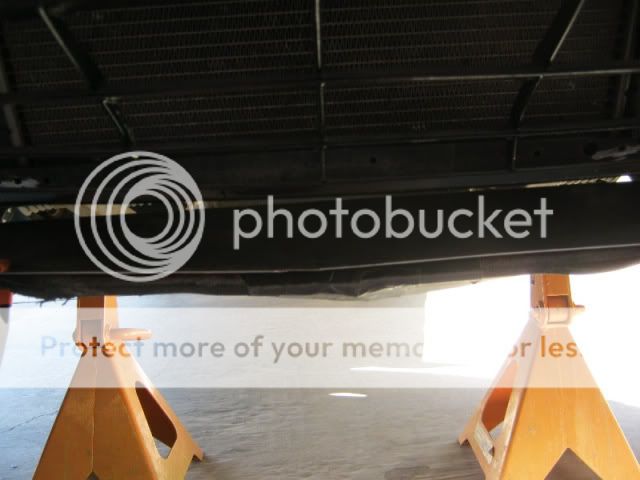
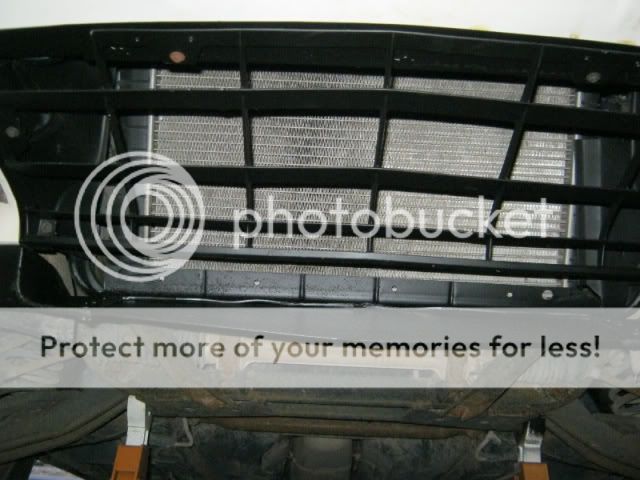
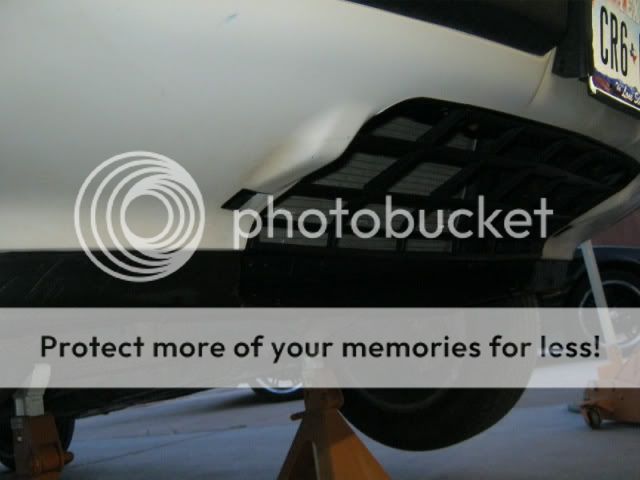
Today, I gave it a lot of thought and decided that I would build a sheet metal piece that would fit inside the lower section. Then I would bond the sheet metal and plastic together - hoping that the sheet mteal would give a solid foundation for the messed up plastic. After cutting and shaping the sheet metal piece, I fit it up under the car and again, after eyeballing it for awhile, I did not like it. What to do? I ended up cutting the tore up center section out and mounted the sheet metal "deflector". I left enough of the plastic center section to overlap the sheet metal by an inch and then drilled and riveted the plastic to the sheet metal. A quick low gloss black paint job and it's done. It will do until I can find a nice original replacement. I just have to be careful and not catch the deflector on anything - it has no "give"!
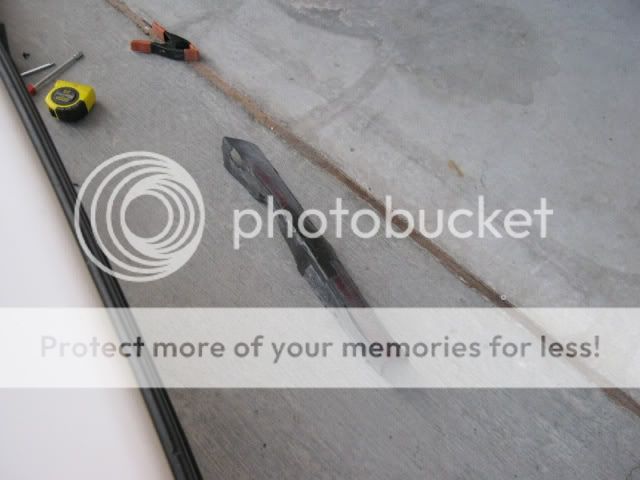
Forming the sheet metal:
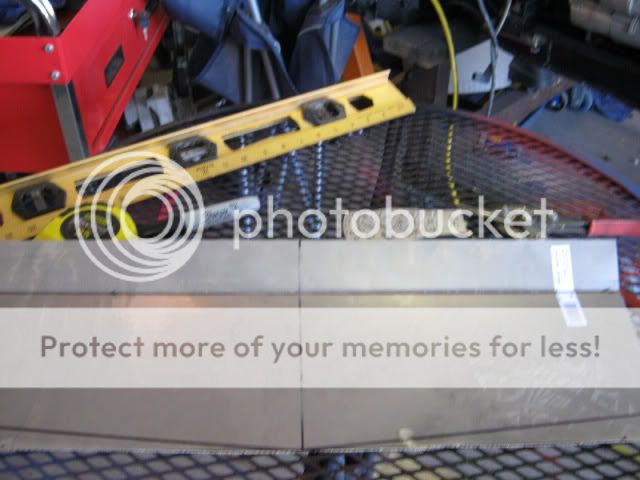
Fit up - if you look close you can see how bad the plastic is:
Plastic cut out:
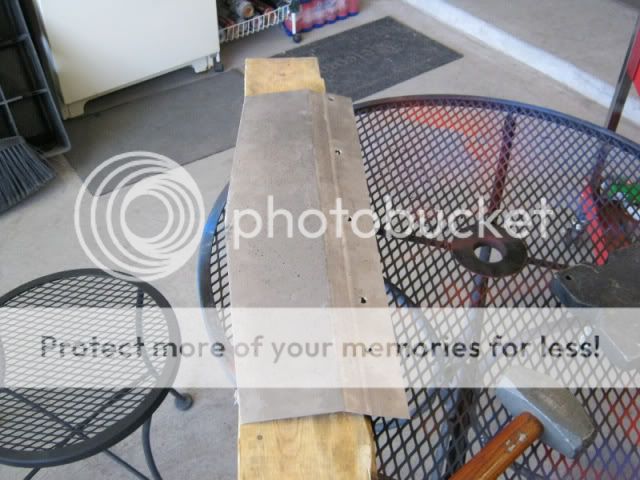
Taking shape:
A little paint:
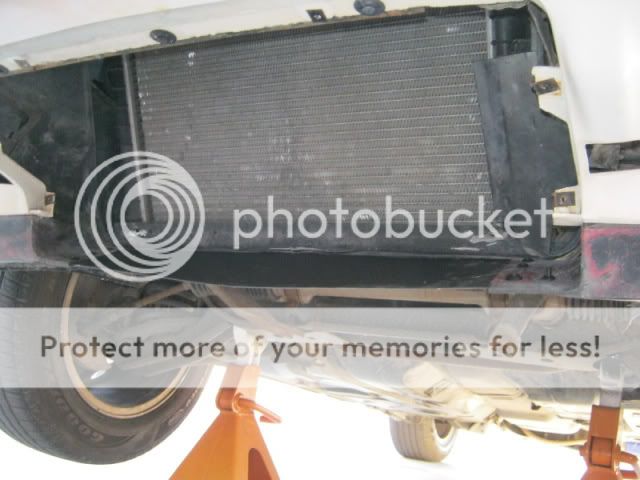
And finished:

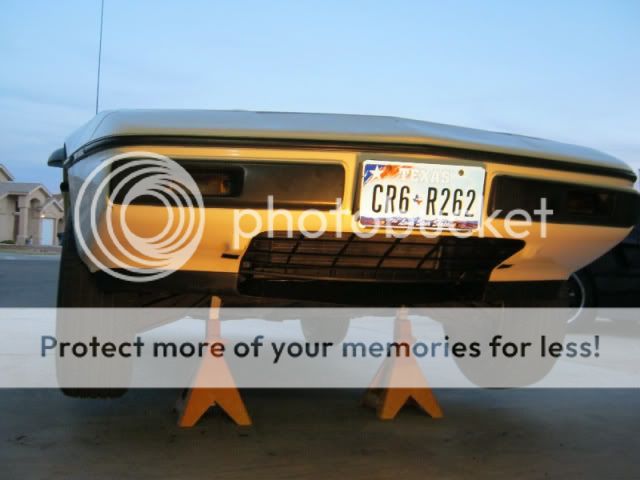
More later!
Pat
|
|
|
|
katatak
|
APR 24, 06:32 PM
|
|
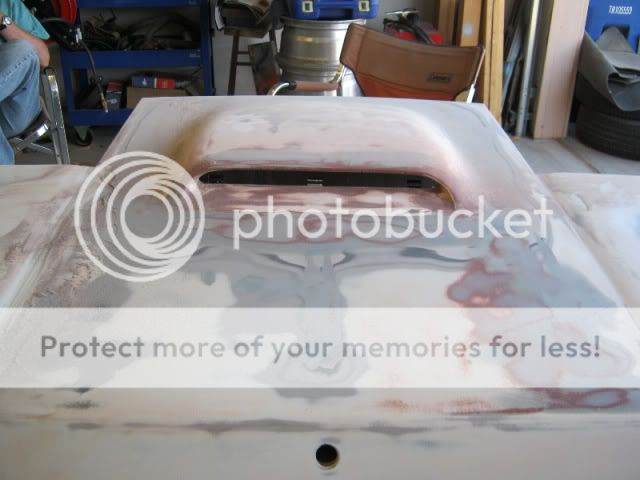
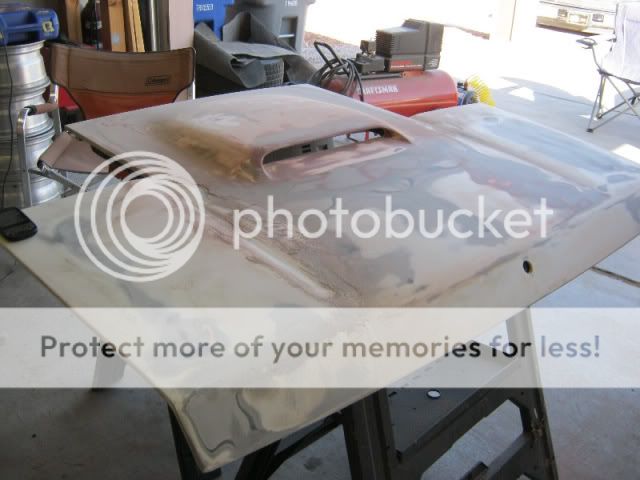
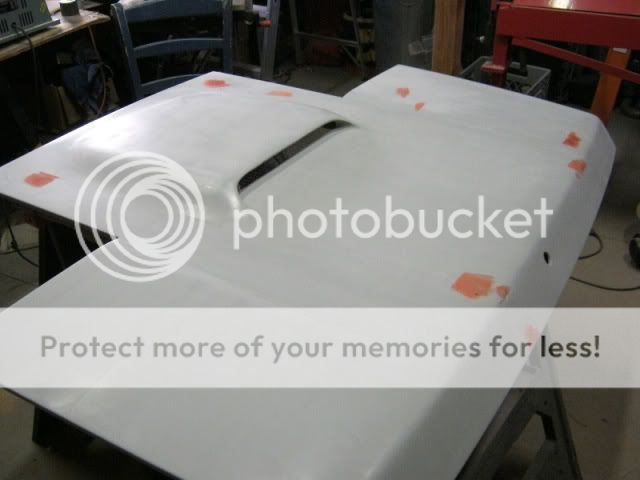
A little more work on the deck lid today!


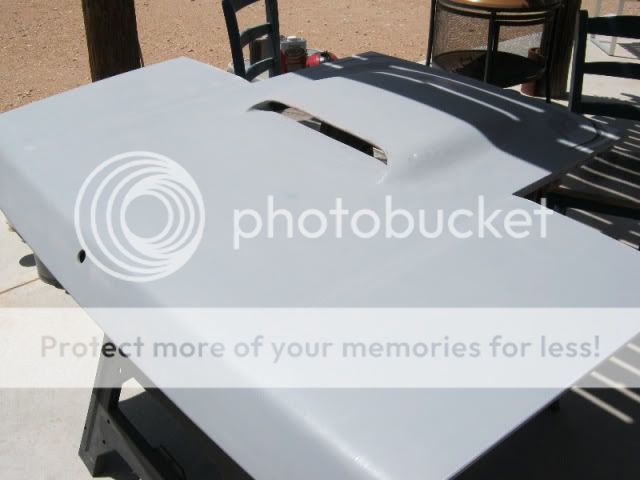
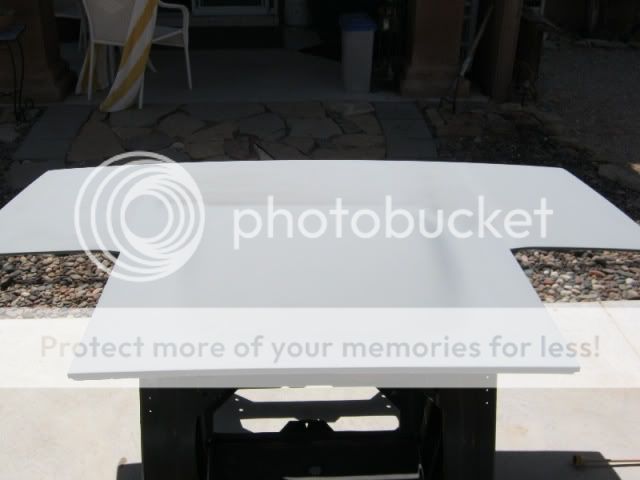
Go to go to APYS tomorrow and get some paint matched.
More later!
Pat
|
|
|
|
Rick 88
|
APR 25, 09:19 AM
|
|
|
Pat, if you have any more Fiero decklid screen, you should glass a piece into the scoop opening to match the front hood vent.
|
|
|
|
katatak
|
APR 26, 09:31 PM
|
|
Great minds think alike Rick!
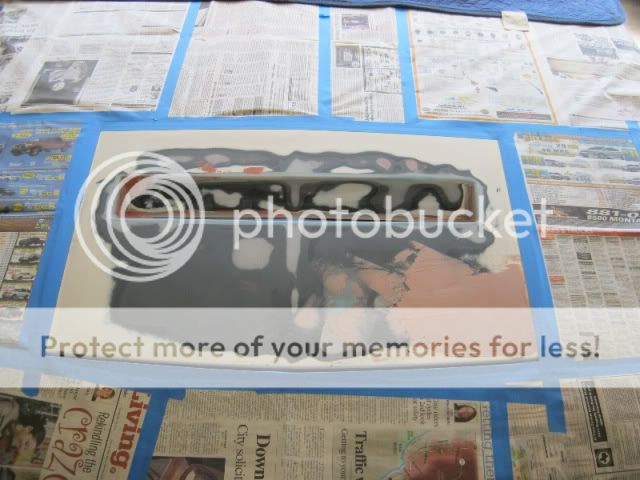
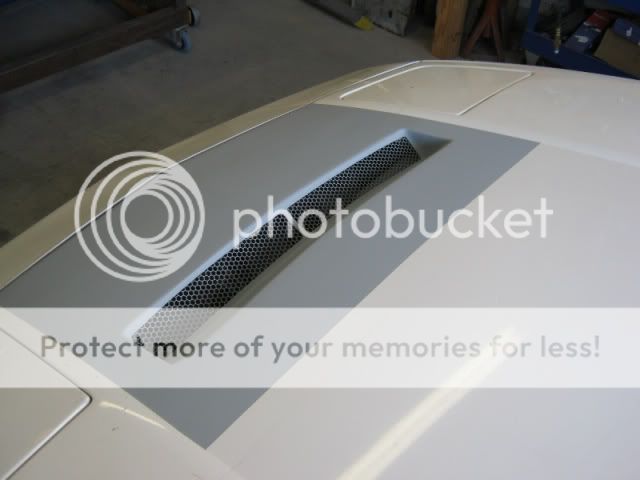
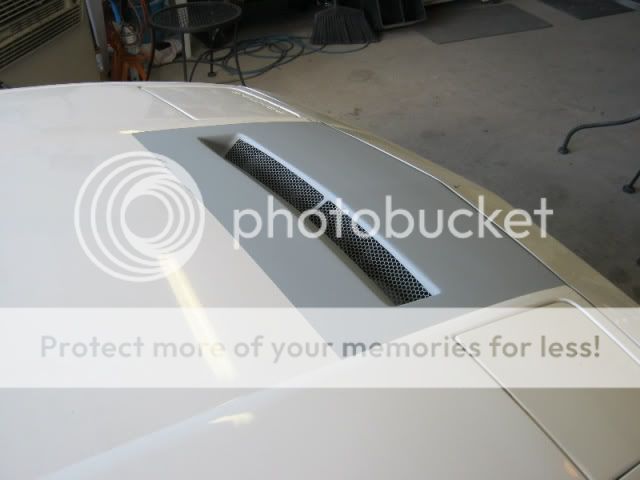
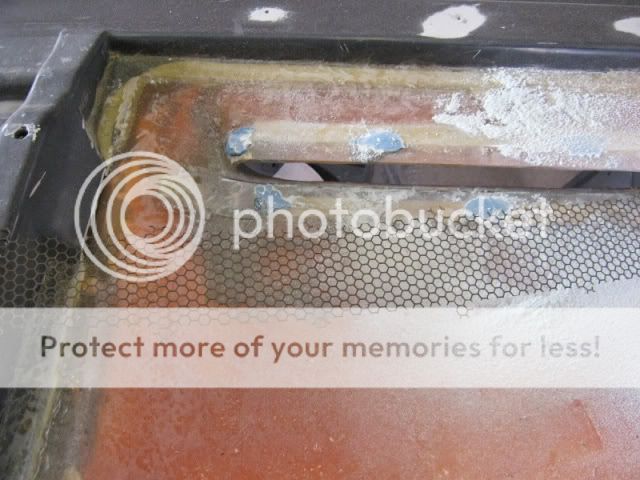
I had a piece of the hex mesh that came from under an SE engine grate. Unfortunately it was not long enough to cut a piece out of it on a 90* bias. I cut it diagonally, made a few bends and trimmed a little here and there and mounted it with some epoxy. When I turned the hood right side up, I did not like the "look" of the hexes on a diagonal!
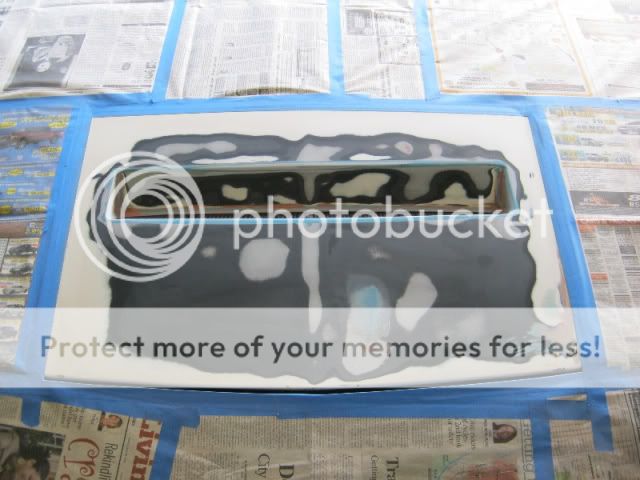
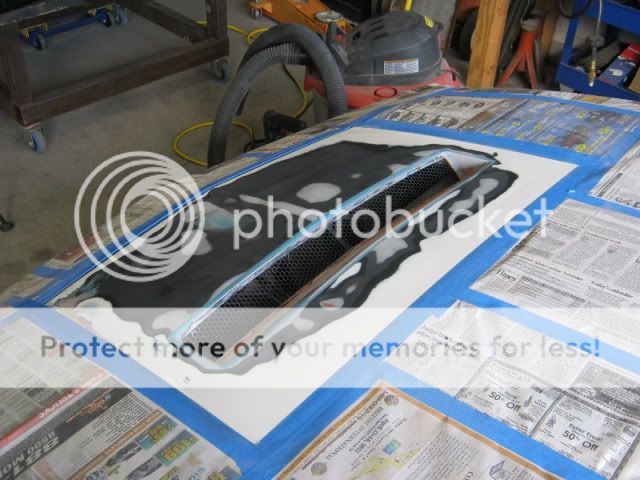
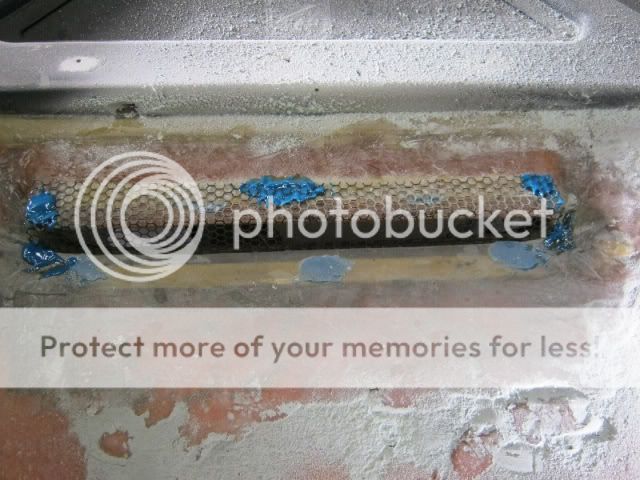
So this afternoon, I went to the pick and pull and got another defrost vent out of a Fiero Dash. The wind was blowing so bad when I started to walk back to the car, I had to sit in a junker Astro Van for nearly an hour before I could make a break for the car. I got the hex mesh out of the frame without destroying it and started to fab it up. I ended up cutting a "grrove" in the top side for the mesh to rest in and then made a 90* bend on the bottom to overlap the underside of the scoop. Plan was to epoxy the mesh in a few spots just to hold it in place. I managed to get it done and when I flipped it back over, the mesh looks much better running square. I also managed to put a few "dings" in the primer so I had to do a little more body work. The wind was so bad here today that there was/is no way I could paint it today so I did not loose any time.
Here's what it looked like with the mesh on the diagonal:
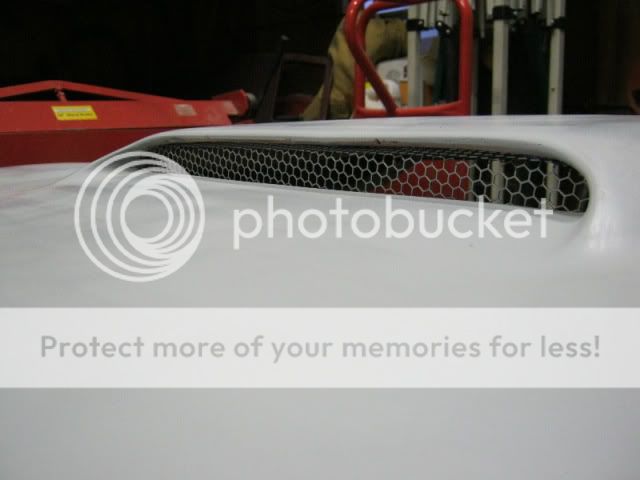

Fitting the "new" piece of mesh:
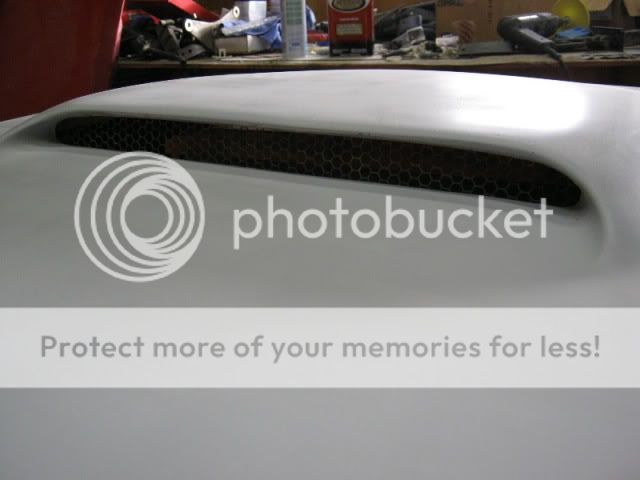
Finished - I will clean up the underside and paint it to match the factory color:
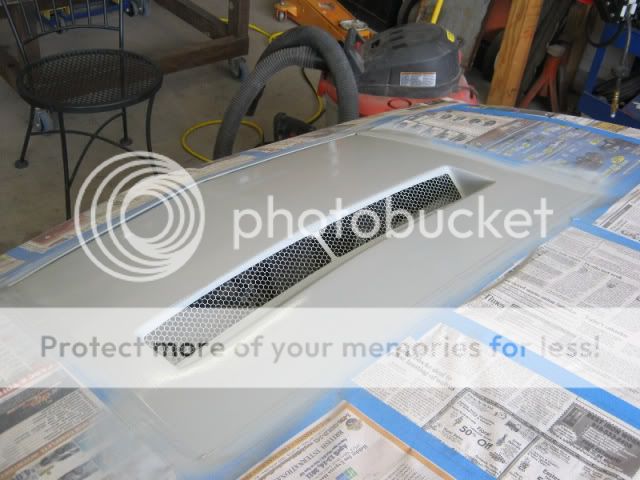
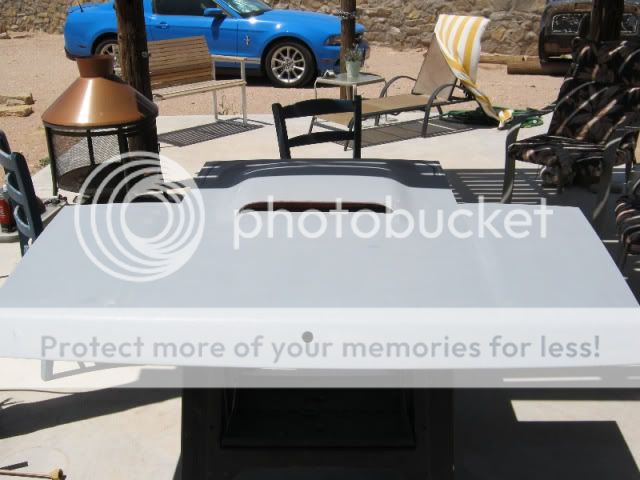
The latest look - I am not sure wat went wrong with my camera - pics are kind of blurry?
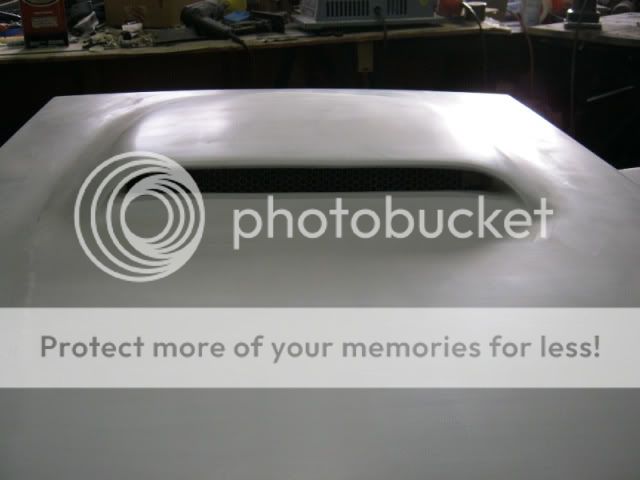
And the last shot of the day! More sanding!
More later!
Pat
|
|
|
|
Rick 88
|
APR 28, 01:00 PM
|
|
Very nice Pat! After it's painted perhaps some factory "Ram Air" decals would be appropriate. 
|
|
|