|
| My 88 Formula Interior Redesign (Page 64/87) |

|
Galliero
|
APR 27, 06:30 PM
|
|
| quote | Originally posted by Sofa King:
That's a great question: I haven't been glassing for very long (if anybody else want to jump in please do so) but depending on the type glassing you're doing heavy sanding isn't always necessary. For example. If you're creating panels that will be covered with material (vinyl or leather, etc) then light sanding would probably be necessary especially around the edges and joints that have been sealed with resin and filler. But since it's going to covered, then heavy sanding isn't necessary at all because the padding and / or material will cover any slight flaws in the glass. However, if you lay glass over an object / body panel and spread resin and then the glass then you would probably have to do a light sanding to take down any high marks - this can be done by hand or by machine and the type of sand paper you're comfortable with.
If you're going to paint the surface then YES - you have to SAND SAND SAND and it doesn't matter whether you laid glass over an object or created individual panels. Sanding preps the surface to accept the filler and the primer. Obvious holes are usually filled first before a shot of primer goes on. When the primer is sprayed, that's when you really see how many little air bubbles made it to the surface - that's when the body filler comes in. I can't tell you how many times I've sanded an object only to find out that the fiberglass dust filled in countless holes - that's when you get a little frustrated (ask Katatak). You lay your filler, sand it smooth using various grits of paper (and it HAS to be smooth), shoot another coat of primer and do the process all over again until the all holes are filled and you have nice smooth surface. There is just no getting around the sanding at all - unless you really know what you're doing and/or you're working with gel coats and stuff like that - that's beyond me. So far, every piece of glass I've worked on has required extensive sanding and filling, priming, sanding, filling, priming, sanding, filling, etc etc etc... until the surface is exactly the way I need it to be.
I hope this helps? It was a little convoluted... sorry |
|
Thanks alot this information is so important to know. I, like you, haven't been working with glass long and I am learning as I go. Alot of my information had come from PFF member and has been very helpfull. Although not fully complete I am comimg to the end of the glassing phase on my complete body kit built on the Fiero frame and yes I am aware that I ama long way from finished becuase there will be several thousand hours of sanding to be done, but I will take it one step at a time and eventually I will get done. So this info will help me move on to the sanding , bondo, priming phase. I haven't updated my post lately because I want to finish laying (not sanding) all the glass before I post again to show the members that i have been making progress and at thi spoint only pics showing all the glass layed will actually give you an idea of the scope of this project especially from a beginner like me. Its taken me along time because like you everytime Im on PFF I see something someone else is doing and I want to incorporate it in to my project so it keeps growing and changing ( for the better I hope) ! My project is in the Technical section called "Get off your Glass and do it"
So the more convoluted the better...I dont think I would comprehend it otherwise...
|
|
|
|
Sofa King
|
APR 27, 07:33 PM
|
|
Glad I could be of some help. However... you've forced us to demand you to start posting pics again! You have understand, a lot of us love what you're doing and want to see the progression of your project as it changes and evolves - thus putting more fires under our own butts! It's also a great way to get ideas, learn new things and help each other out.
Now get out there, take some pics and post them! LOL
|
|

|
Sharkman
|
APR 28, 08:59 AM
|
|
Try and paint the parts with the colors you should have and se if you get the feeling back. It can be hard to se when it´s in the wrong colors.
Just use a spraycan for a cheap test
|
|
|
|
katatak
|
APR 28, 06:23 PM
|
|
Aw Greg! Like Sharkman said - finish it and then step back and look at it again. I think you have more time in the AC surround then you did in the console/arm rest. Maybe it's just a case of "burn out"? Go work on those door panels for awhile then come back to the AC surround. I was feeling the same way about my console. After a break, I got reenergized, finished it and now I love it! Don't give up and change directions - you are close. Build the 89 style later! Phase 2 so to speak.
Pat
|
|
|
|
Sofa King
|
APR 29, 07:56 AM
|
|
|
You guys are right. I have to stand back from the center console and work on the door panels. Get my eyes and thoughts focused on something else. I'm not sure what happened. I have too many ideas running through my head. I'm always looking at ways to improve upon a design. I don't know how the car designers do it!
|
|

|
Sofa King
|
APR 29, 08:06 AM
|
|
DOOR PANEL QUESTION:
I'll be popping the stock door panels off VERY soon to replace them with the updated versions I have. Is there anything I should / need to know before removing them? Should I purchase extra plastic retainer clips? Anything you guys can tell me would help me out. Don't want to go in and start removing things and then not be able to reinstall everything!
|
|
|
|
katatak
|
APR 30, 12:55 AM
|
|
Hey Greg,
Do yourself a favor and pick up a set of interior panel removal tools. You can get several different grades/sets at Harbor Frieght for cheap. Then go to Auto Zone, etc. and get a package of GM style fastners for the door panel as you will most likely break a few if not all plus once you remove them from the door, they really will not hold good the second time around. Take your time and make sure you have the removal tool under the large part of the fastner head. If you are in the wrong place, you can damage the door panel. Near the top on each end is a metal bracket - these tend to pull off the door panel pretty easy.
There are 2 small phillips screws in the inside door handle - one behind the Pegasus/Fiero plate and the other behind a round plug. The door handle trim comes off with a little jockeying and a twist to get it over the handle. You will have to pop the door lock lever off the lock rod. With it in the unlock position, gently pry it out. I take the screws out first then go in from behind with a long skinny screw driver and pop it of the rod from the back side of the cover. 3 large phillips screws in the arm rest.
Do you have manual or power mirrors? Power or Manual windows? I can't remember.
Power windows and mirrors are easier to remove the door panel than manual.
Pat
|
|
|
|
Sofa King
|
MAY 02, 08:10 AM
|
|
I've got power windows so I should be good to go - thanks for the info!
Sorry for the lack of progress guys. I know I've been slacking... things have been really hectic these last few weeks. If the weather holds I'm hoping to get out there today and get some things done!
|
|
|
|
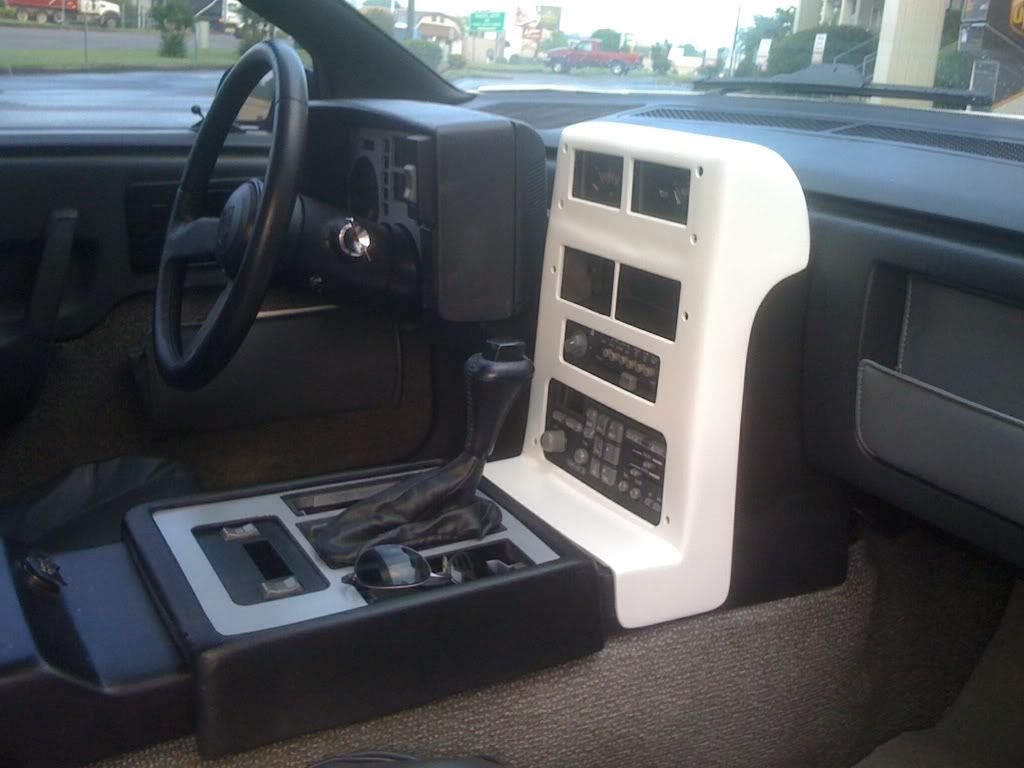
Sofa King
|
MAY 03, 07:47 AM
|
|
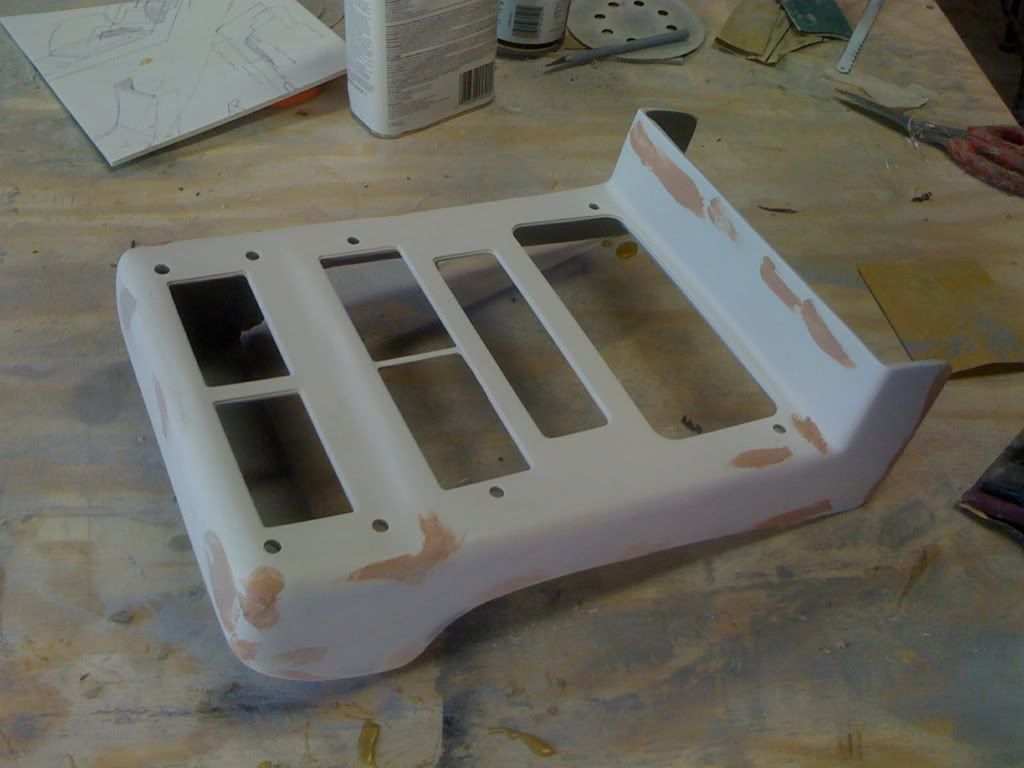
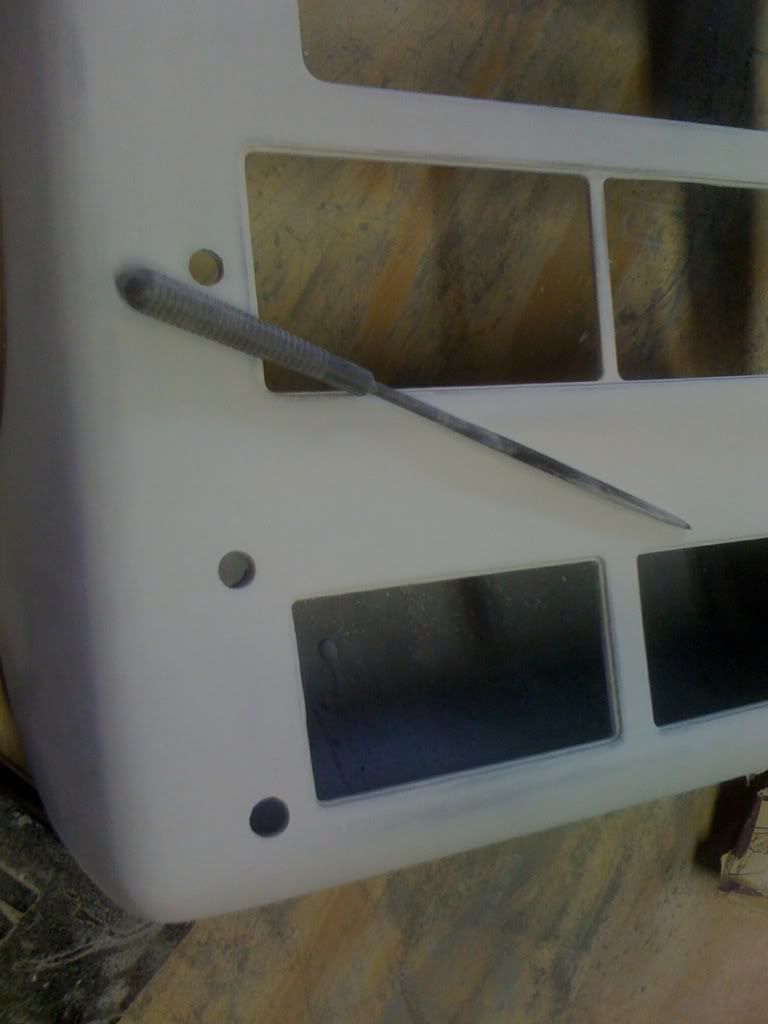
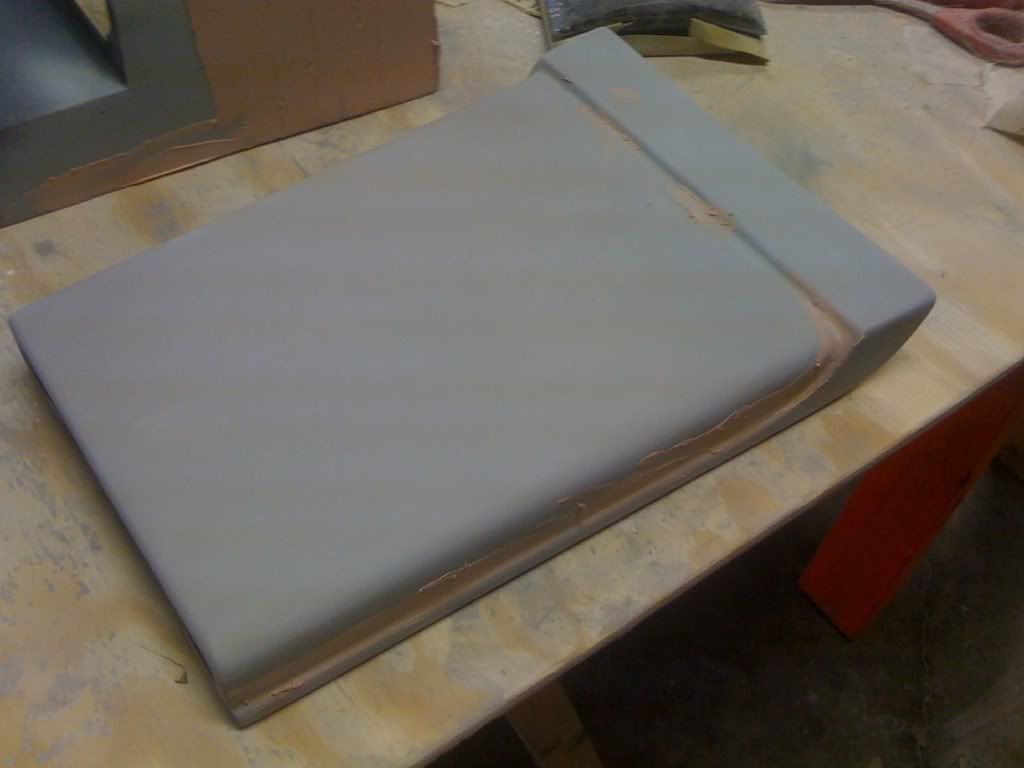
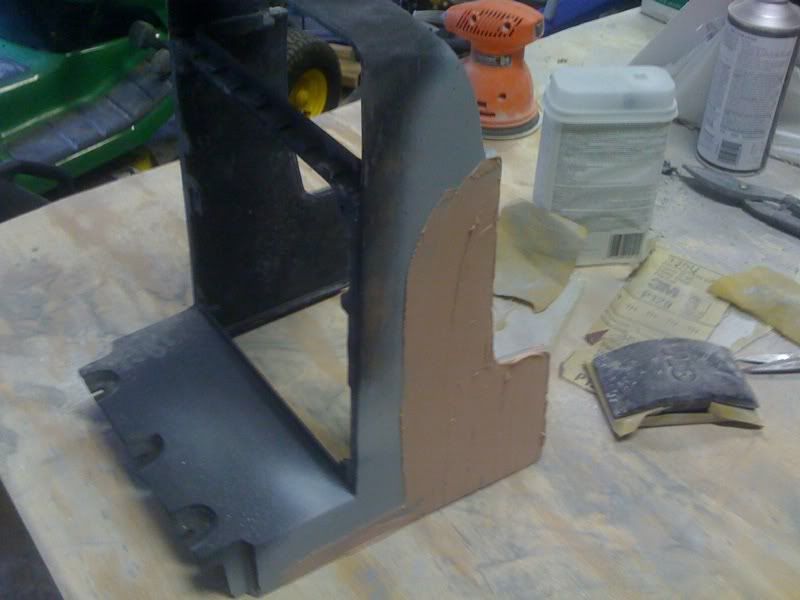
|
|
|
Sharkman
|
MAY 03, 05:42 PM
|
|
|
Nice work, I will se if I can draw something for your to get more ideas
|
|
|
|