|
| LS4 / F40 swap - fieroguru (Page 59/216) |

|
fieroguru
|
DEC 30, 04:11 PM
|
|
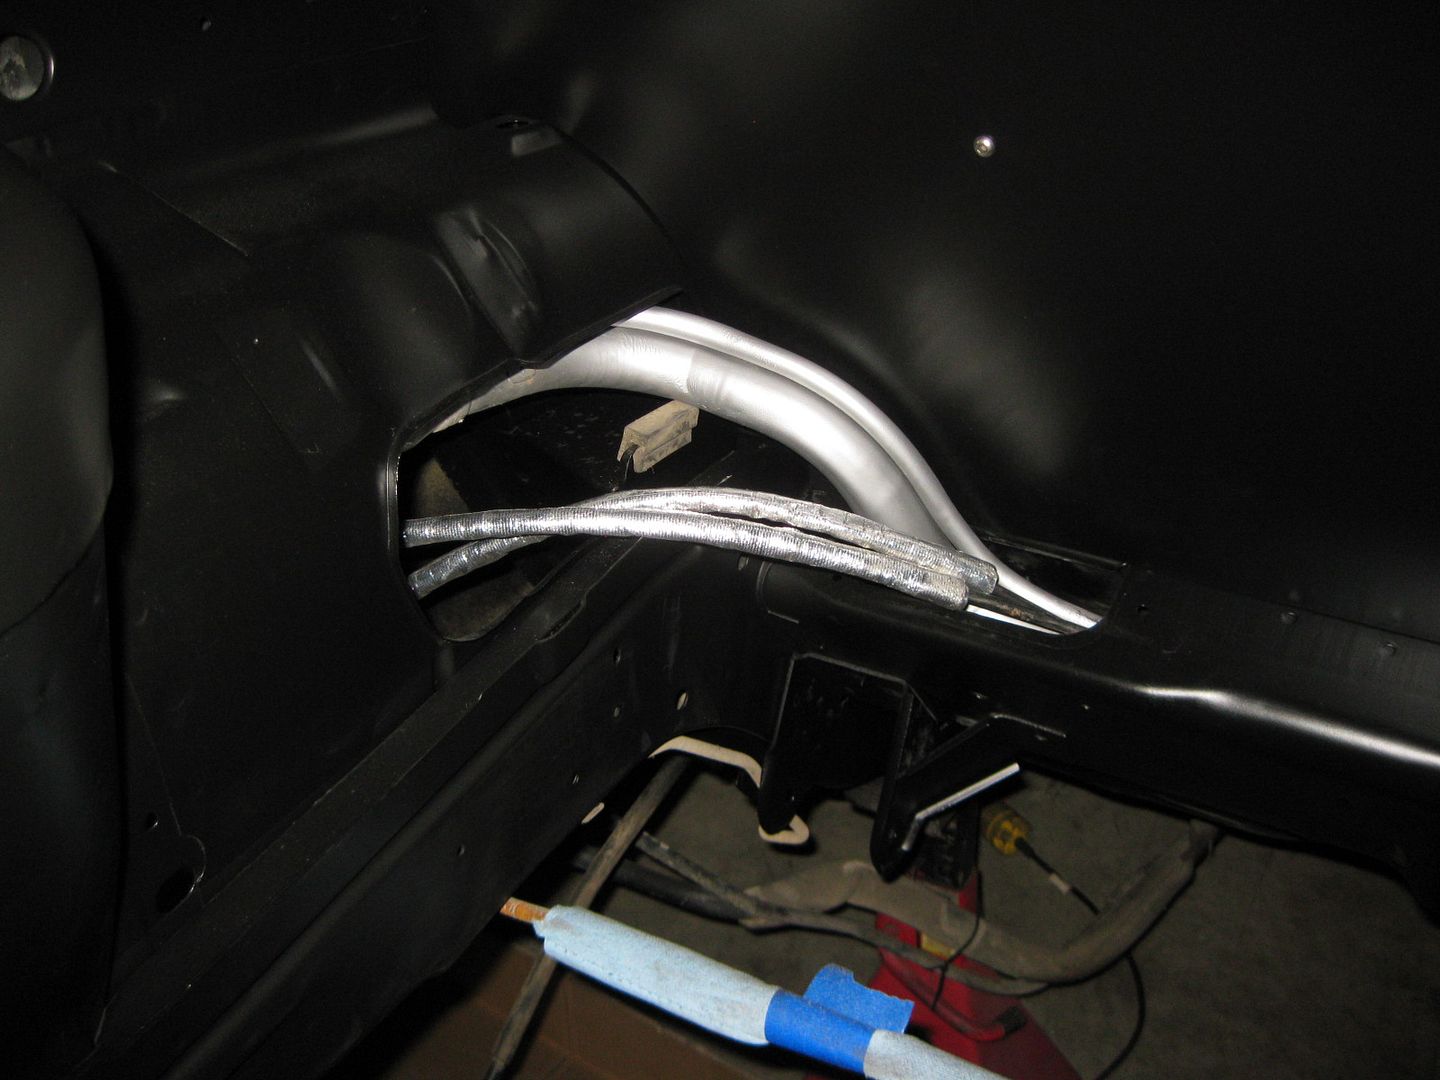
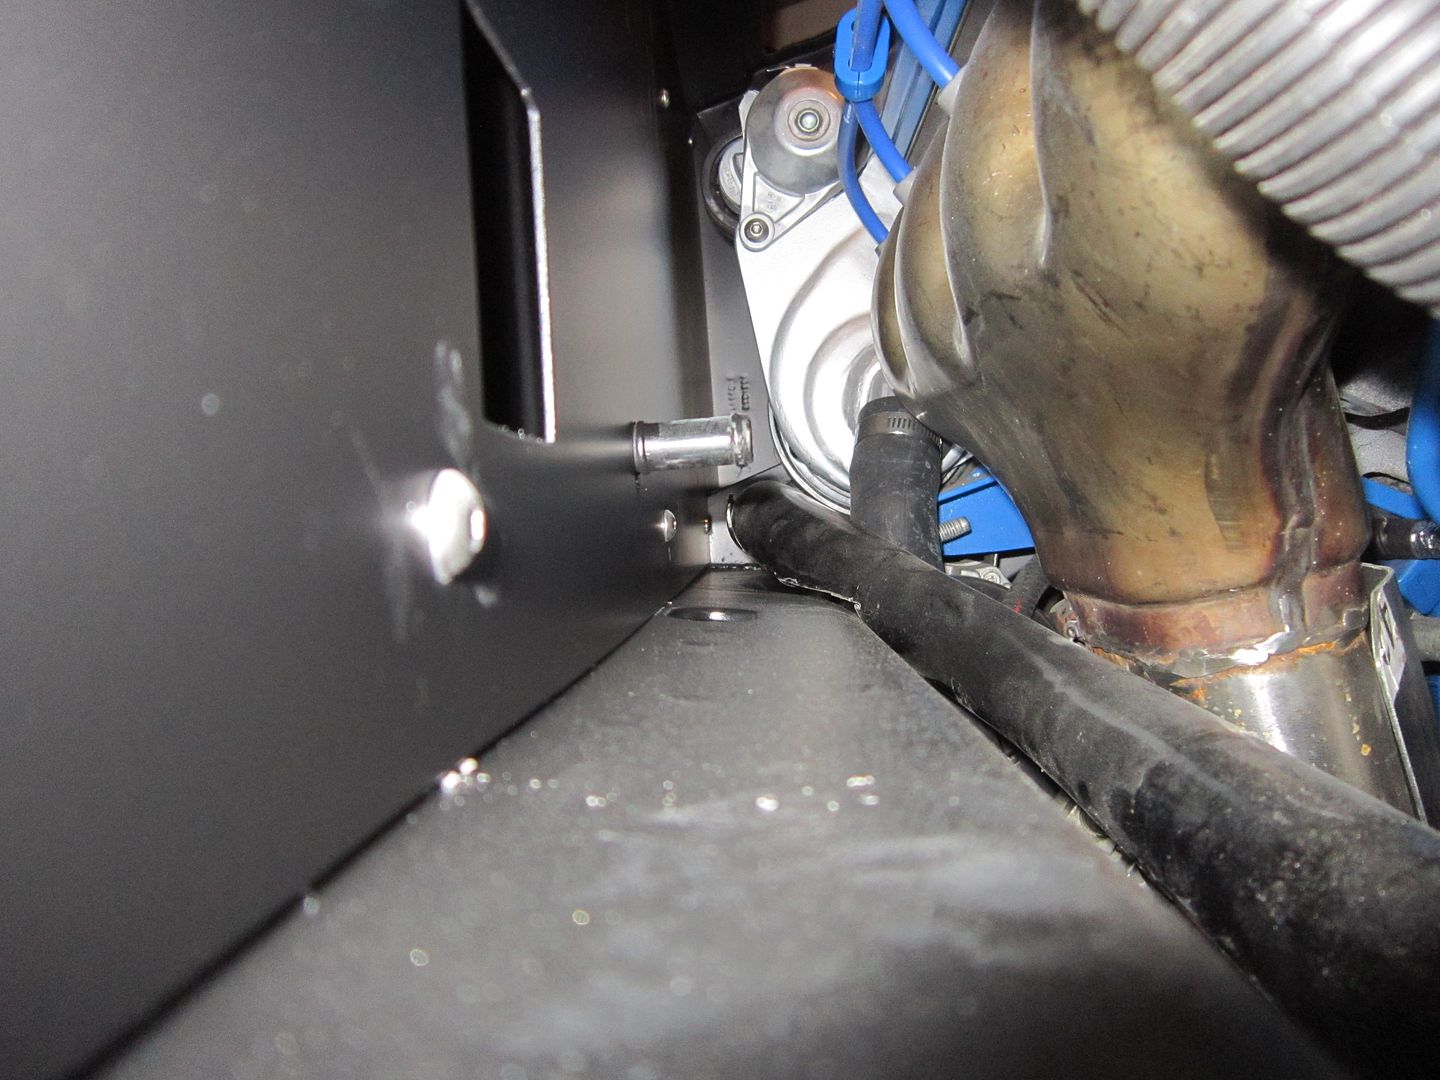
I forgot to post the pictures of the engine to chassis ground wire. Same 2ga wire used for the battery relocation and same soldered on ends. I weled a stainless steel bolt to the underside of the chassis for a solid, rust free grounding point.
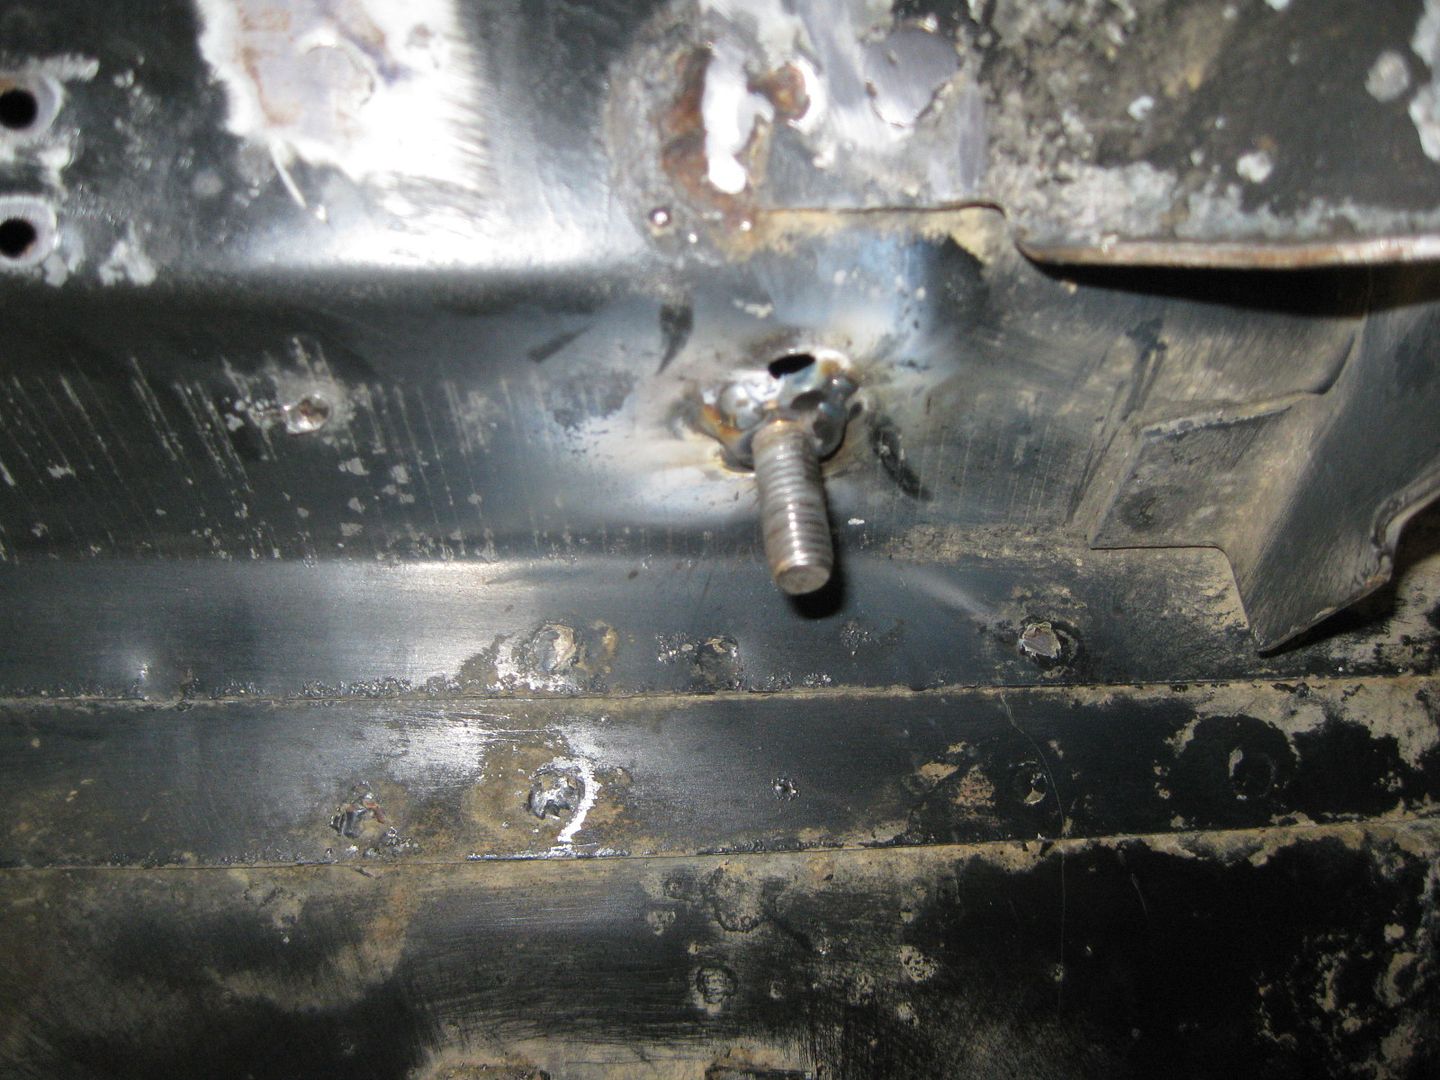
There was an unused bolt hole on the head here, so I used it:
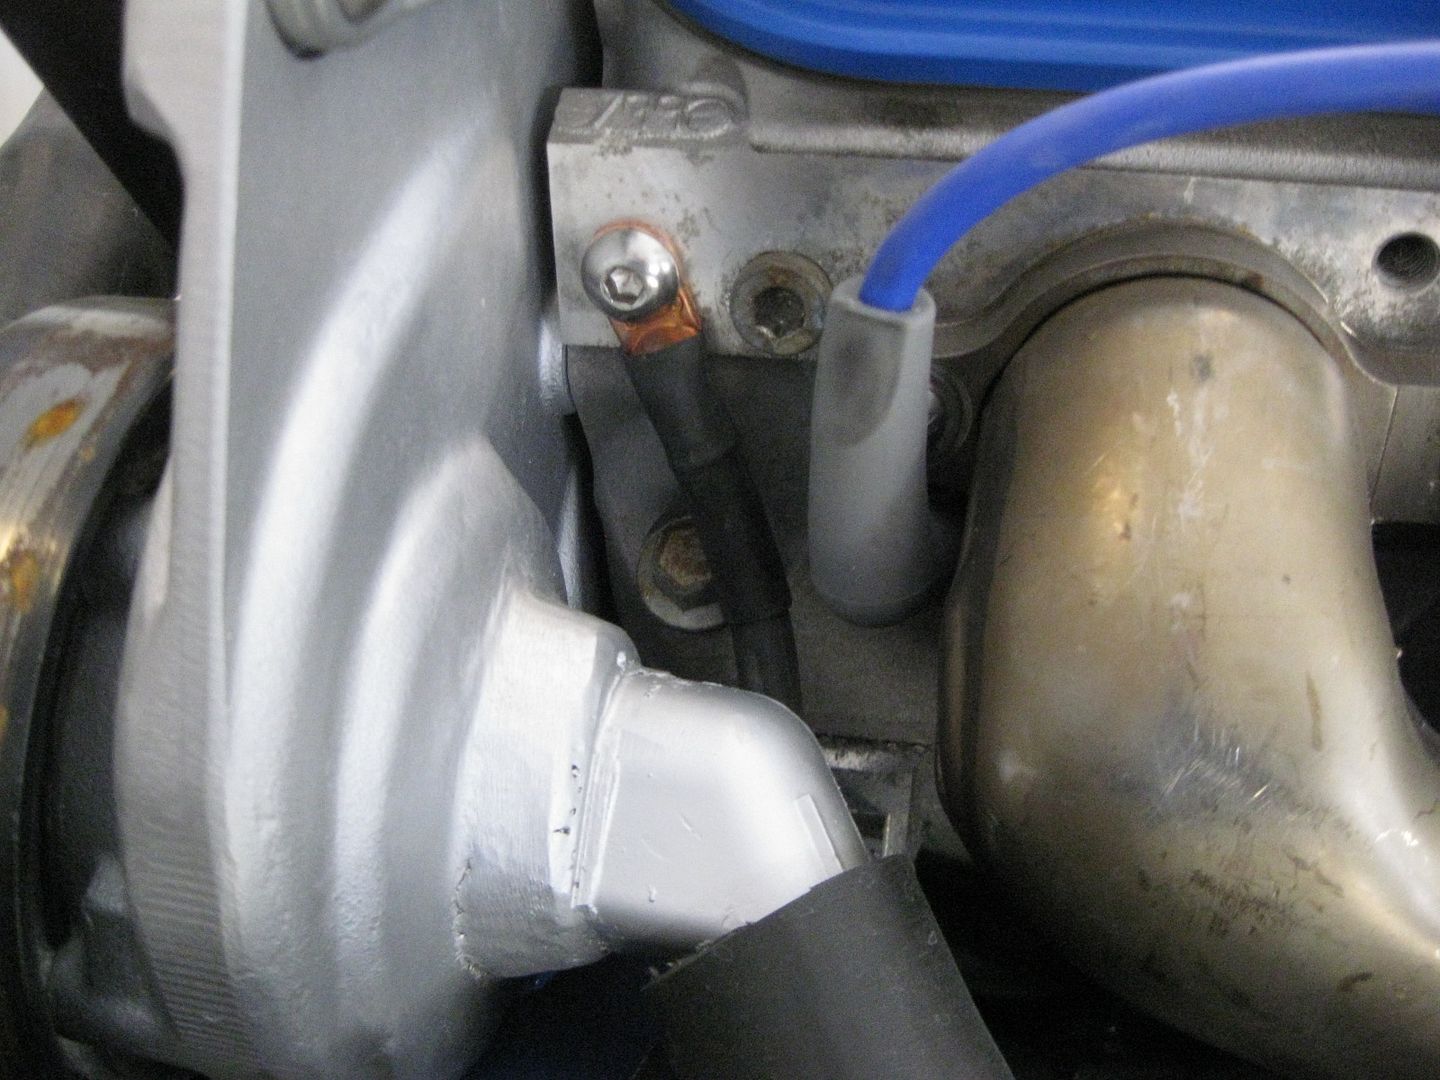
The cable snakes down behind the hoses and over the alternator:
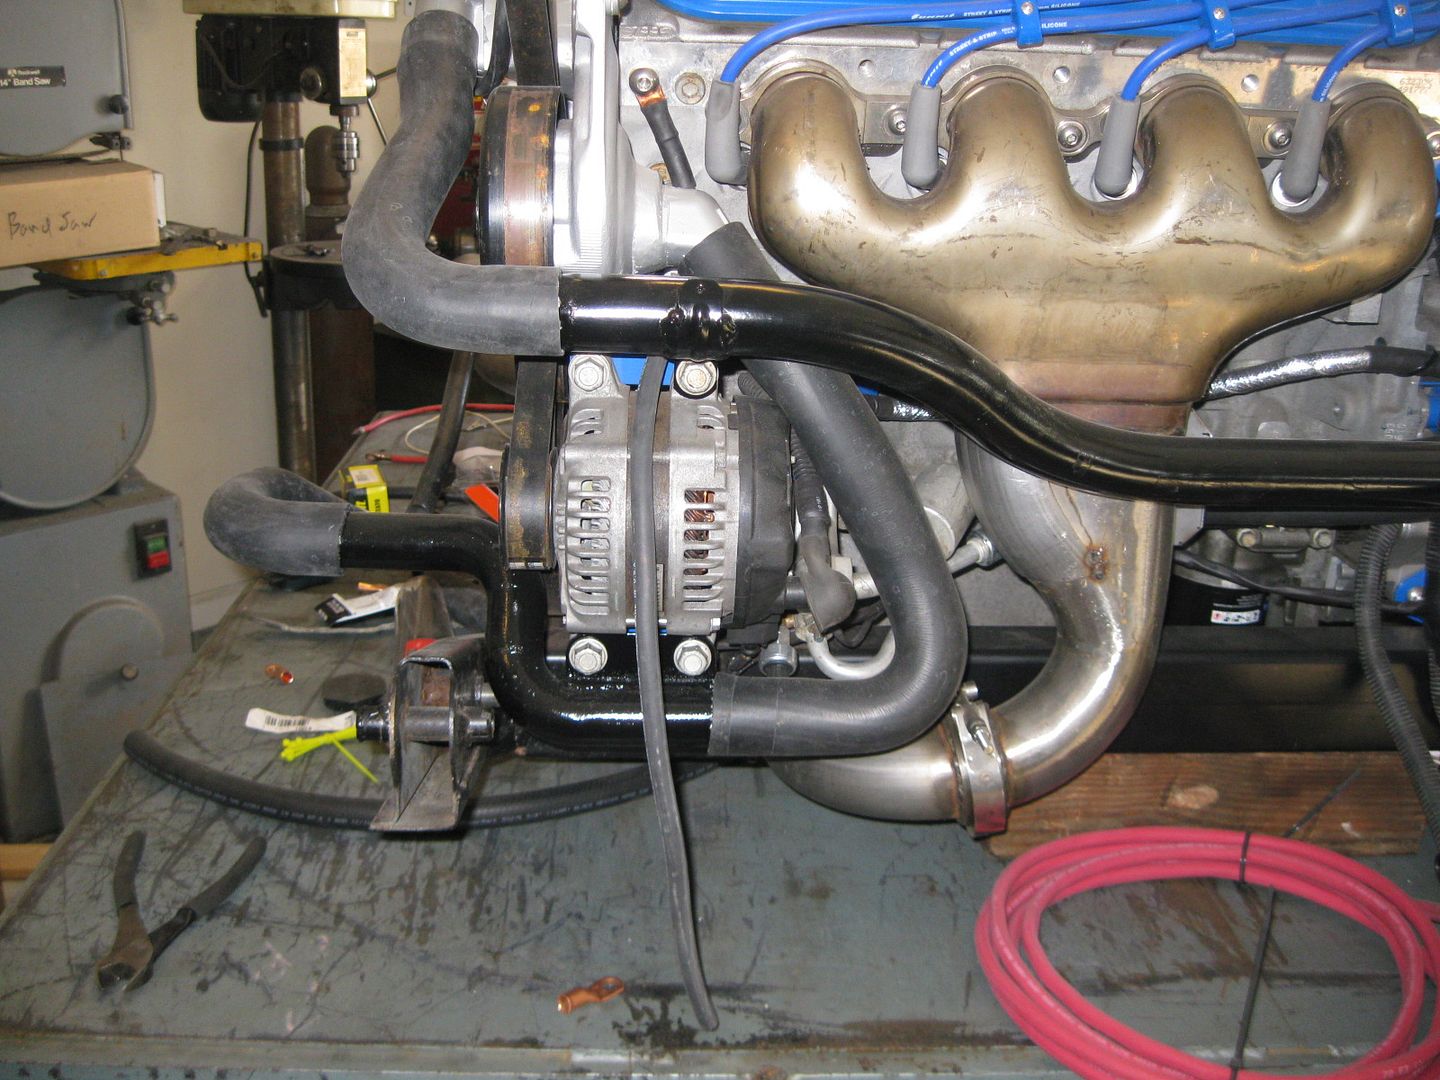
The ground cable from the batter will also come back to the engine, so this is just a large engine/chassis ground.
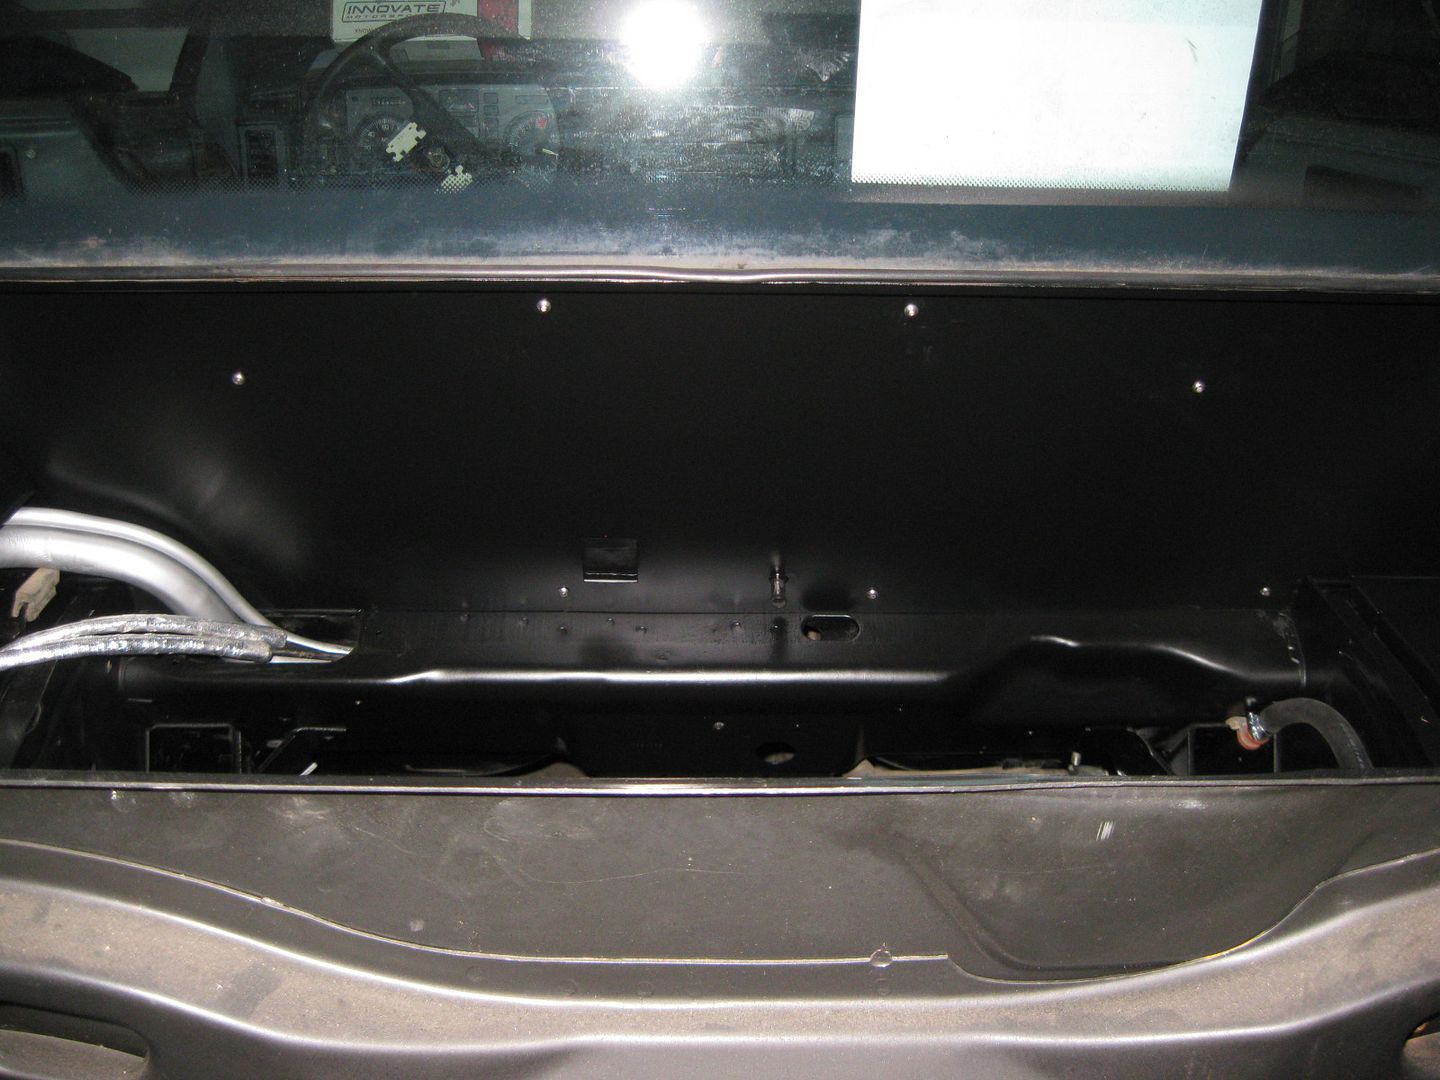
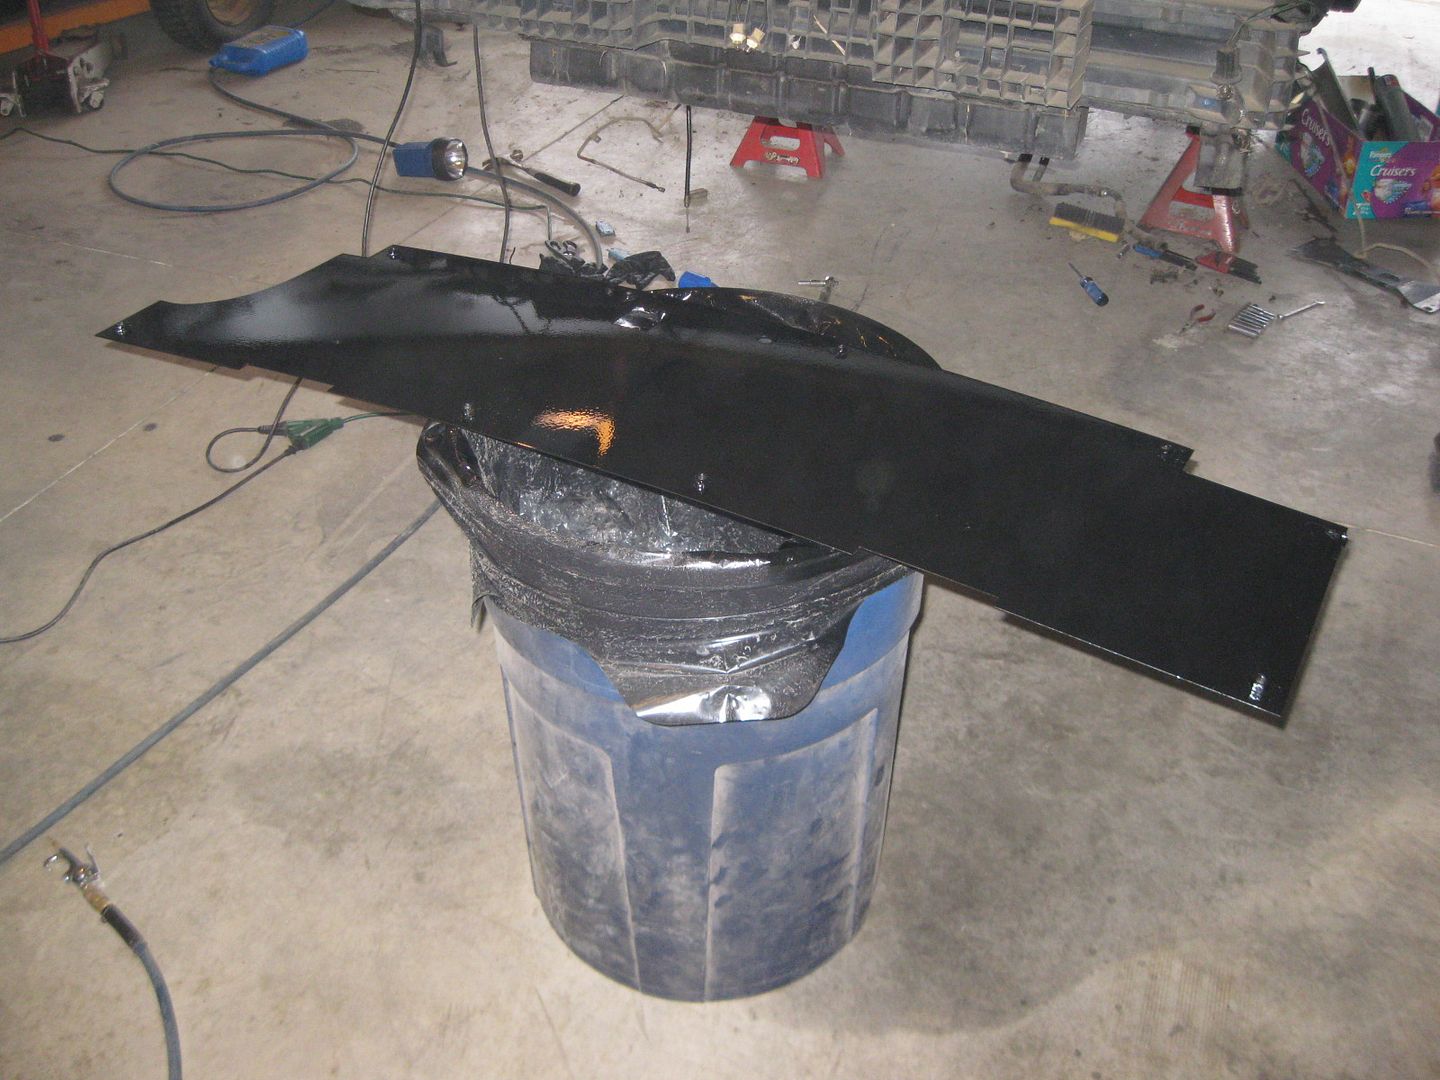
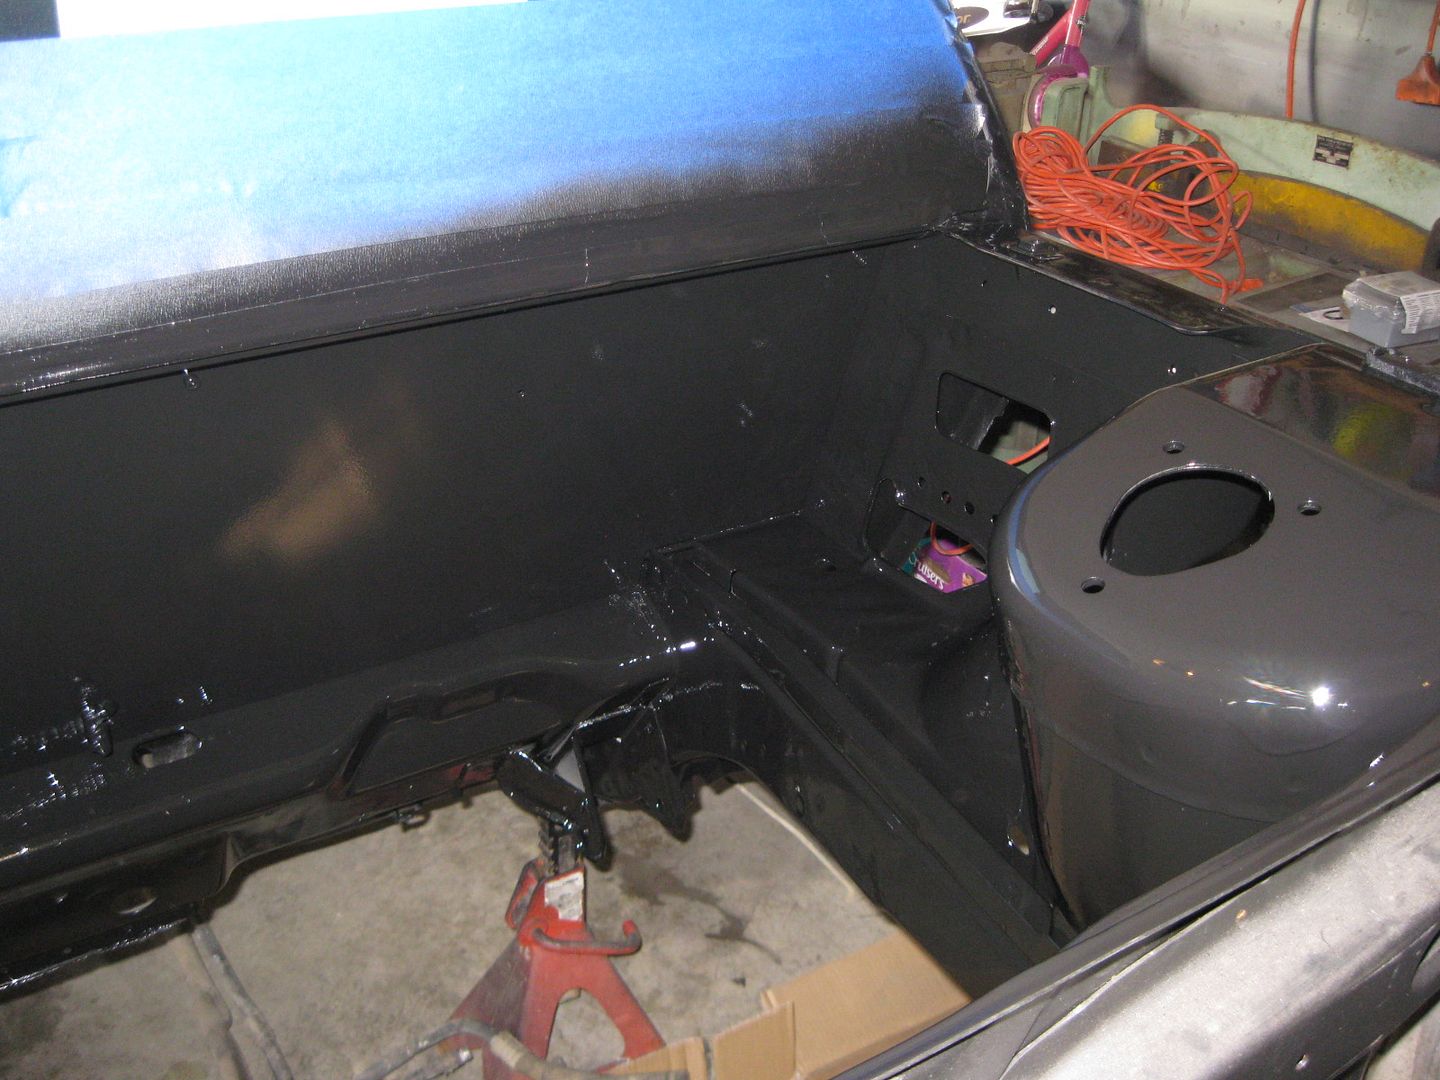
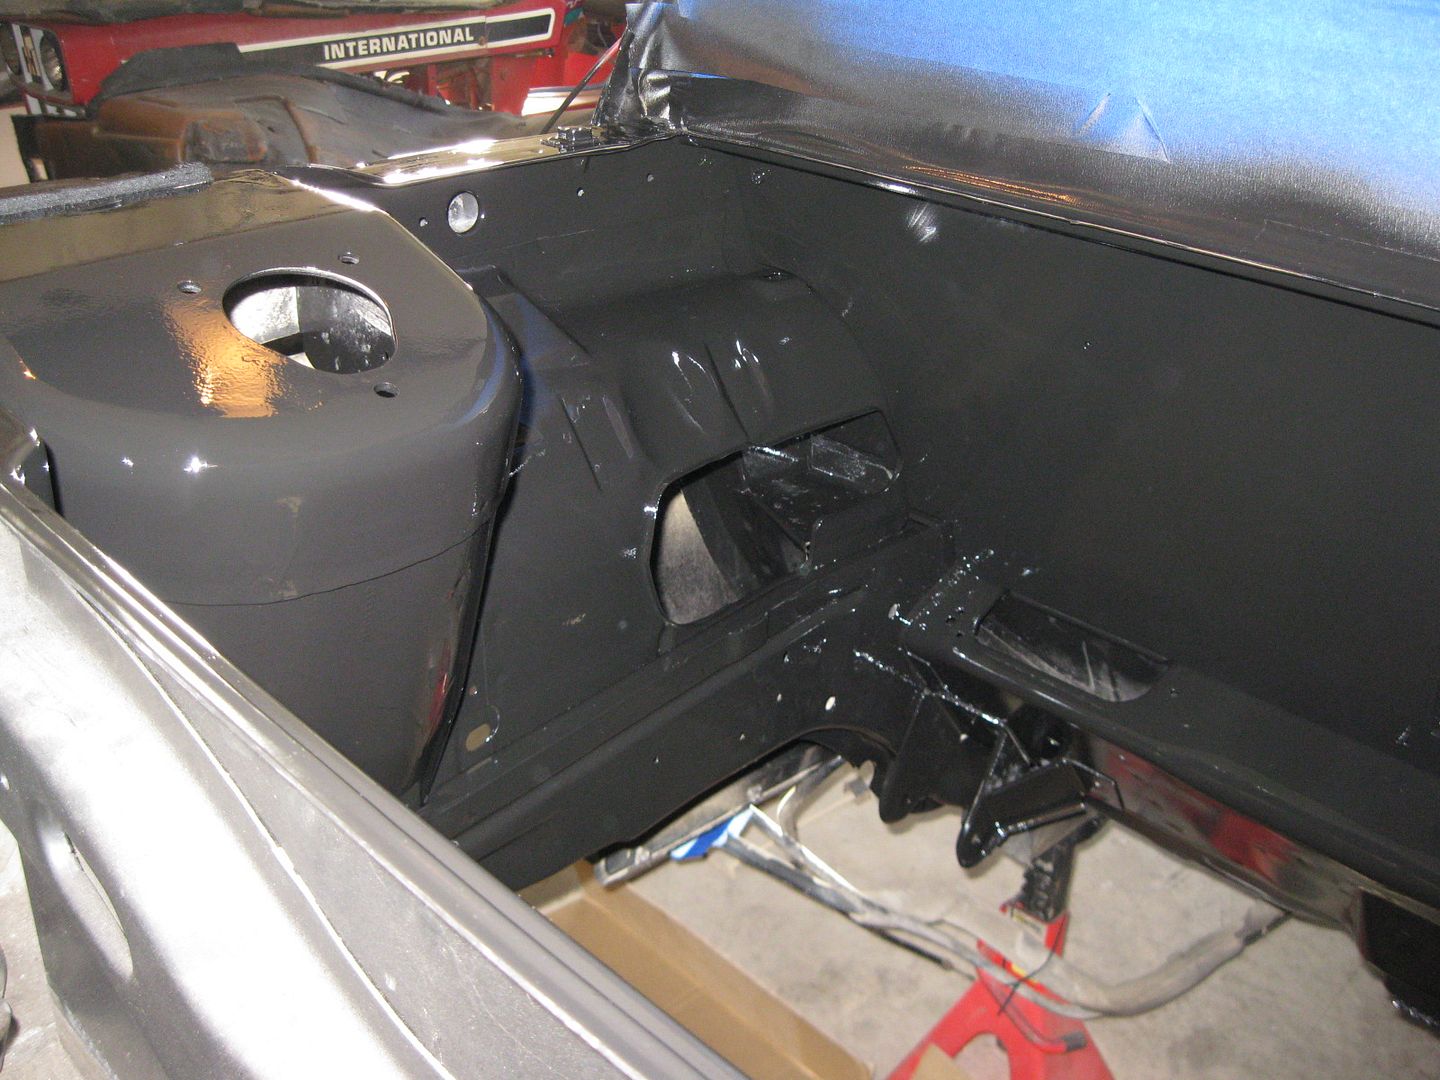
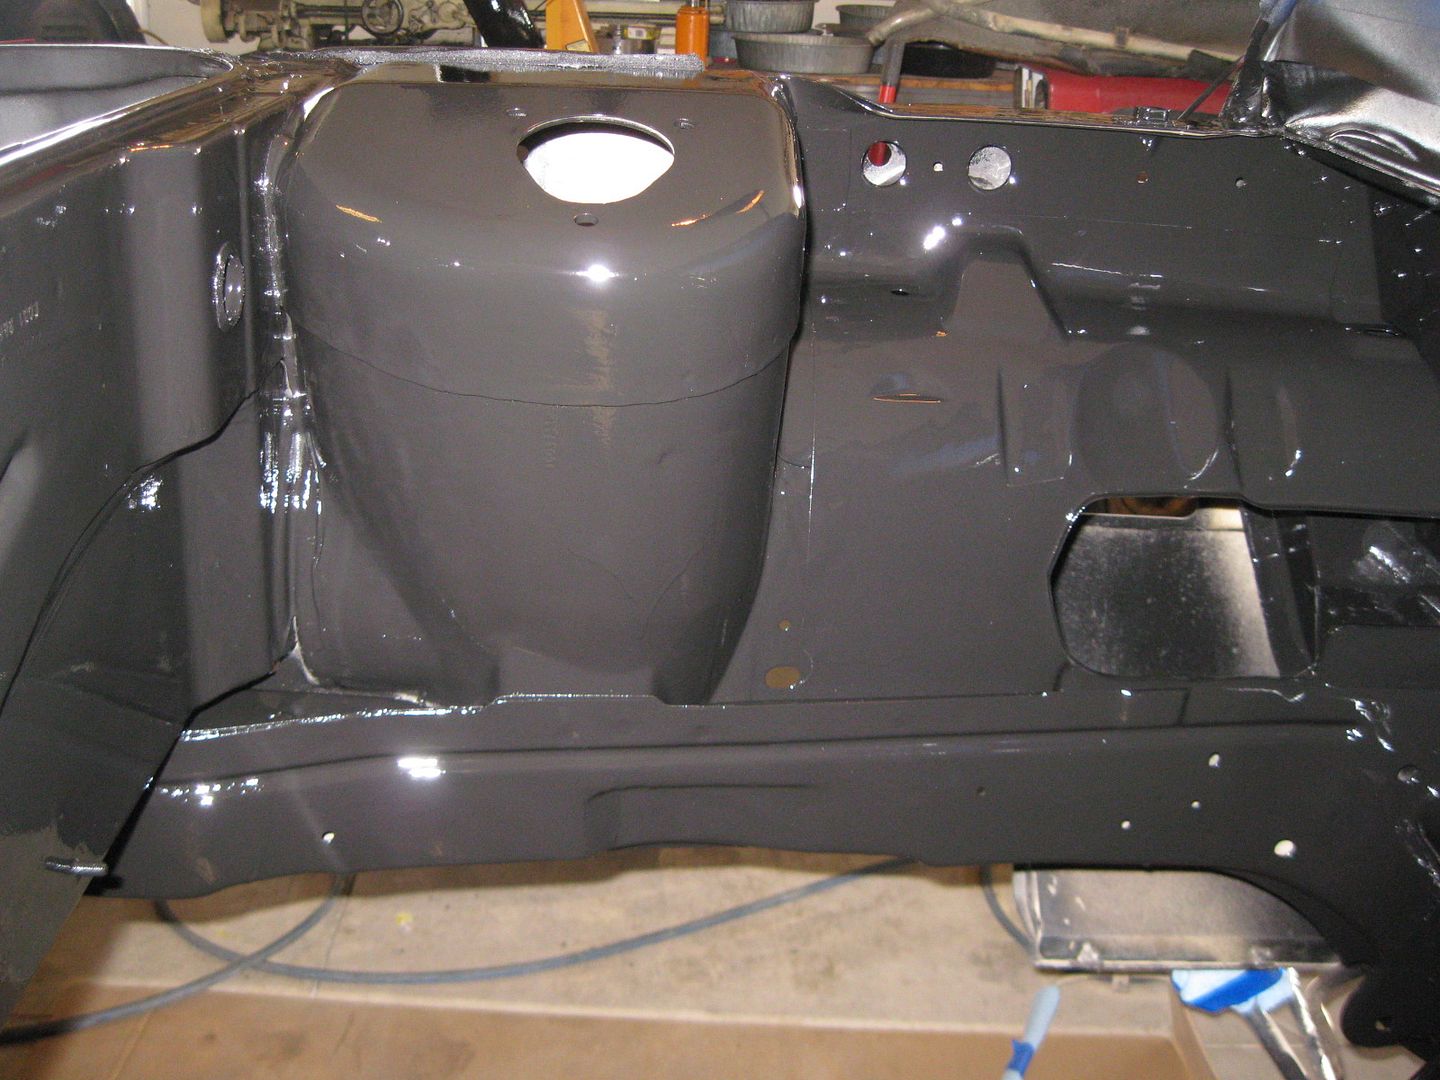
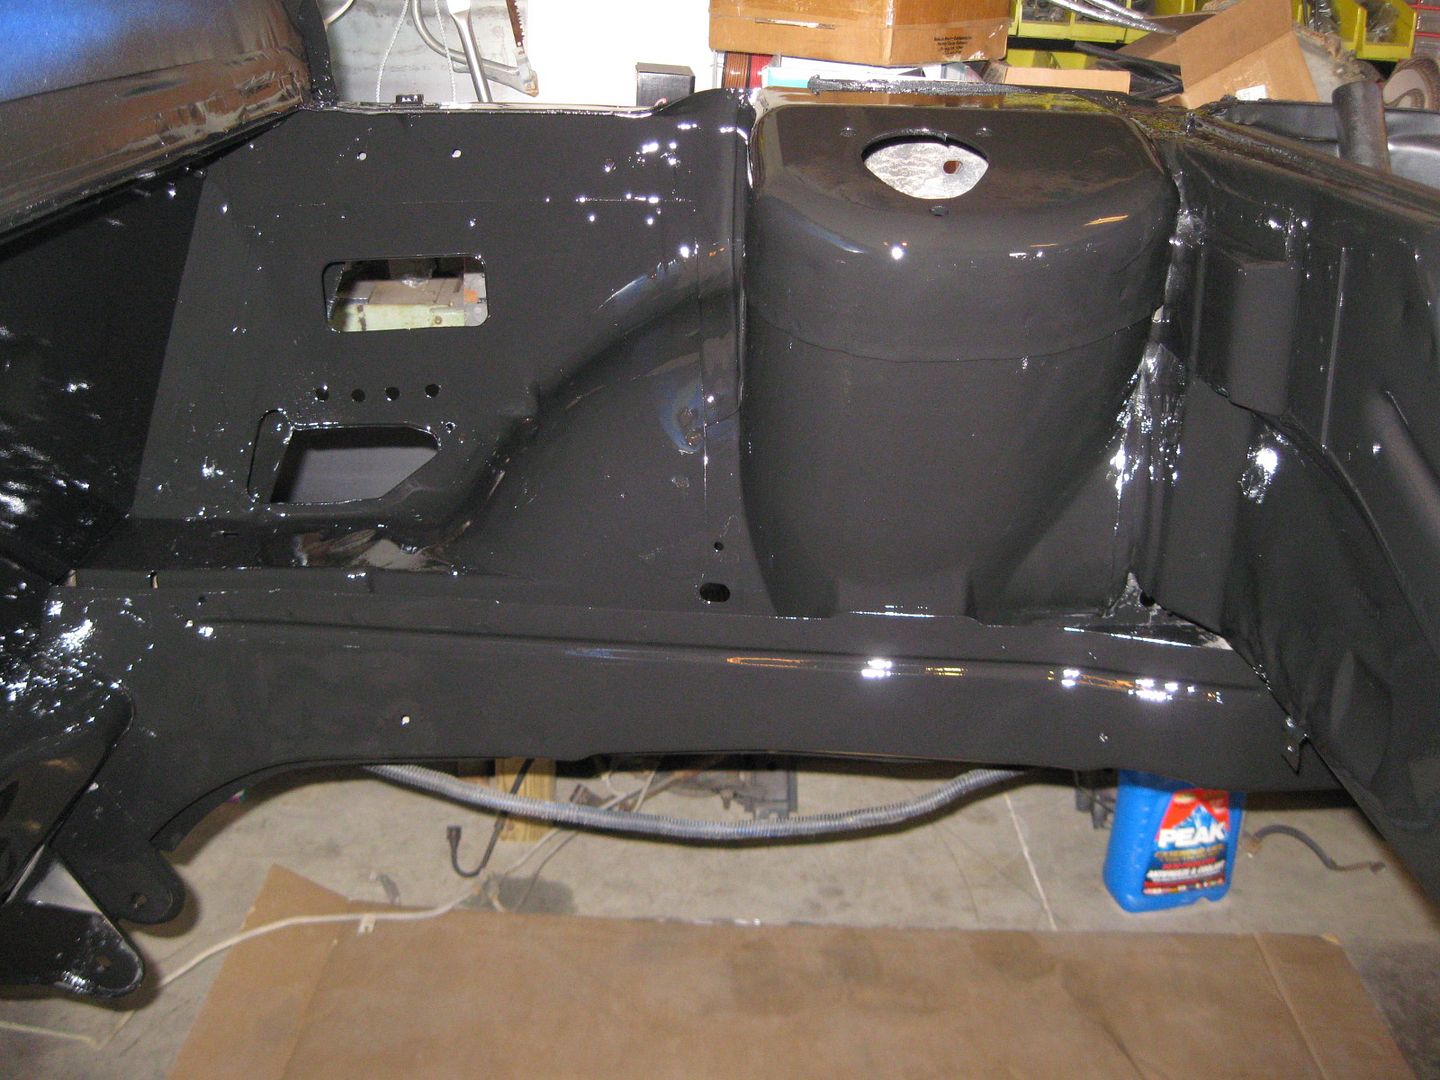
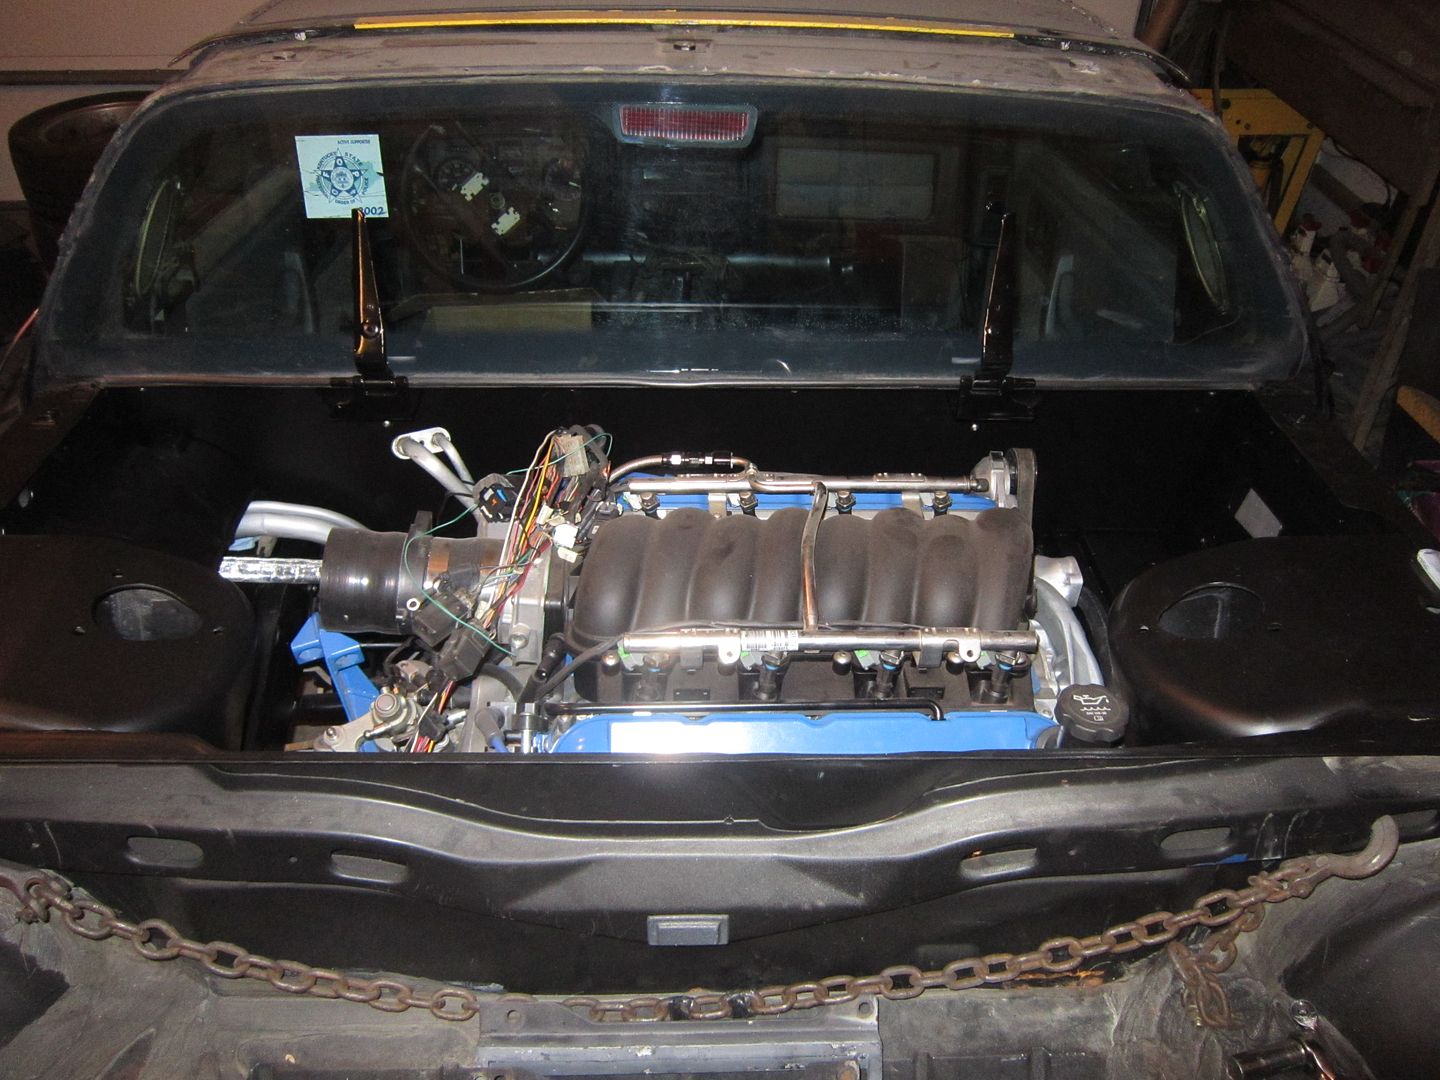
The engine bay is now painted! I painted the firewall and the backside of the smooth panel first, then once those were dry installed the smooth panel and finished painting the whole engine bay. It is a matte black finish, but is glossy in the pics because it is still wet.
|
|
|
|
ericjon262
|
DEC 31, 07:50 PM
|
|
|
|
|
Trinten
|
JAN 01, 01:51 PM
|
|
|
|
|
fieroguru
|
JAN 01, 06:09 PM
|
|
|
|
|
Jims88
|
JAN 03, 08:39 PM
|
|
Engine bay looks better than new!
Neat fab trick with ss ground bolt.
|
|
|
|
LEEEZARD
|
JAN 04, 03:12 AM
|
|
|
as always very nice work.
|
|
|
|
kennn
|
JAN 04, 11:54 PM
|
|
Hey Guru,
Were you contemplating at one time attempting to increase the operable volume of the fuel tank?
Nice work. I like the shift cable routing idea; is there any concern of them kinking, or did you enlarge the opening somewhat in the firewall (guessing here)?
Ken
------------------
'88 Formula V6
'88 GT TPI V8
|
|
|
|
fieroguru
|
JAN 05, 09:46 AM
|
|
Thanks for the compliments guys!
| quote | Originally posted by kennn:
Were you contemplating at one time attempting to increase the operable volume of the fuel tank?
Nice work. I like the shift cable routing idea; is there any concern of them kinking, or did you enlarge the opening somewhat in the firewall (guessing here)?
Ken
|
|
Yes, I raised the vent tube (added a 2nd vent port and capped the stock one) in the gas tank to gain some usable capacity. On my stock 88 I have 10.2+ usable gallons and with this mod I hope to have 11.0+. I have plans to build a completely new fuel tank to maximize fuel capacity, but that is on the back burner until I get this swap up and running. I have the fuel tank tunnel portion of a Fiero chassis in storage so I can build this tank without taking either of the fieros out of service.
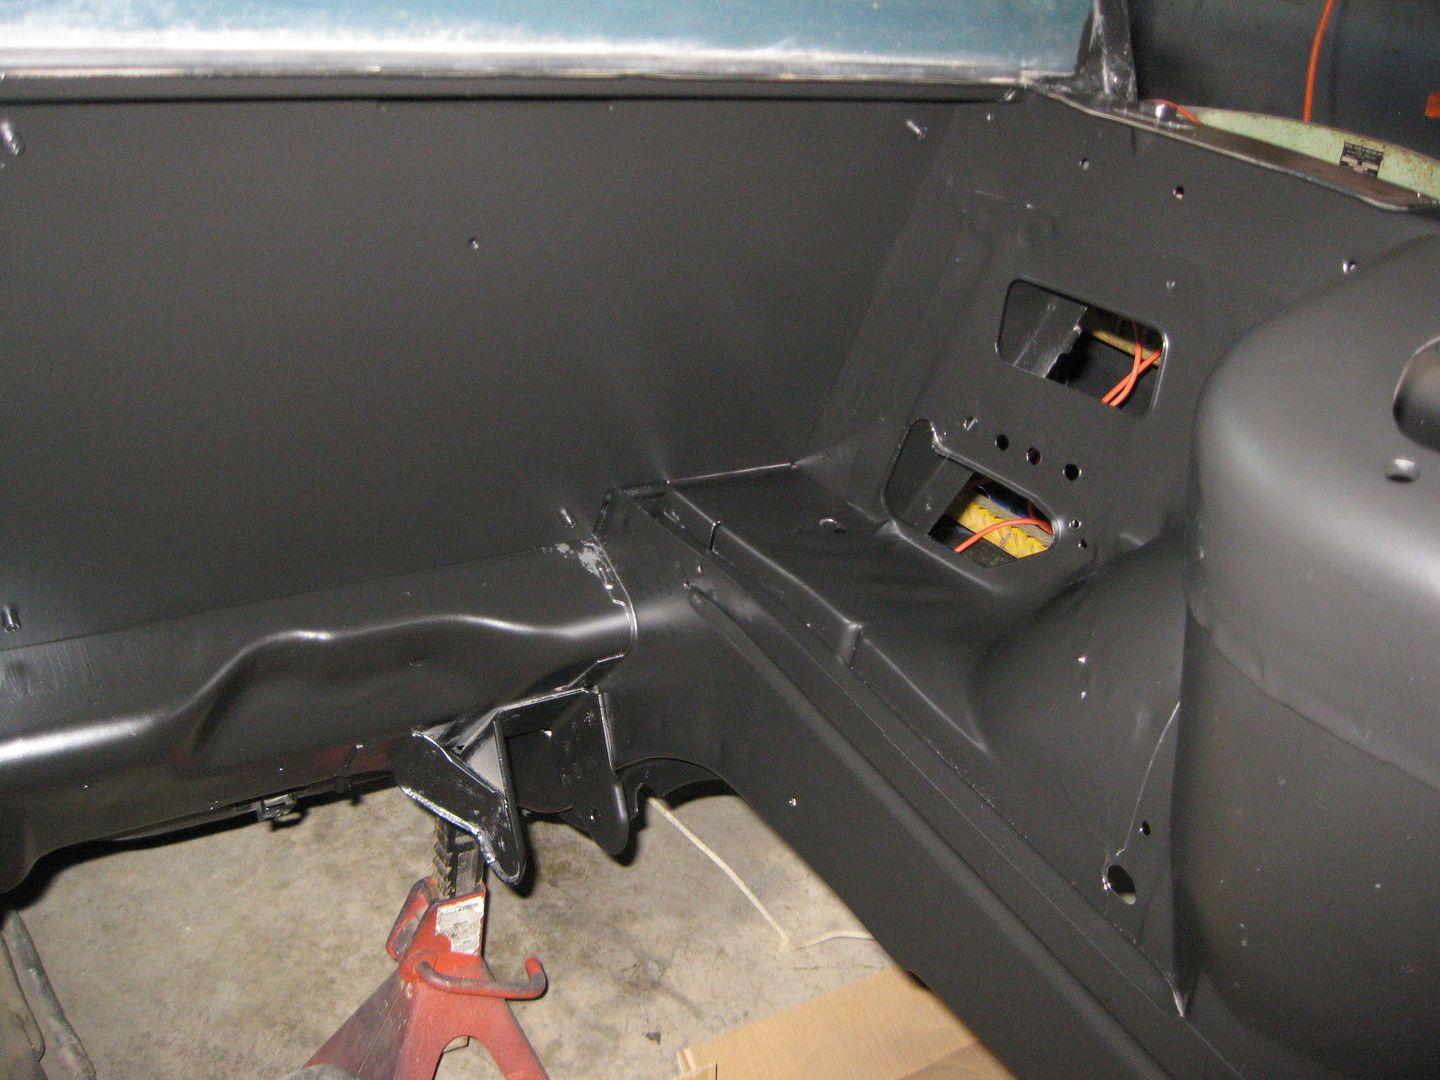
I got the idea of changing the cable routing from the Perfect Union. Its shift cables stay behind its smooth firewall and exit right under the driver side hinge box.
With the smooth firewall panel removed:
Since my smooth firewall is only 3/8" off the stock firewall, I had to go lower and through the stock double firewall panel along the fuel fill and exit the stock fuel fill hole. From the shifter, the cables shift to the passenger side of the console and have a nice radius bend as they turn the 90 degree turn and pass down through the hole in the console/fuel tank tunnel and enter the double firewall panel. As they come out the fuel fill tube, they again make a gradual turn. As they are routed, they are bind/kink free.[This message has been edited by fieroguru (edited 01-05-2013).]
|
|
|
|
kennn
|
JAN 05, 07:49 PM
|
|
Thanks for the clear explanation. And thanks for many well thought out ideas and the willingness to share.
Ken------------------
'88 Formula V6
'88 GT TPI V8
|
|
|
|
fieroguru
|
JAN 14, 07:30 PM
|
|
I broke my camera... it was on, lens extracted and took a tumble off the bench, jamming the lens/zoom mechanism and now it won't start. So I stole the wife's...
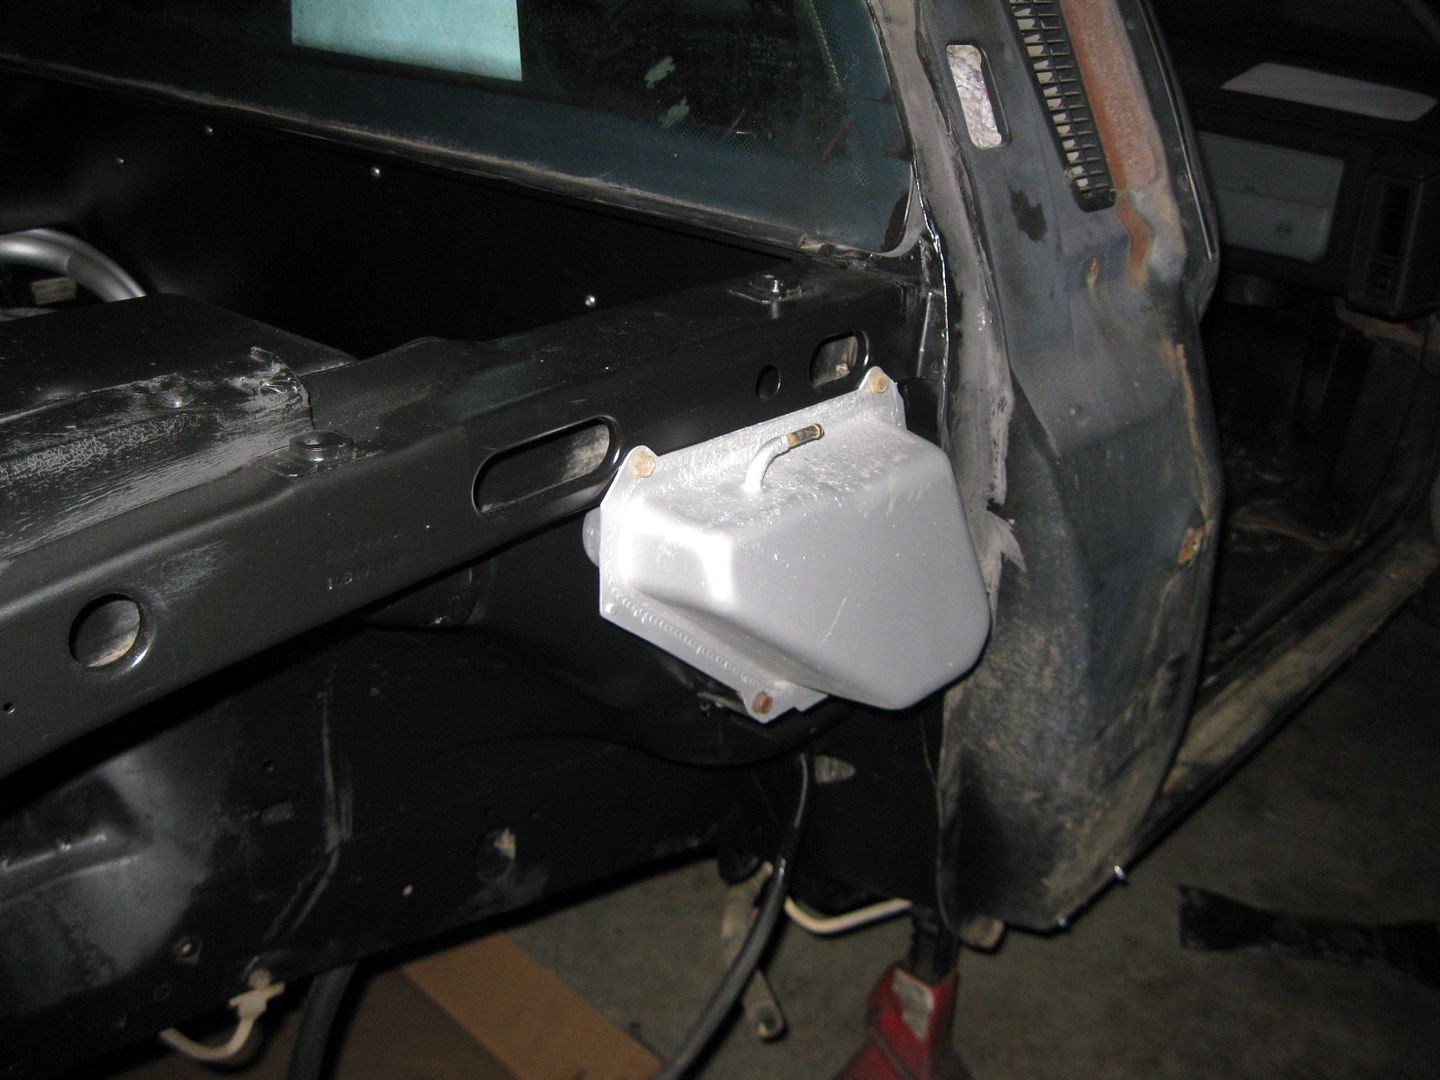
It took quite a bit longer to get the tops of the strut towers look good, but they are finally done!
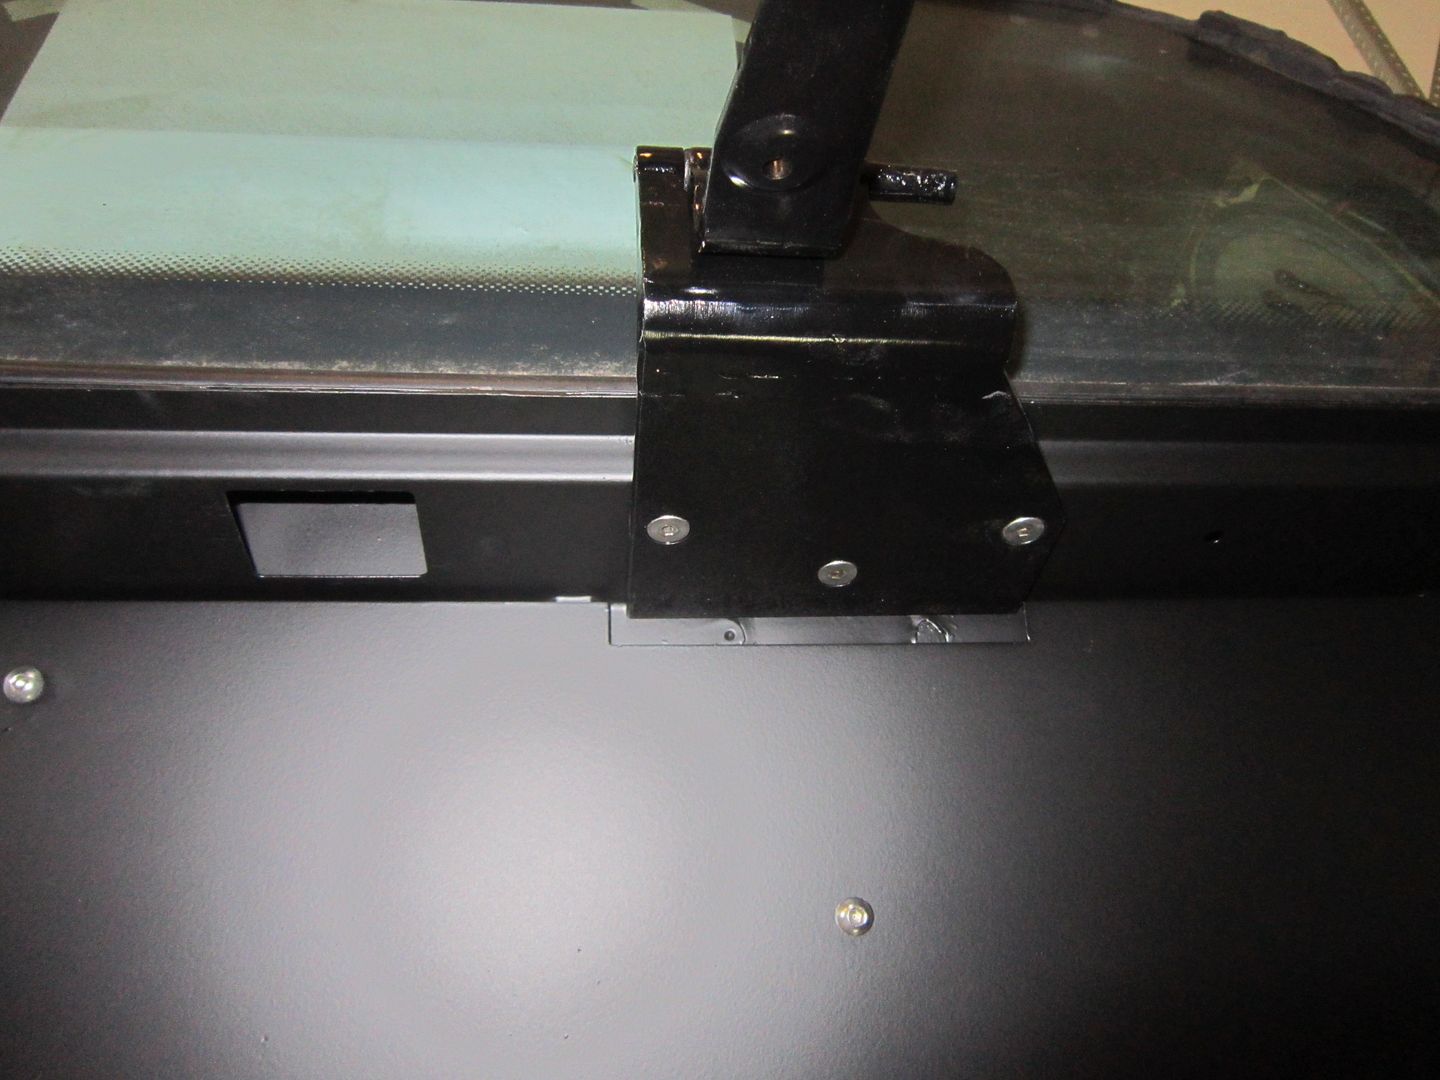
Also reinstalled the decklid hinges (need the engine out to line up the bolt holes in the top plate):
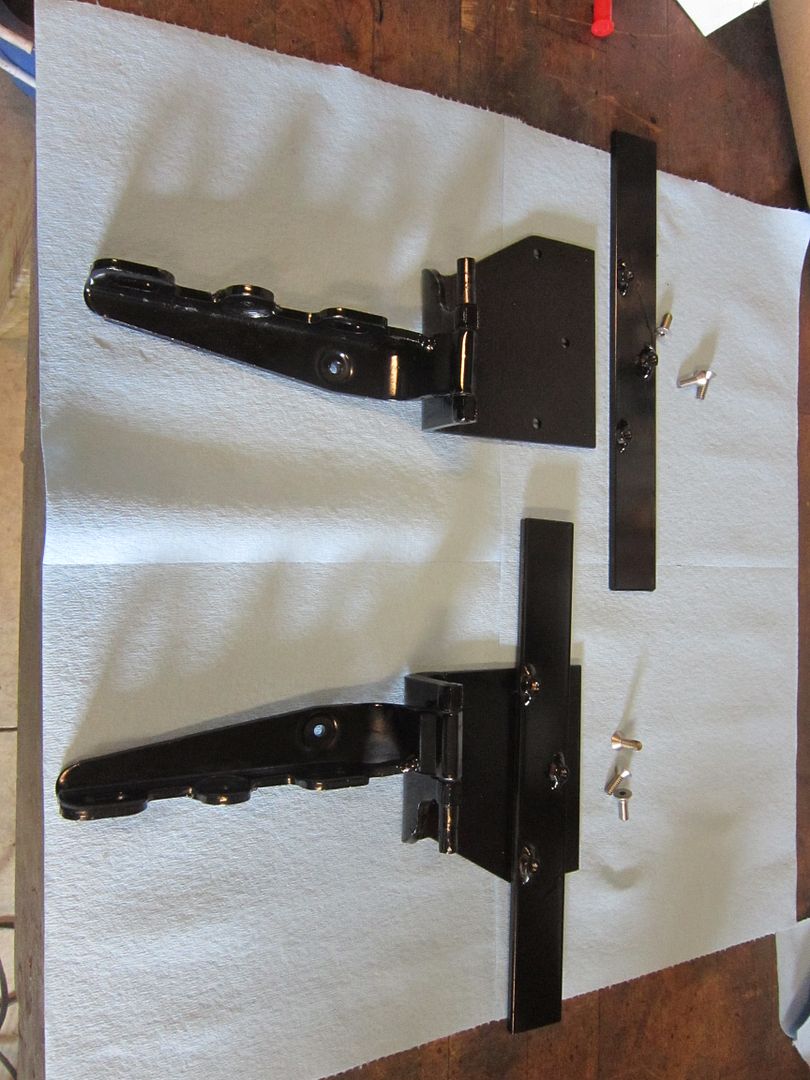
Factory Hole:

Top plate being slid into place:
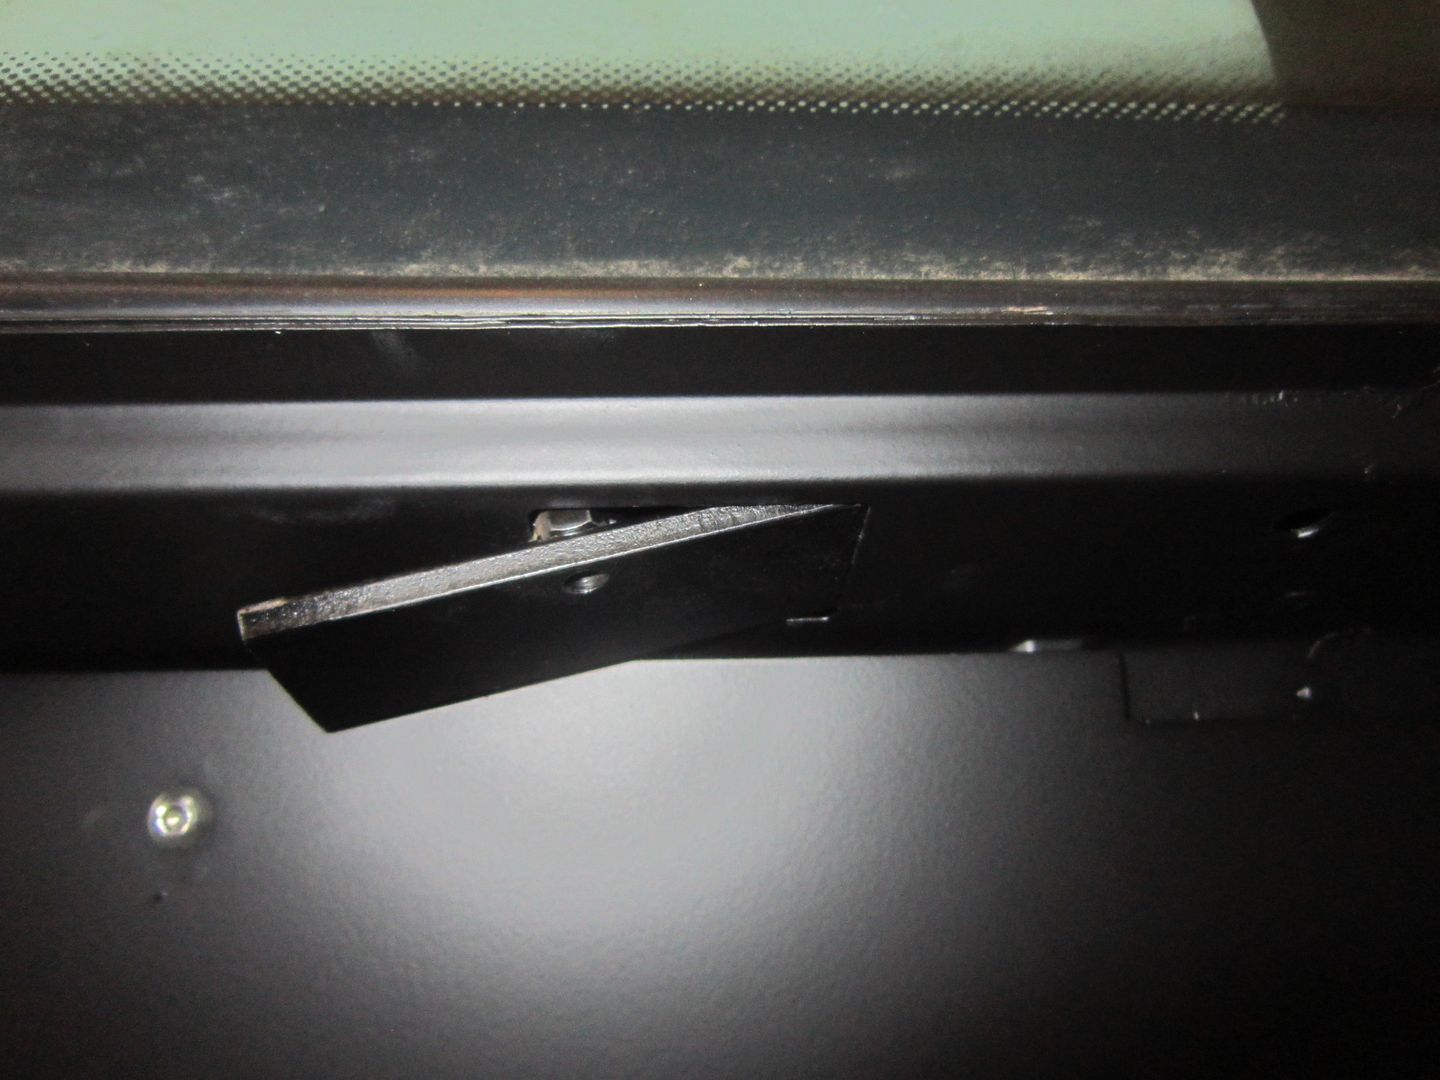
Hinge installed:
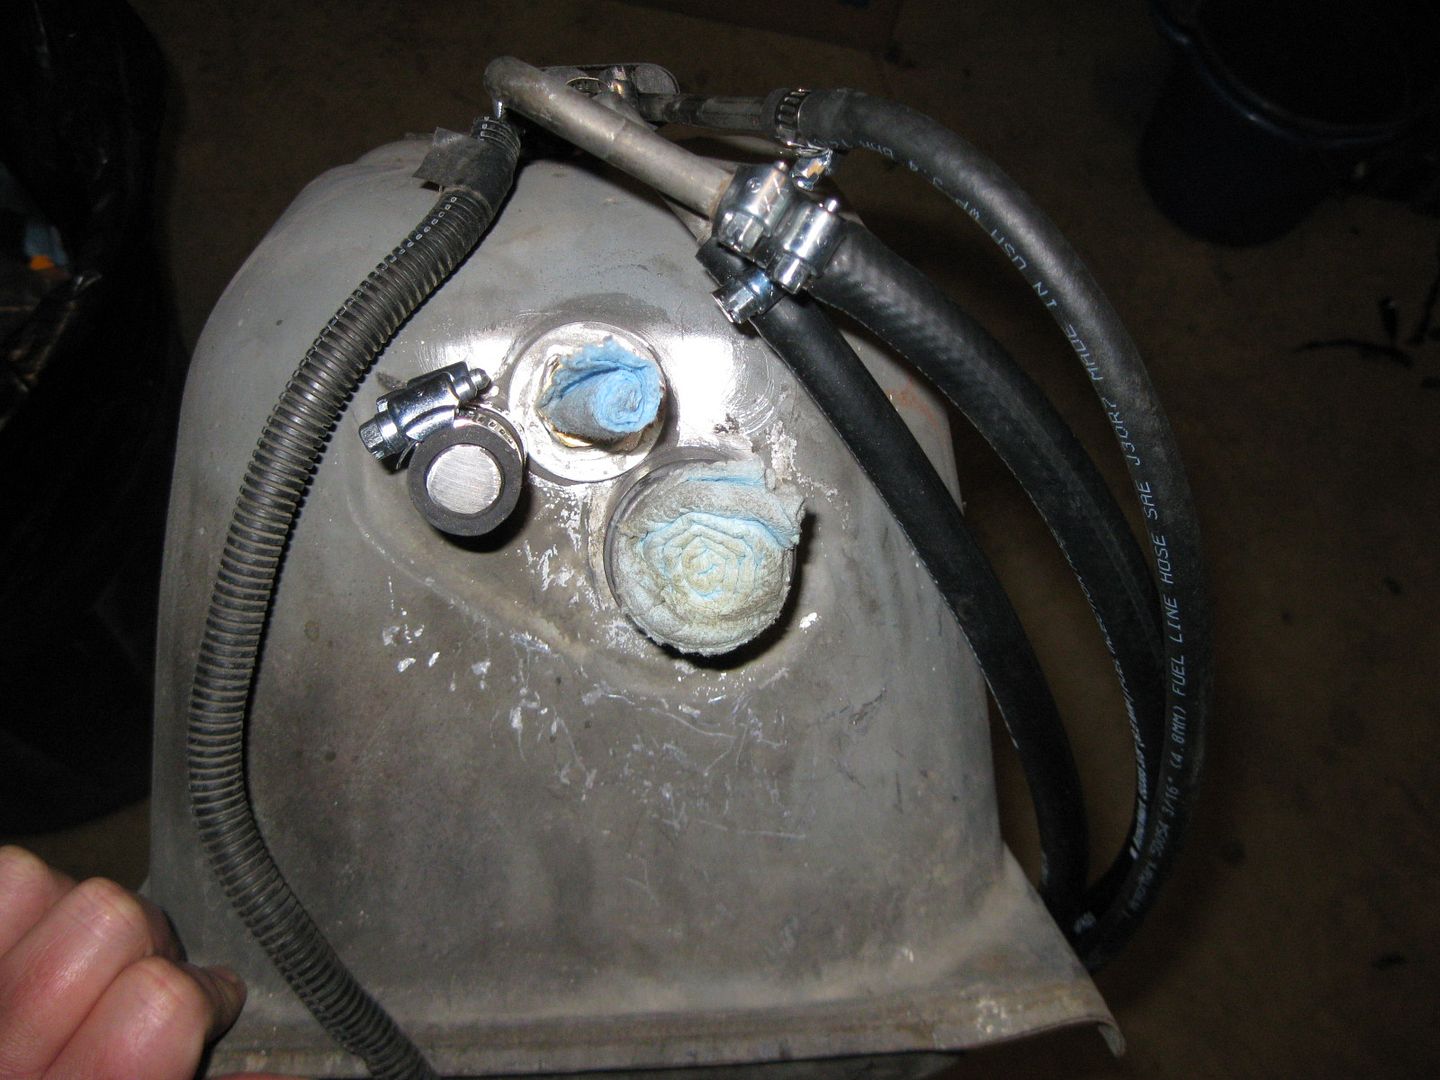
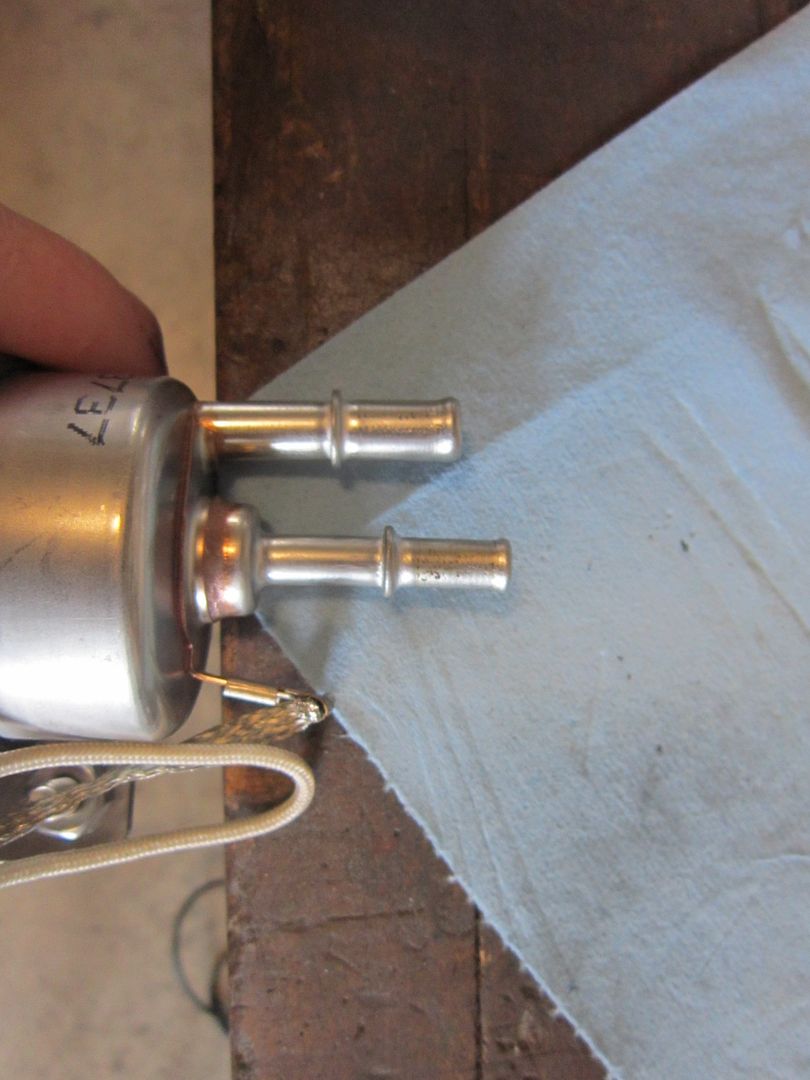
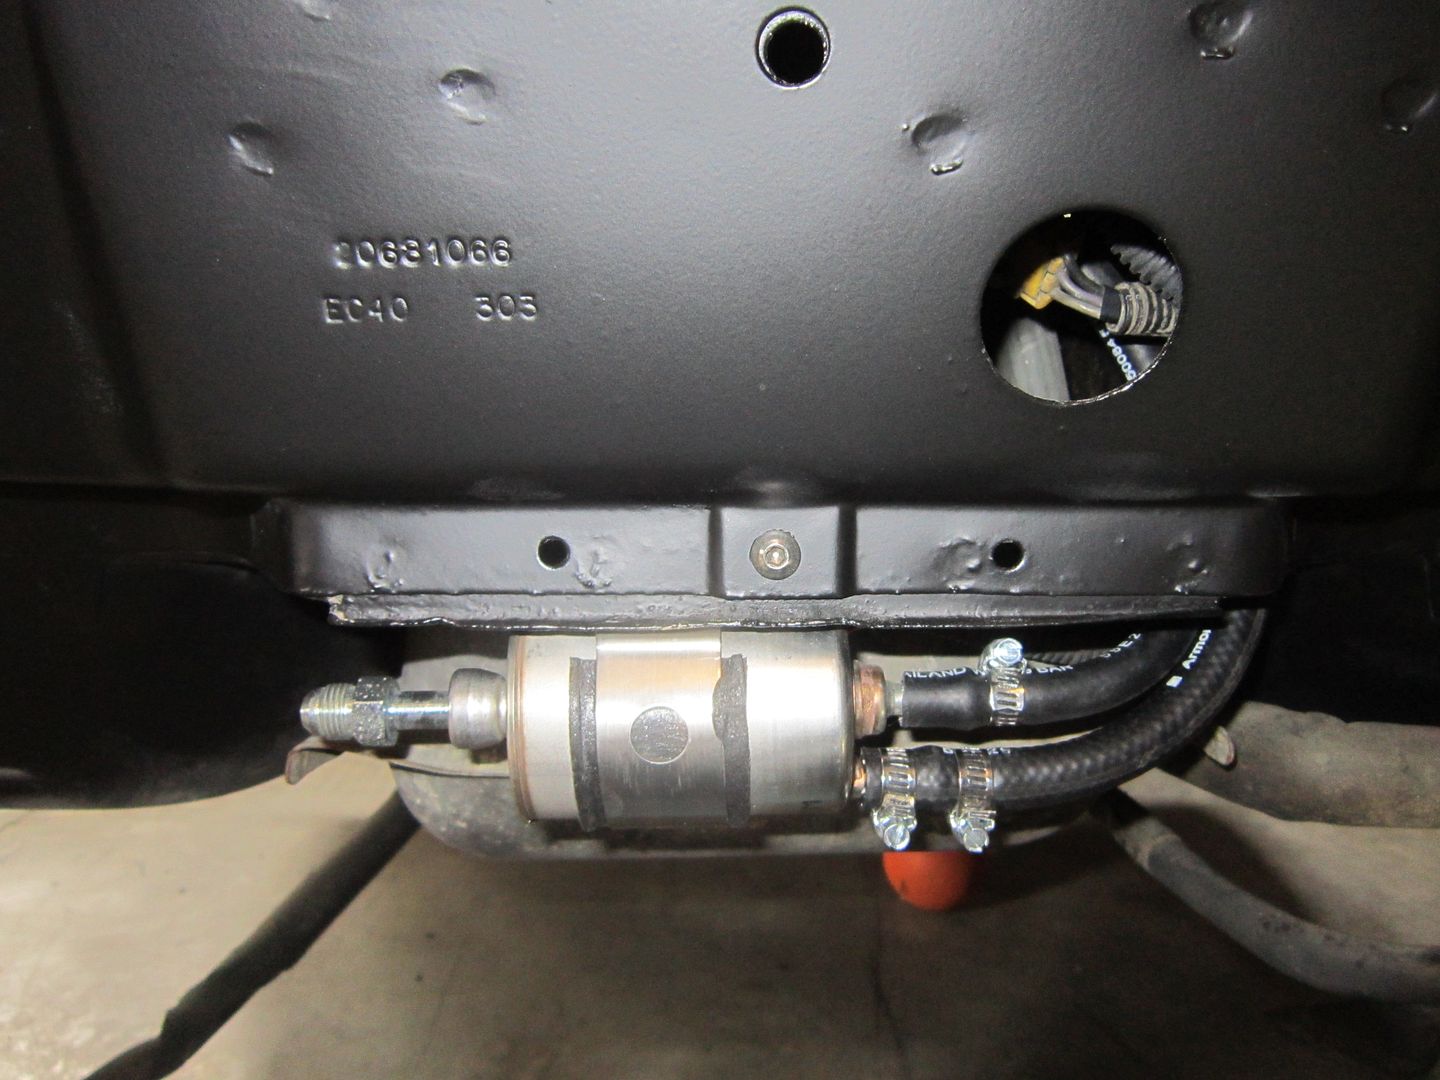
Then it was time to install the fuel tank and filter assy. Since I wasn't using the GM quick disconnects, I put a little bubble at the end to help ensure the hoses stay put:
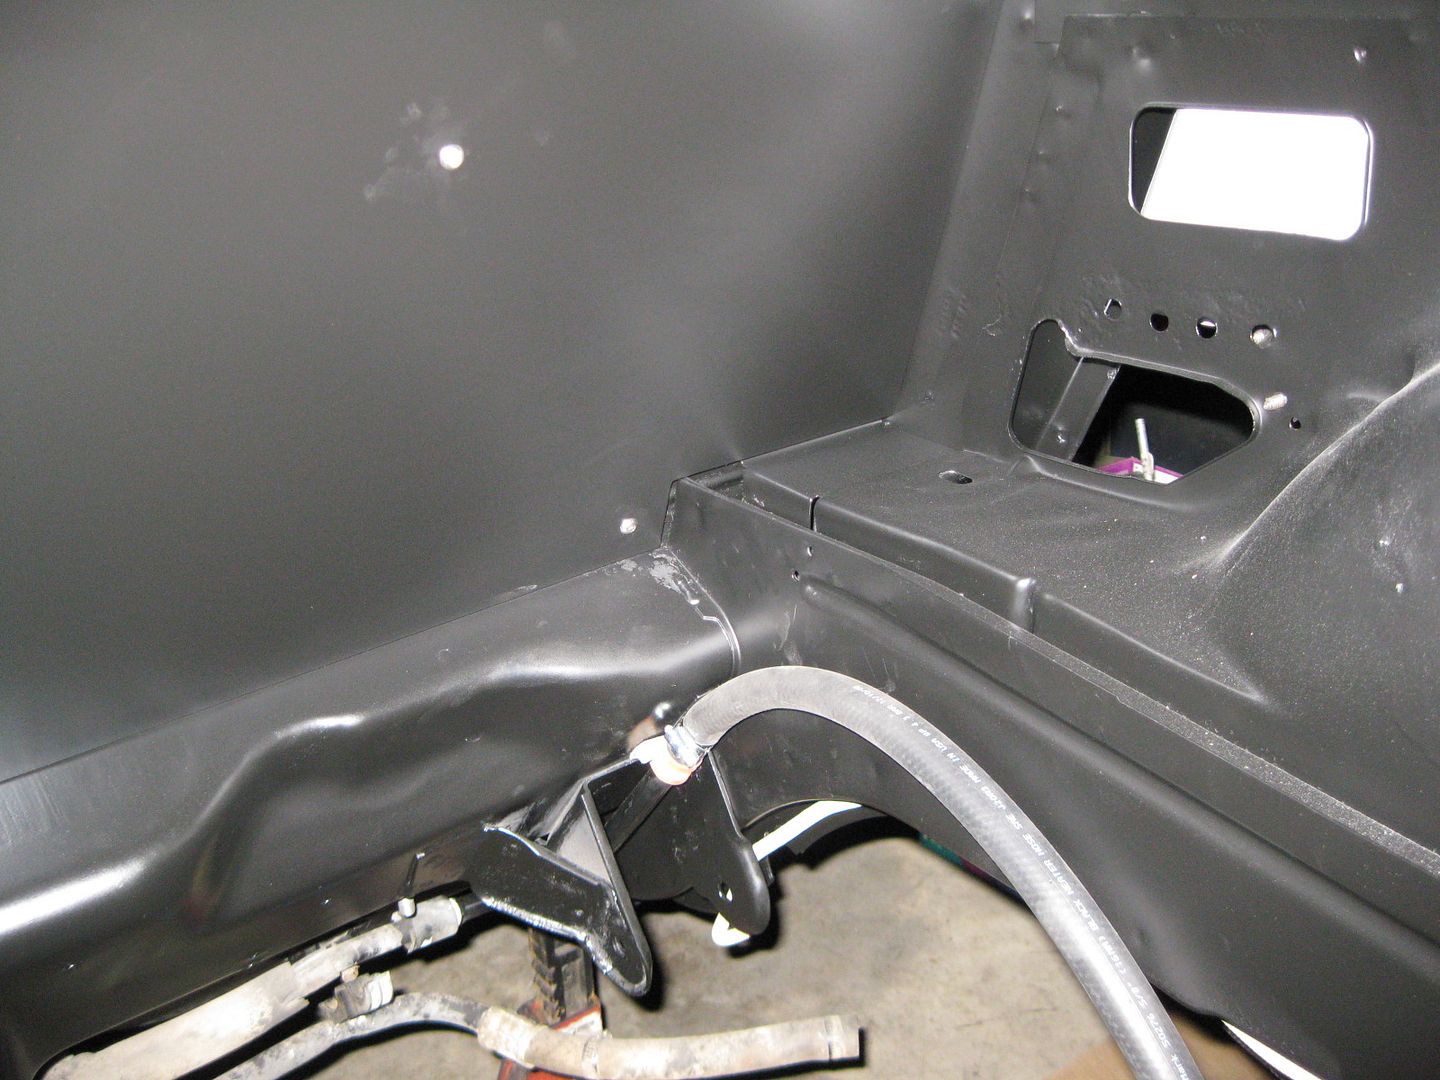
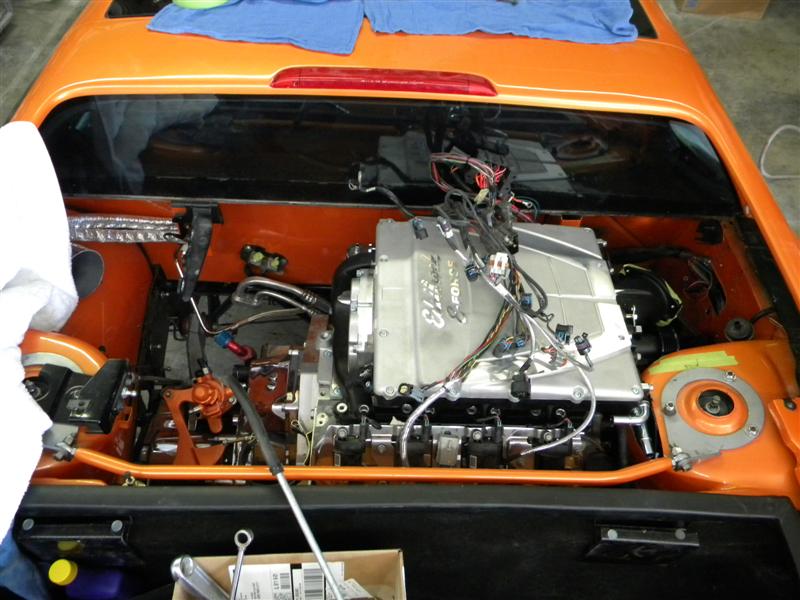
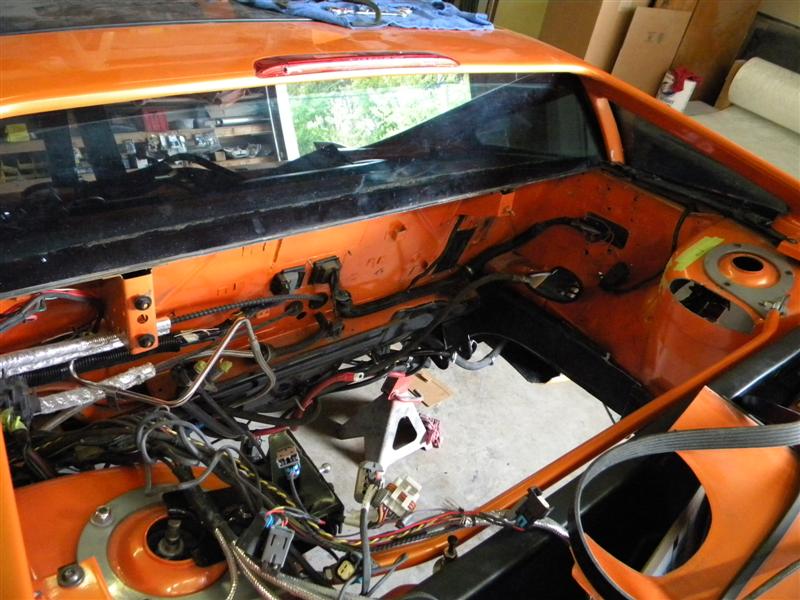
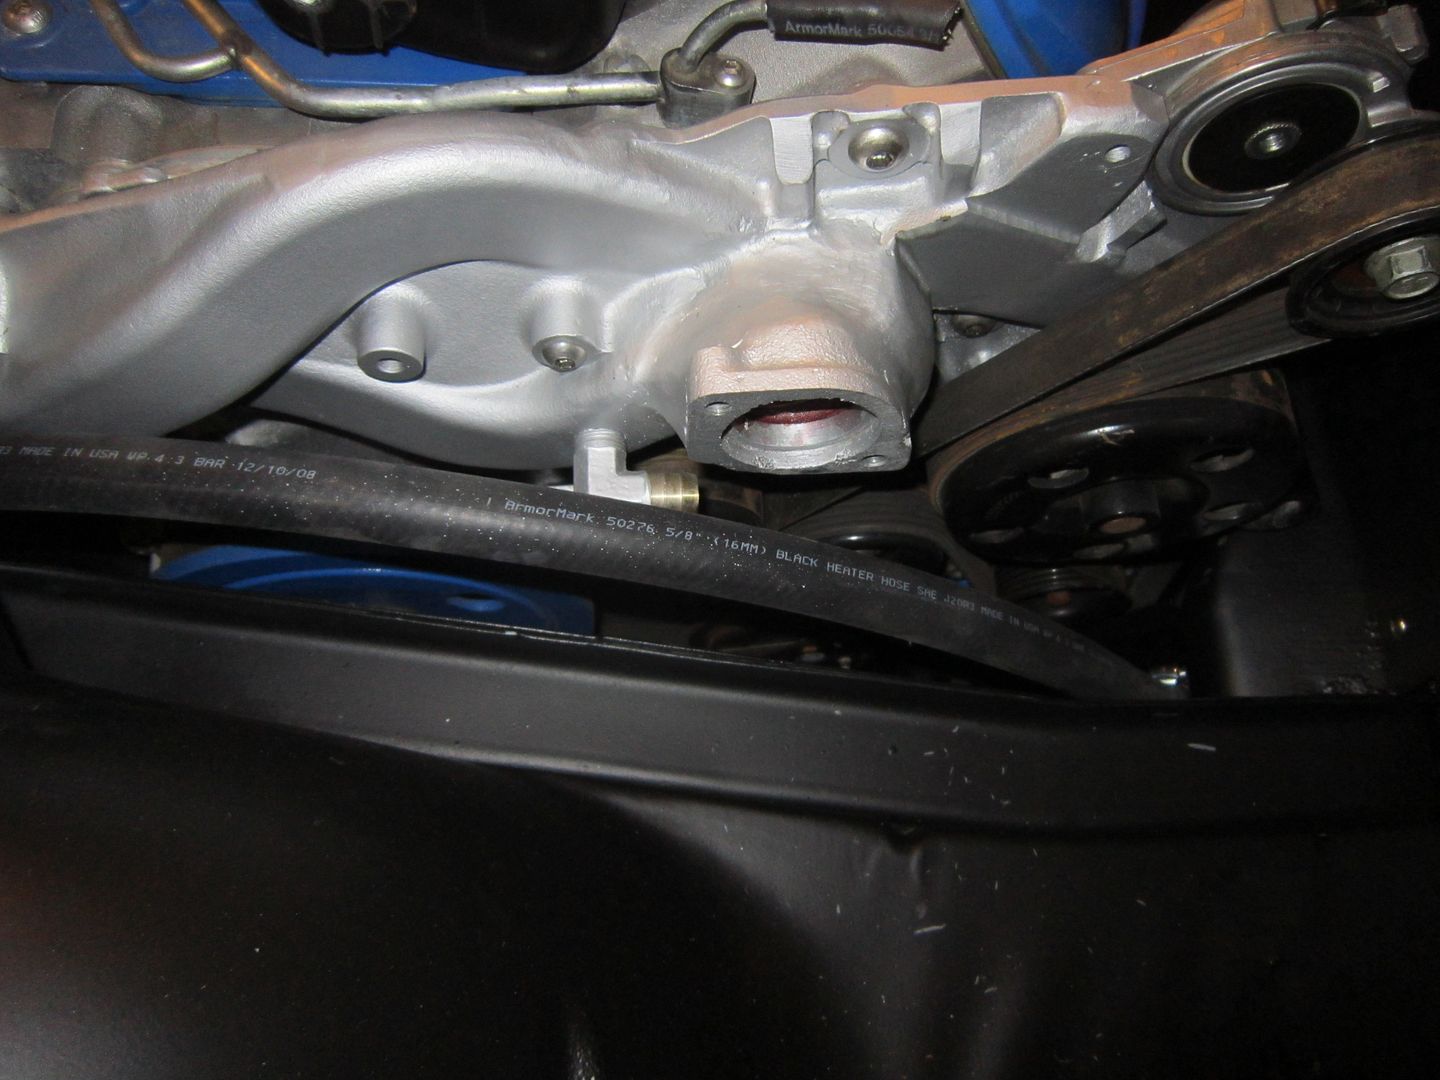
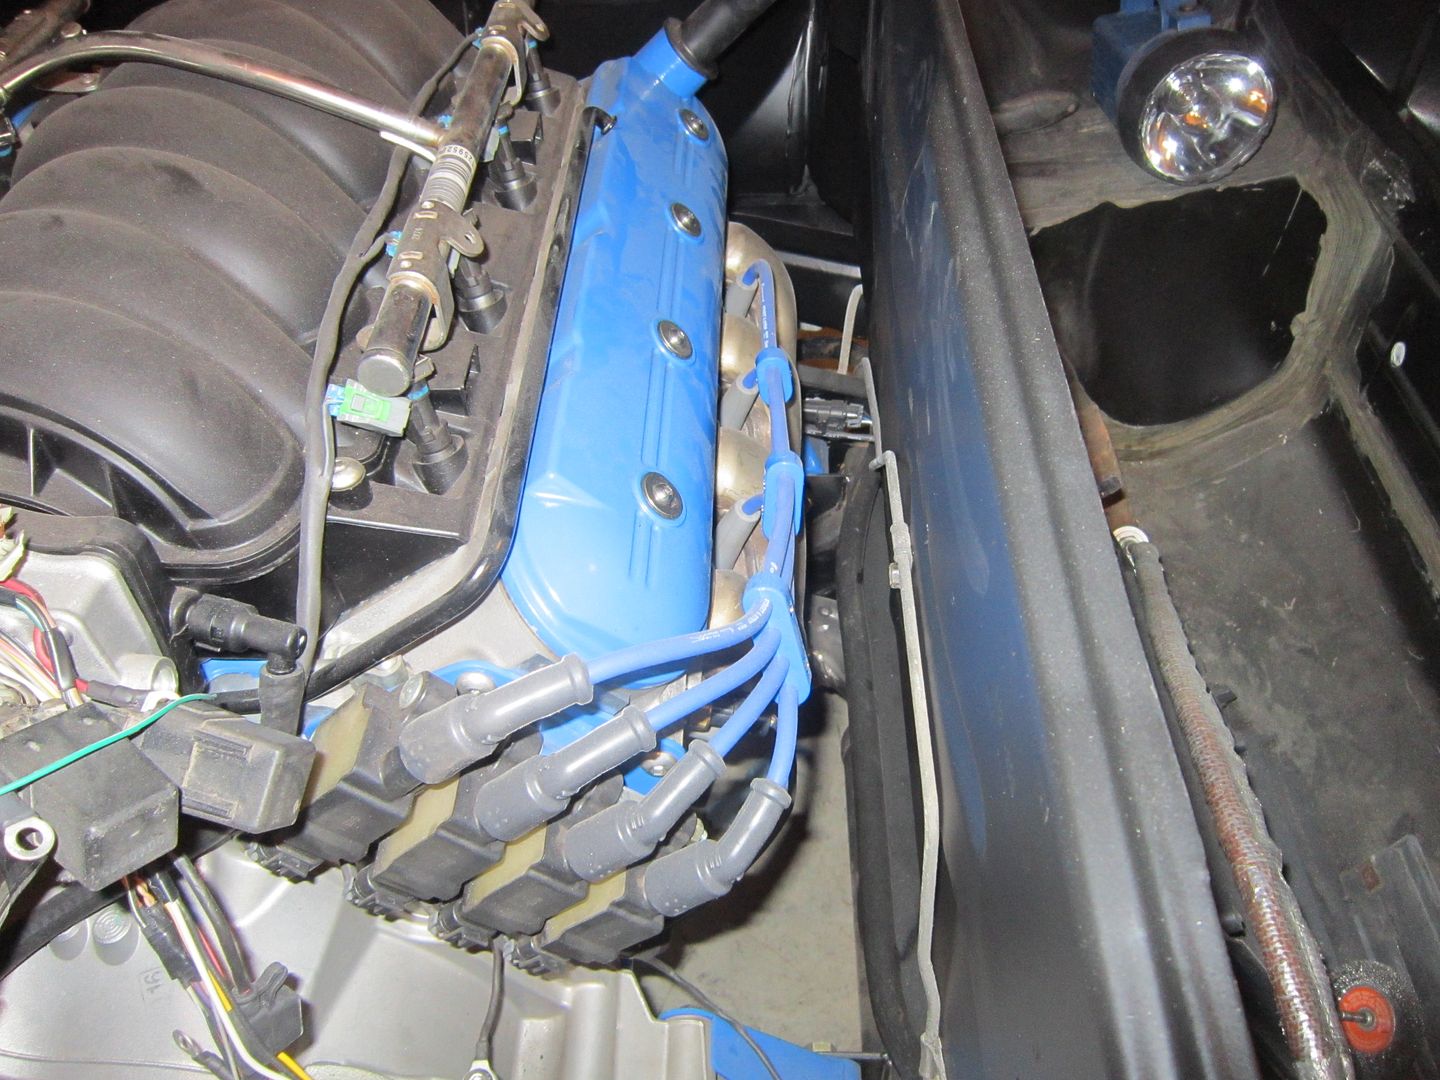
Then it was time to put the engine back in for what I thought was the final time... but alas the two coolant pipes didn't clear the chassis. The passenger side one is a simple fix (just need to remake the mounting tab to lower it and shift it about 1/2" to the DS (it hits the front cradle bolt bracket by about 1/4", and I am not cutting the bracket). The driver side one just needs a complete rework... I had it in and out about 5 times trimming it to fit, but now I think I will just make a new one. Besides the coolant tube issue, notice how much room there is between the firewall and the manifold (and it has a heat shield).
I will rework both coolant tubes with the cradle in the car so I will know the new ones will fit!
Here are some other general engine in bay pics (excuse the dust on the engine...):
|
|
|
|