|
| Ferrari 288GTO build (Page 58/64) |

|
dobie1
|
JUL 17, 01:31 AM
|
|
|
|
|
dobie1
|
JUL 23, 07:53 PM
|
|
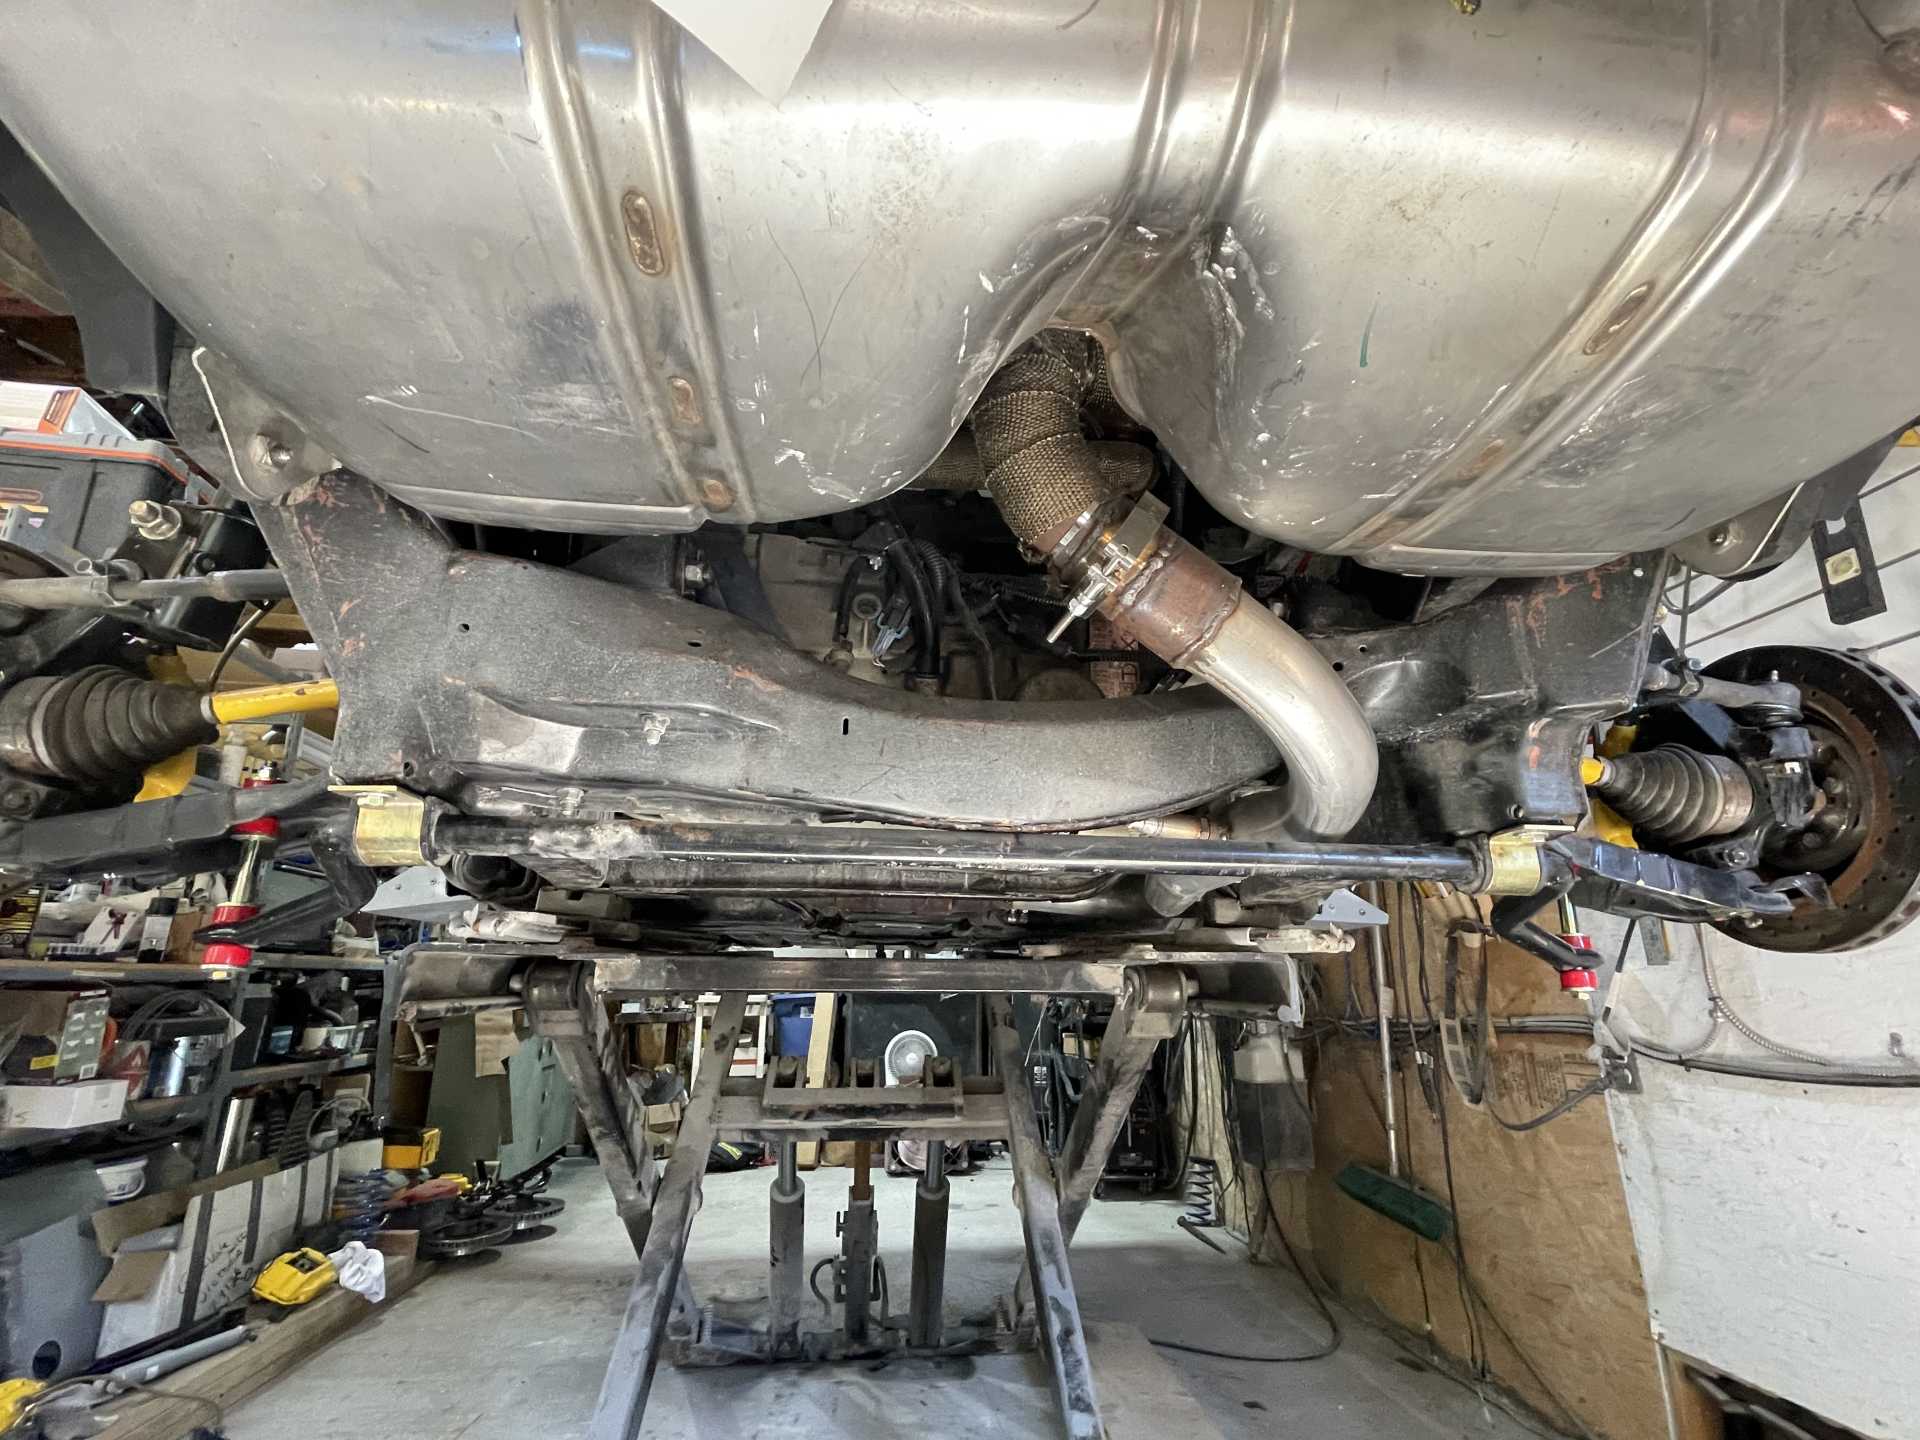
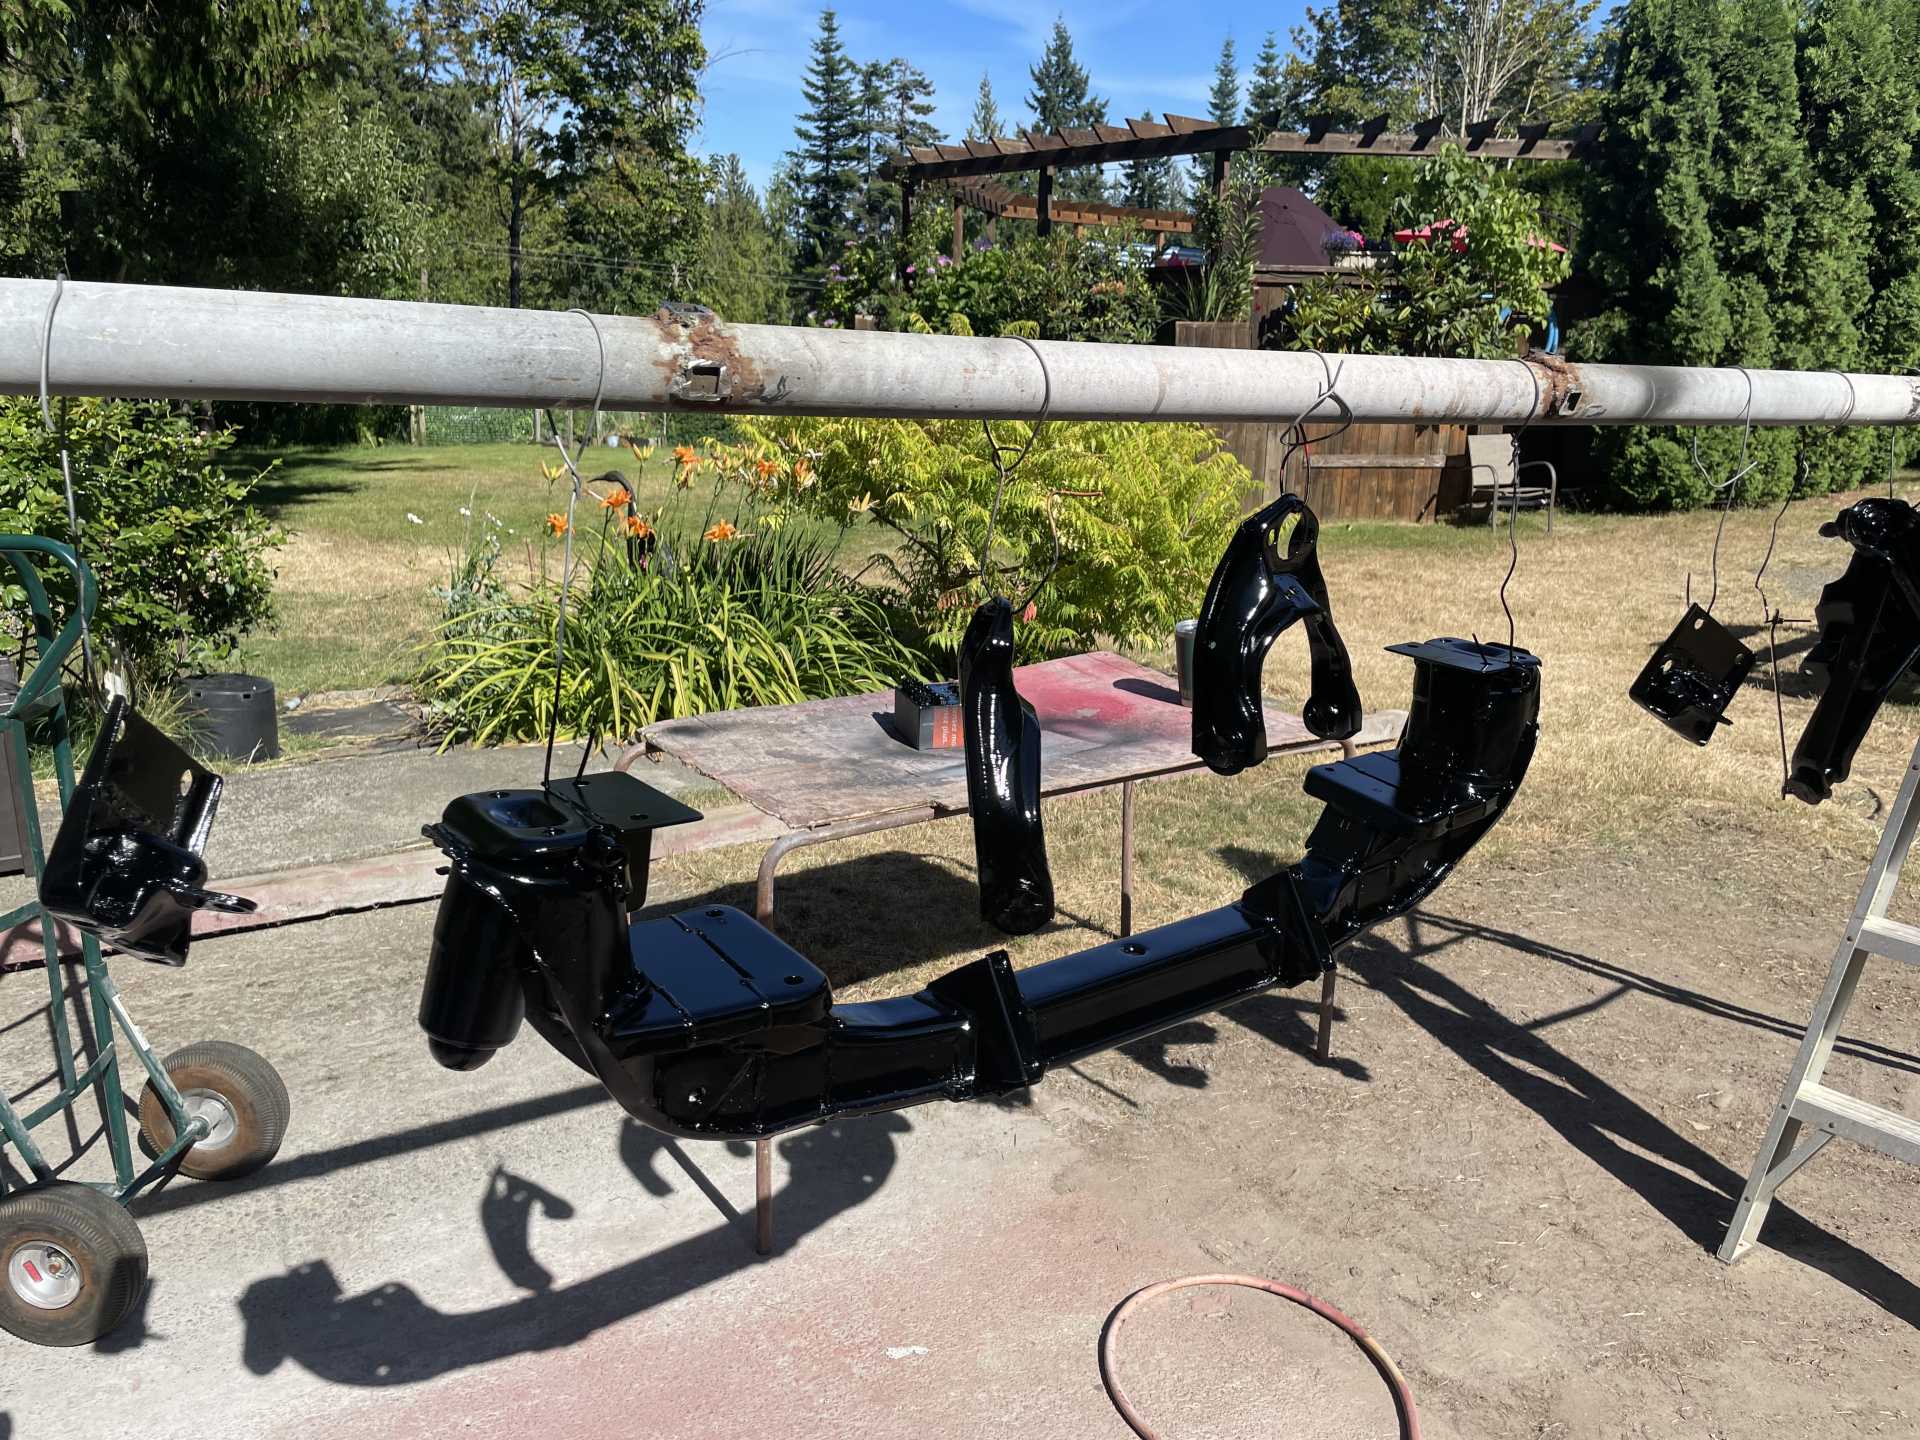
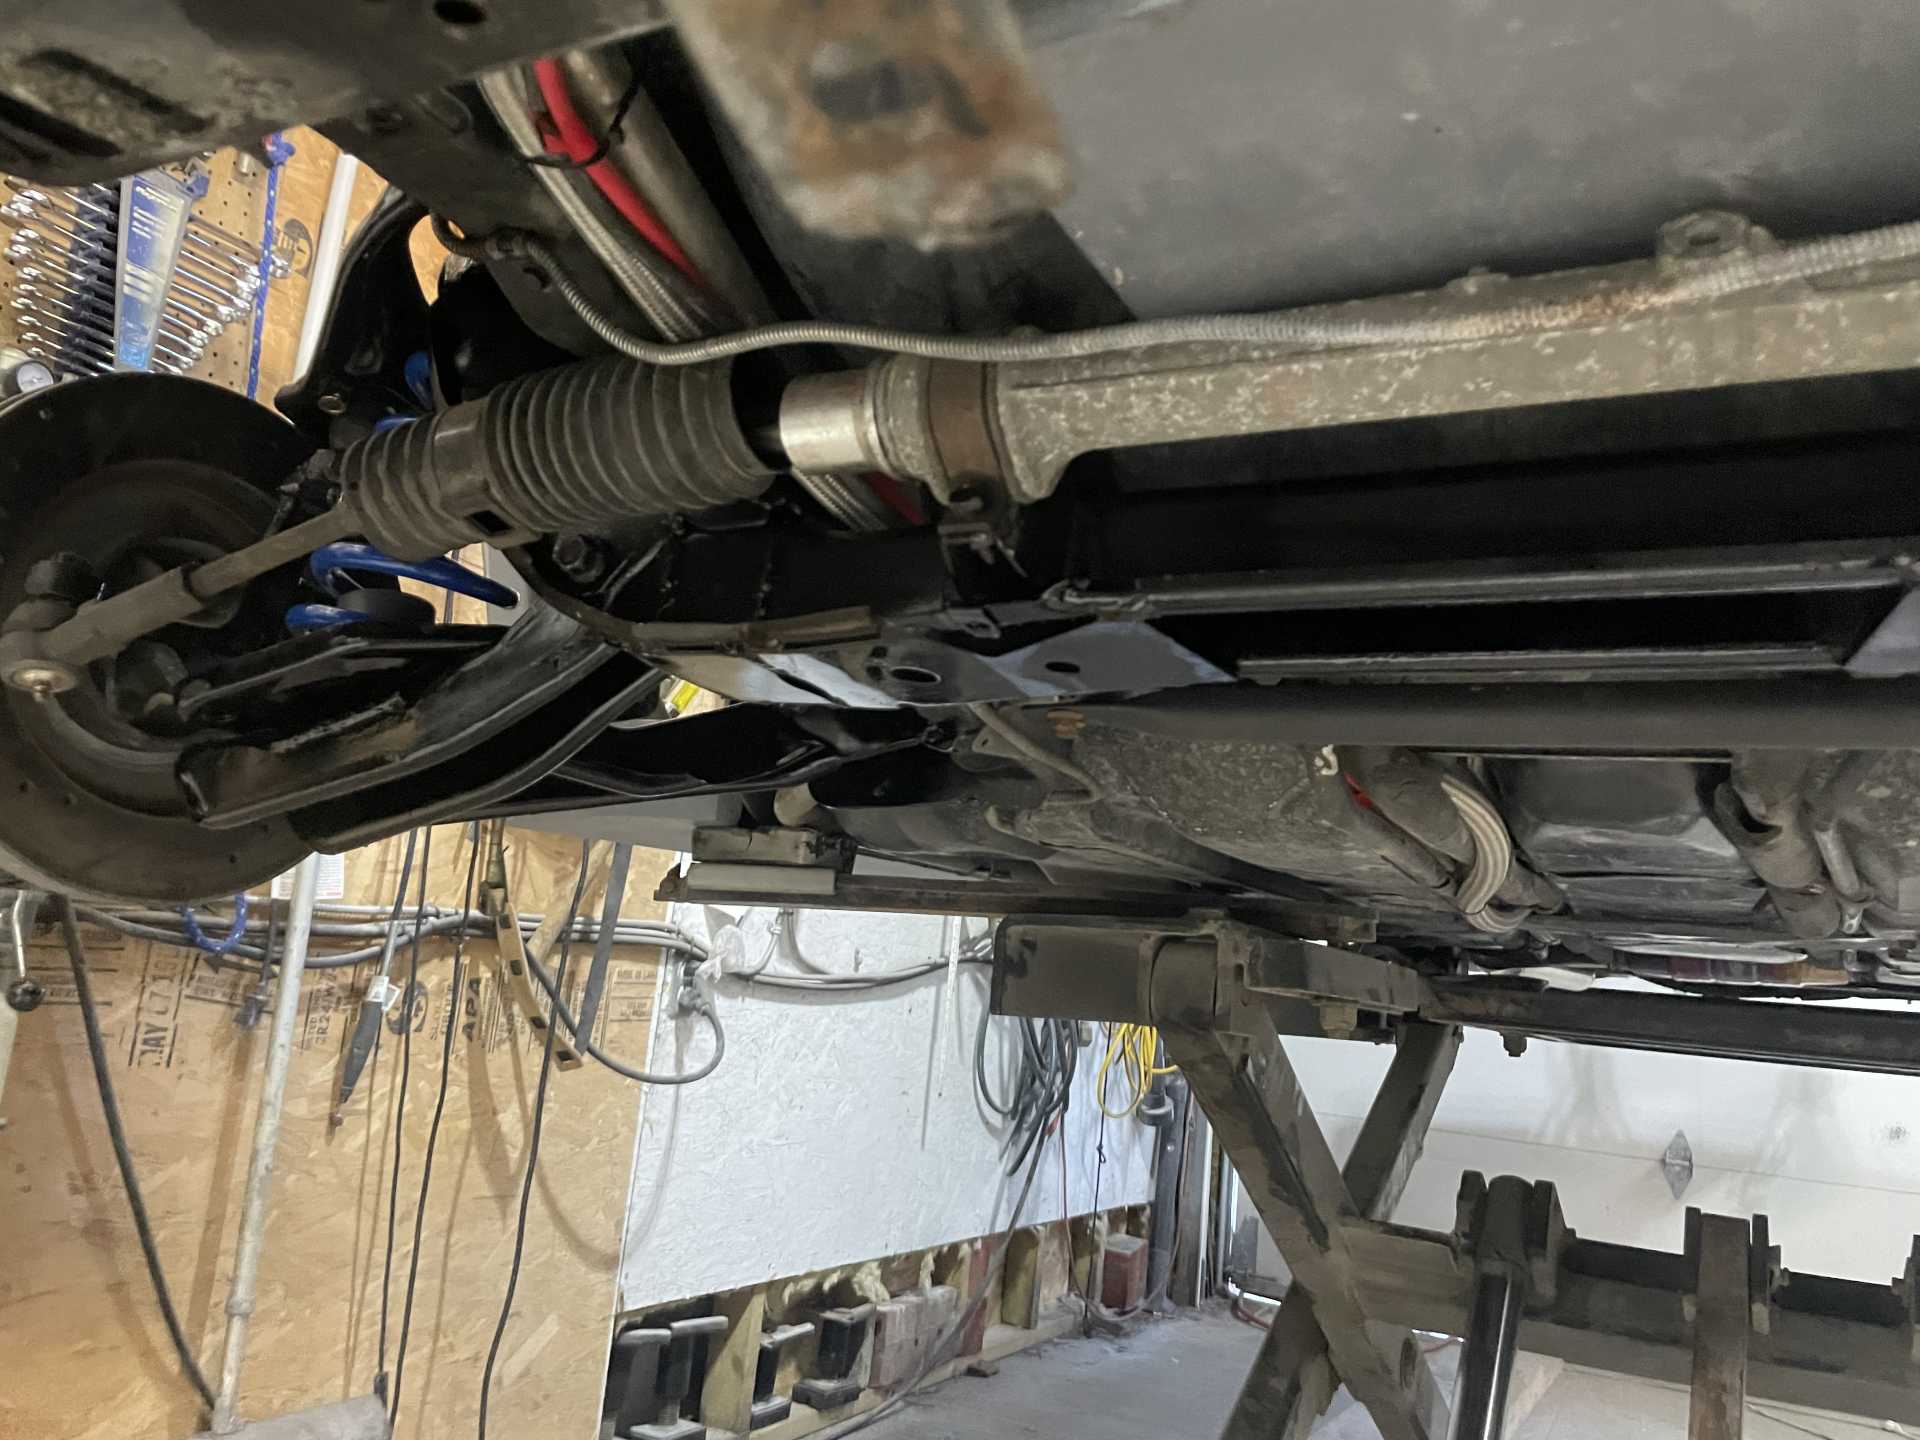
Well the front is now completed except for new longer boots for the steering rack and a new longer sway bar, both need to be sourced and ordered.
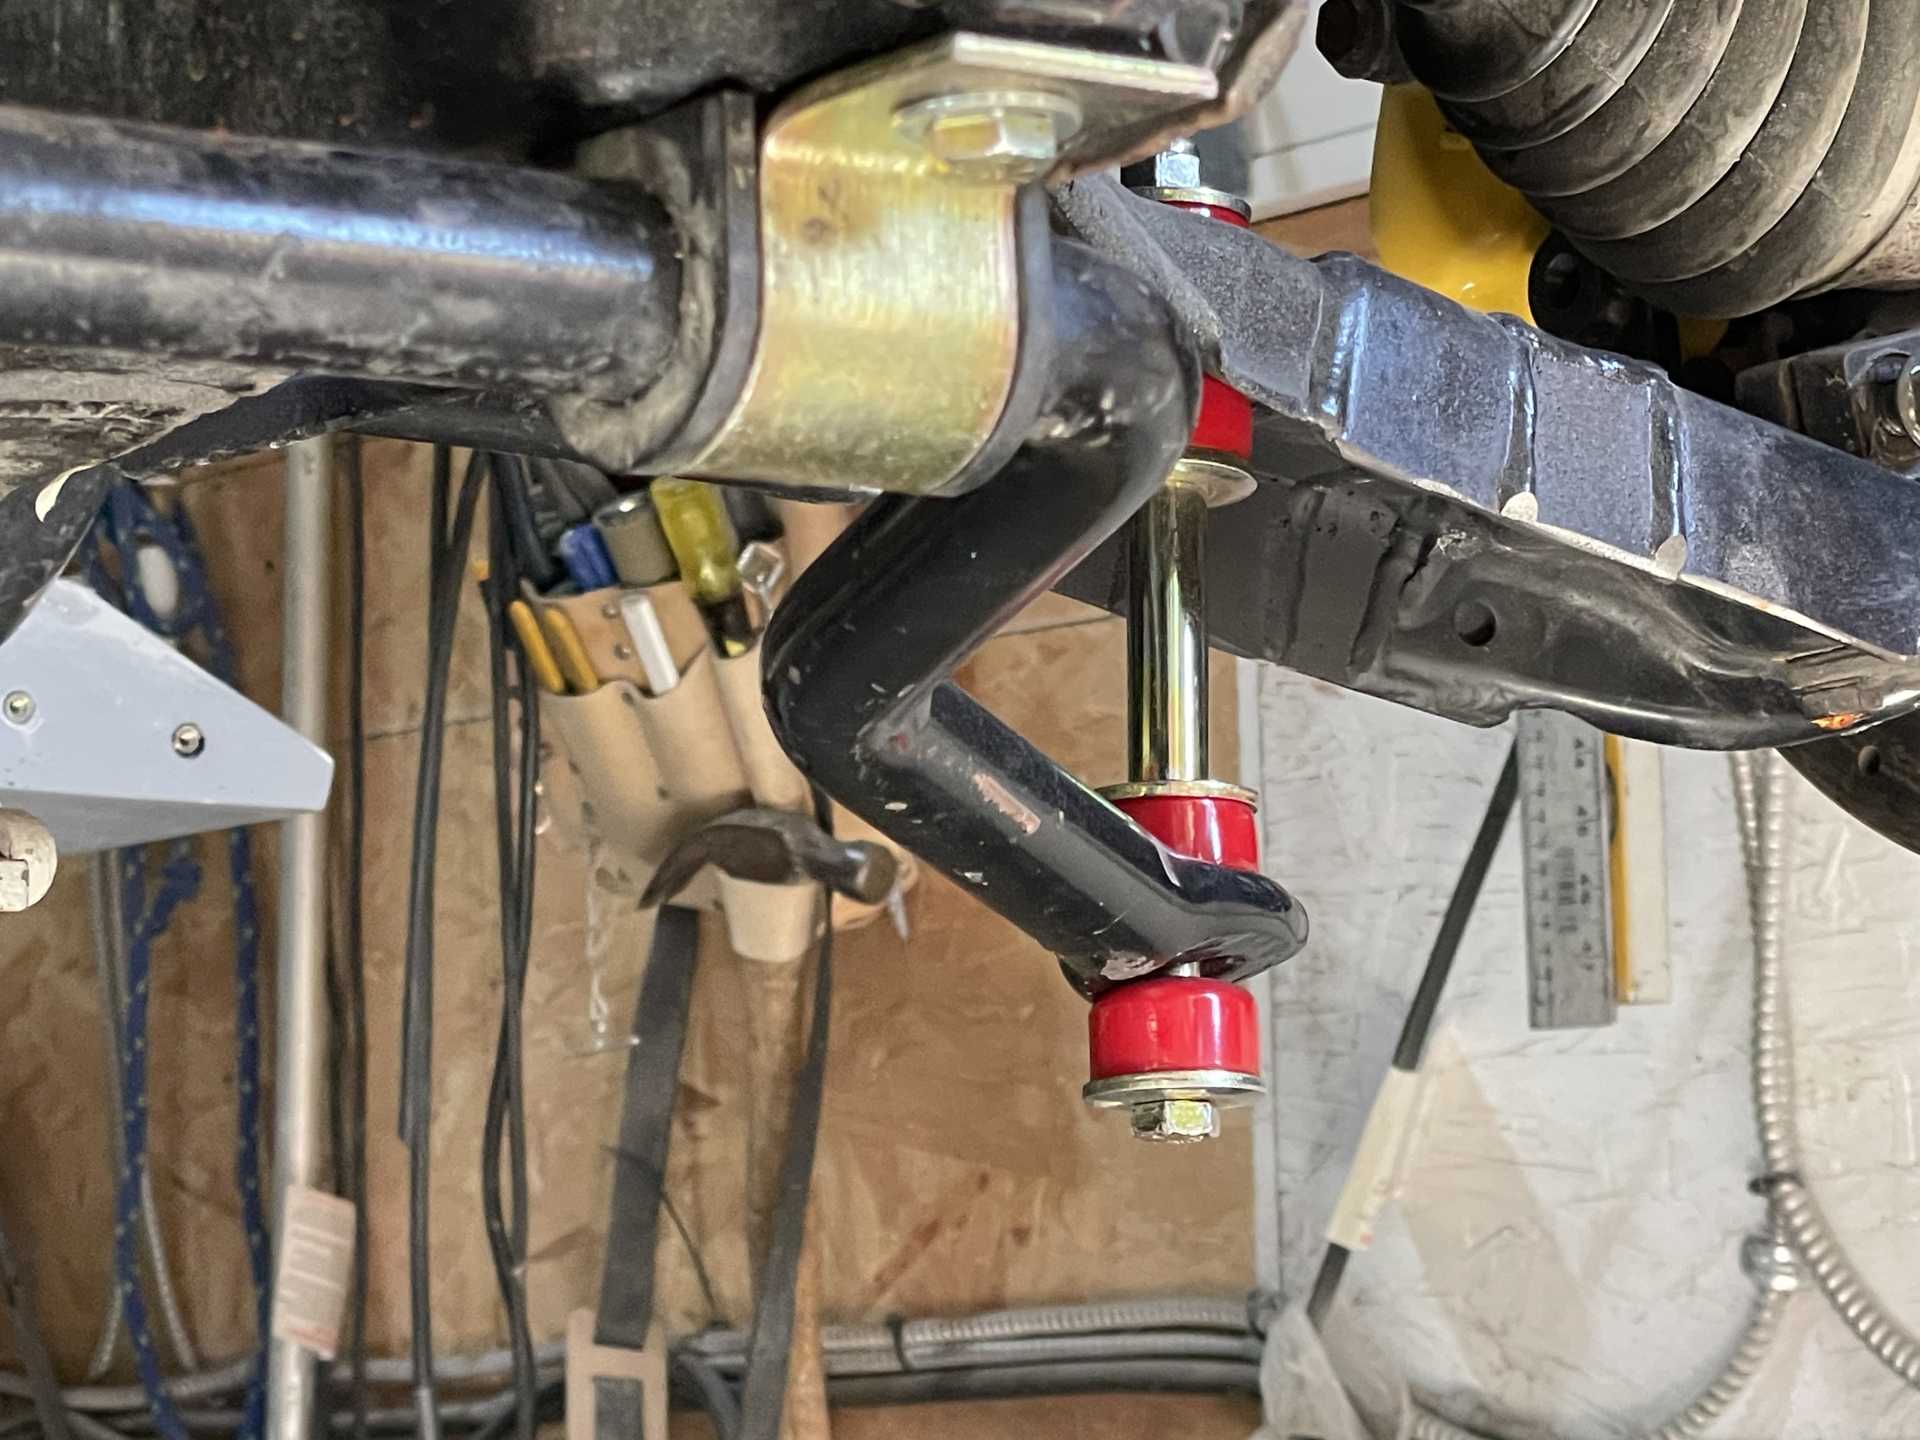
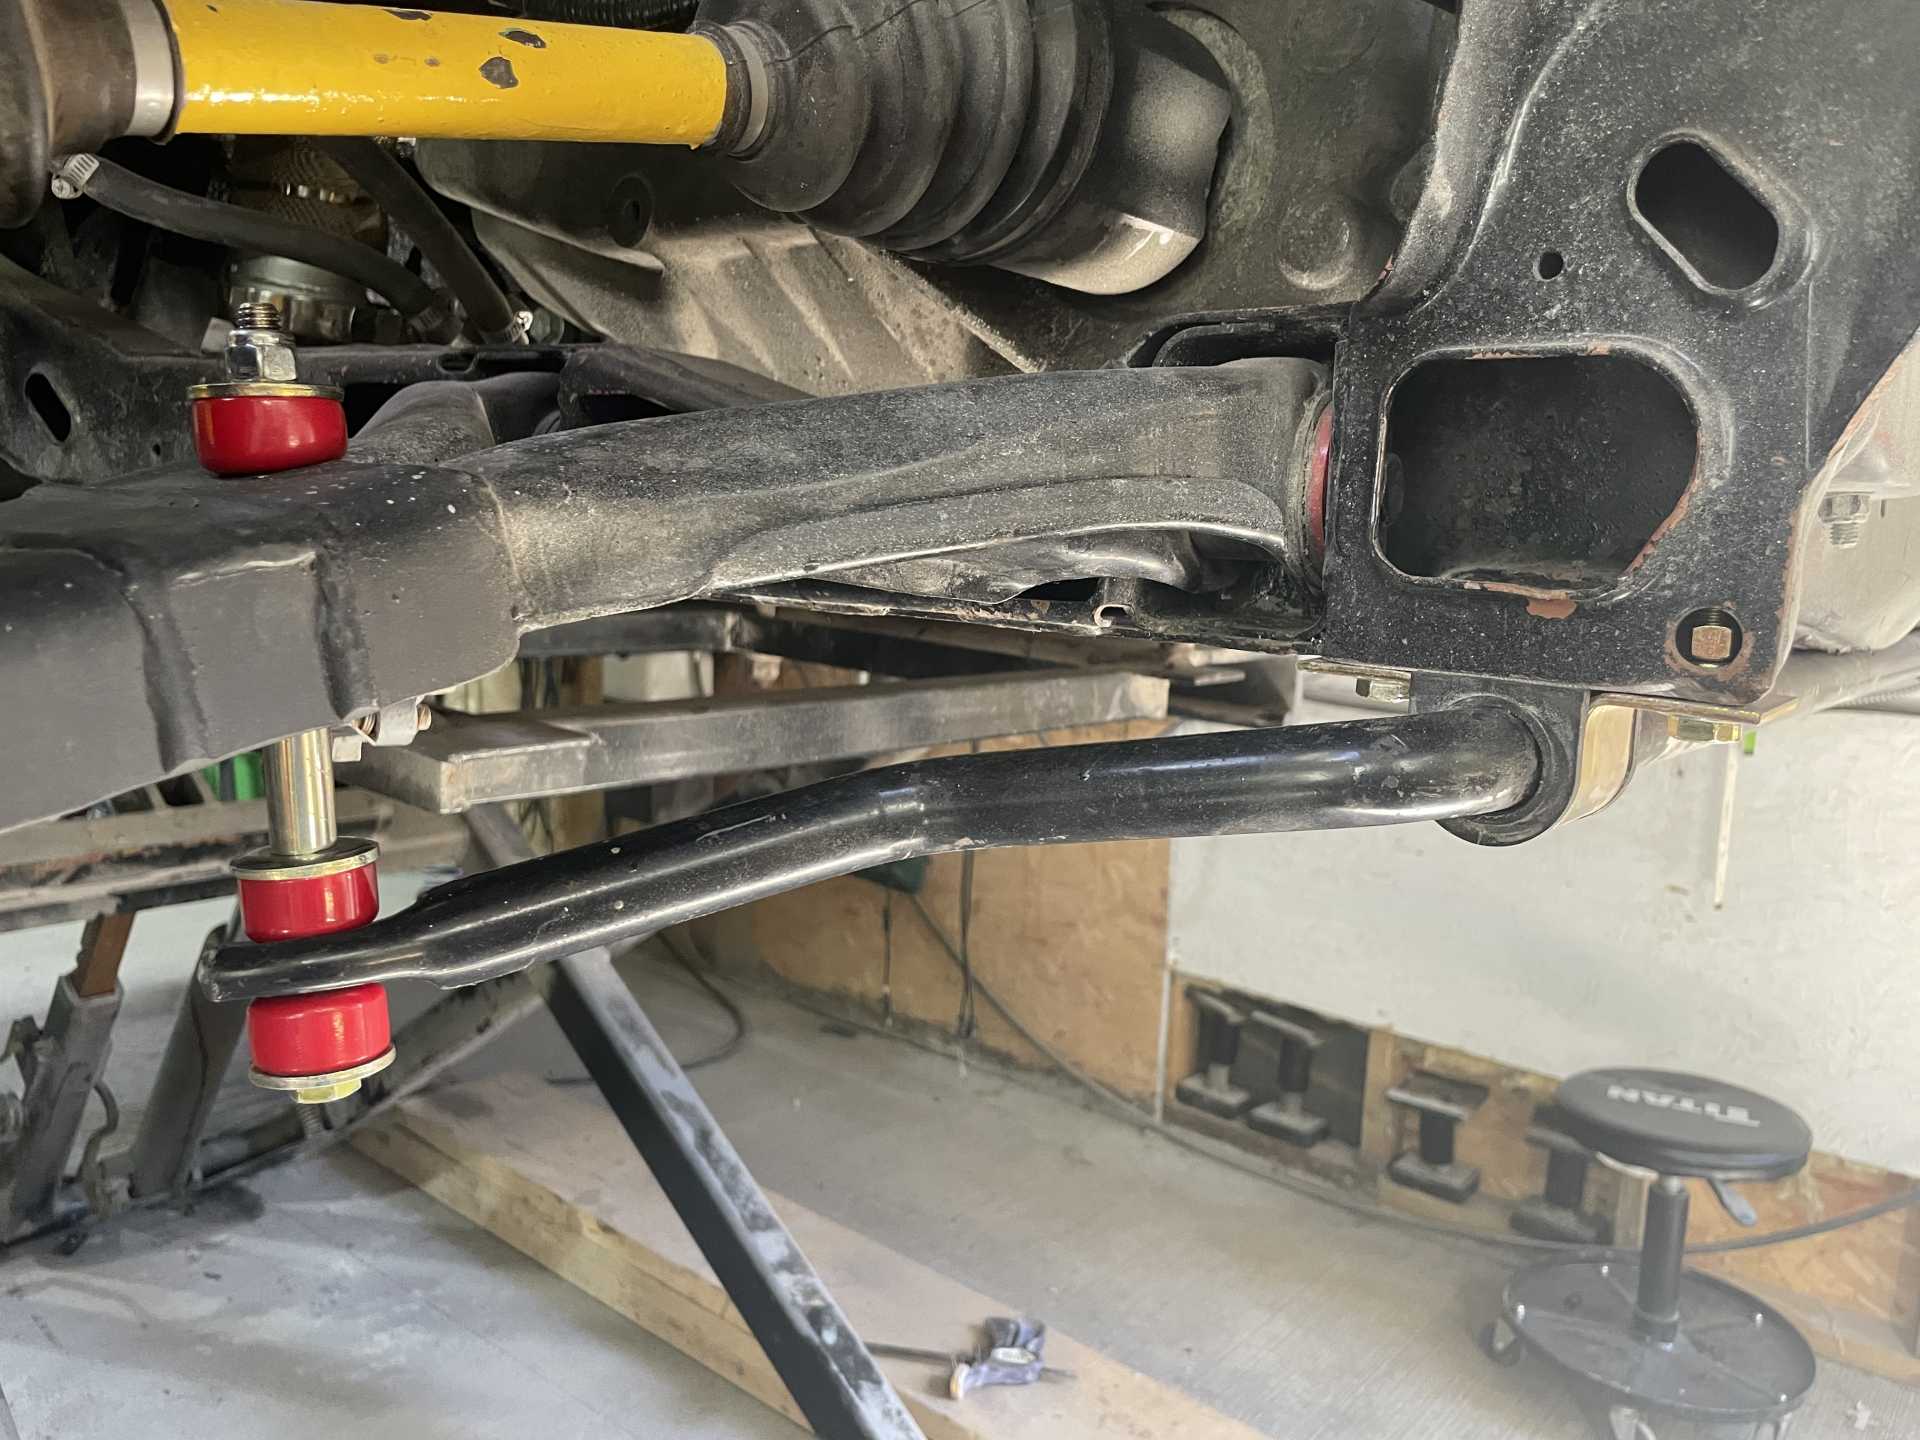
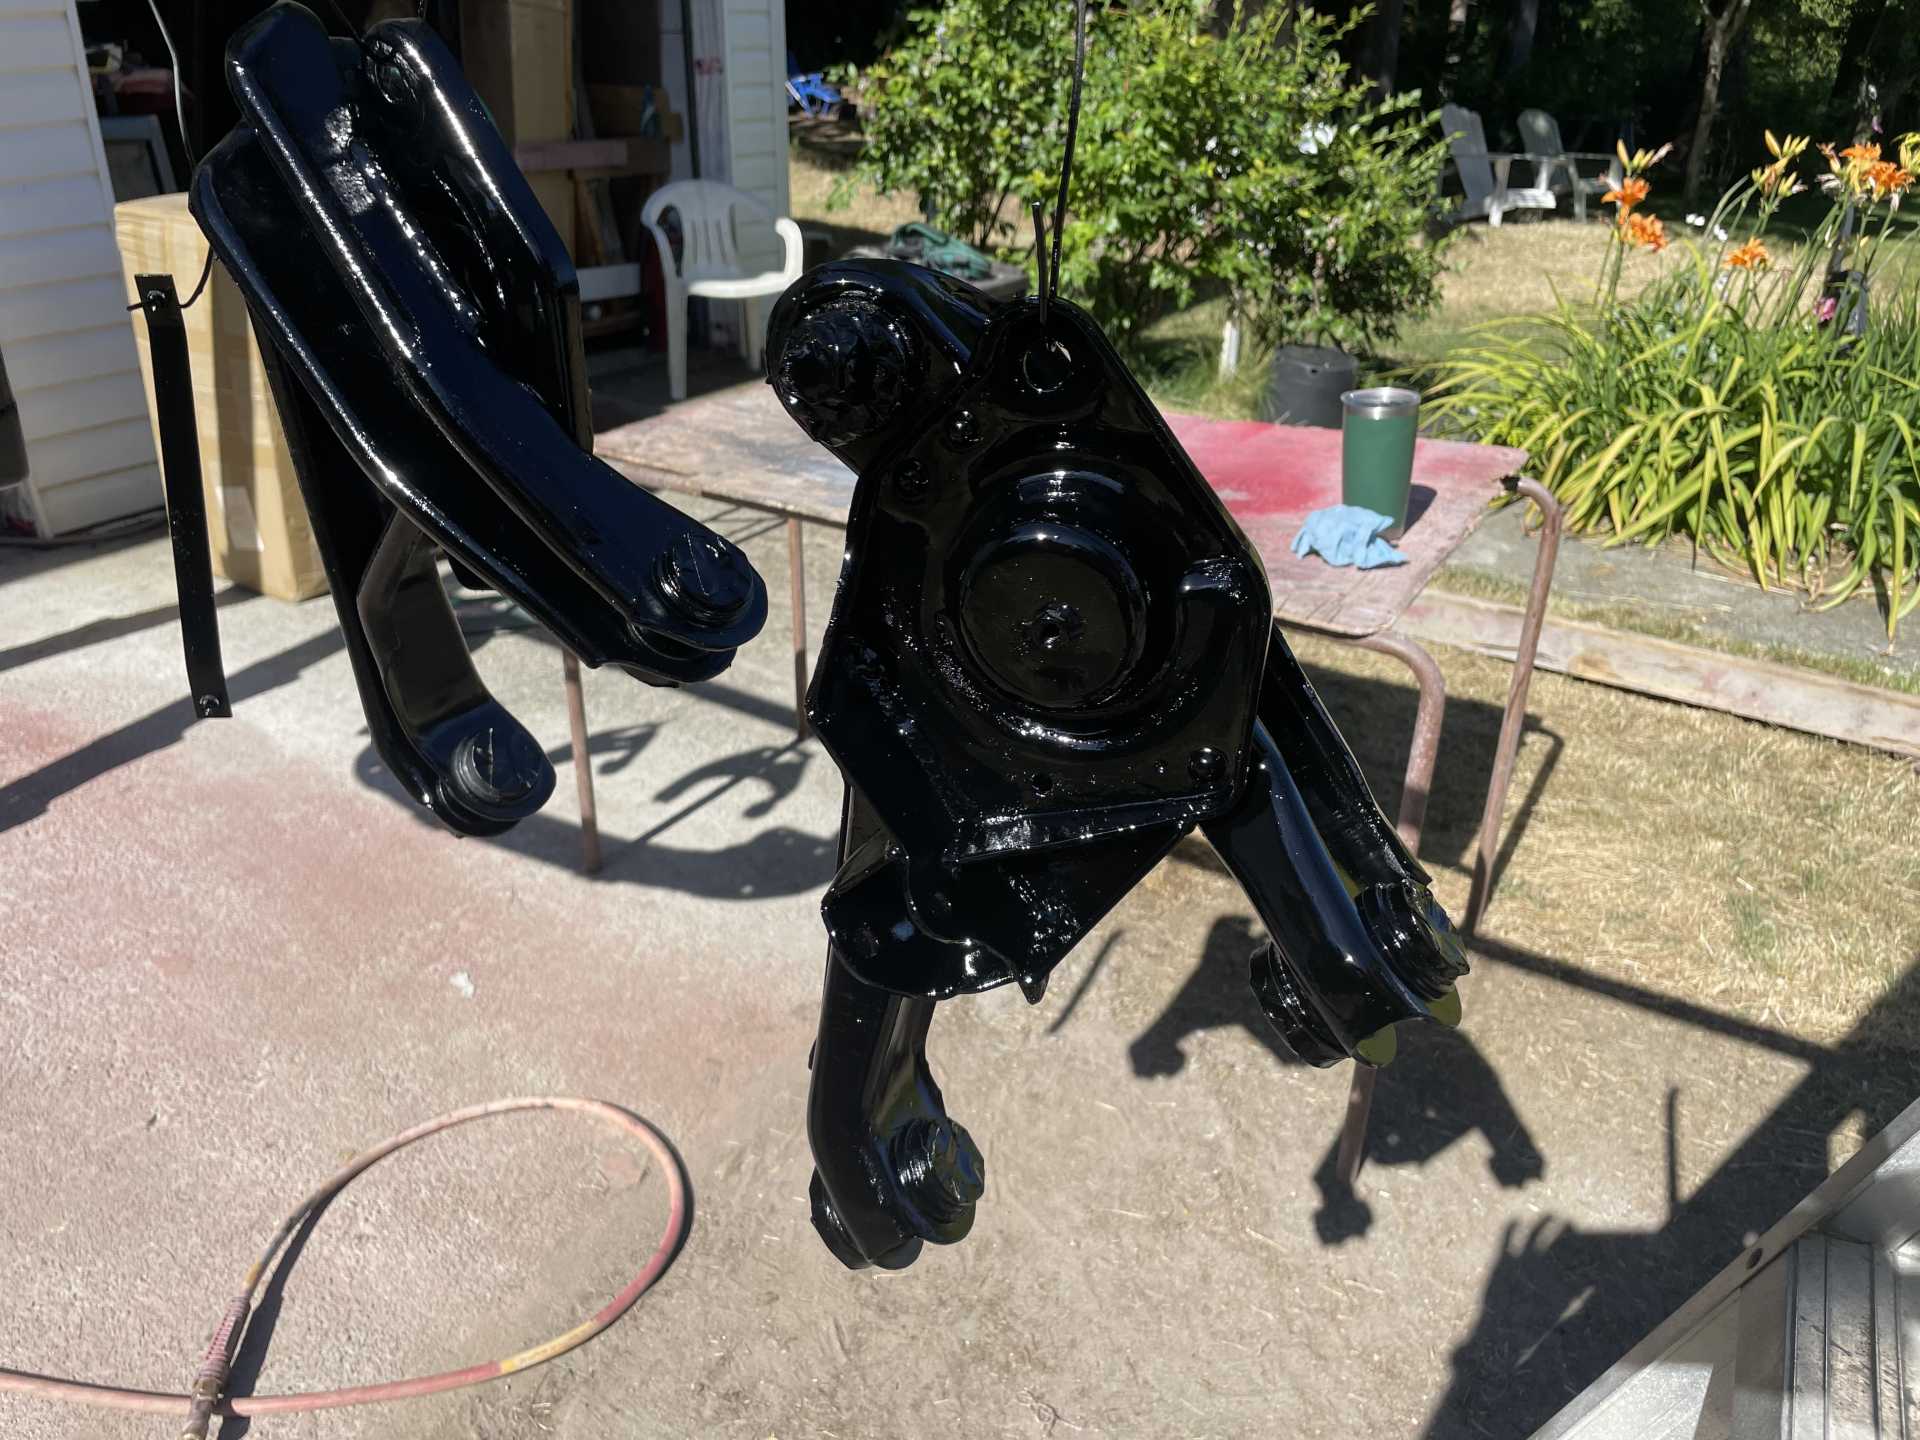
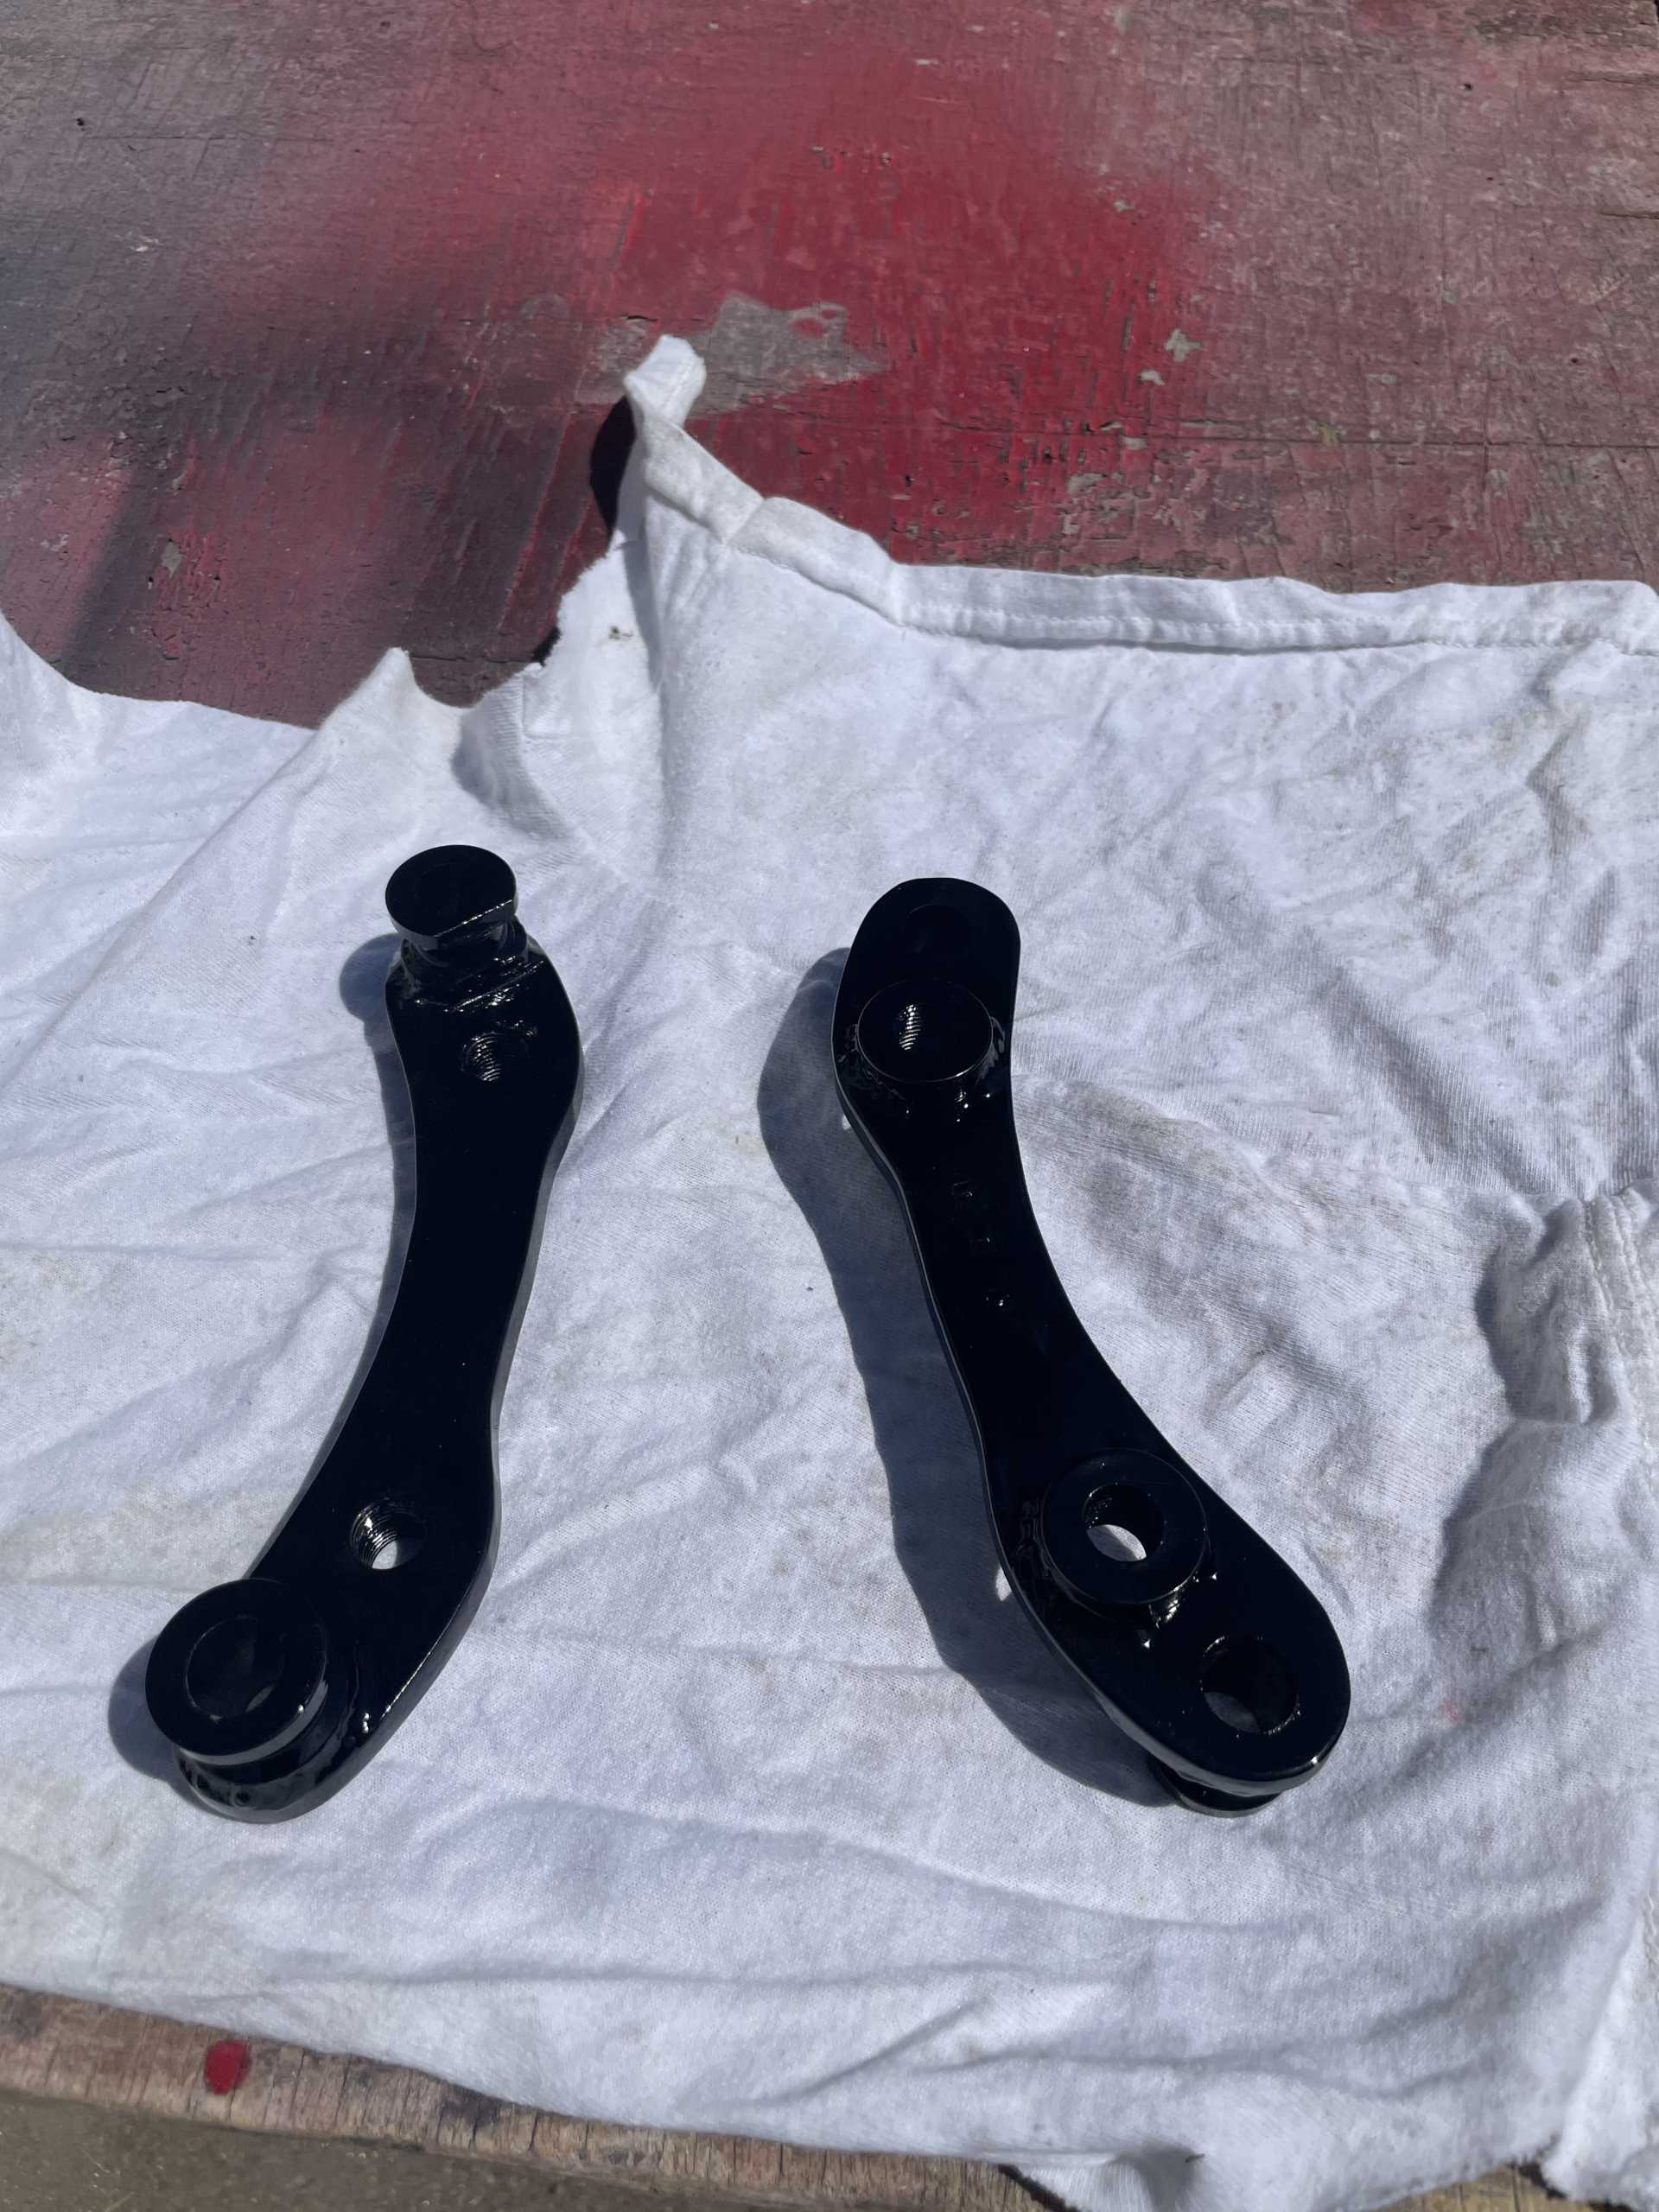
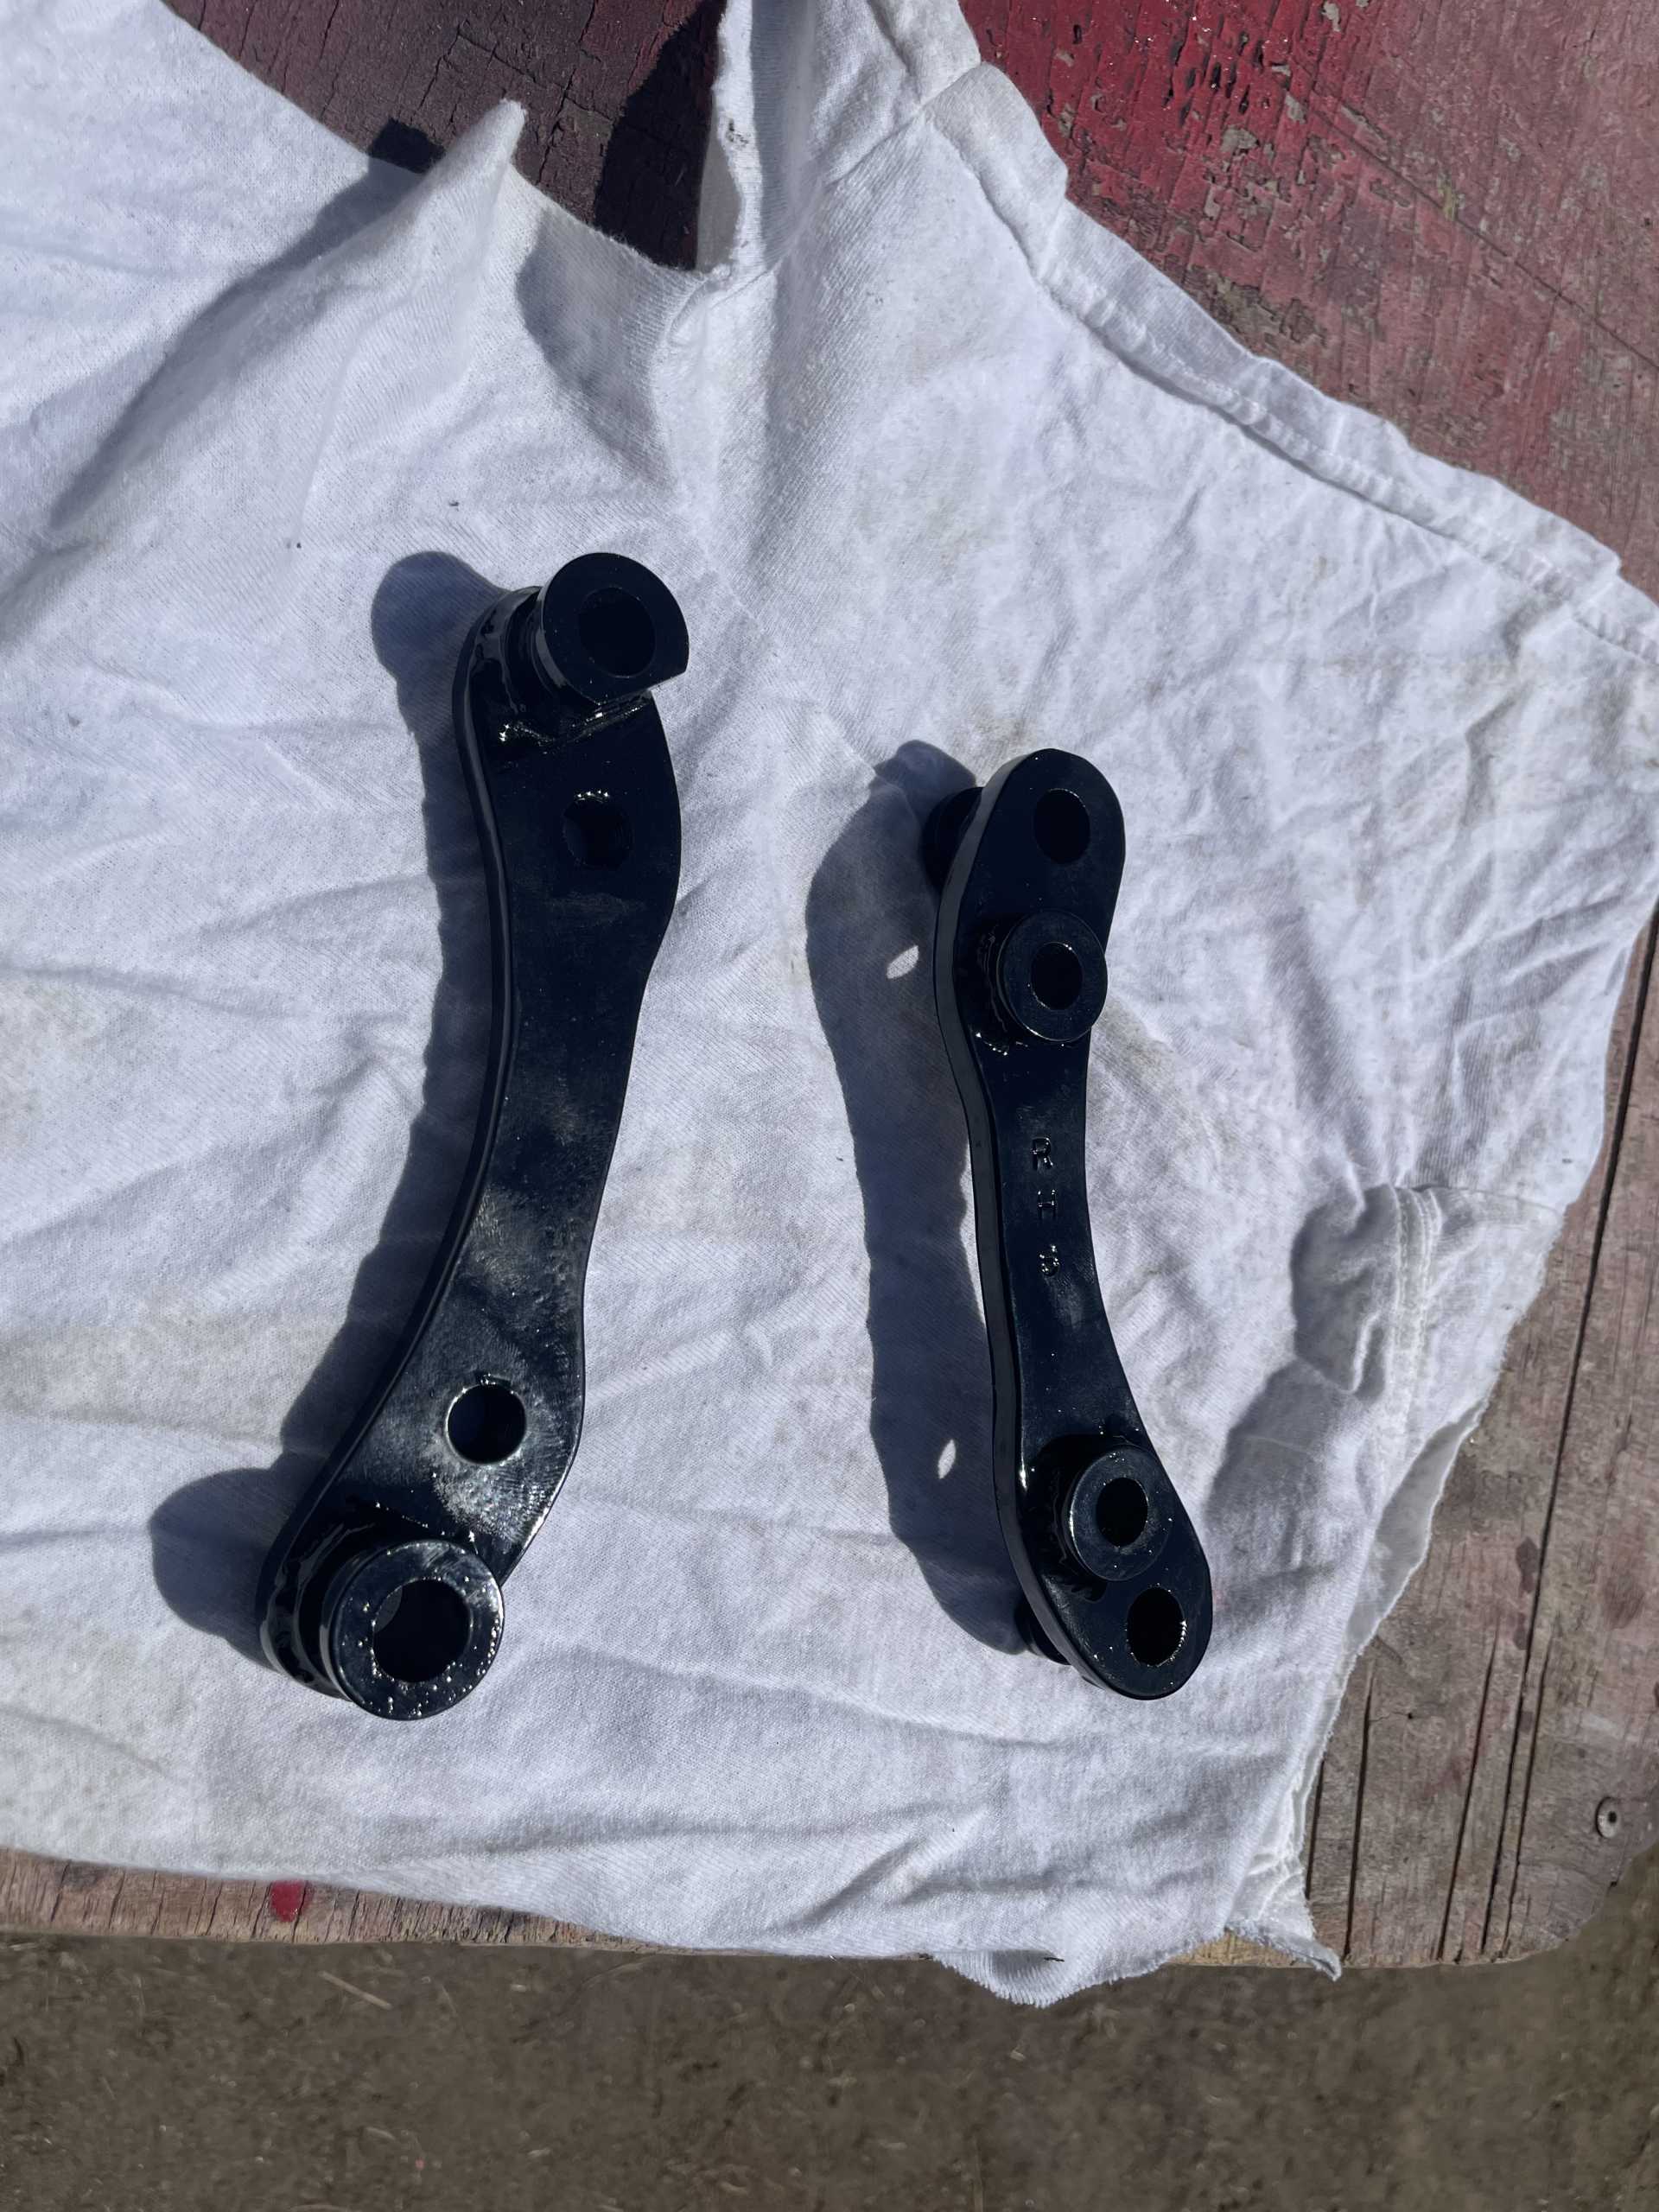
With the extended cross member out, I prepared all the front suspension parts for paint “ hot rod black” same paint I used for the front trunk.
I cleaned everything with a degreaser then sprayed everything with epoxy primer
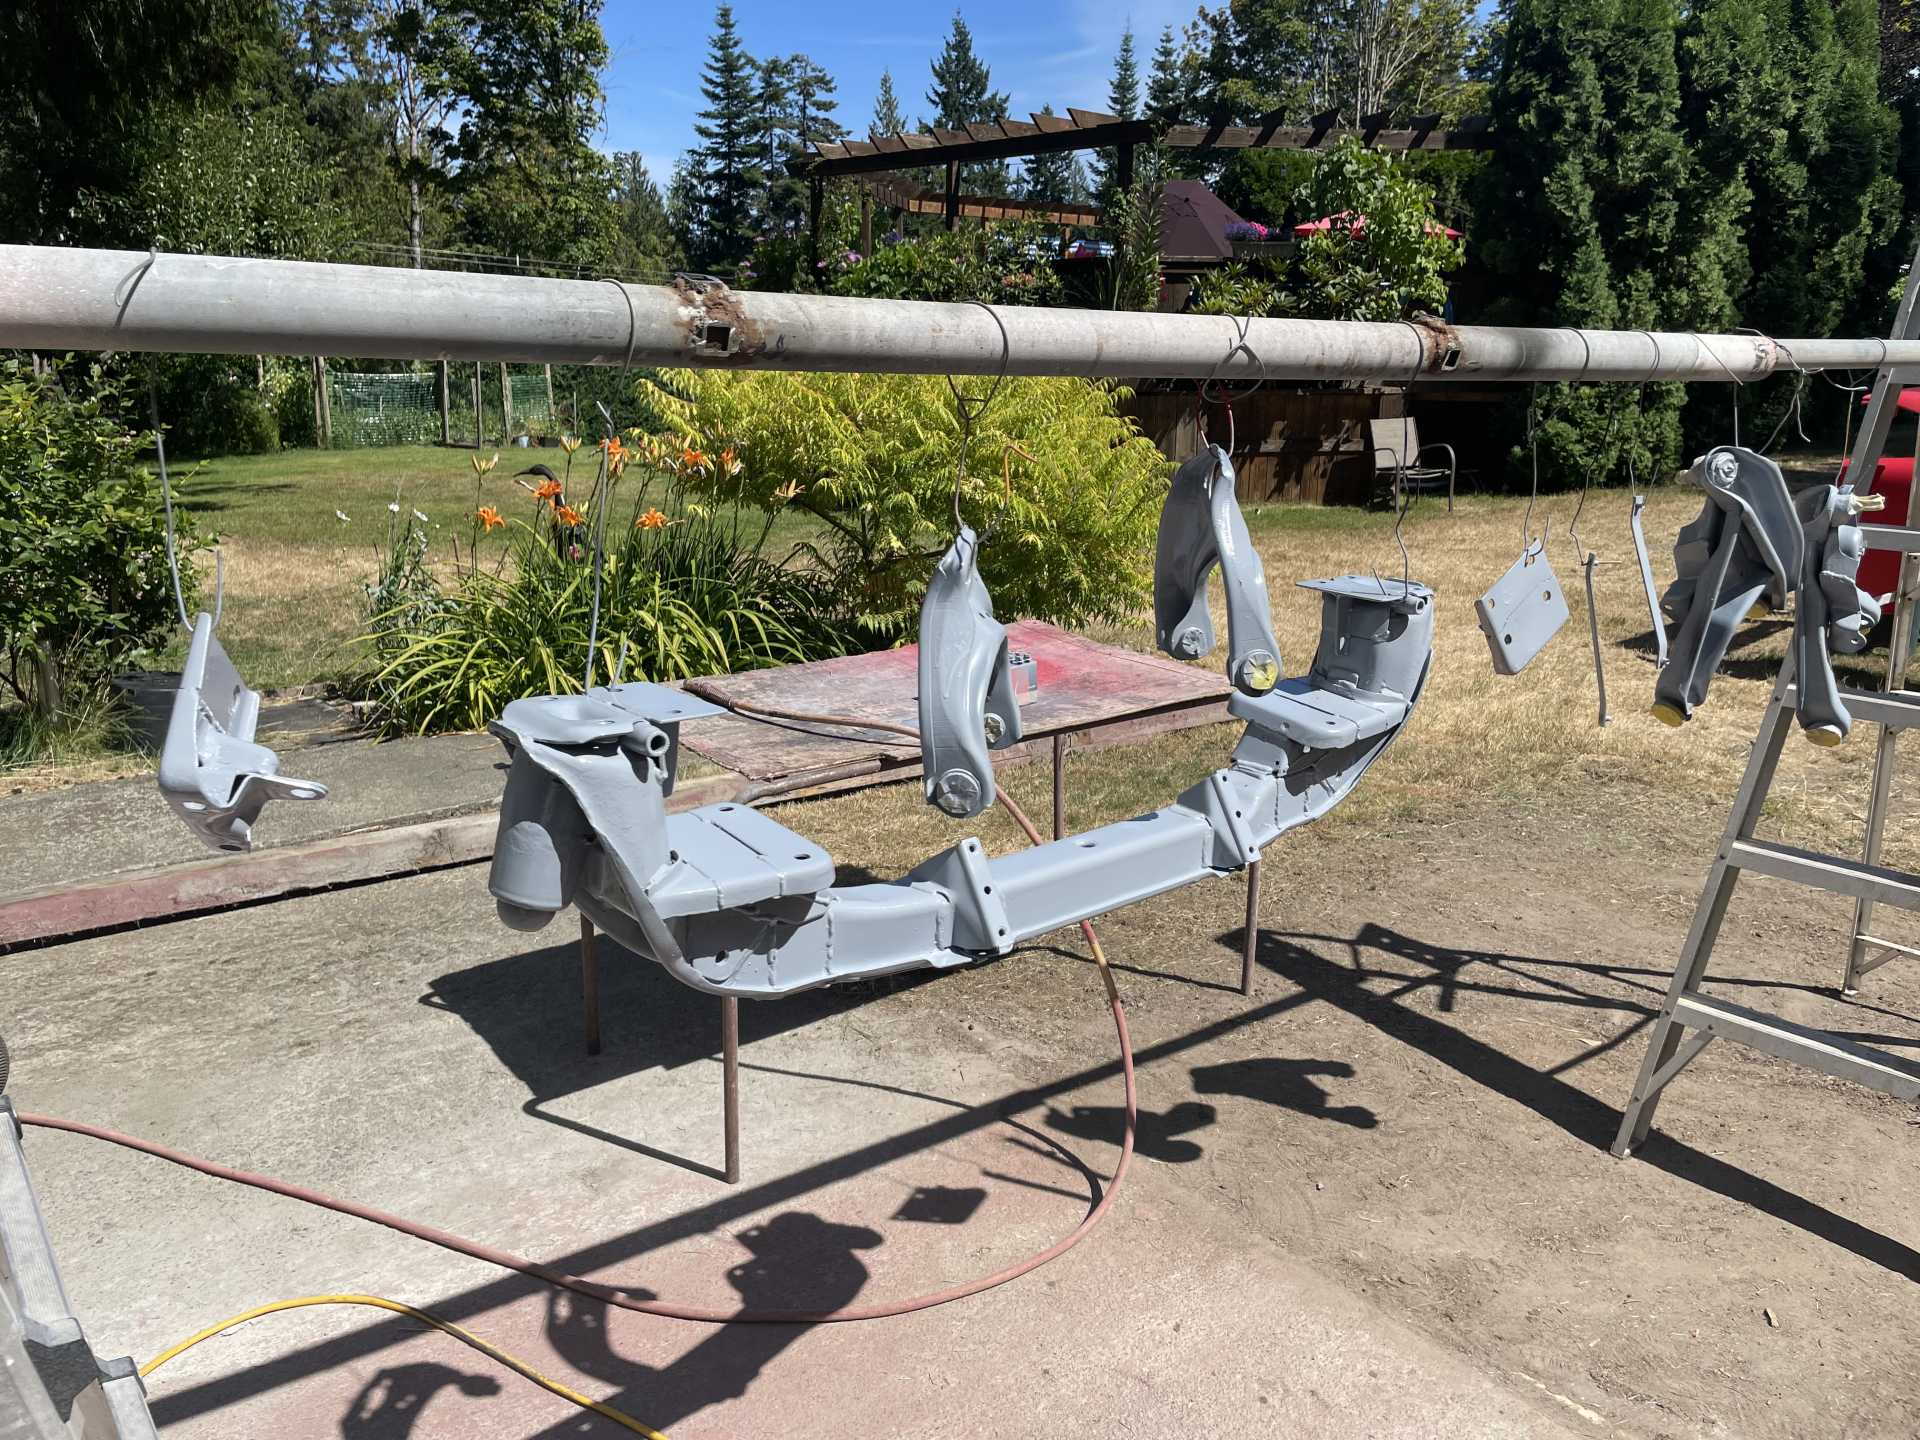
Then 30 minutes later sprayed with hot rod black
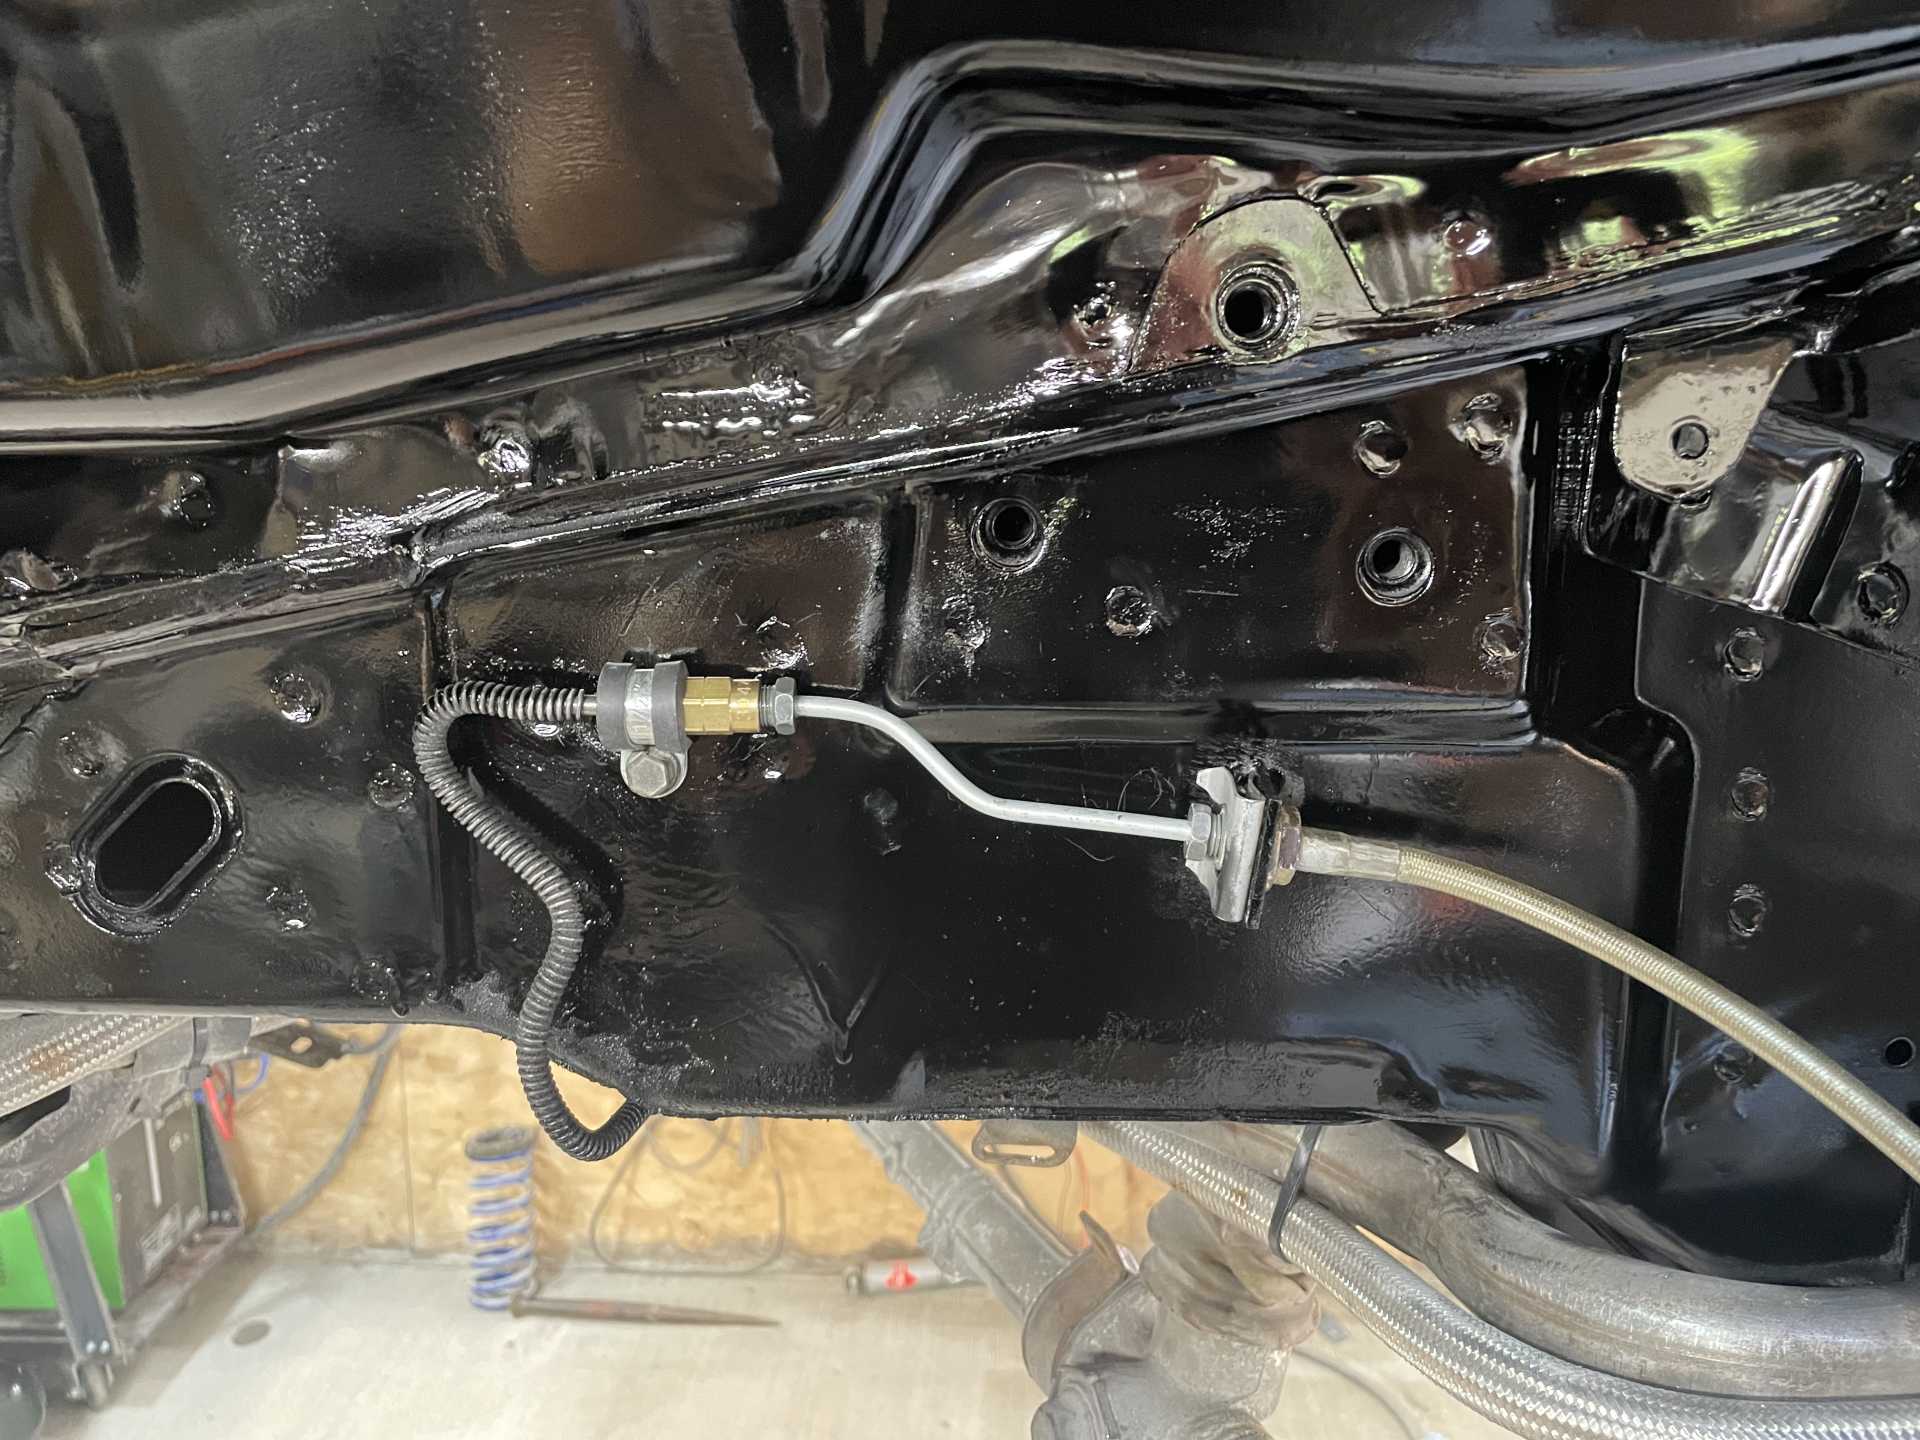
While everything was apart I cleaned and prepared the wheel well for a coat of black
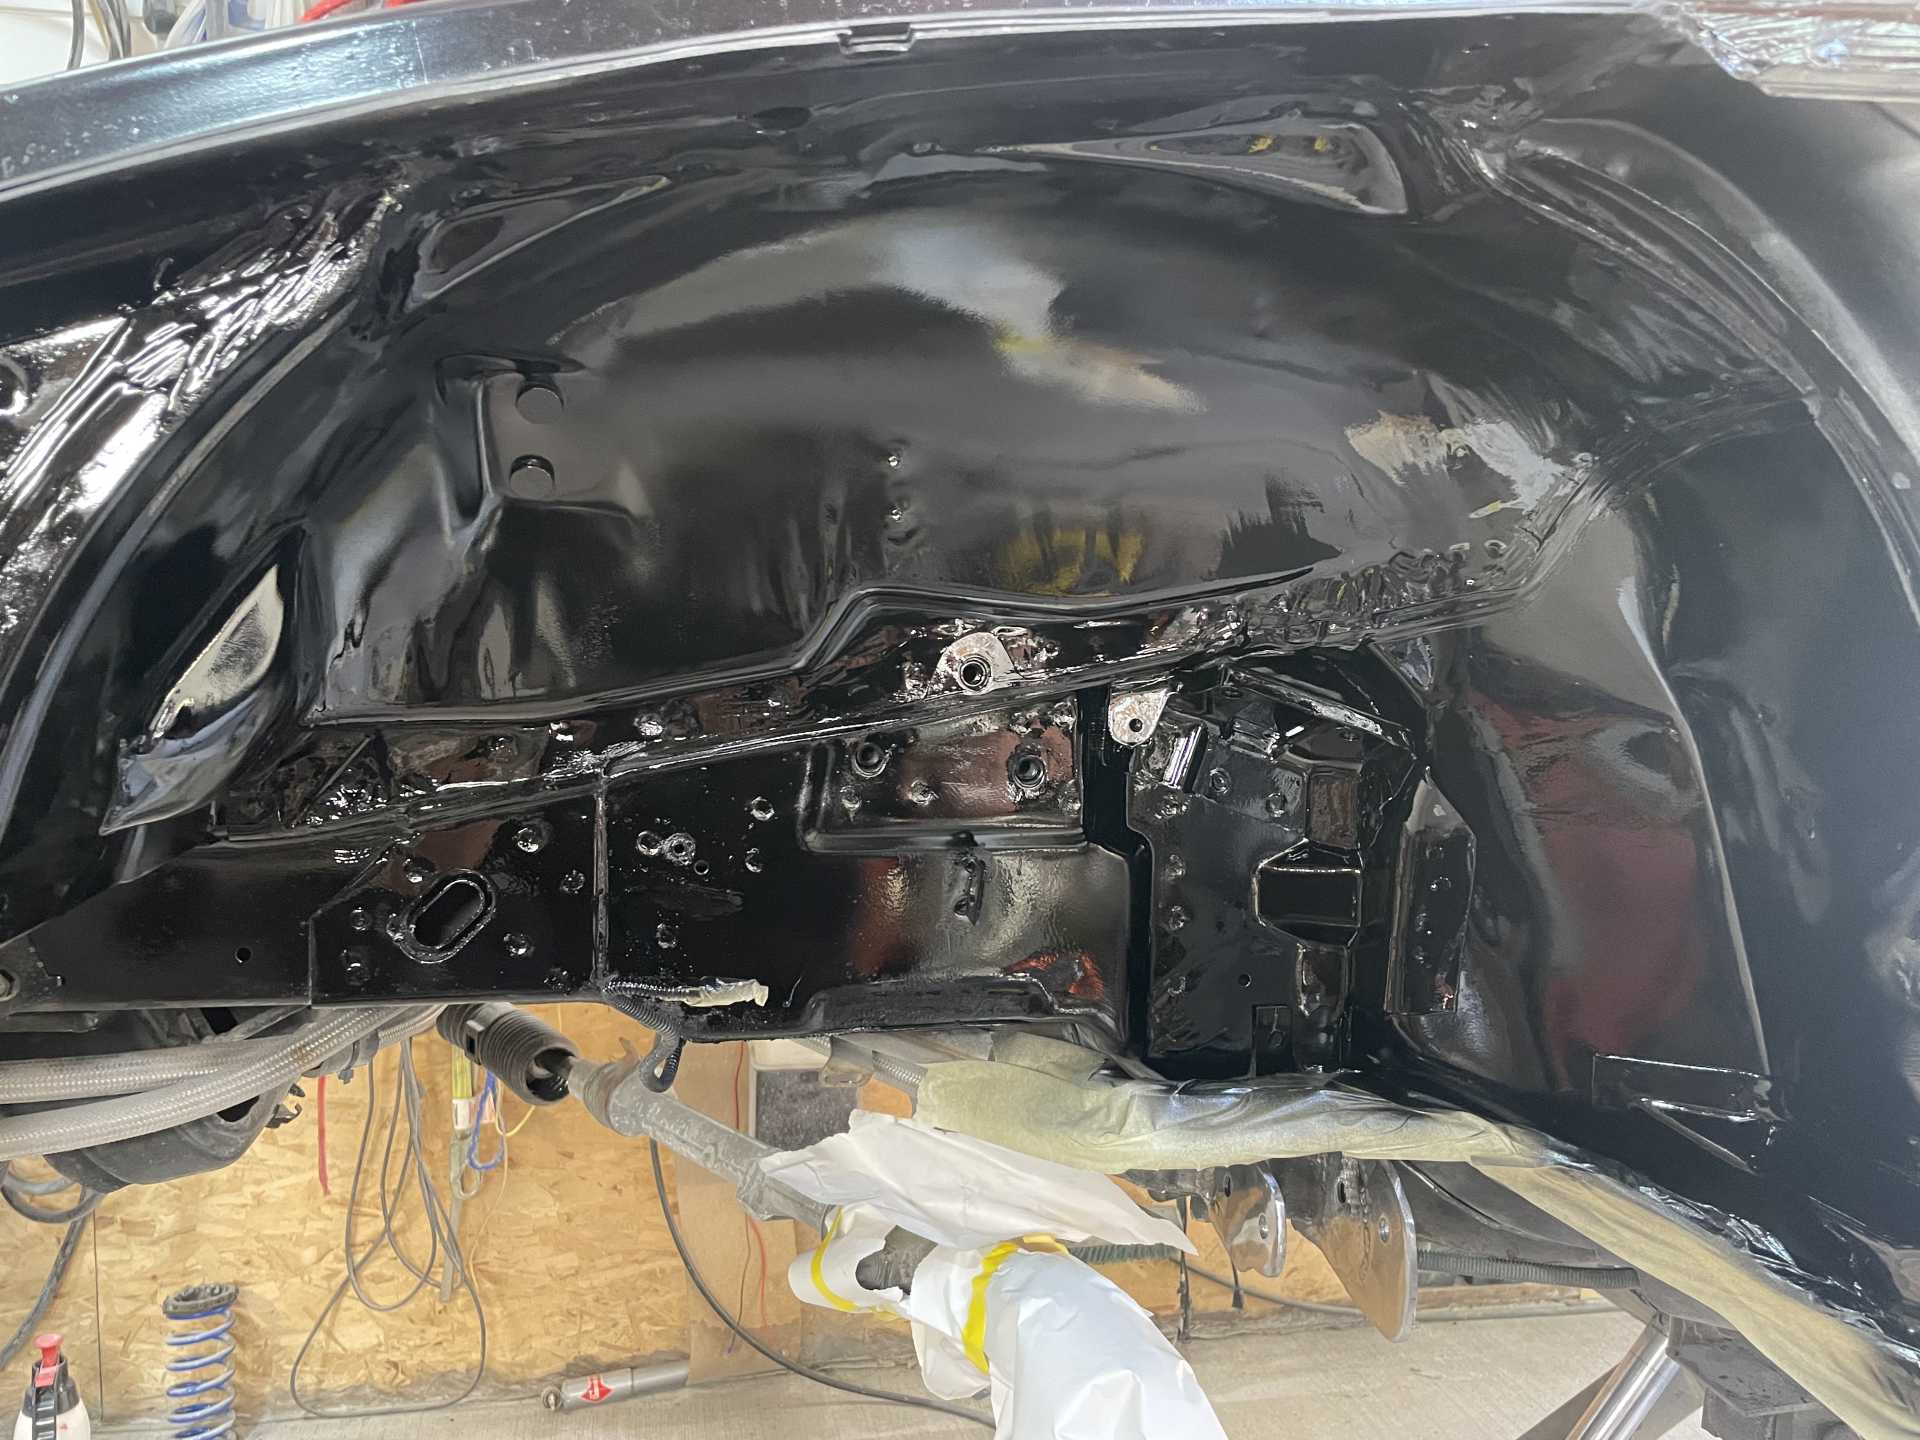
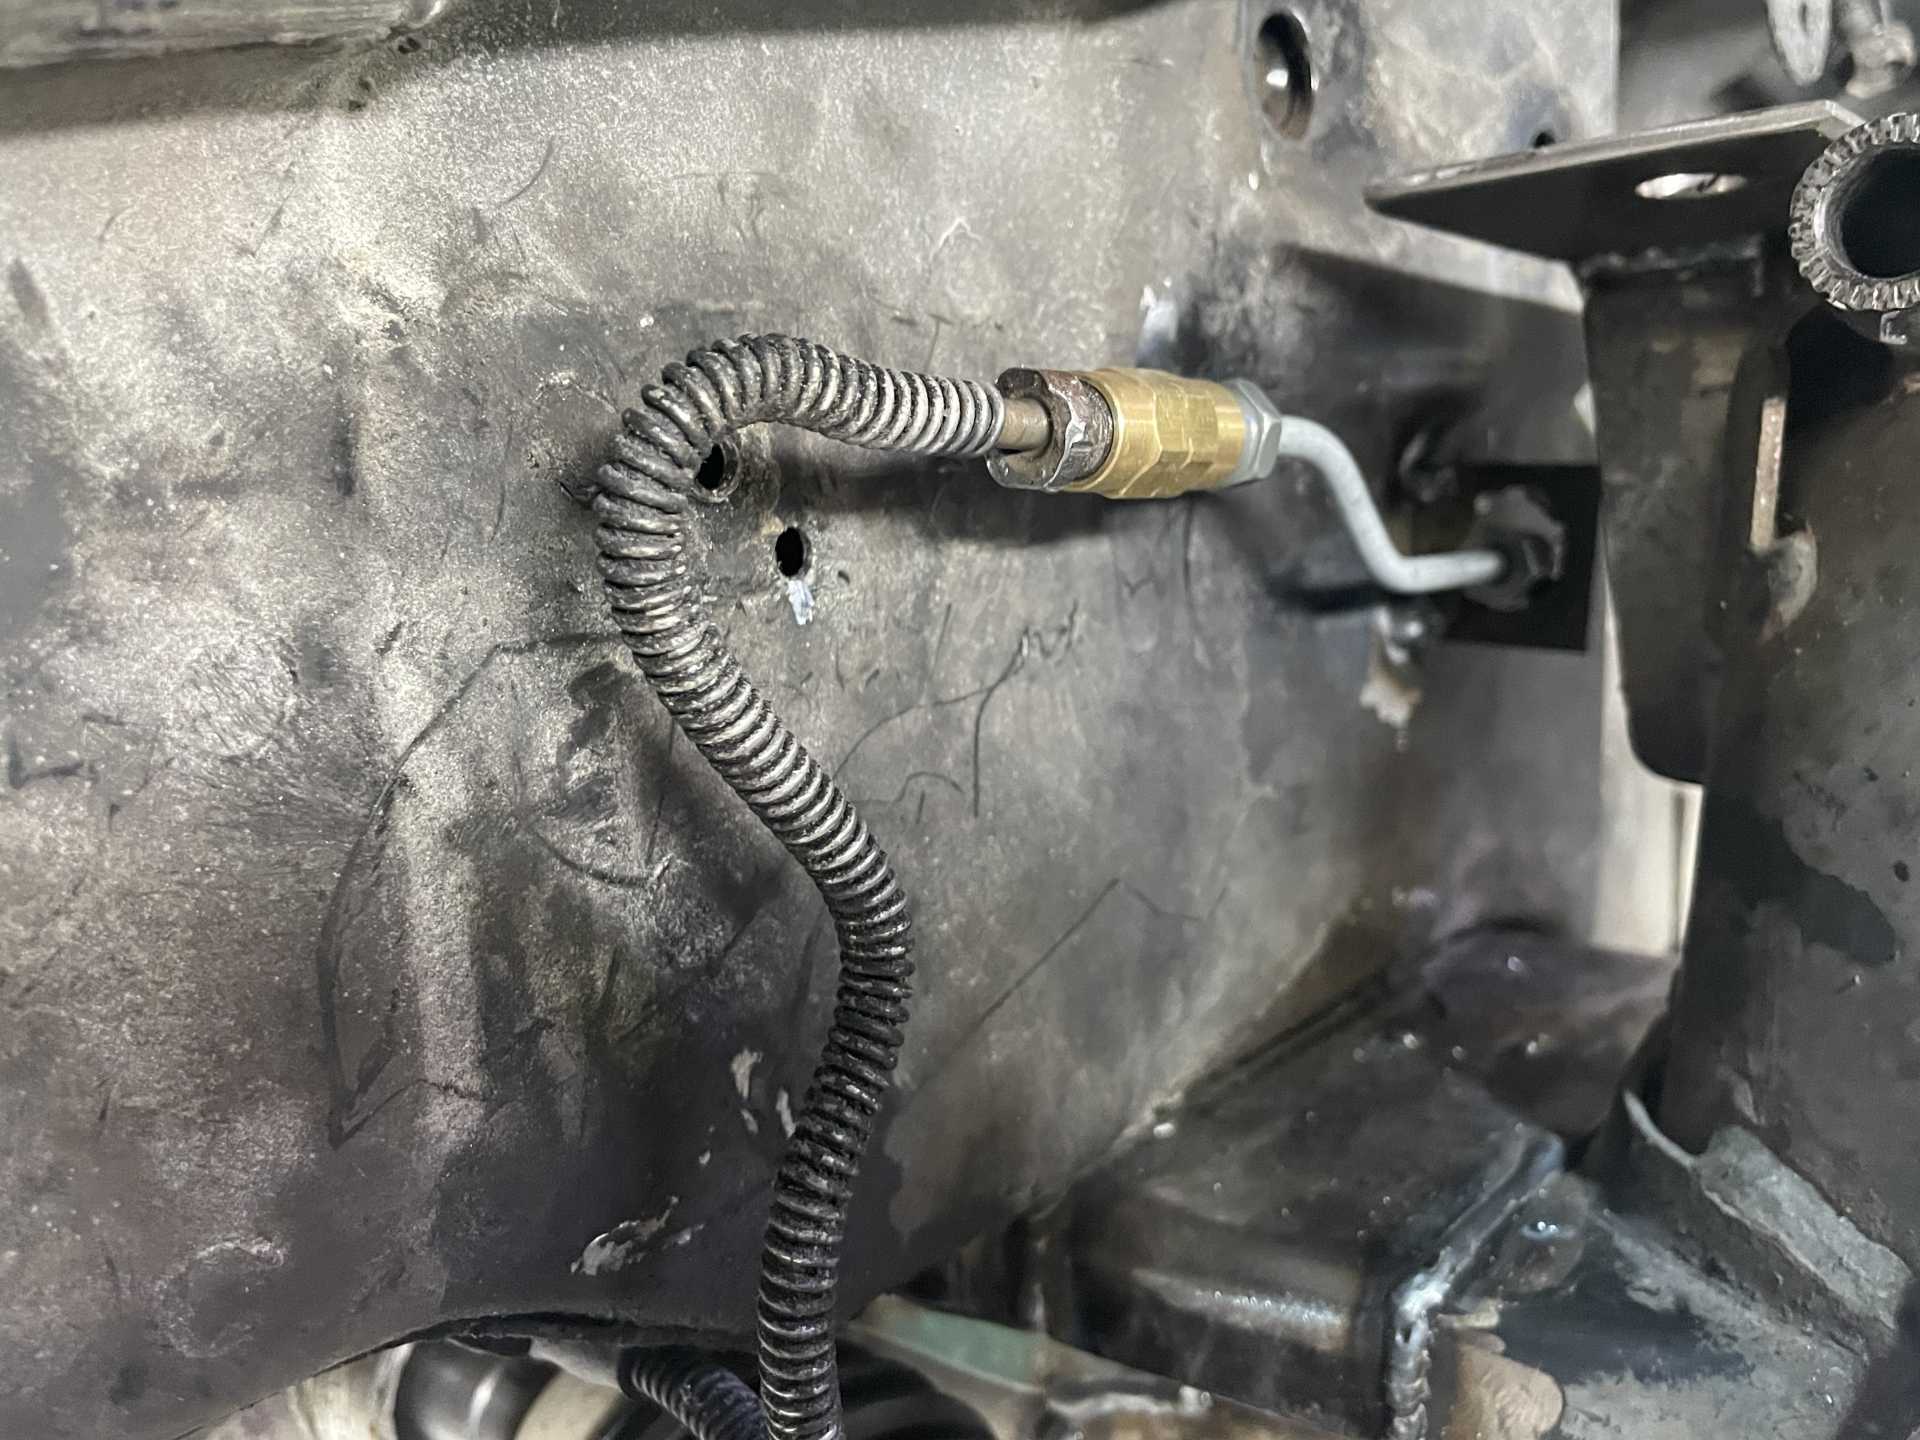
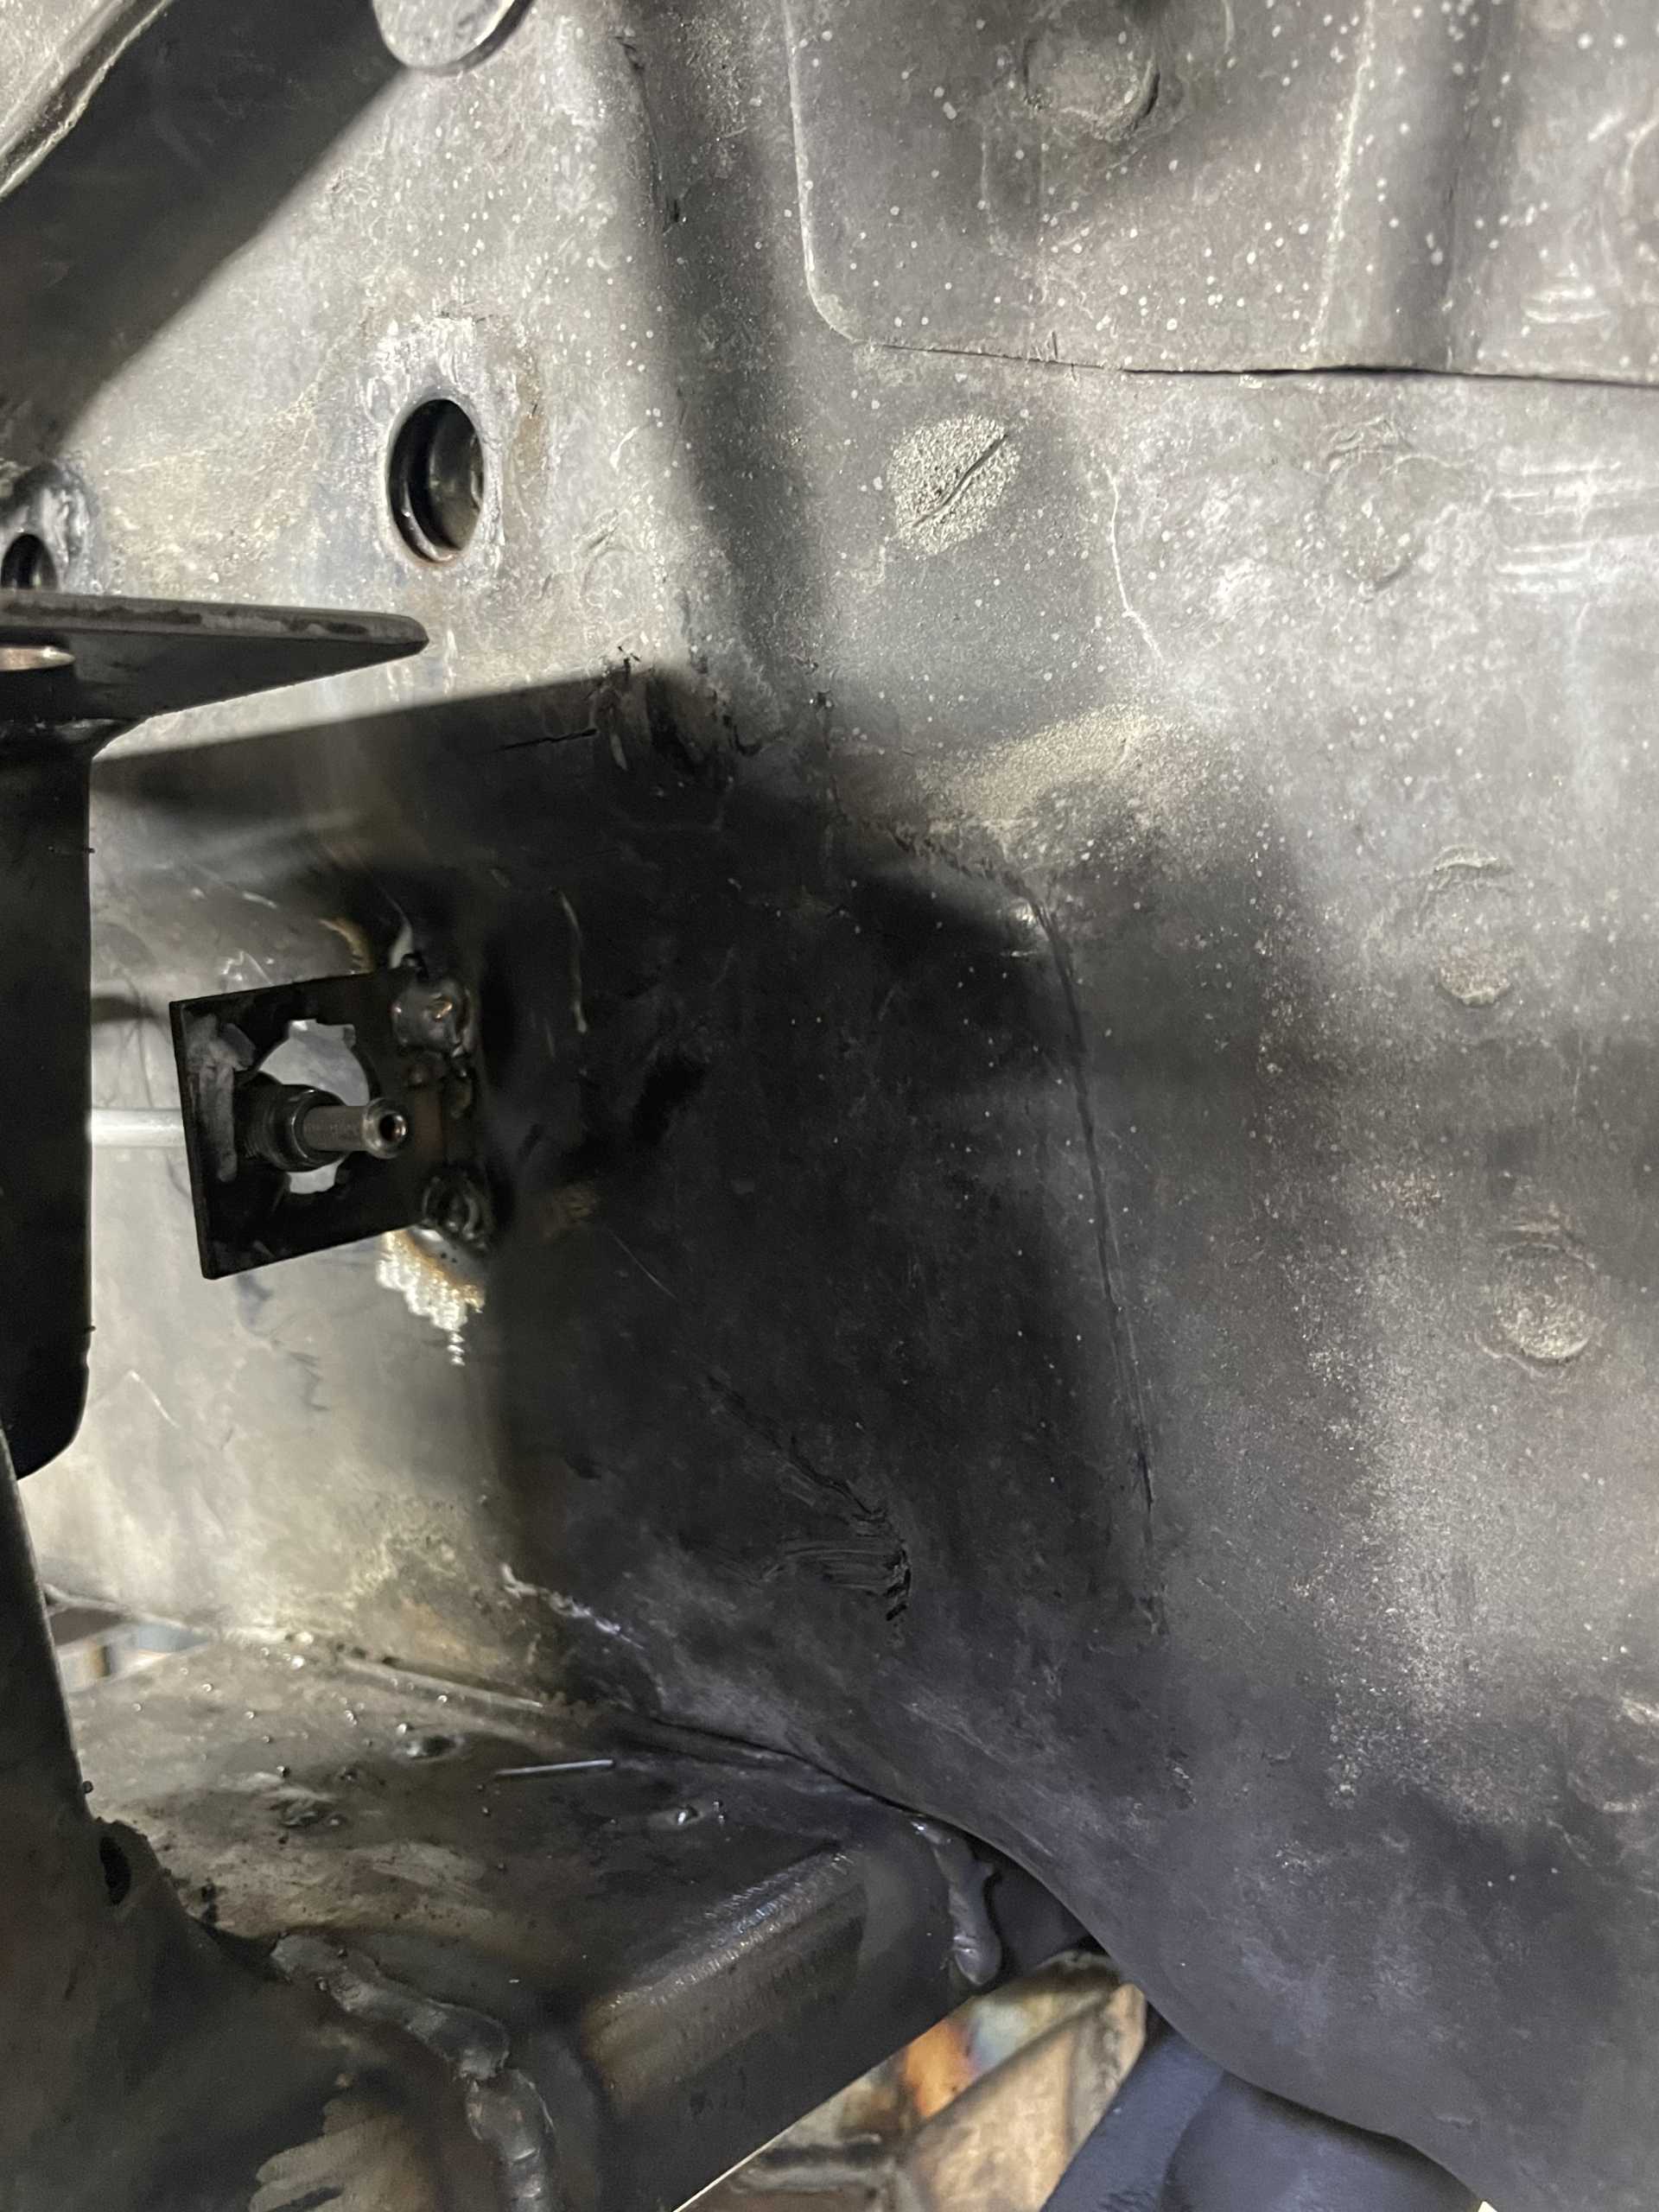
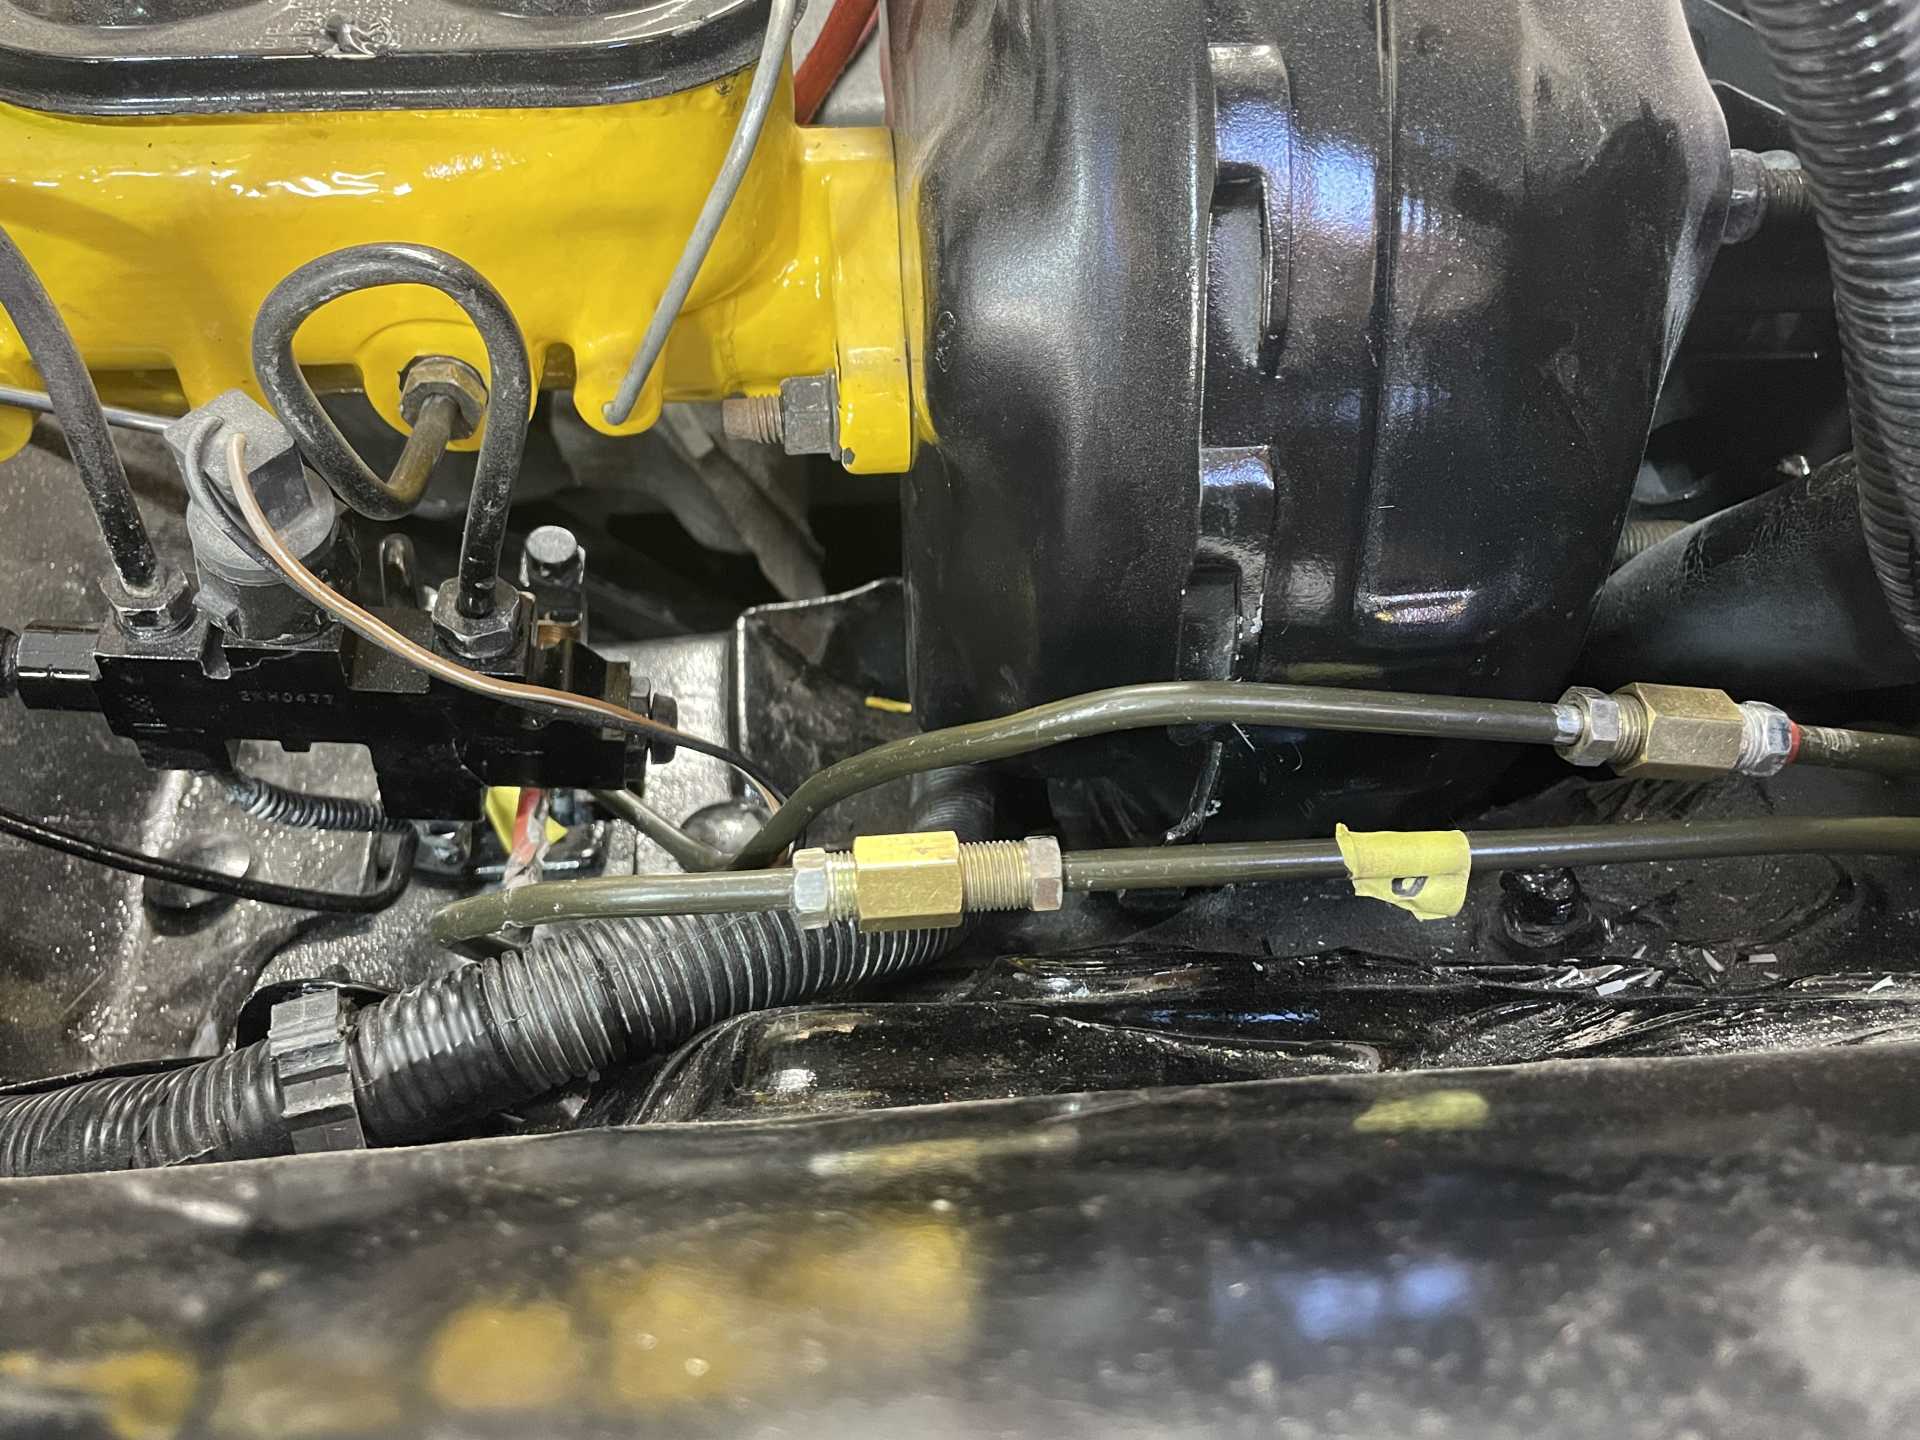
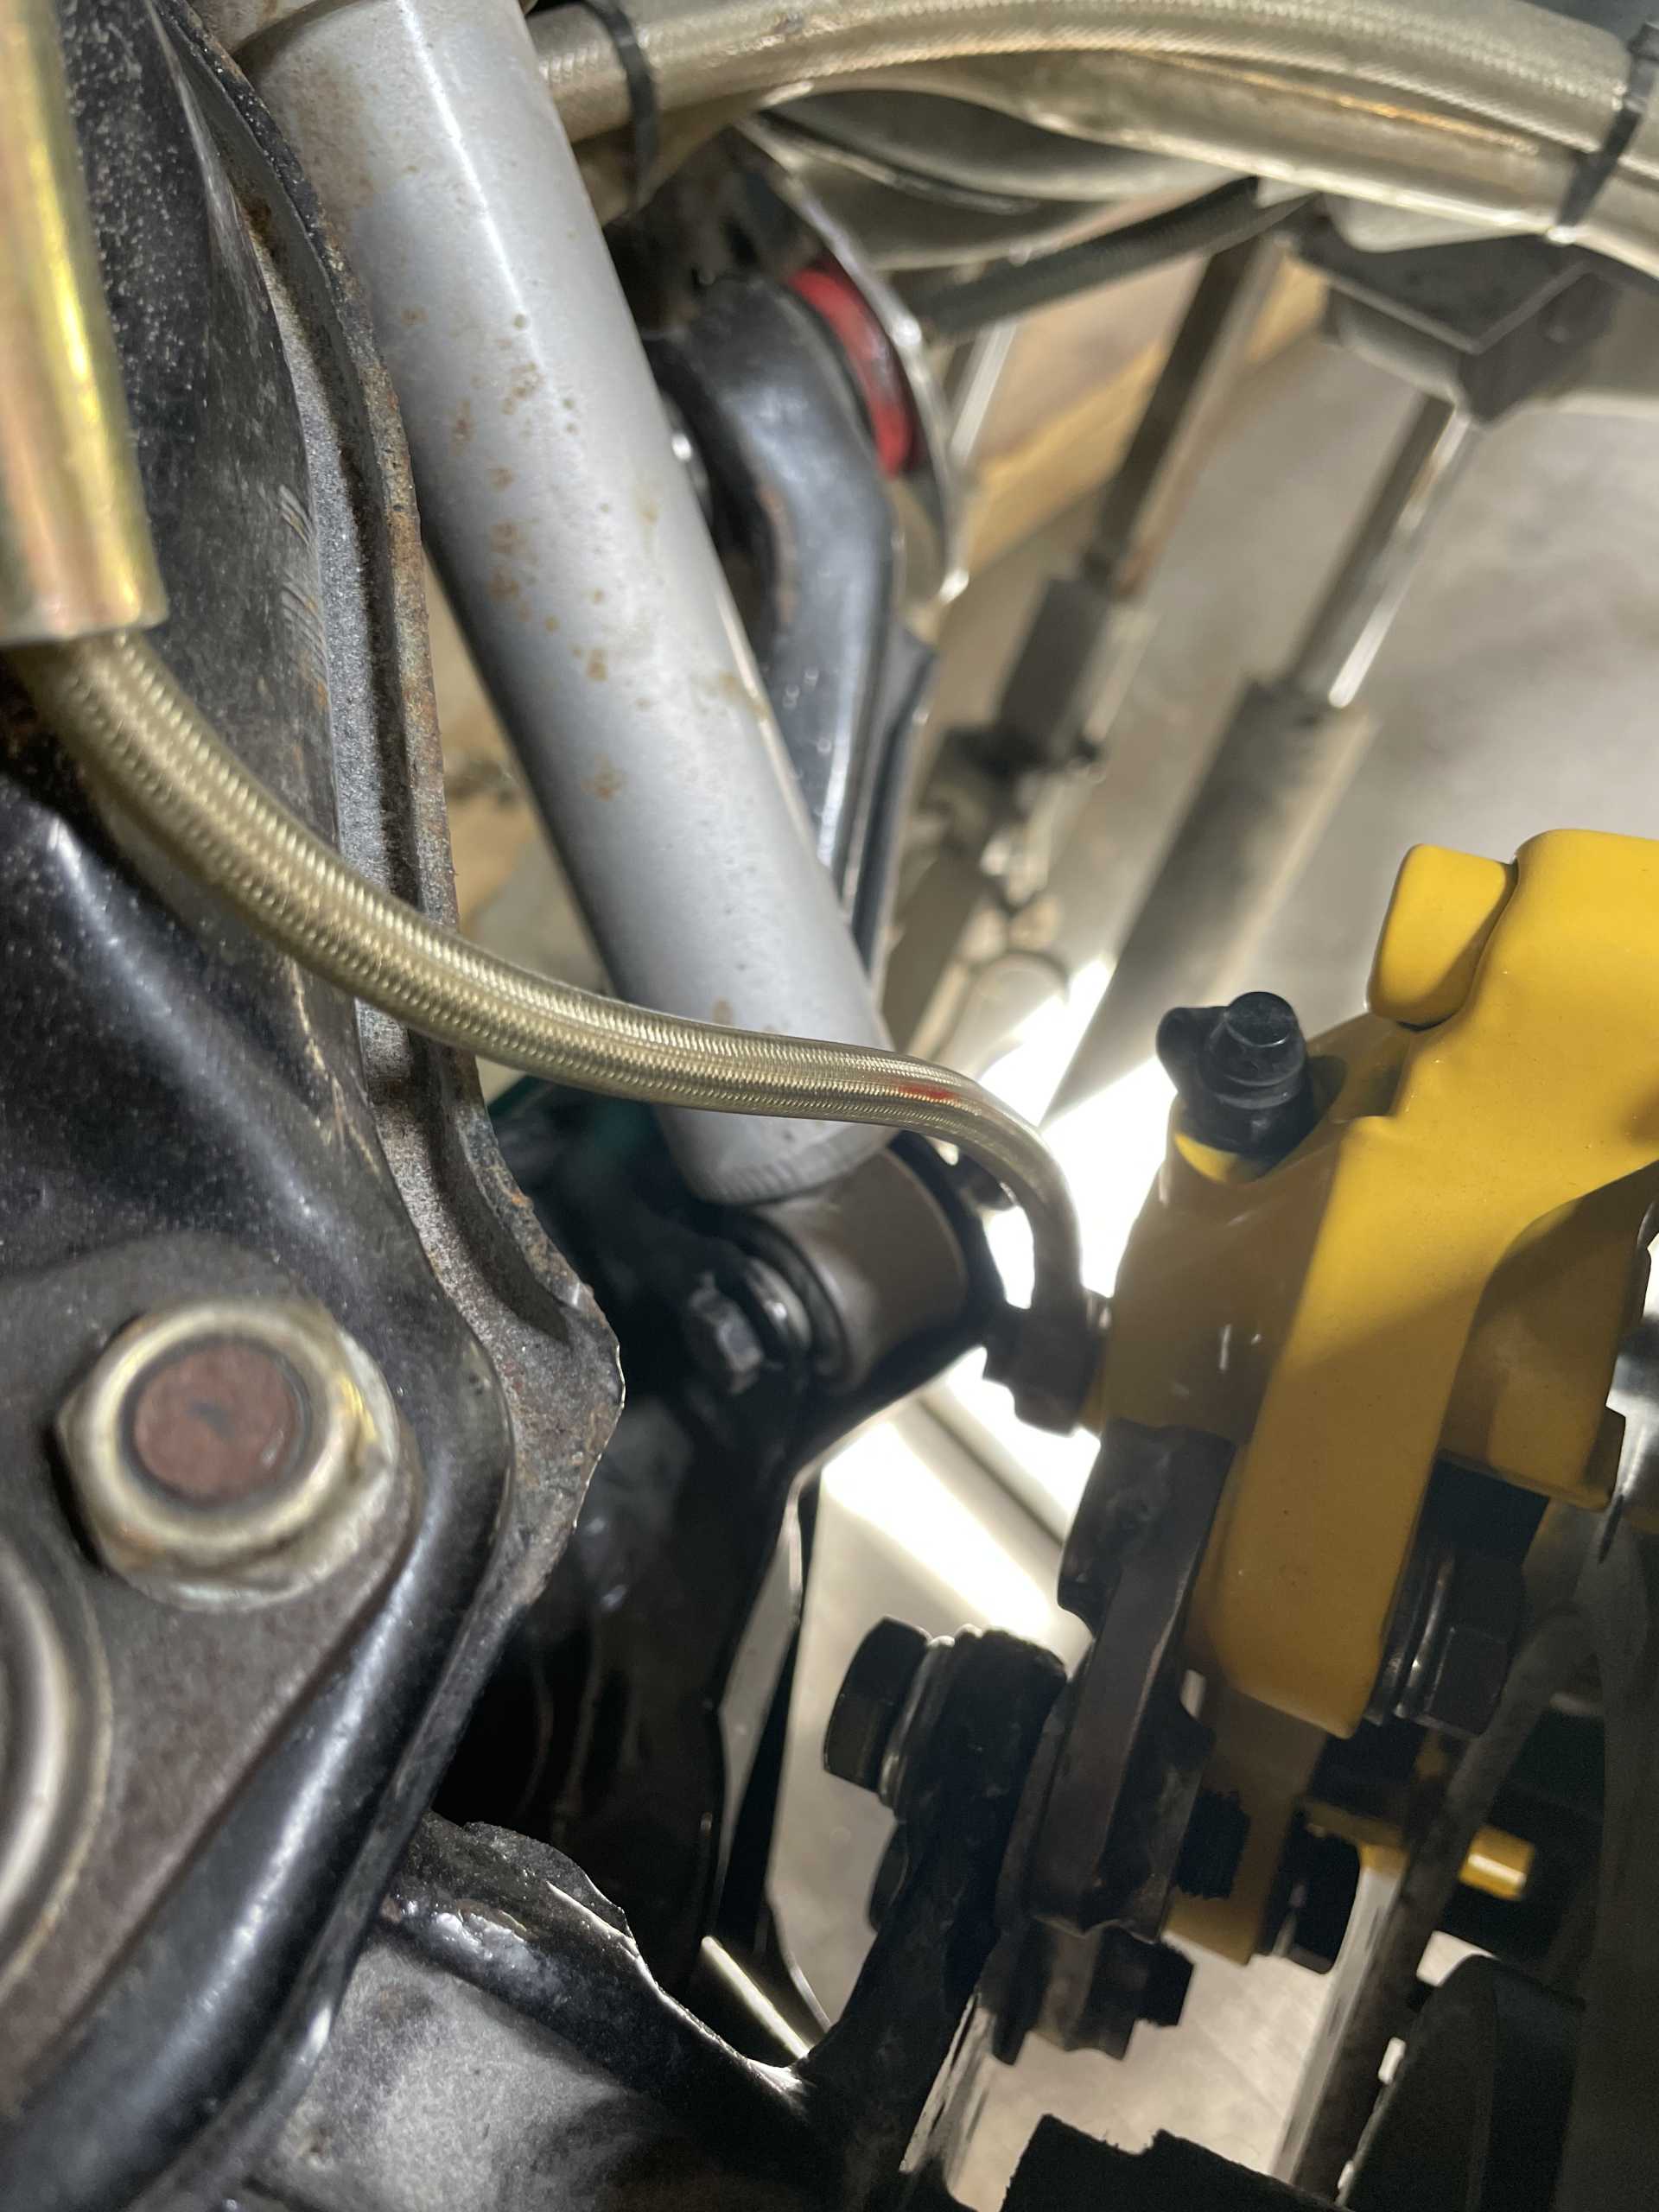
I completed the brake hard lines and installed steel braided lines
I left everything overnight to ensure a firm finish before handling and and installing
The compete suspension.
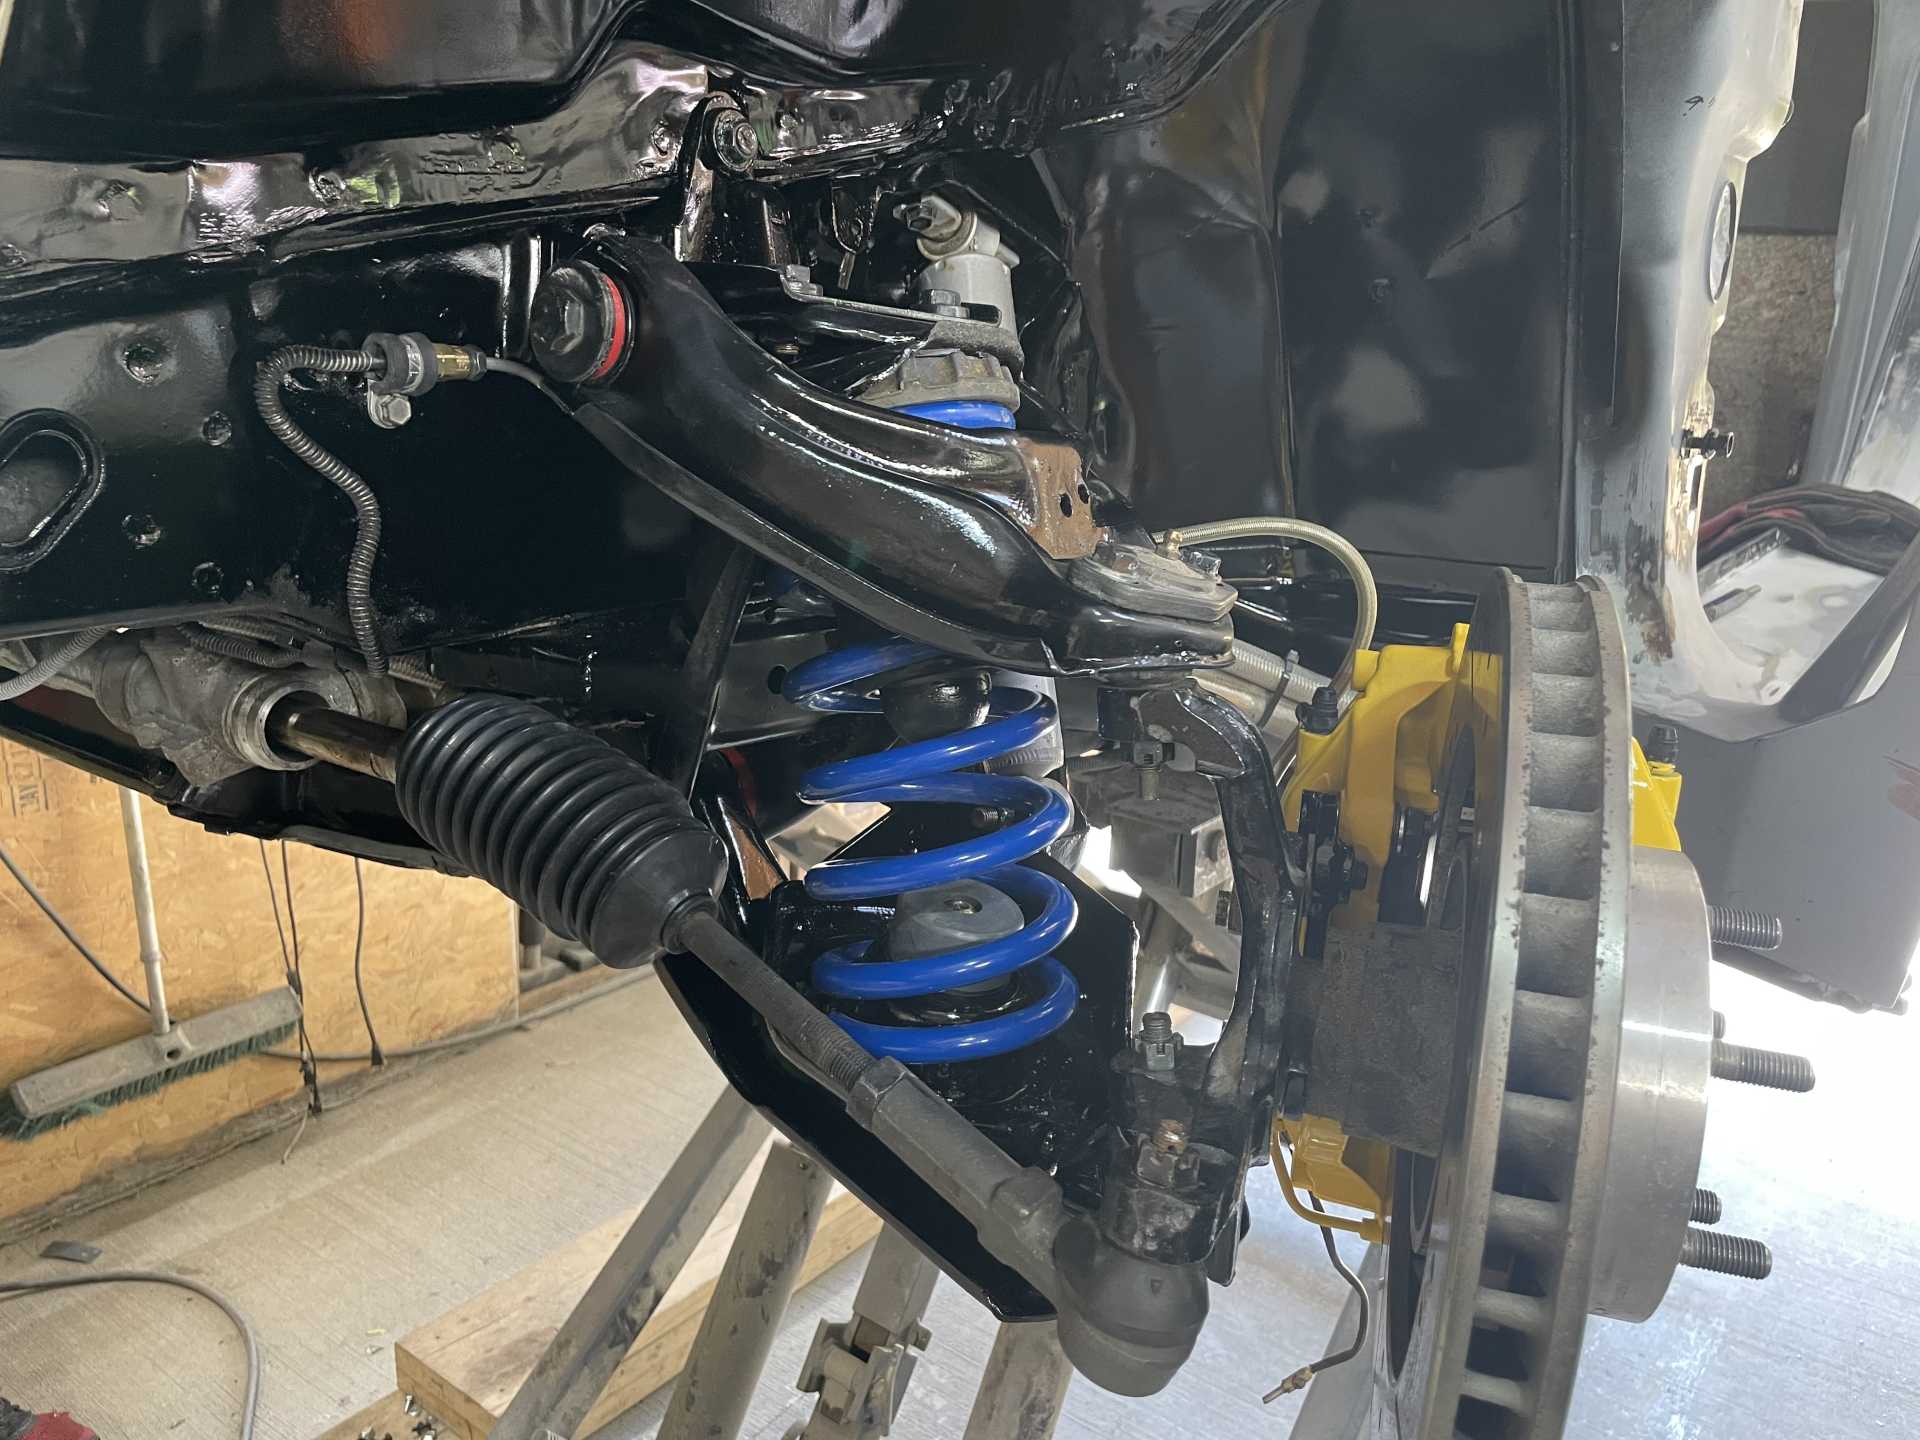

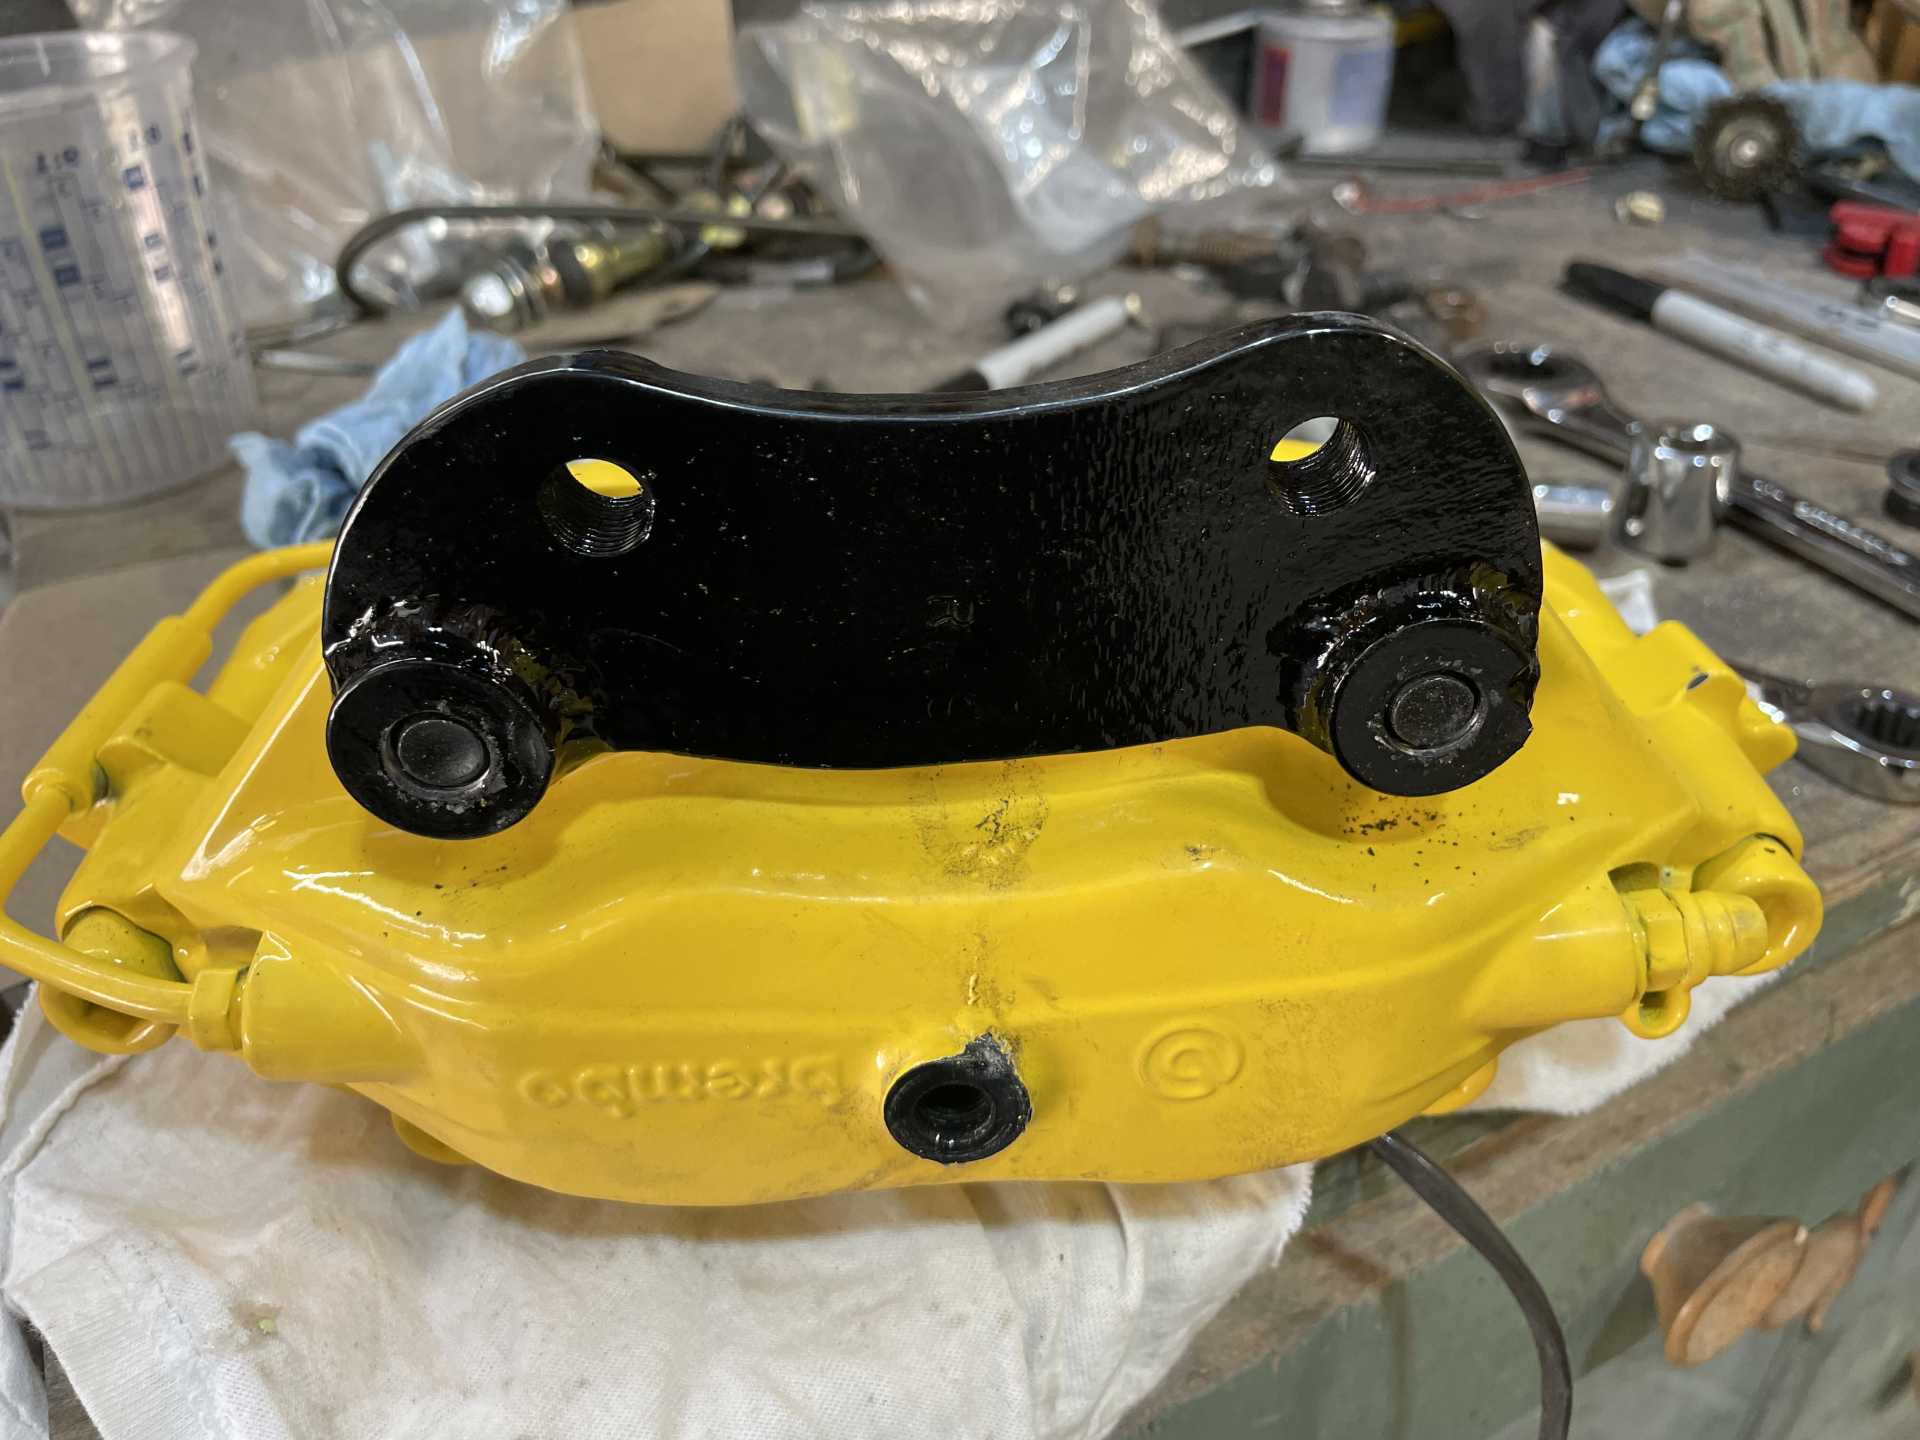
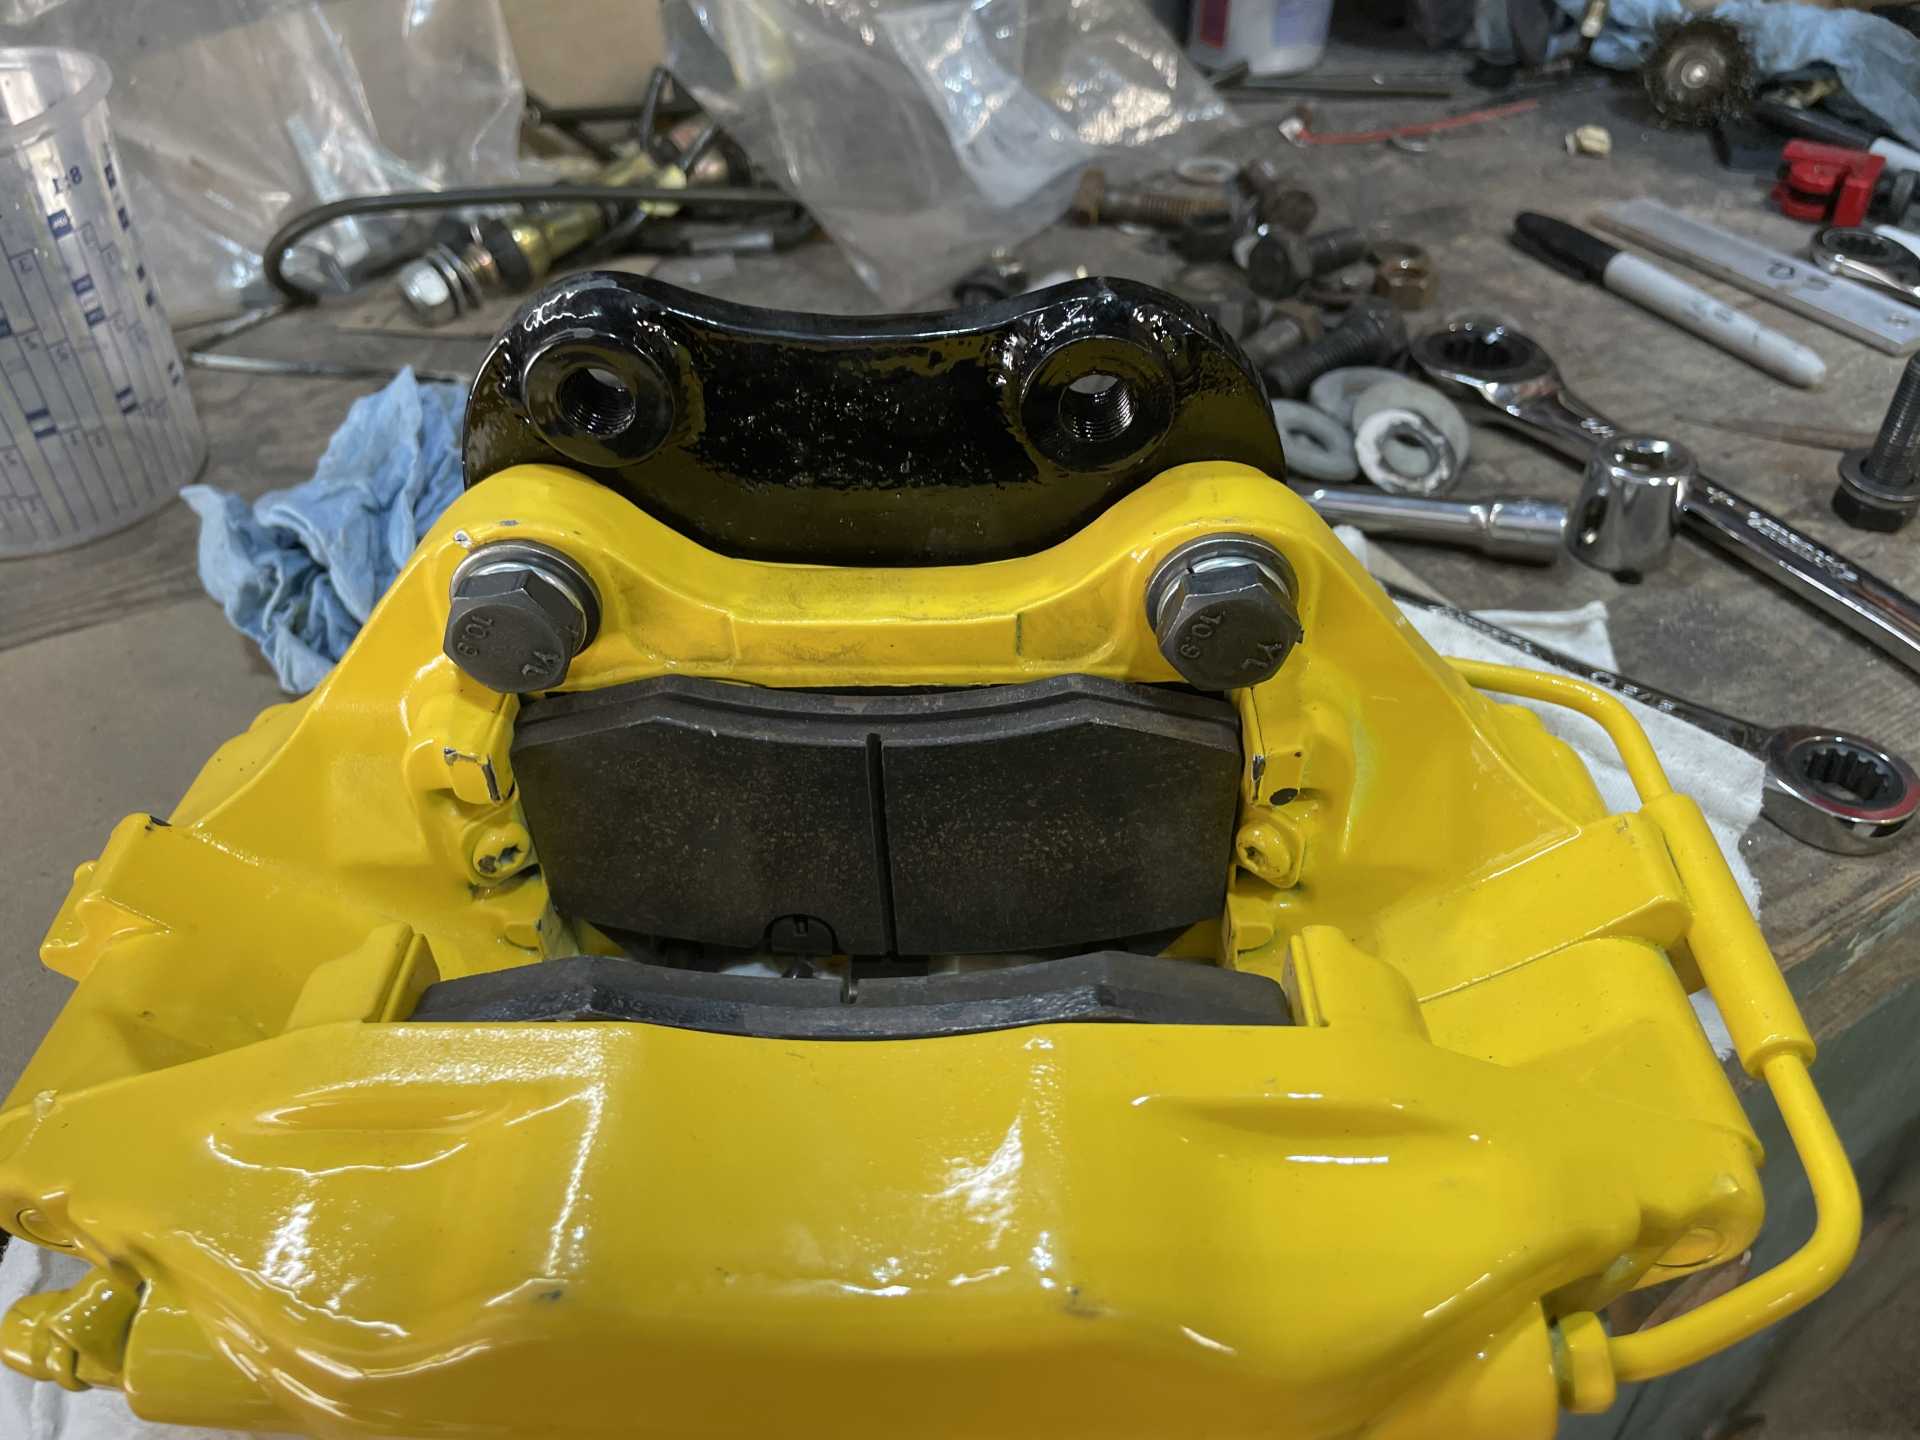
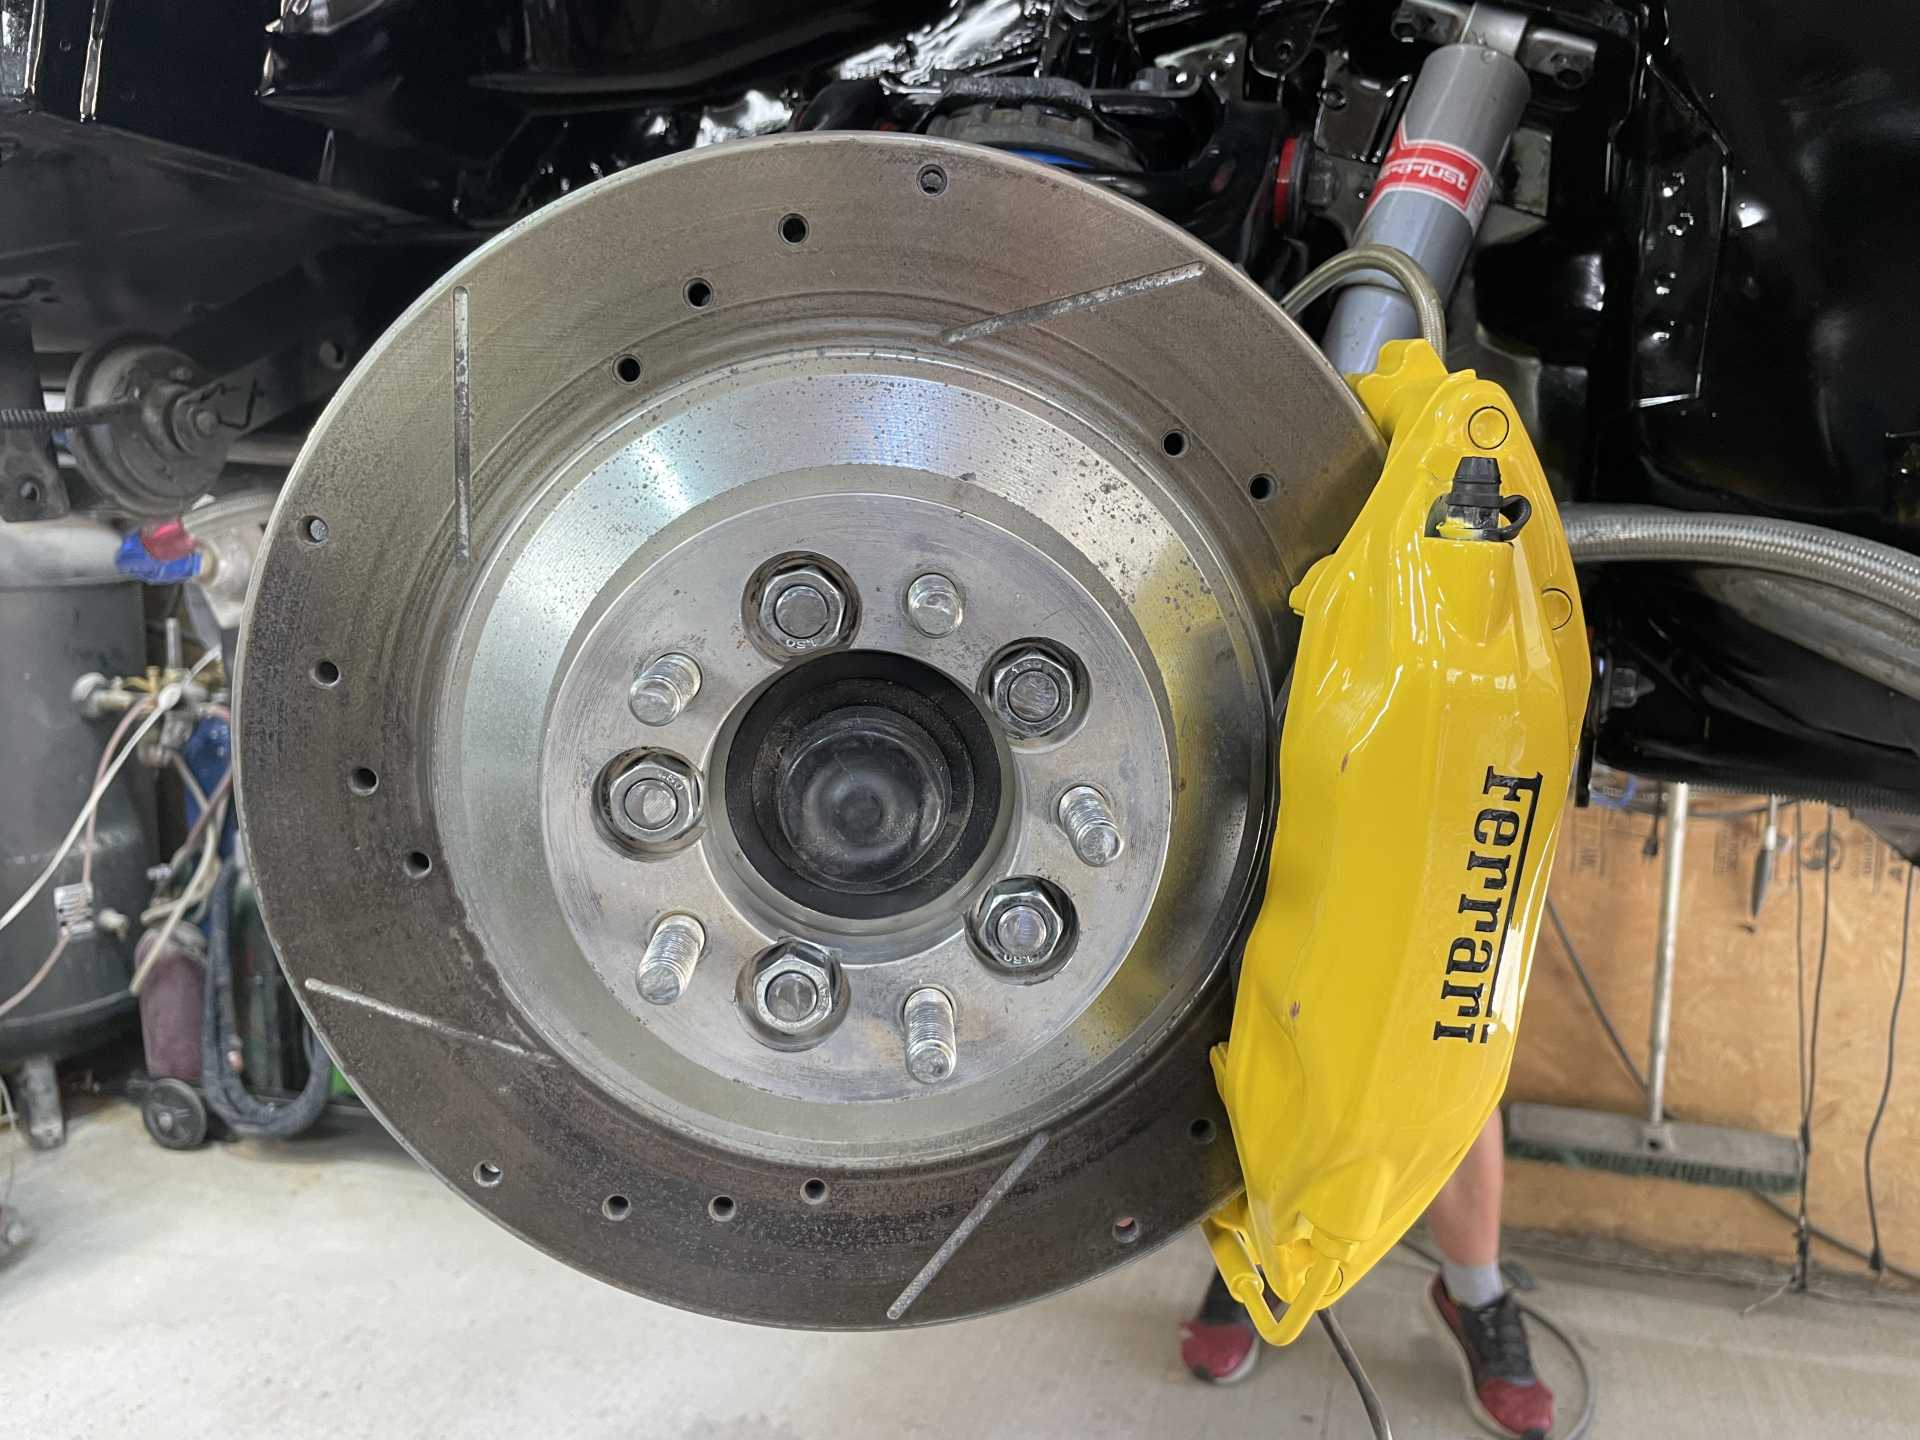
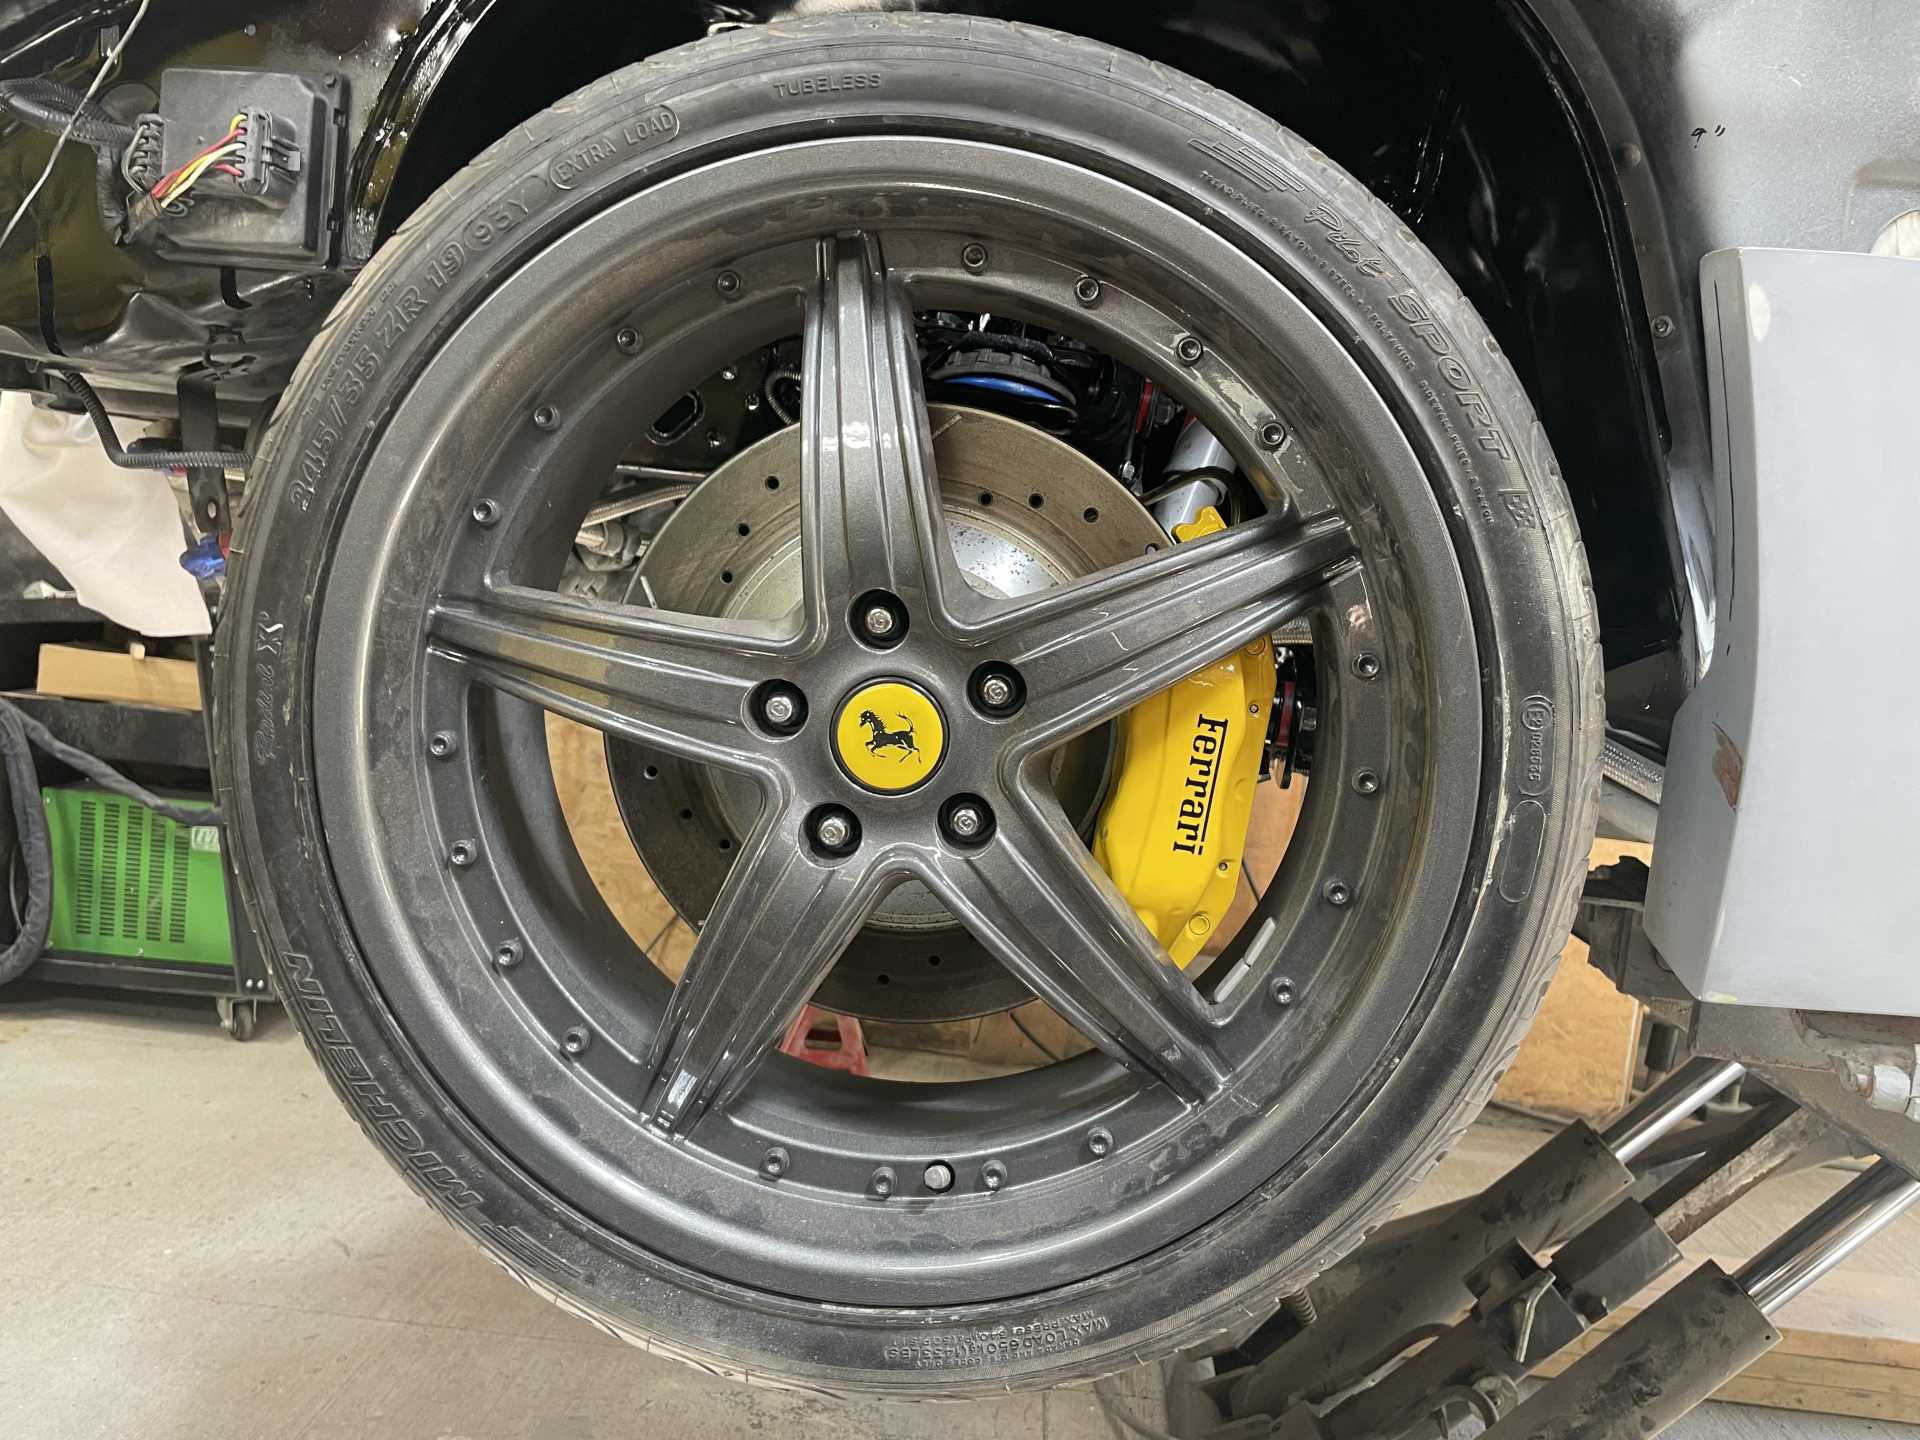
At the same time this was going on I painted the brake adapters that my buddy Phil fabricated for my Brembo brakes
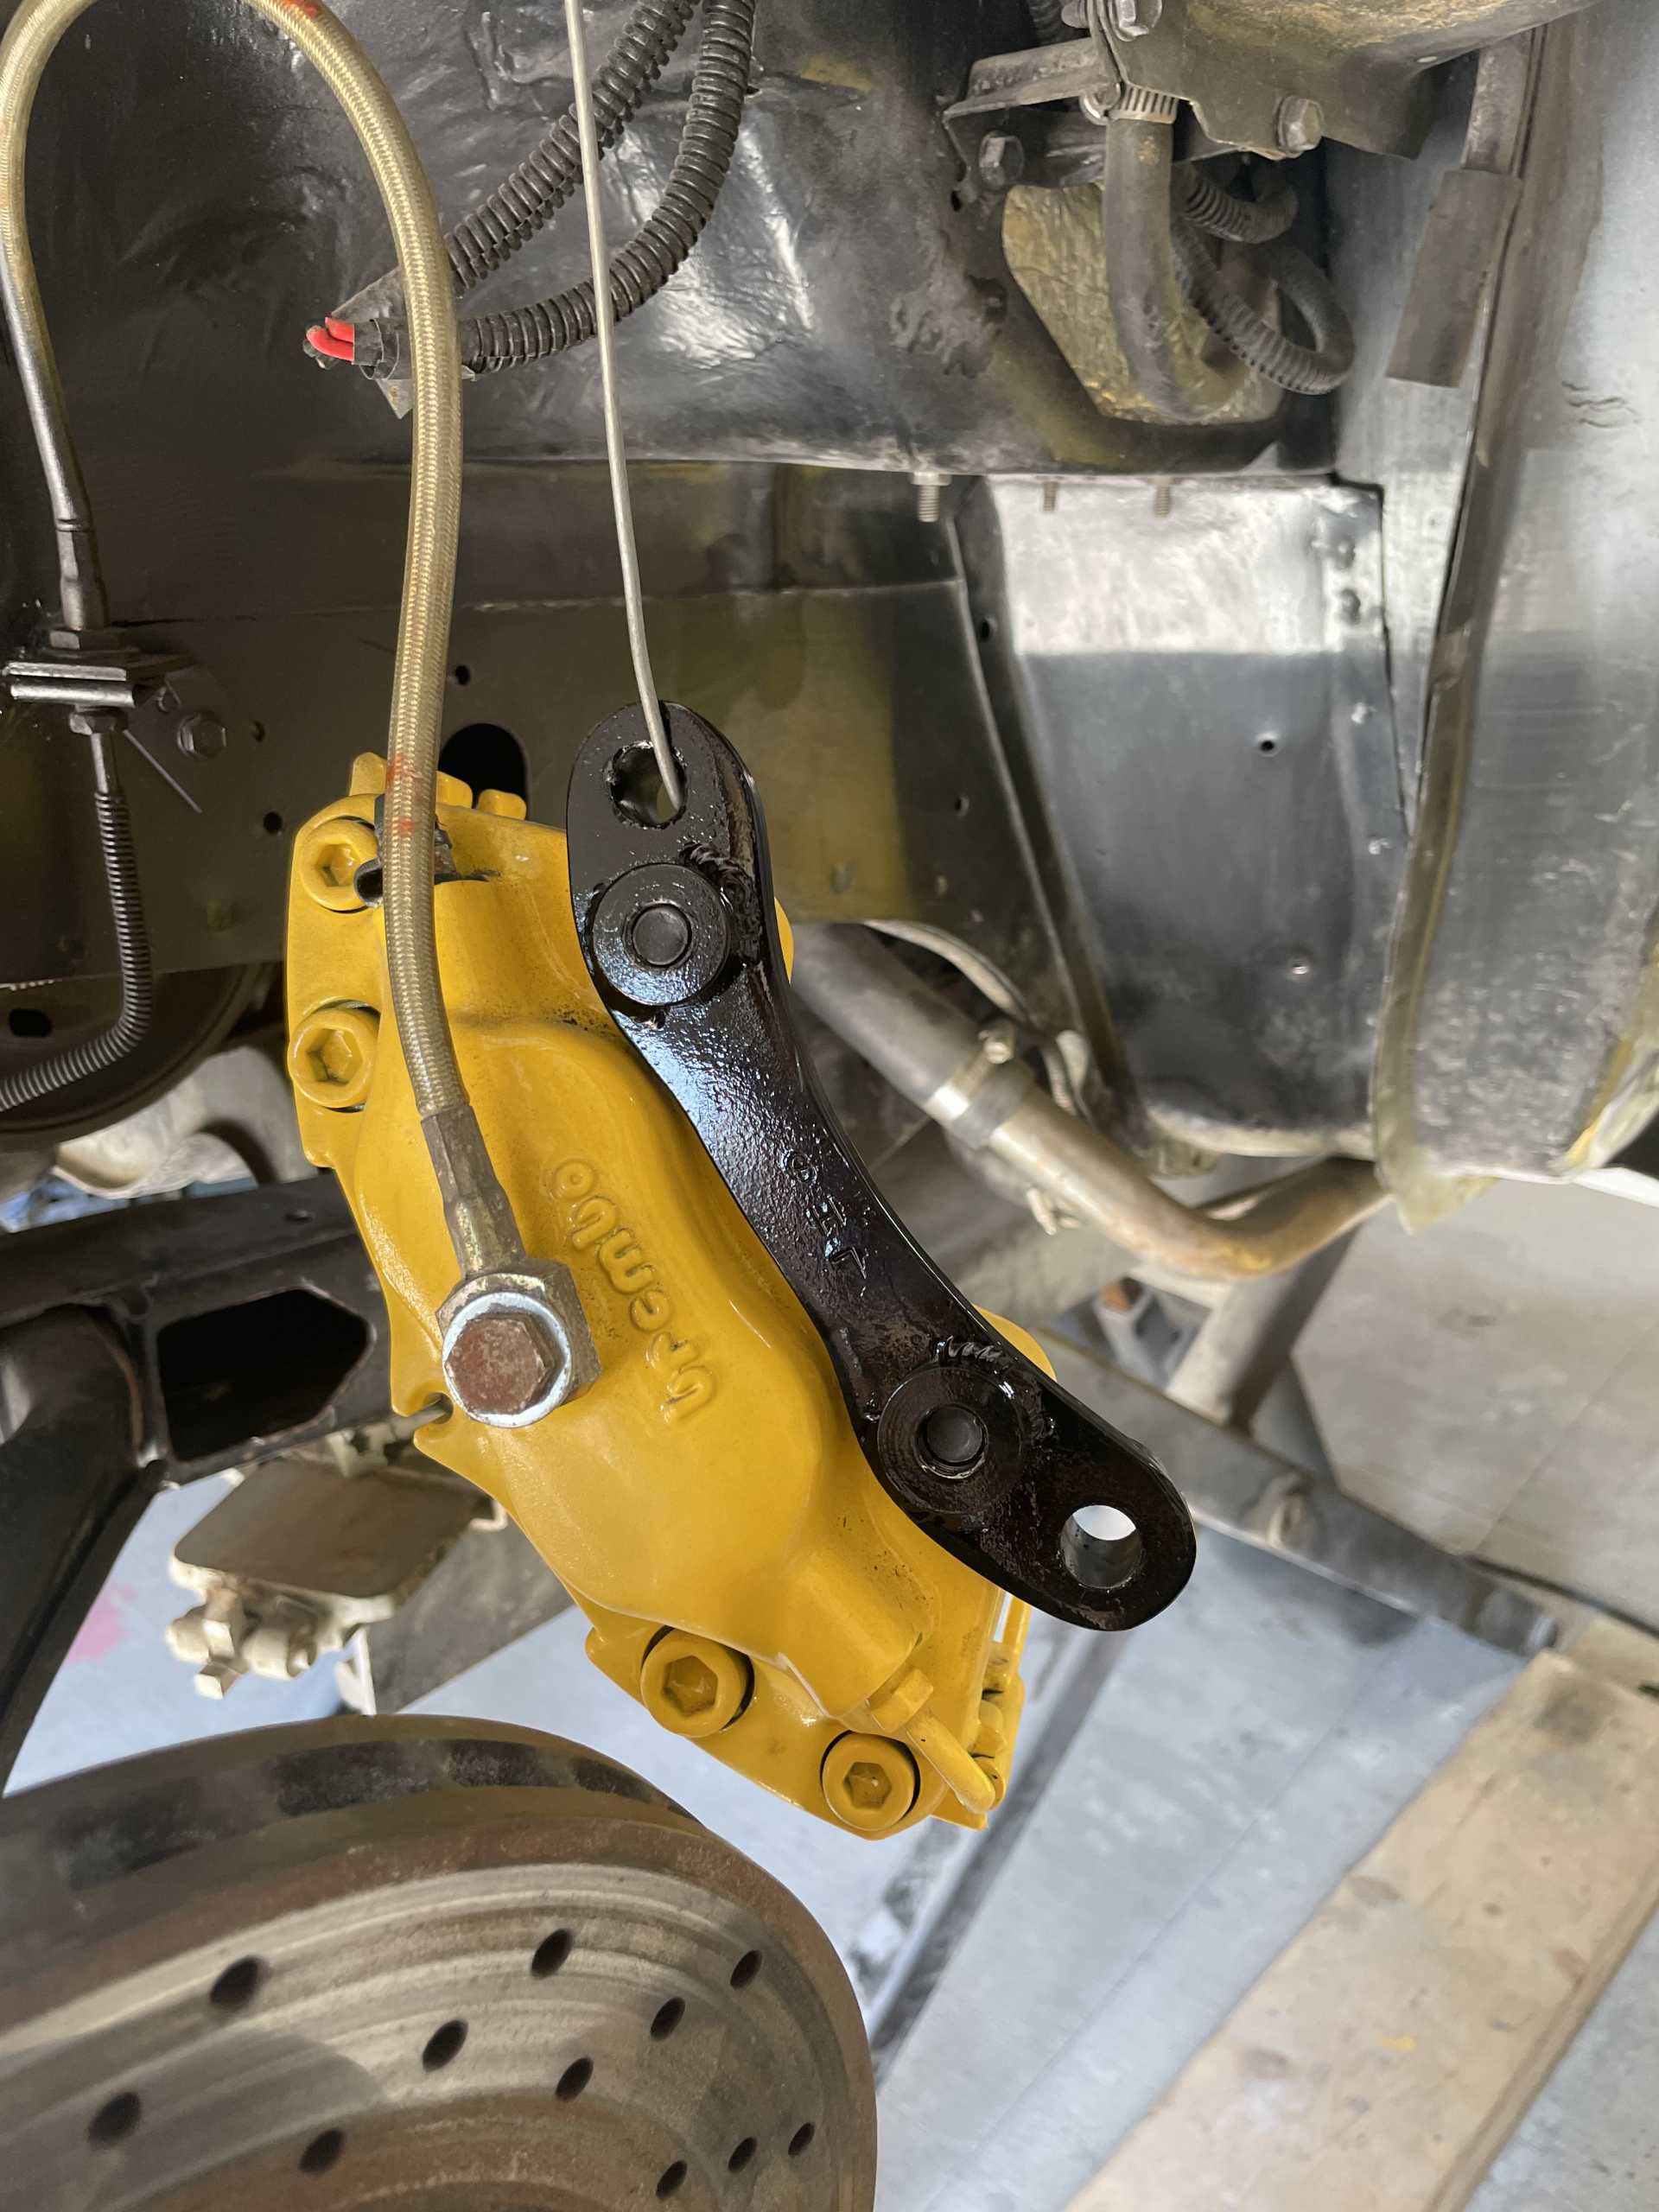
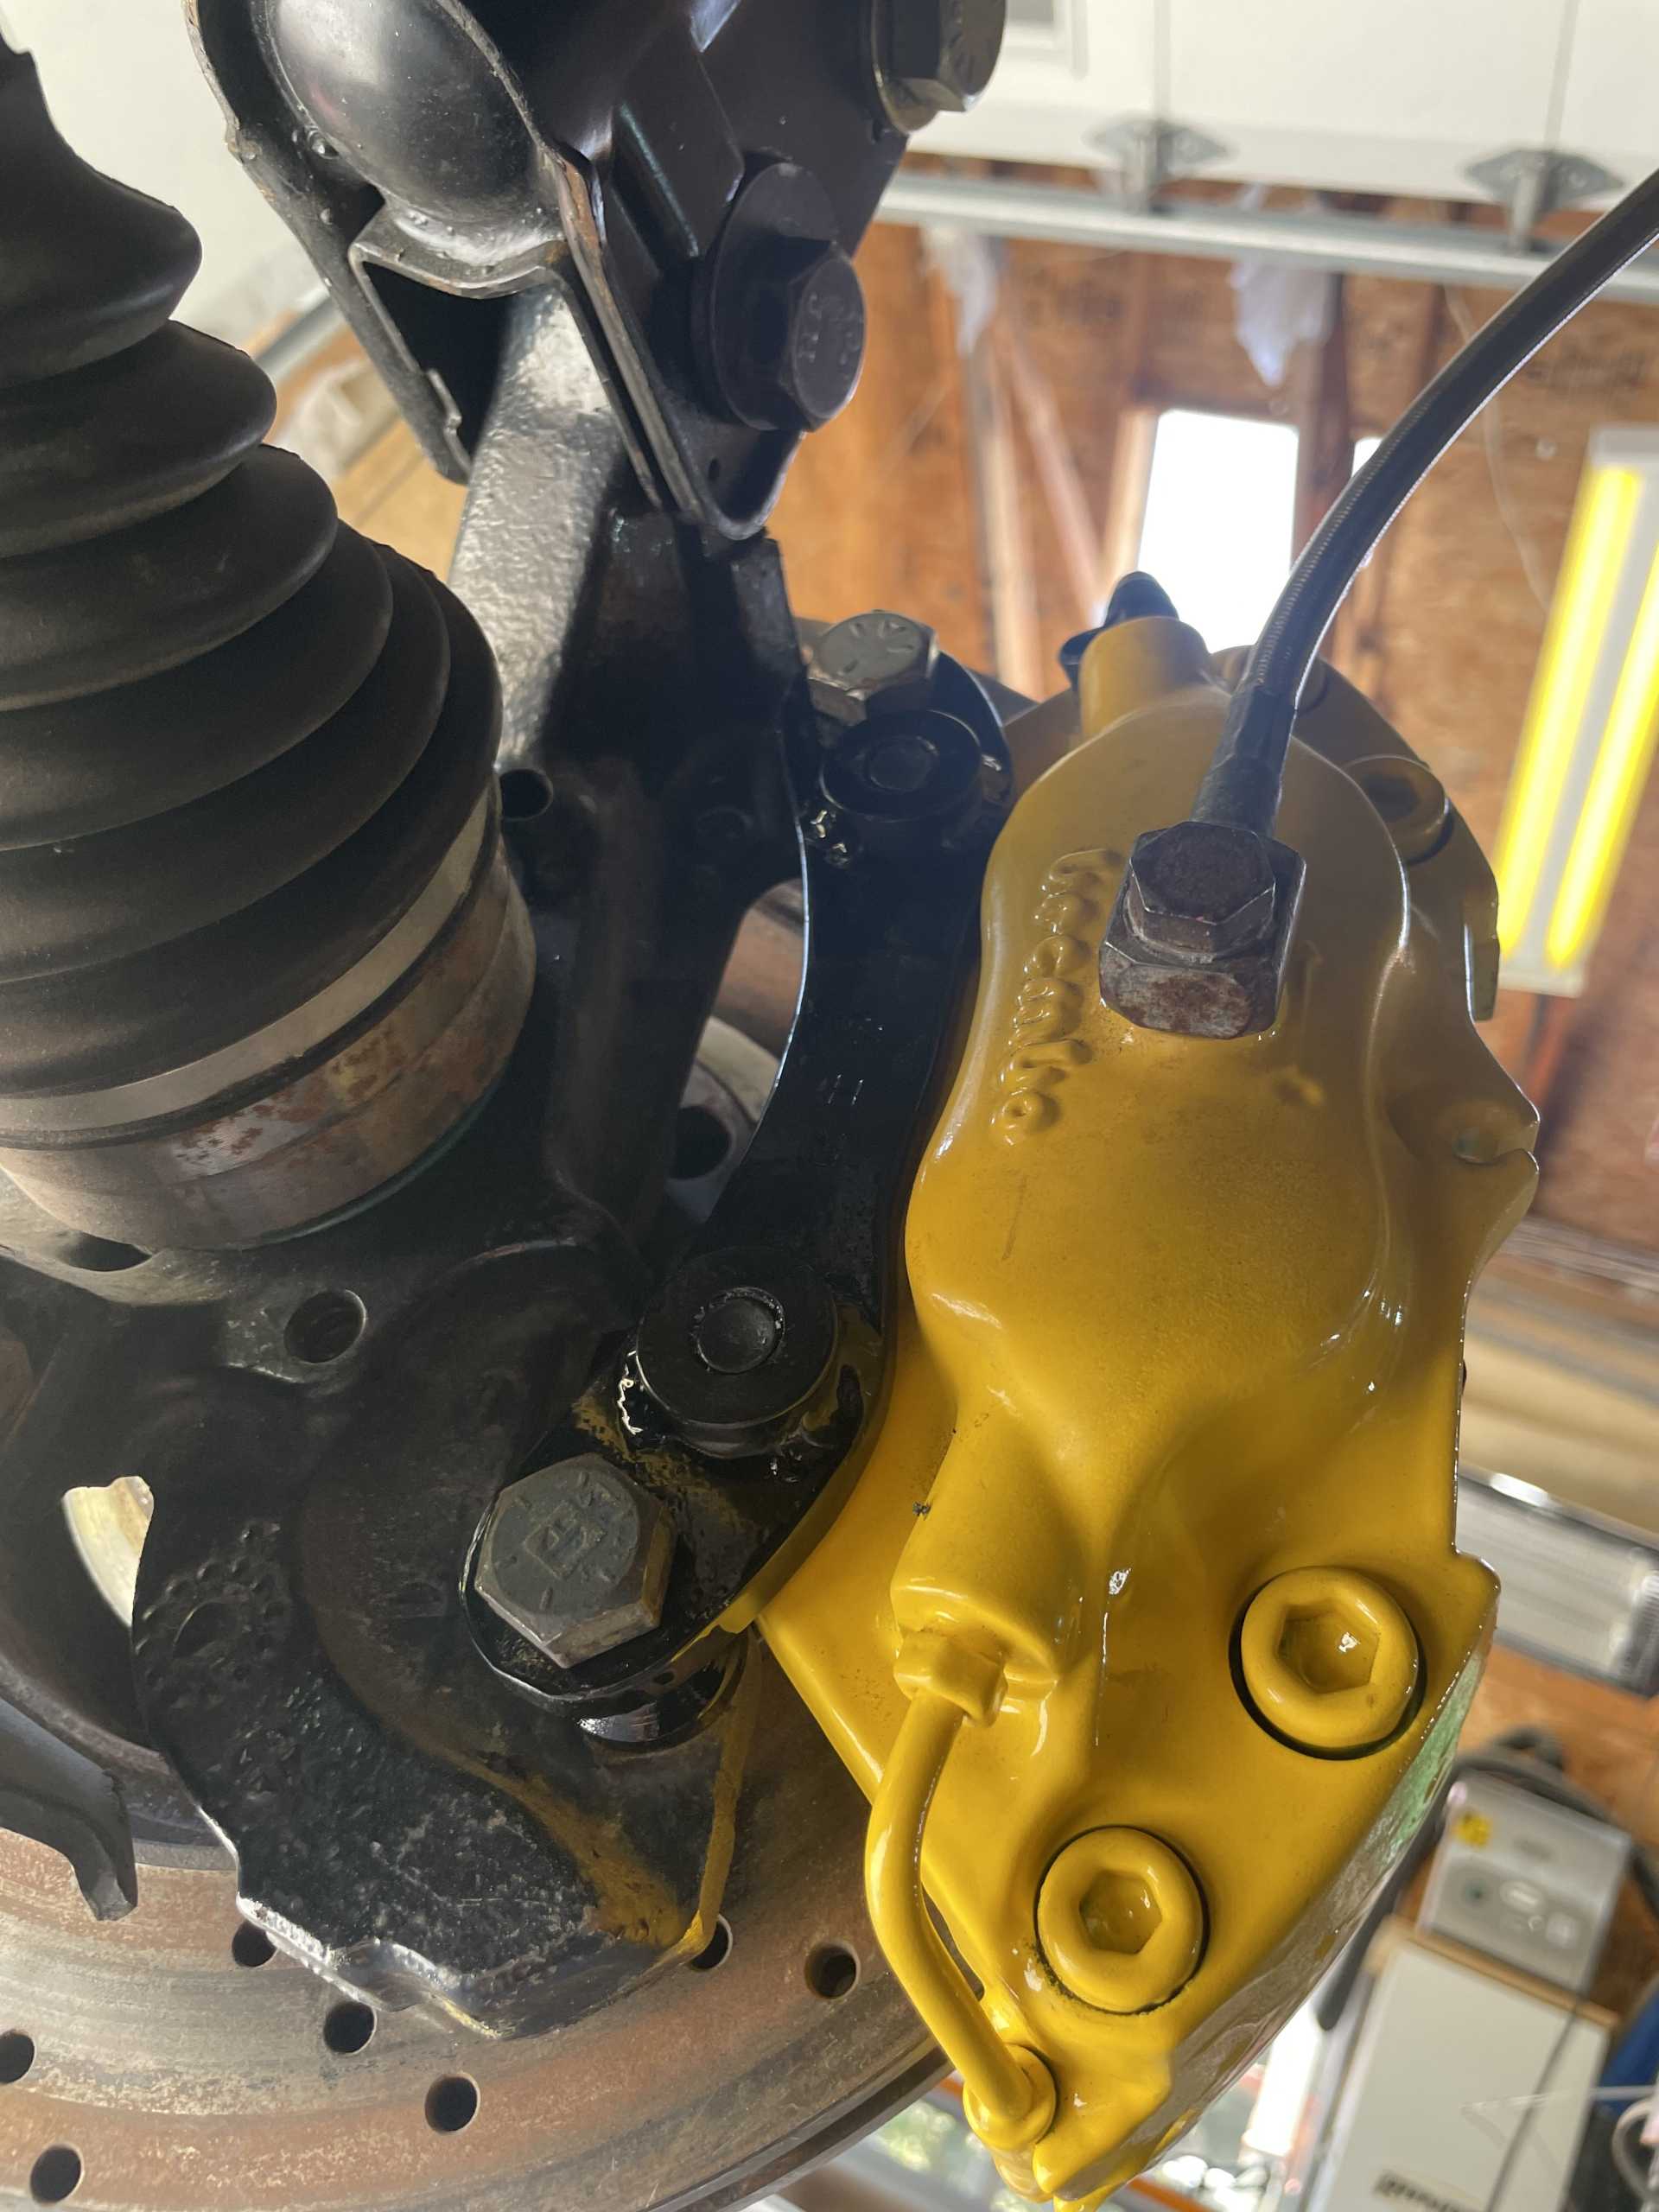
The front brakes are installed much the same way
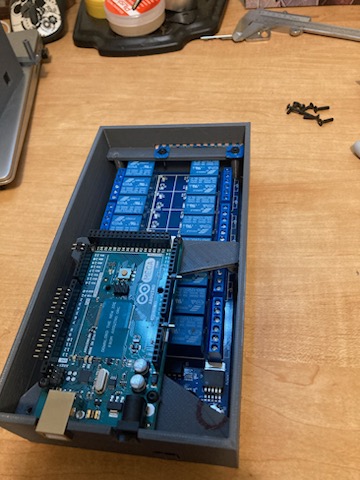
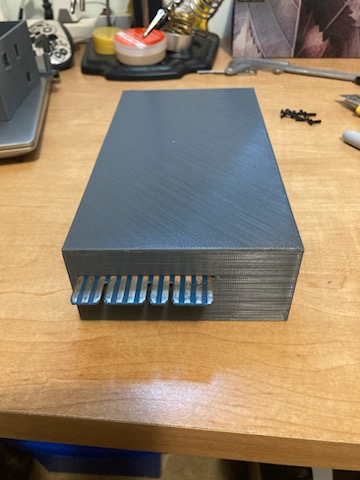
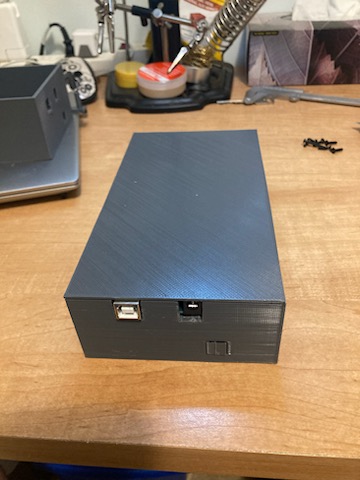
My other Buddy Don that fabricated the cross member extension also is building the HVAC / light controllers 3D printed case that the computer and relay board will be mounted into.
It’s amazing what a tool a 3D printer is , much more time and cost effective.

Now that the front suspension is completed it’s onto a final full inspection and testing of all electrical components before the body is installed.
That’s it for now ,thanks for stopping by.
Wayne
|
|
|
|
dobie1
|
AUG 19, 01:33 AM
|
|
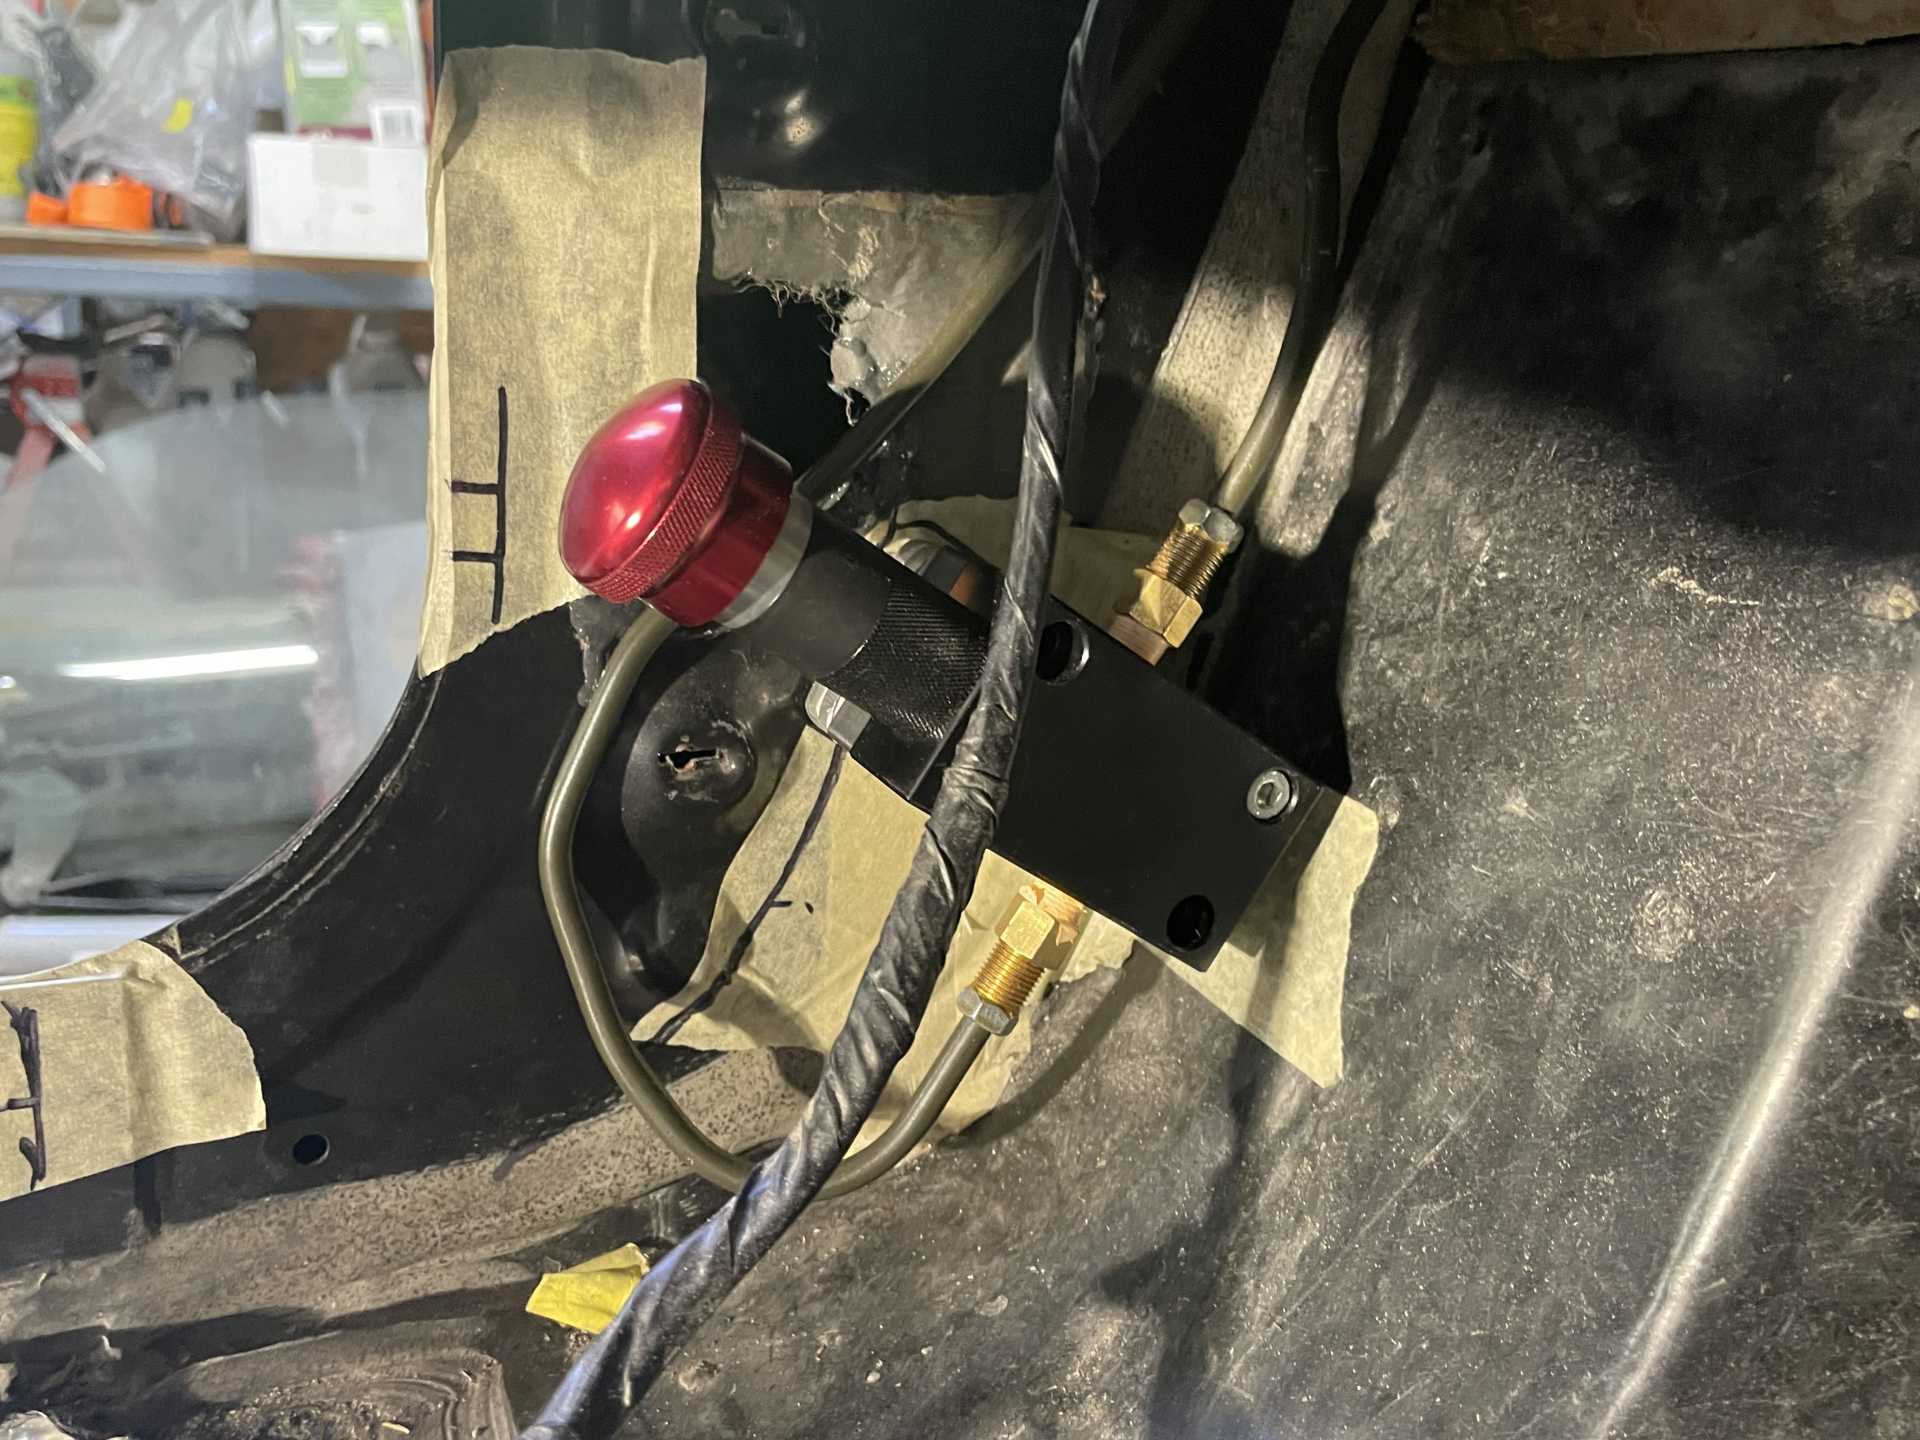
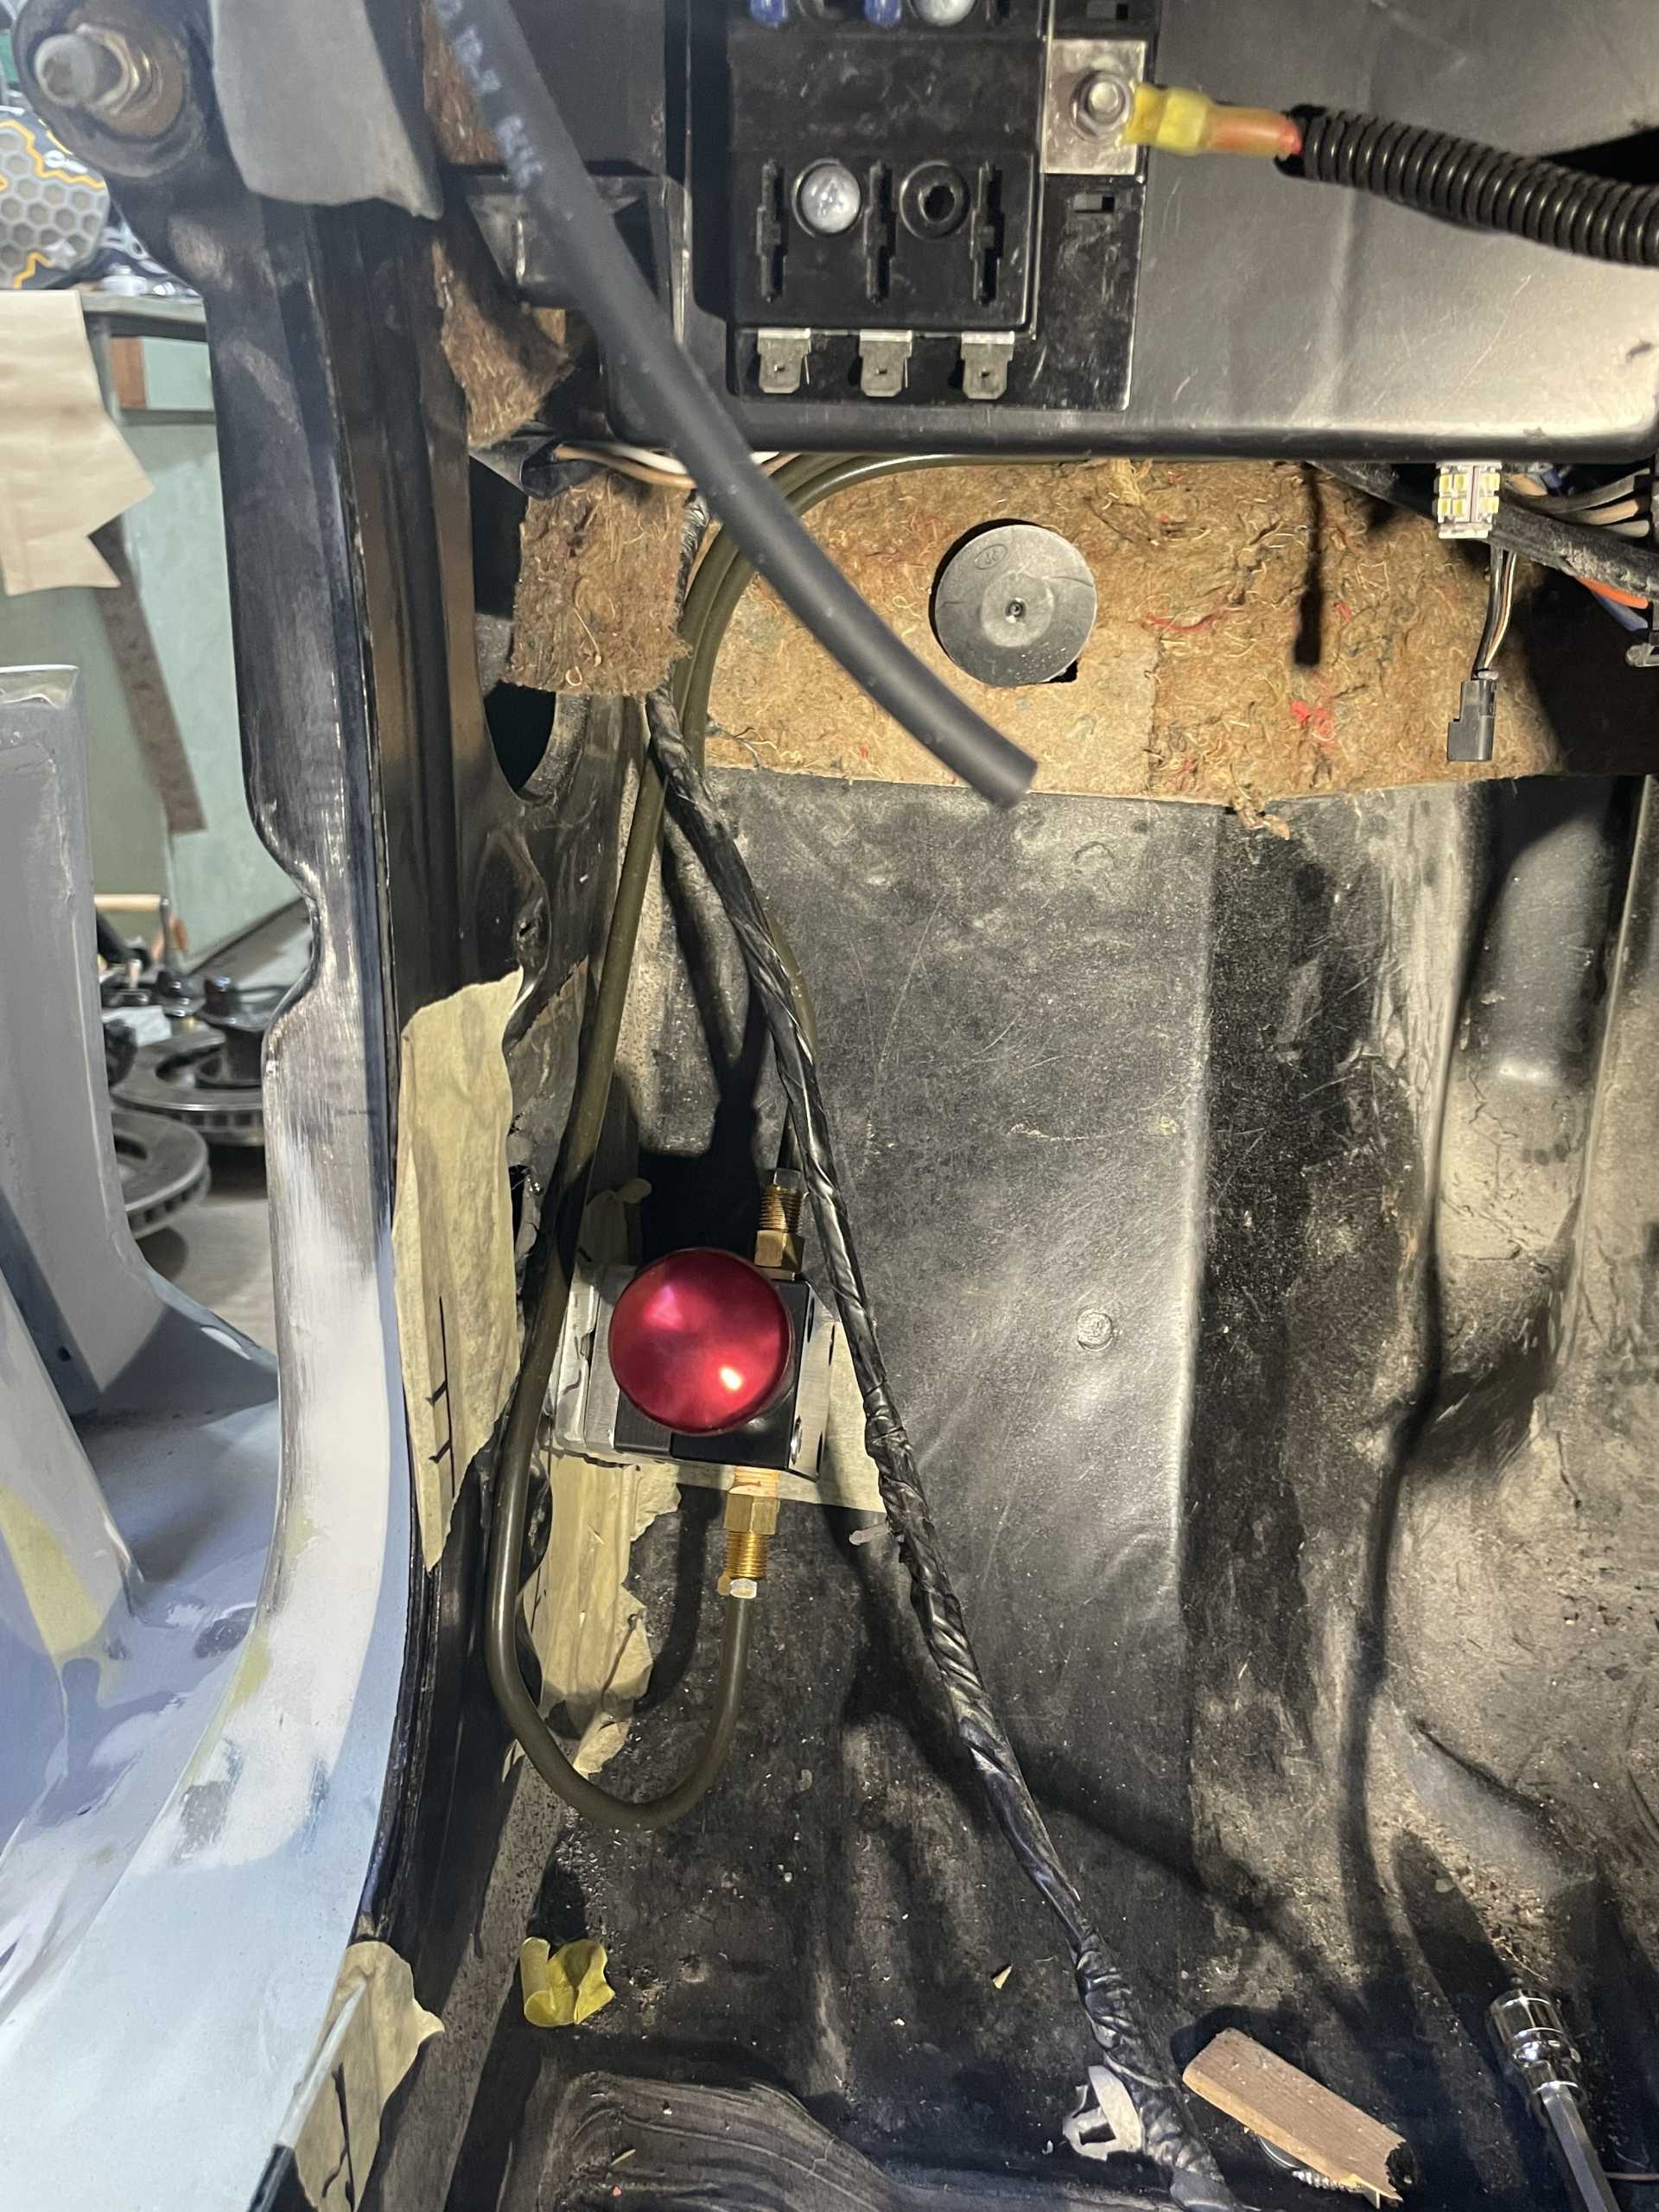
Thanks to lots of help from Phil my entire car electrical has been gone over front to back and all the gremlins are taken care of. My brakes are rock solid with an awesome hydraulic park brake installed. The suspension is complete although the front my need softer springs, but we will find that out once It’s on the road.
I needed the electrical total complete before installing the body as access is very limited.
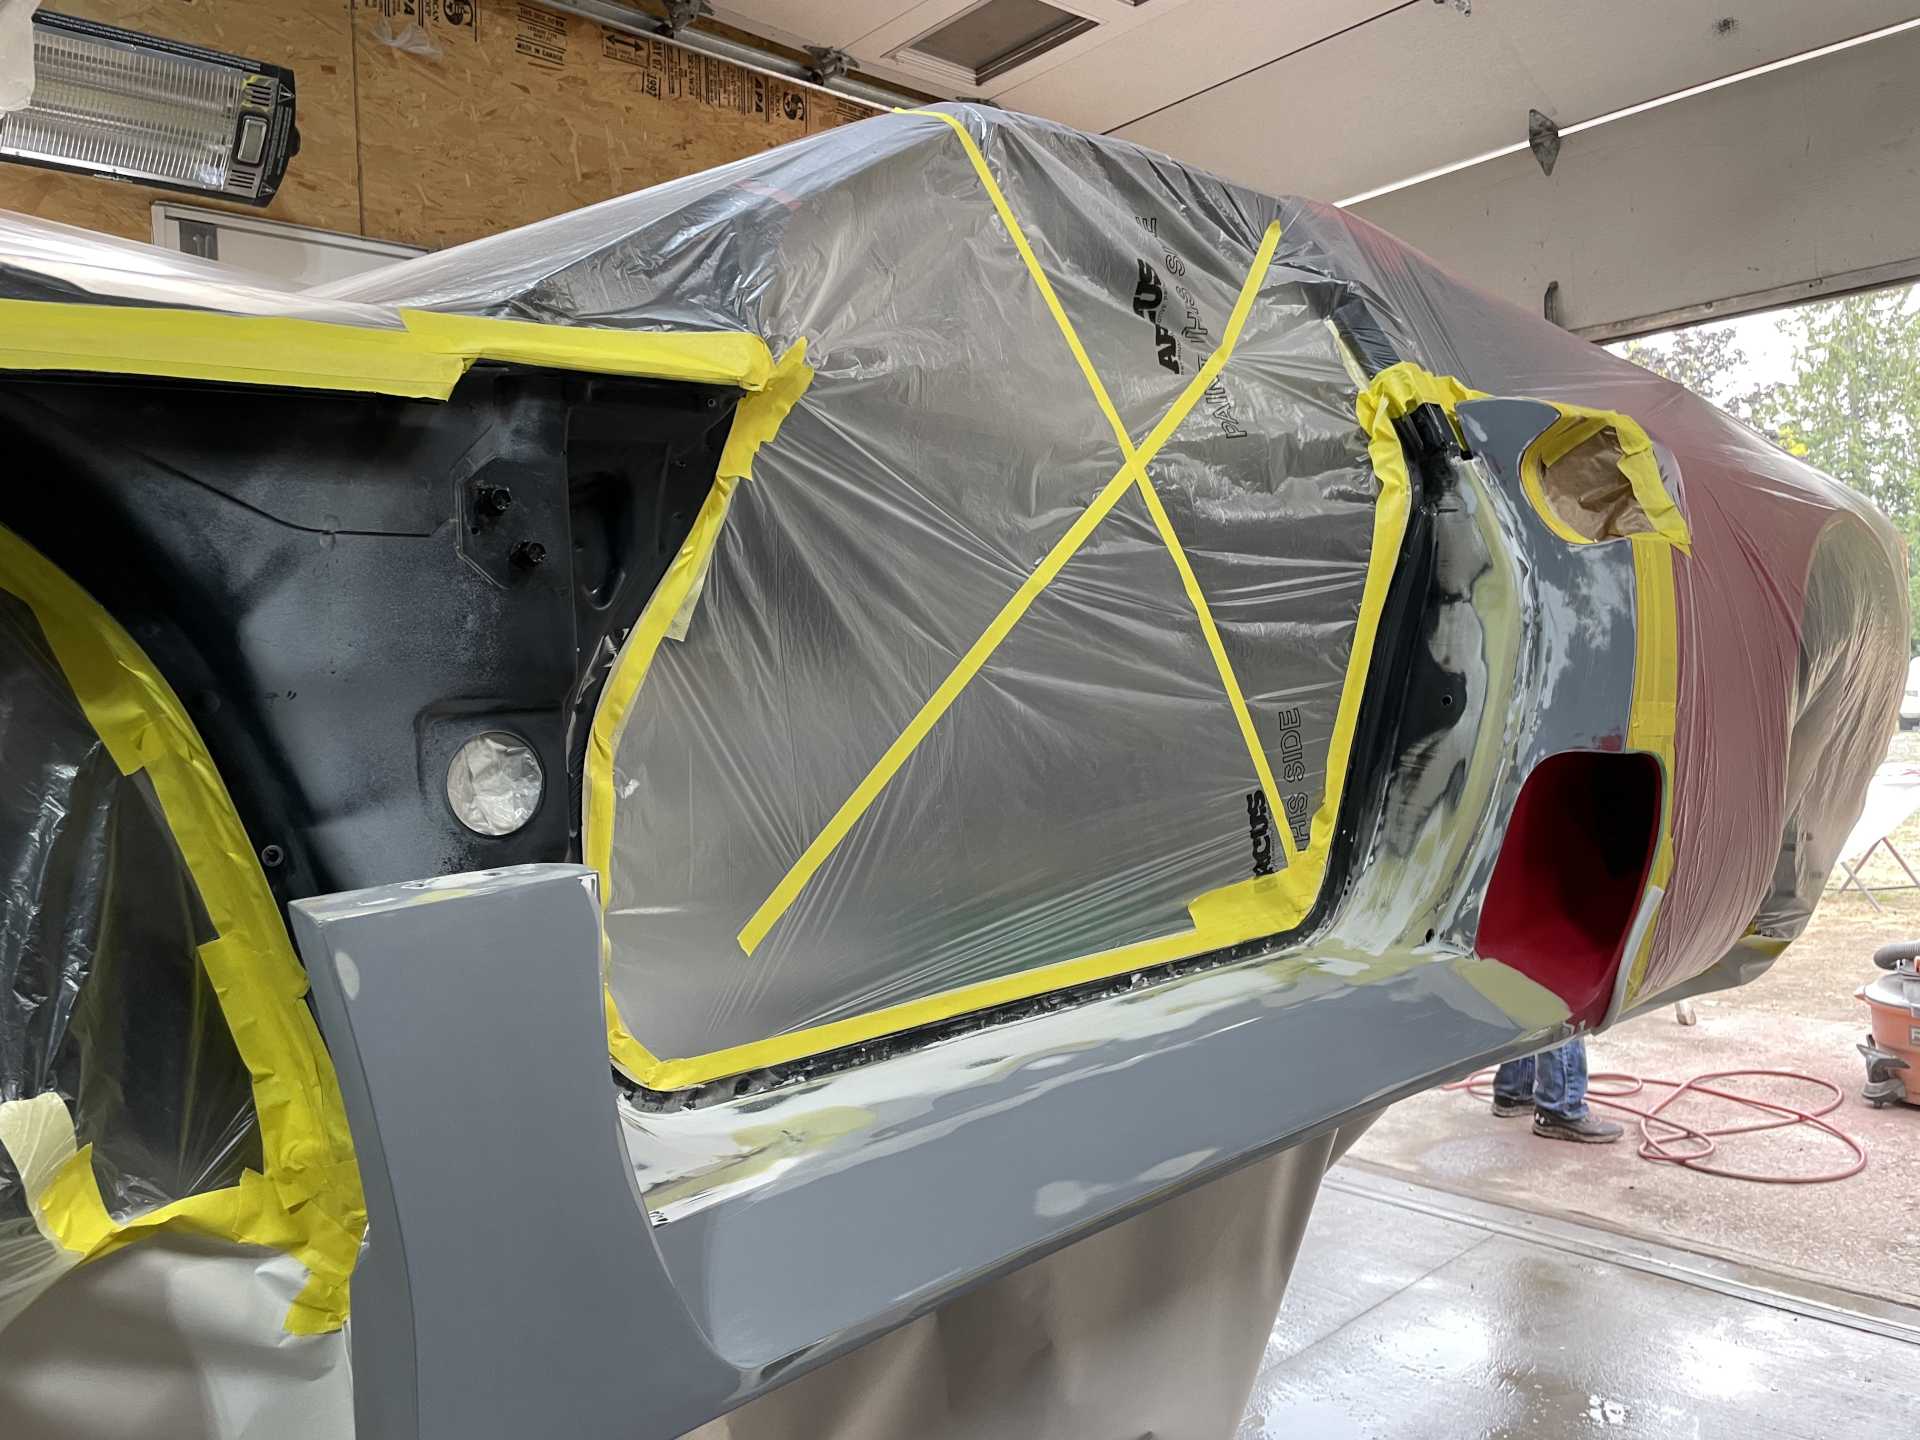
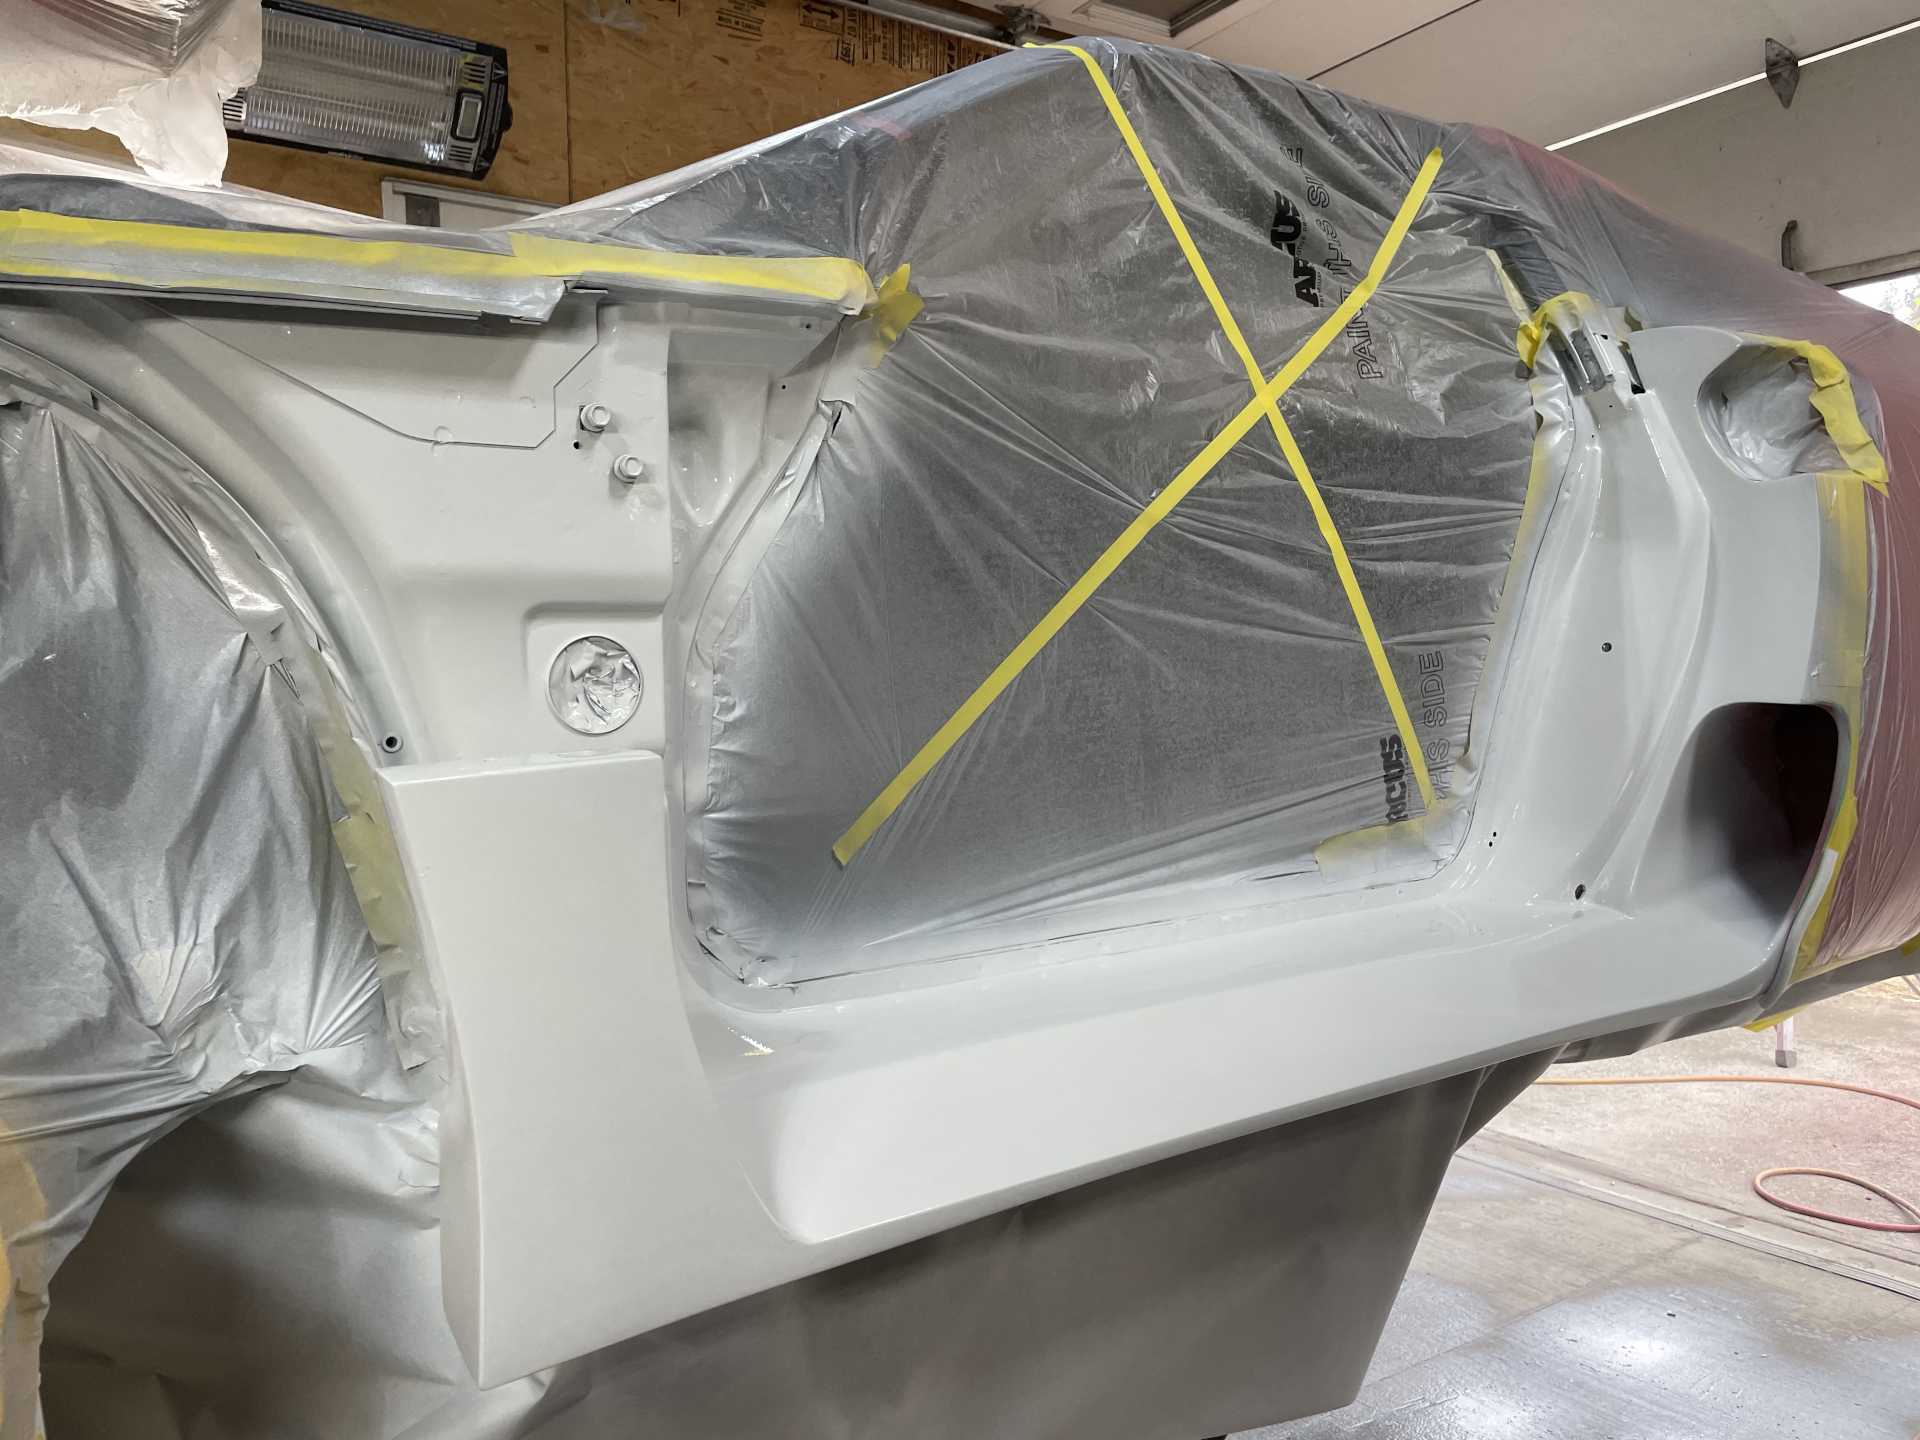
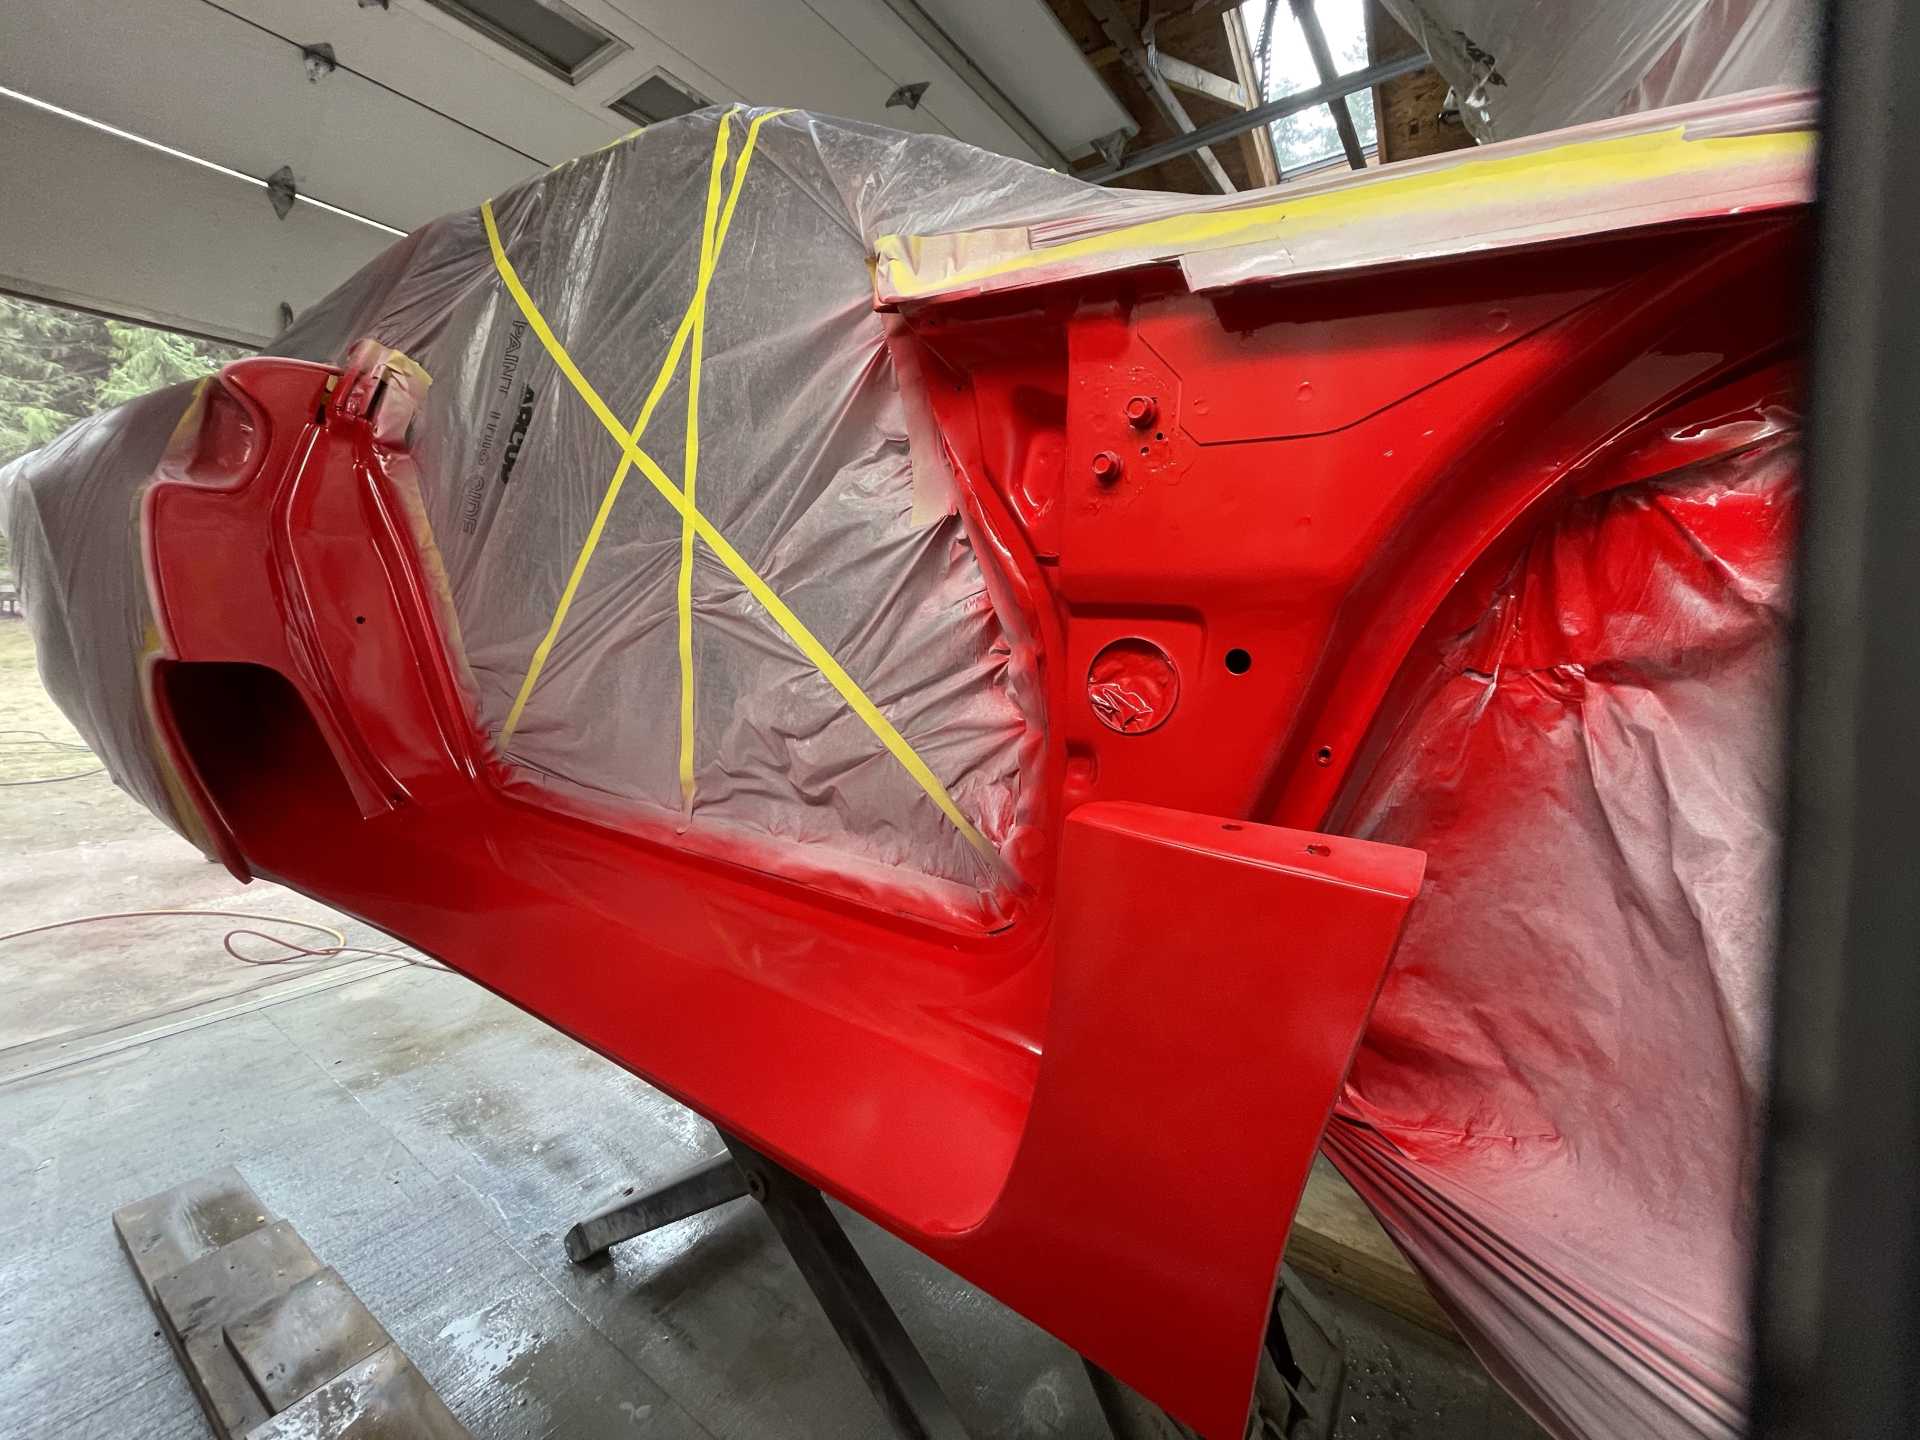
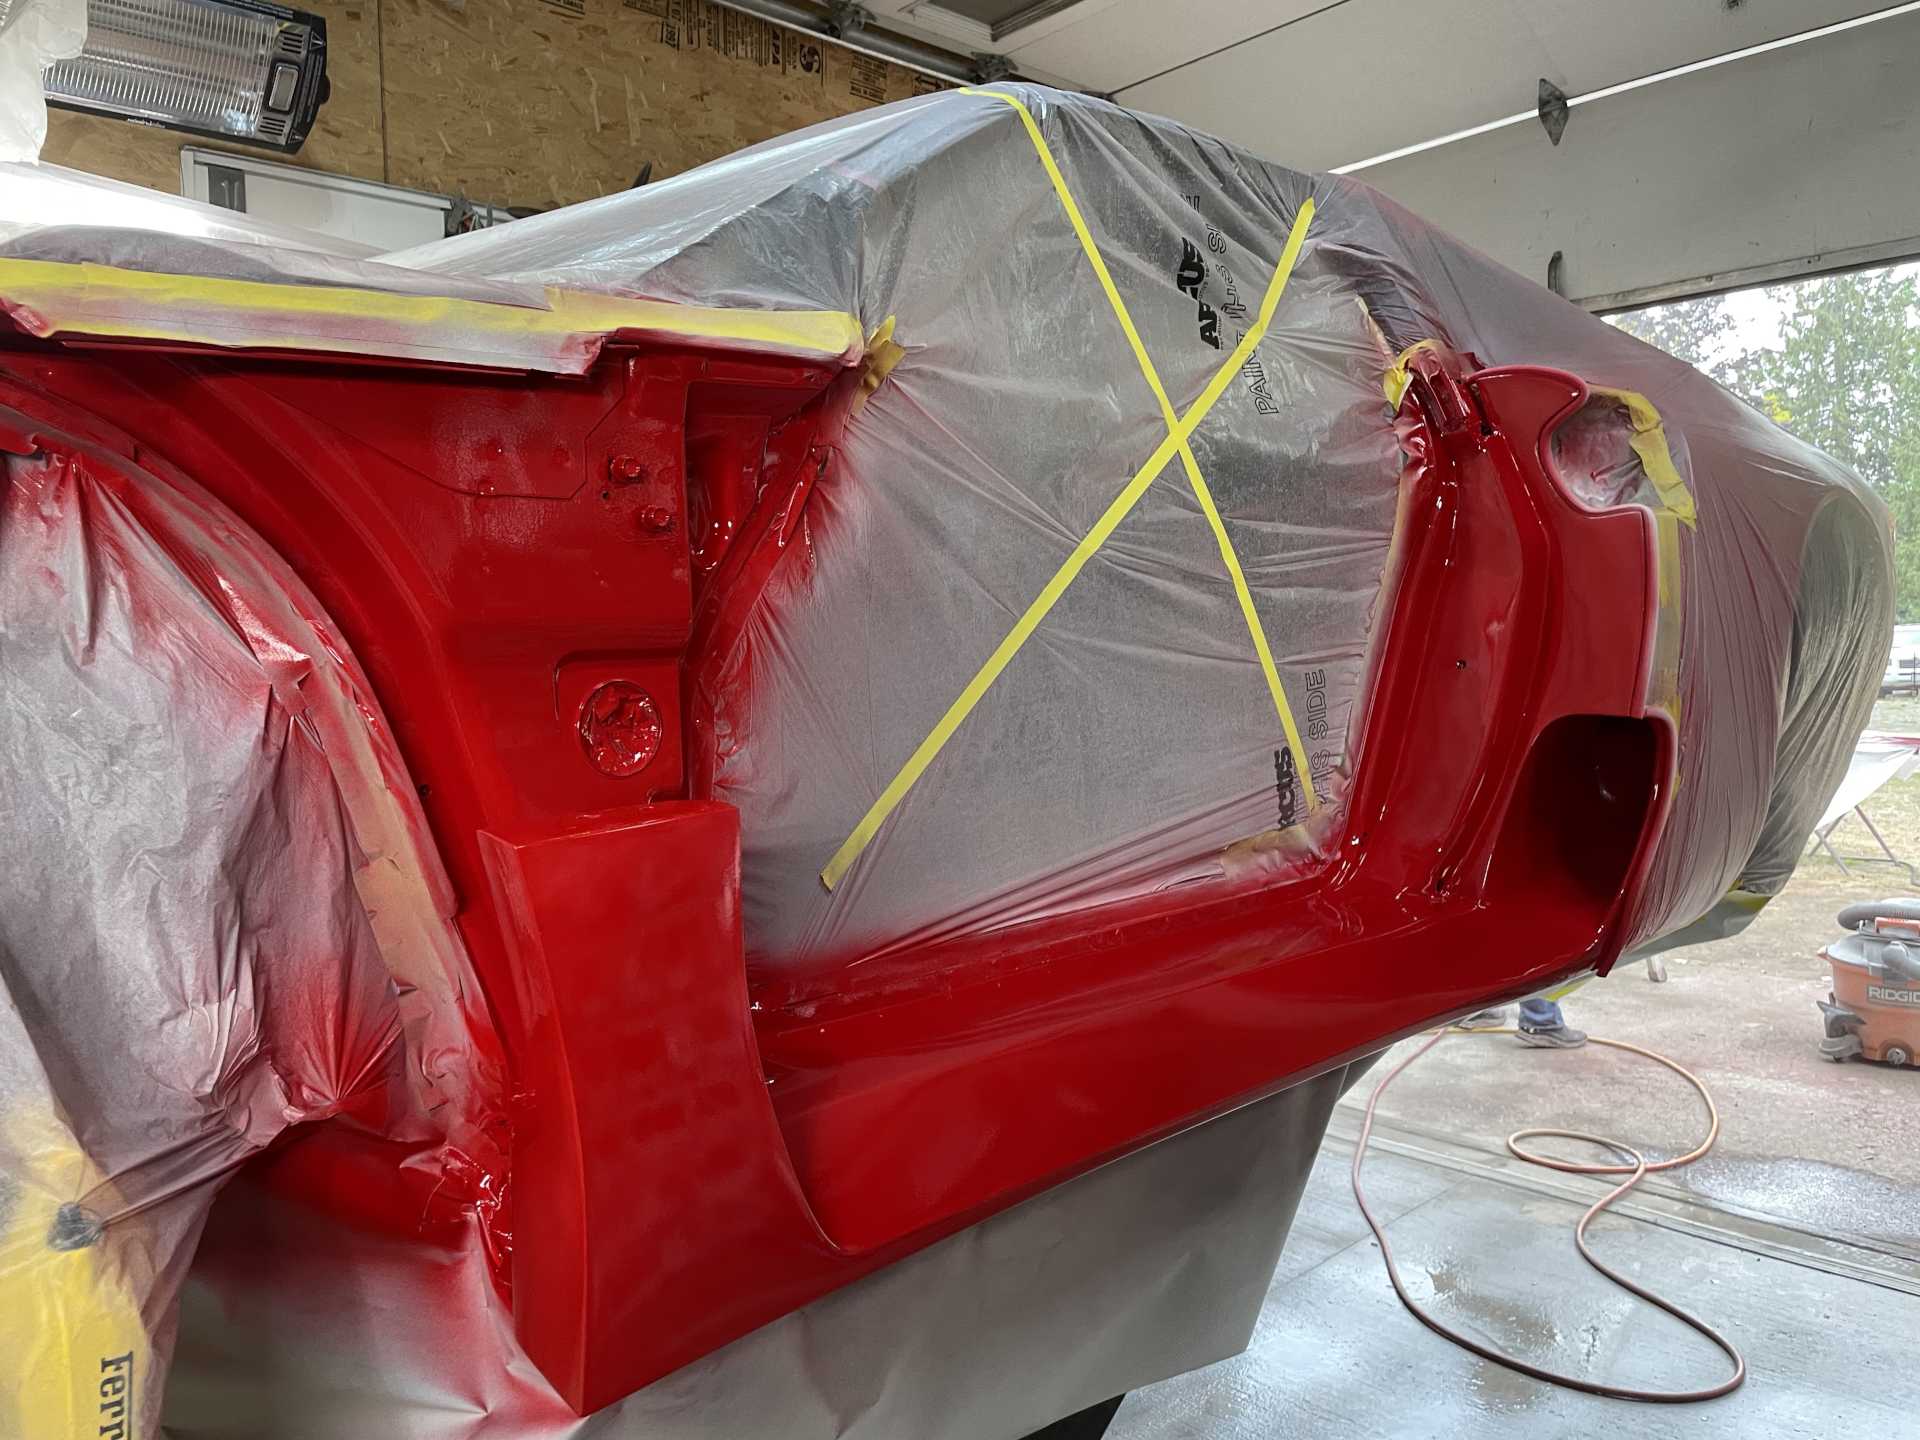
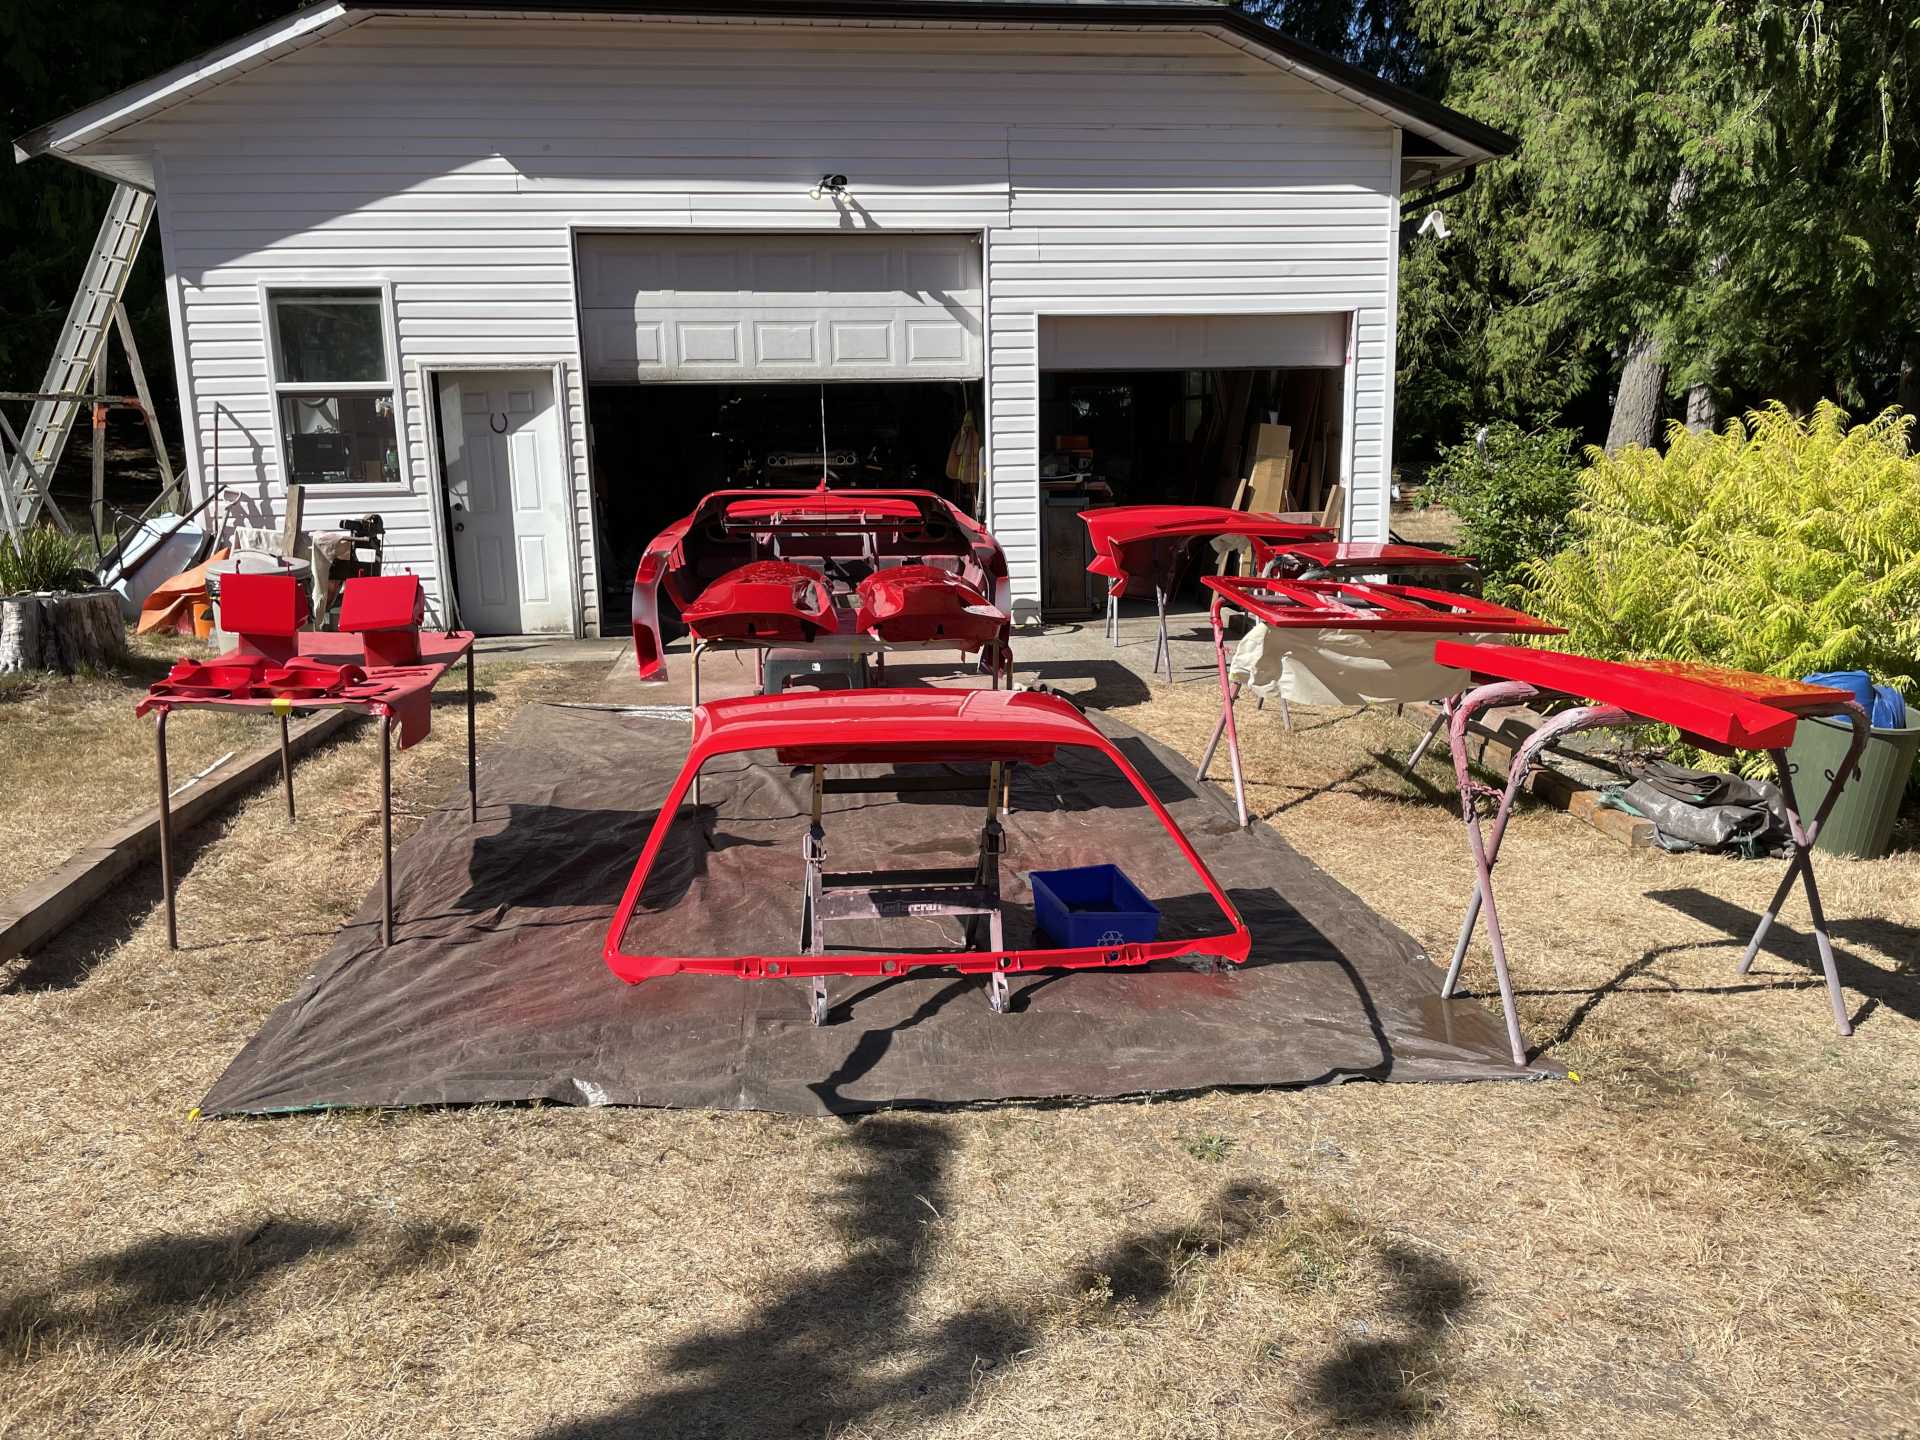
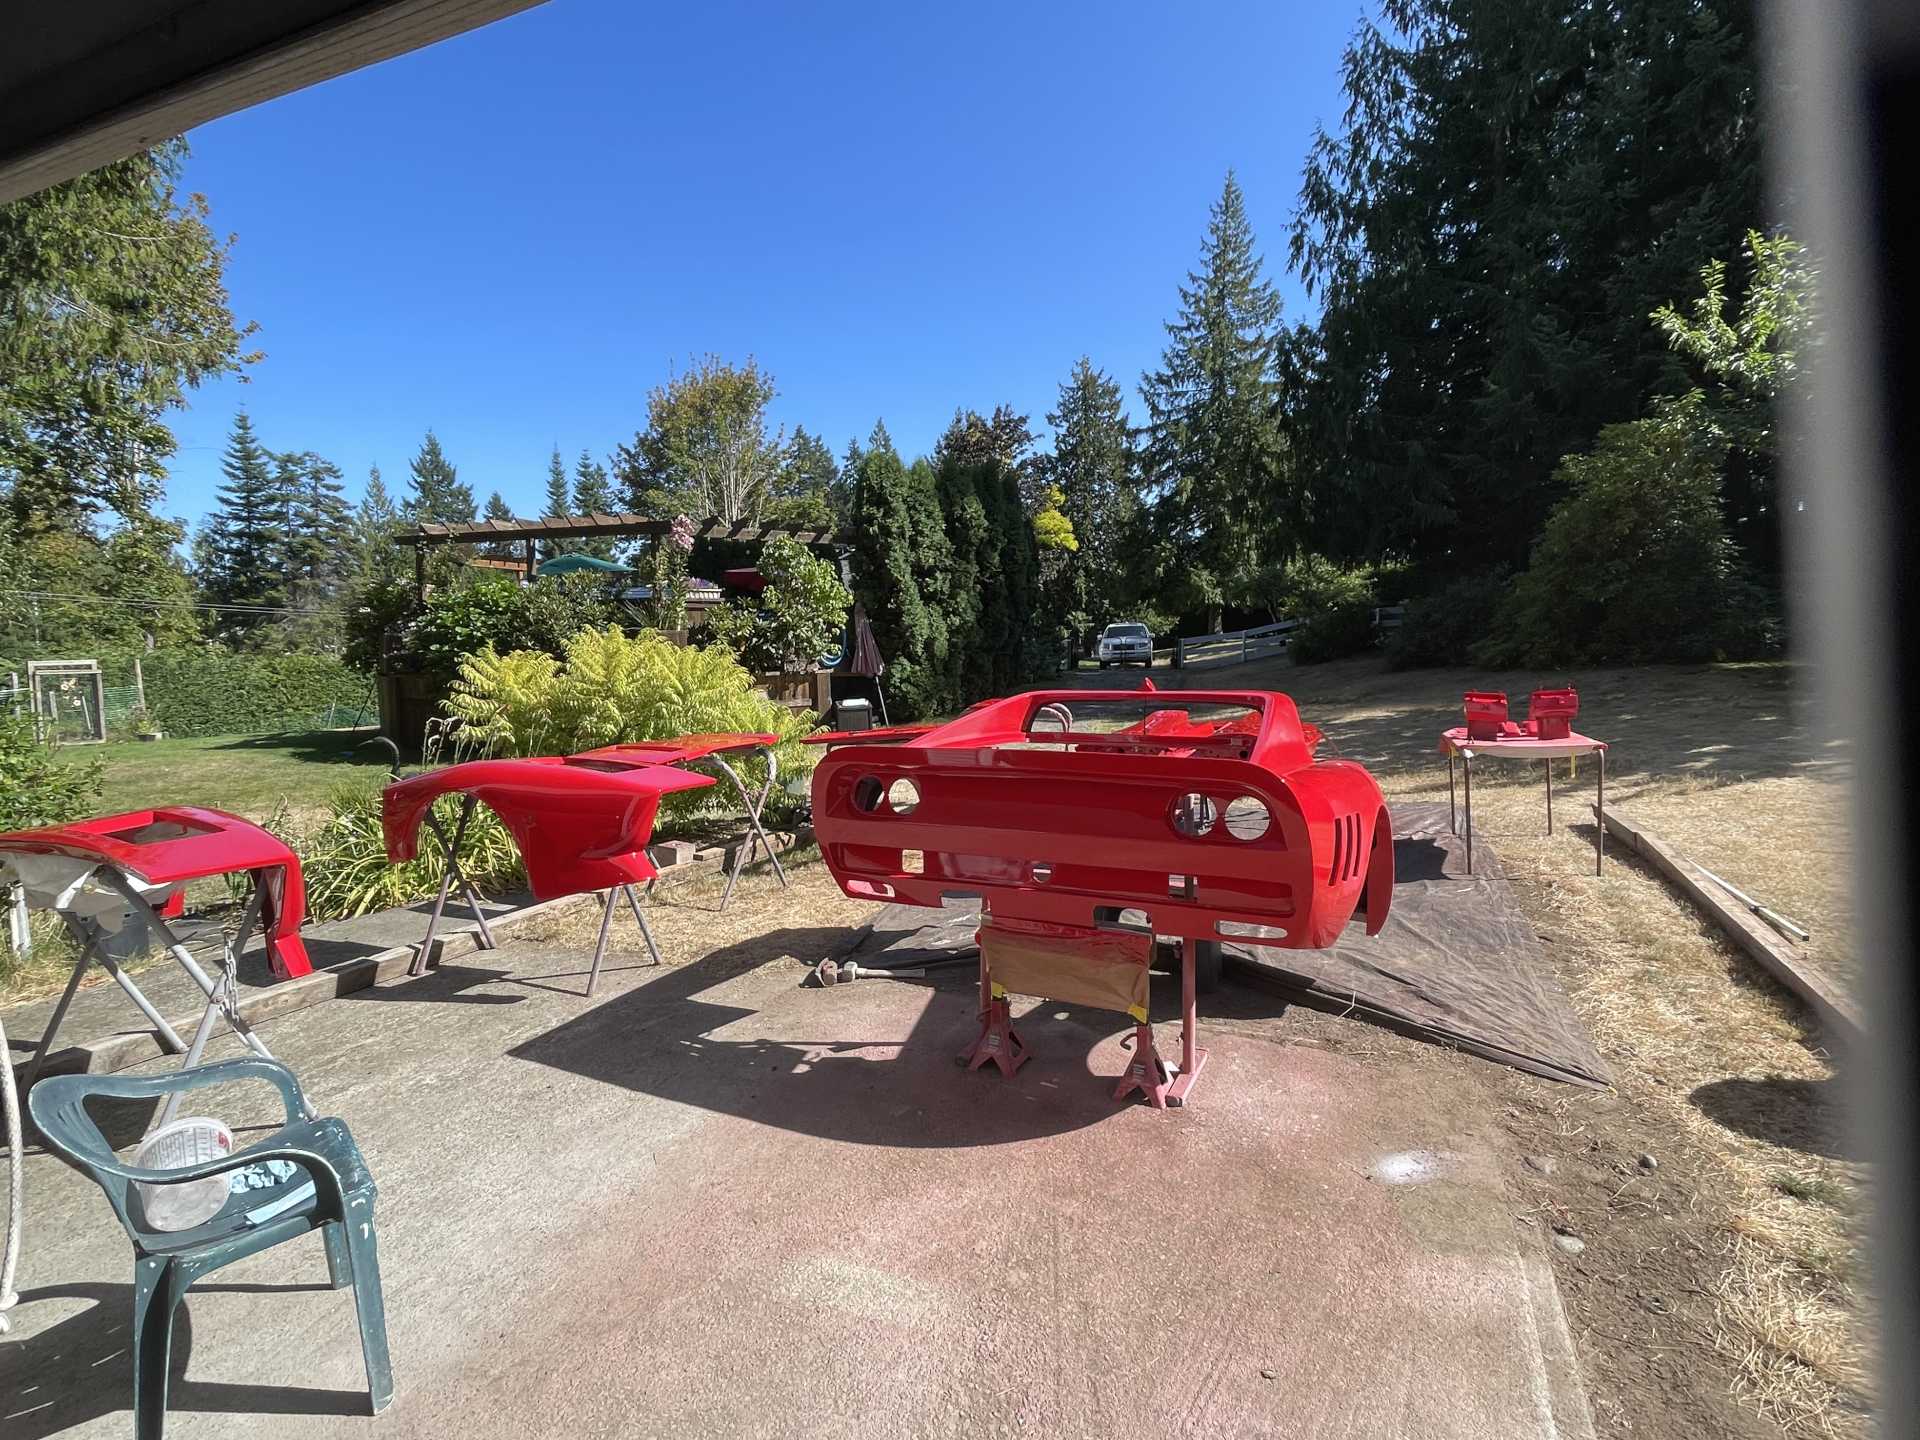
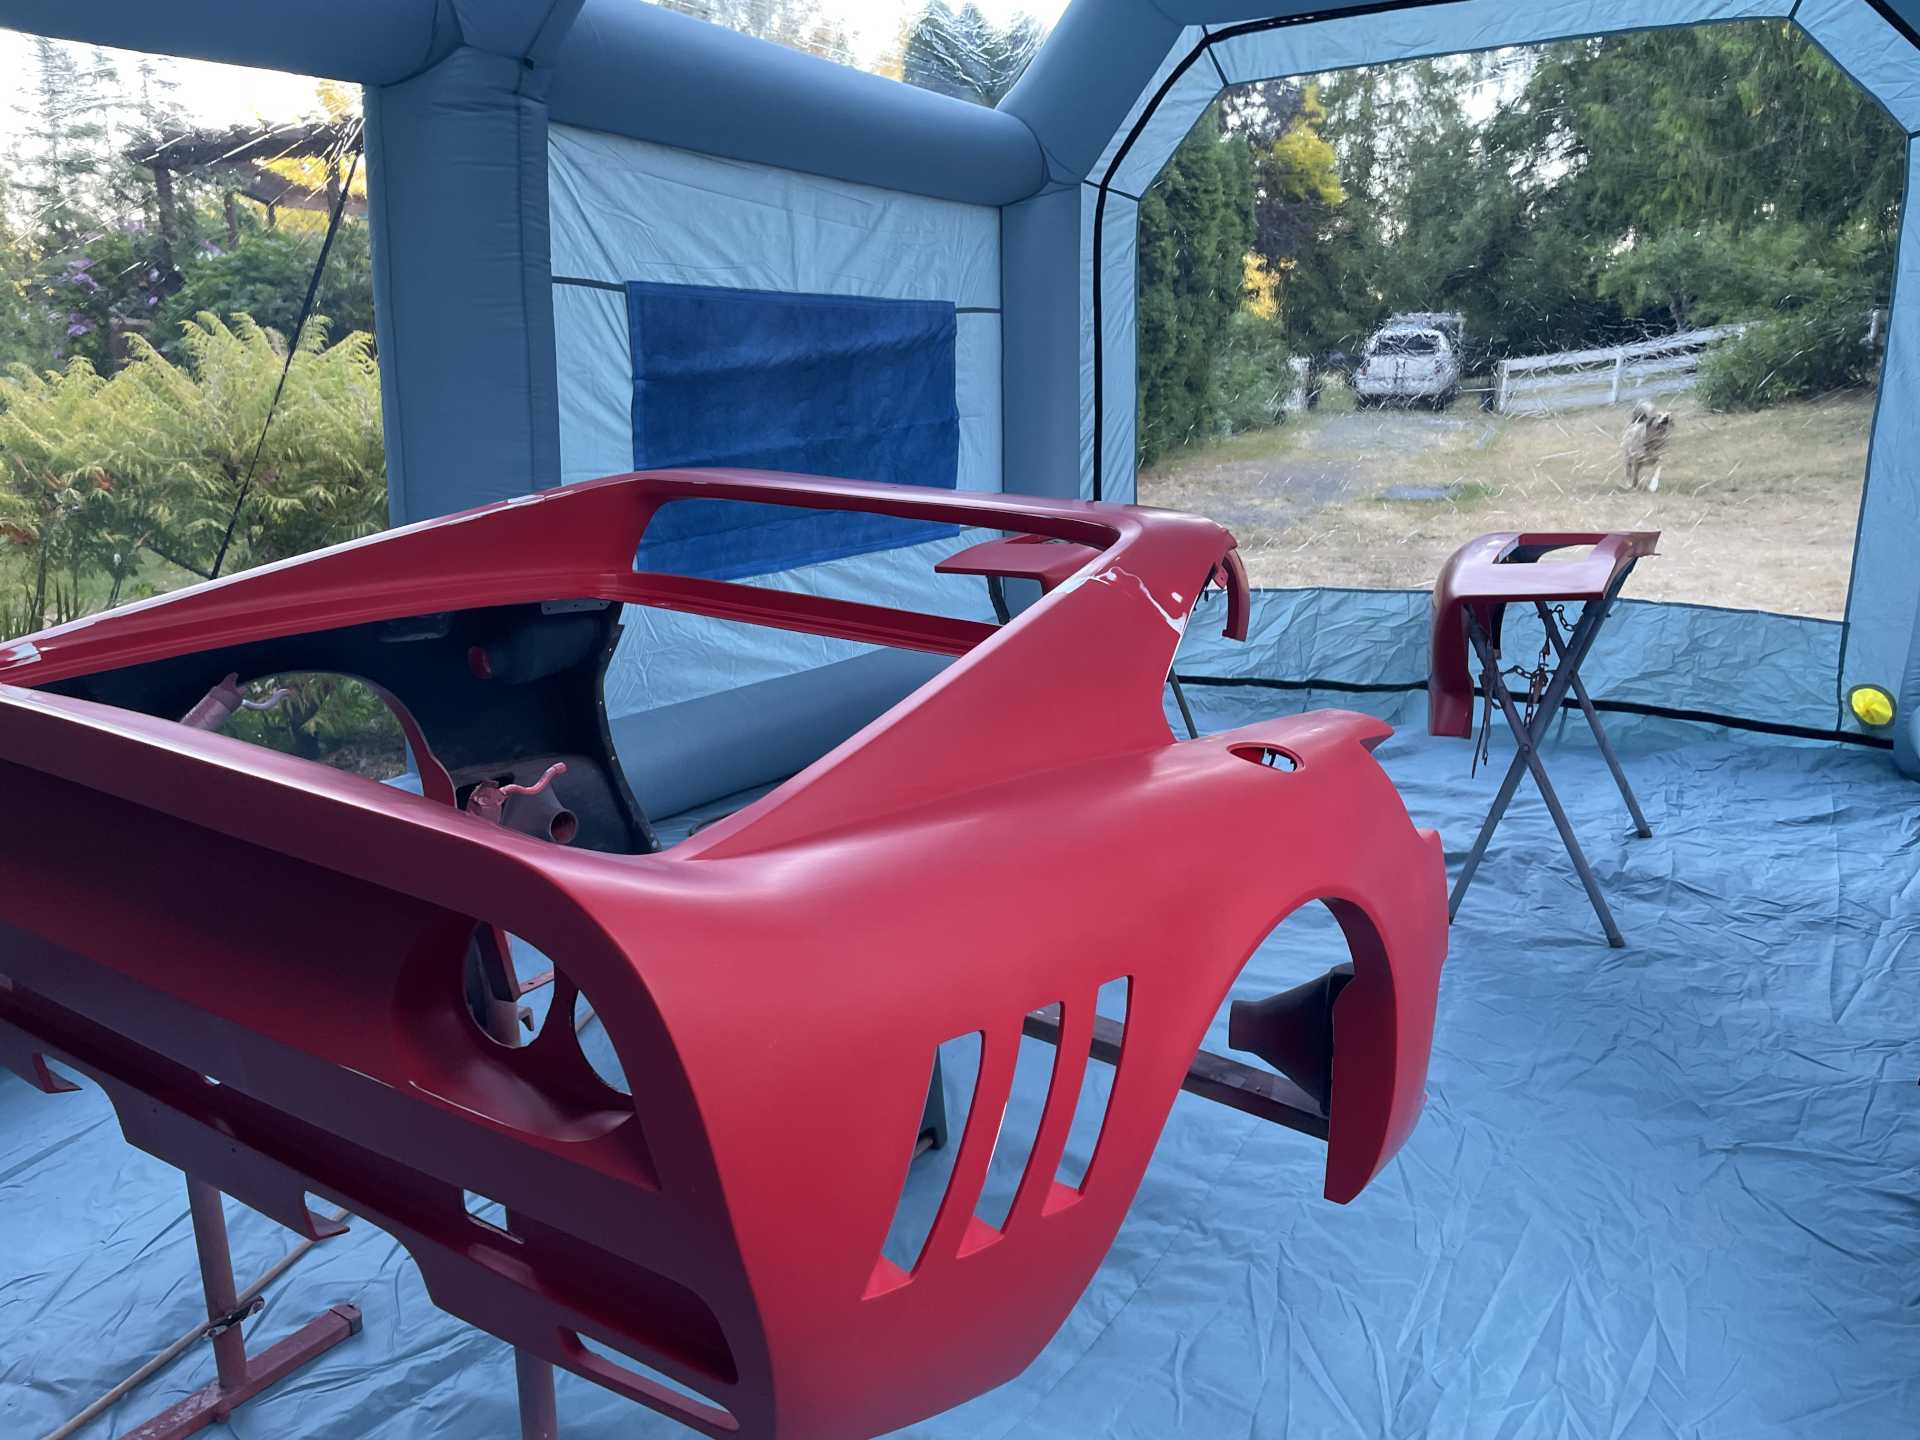
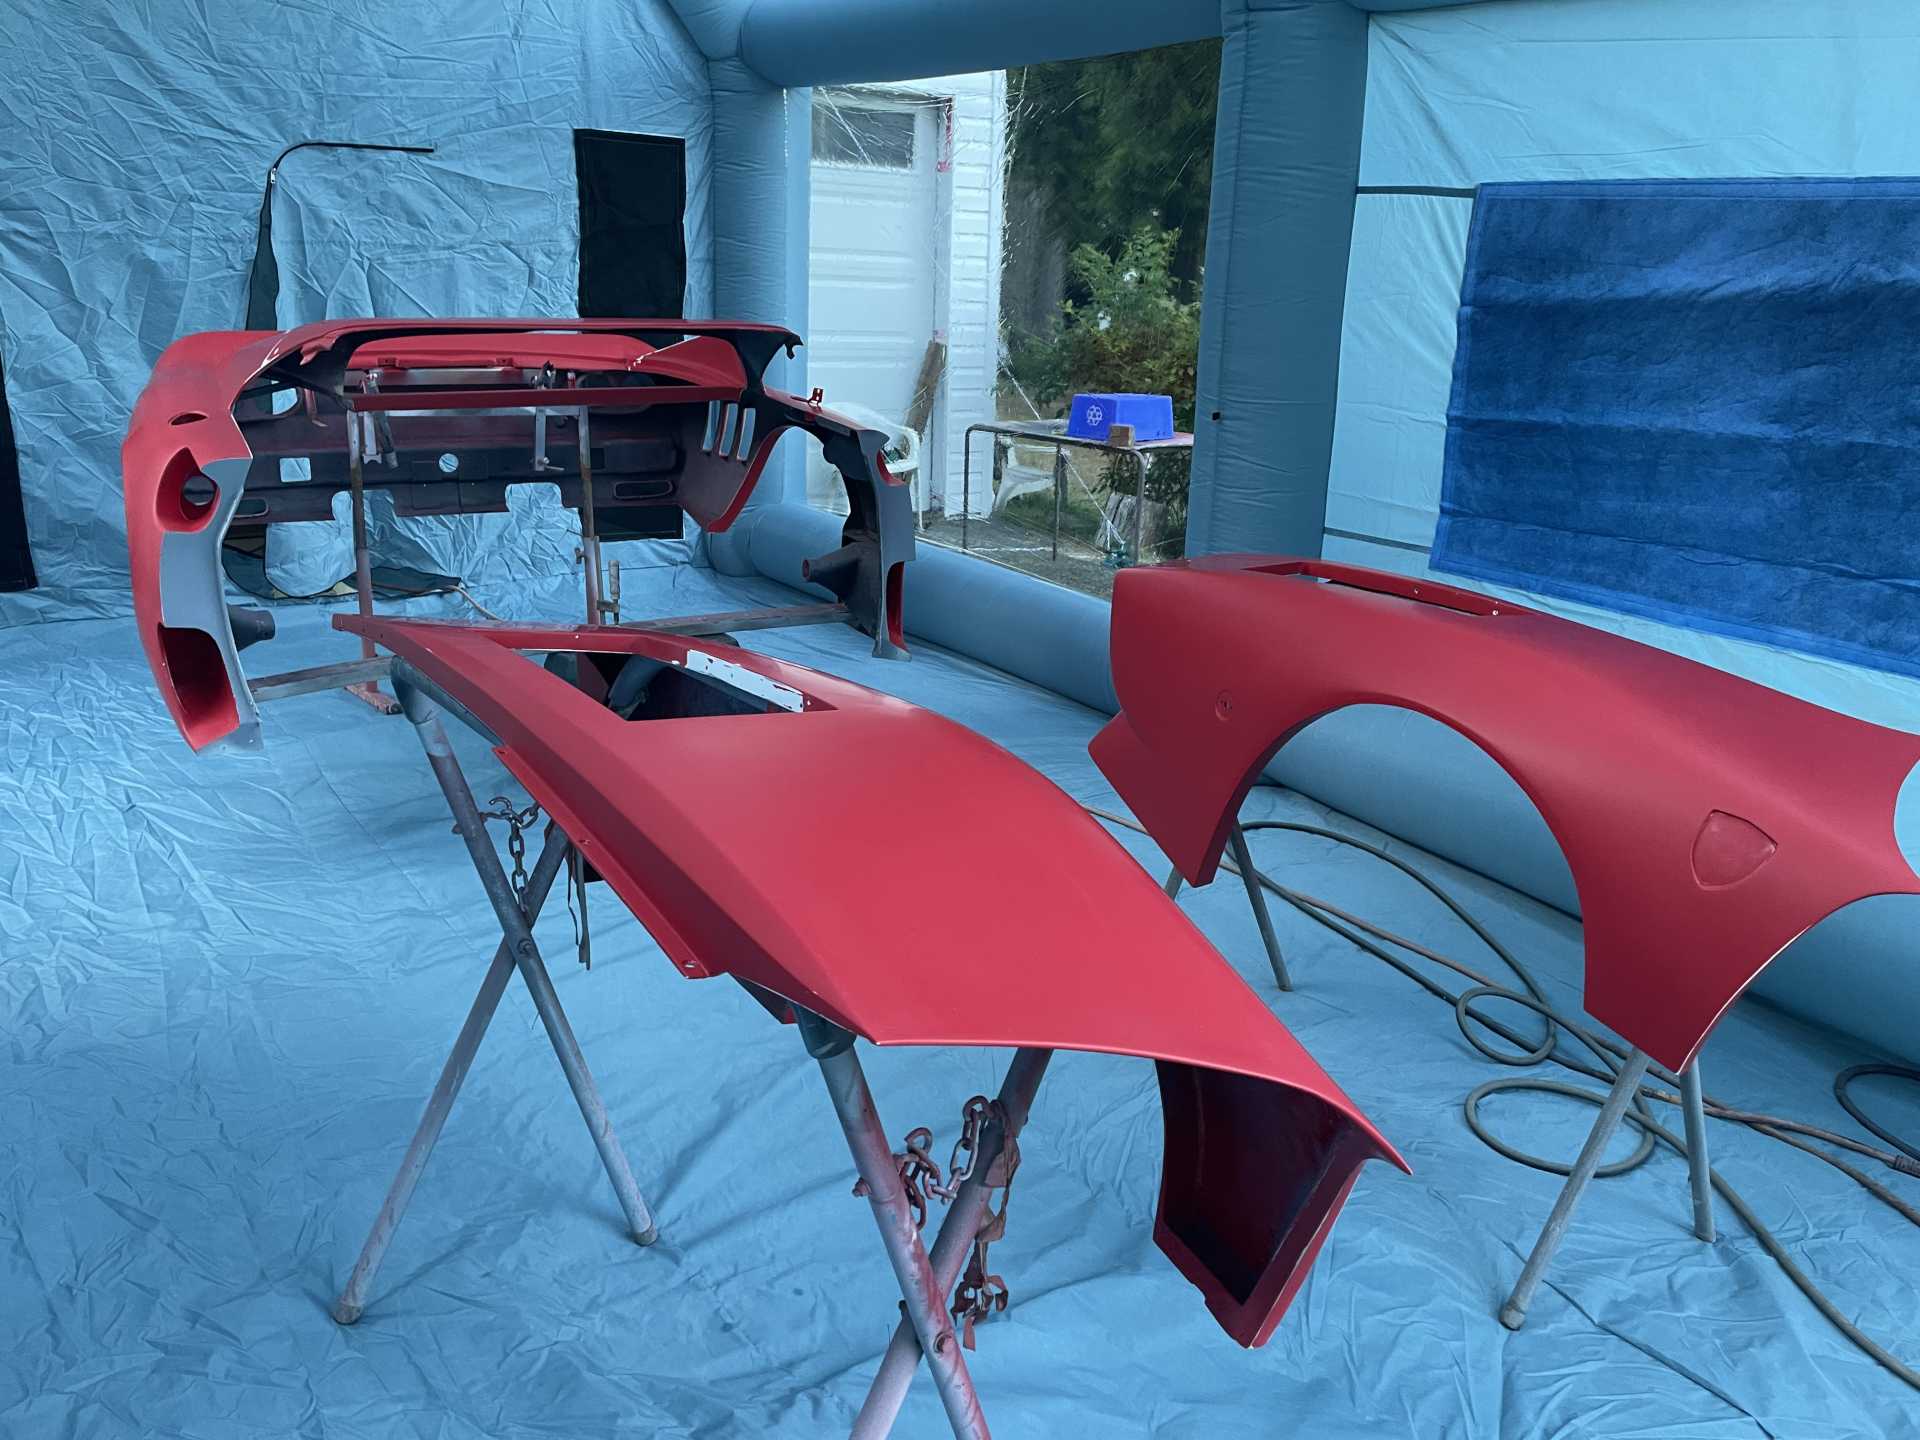
I spent the last while Color sanding and polishing the body pieces , holy crap there are a lot of parts. I’ll be glad when everything is finished!!
Here are a few pics of everything

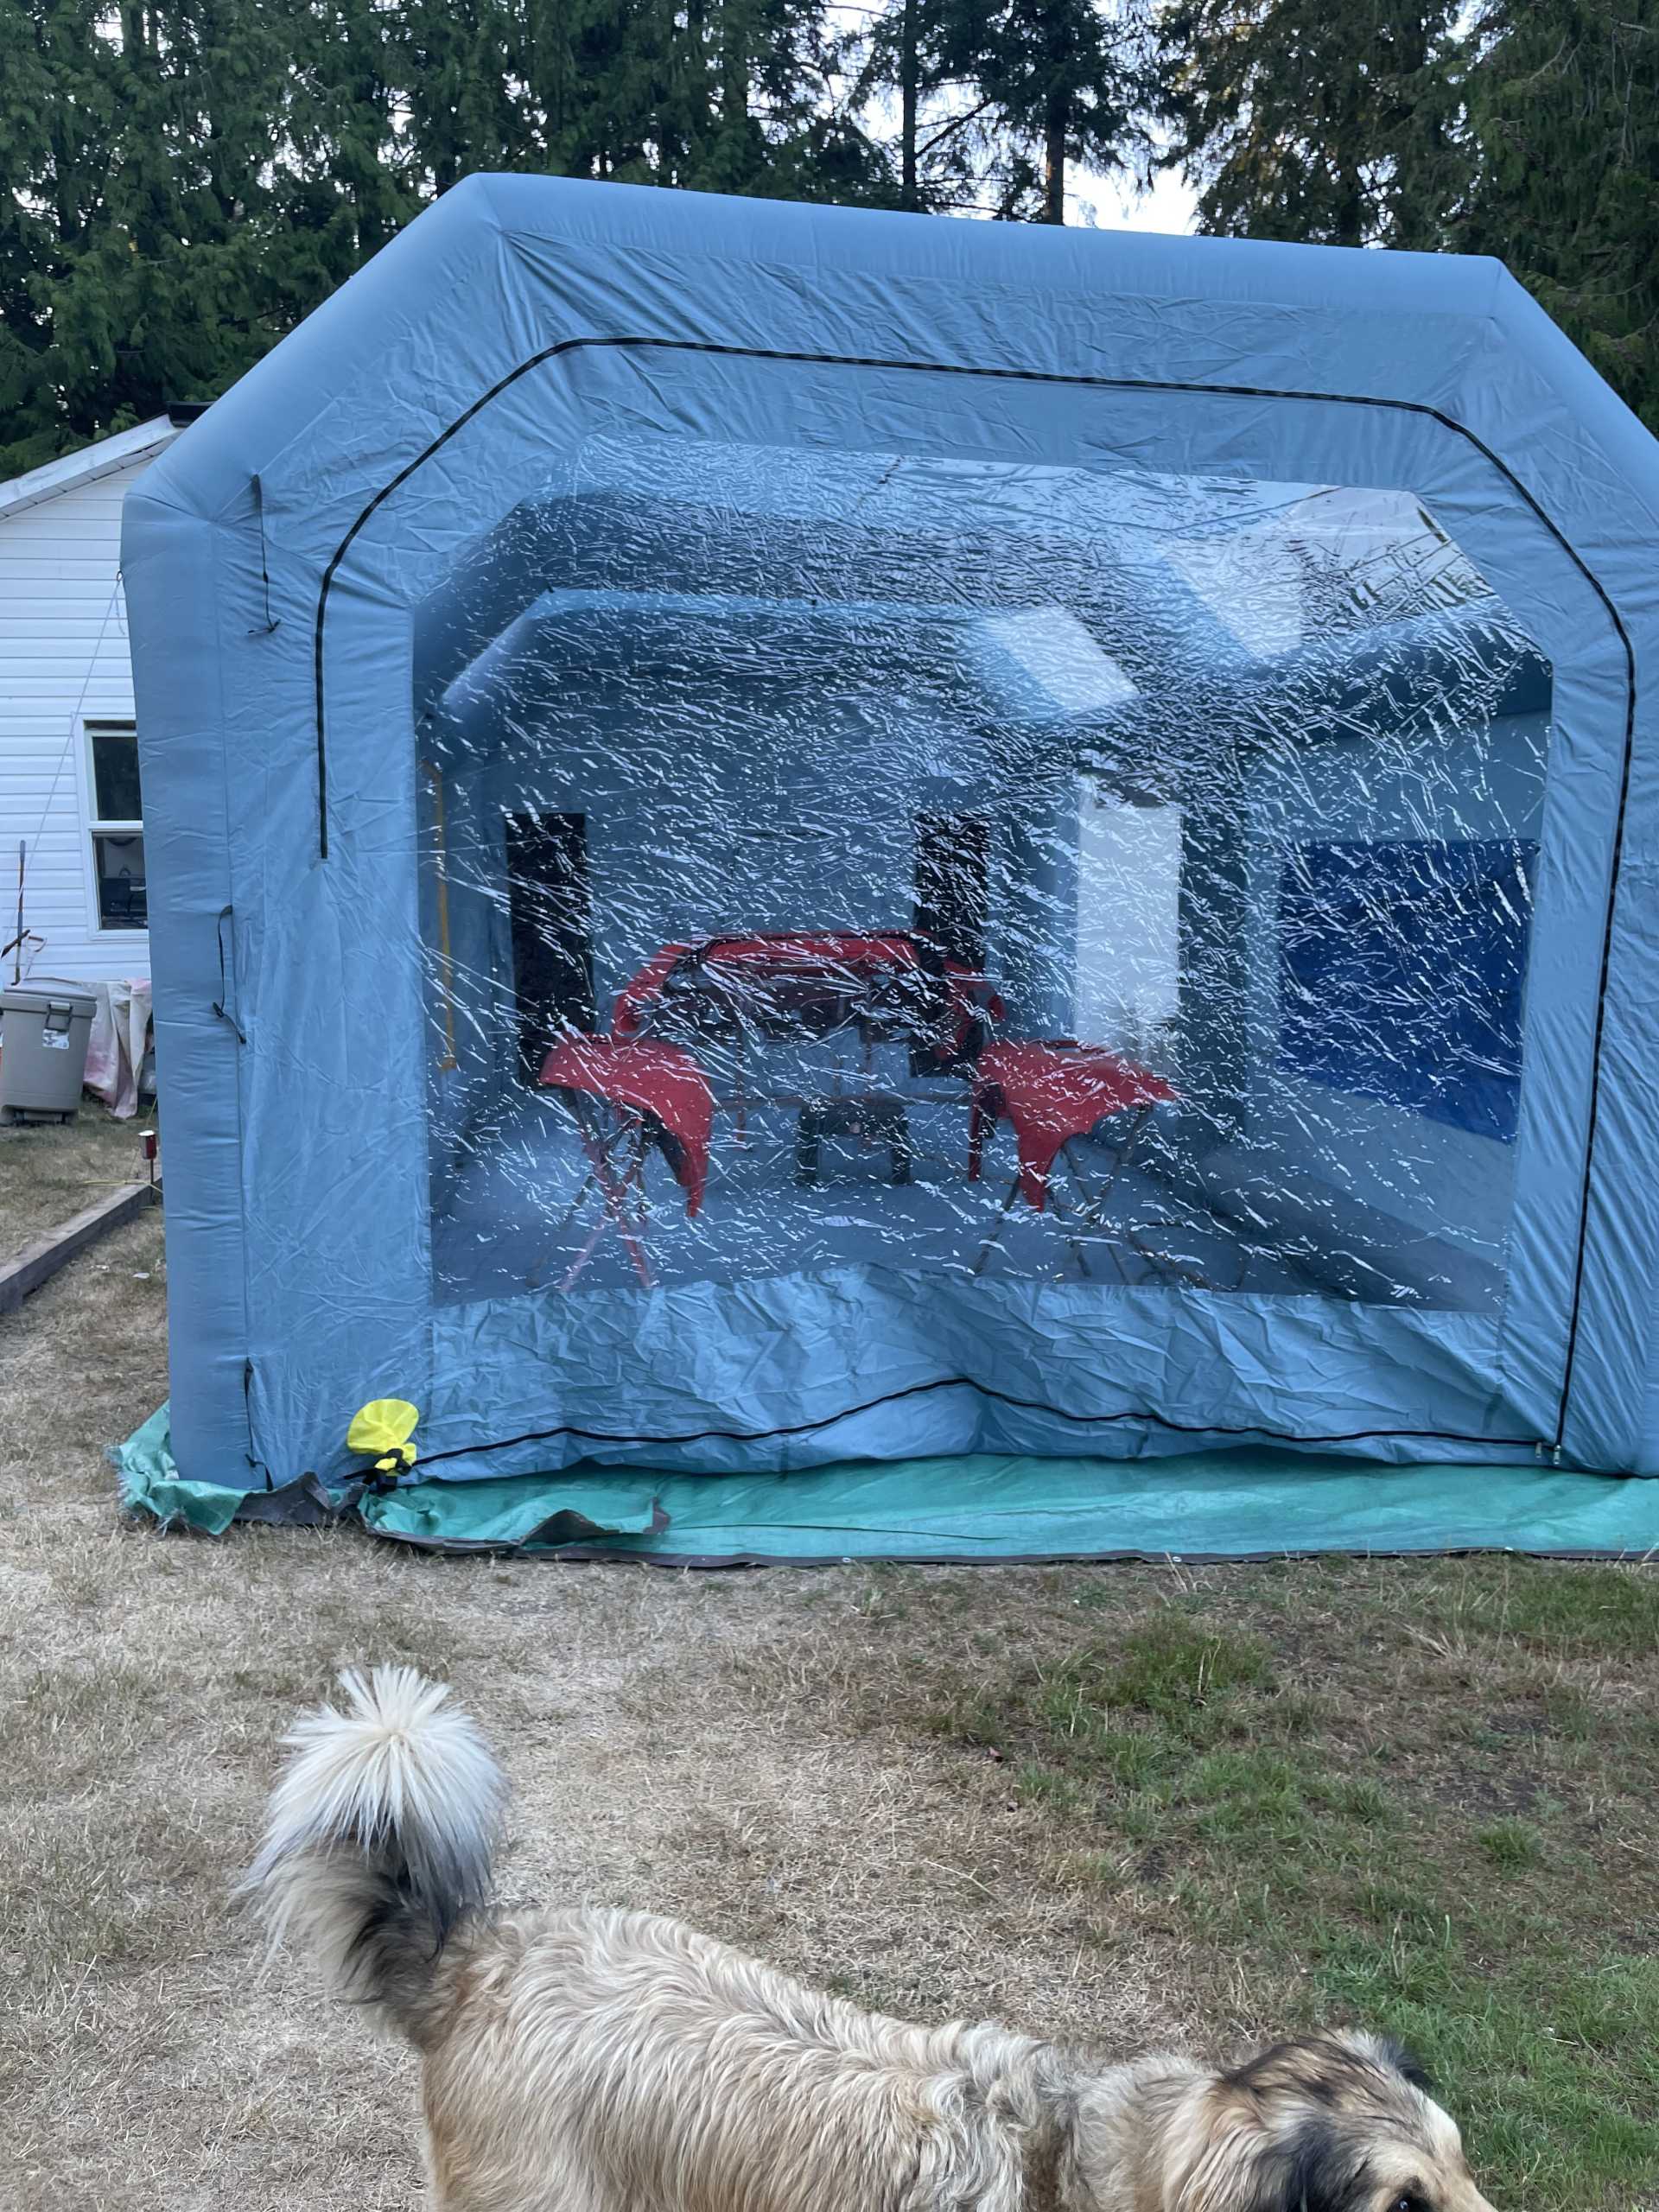
I used an inflatable paint booth, man it was soooo hot in there My buddy Kim and I must have lost 10 lbs during the 2 days it took to paint.
Don has almost finished building the HVAC / Light controller
I’m hoping to mount the rear body early next week , then I’ll complete the final assembly
Thanks for stopping by.
Wayne
|
|
|
|
shemdogg
|
AUG 20, 12:00 AM
|
|
Almost at the home stretch, paint came out great. Cant wait to see it all mounted, making awesome progress!
shem
|
|
|
|
Sage
|
AUG 20, 08:52 AM
|
|
|
|
|
dobie1
|
AUG 24, 10:00 PM
|
|
| quote | Originally posted by Sage:

As always, stellar progress! It looks soooo good!
Footnote....got the steering wheel installed finally! In the time it took me to install a steering wheel, you built an F-car! LOL! 
Looking forward to seeing it all come together.
Thanks for posting your progress, it STILL serves as inspiration to some of us that have a hard time finding time to change our oil!
HAGO!
|
|
Thanks Sage, I’m glad to hear you put it to some use and found the time to install it. I hope you enjoy the latest updates.
Thanks Shem I’m pretty happy with how it turned out , still always to go but it’s progressing.
Here’s the latest
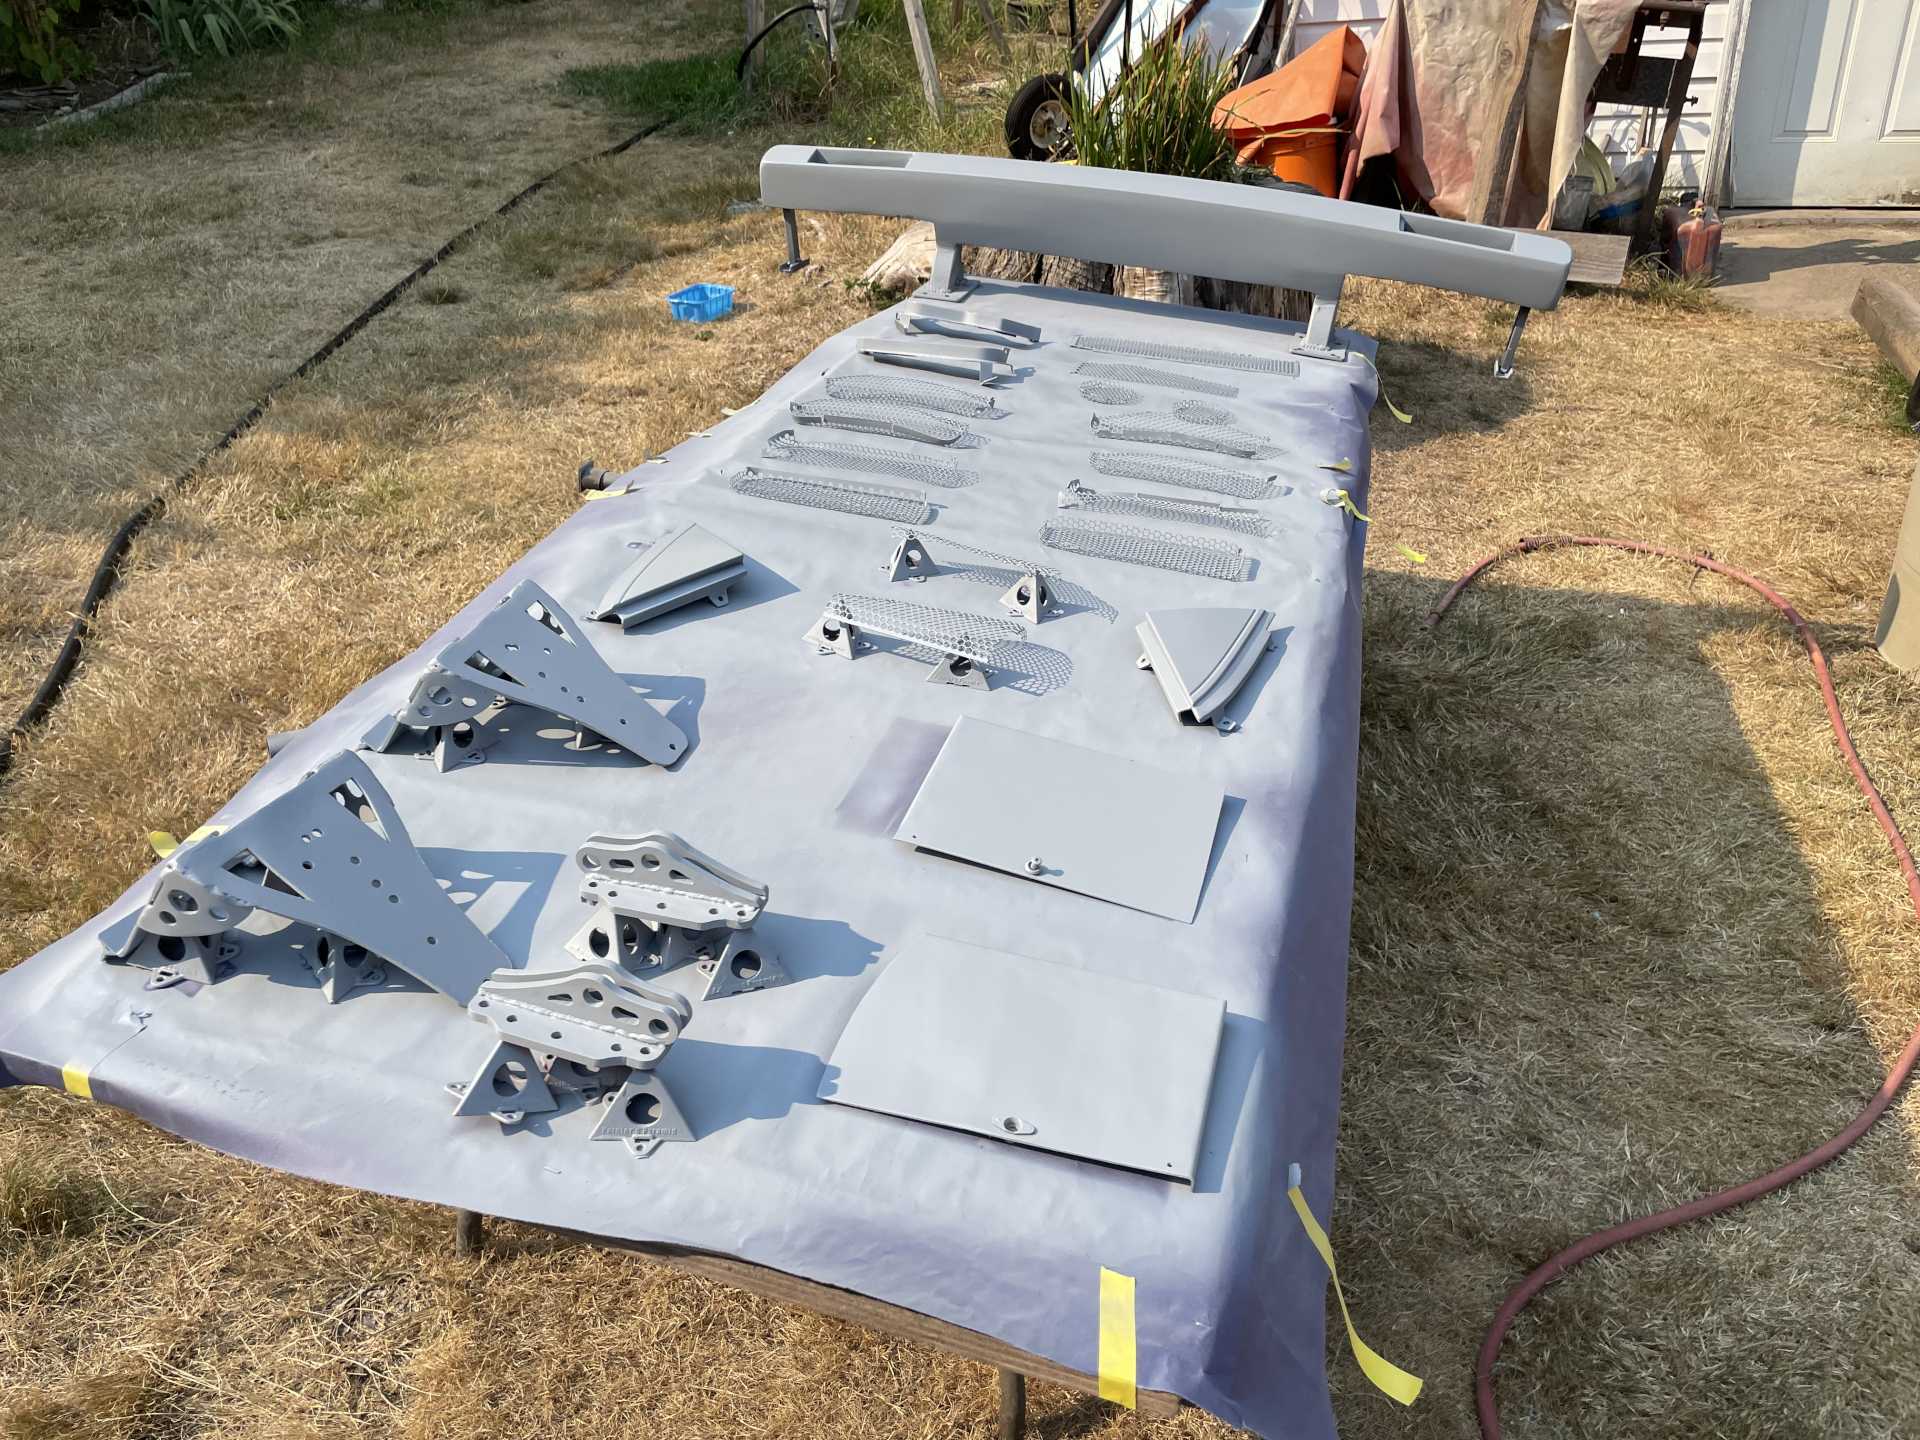
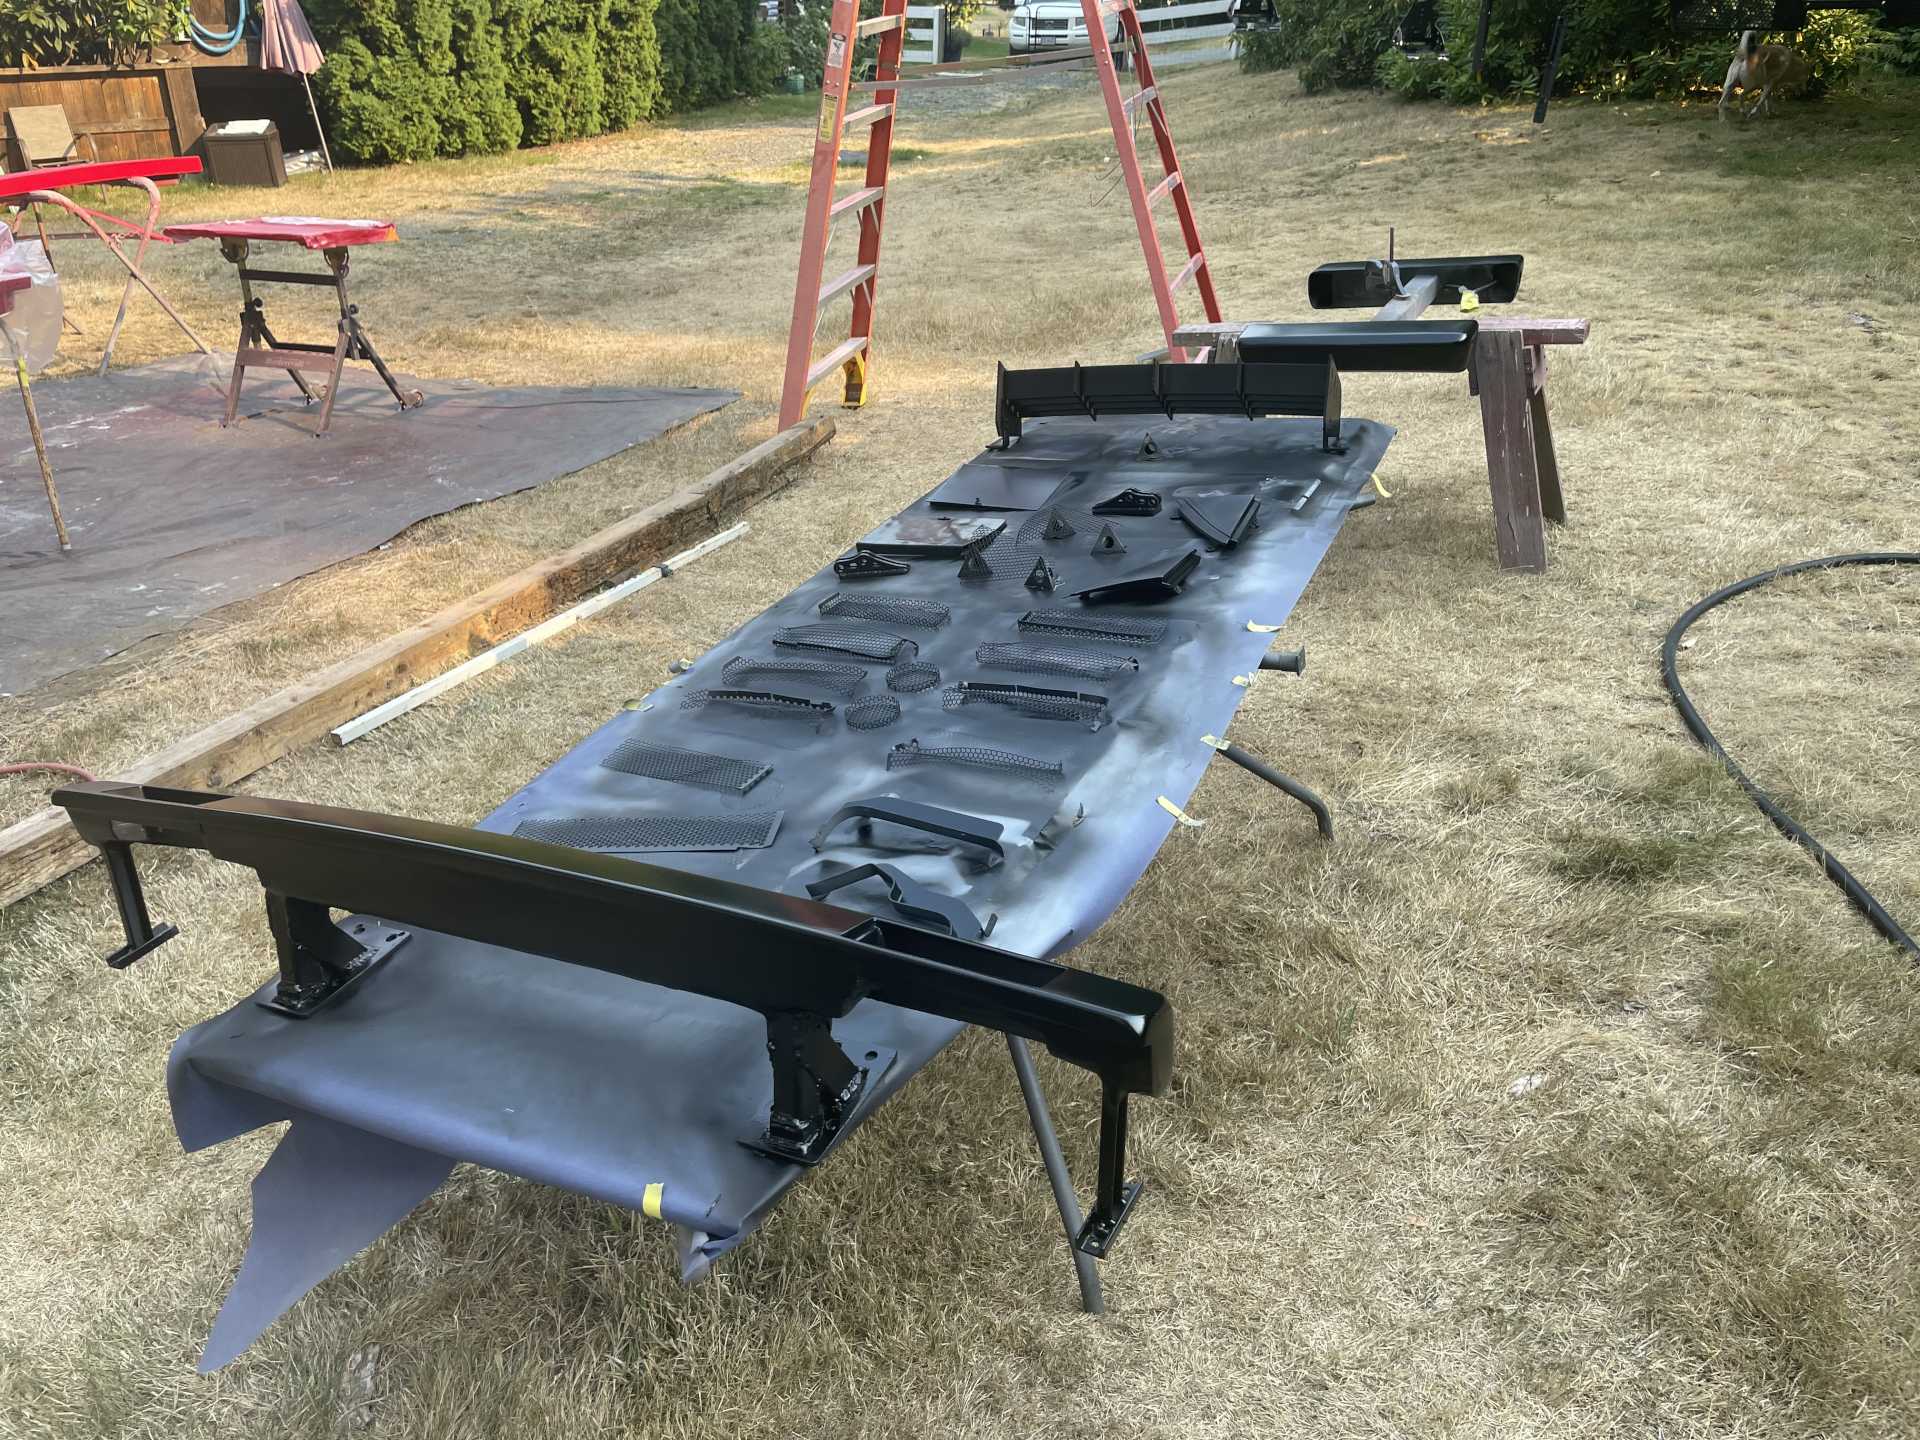
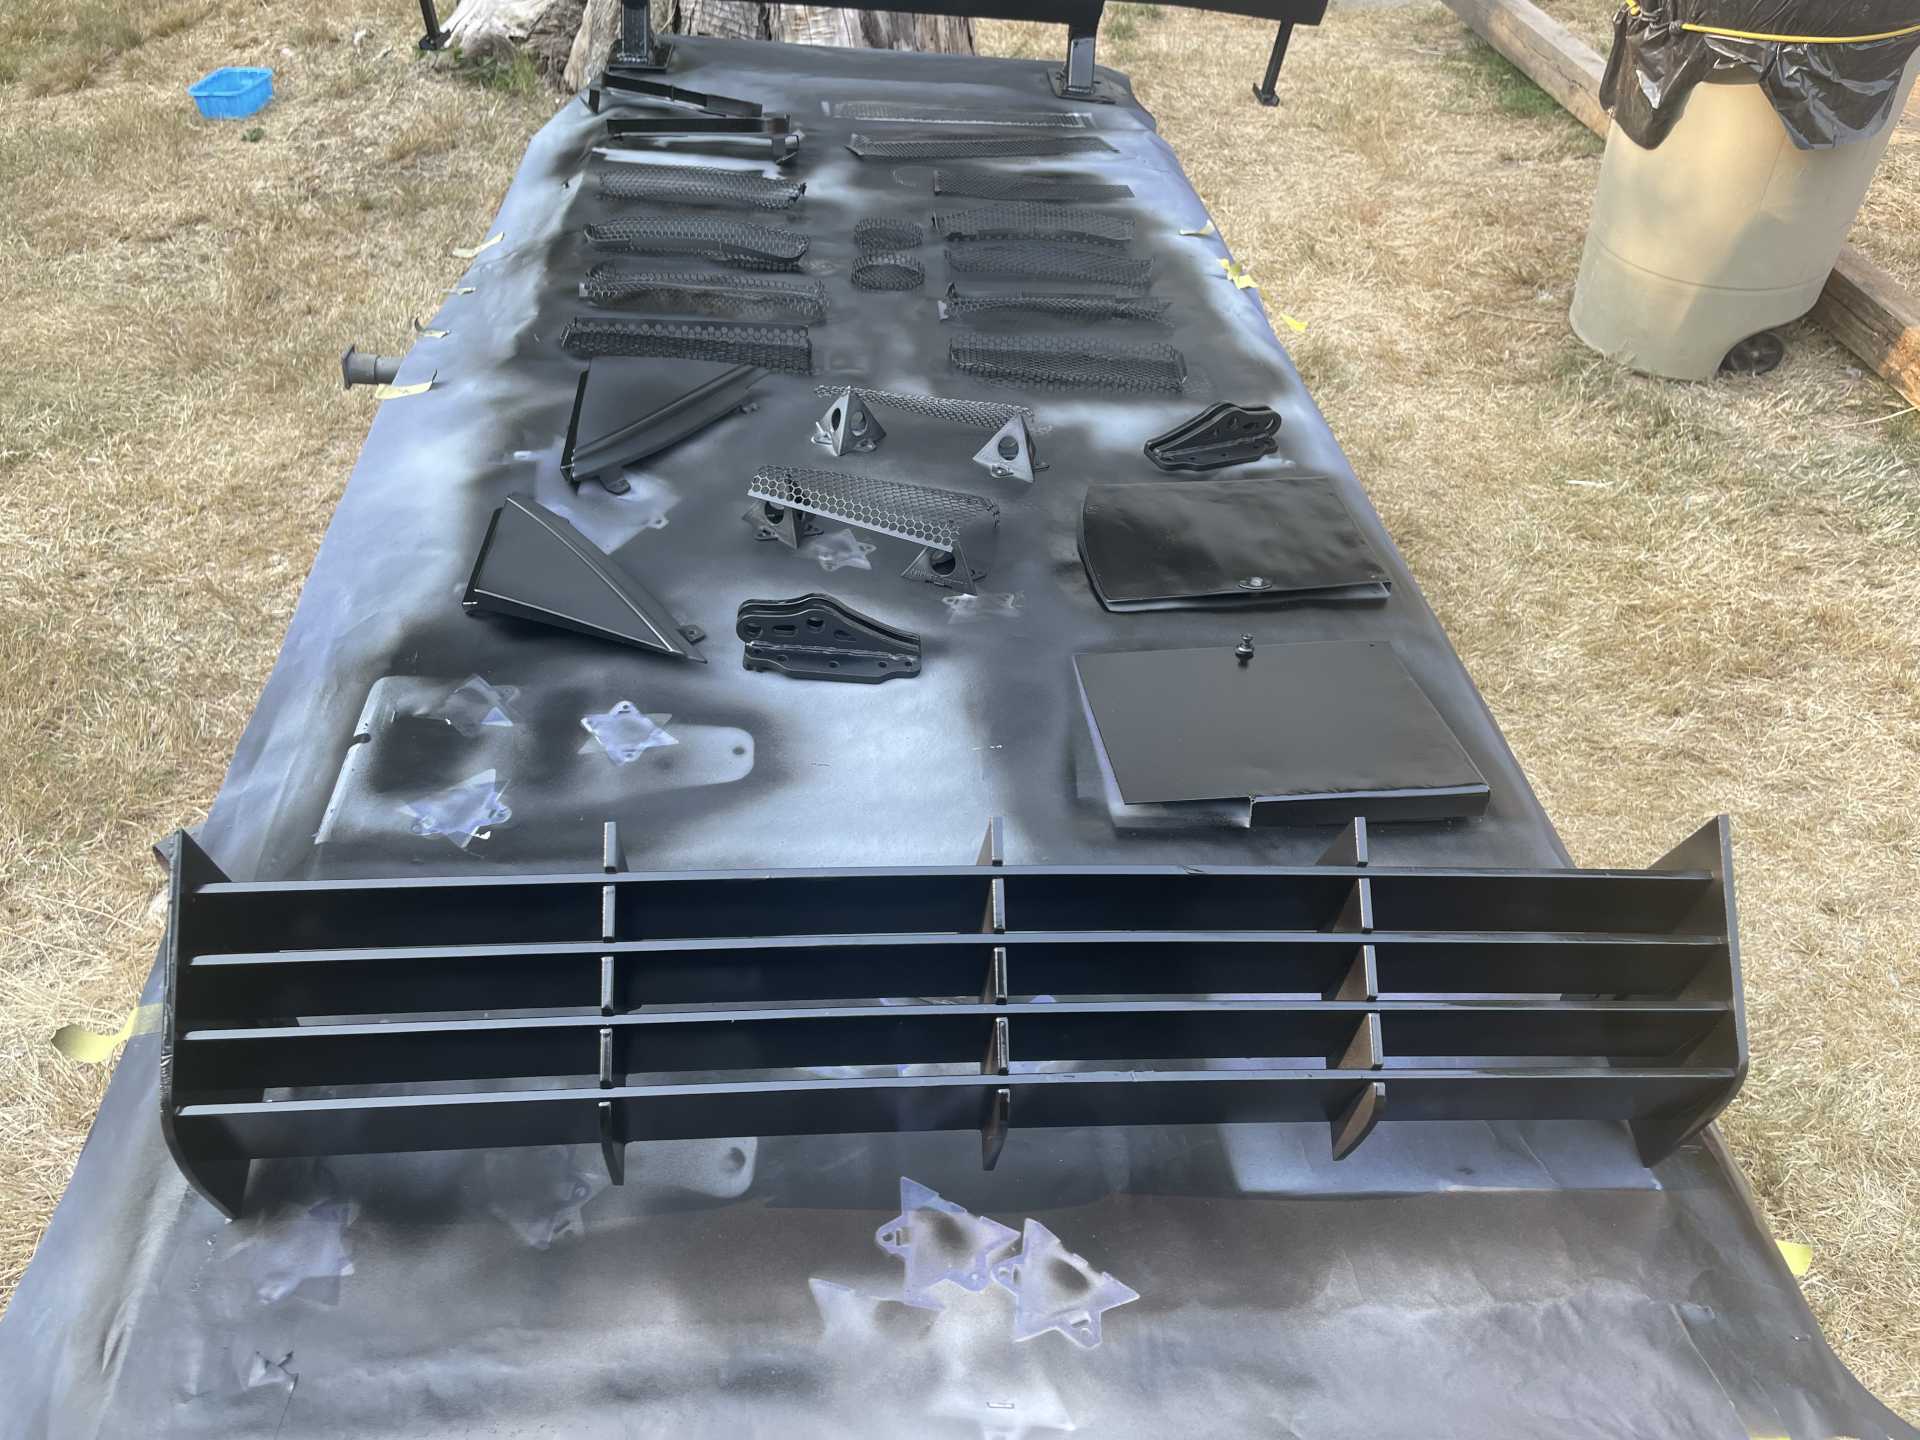
I painted all the remaining black parts, I had just enough of the Satin Hot Rod Black left.
First painted everything with epoxy primer
Then top coated with the black
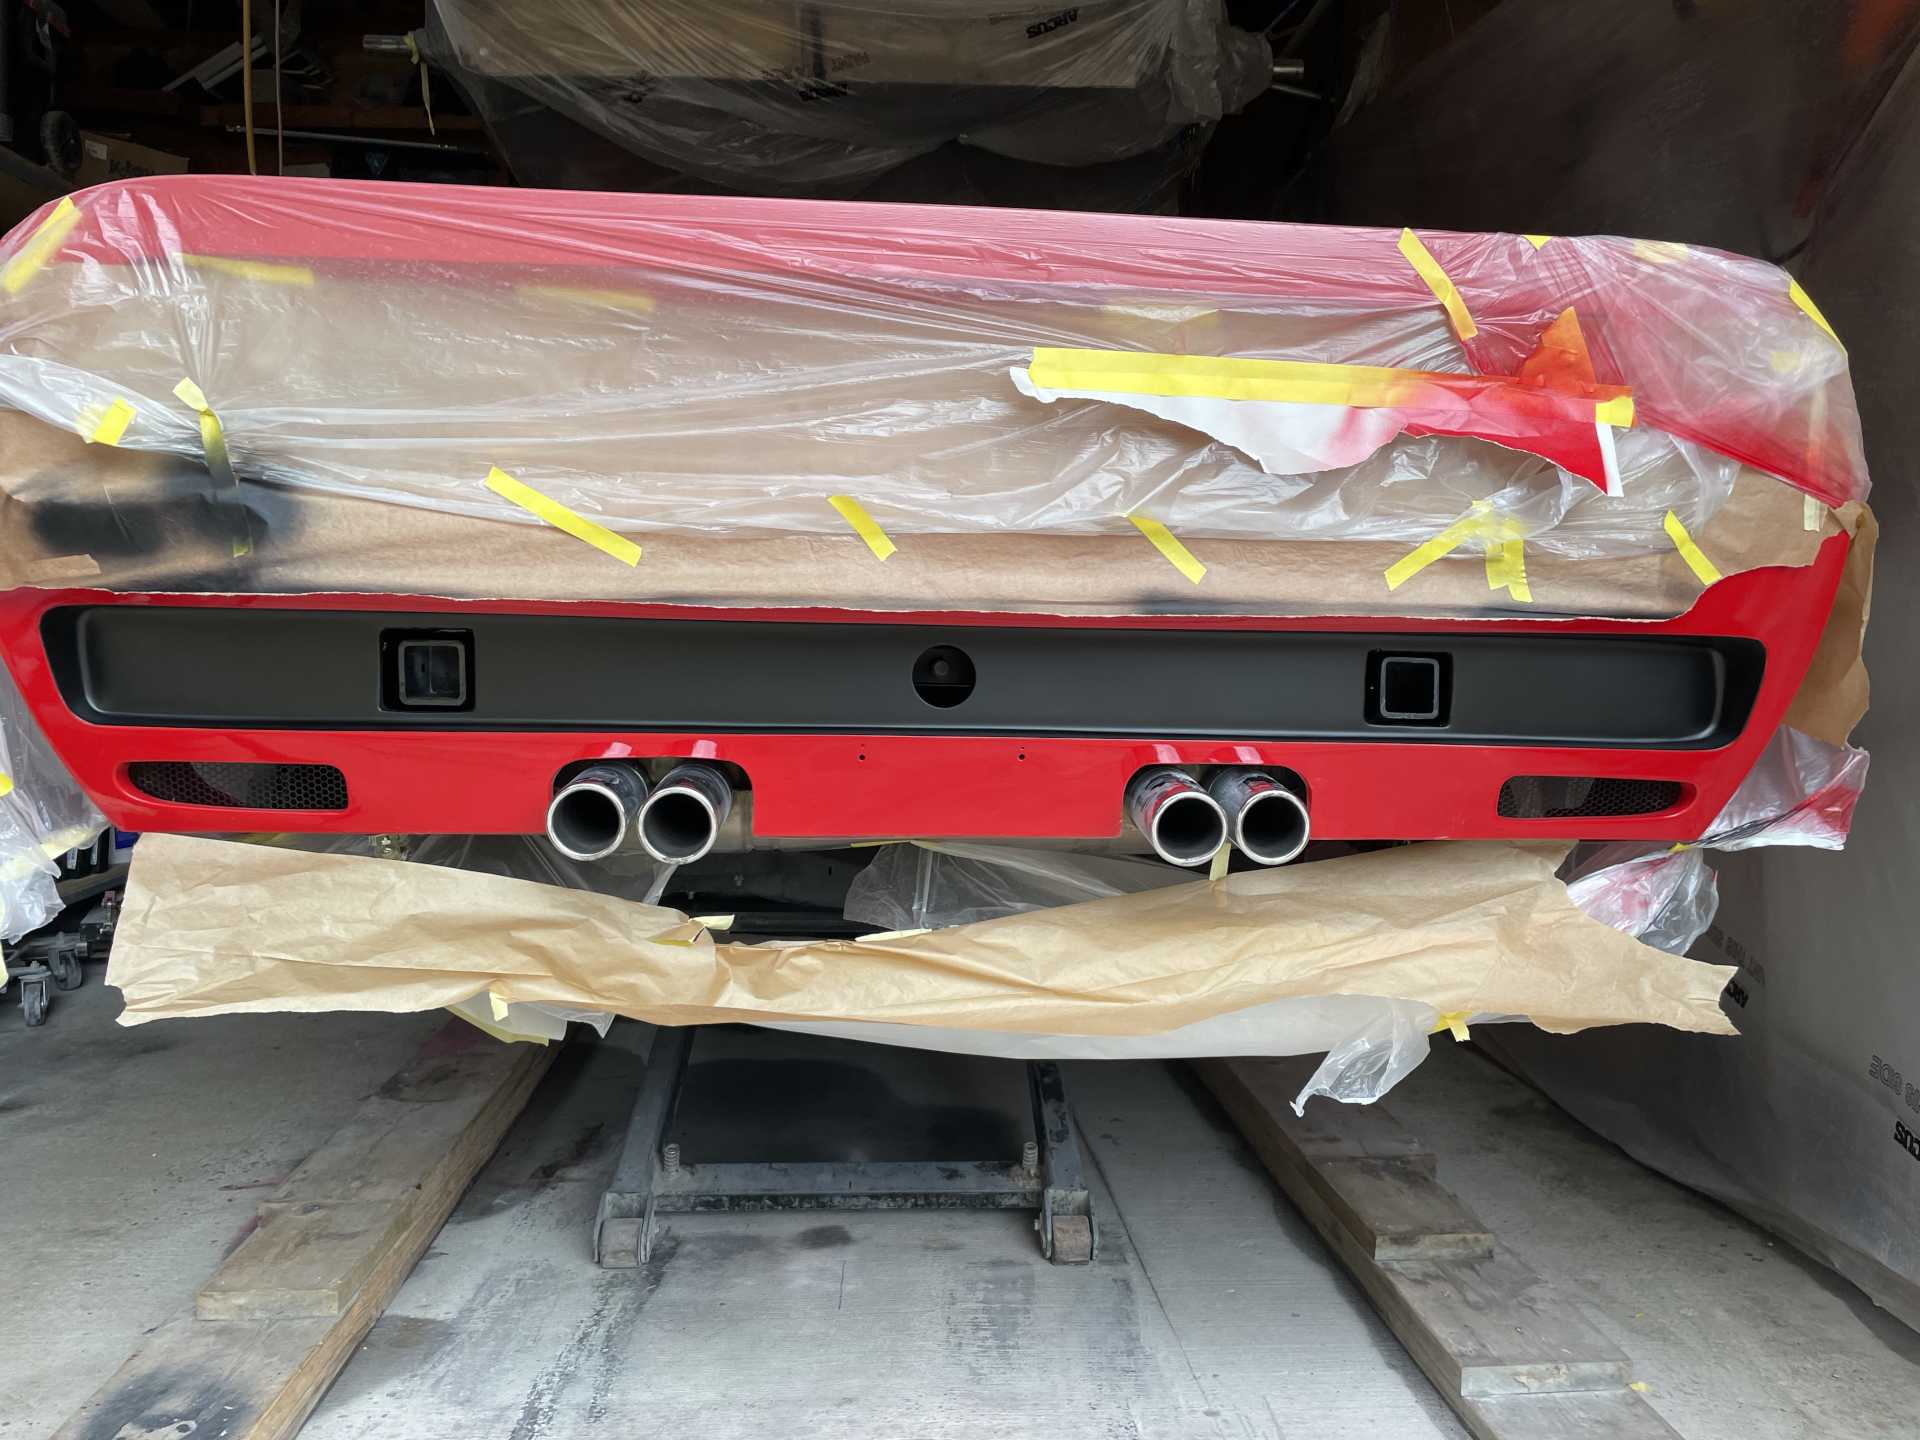
Then with the help of Phil, LD, and Kim we bonded and installed the rear body , we did a test fit before applying the panel bond just to work out all the bugs .
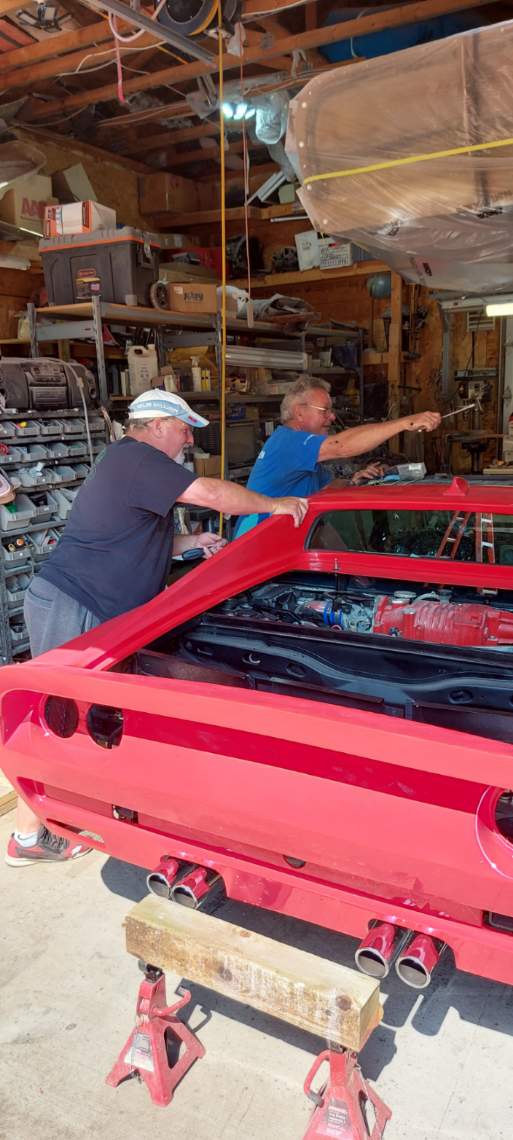
I let it sit for 24 hours before filling all the glue gaps with a fiberglass slurry
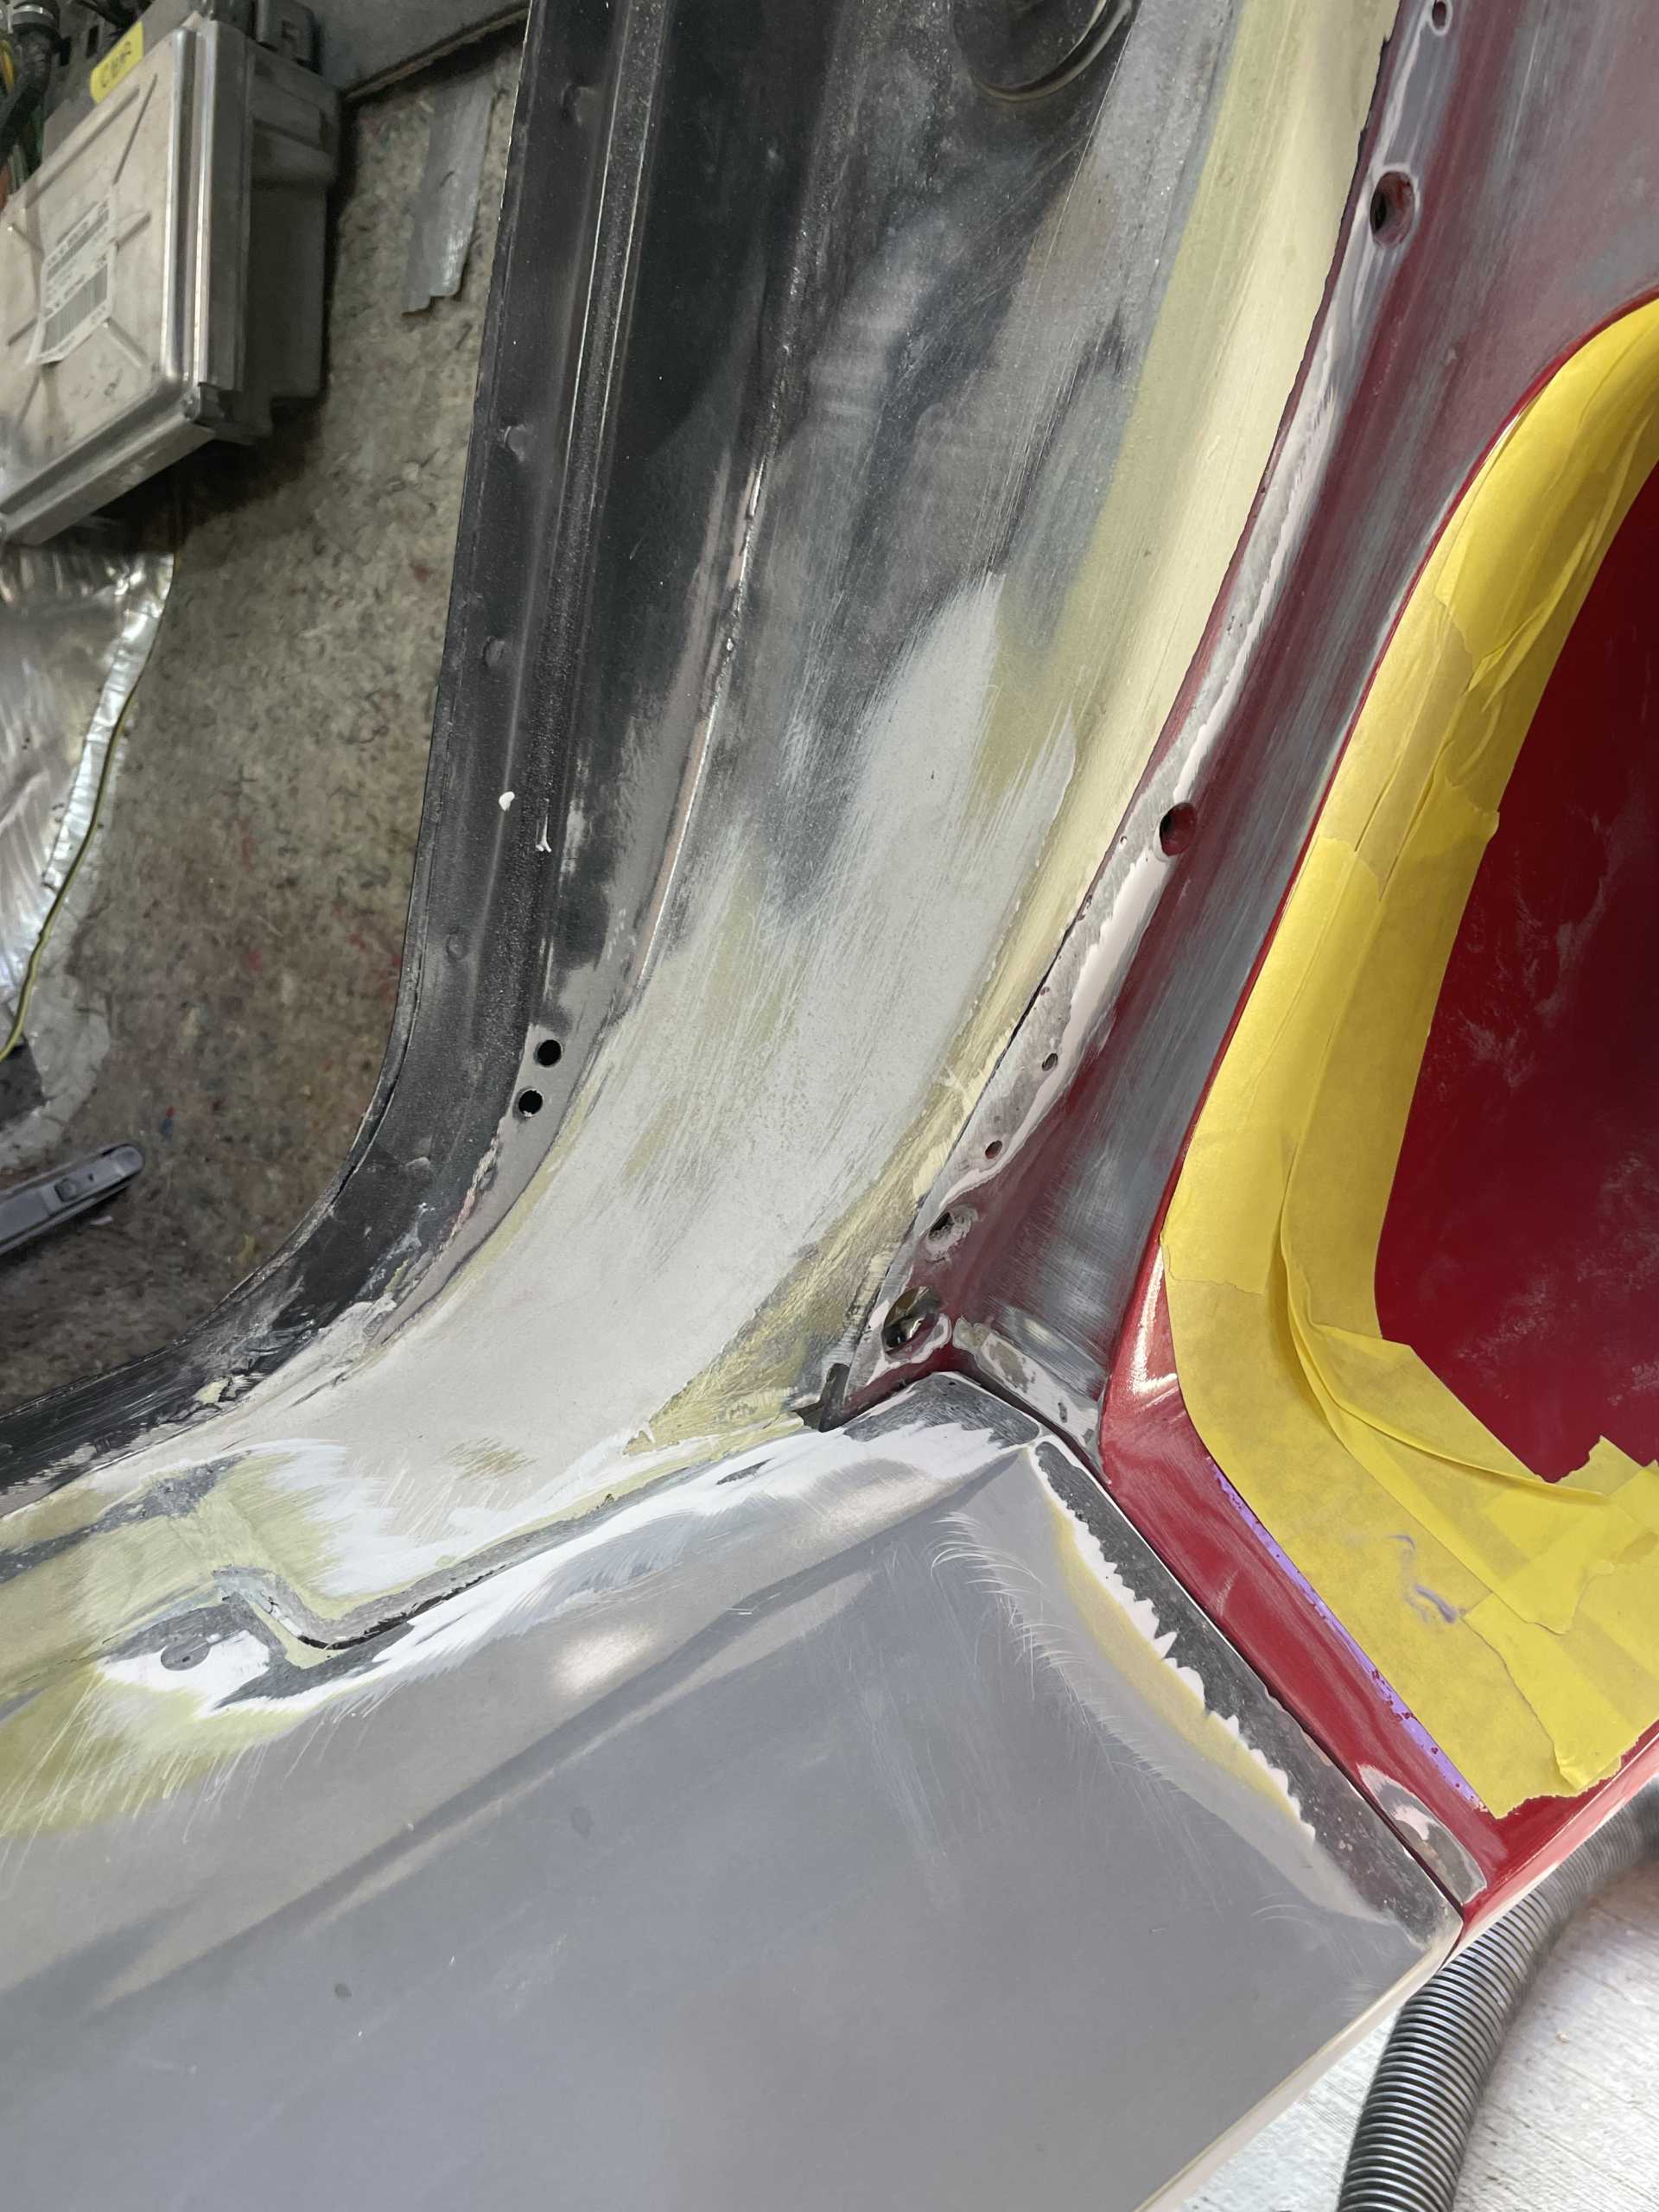
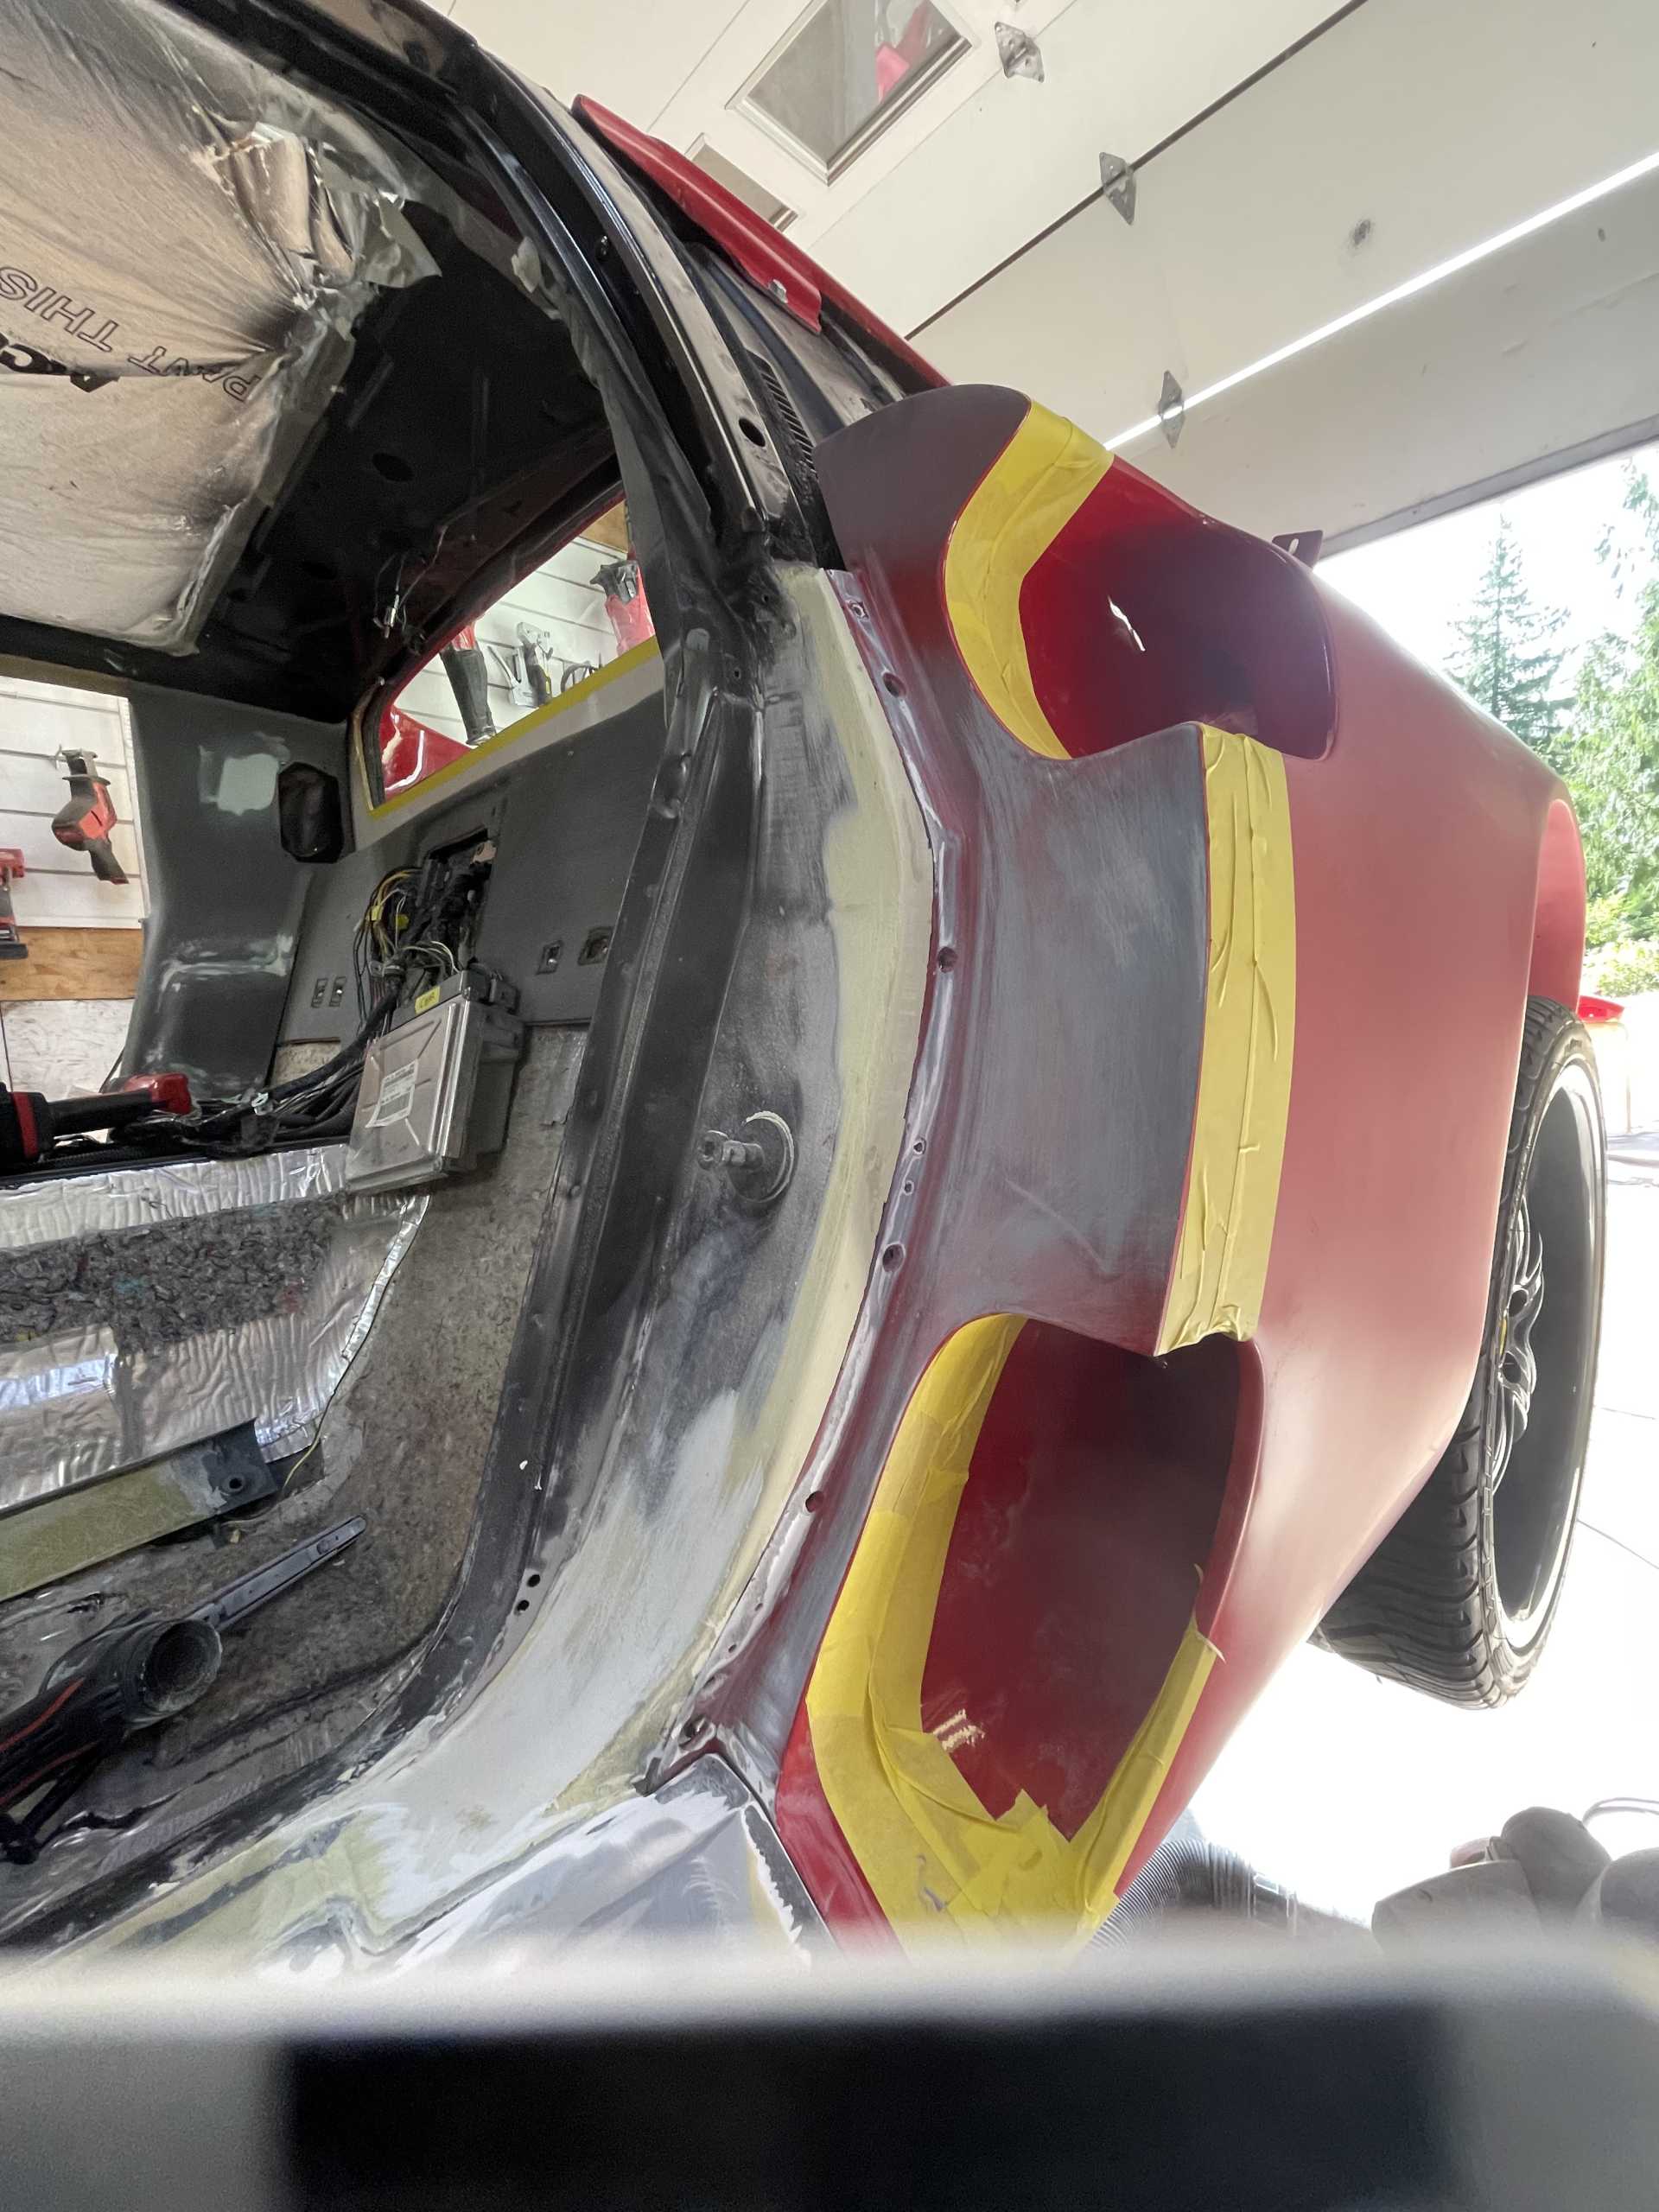
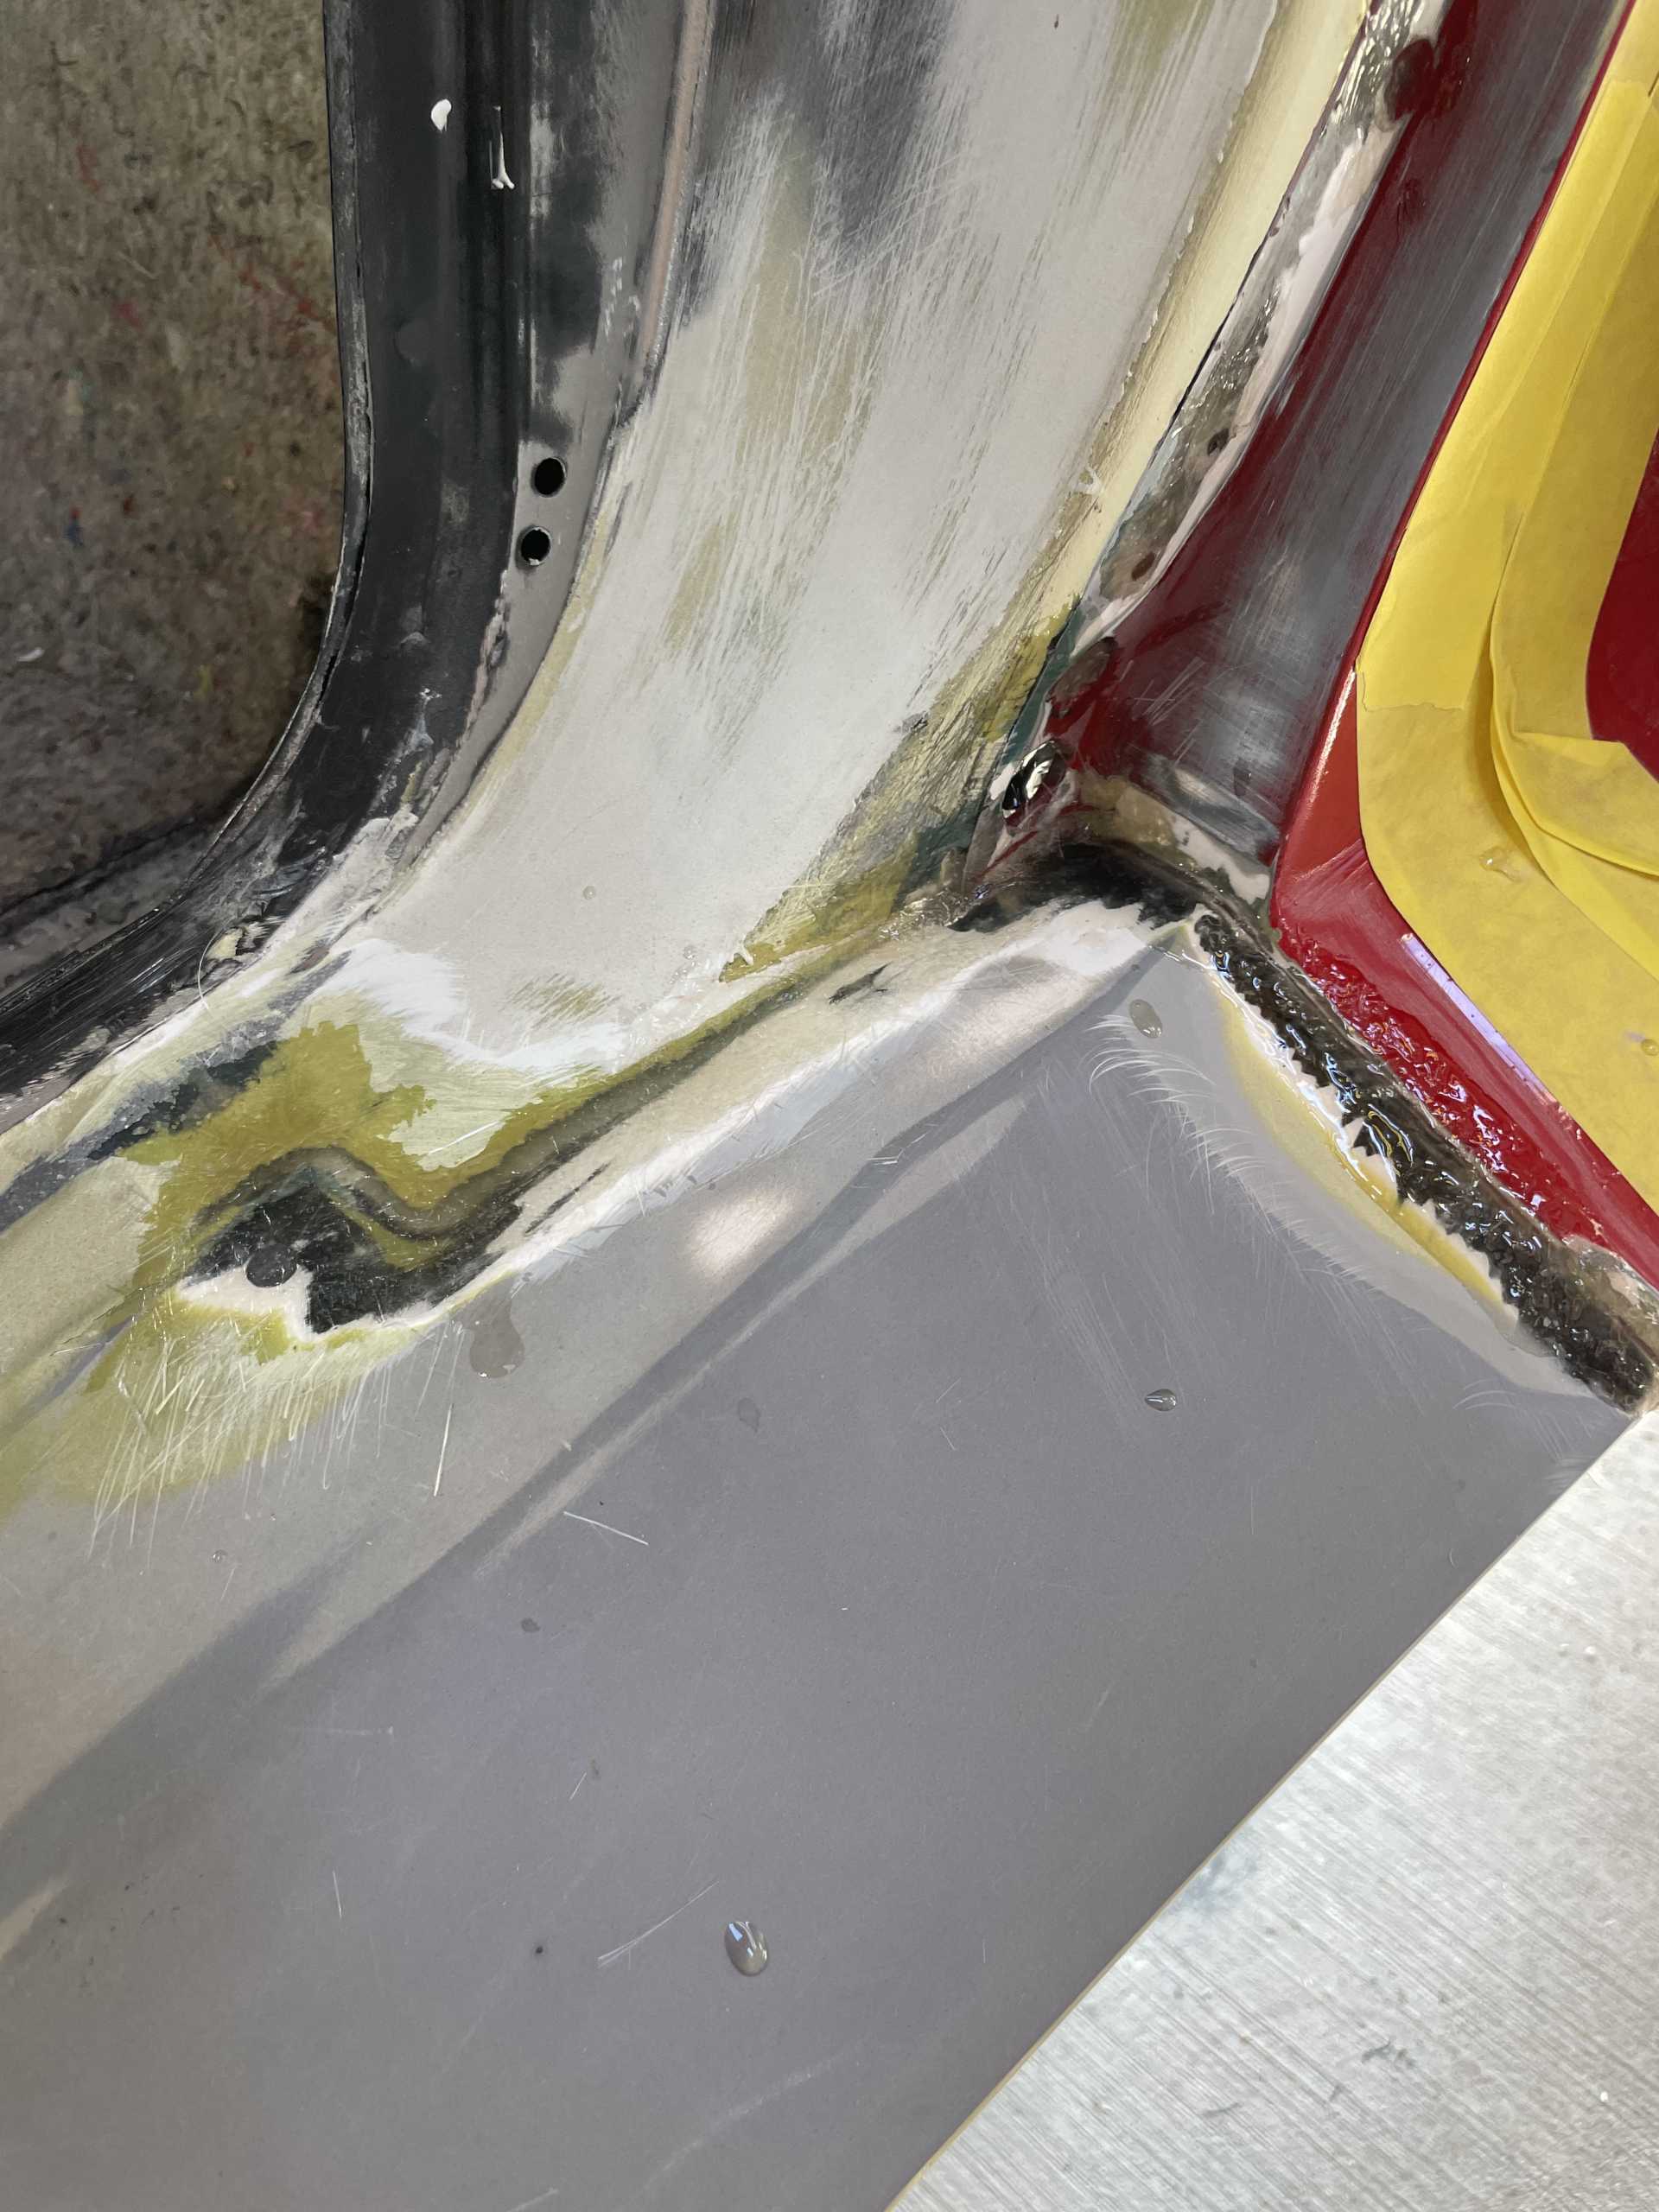
I then body worked the entire joint and it’s now ready to prime and paint.
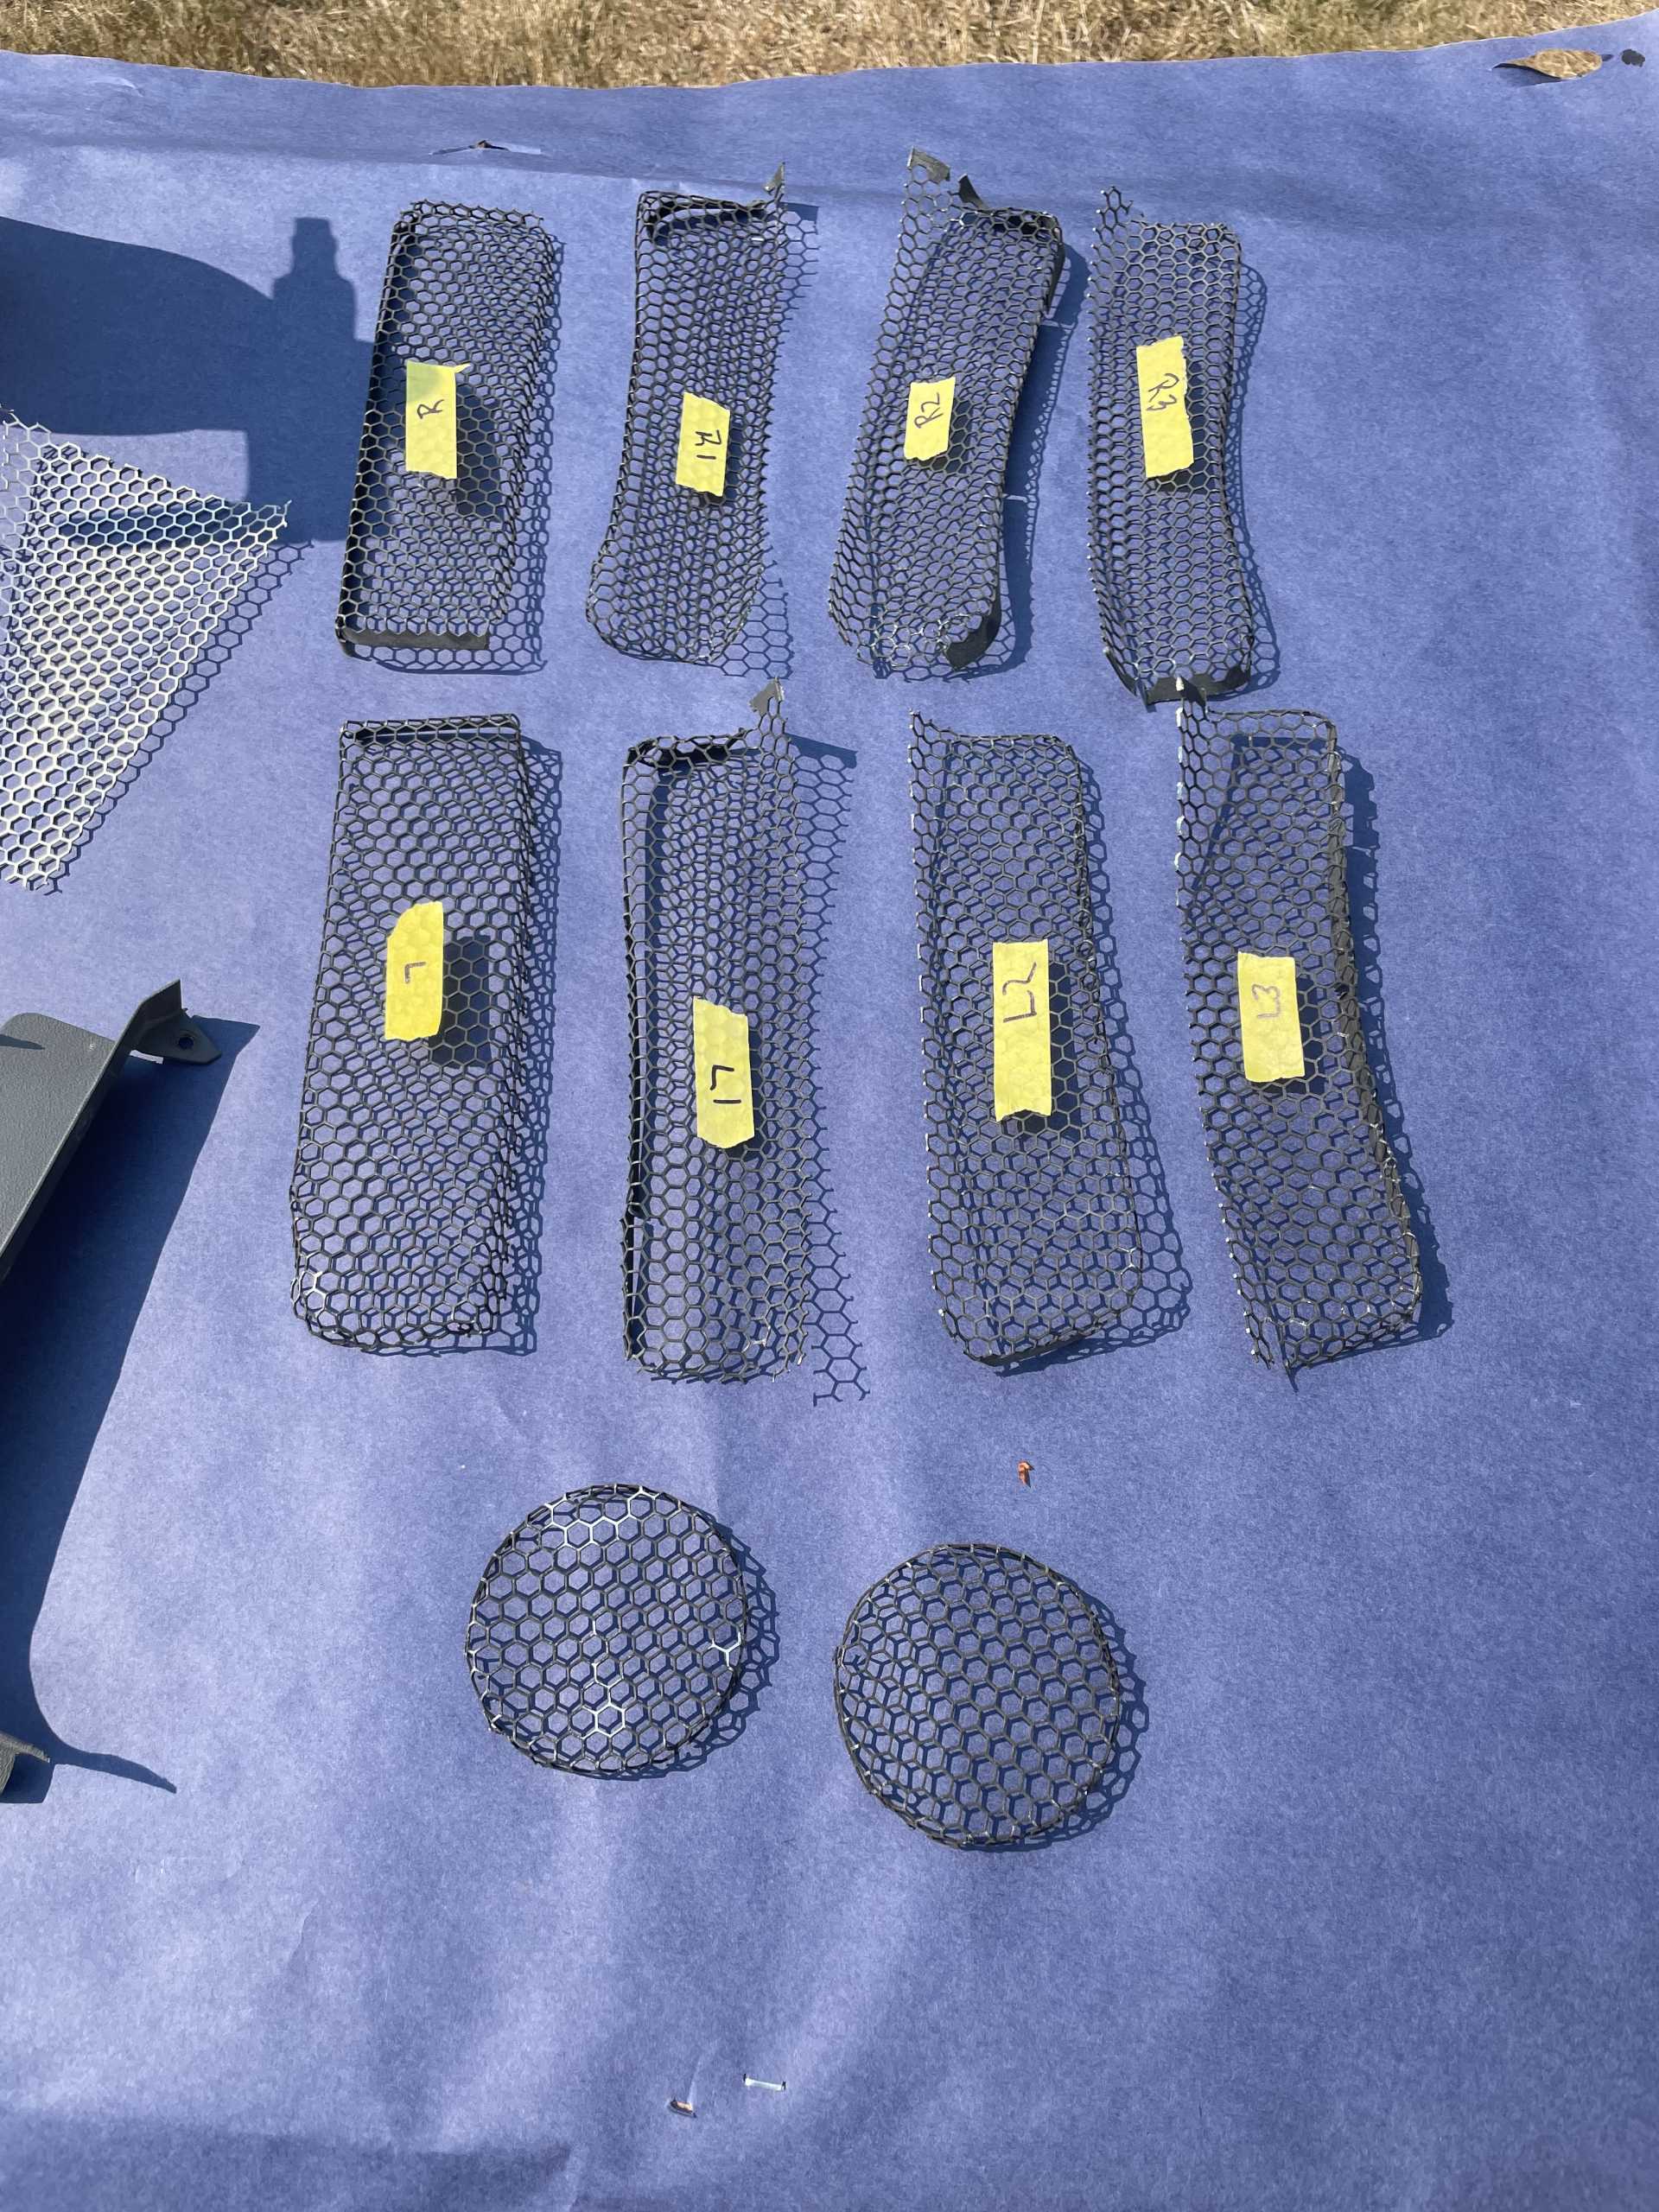
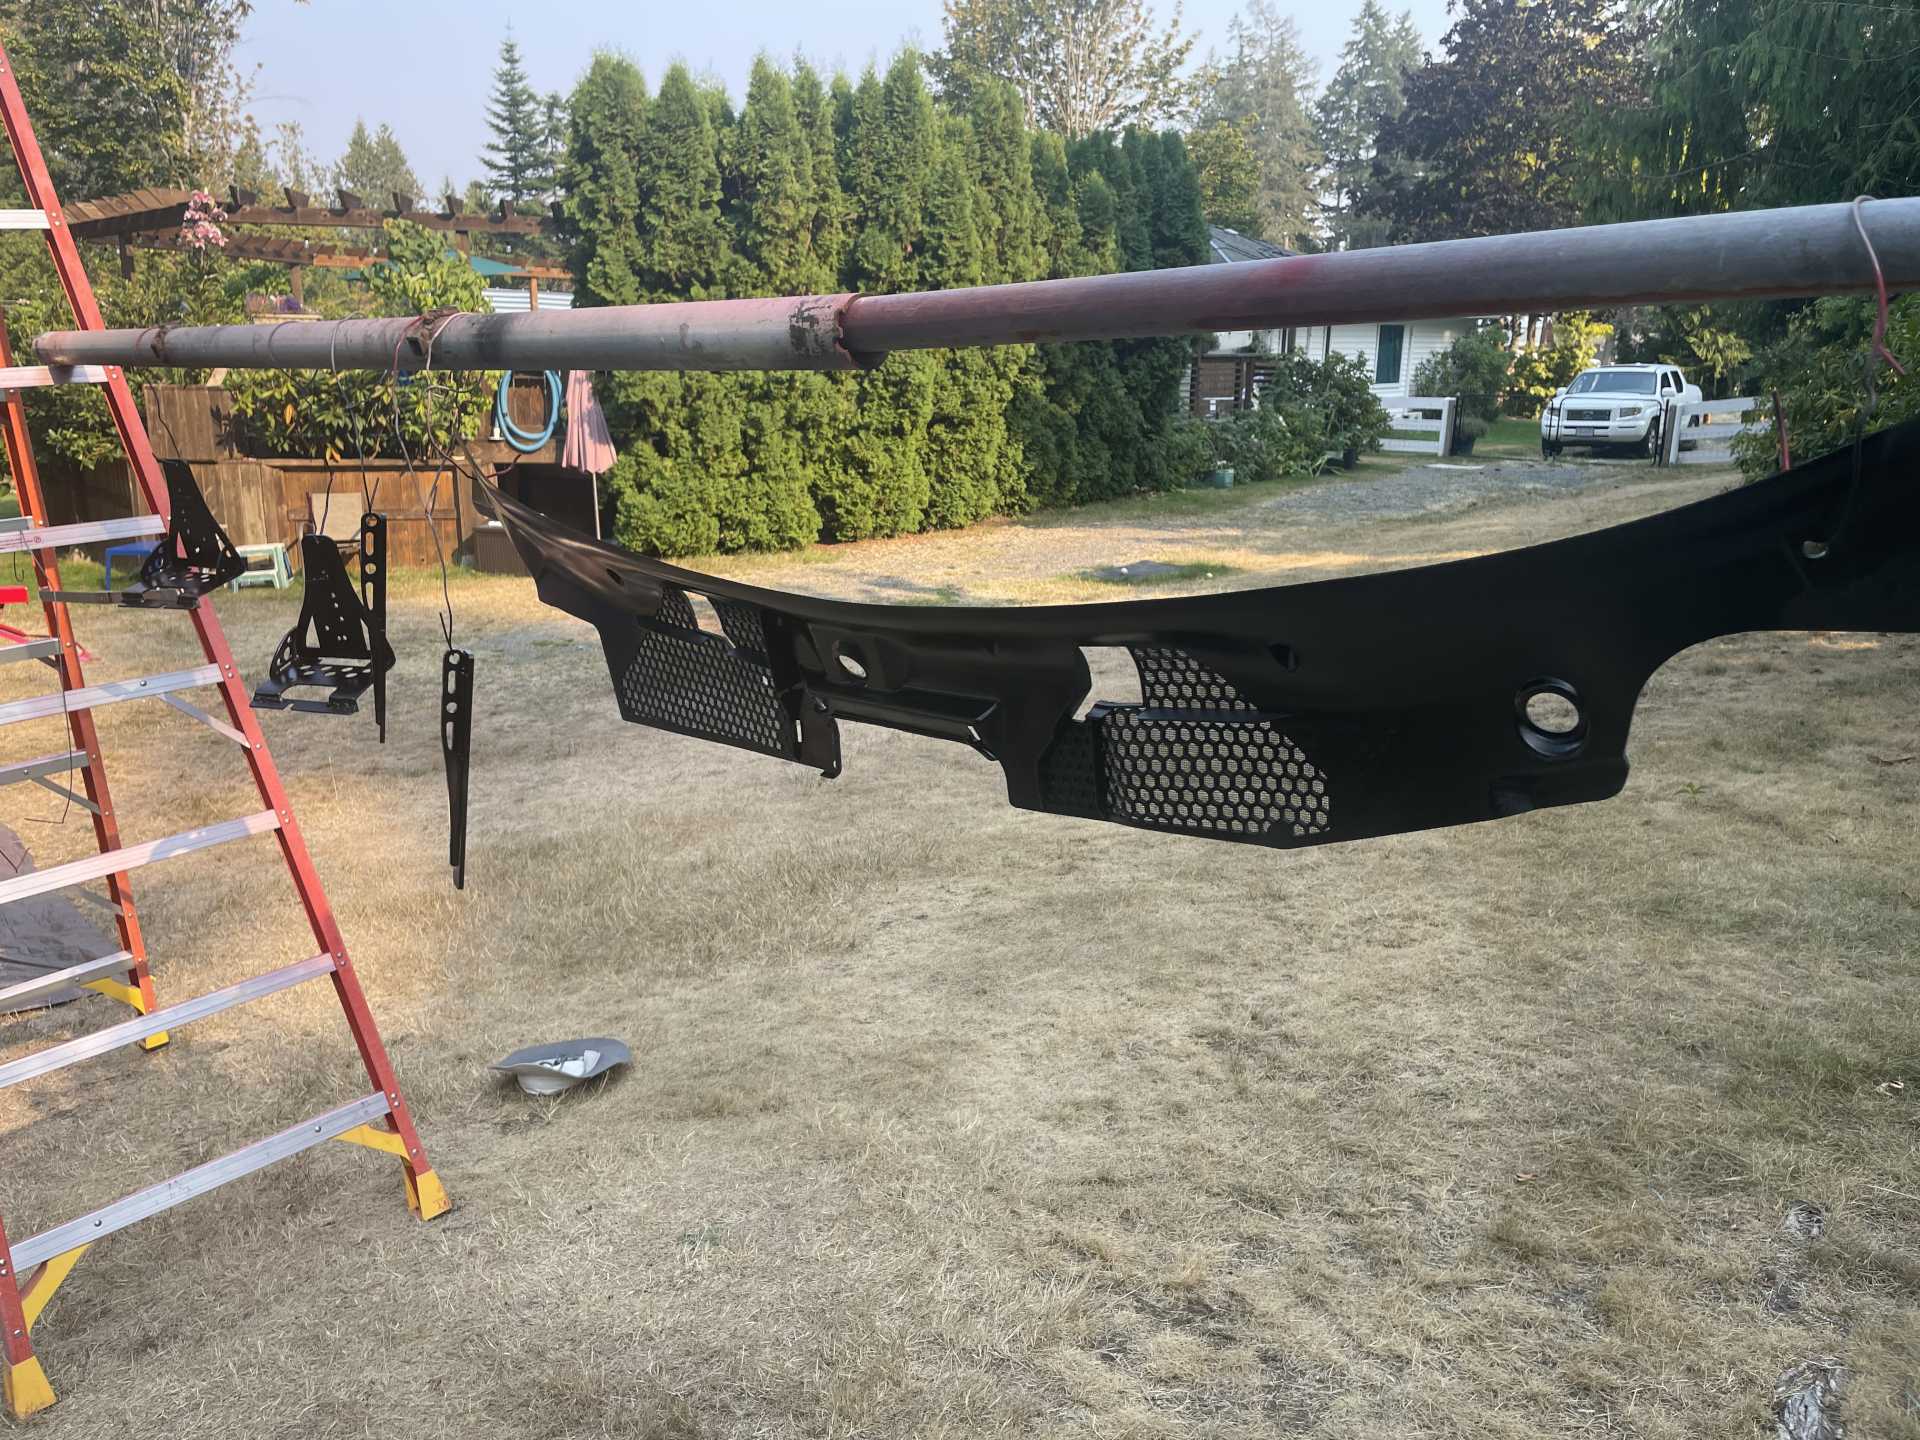
One of the really cool finishes to the GTO is the rear gills I finally got the inner grills bonded
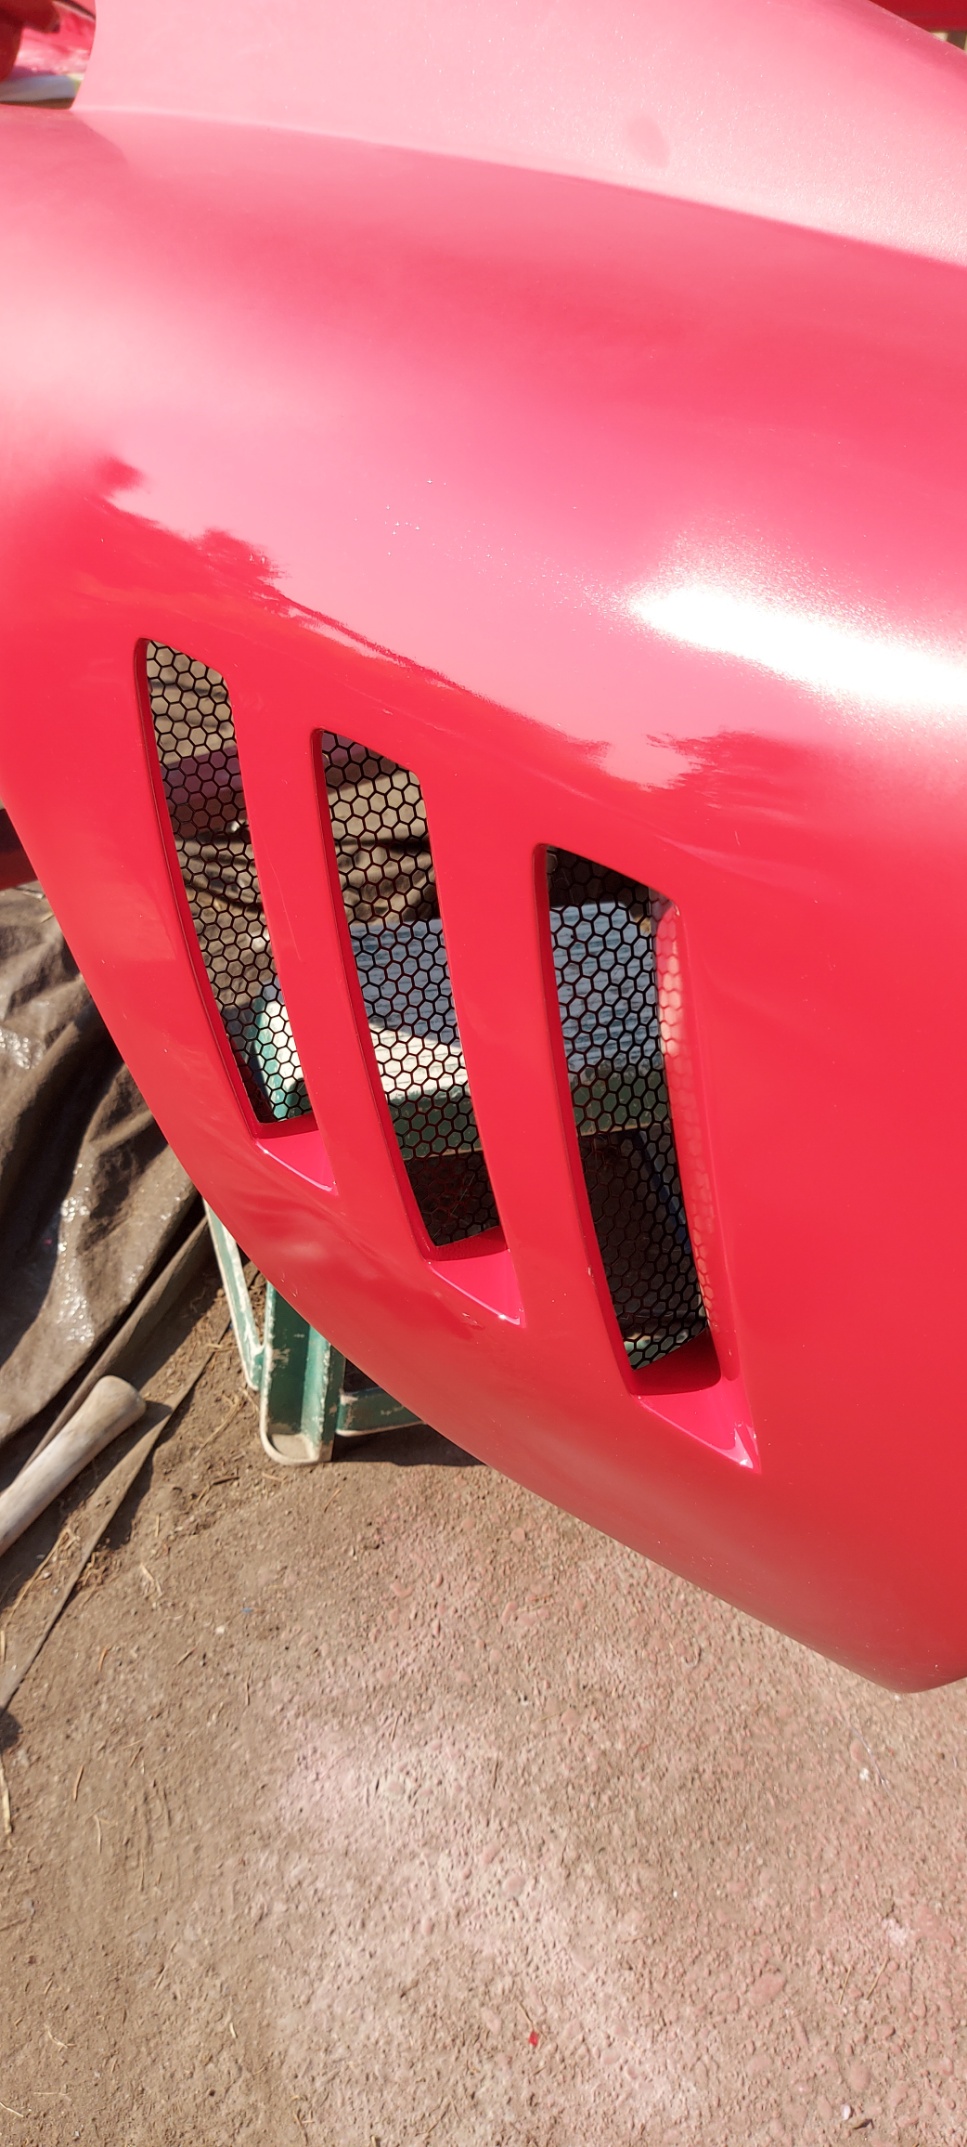
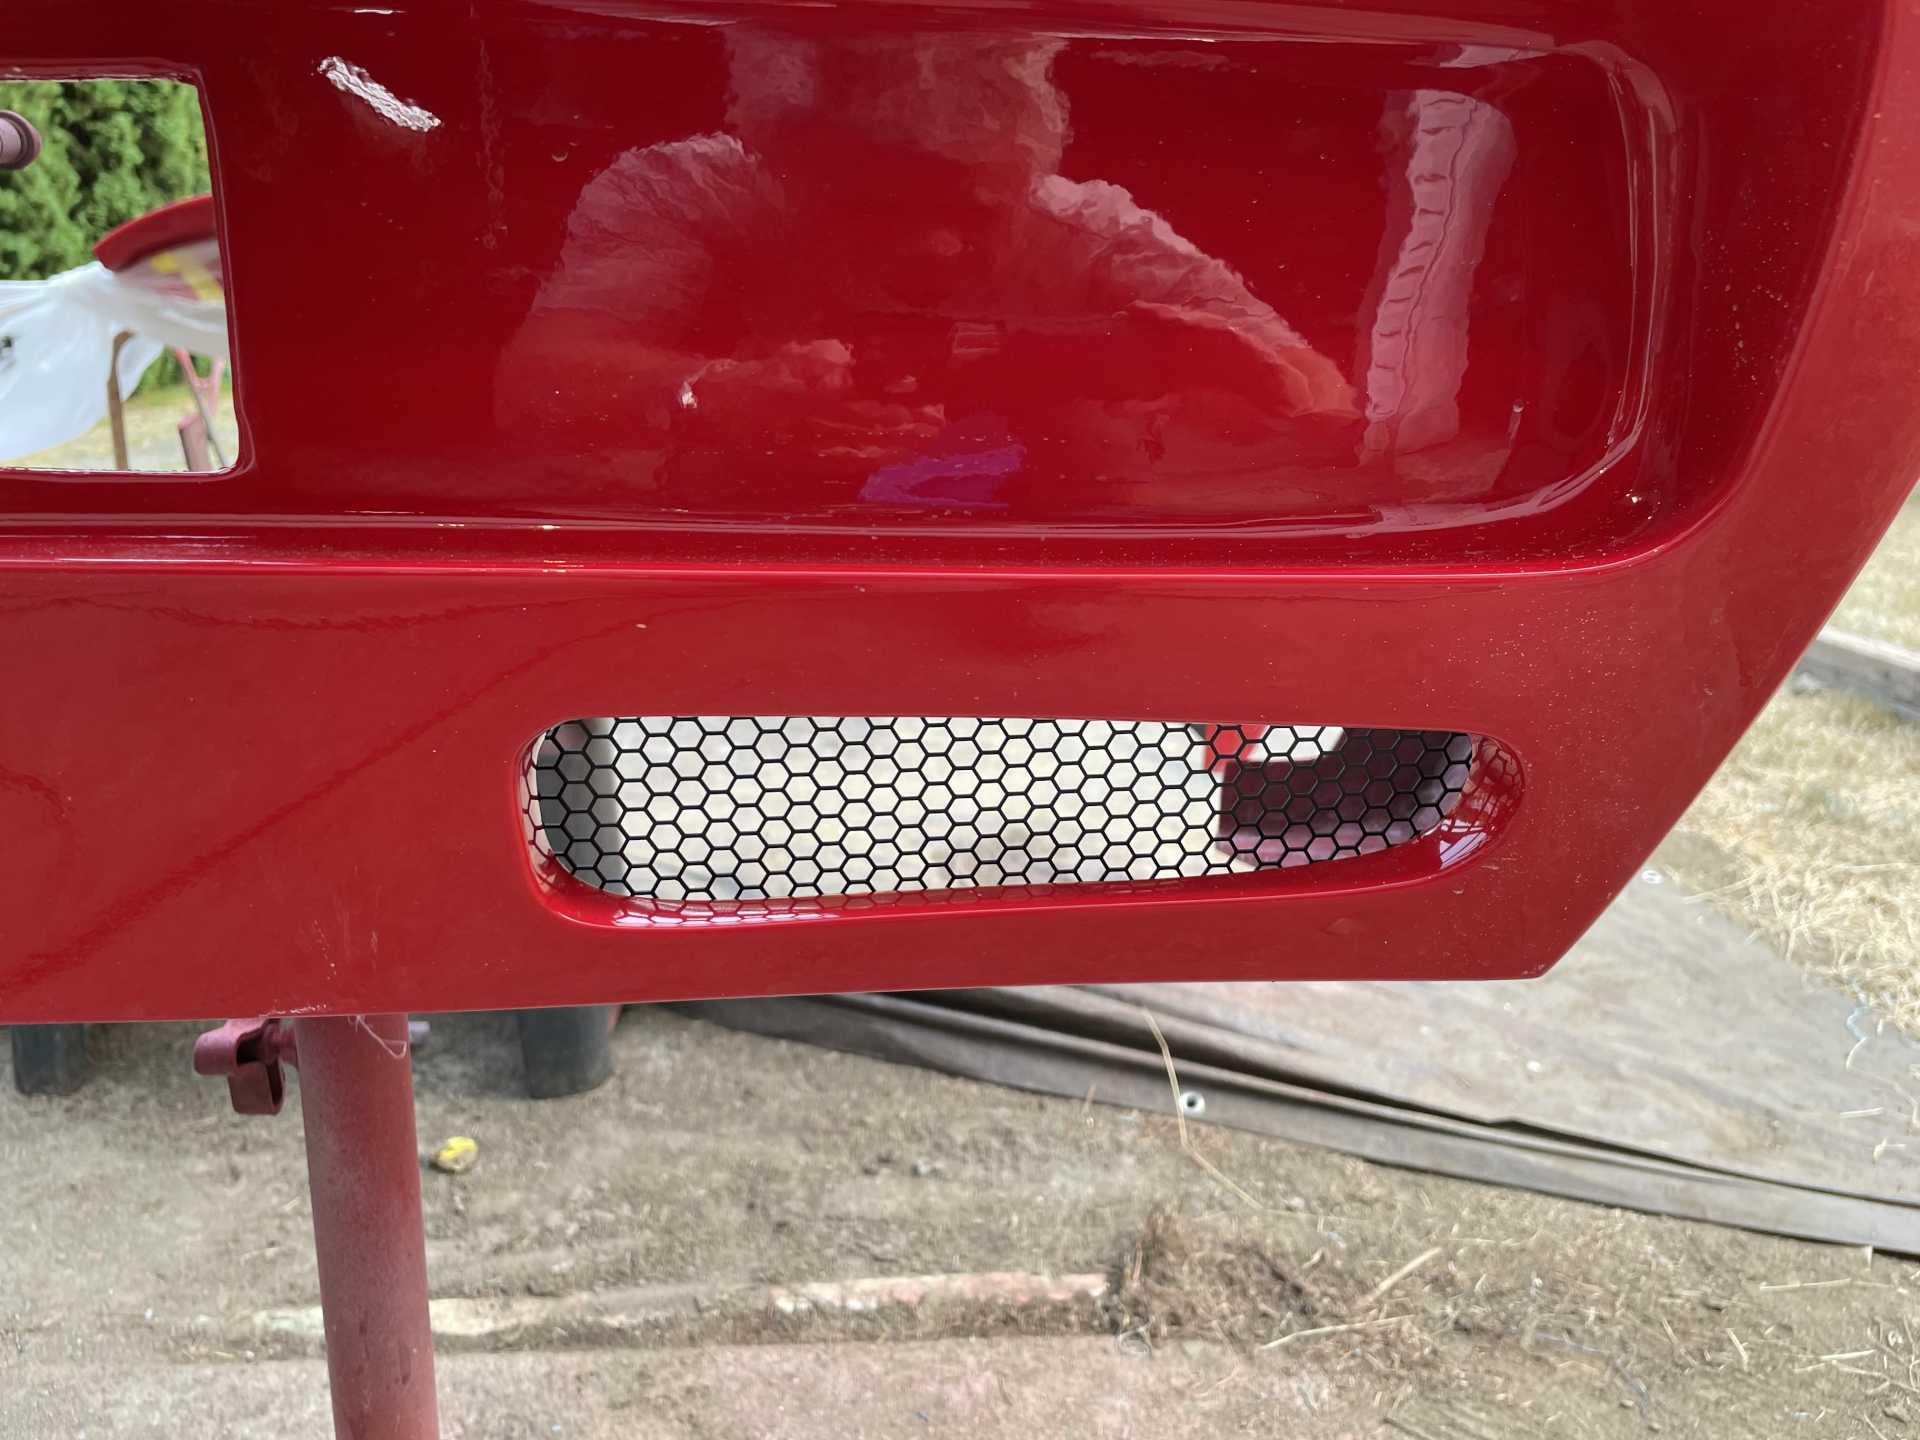
I’m doing the last painting tomorrow , which will be another milestone.
Thanks for watching
Wayne
|
|
|
|
dobie1
|
AUG 26, 12:51 PM
|
|
|
|
|
Trinten
|
SEP 03, 01:58 PM
|
|
It's going to look so awesome, Wayne!
Thank you for sharing the progress!
|
|
|
|
dobie1
|
SEP 14, 07:57 PM
|
|
Thanks Trinten for the comments!!
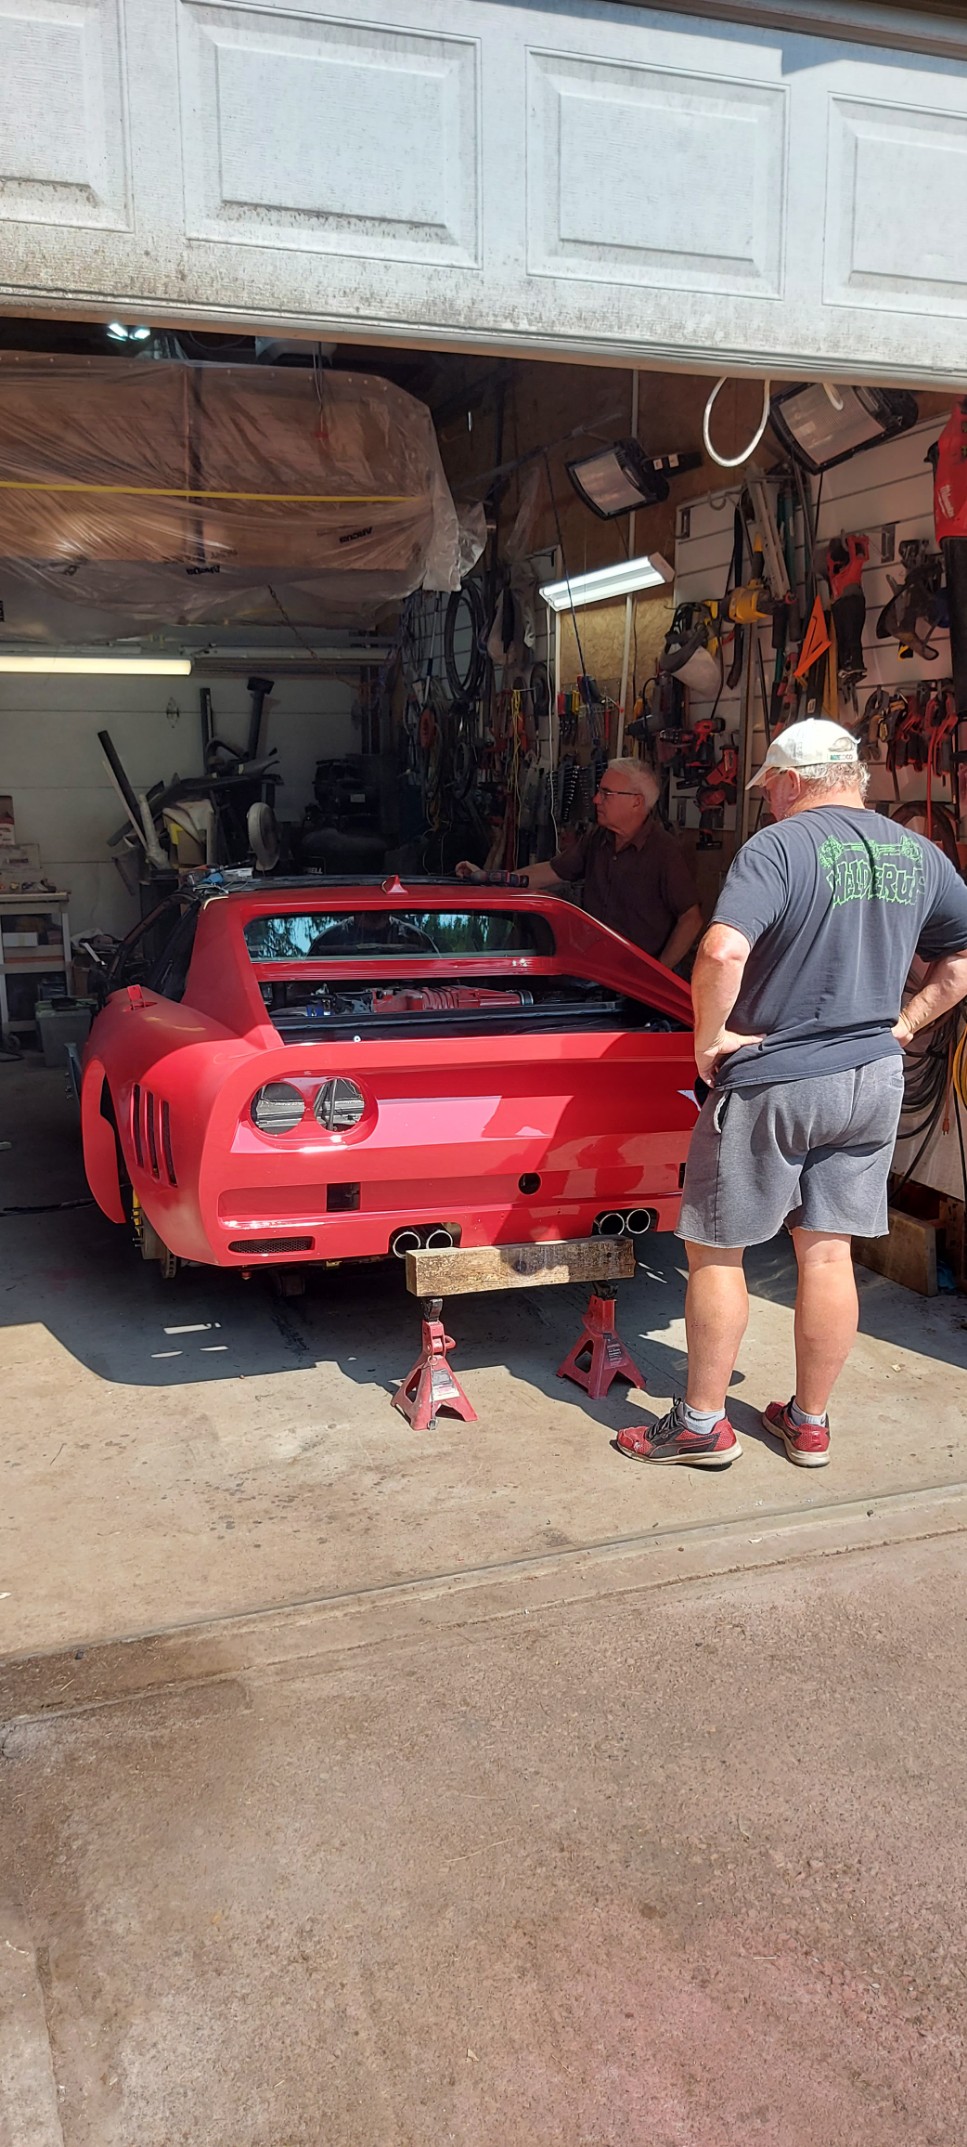
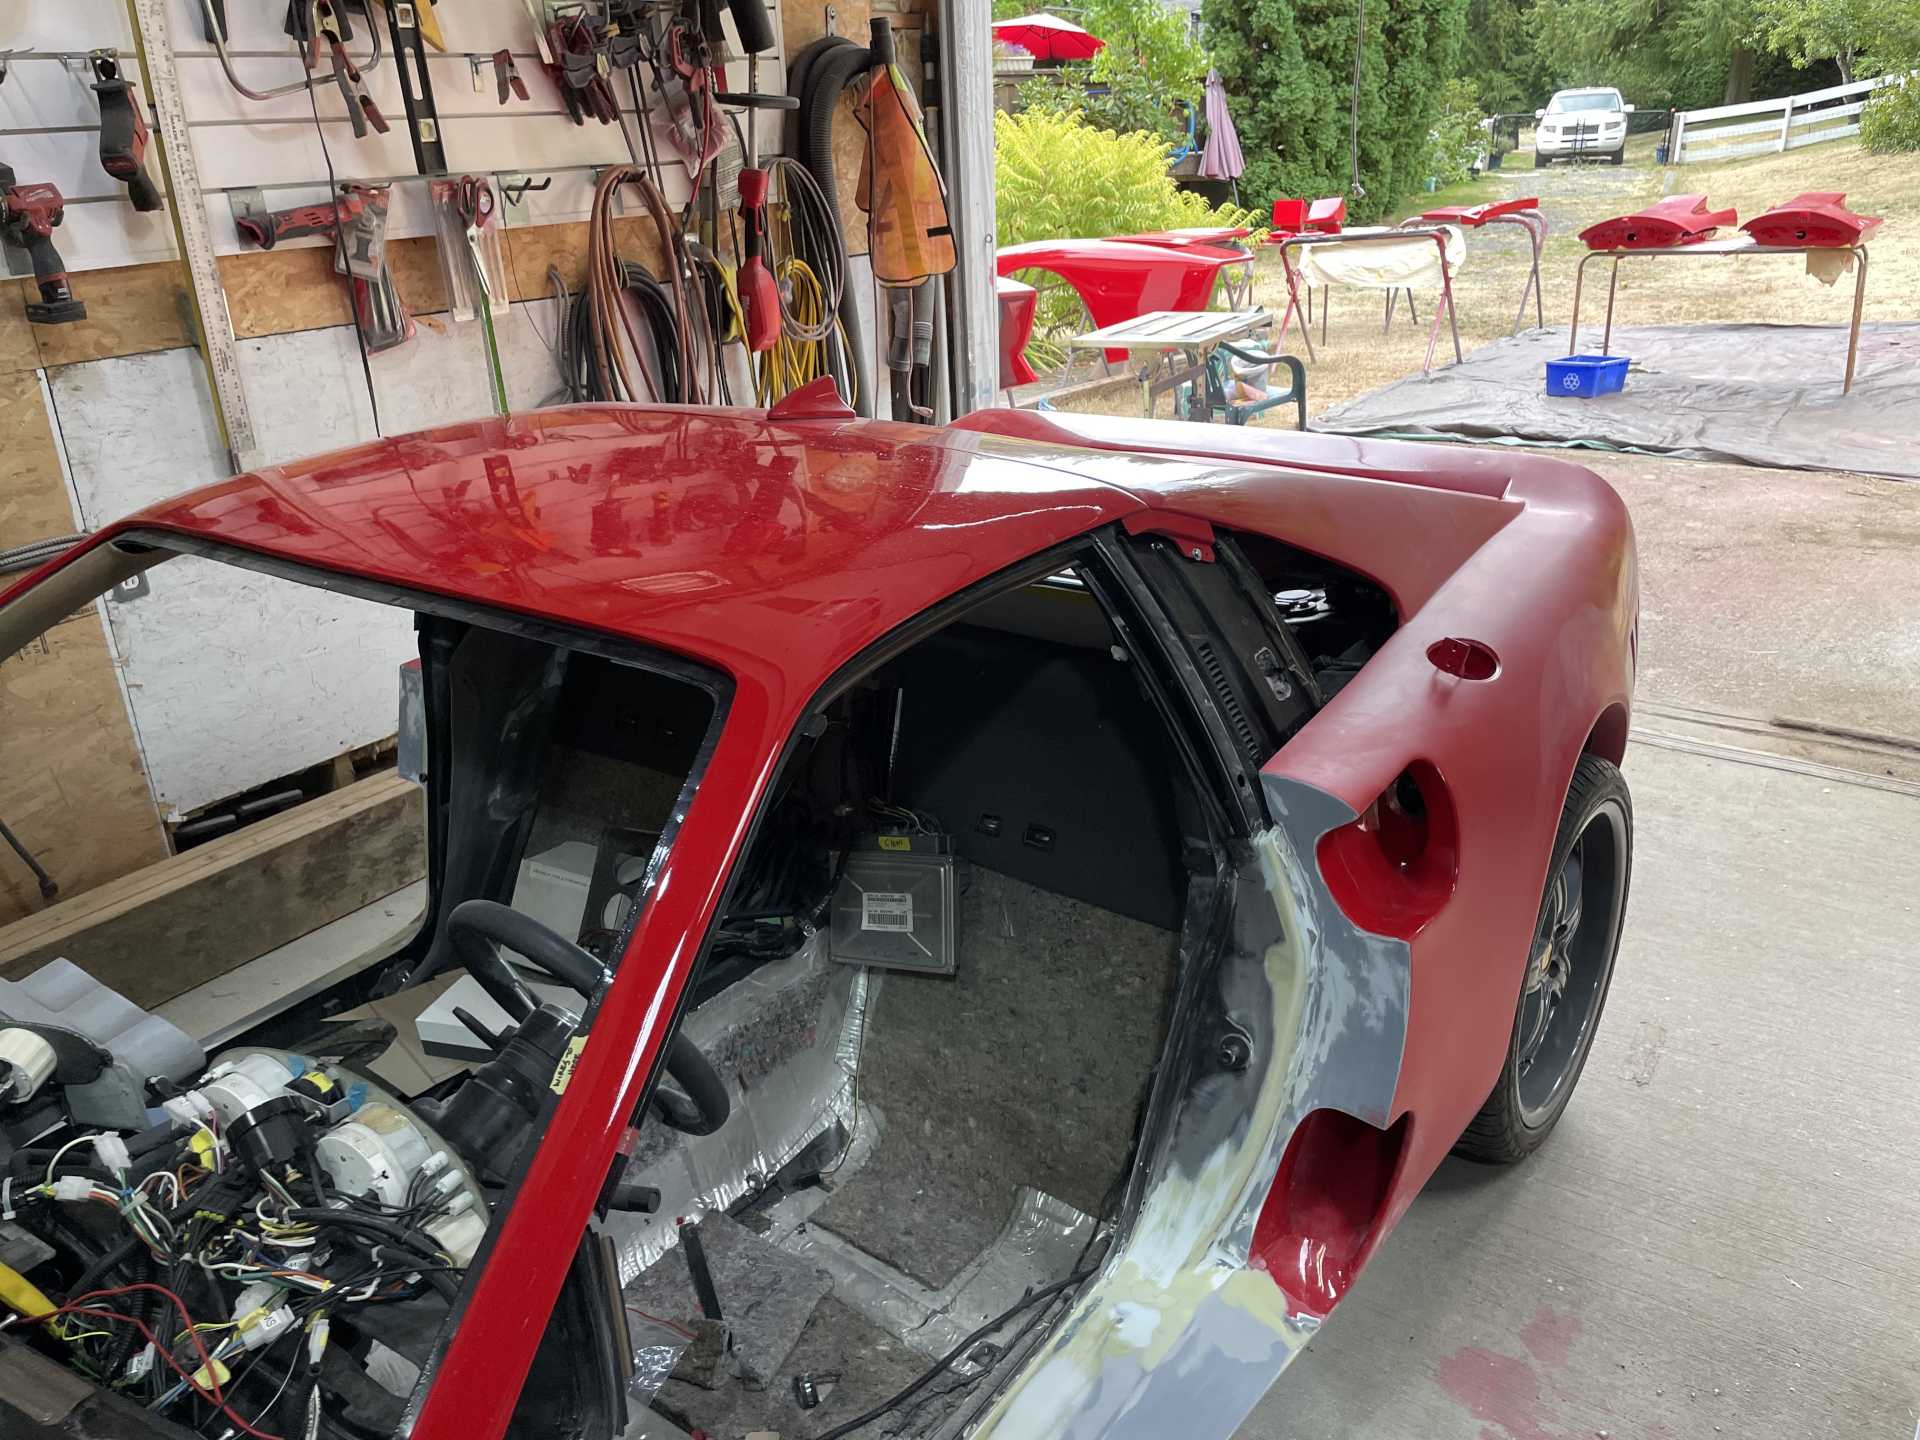
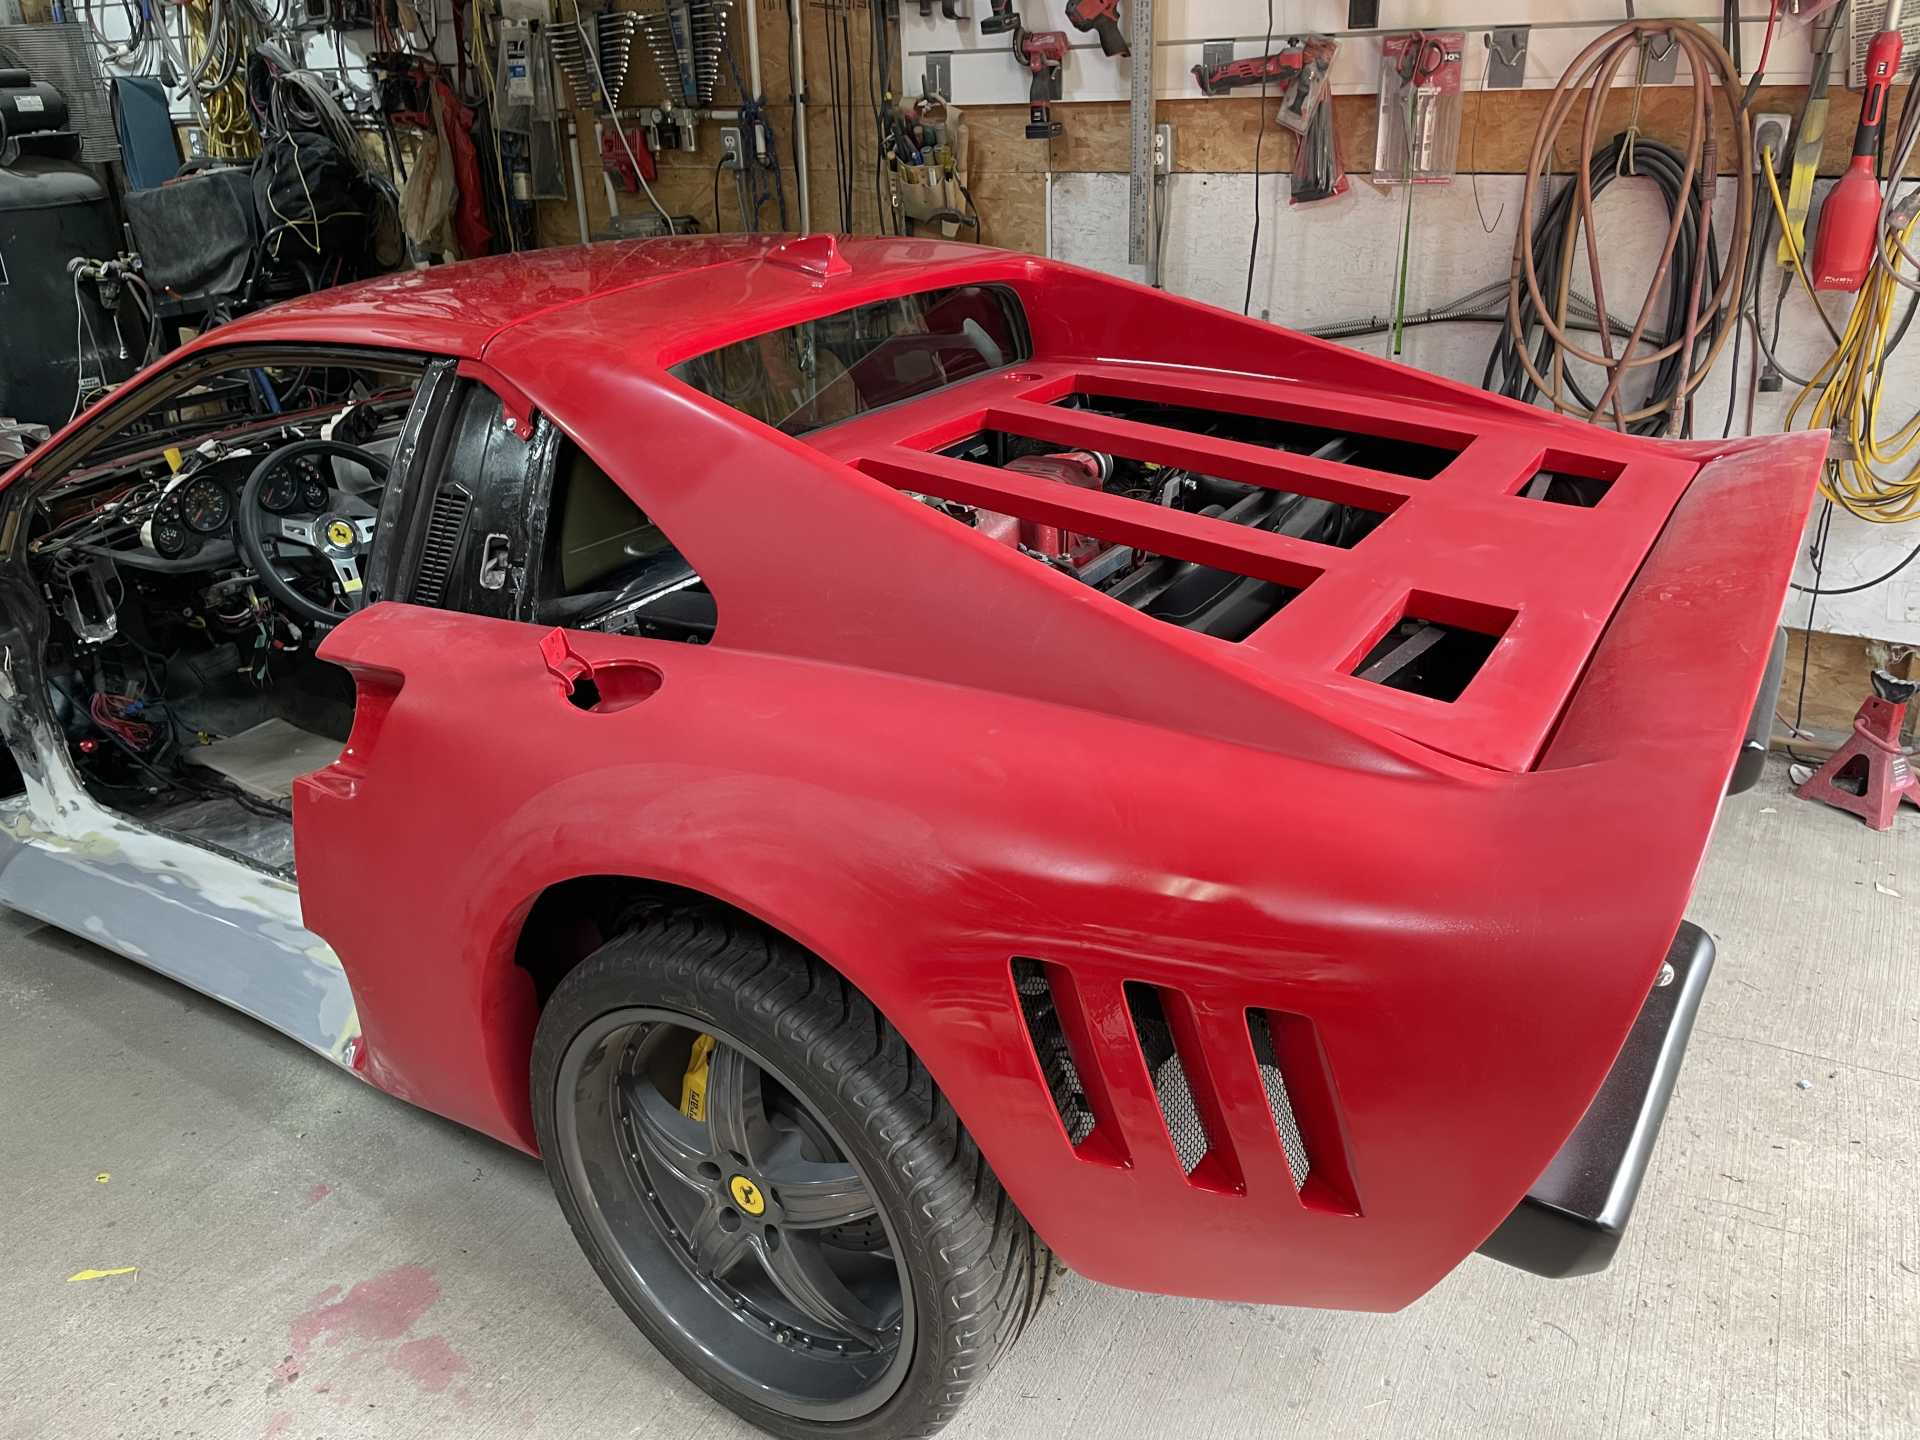
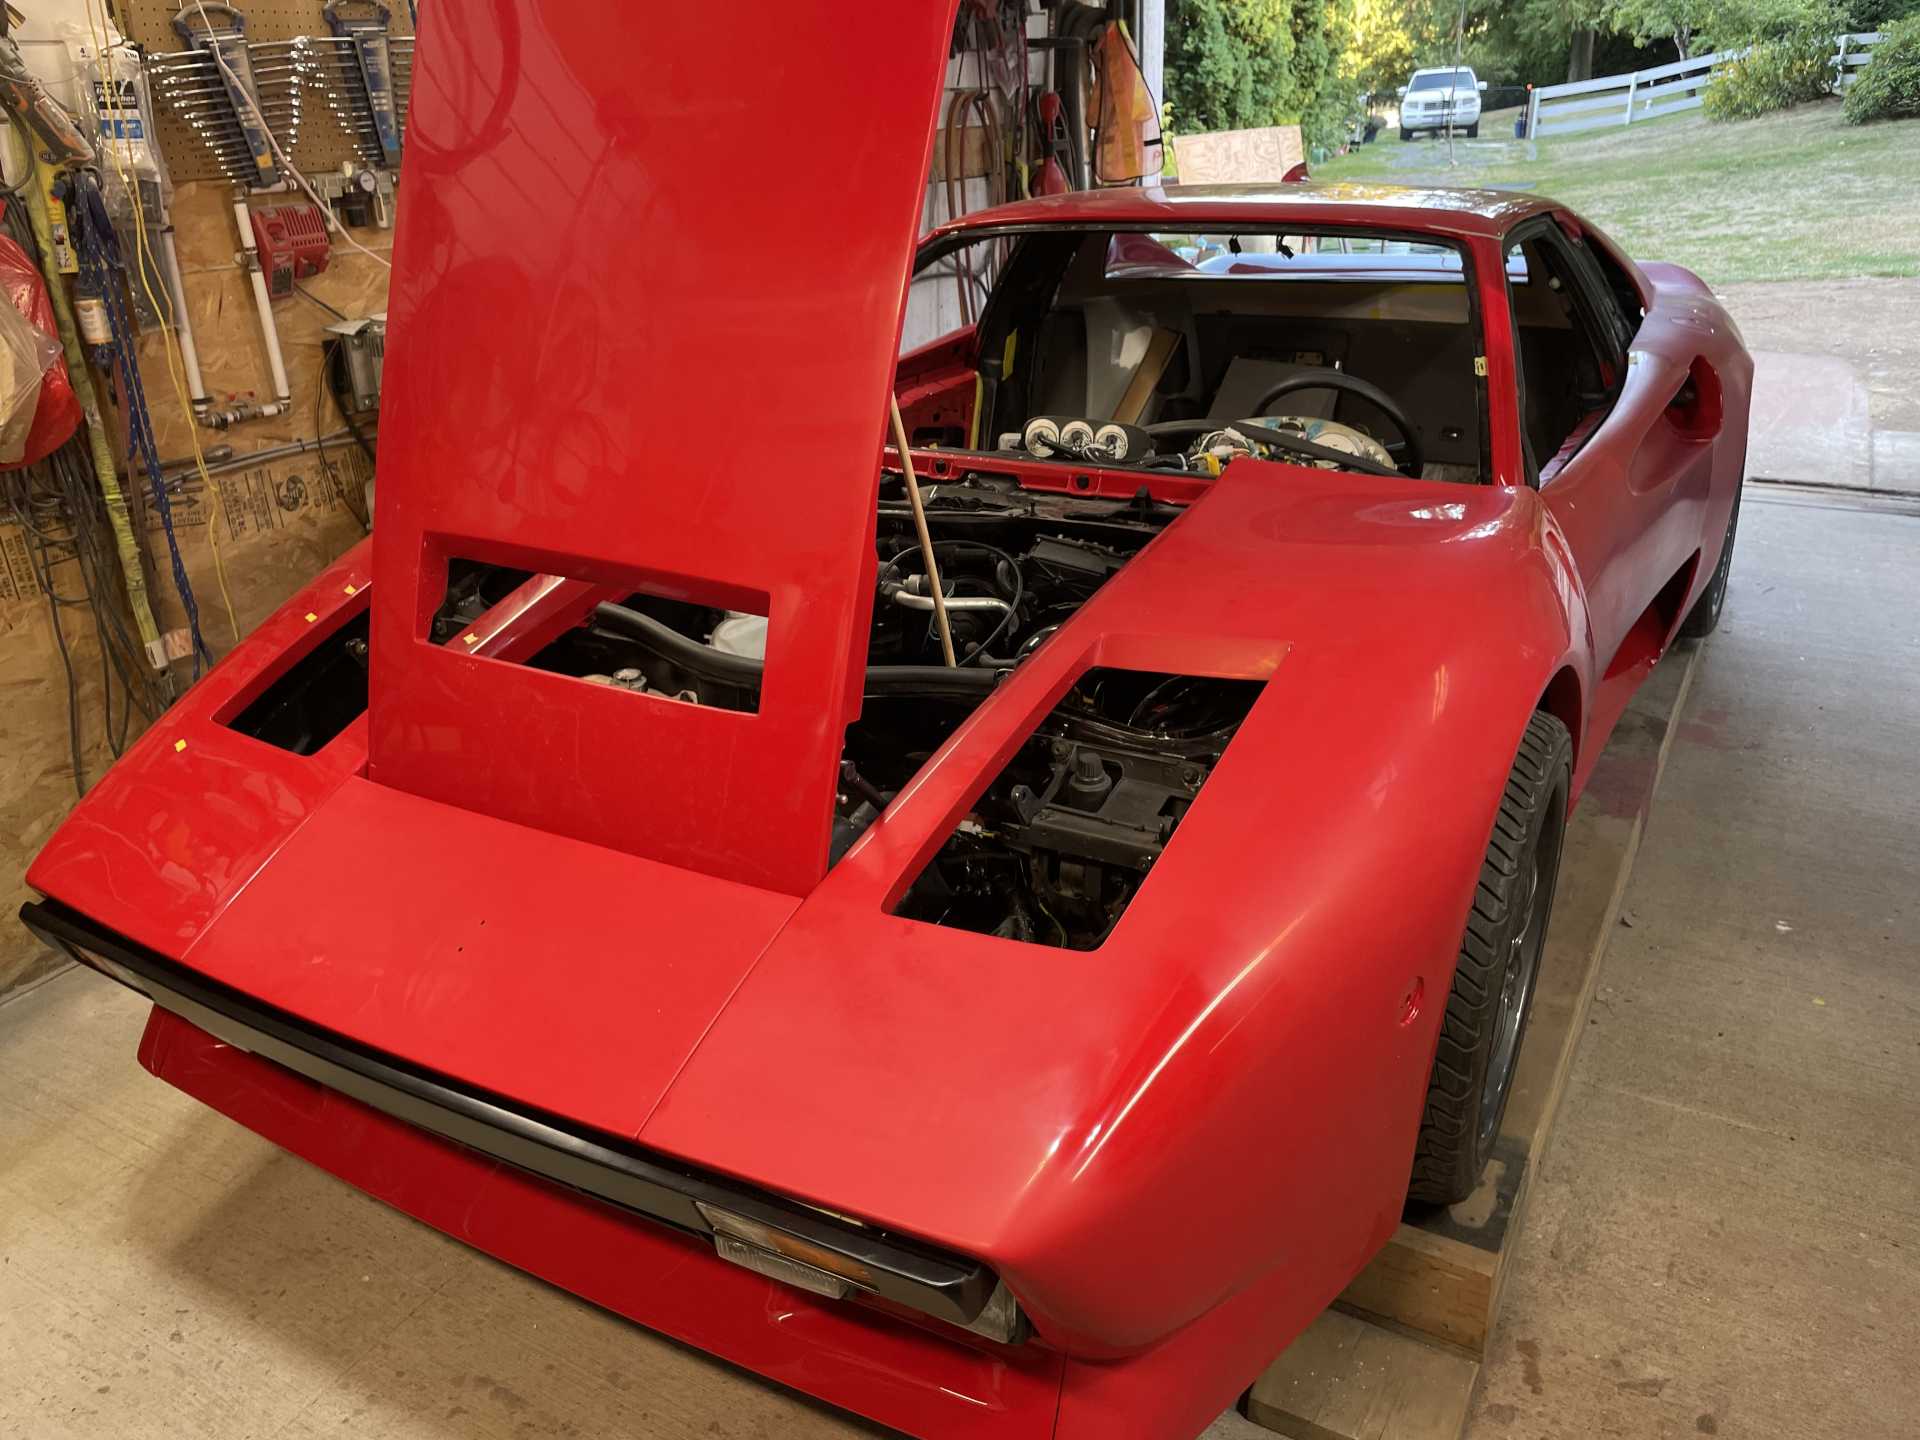
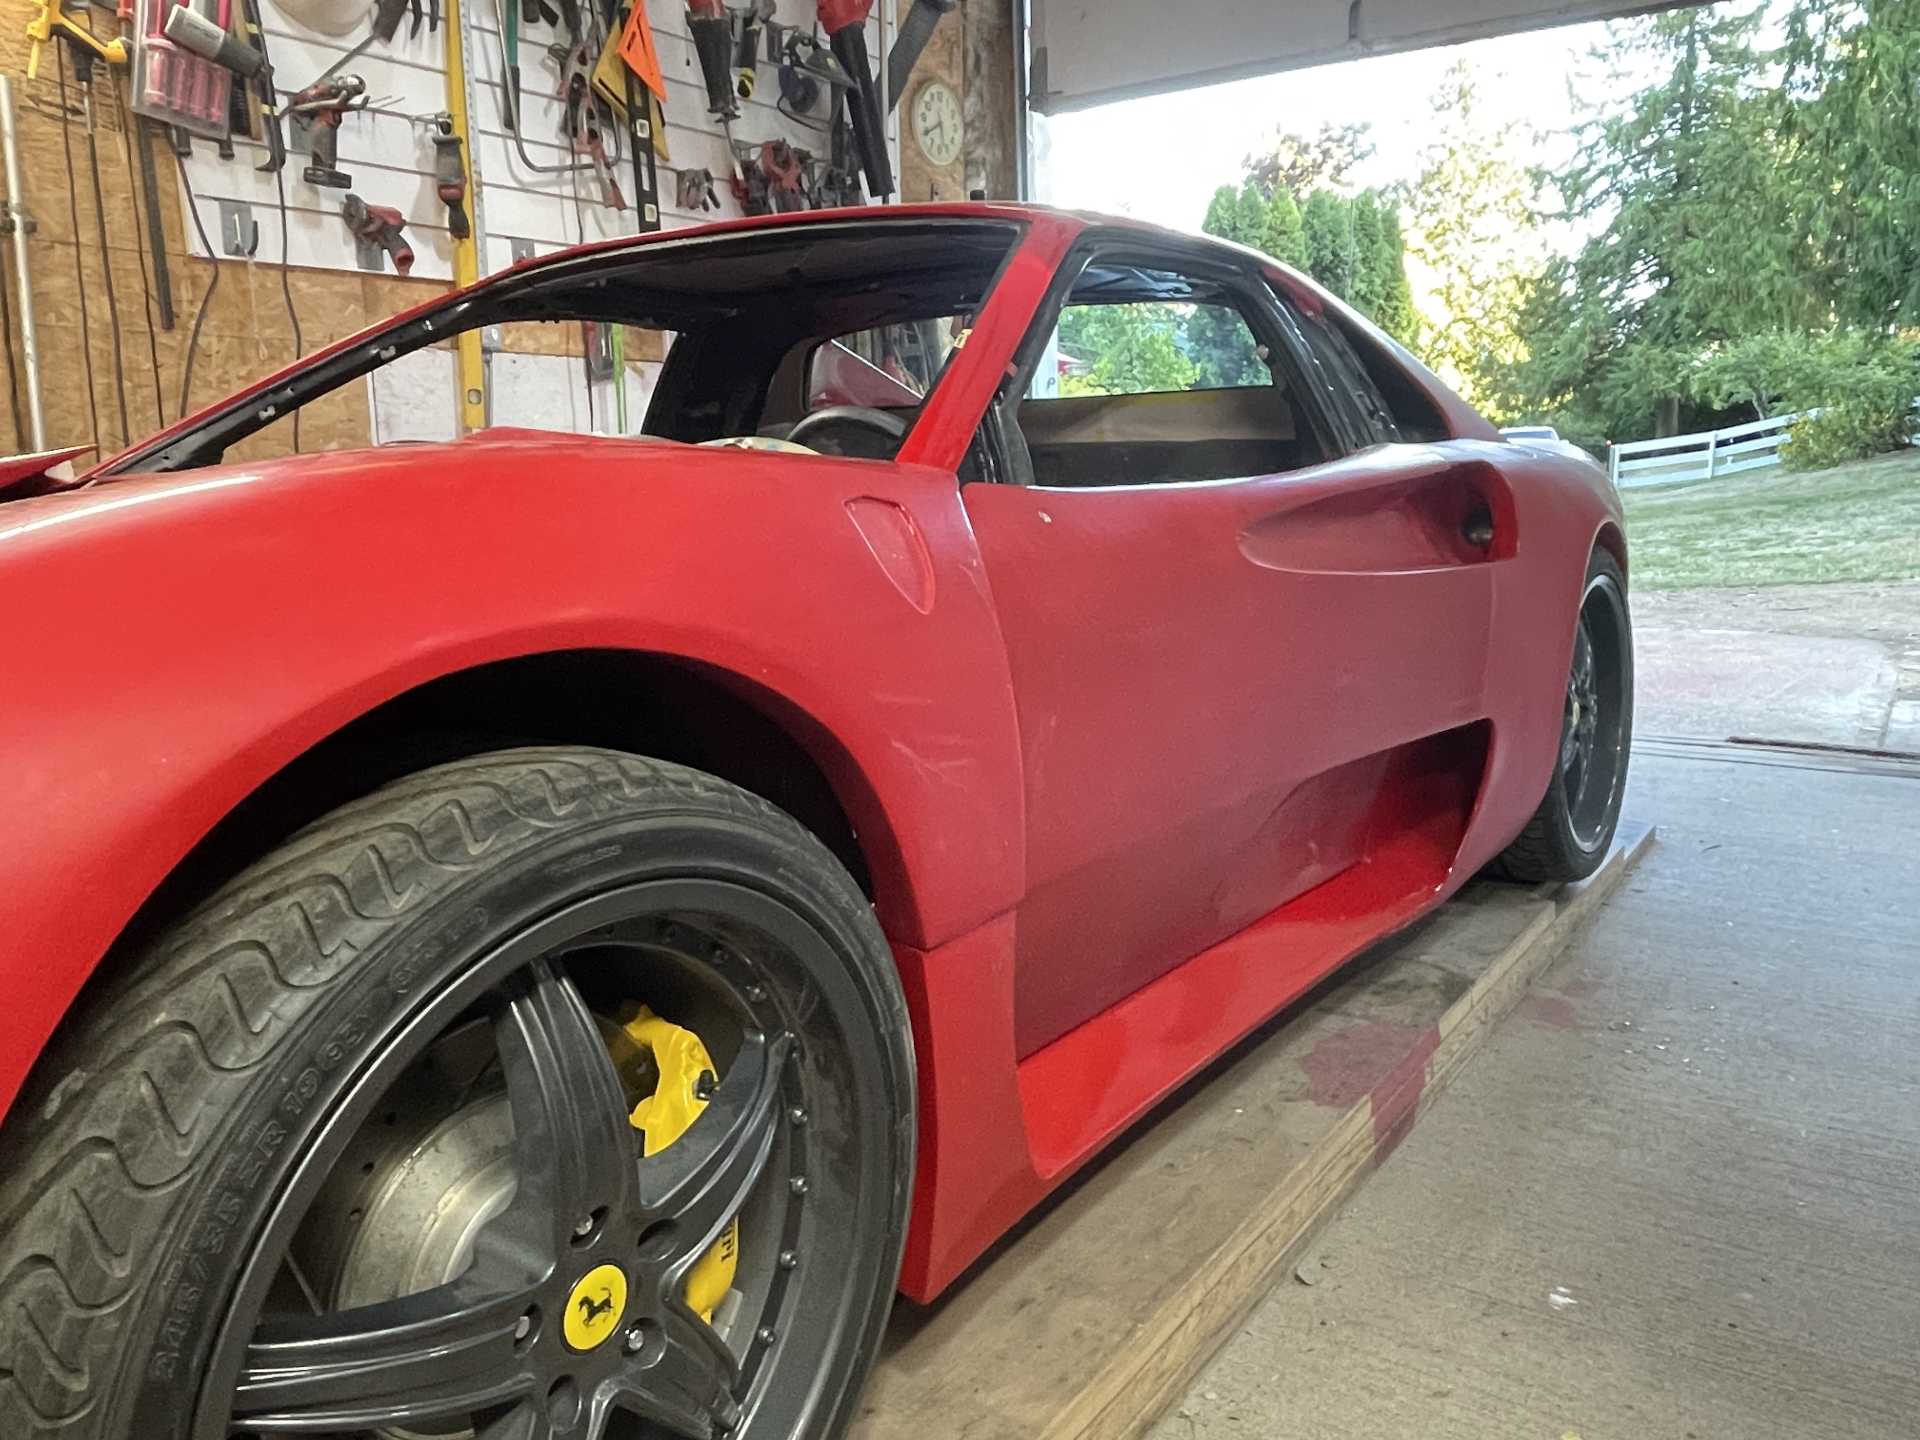
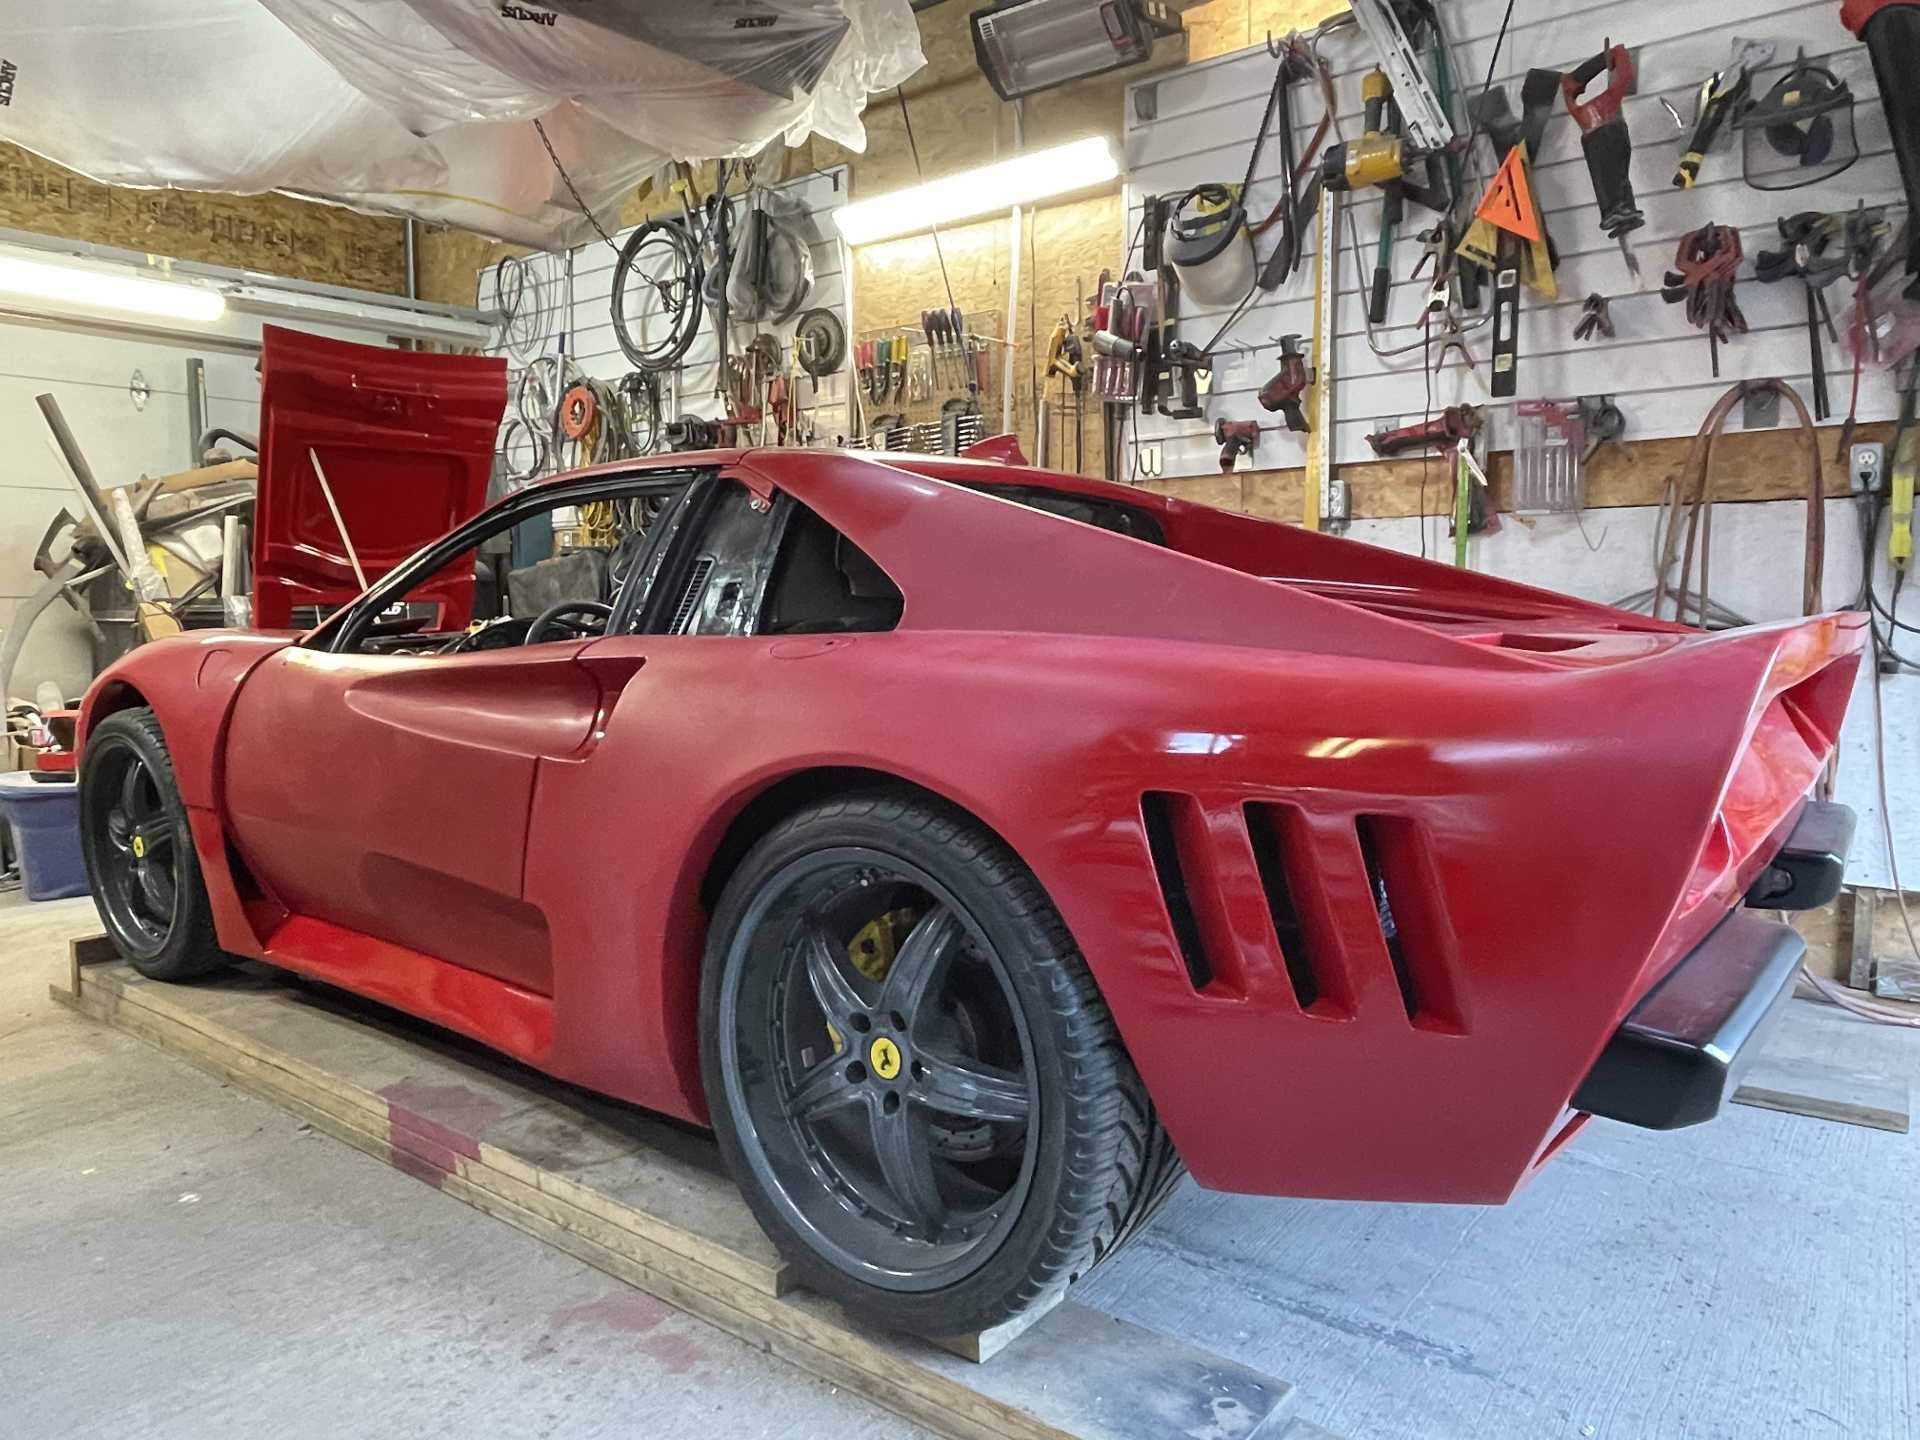
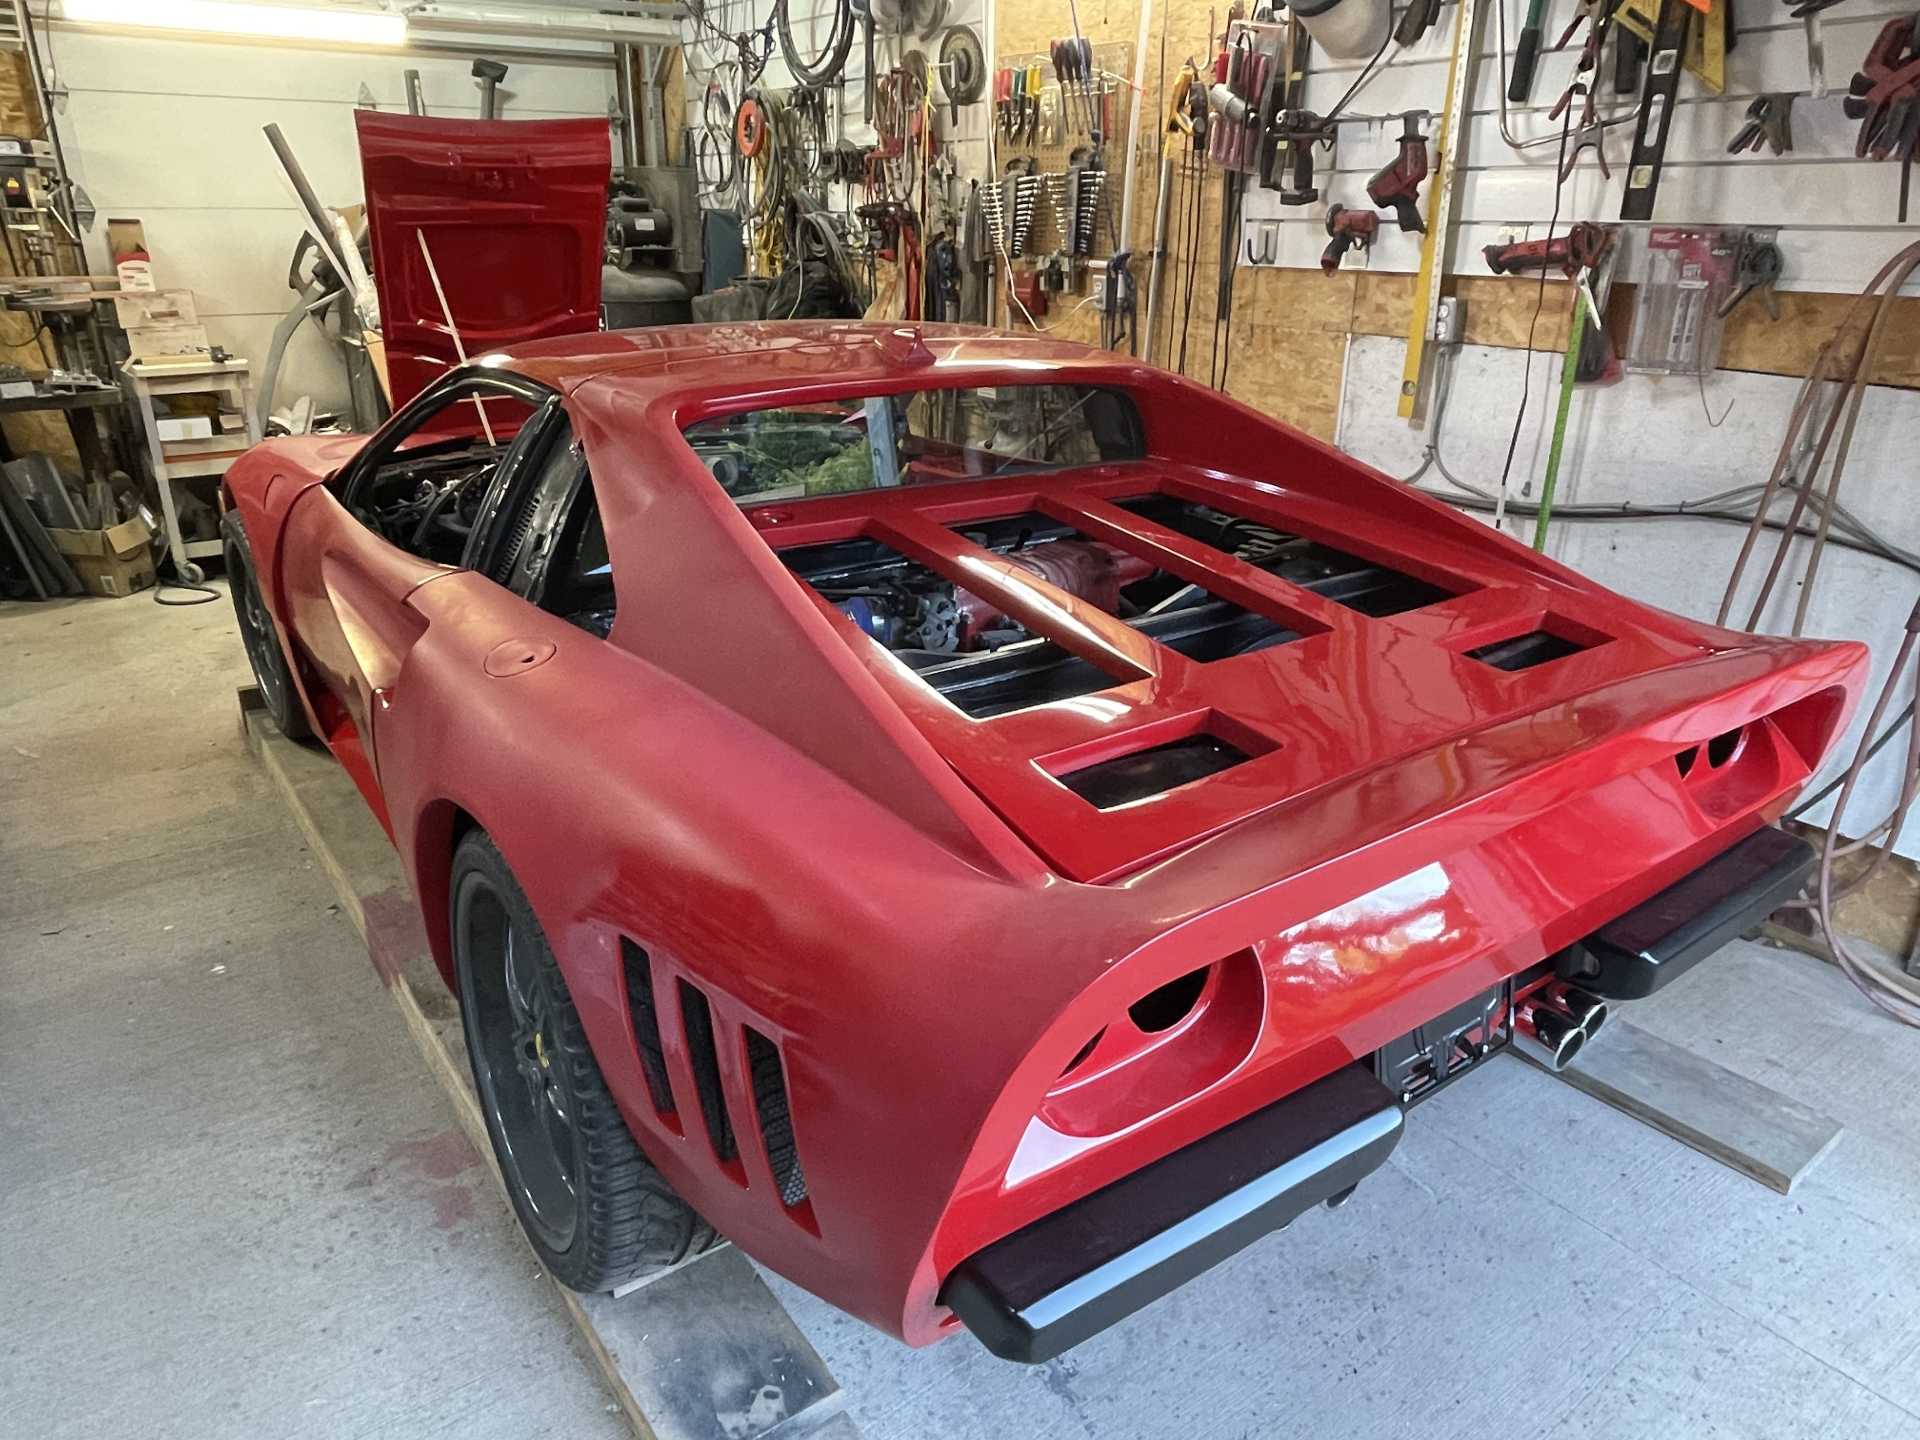
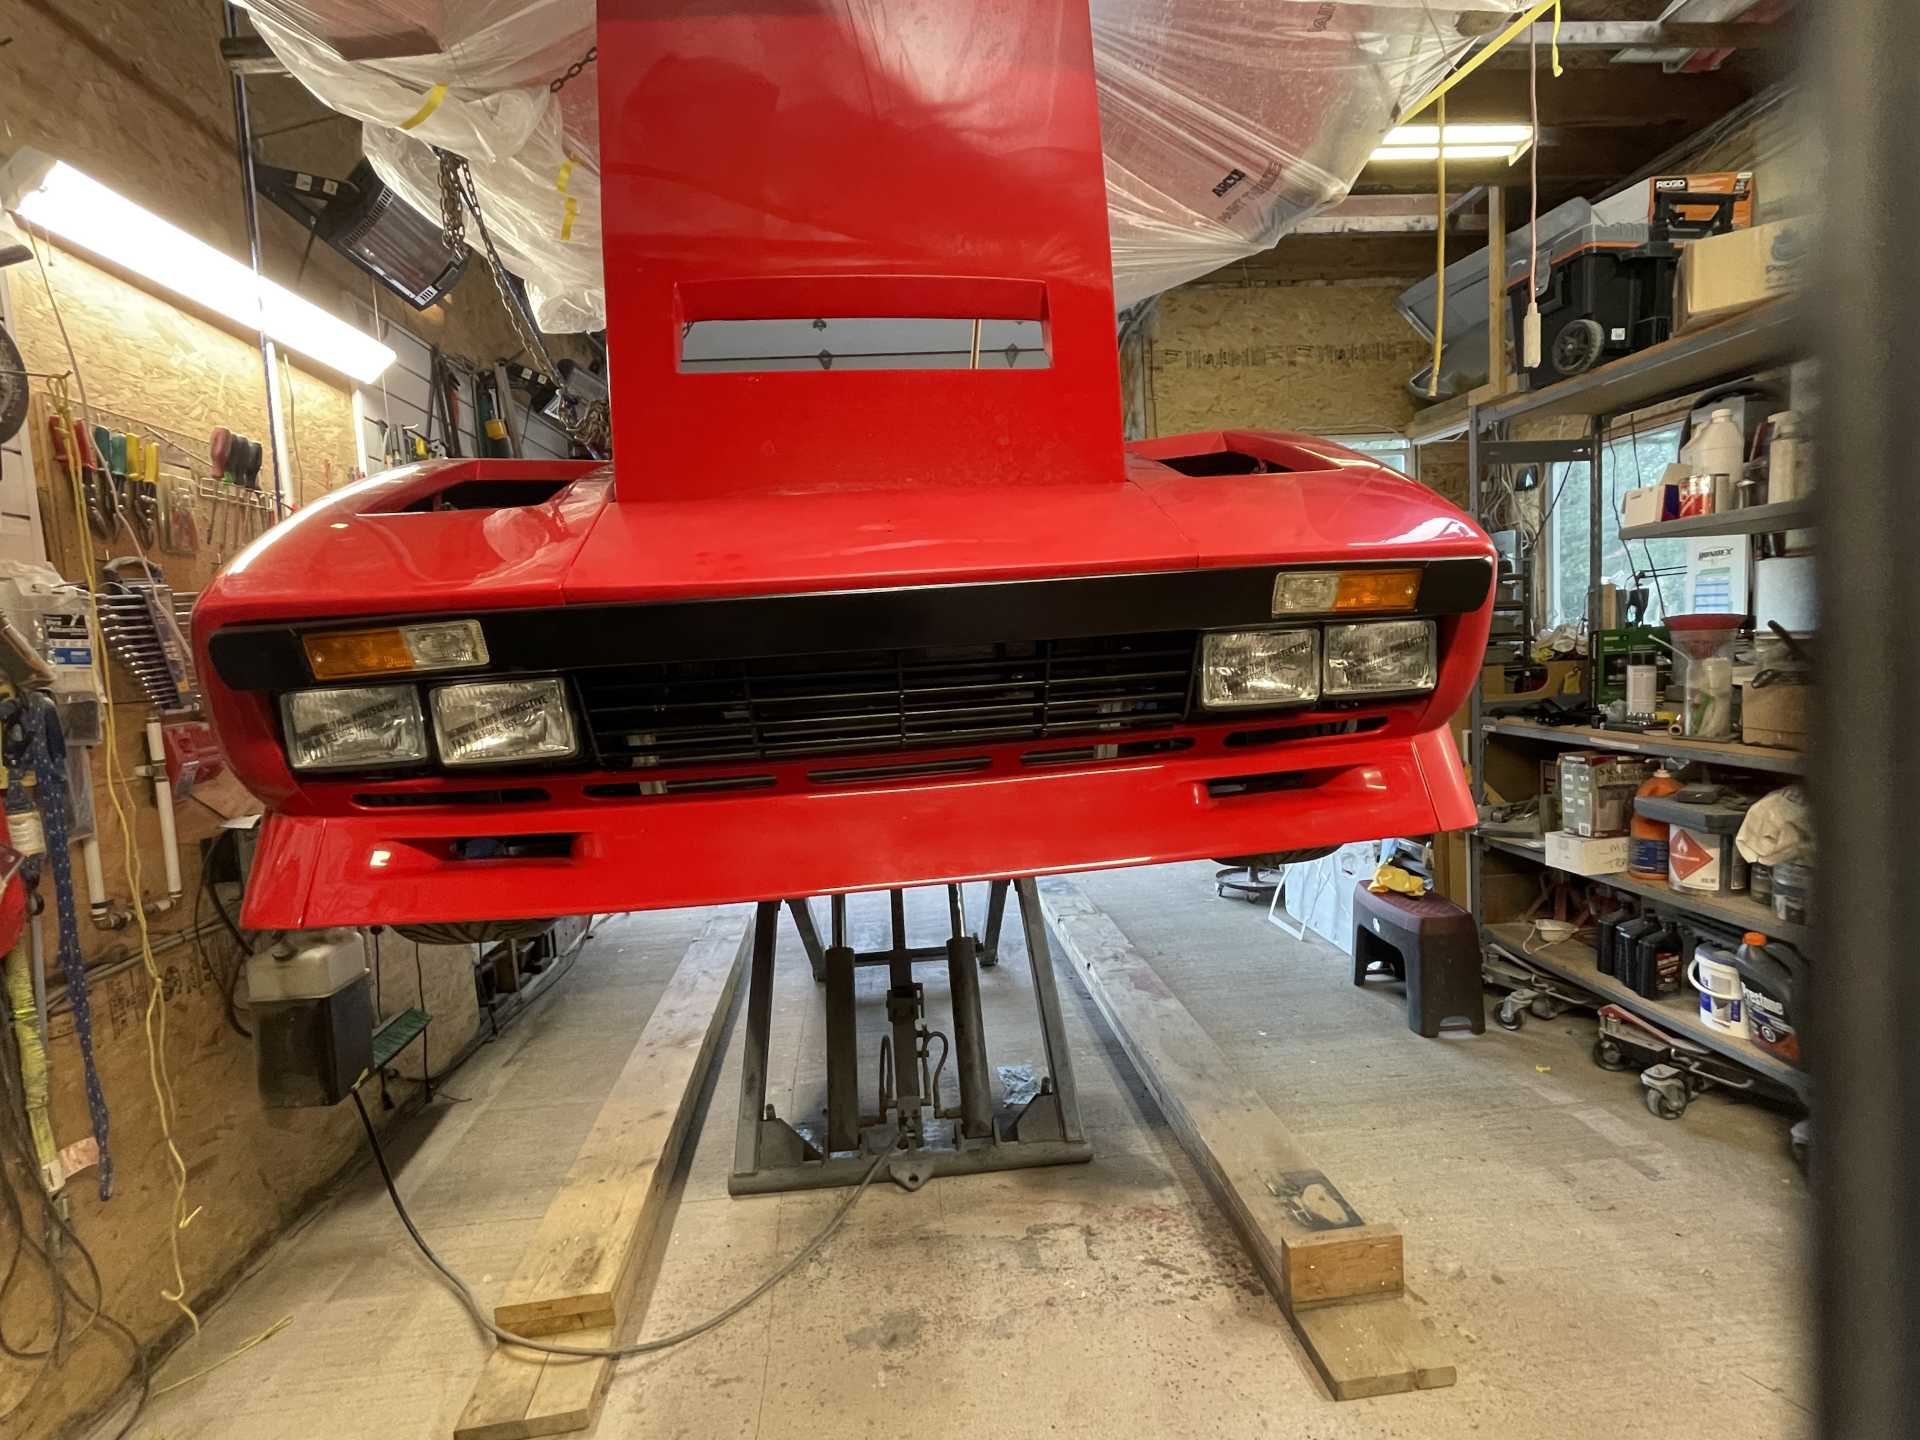
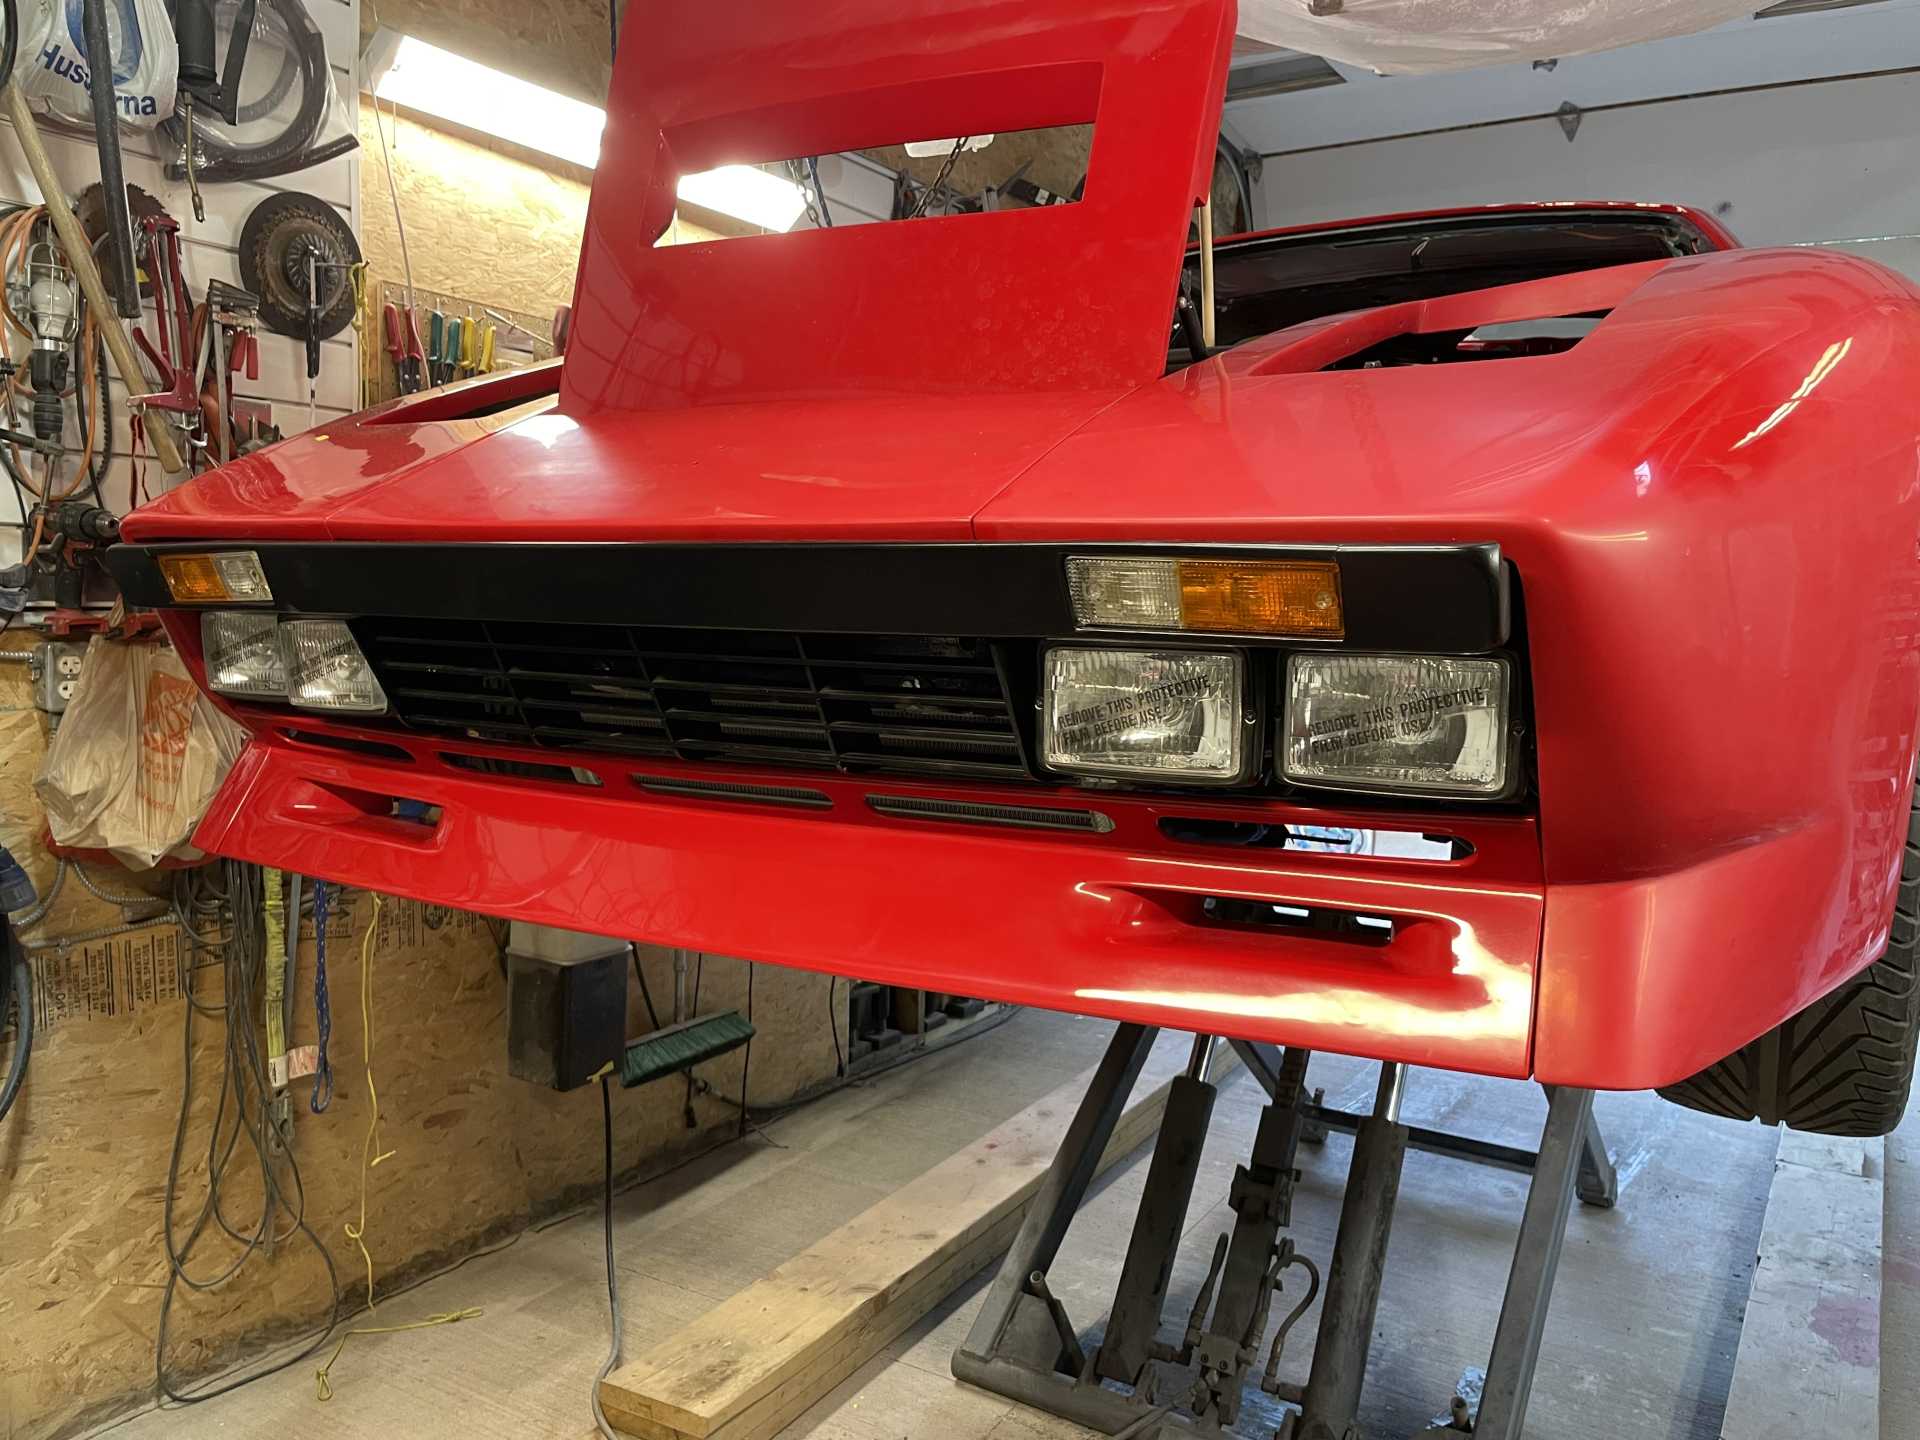
I’ve started to put the body panels back on the car after finishing all the final electrical final checks. I still have lots of wet sanding and buffing, and I still have to paint the “A” pillars black but it’s getting closer.
Here are a few pics , thanks for stopping by.

|
|
|
|
Sage
|
SEP 16, 07:17 AM
|
|
 ................................... ...................................
HAGO!
|
|
|
|