|
| LS4 / F40 swap - fieroguru (Page 58/216) |

|
fieroguru
|
DEC 15, 05:46 PM
|
|
|
|
|
fieroguru
|
DEC 23, 06:41 PM
|
|
Been slacking.... but finally spent some time in the garage.
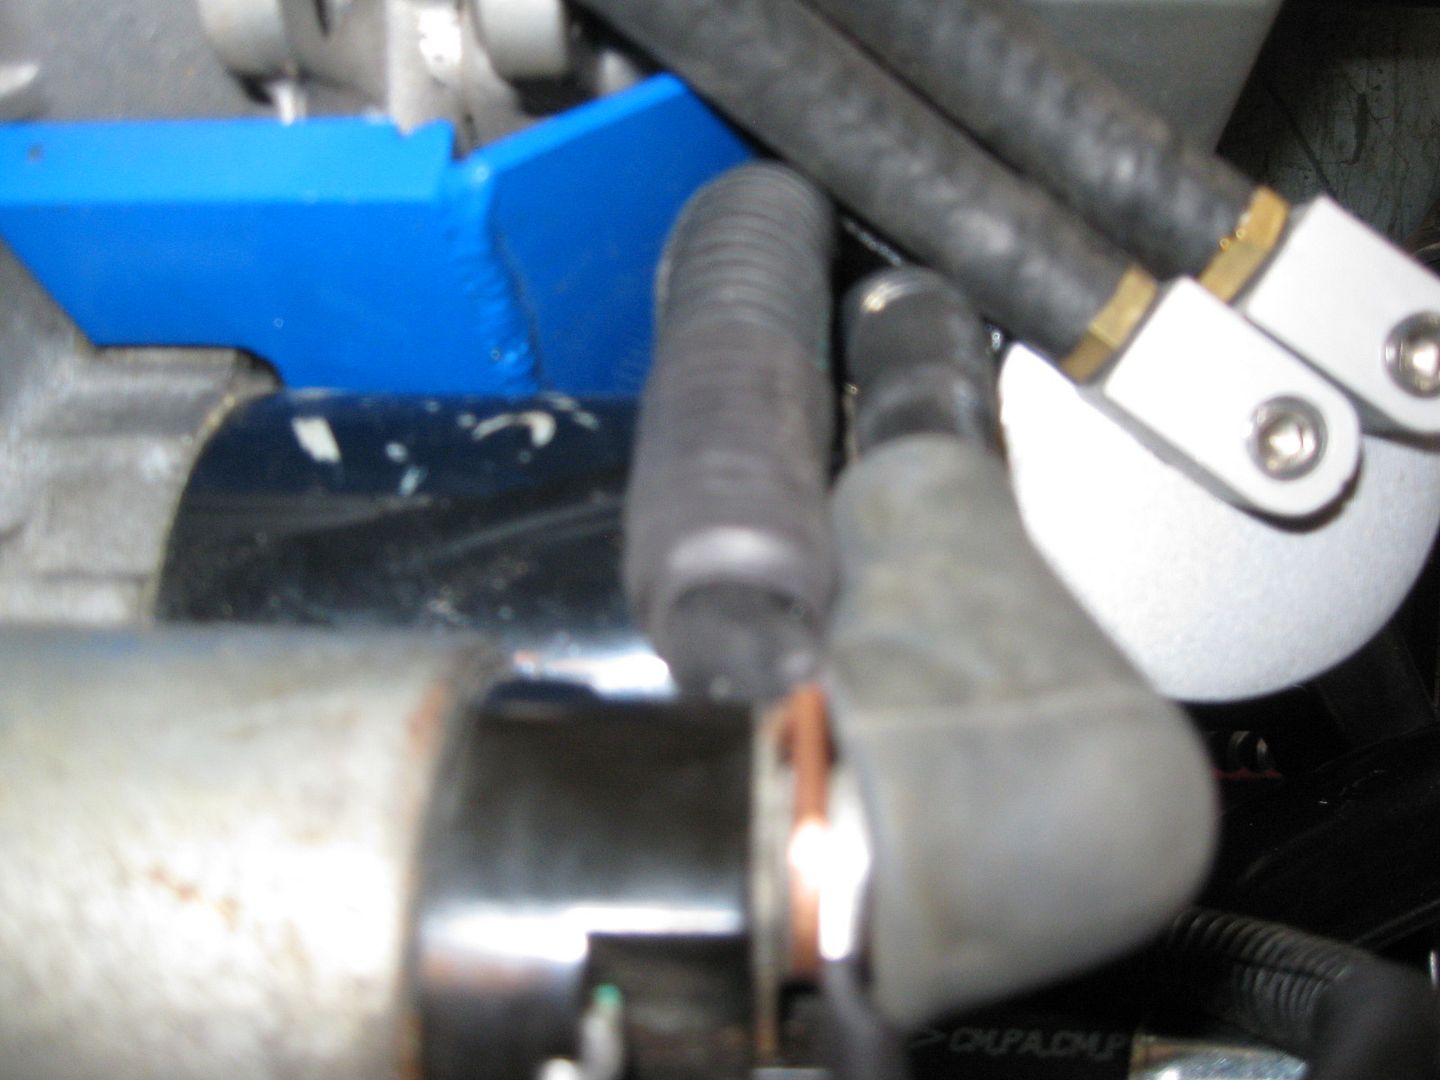
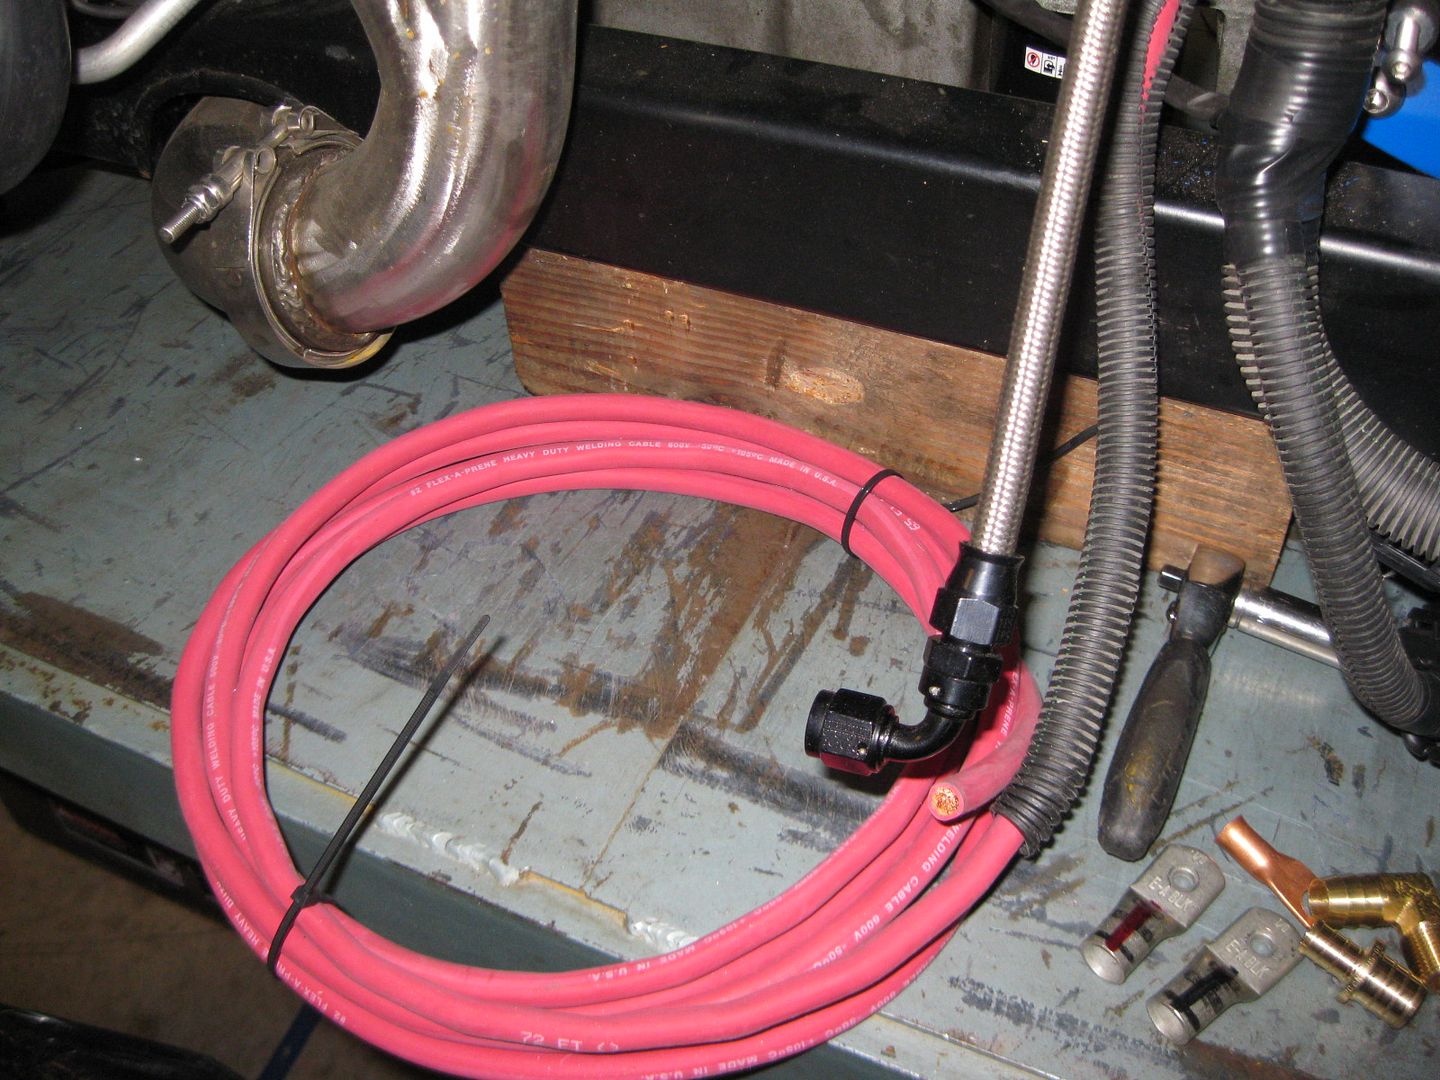
I soldered on the battery cable end at the starter, routed the power cable around the starter and then coiled up the excess. I will run the cables on the final install.

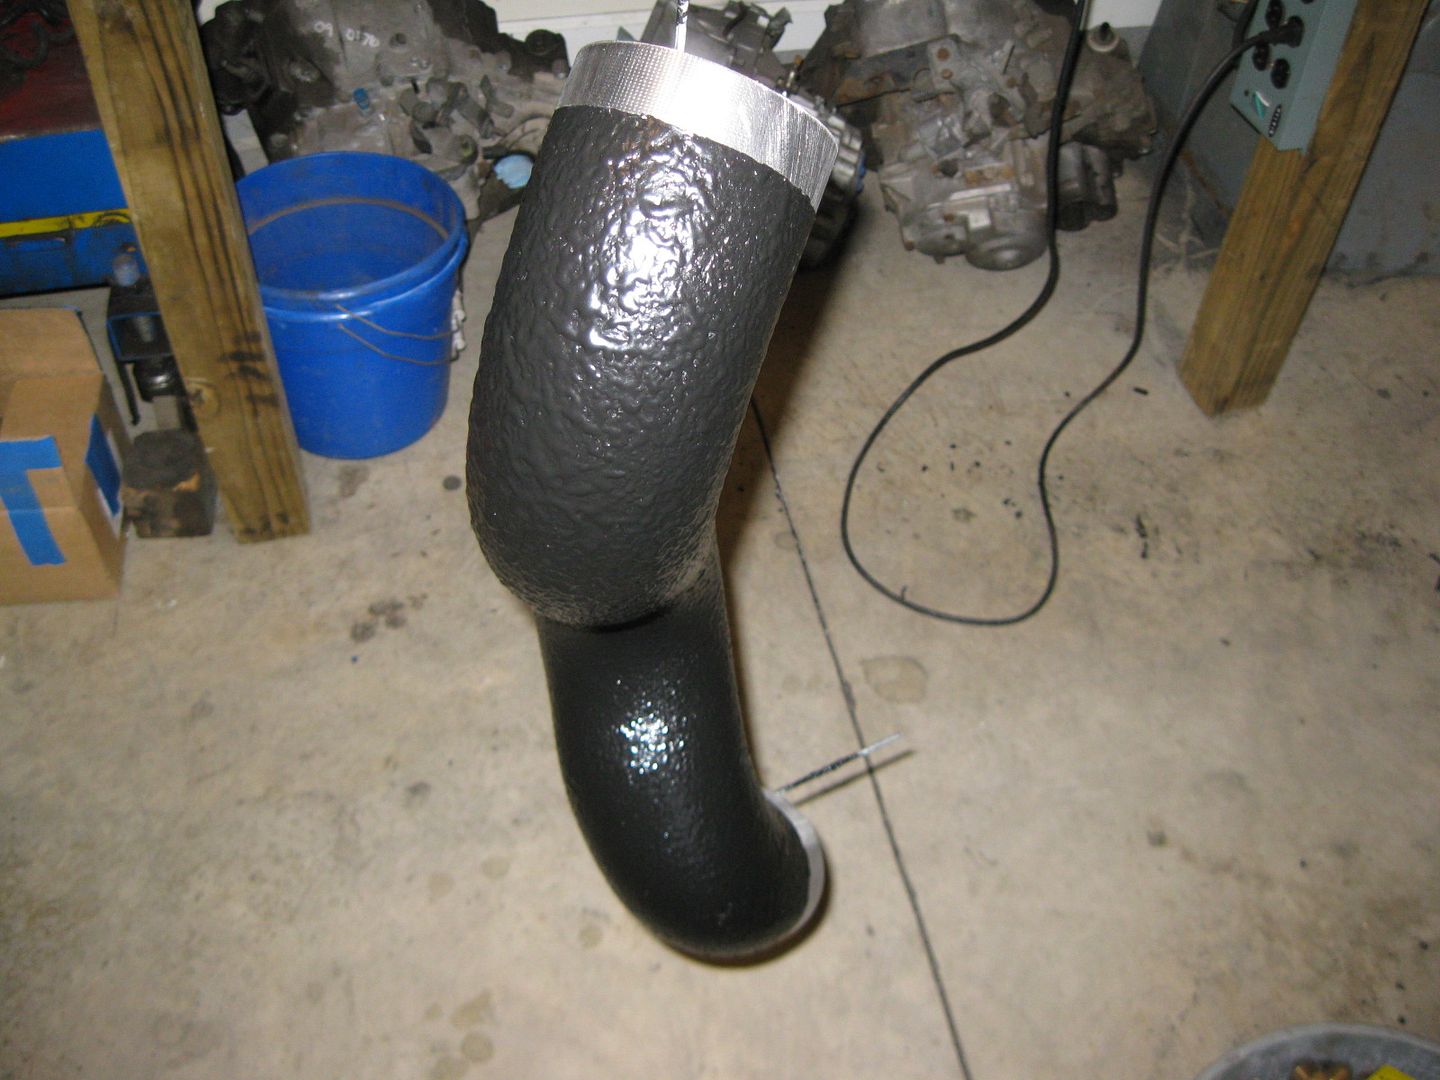
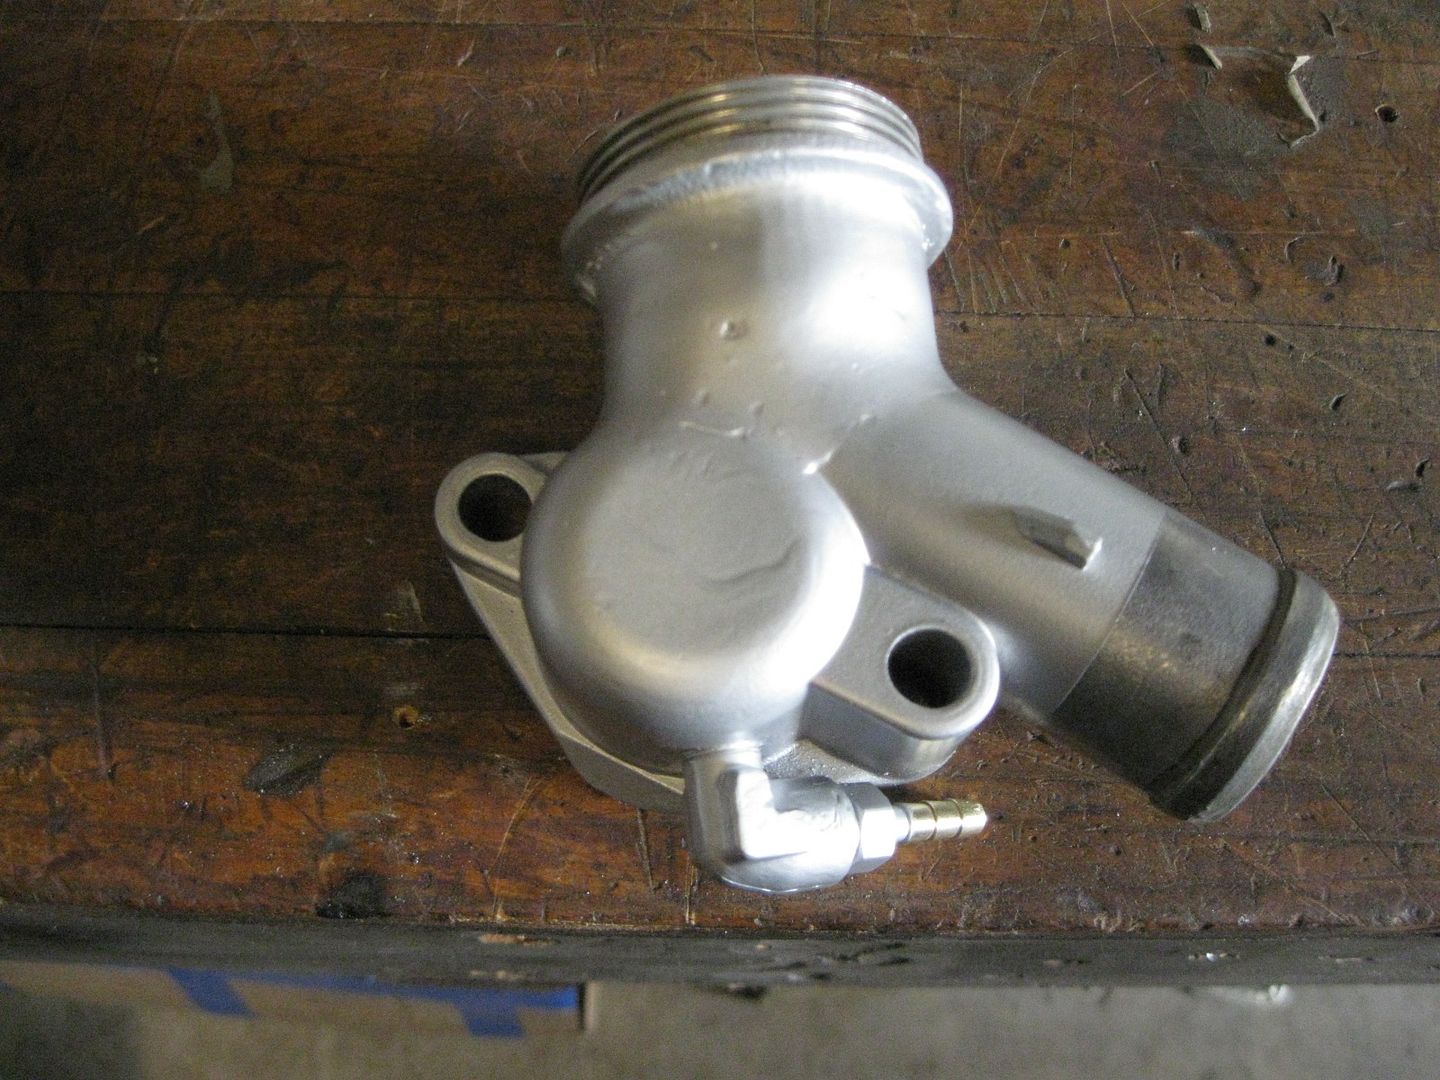
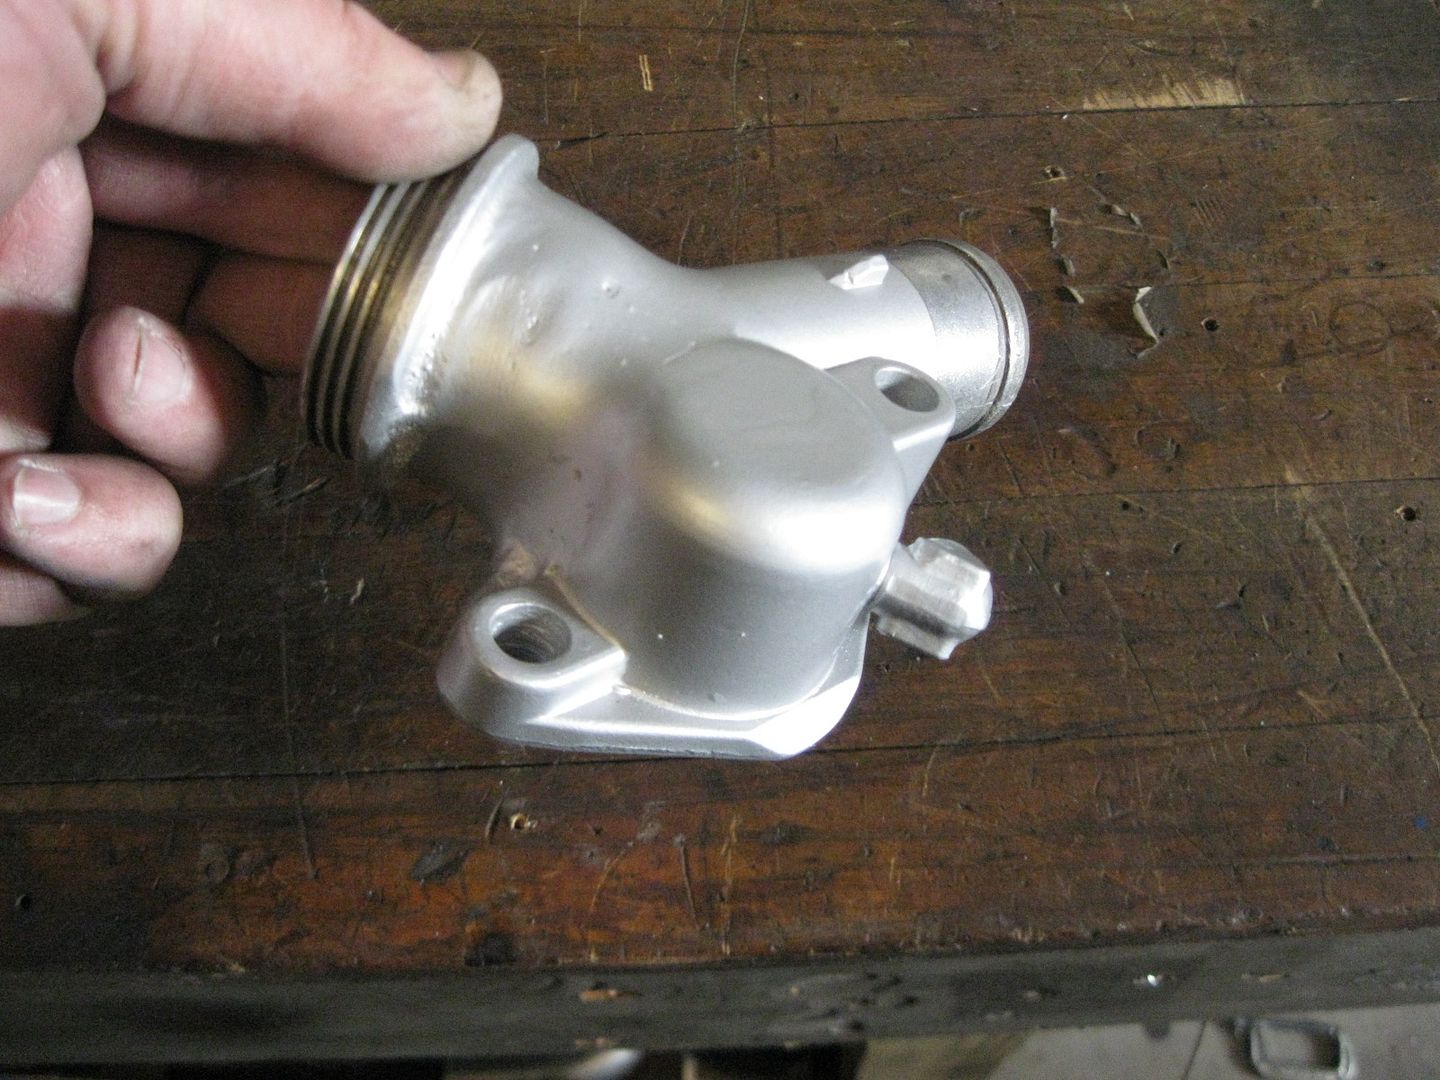
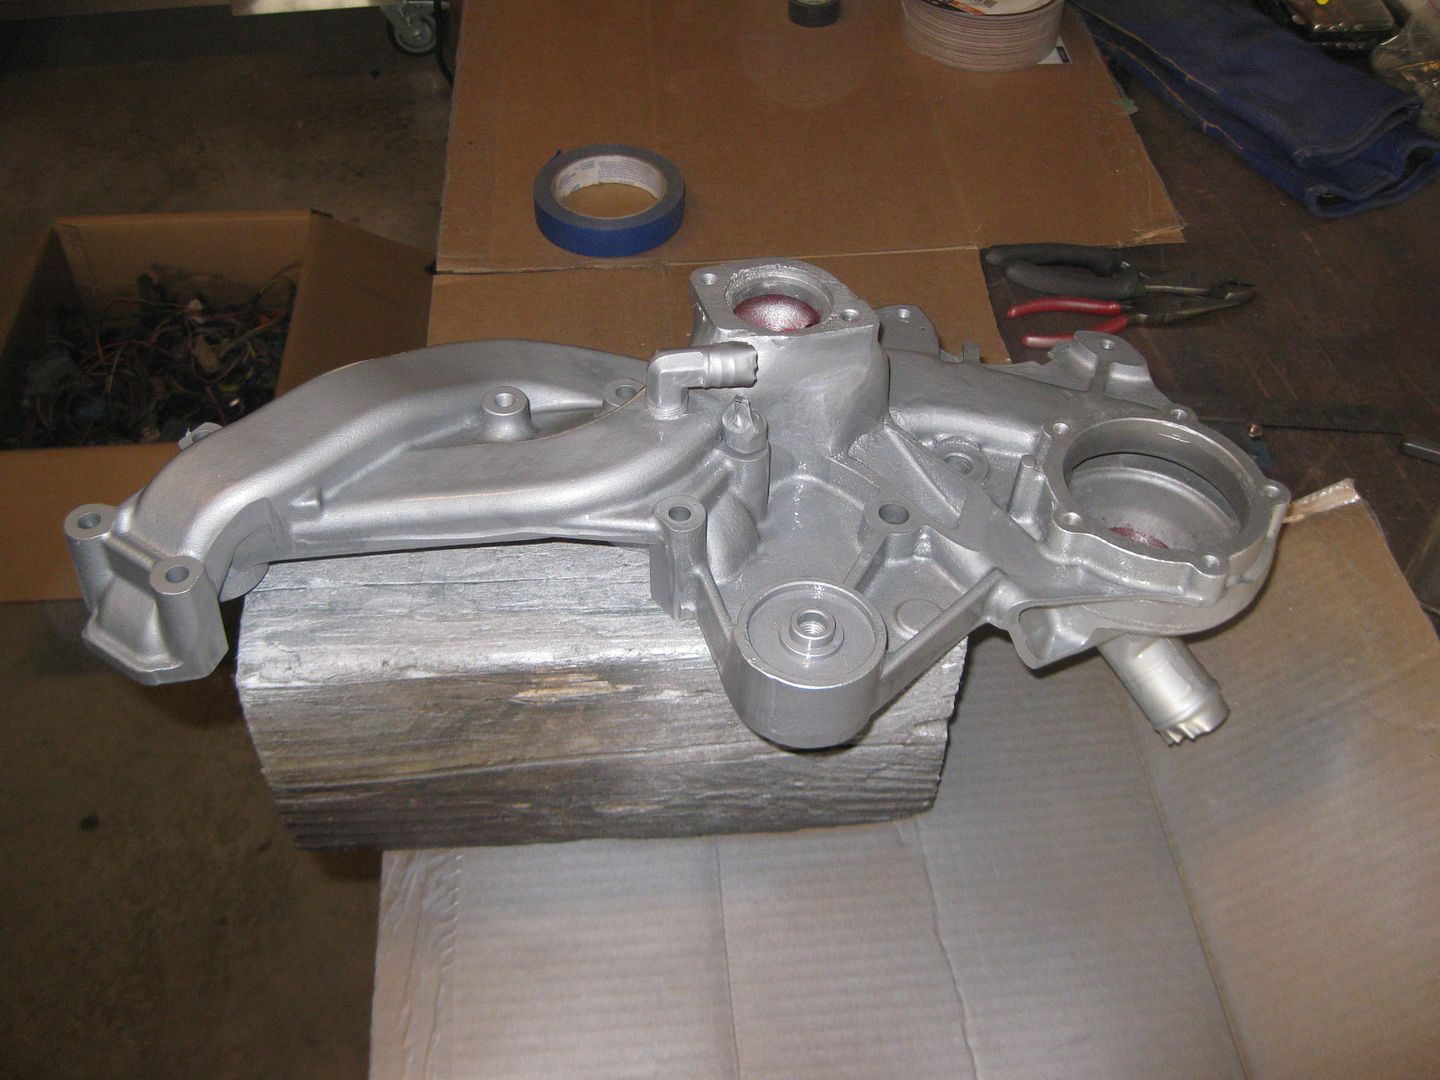
Then I removed the water pump and thermostat housing and painted them aluminum so they would have a more uniform look:
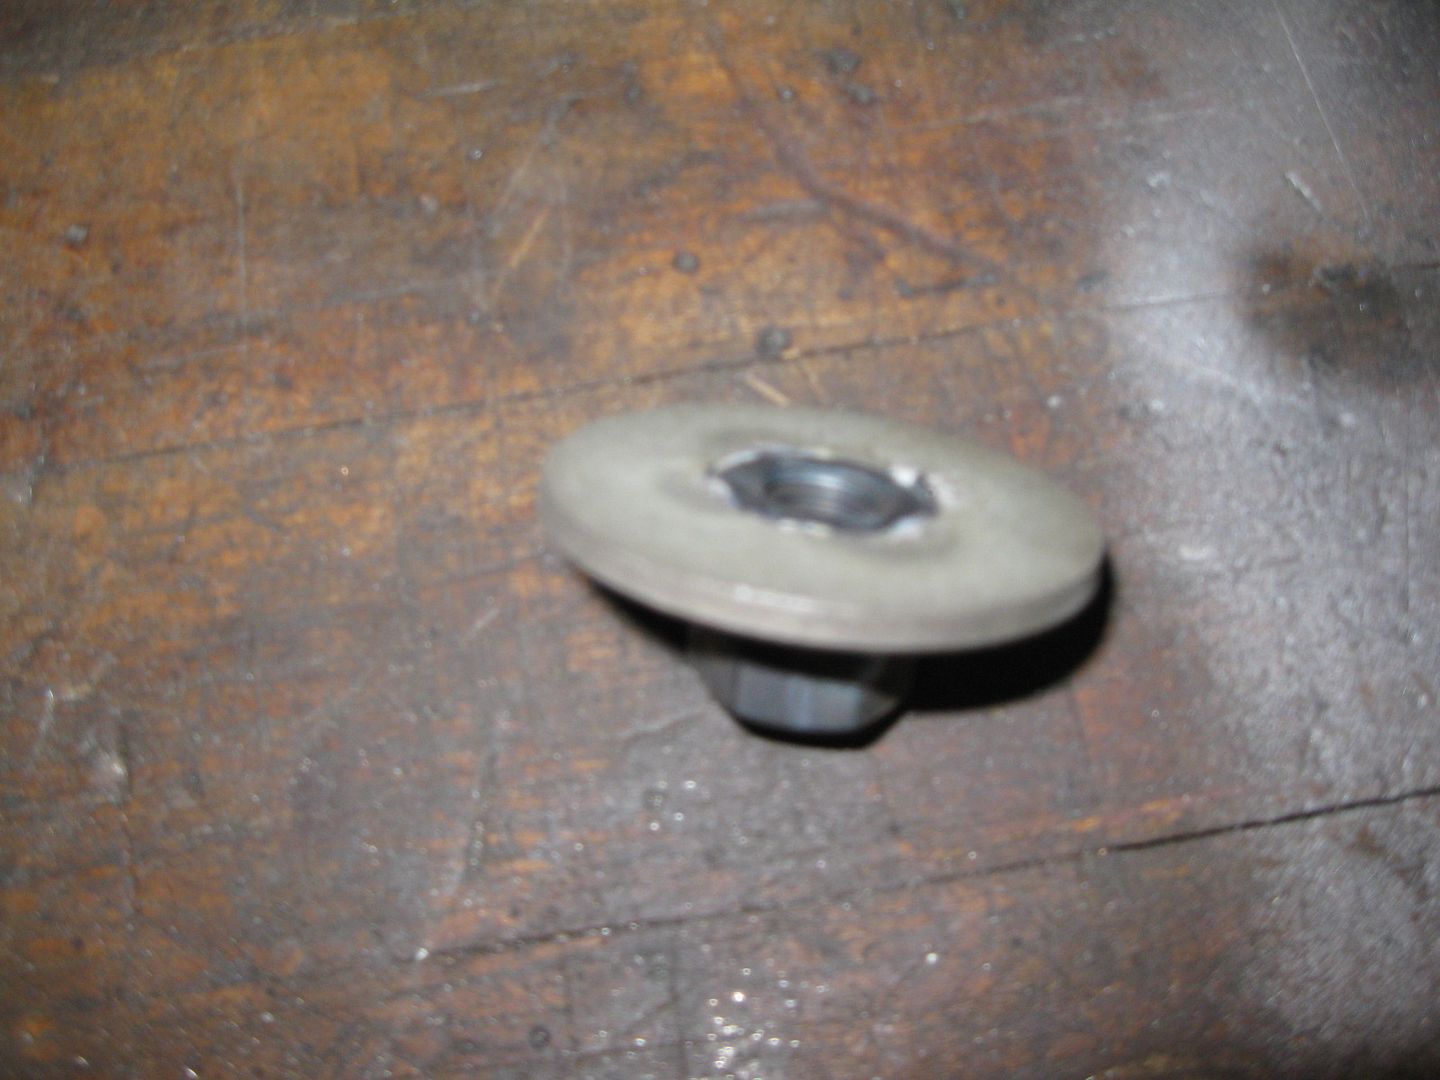
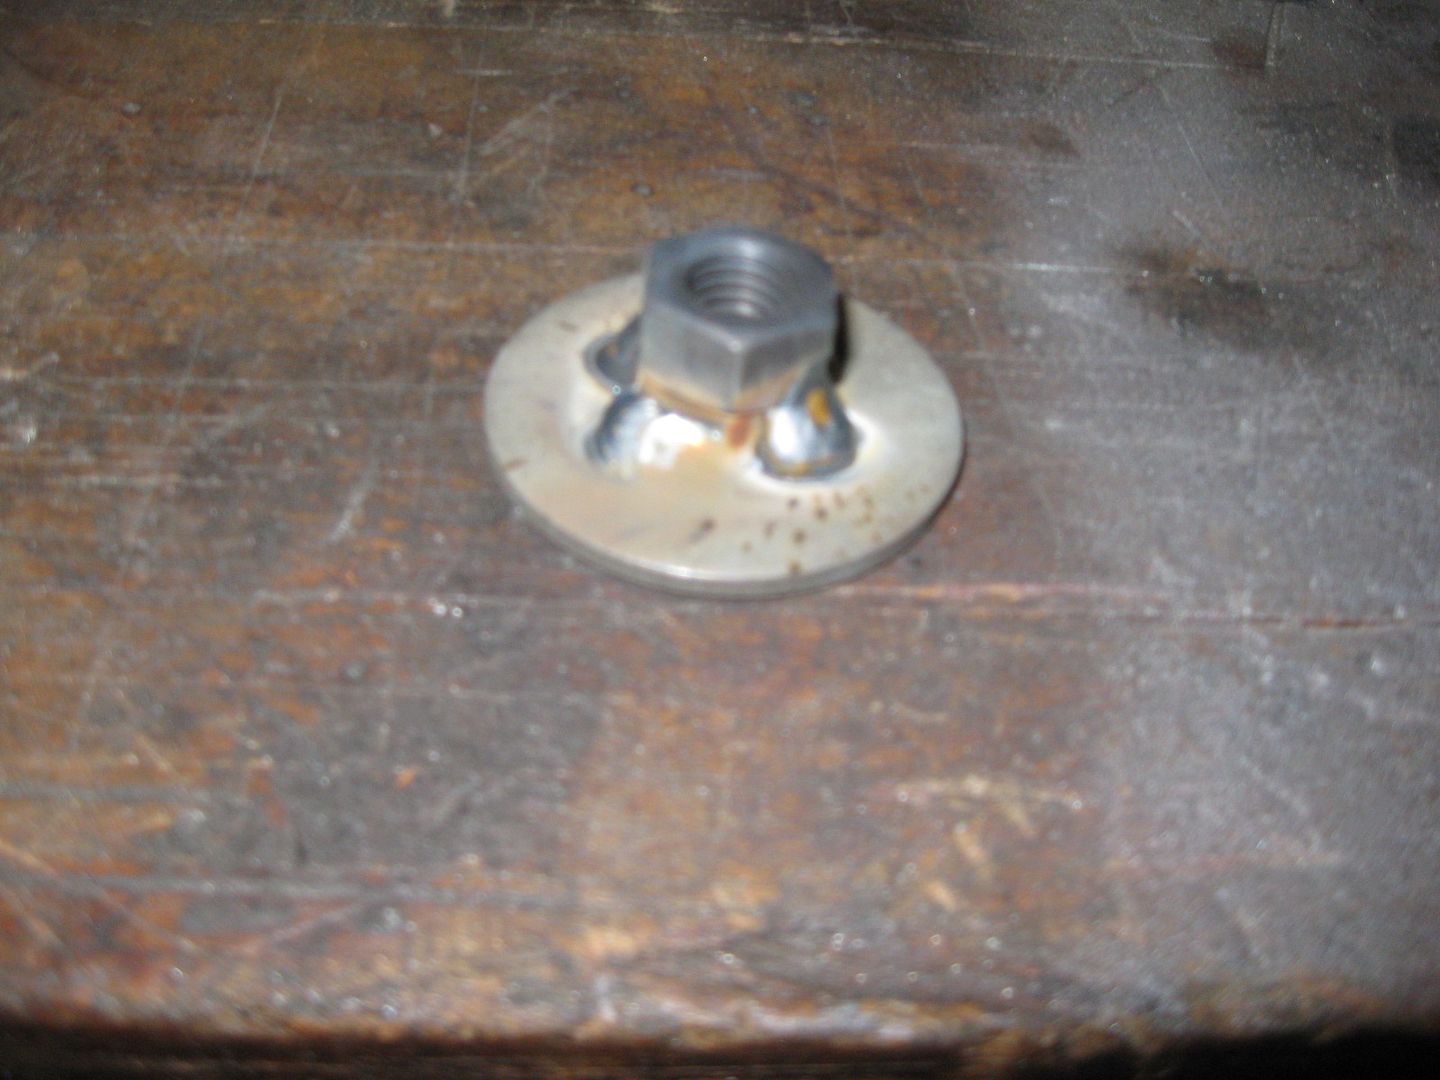
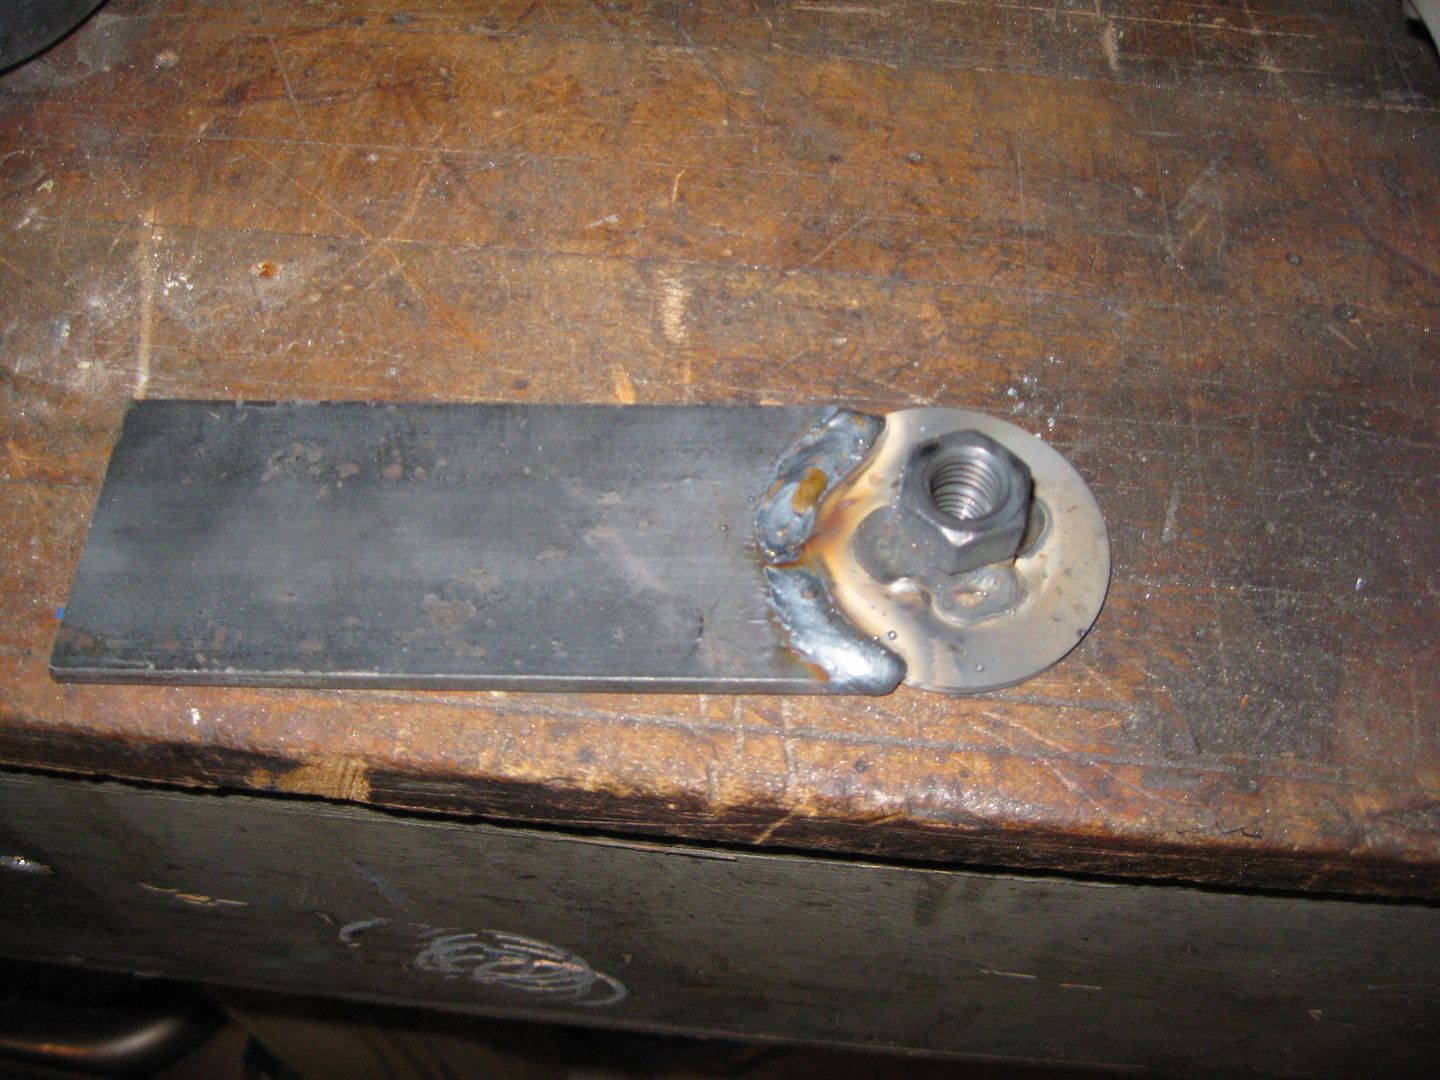
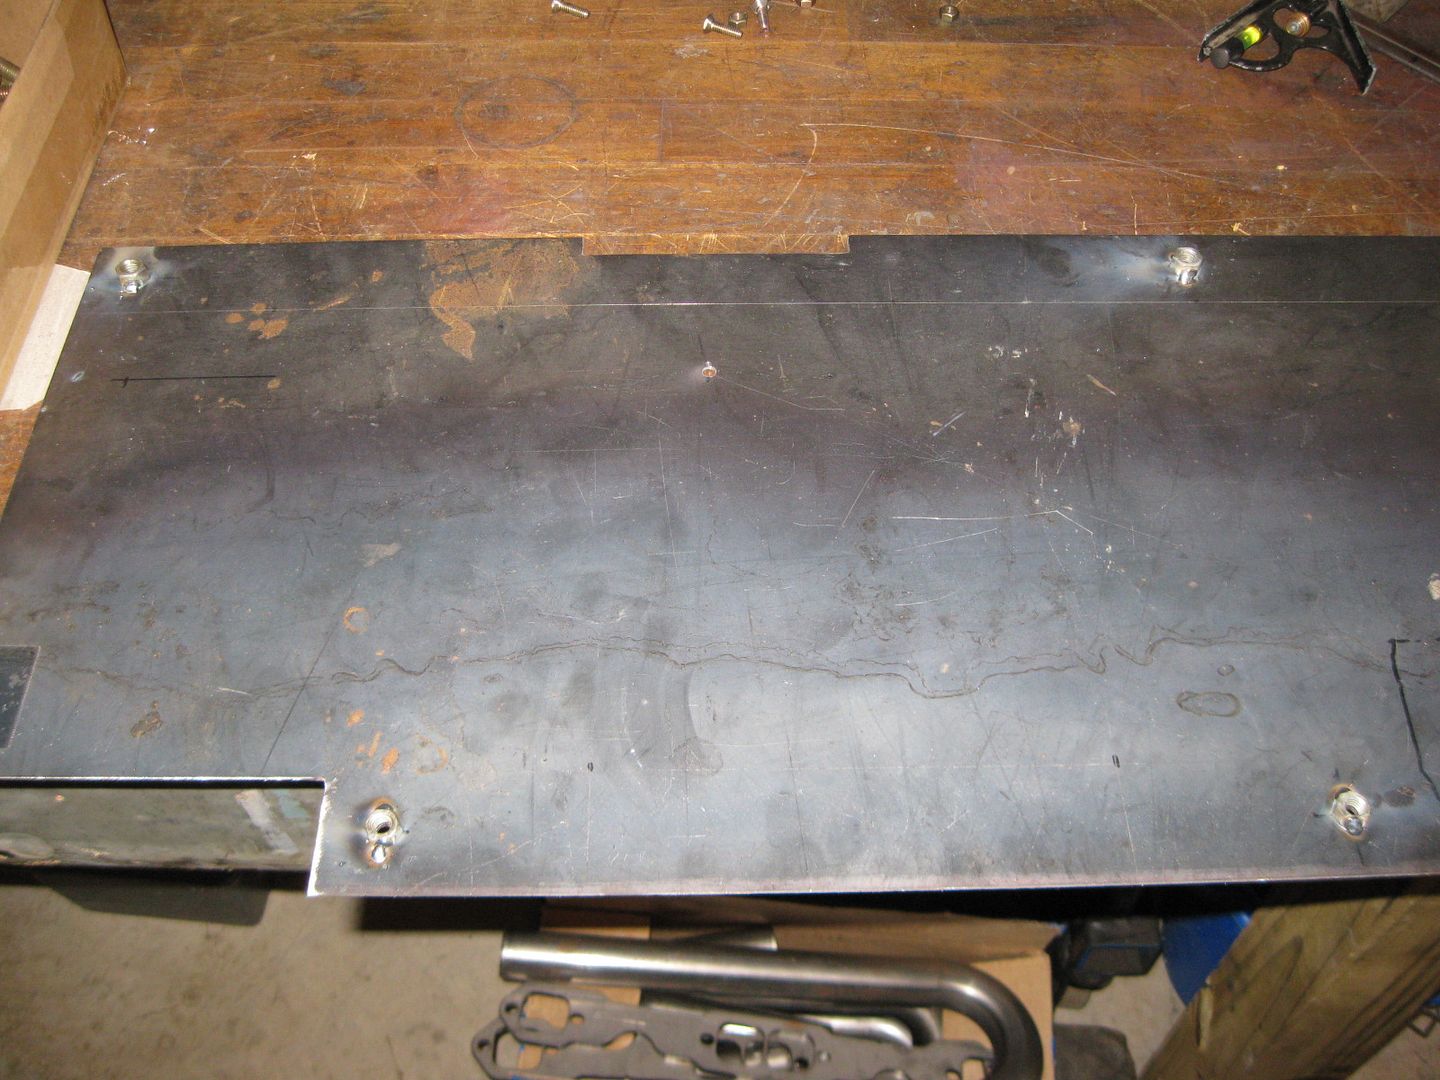
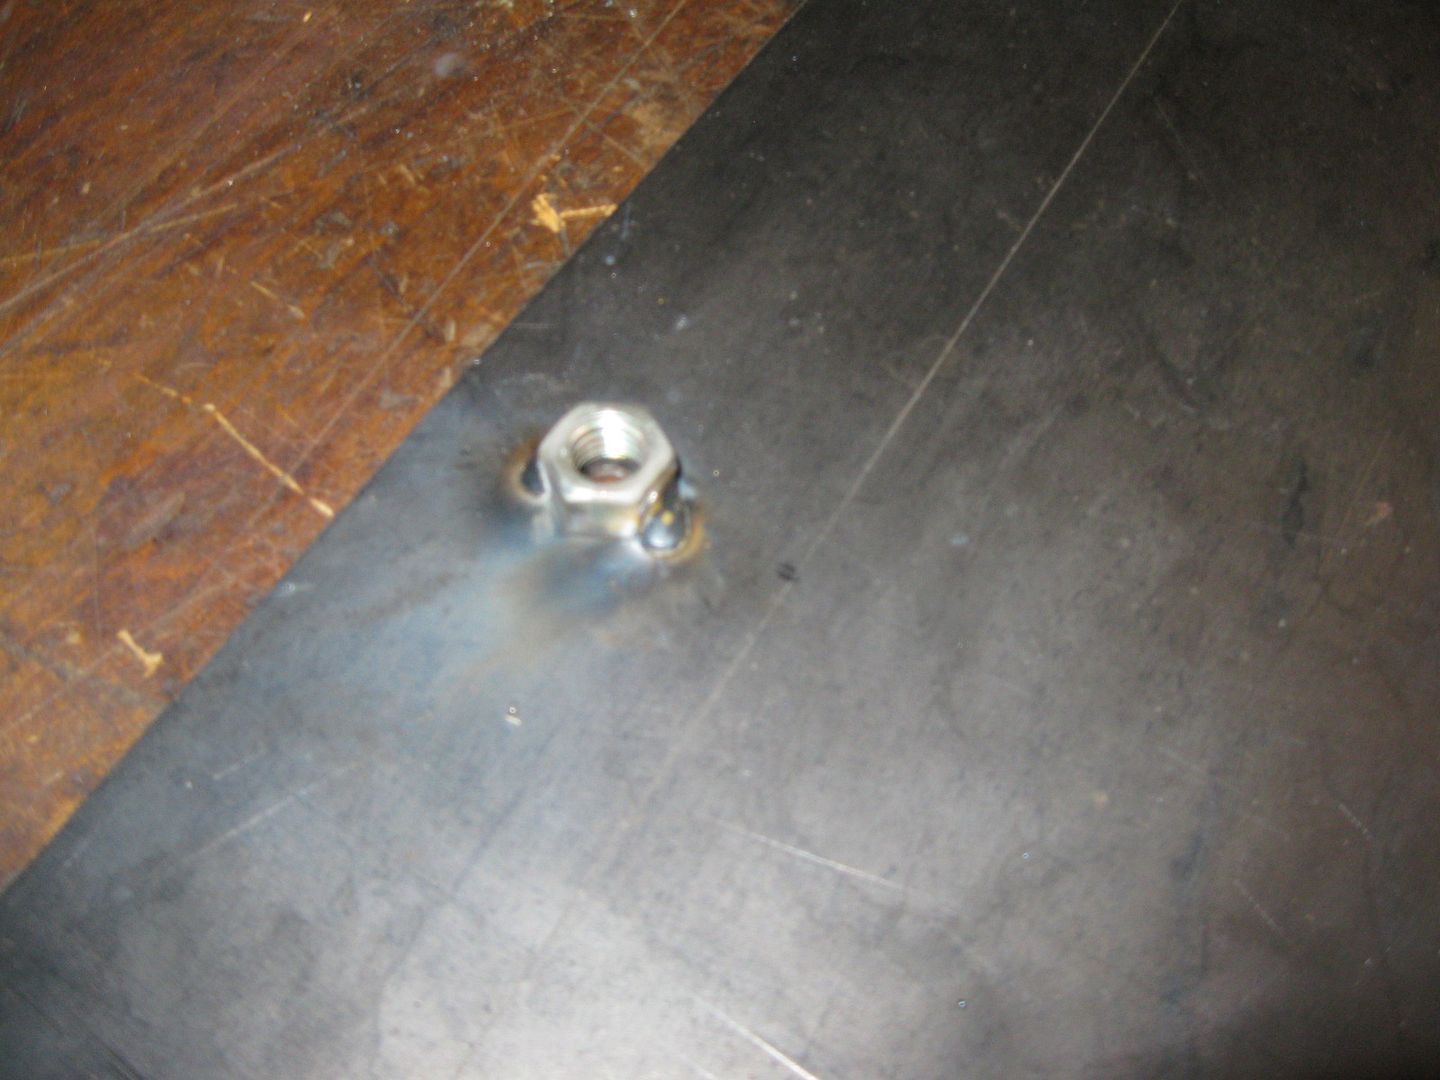
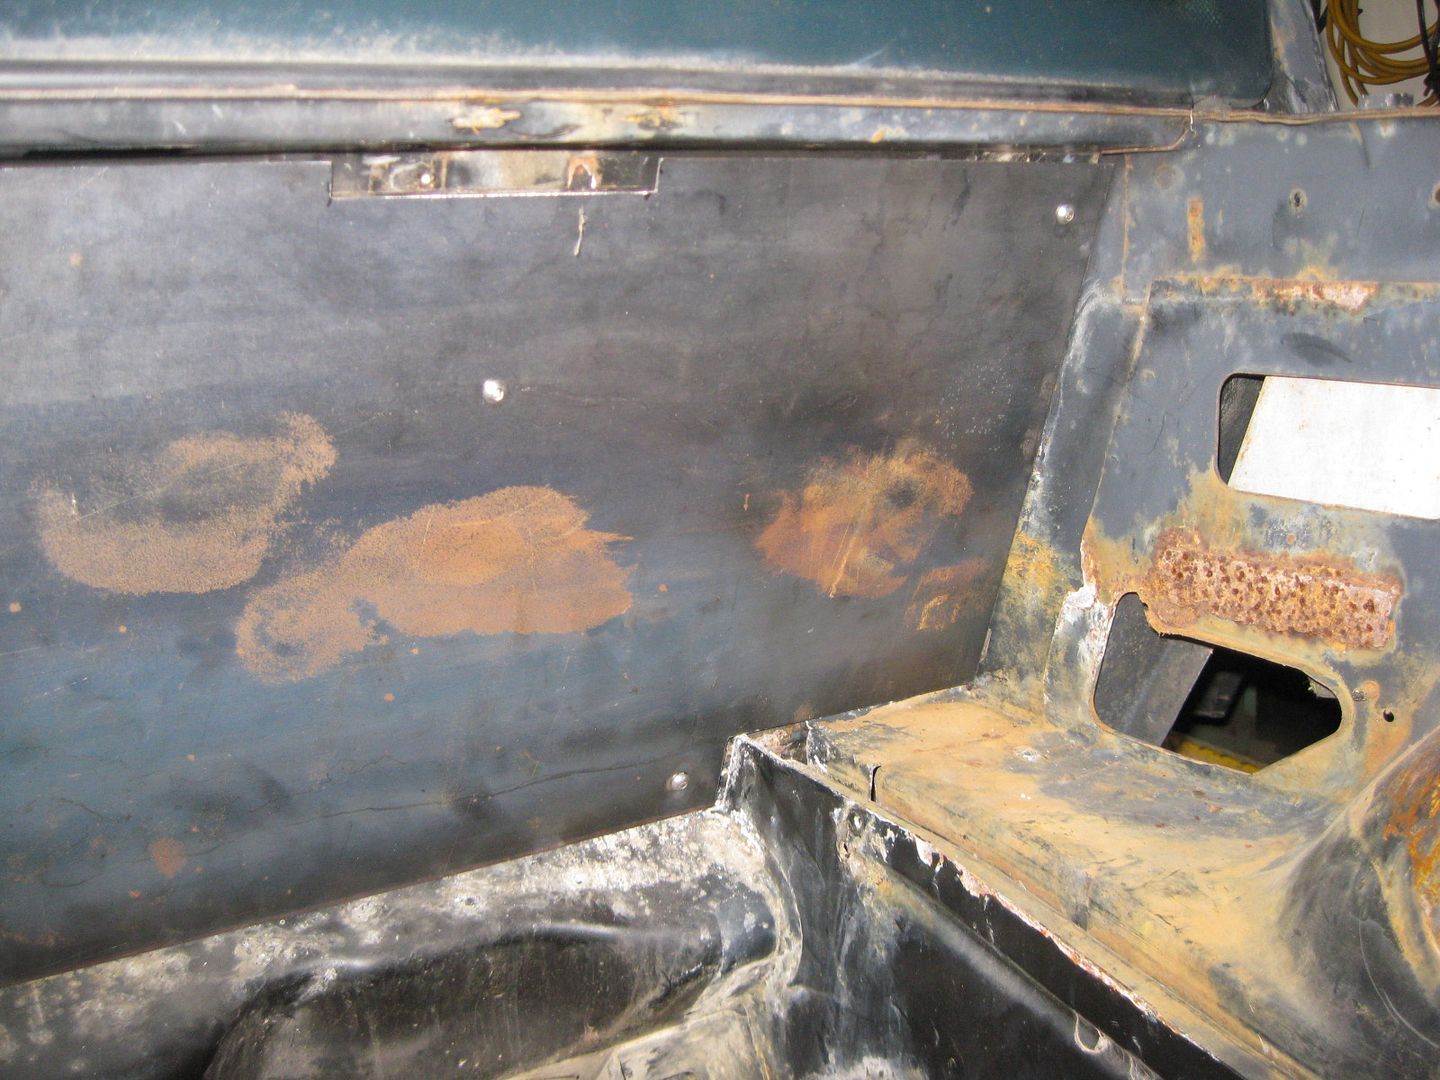
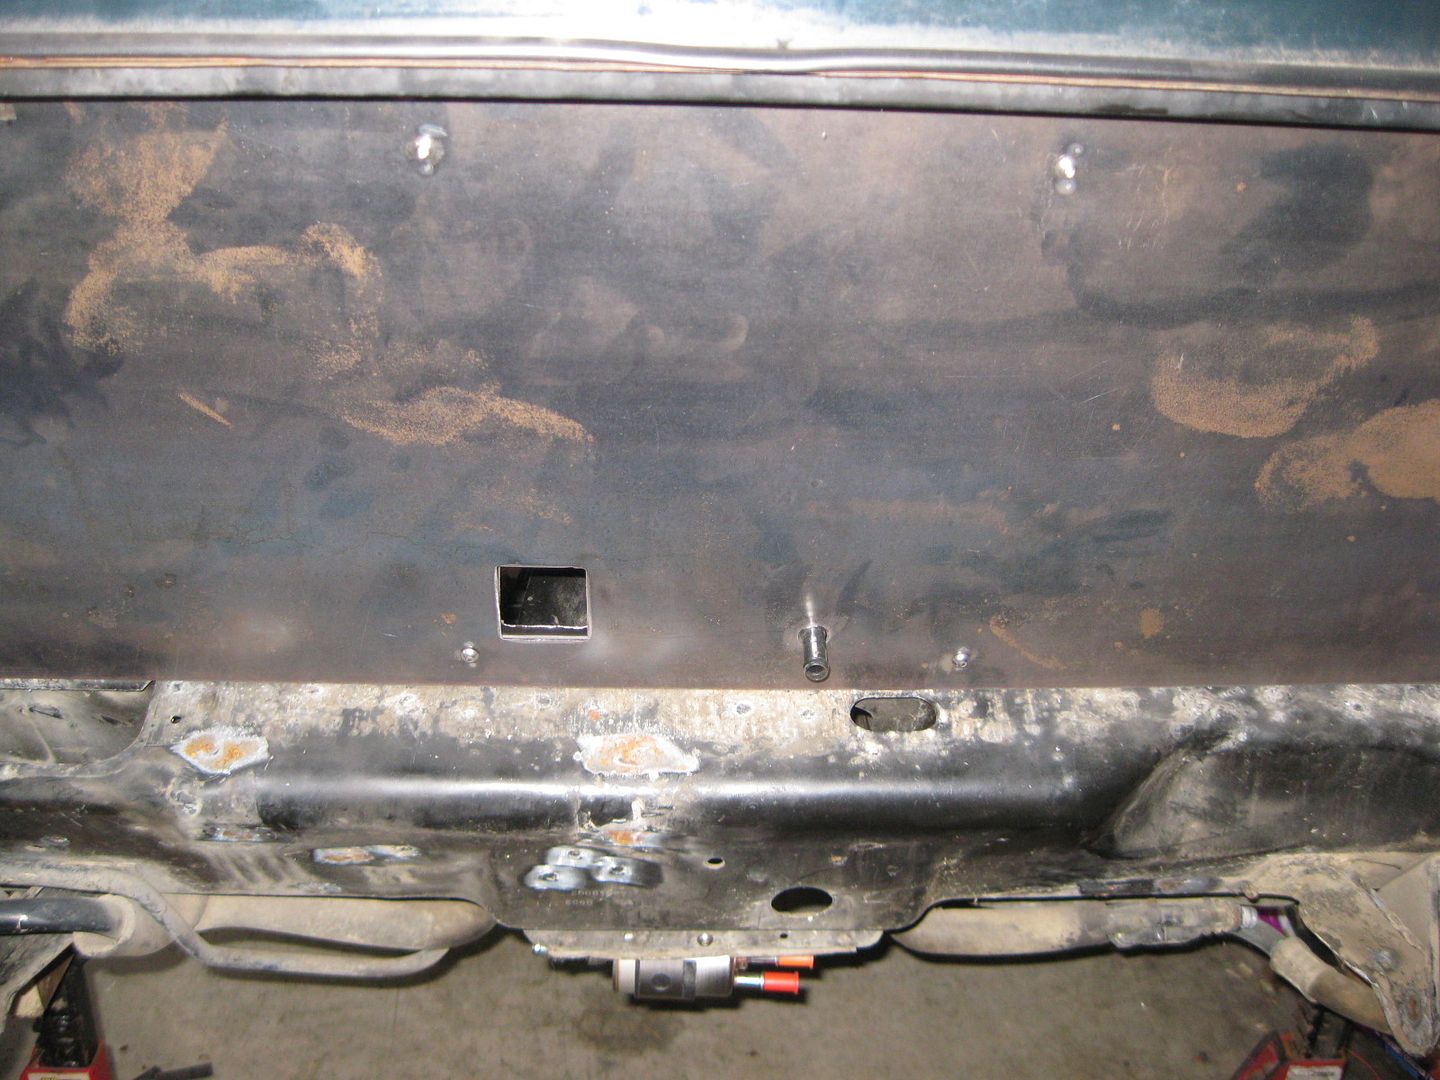
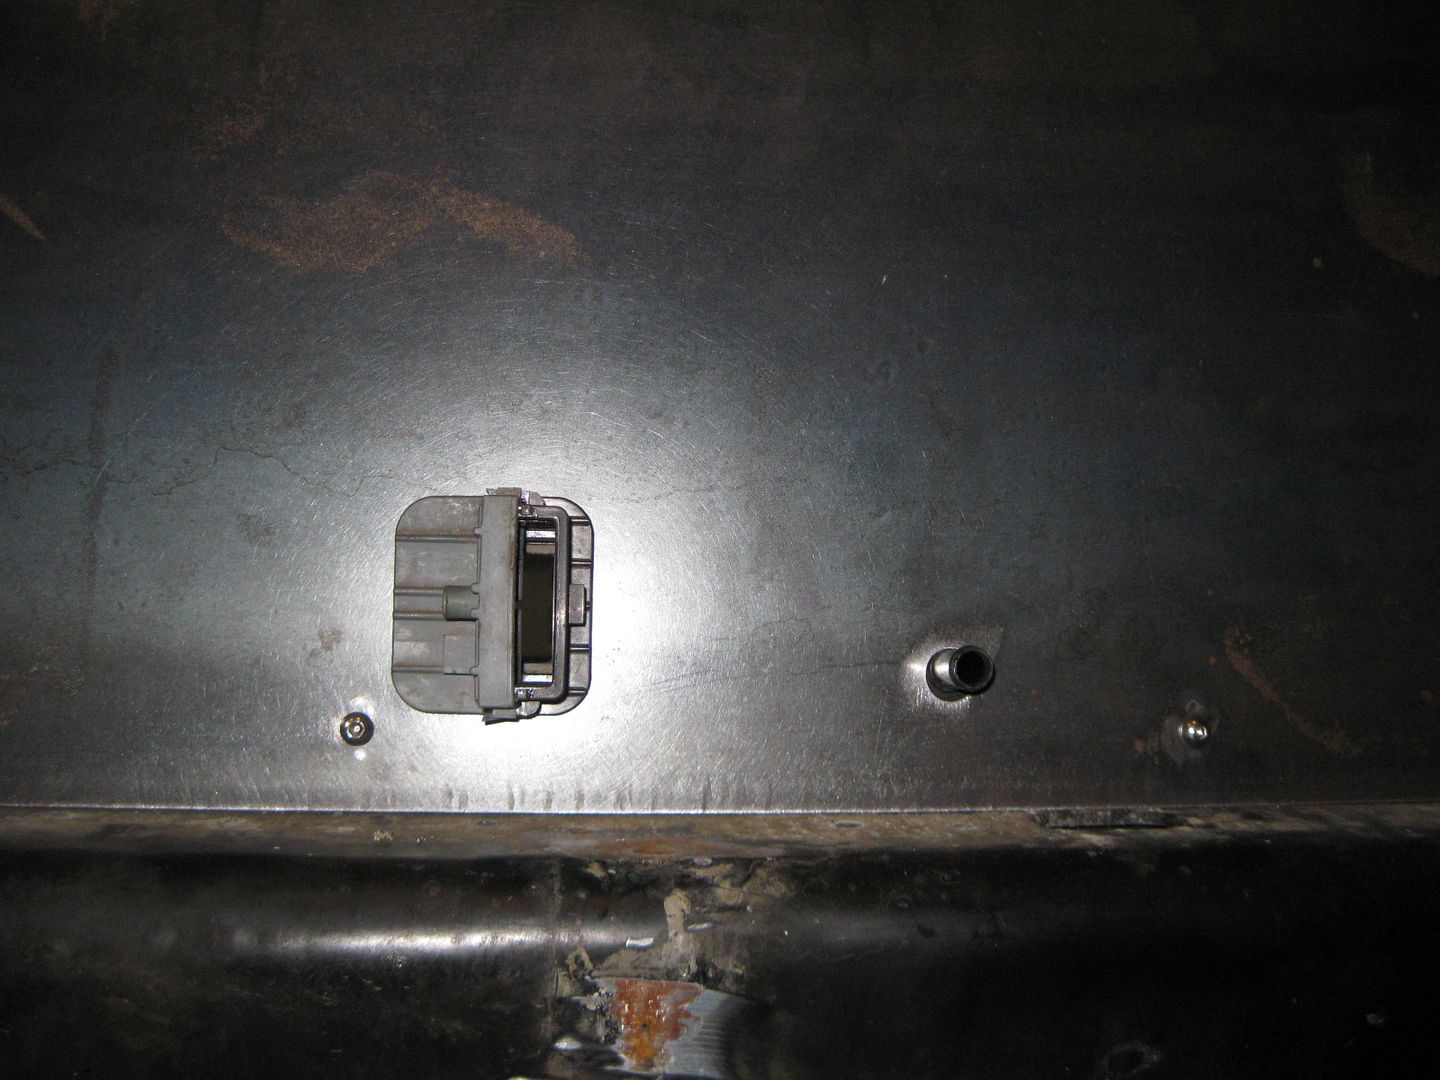
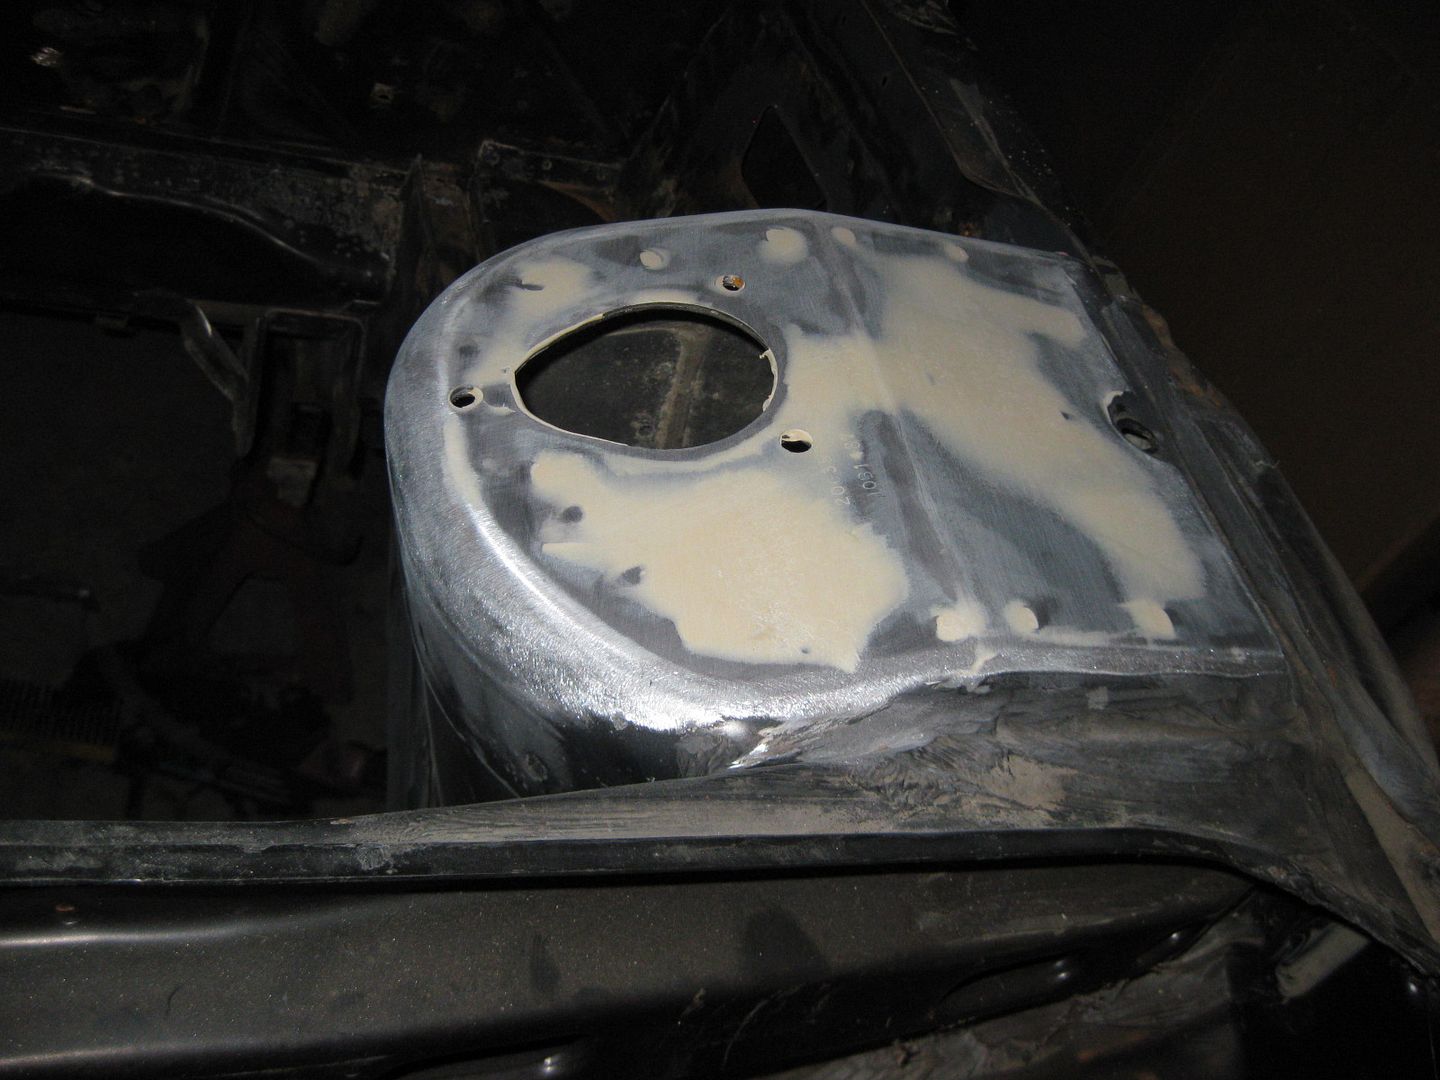
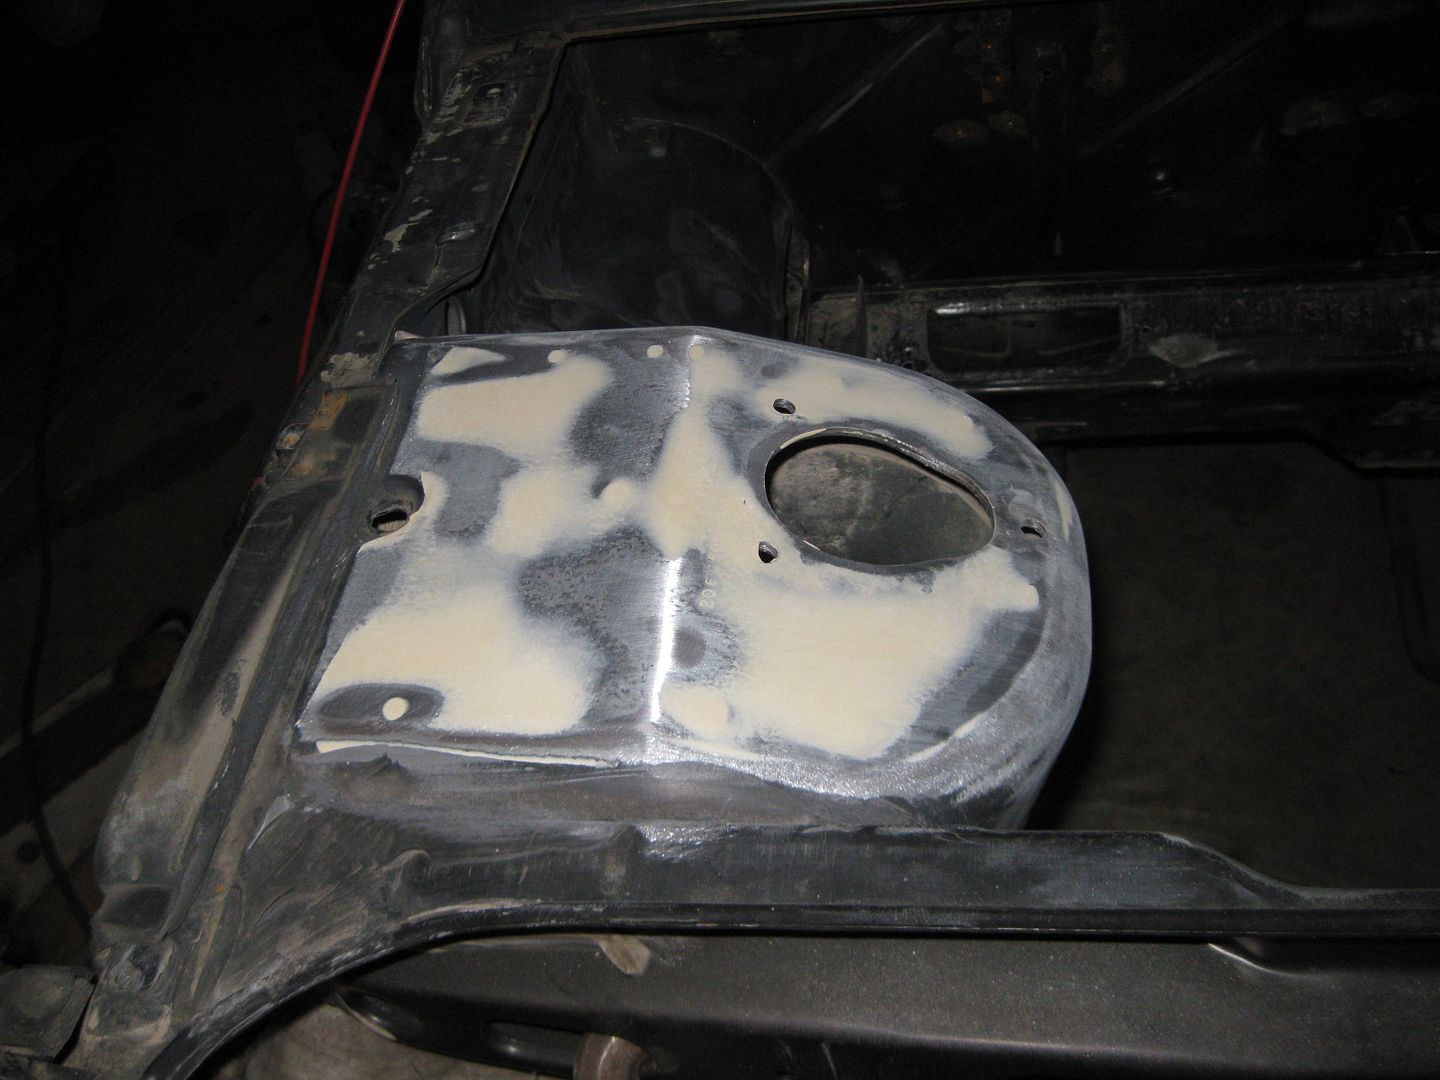
Then I started playing with the smooth firewall panel. I tacked some 3/8" nuts to the backside to space it from the stock firewall, then drilled the 1/4" mounting holes for the bolts and cut the hole for the harness connector:
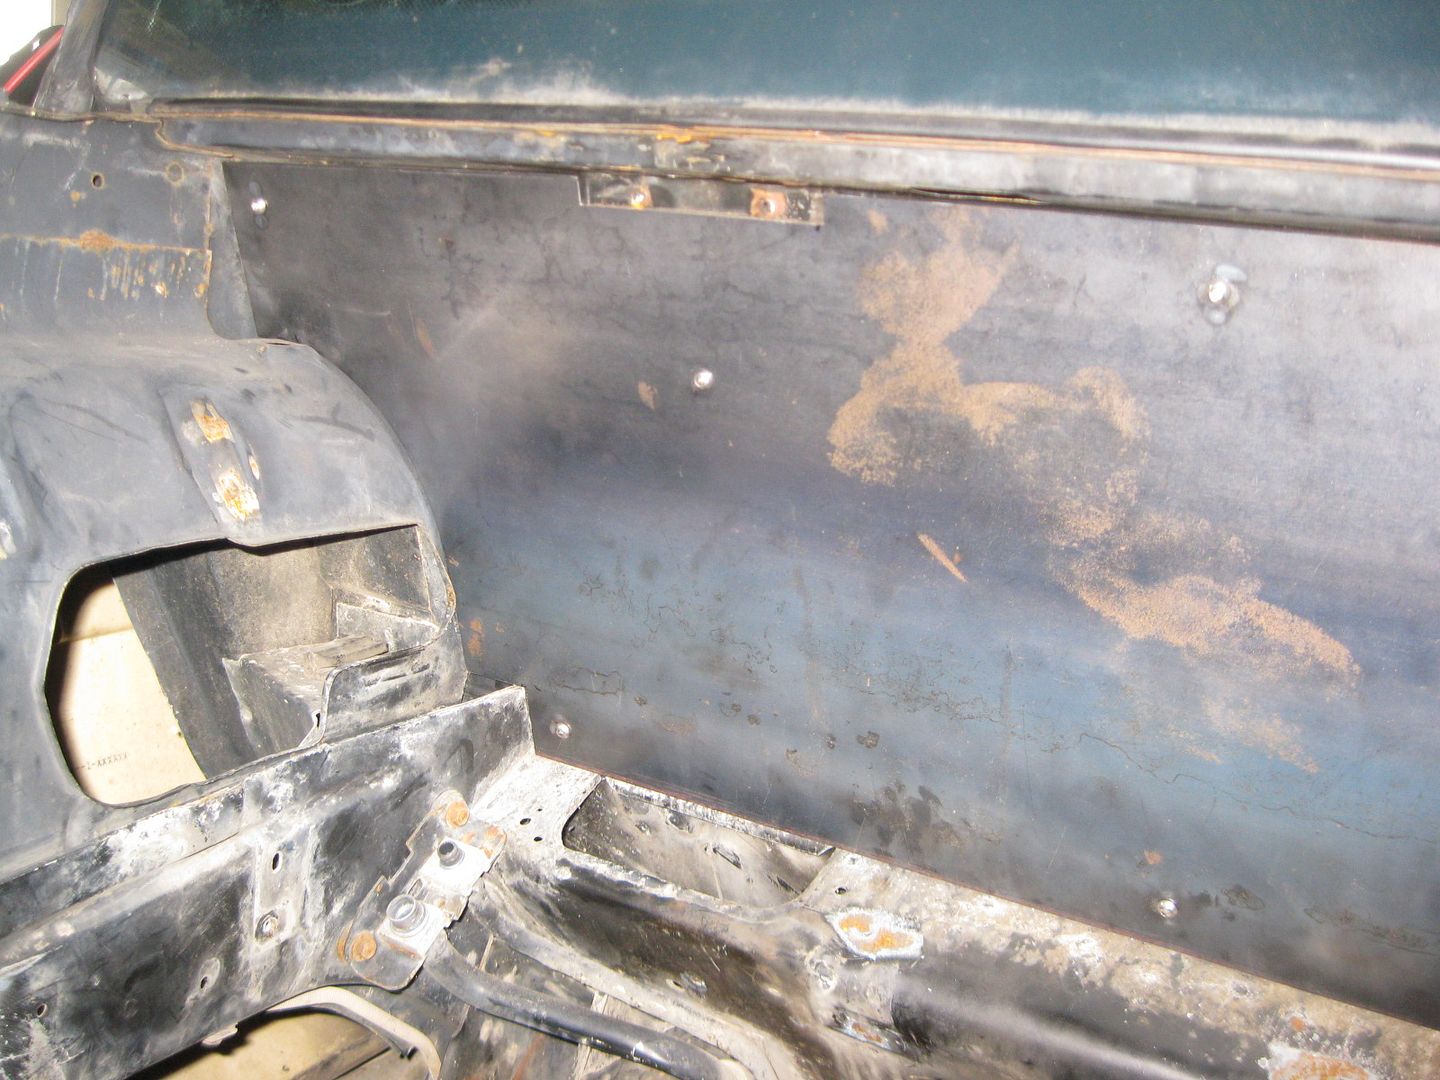
Now I get to clean the engine bay and sand/prep it for paint!
|
|

|
Jims88
|
DEC 23, 10:16 PM
|
|
Nice fit on the fire-wall fab.
I am getting ready to start painting my alum. water pump assembly too, yours looks good!
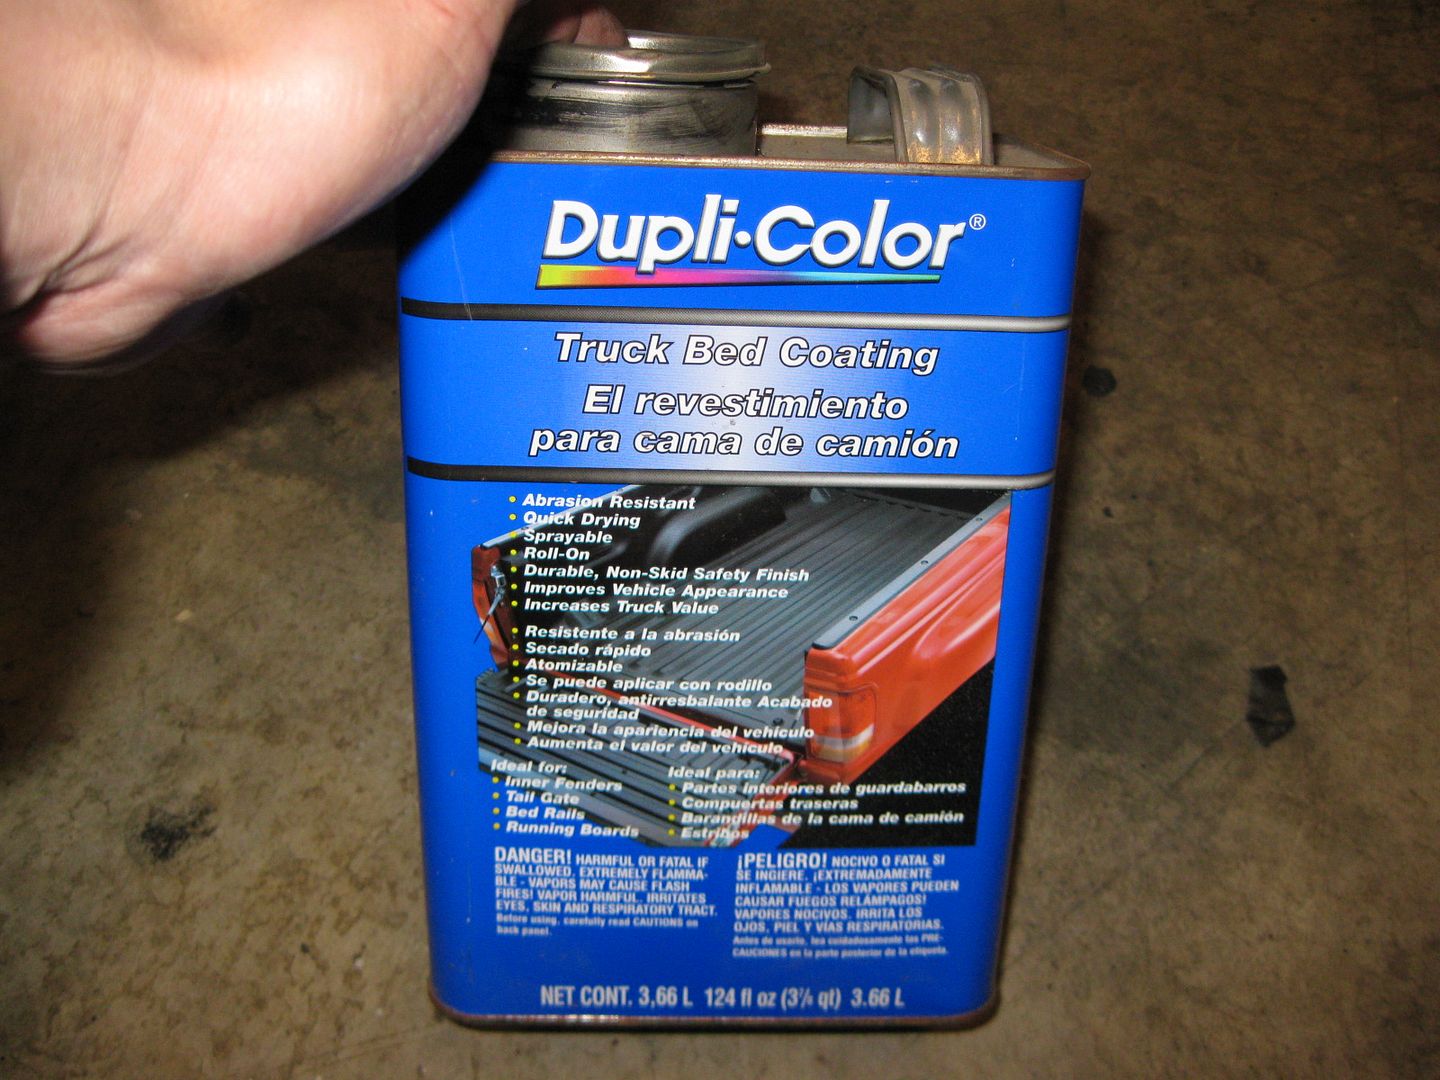
Since I'm limited to spray bombs, would you happen to have a recommendation?
|
|
|
|
Fiero_gtp
|
DEC 23, 10:31 PM
|
|
|
i love how if you Really did not know what you were looking at you would just think he painted some vavle covers and made it look pretty. amazing job!
|
|
|
|
fieroguru
|
DEC 24, 11:59 AM
|
|
| quote | Originally posted by Jims88:
Nice fit on the fire-wall fab.
I am getting ready to start painting my alum. water pump assembly too, yours looks good!
Since I'm limited to spray bombs, would you happen to have a recommendation? |
|
Thanks! I made a couple of templates to get everything nice and tight to the edges. The very bottom edges that go against the frame rails need more clearance as the rails pinch in as they move away from the fire wall. Also, with the top sides being quite close, you have to flex the panel slightly to make it clear the flange on the top frame rails.
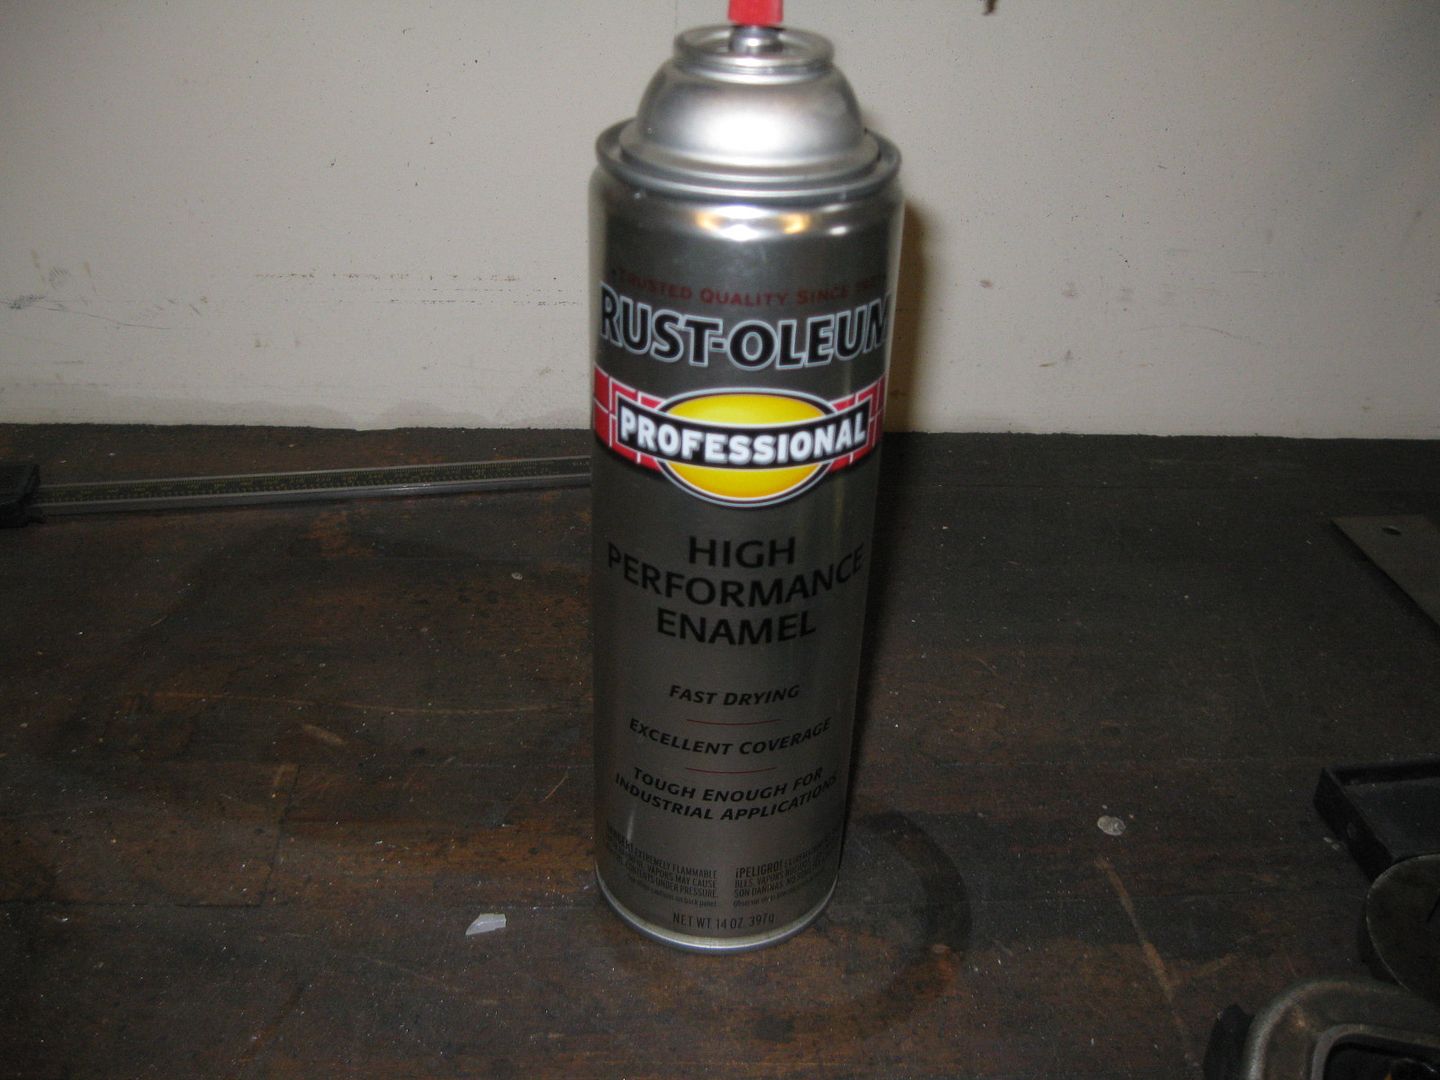
For most of my rattle can painting, I use Rustoleum professional grade paint. Lowes sells is in the silver cans.
|
|
|
|
fieroguru
|
DEC 24, 12:13 PM
|
|
| quote | Originally posted by Fiero_gtp:
i love how if you Really did not know what you were looking at you would just think he painted some vavle covers and made it look pretty. amazing job! |
|
Thanks! I normally take a subtle approach to showcasing my fabrication skills.
|
|
|
|
fieroguru
|
DEC 24, 12:17 PM
|
|
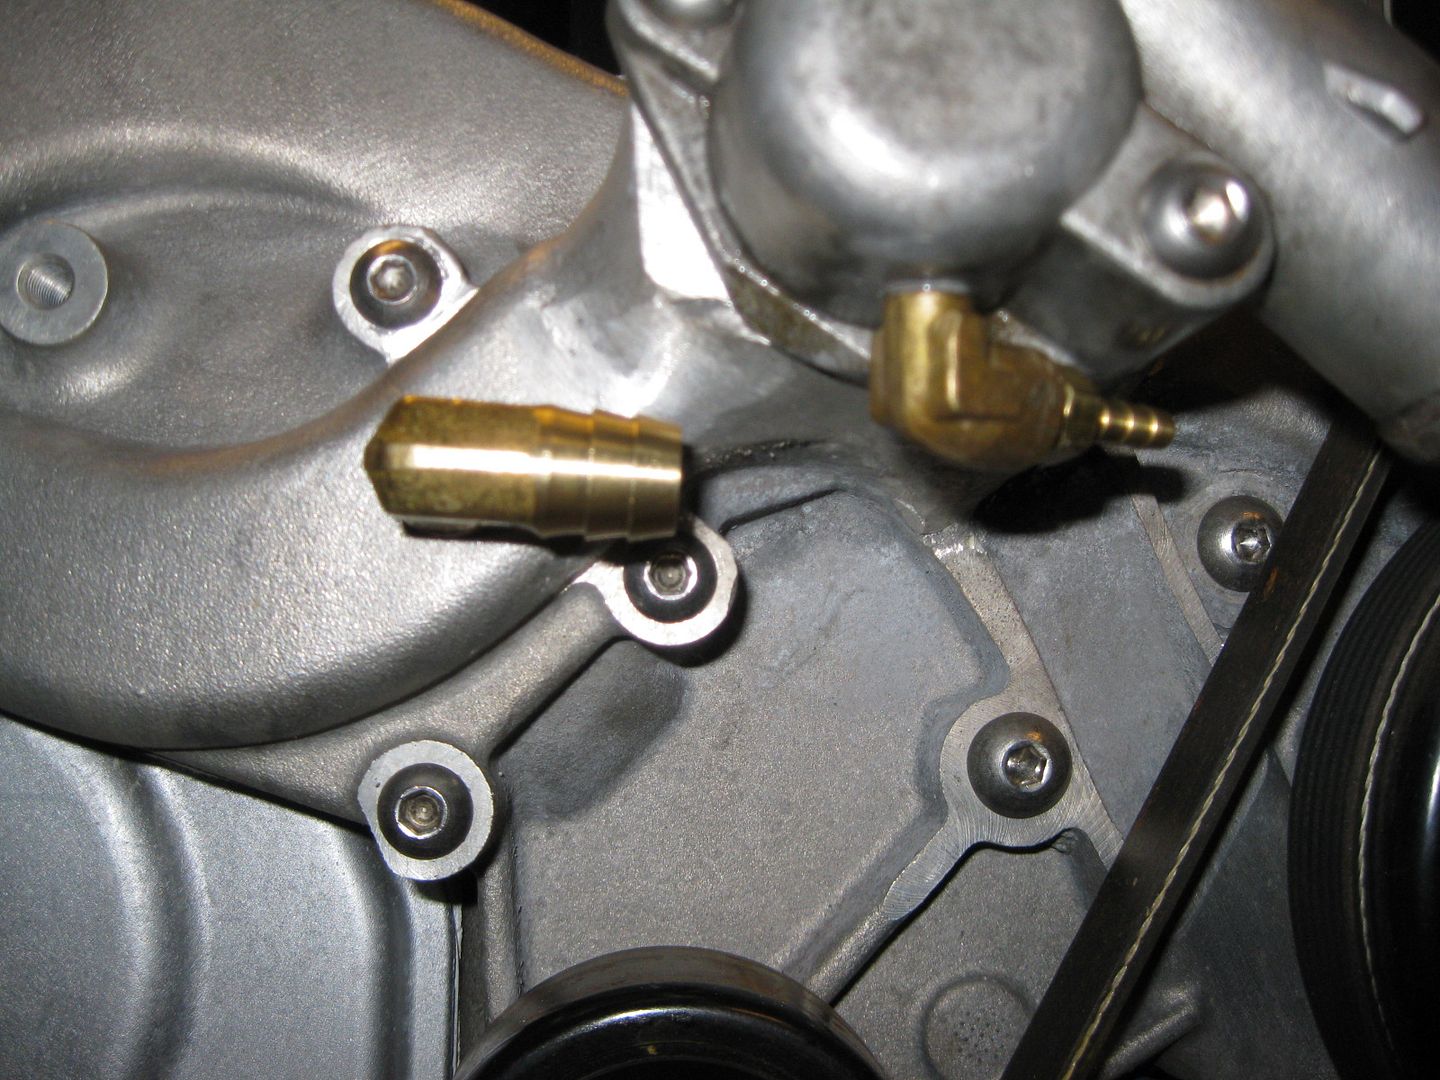
One of the last loose end to finish up on the engine was relocating the oil level sight tube for the catch can. So I marked the holes, drilled/tapped them and now have the sight level in a visible spot:
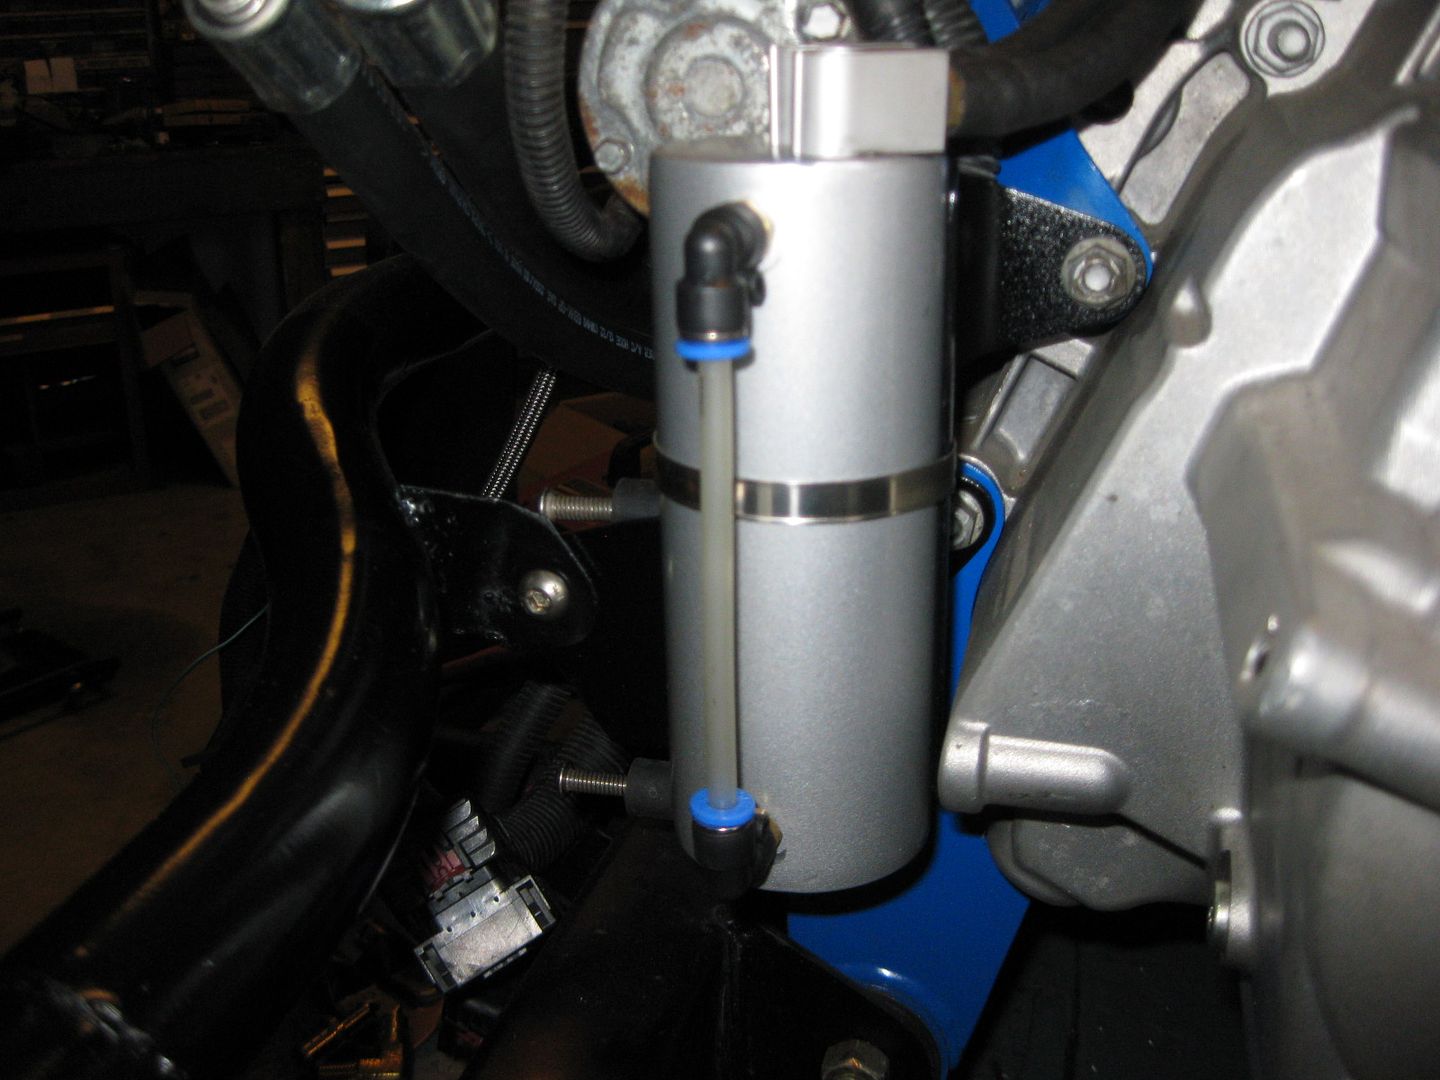
The original holes were filled with threaded caps, then the ends ground down flush (they are up against the mounting bracket:

|
|
|
|
fieroguru
|
DEC 26, 05:38 PM
|
|
The other radiator hoses came in today. These are the same as the previous one I cut up for the pipe to water pump inlet, so I figured might as well keep using the same part # to make the rest of the hoses.
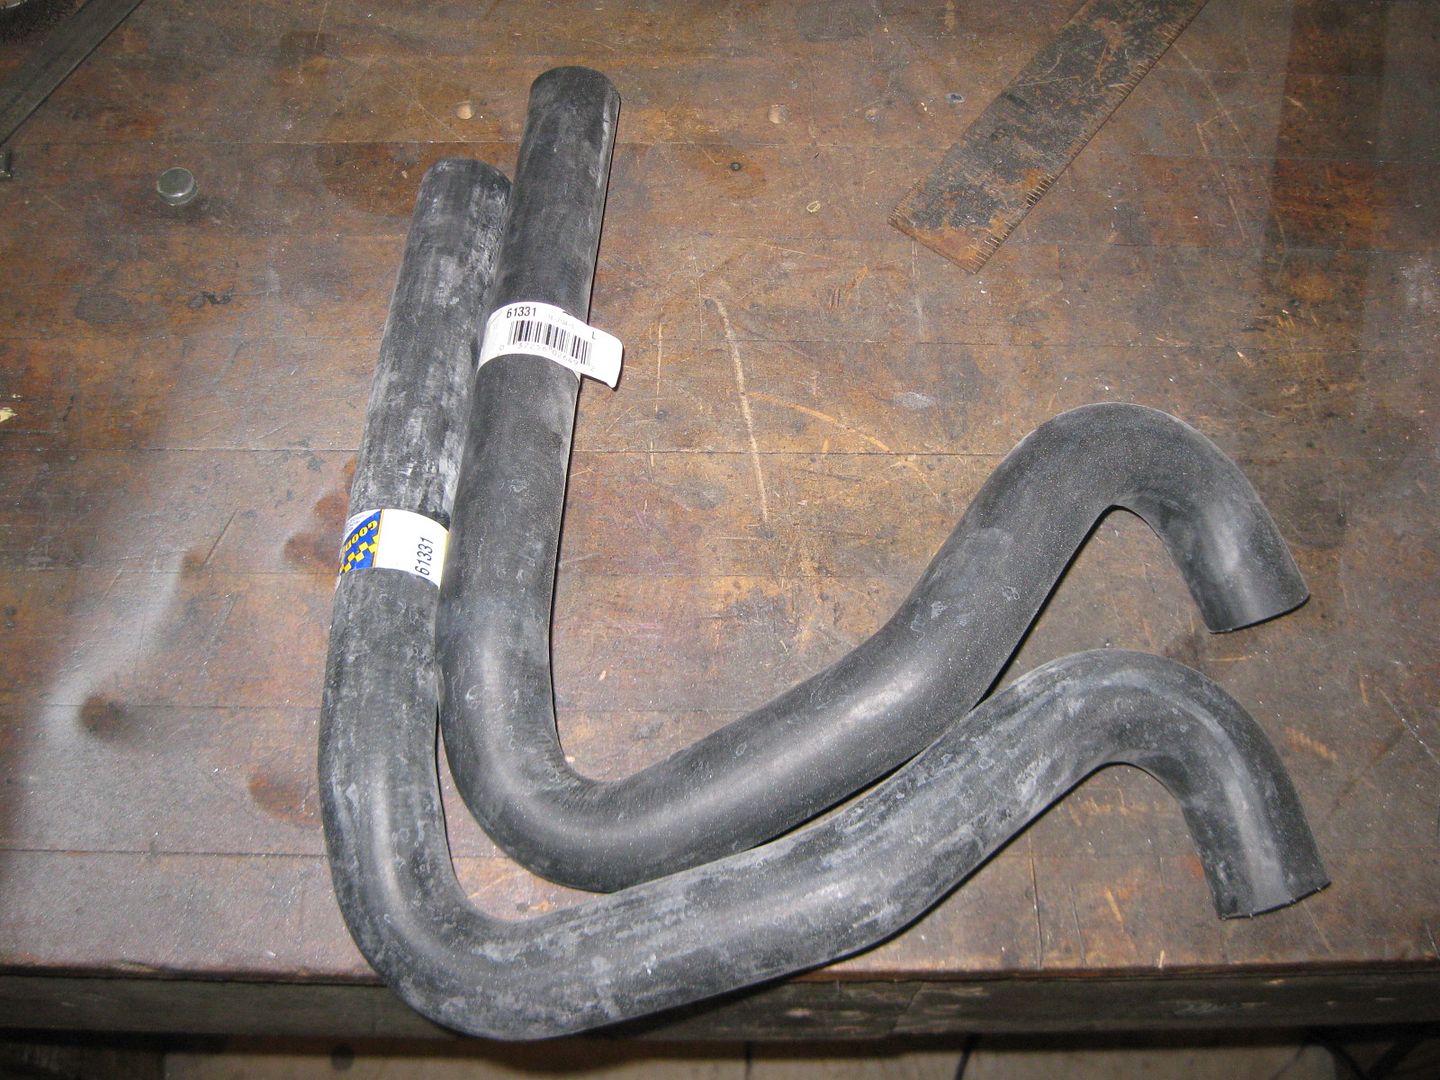
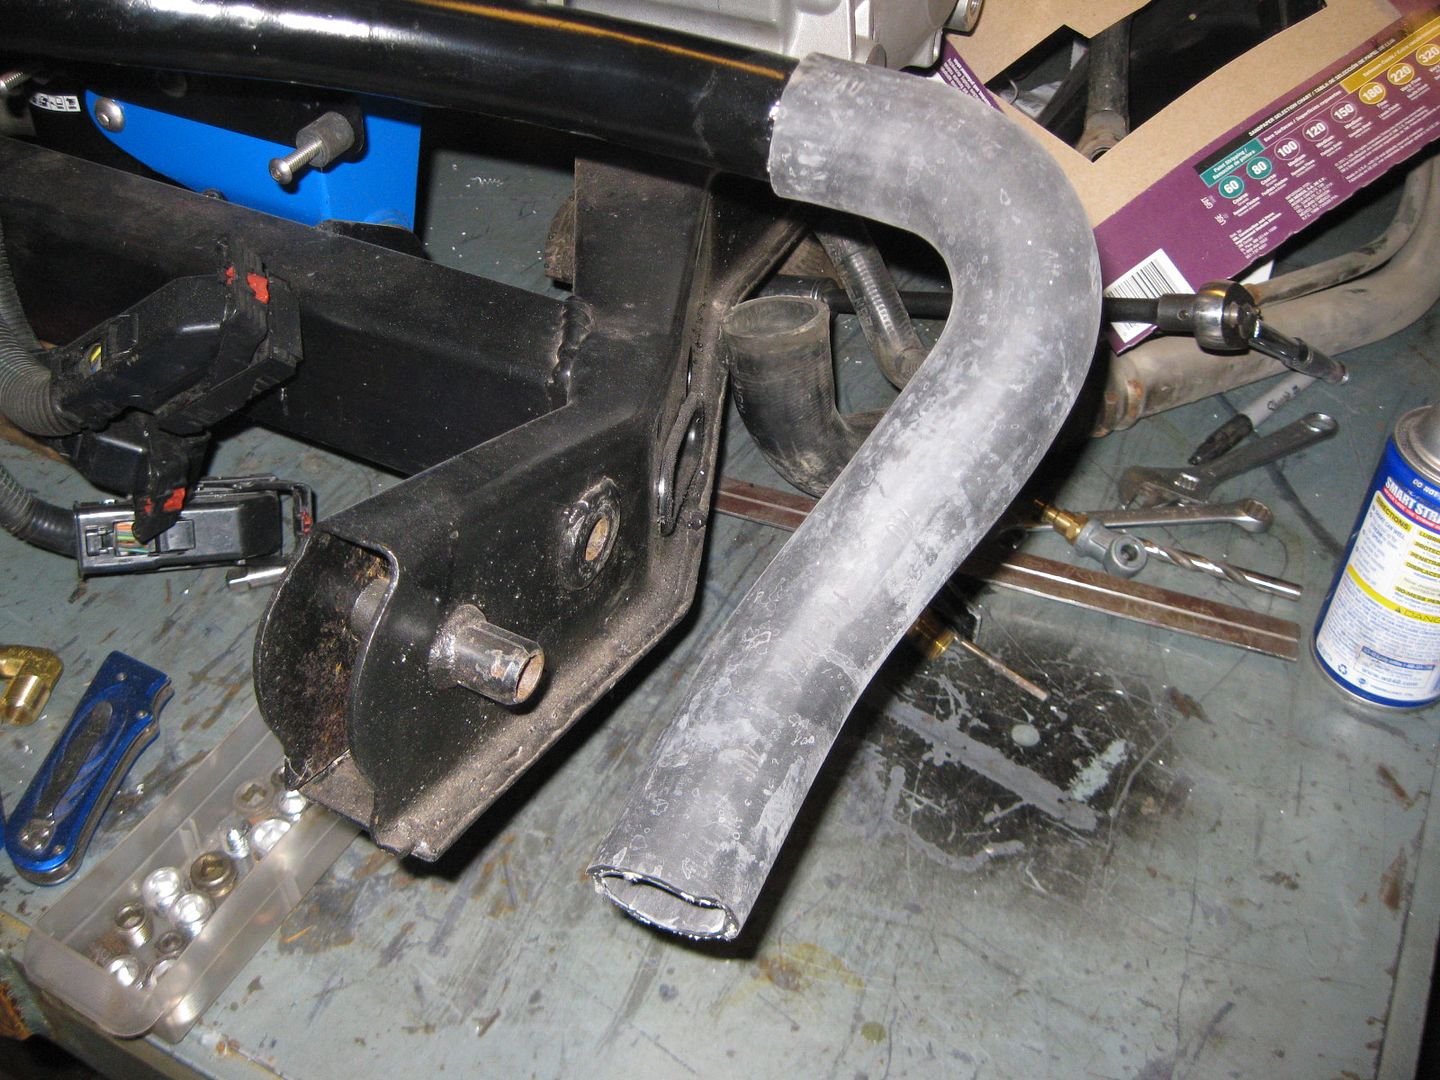
Just by cutting the hose in the proper place, I was able to use one hose for both the thermostat to pipe and lower coolant tube to pipe hoses on the passenger side:

Then doing the same on the driver side pipe to lower coolant tube:
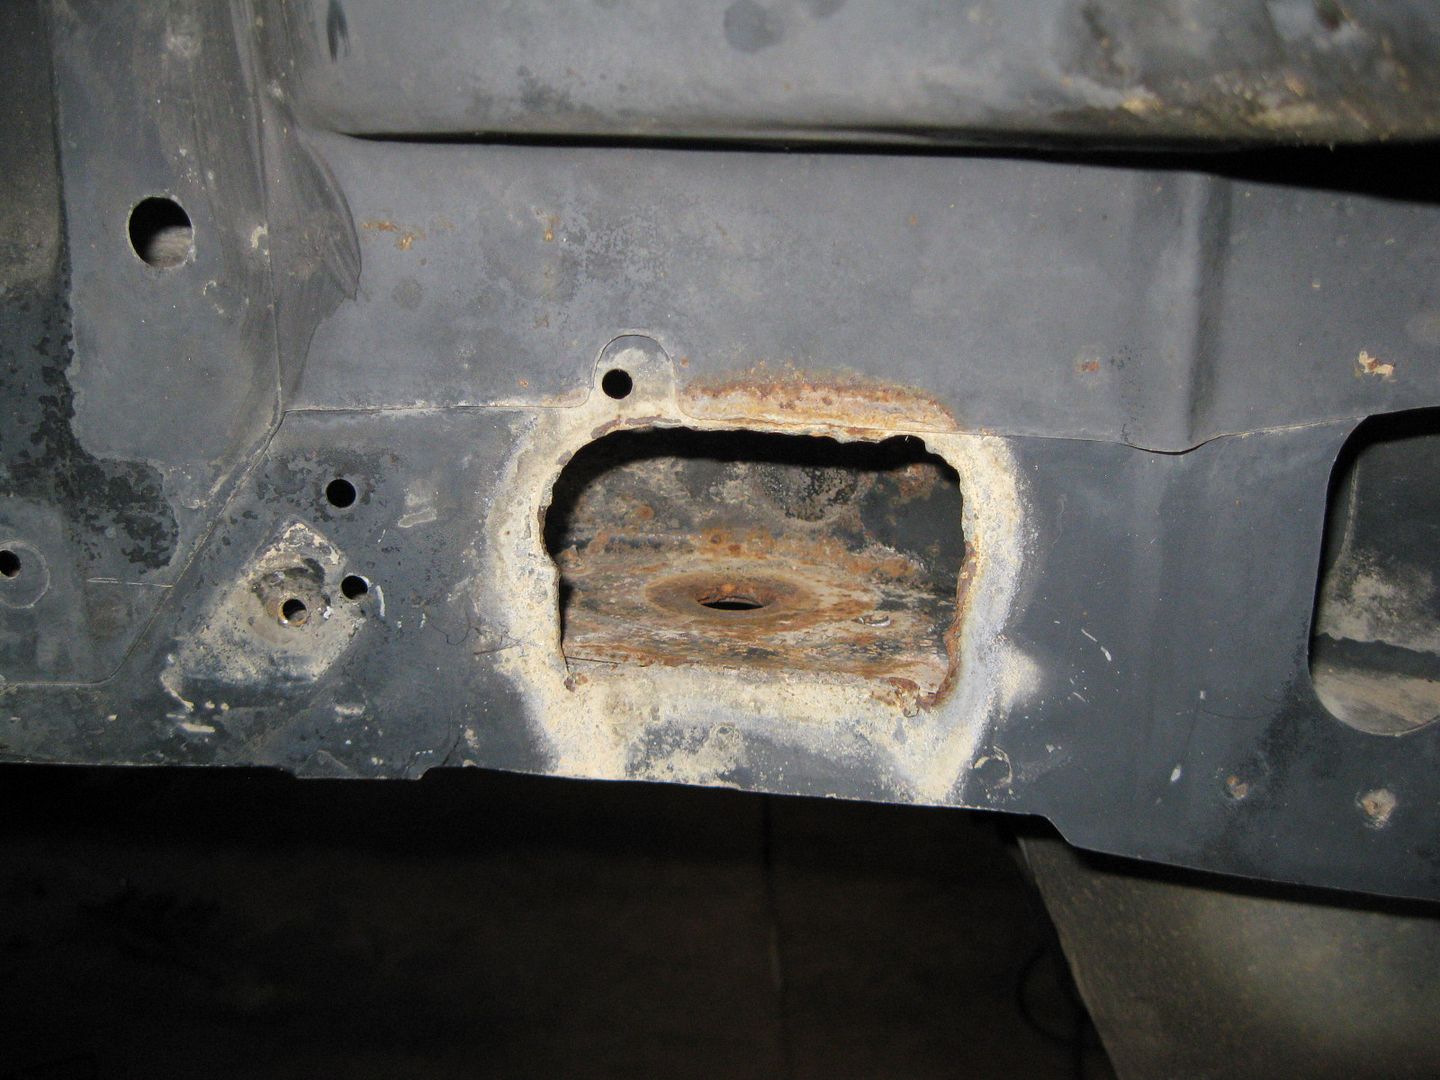
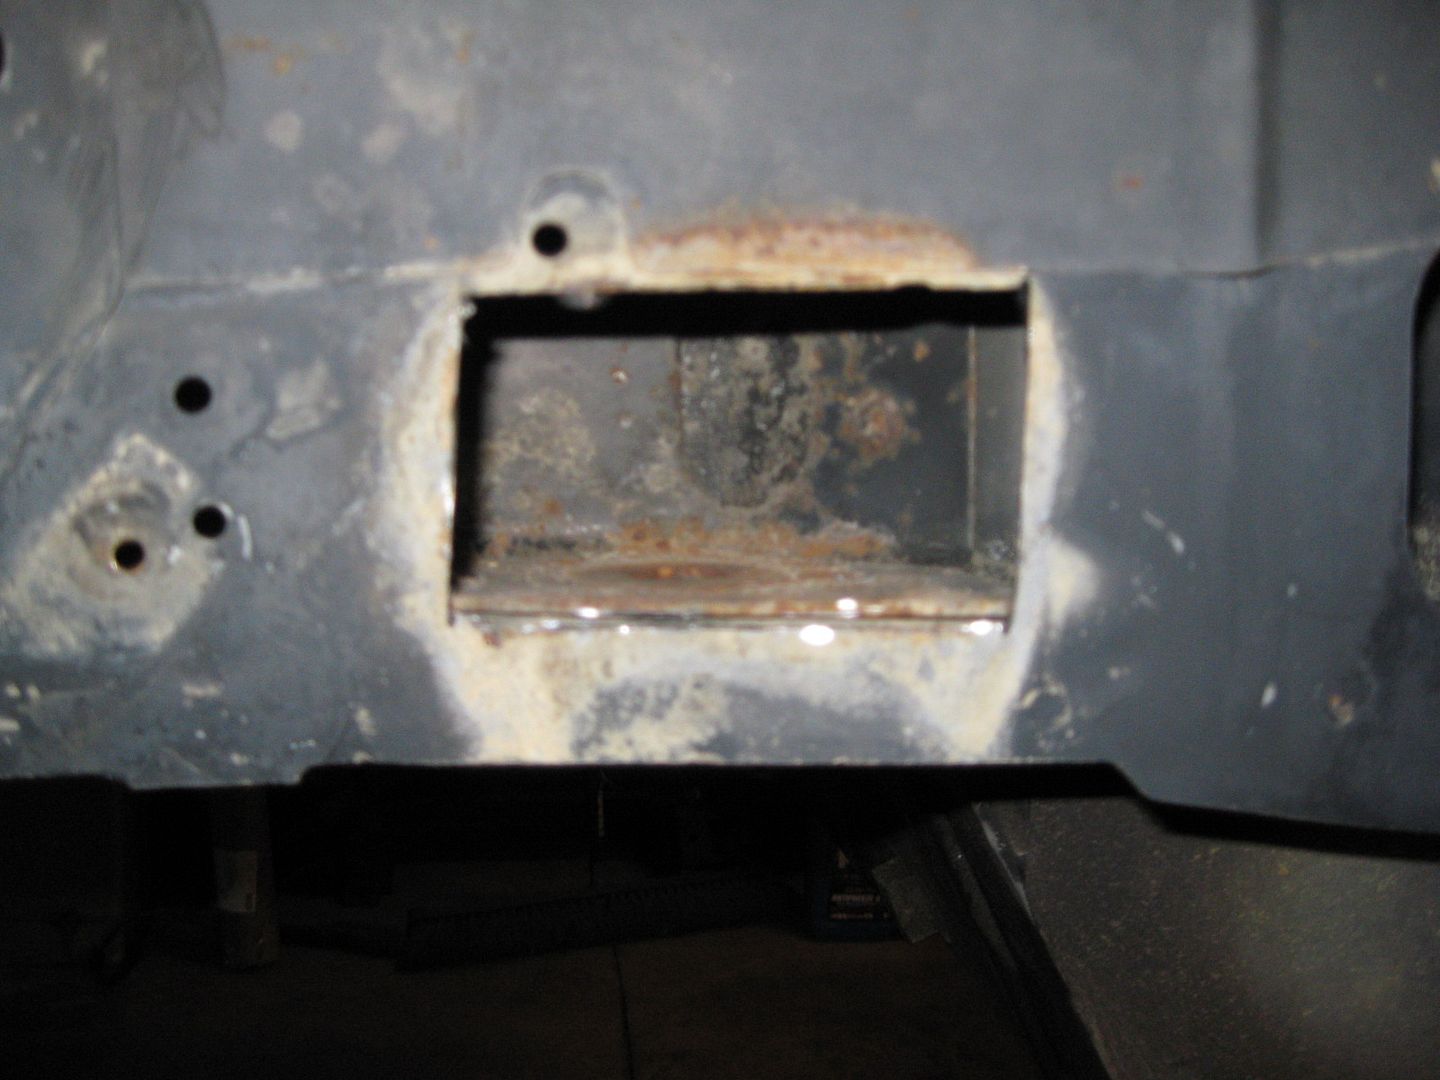
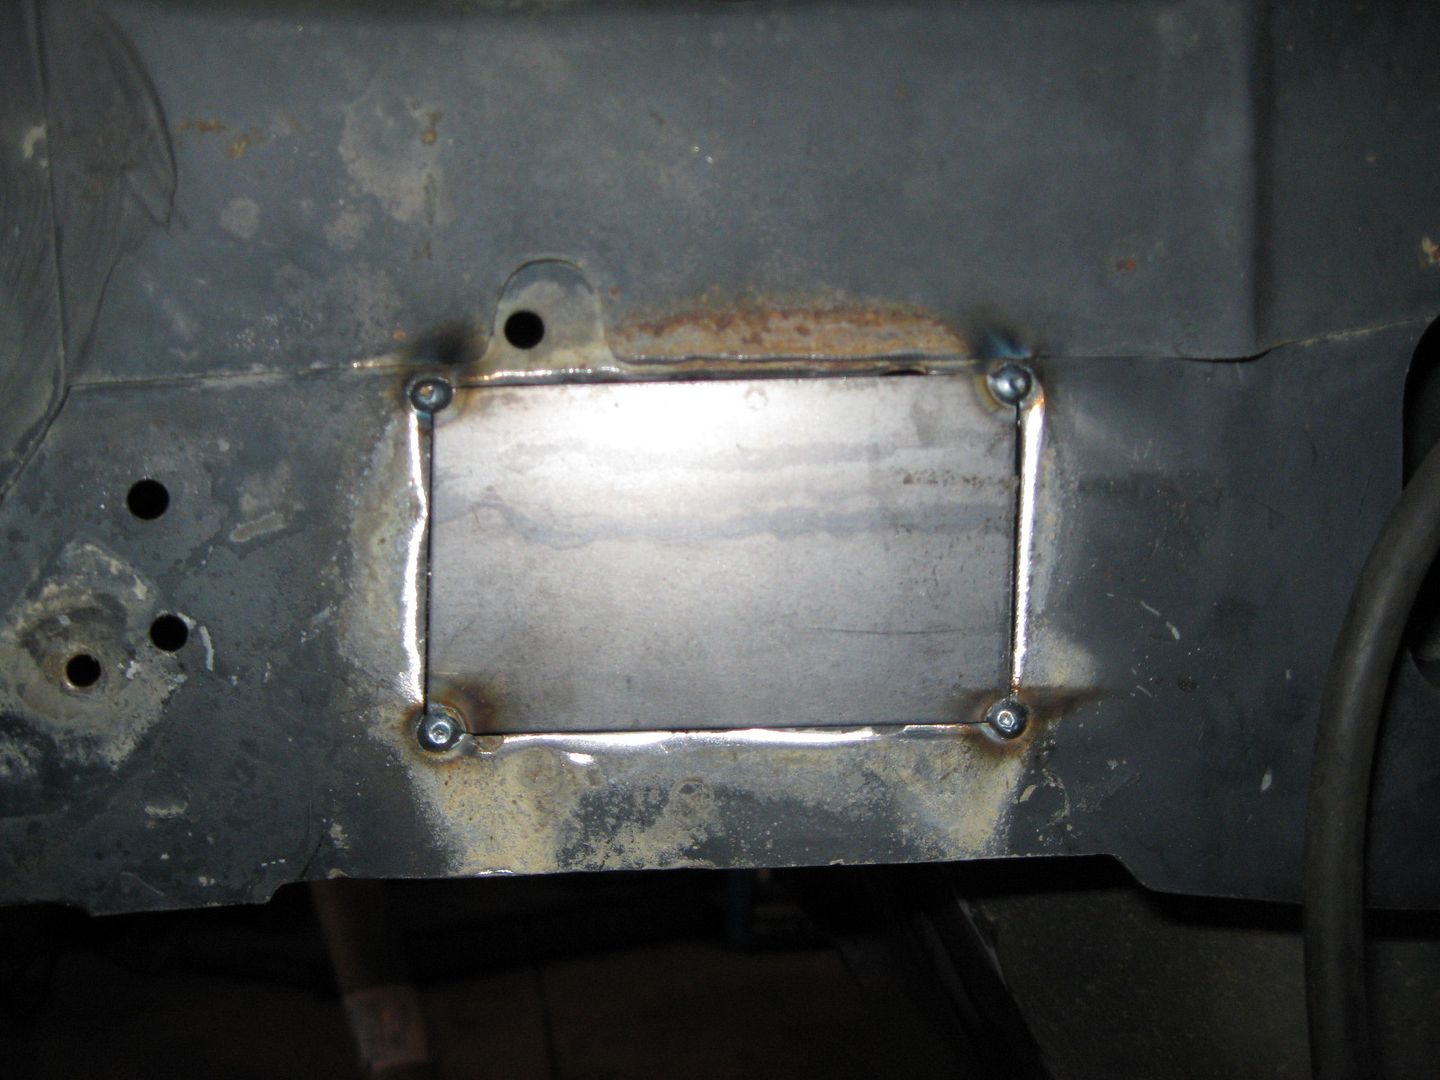
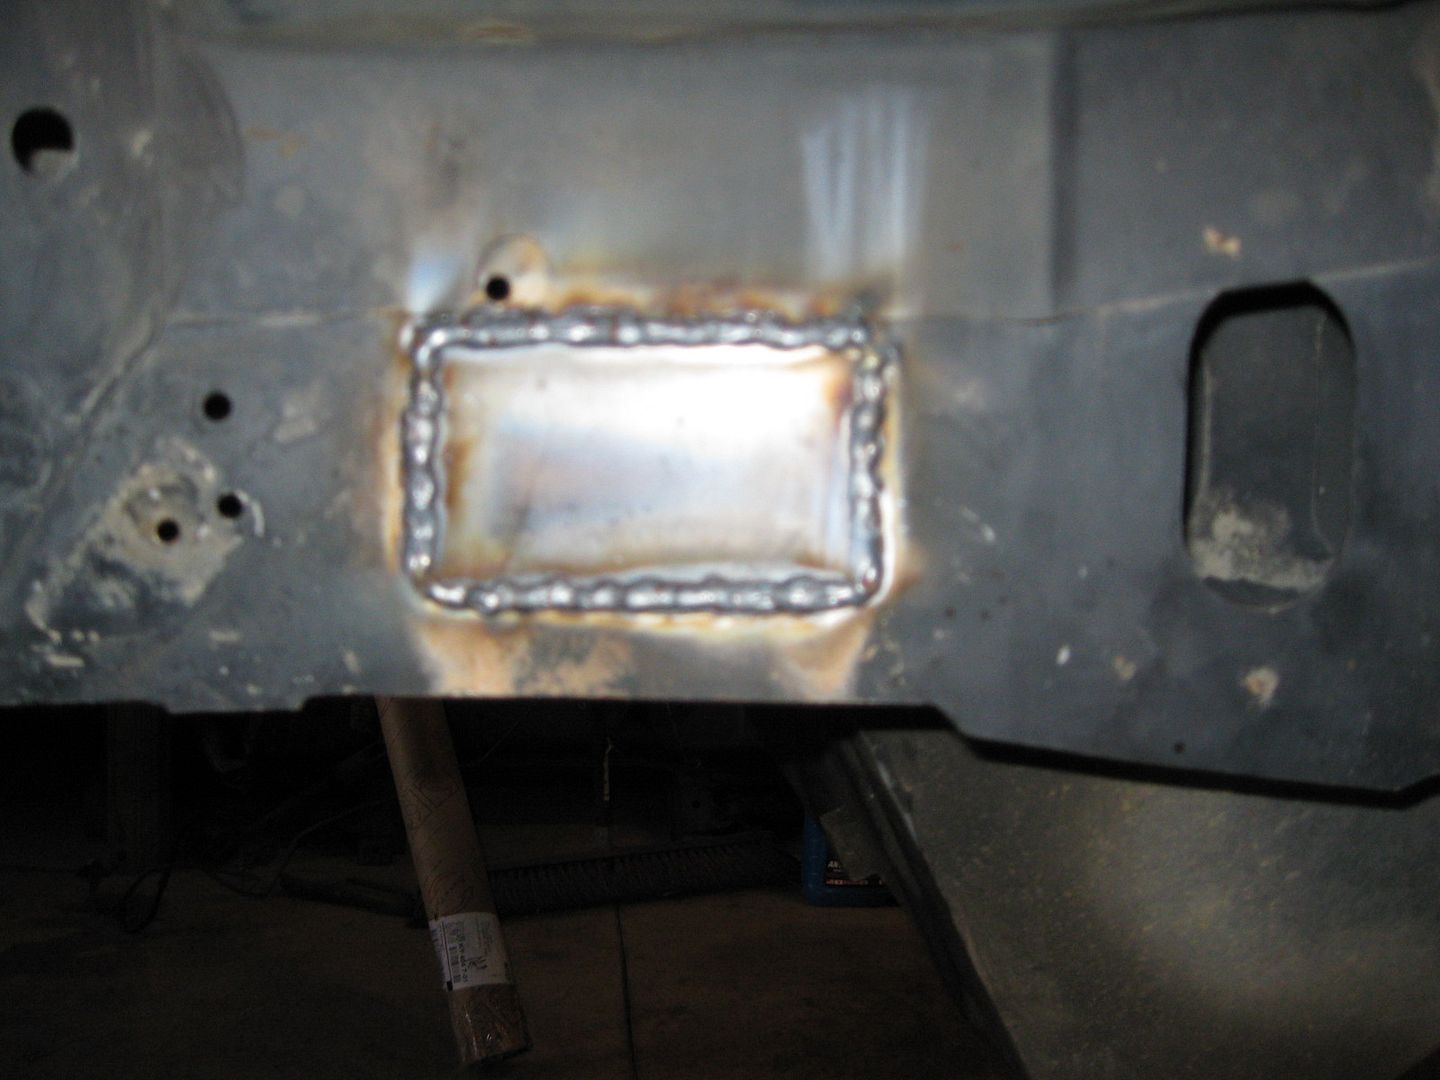
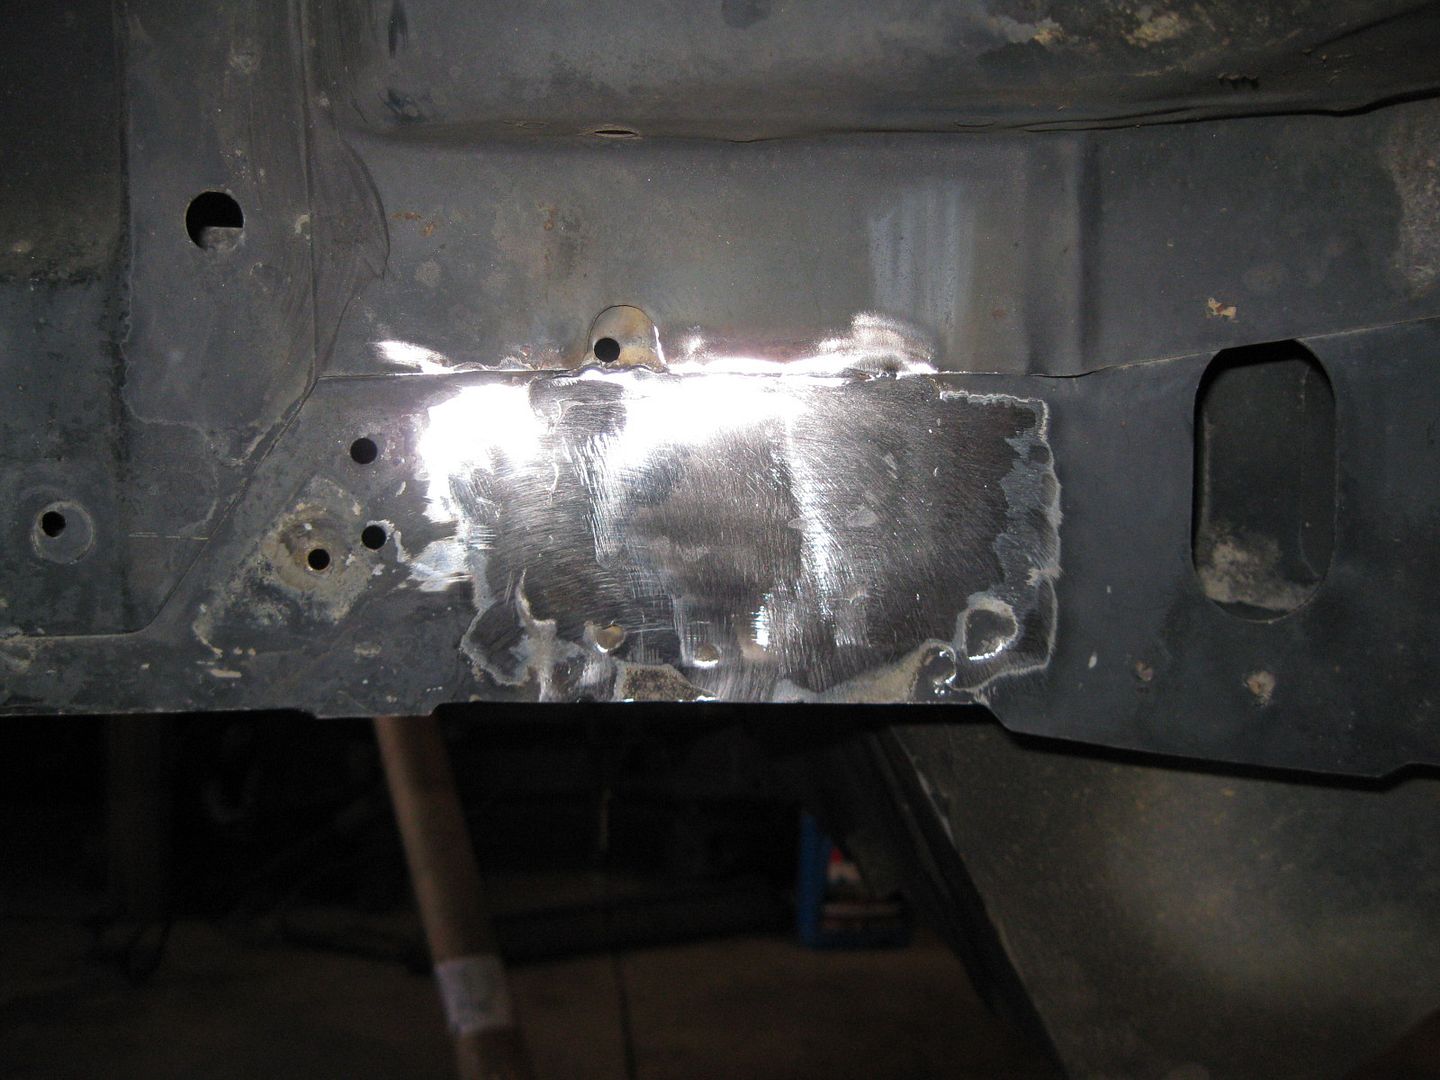
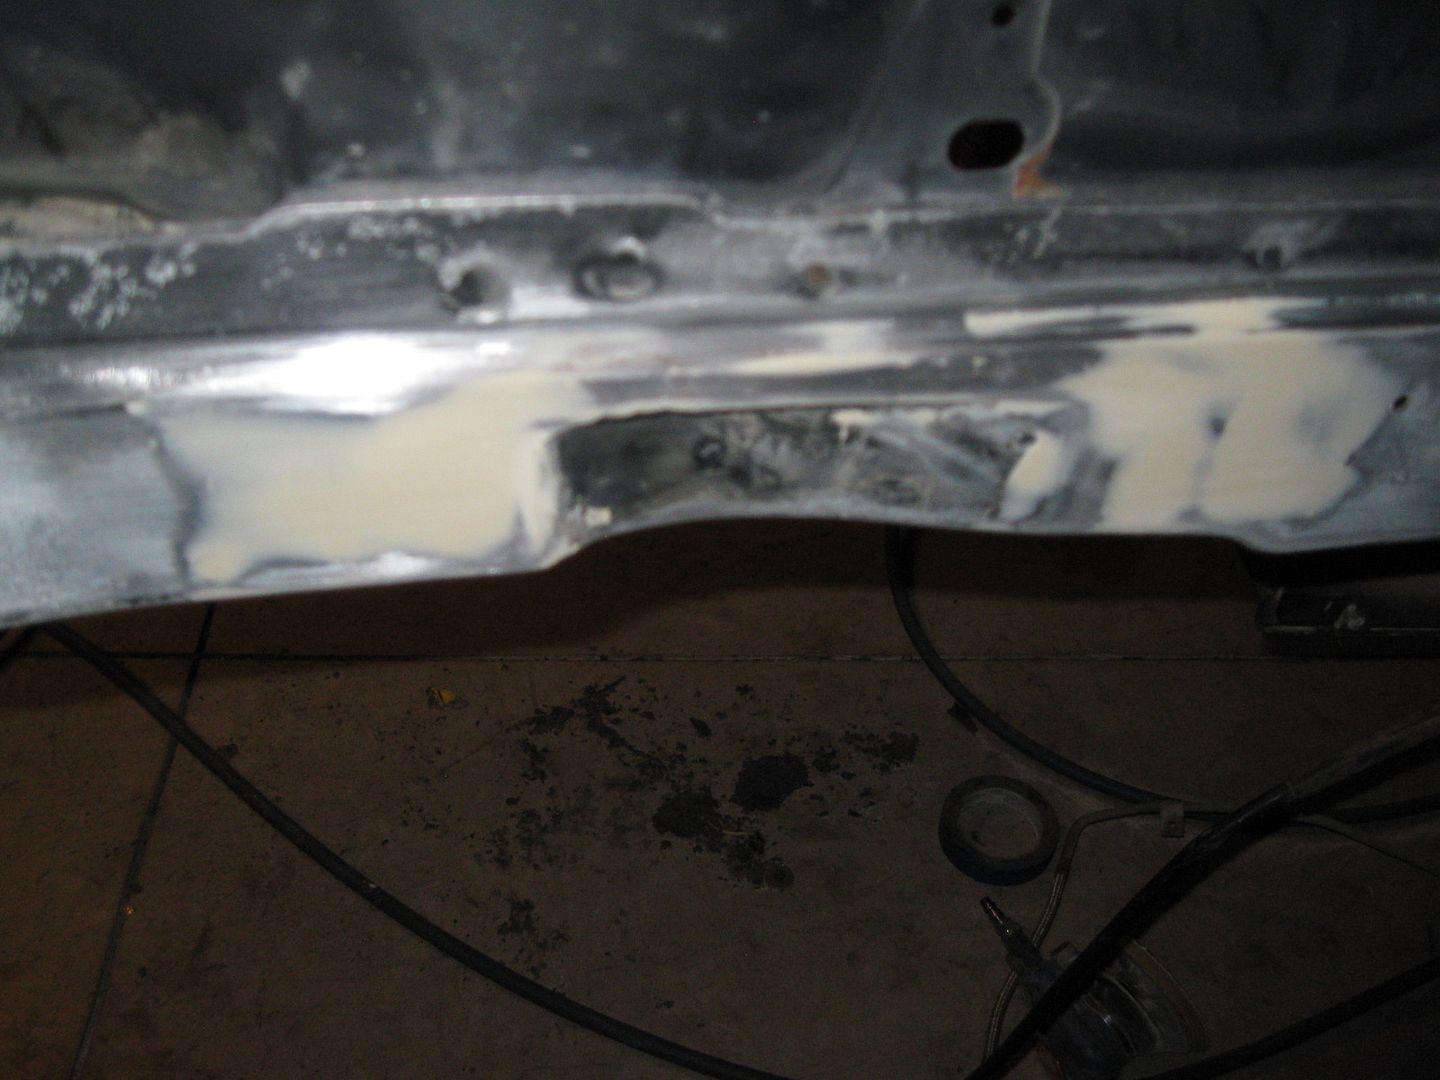
Also started on smoothing out the tops of the strut towers some as well as the small work I did to the lower frame rail when I relocated the factory bulge to the rear about 1/2":
|
|
|
|
KissMySSFiero
|
DEC 27, 09:41 AM
|
|
|
|
|
fieroguru
|
DEC 29, 04:17 PM
|
|
|
|